


Here it is: The Big Kahuna. The Piece of Resistance. The Duke of New York A Number One.
We're going to make Majora's Mask! Let's do it to it!
I'm not going to claim this is the best method, or even a good method. In fact, it's a method with tons of disadvantages both in making and in wearing, and I'm in constant fear of the whole thing turning to mush before my eyes. (And my eyes turning to mush because of the various ingredients in the mask flaking away and irritating them.)
But despite being a method that doesn't work, it works! You've seen it for yourself, so here's what I did to -make- it work.
(If you'd like to see how to make a -better- Majora's Mask that's lighter, easier to wear and -has eyeholes-, click here to read about my XPS foam Majora's Mask instead!)
Step one: What does Majora's Mask look like?
The first image is an official illustration (I think) that's been neatened up and slightly redrawn in a nice high resolution. As far as I know, this is the best image you'll find. Second image is the Majora's Mask trophy from Super Smash Bros. Melee, which I think has very similar proportions to the original N64 game model.
The third image is kinda cheating since it's from Majora's Mask 3DS and I don't think that was out when I started my mask.

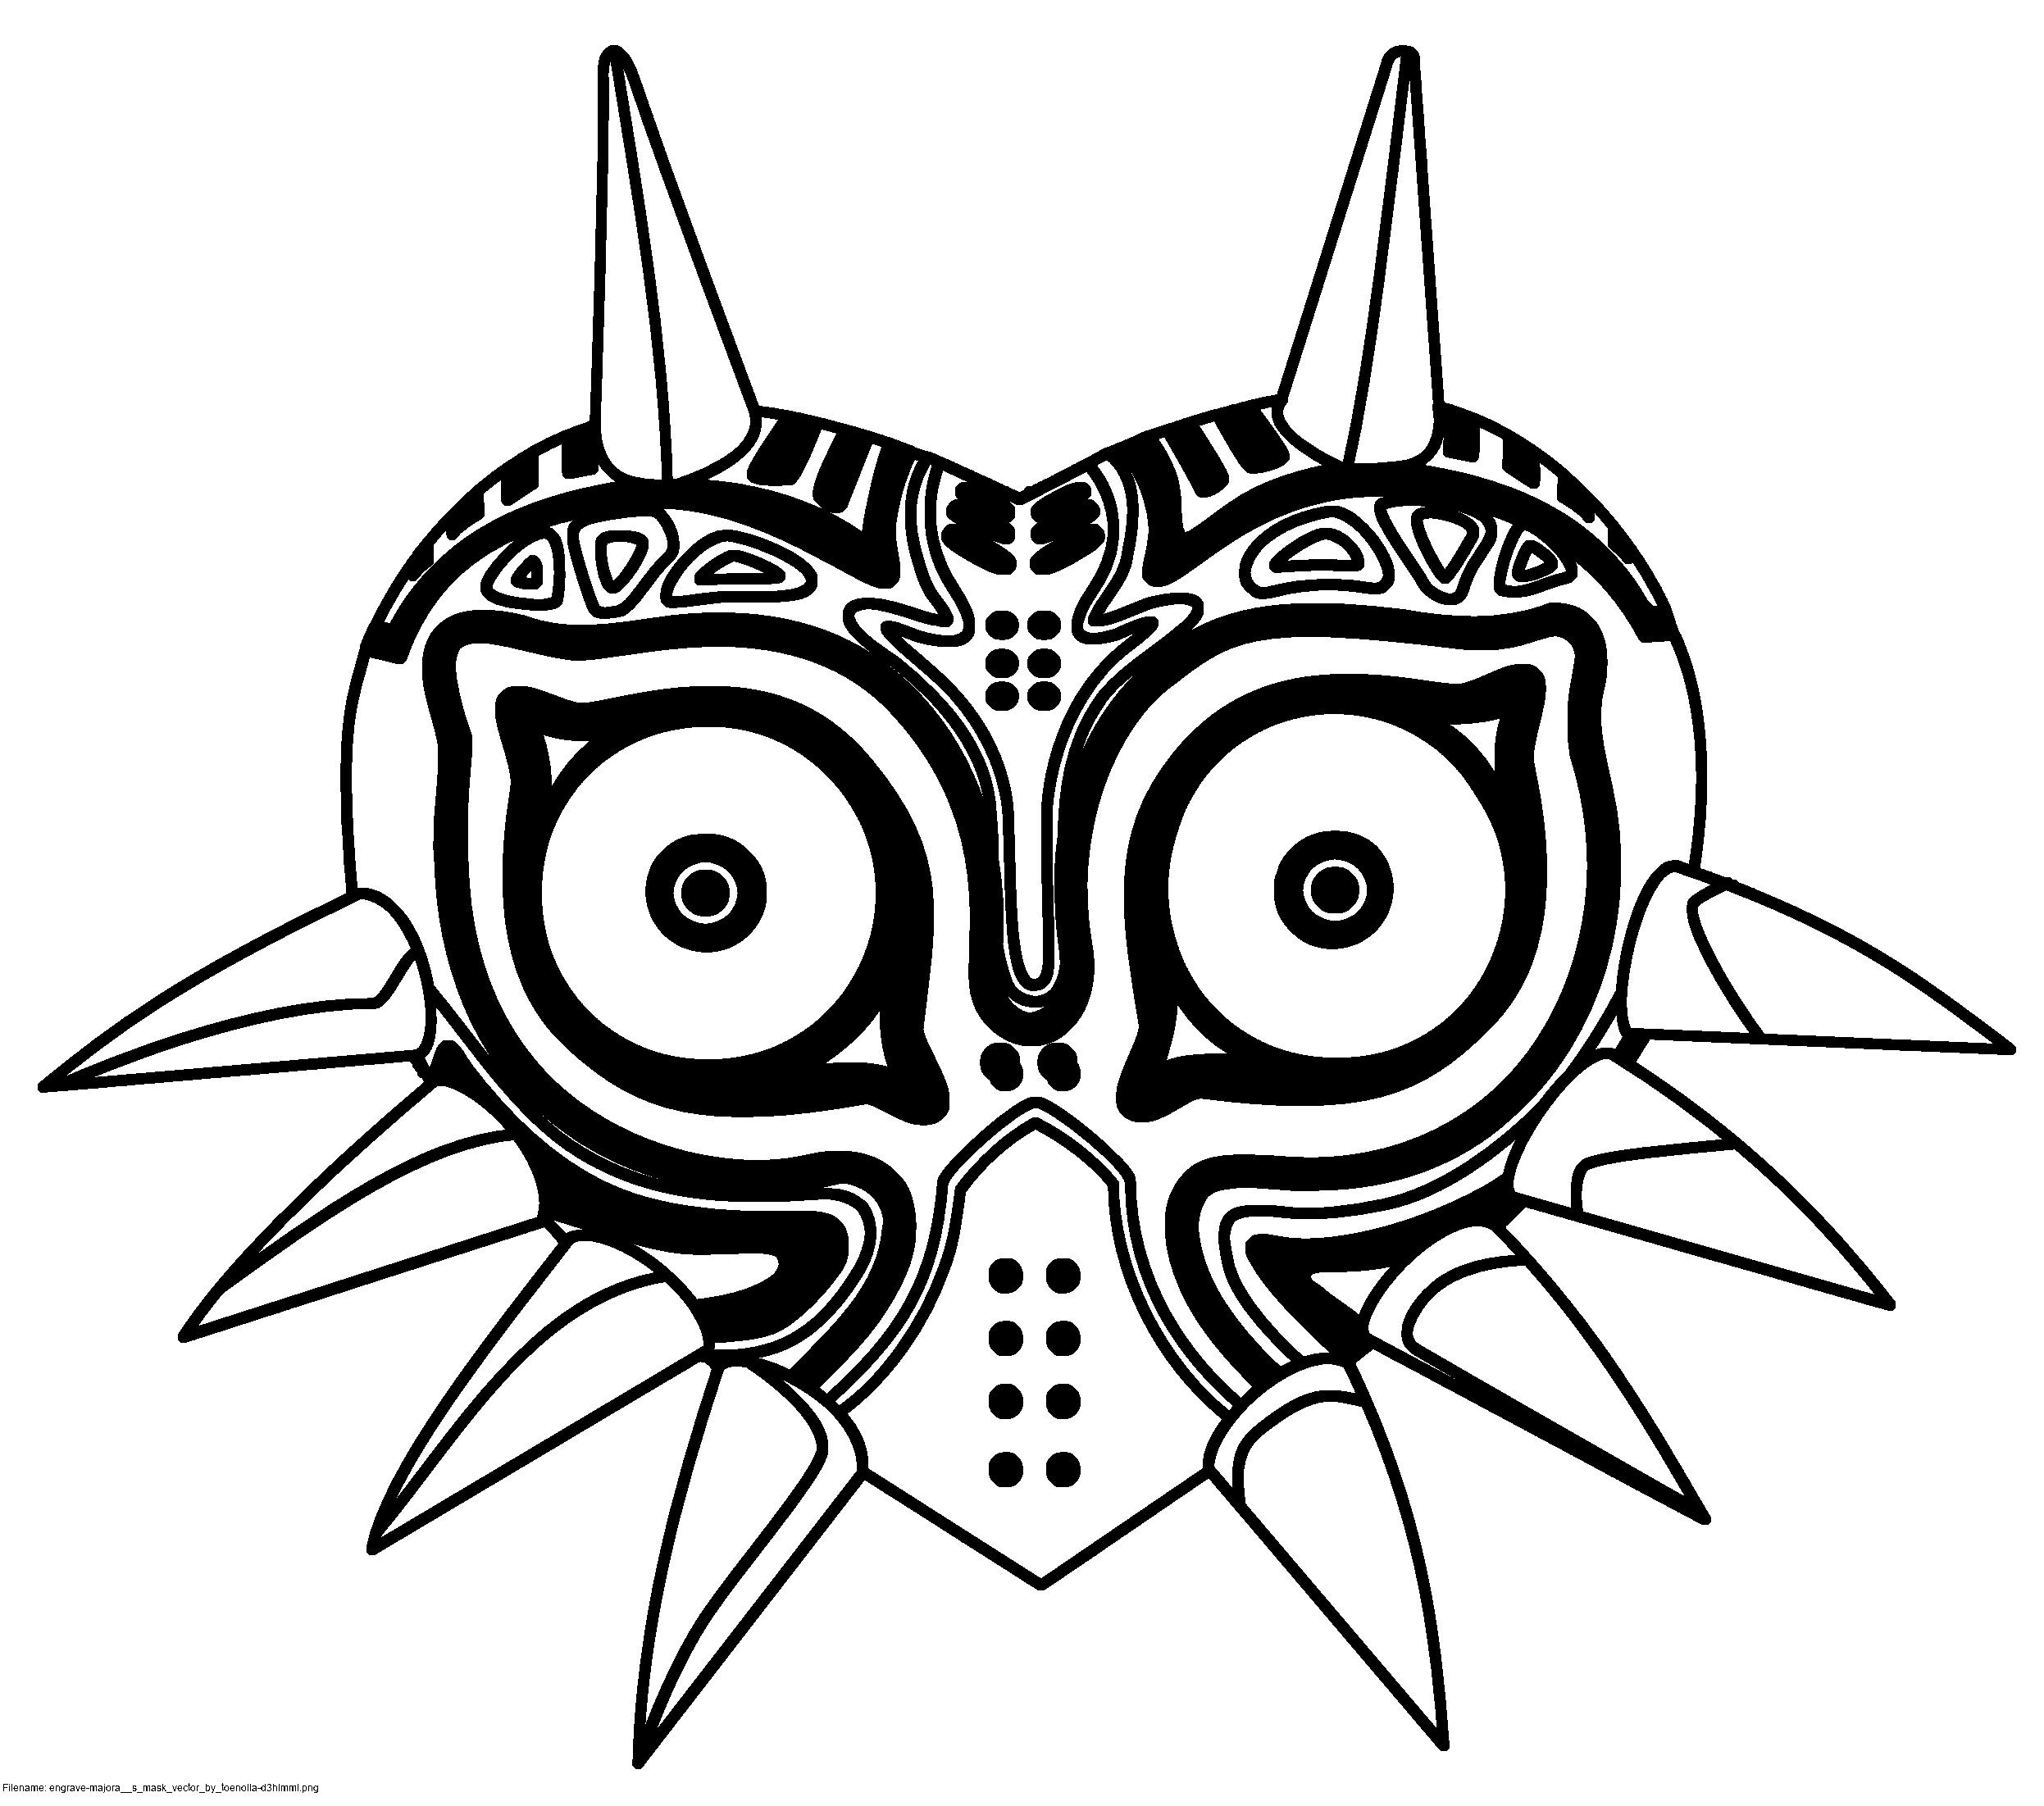
These lovely clear images were put together by Toenolla on DeviantArt. There's also an SVG available of it if you look on their page. Check it out!
Having high detail vectors of the mask is really spoiling me. A vector image is stored as curves and coordinates so you can view it at any size you want without losing detail. As you can guess, that is ridiculously useful!


It's important to get as many pictures as possible, both official and unofficial. In making a mask, or any other costume piece, there's a whole list of factors you need to consider:
How big it will be: how big will the body be, and how big will the horns be? Will you keep the proportions or alter them to fit you, or deliberately go chibi or warped and creepy?
How each piece is going to be created: will the horns be separate until attached to the main body of the mask?
How the individual pieces will be assembled together: glued, screwed, slotted? How will you do that?
Whether you're going to be able to wear it at all, or whether you'll have to hold it up against your face to simulate wearing it.
How you will attach the strap, or whatever you choose, to wear the mask.
How it's going to rest across your face when worn. How much of your head will be visible behind it.
Whether you're going to be able to see out of it or not.
How heavy it's going to be.
Whether you're going to show Skull Kid's real face when you take it off.
How you're going to store it.
How you're going to maintain it.

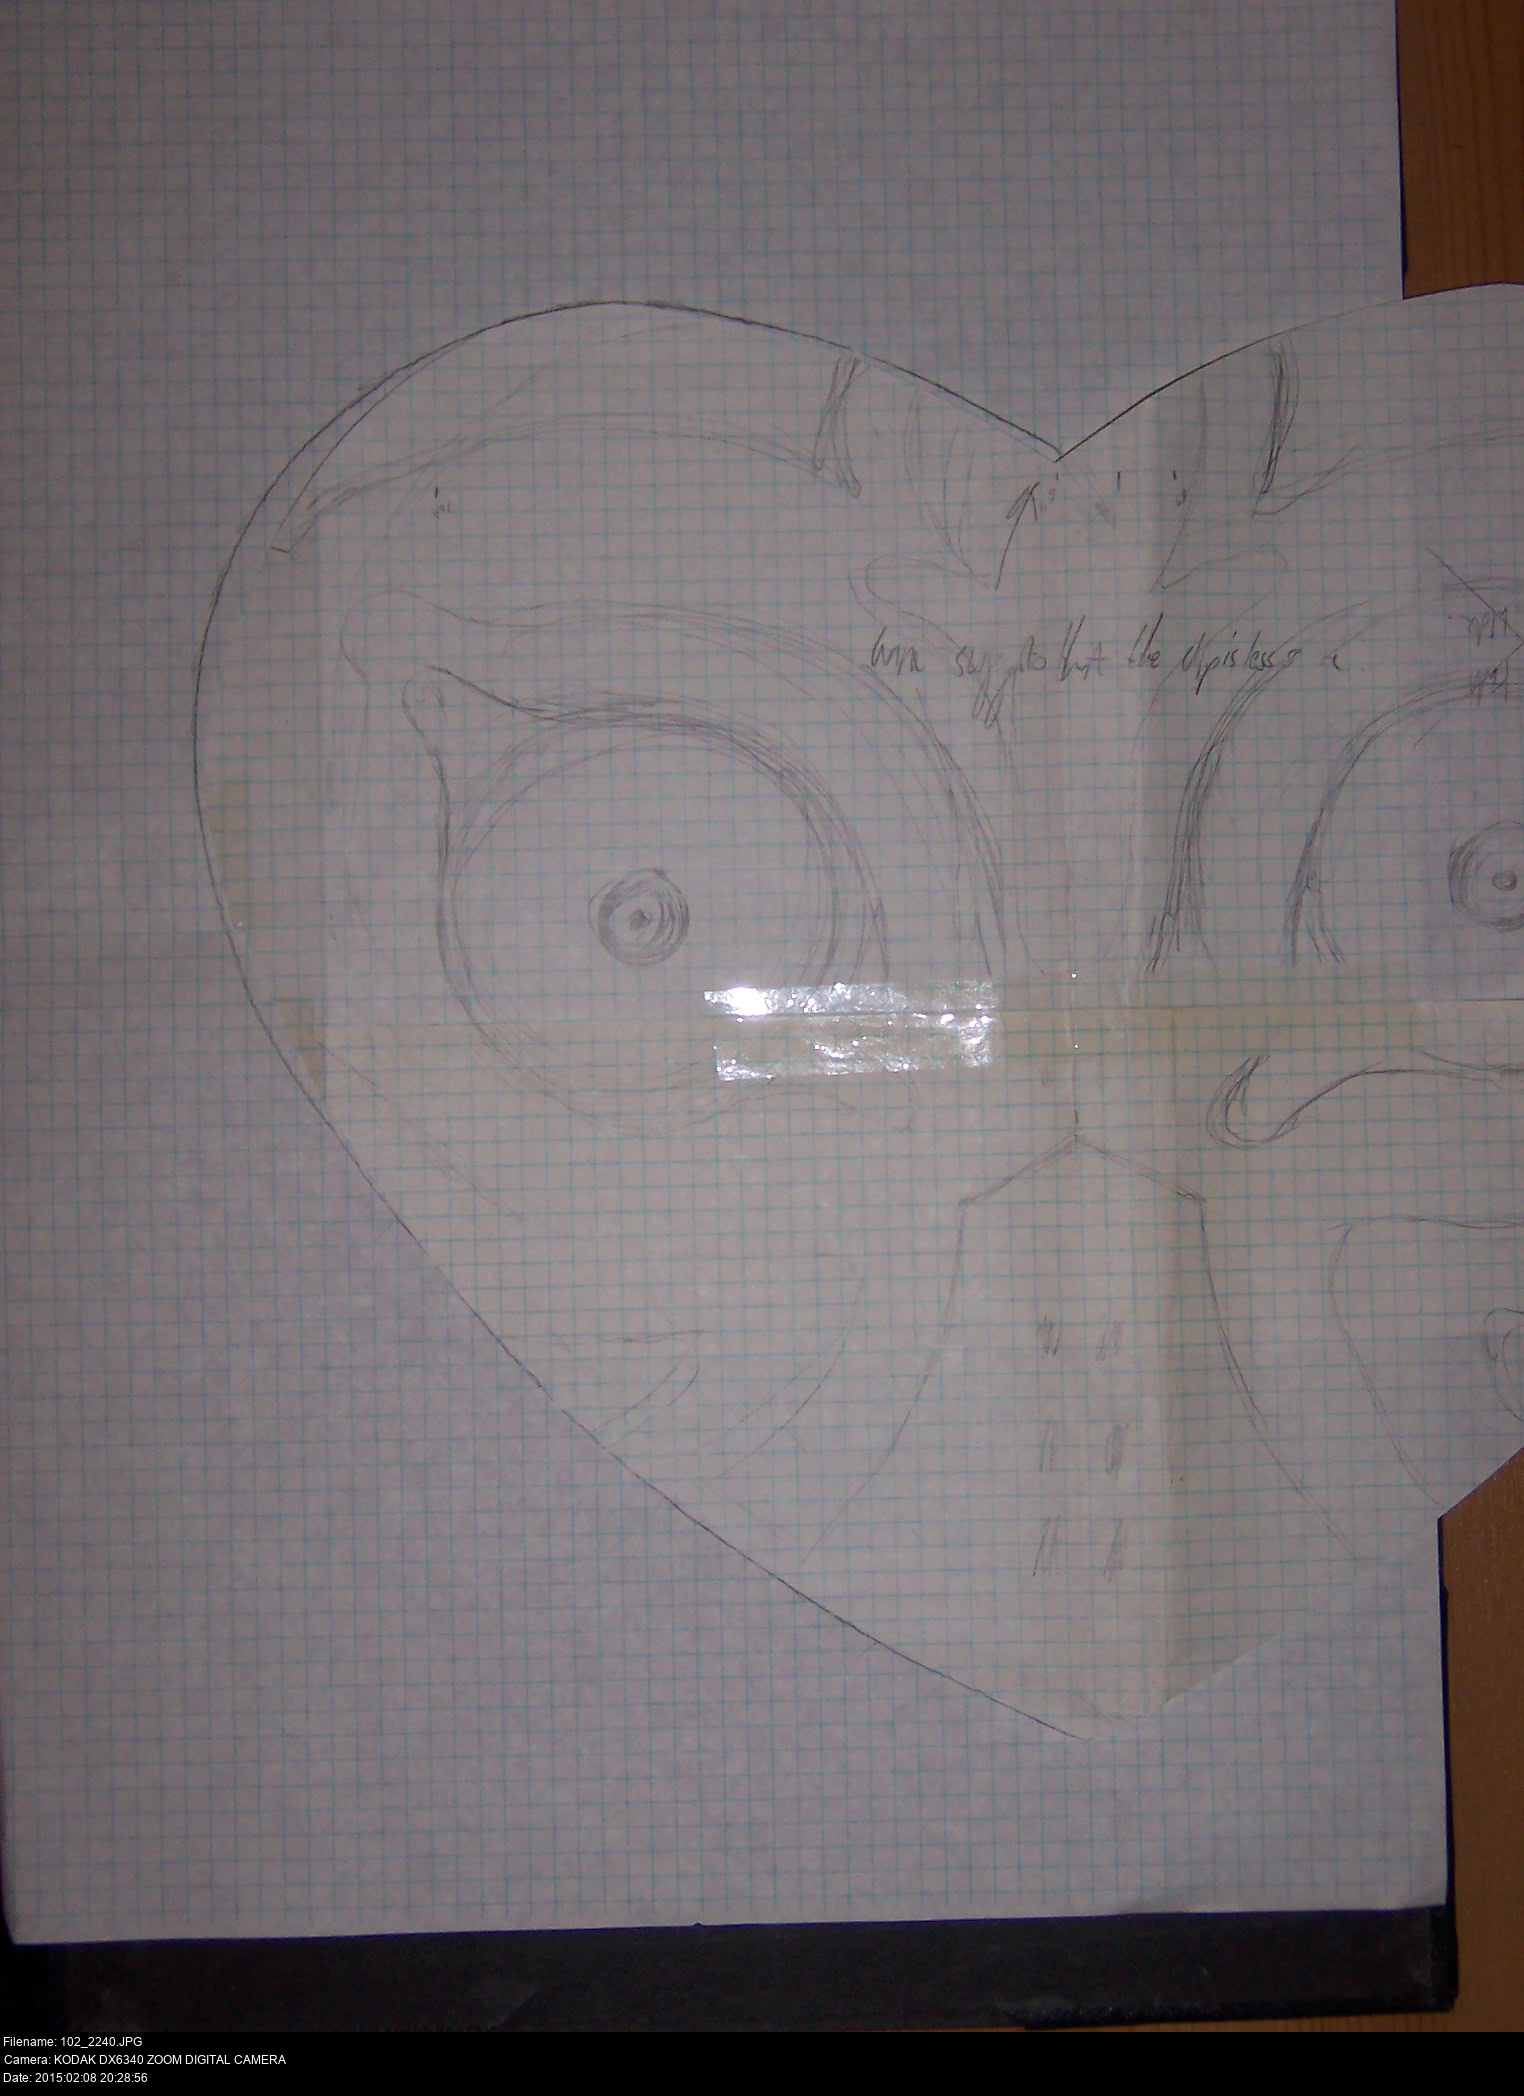
Here's the very first picture I drew of Skull Kid, listing all the things I needed to make and the rough proportions of them all.
I've decided to make a wearable mask that's large enough to cover my face entirely when worn. You can see that I want the cleft at the top of the mask to cover the top of my head, and the point at the bottom of the mask to cover my jaw.
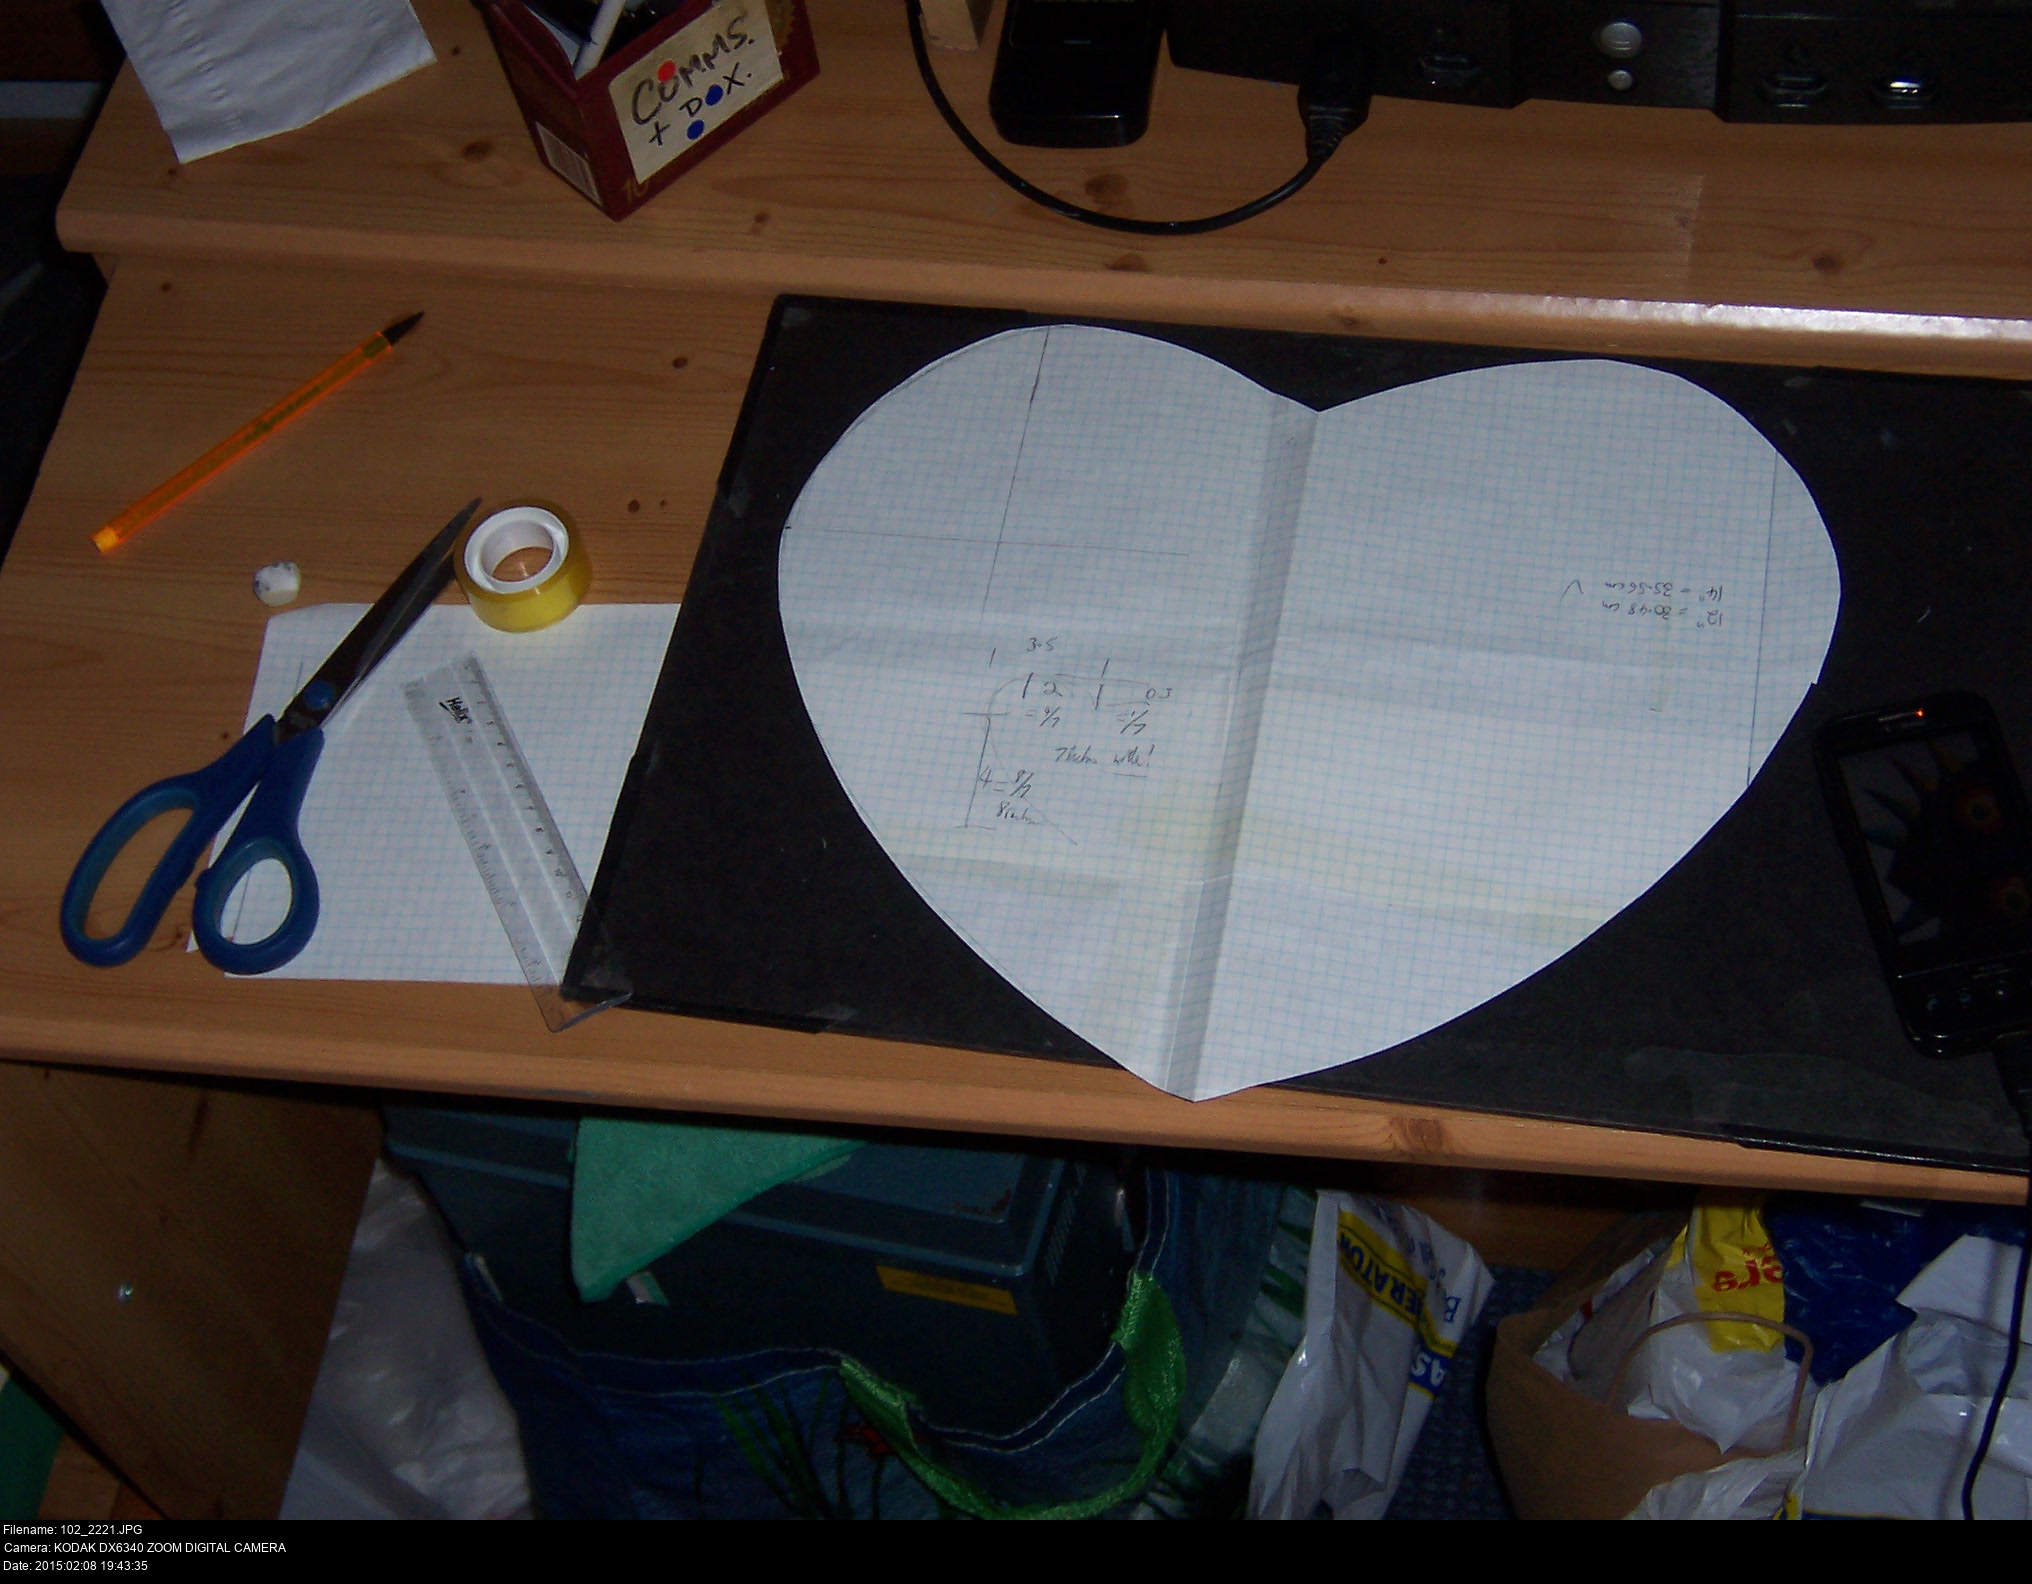


First, I've measured my head as best I can: width and height. Then I can try to draw, as neatly as I can, the outline of the mask, sketching all the details so I can hold it up and see if it would look reasonable. If that size doesn't work, I can just try another size and keep going until I've got it.


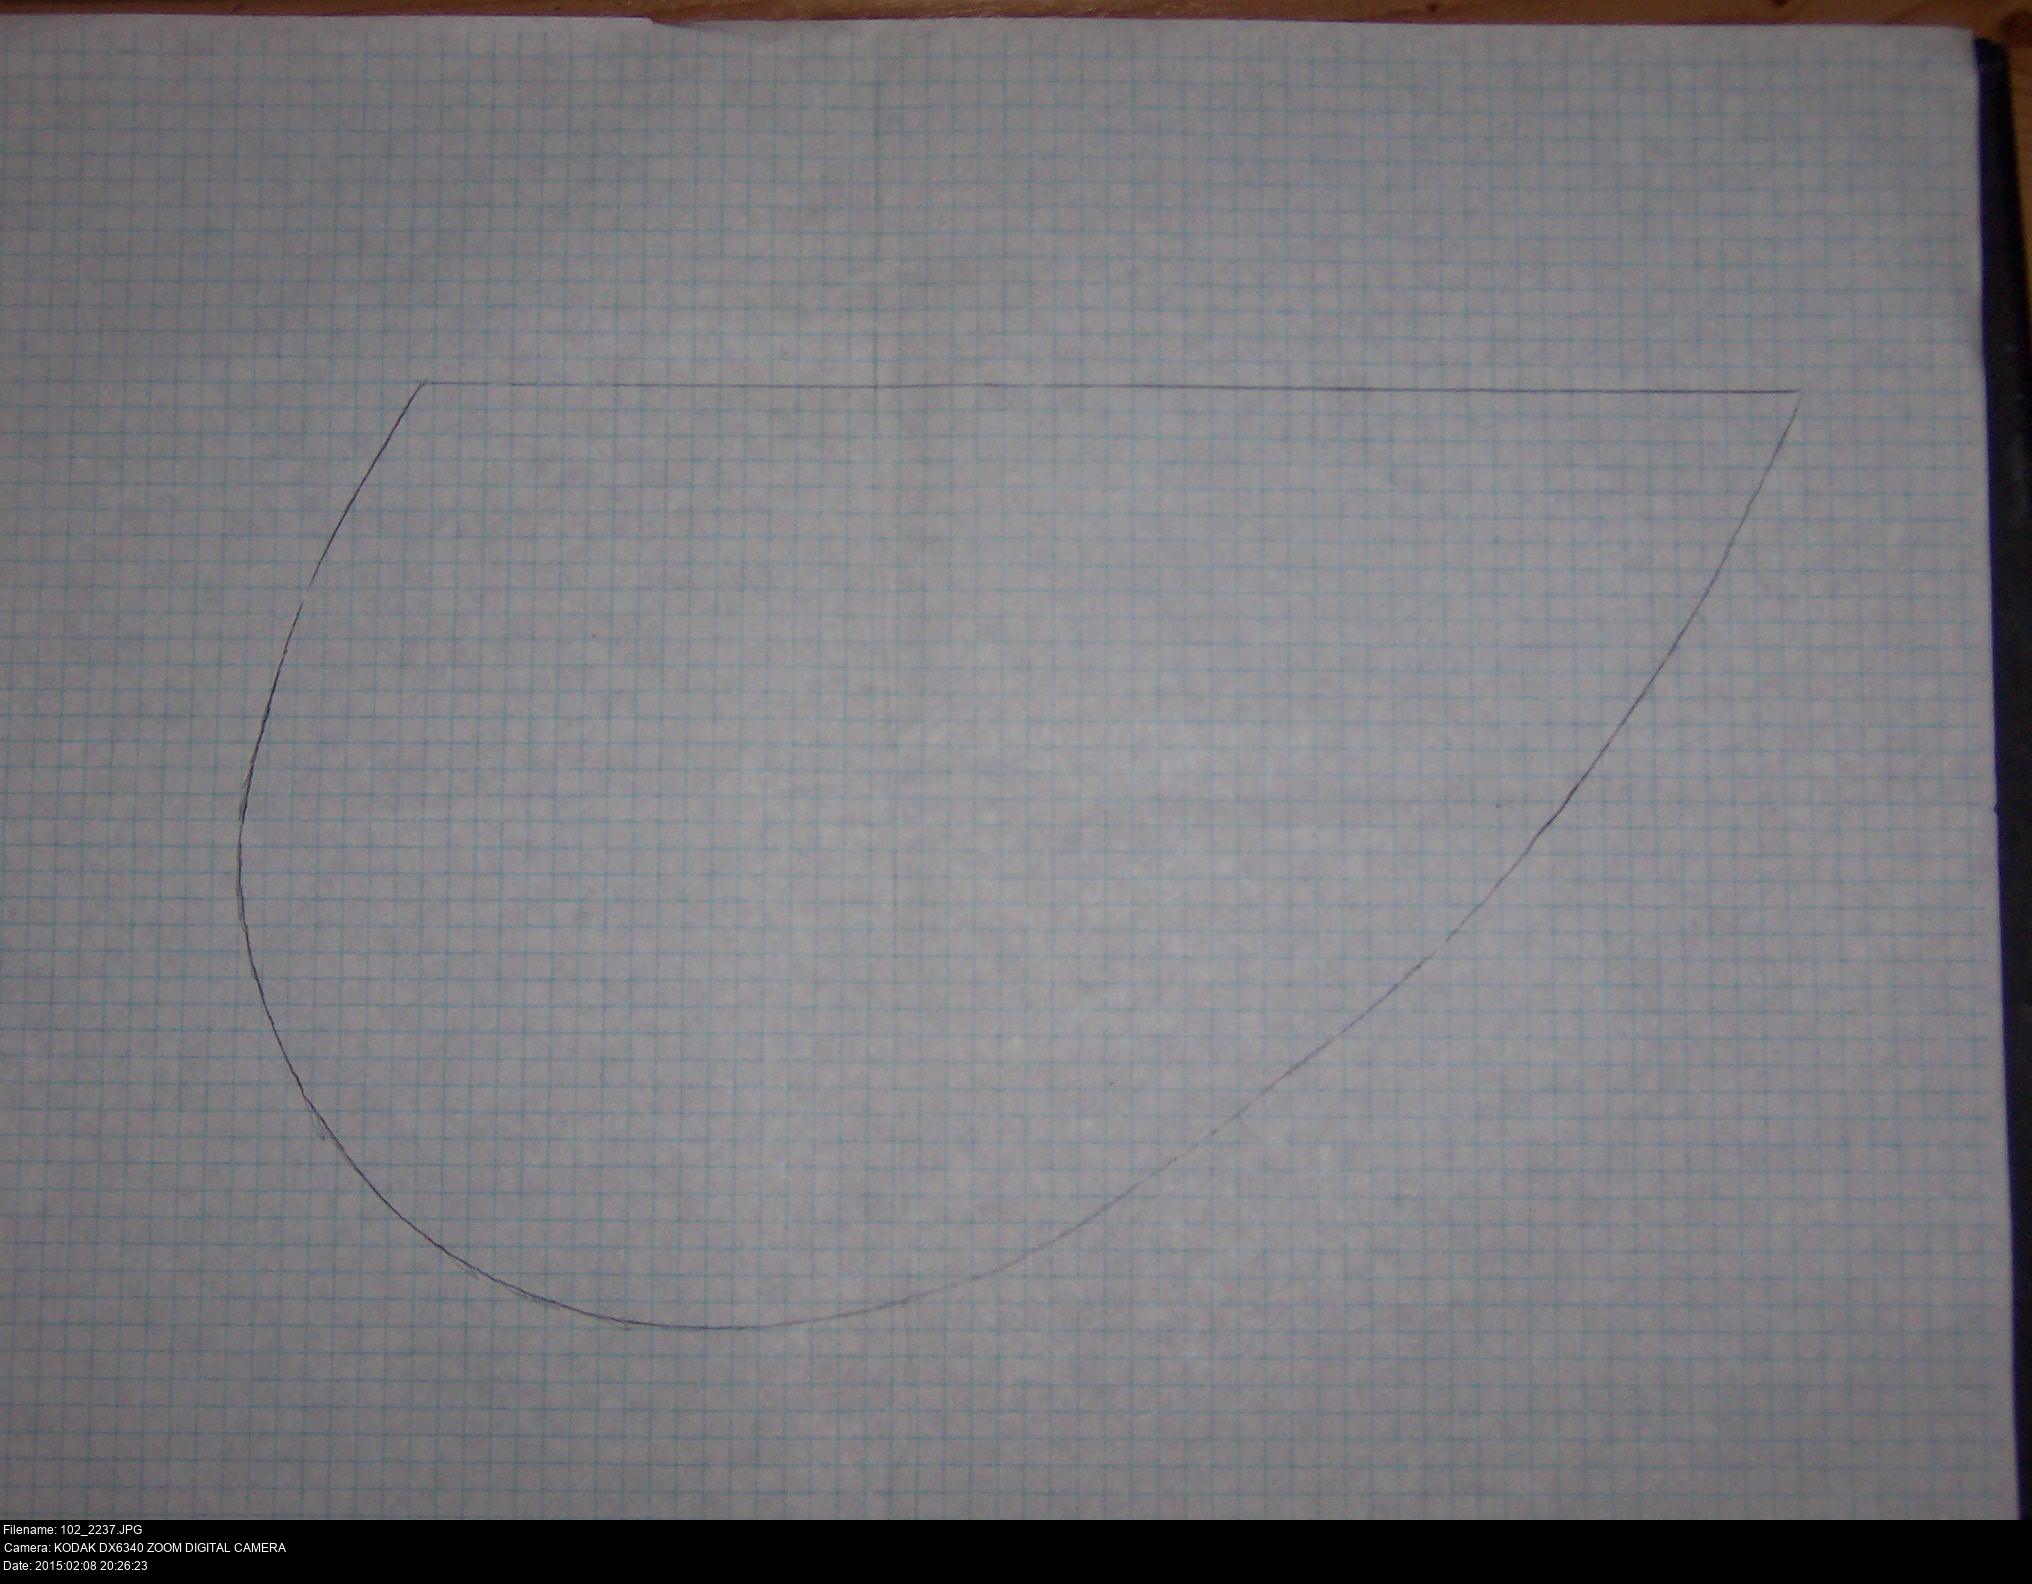
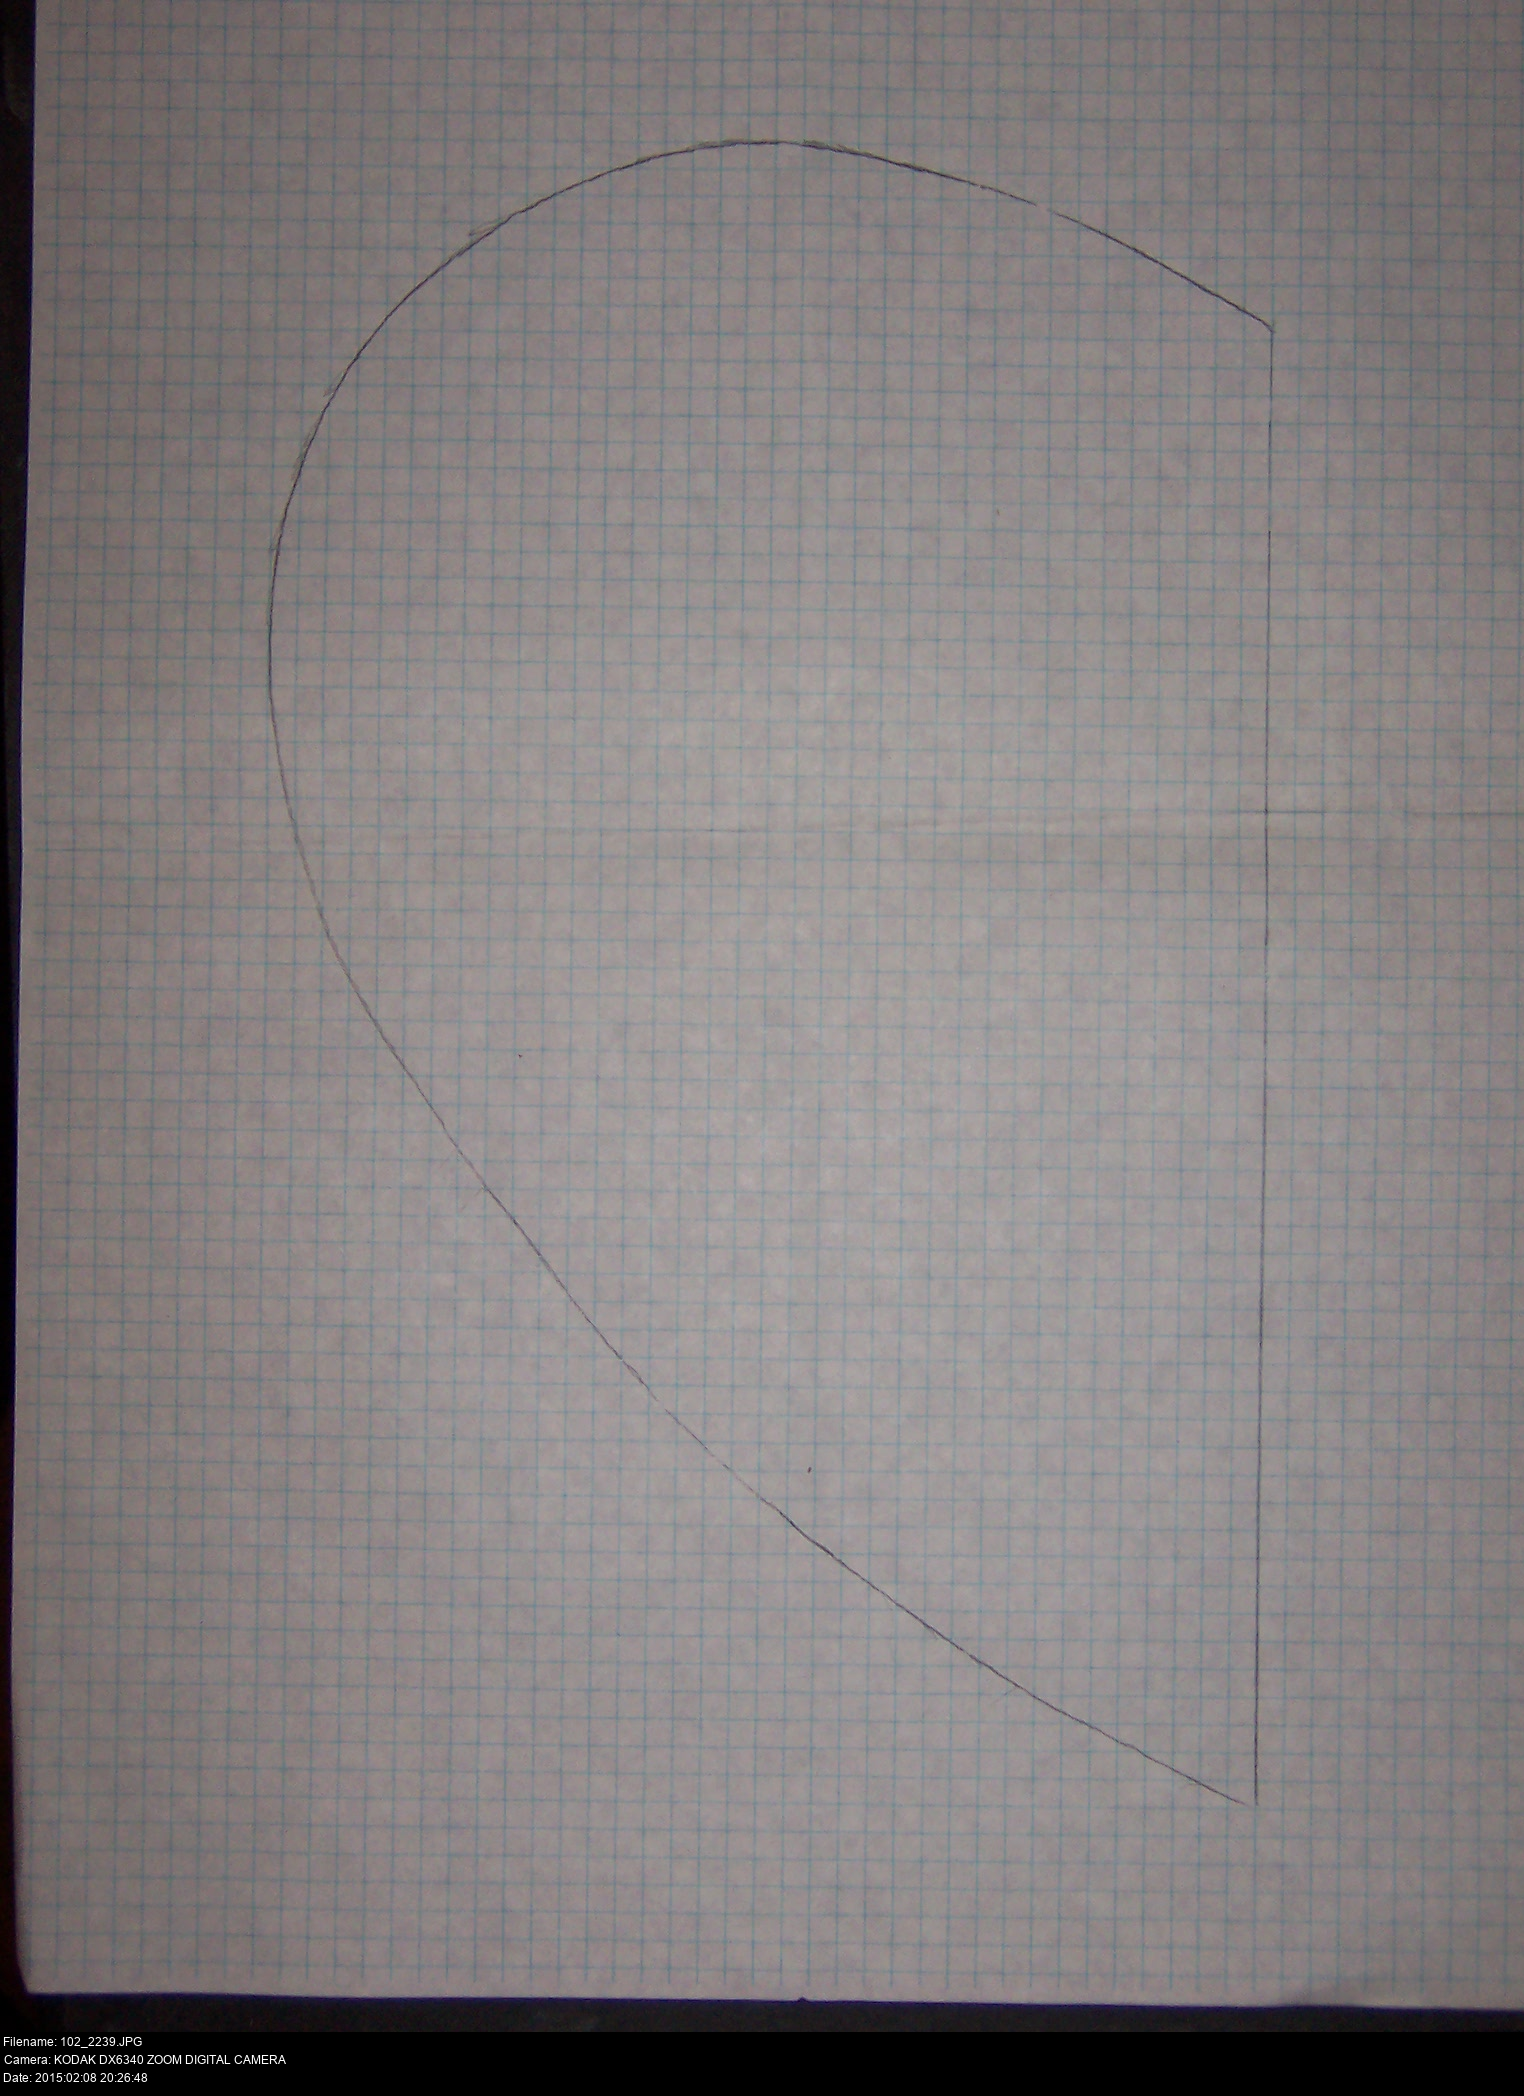
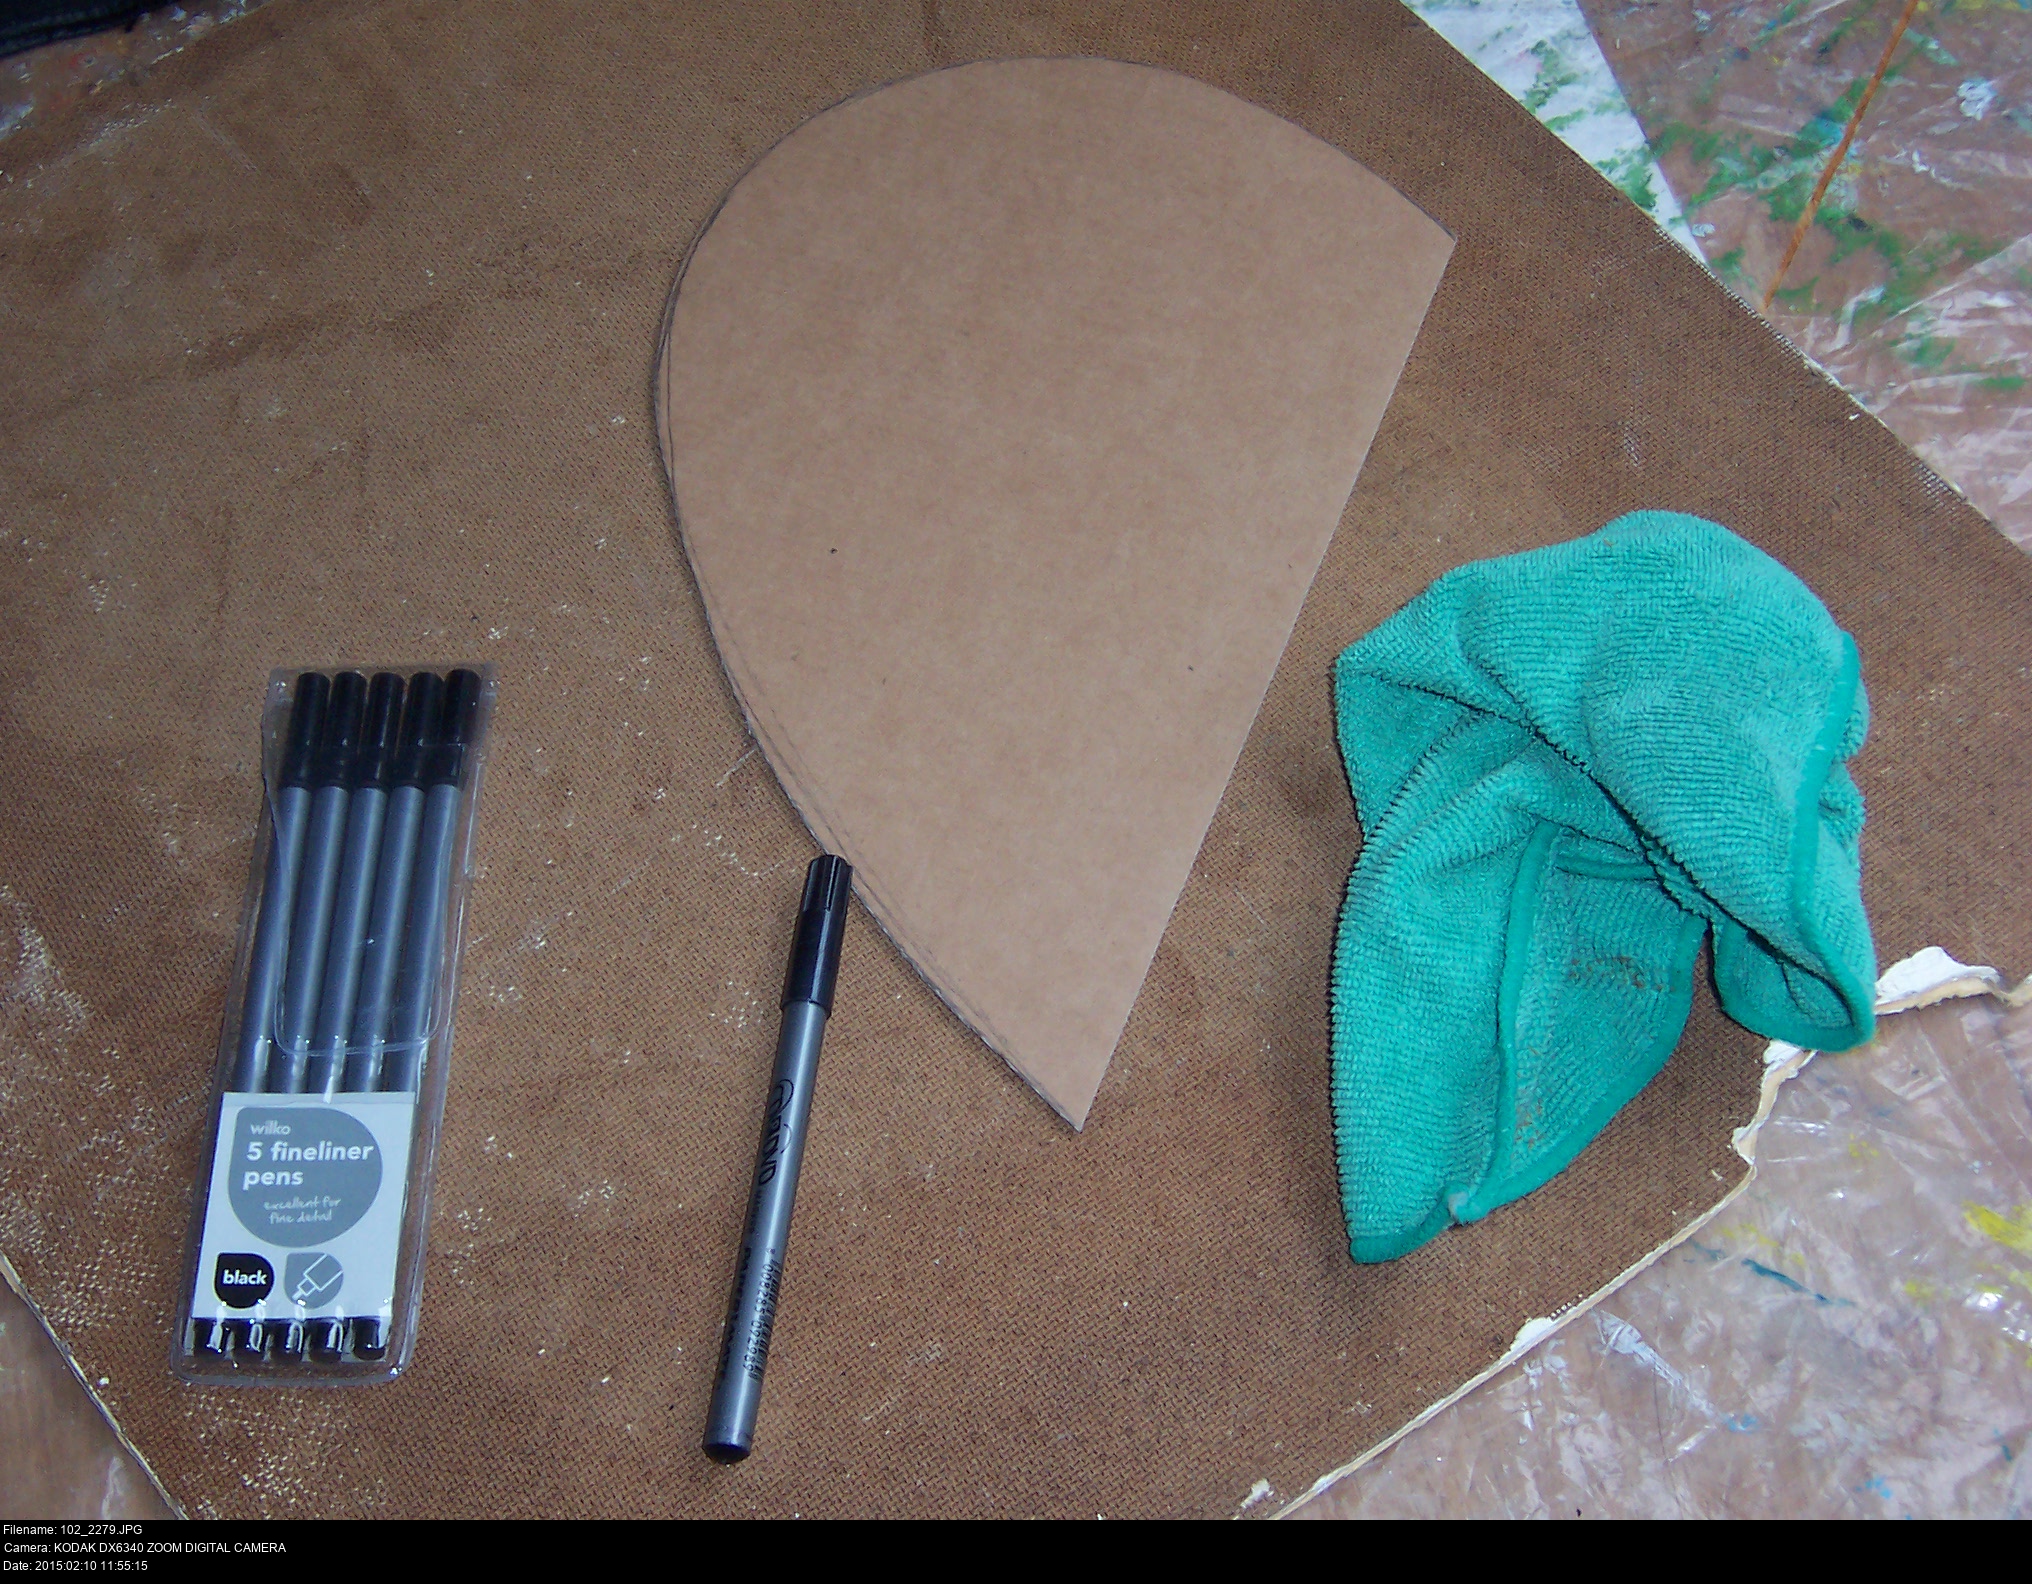
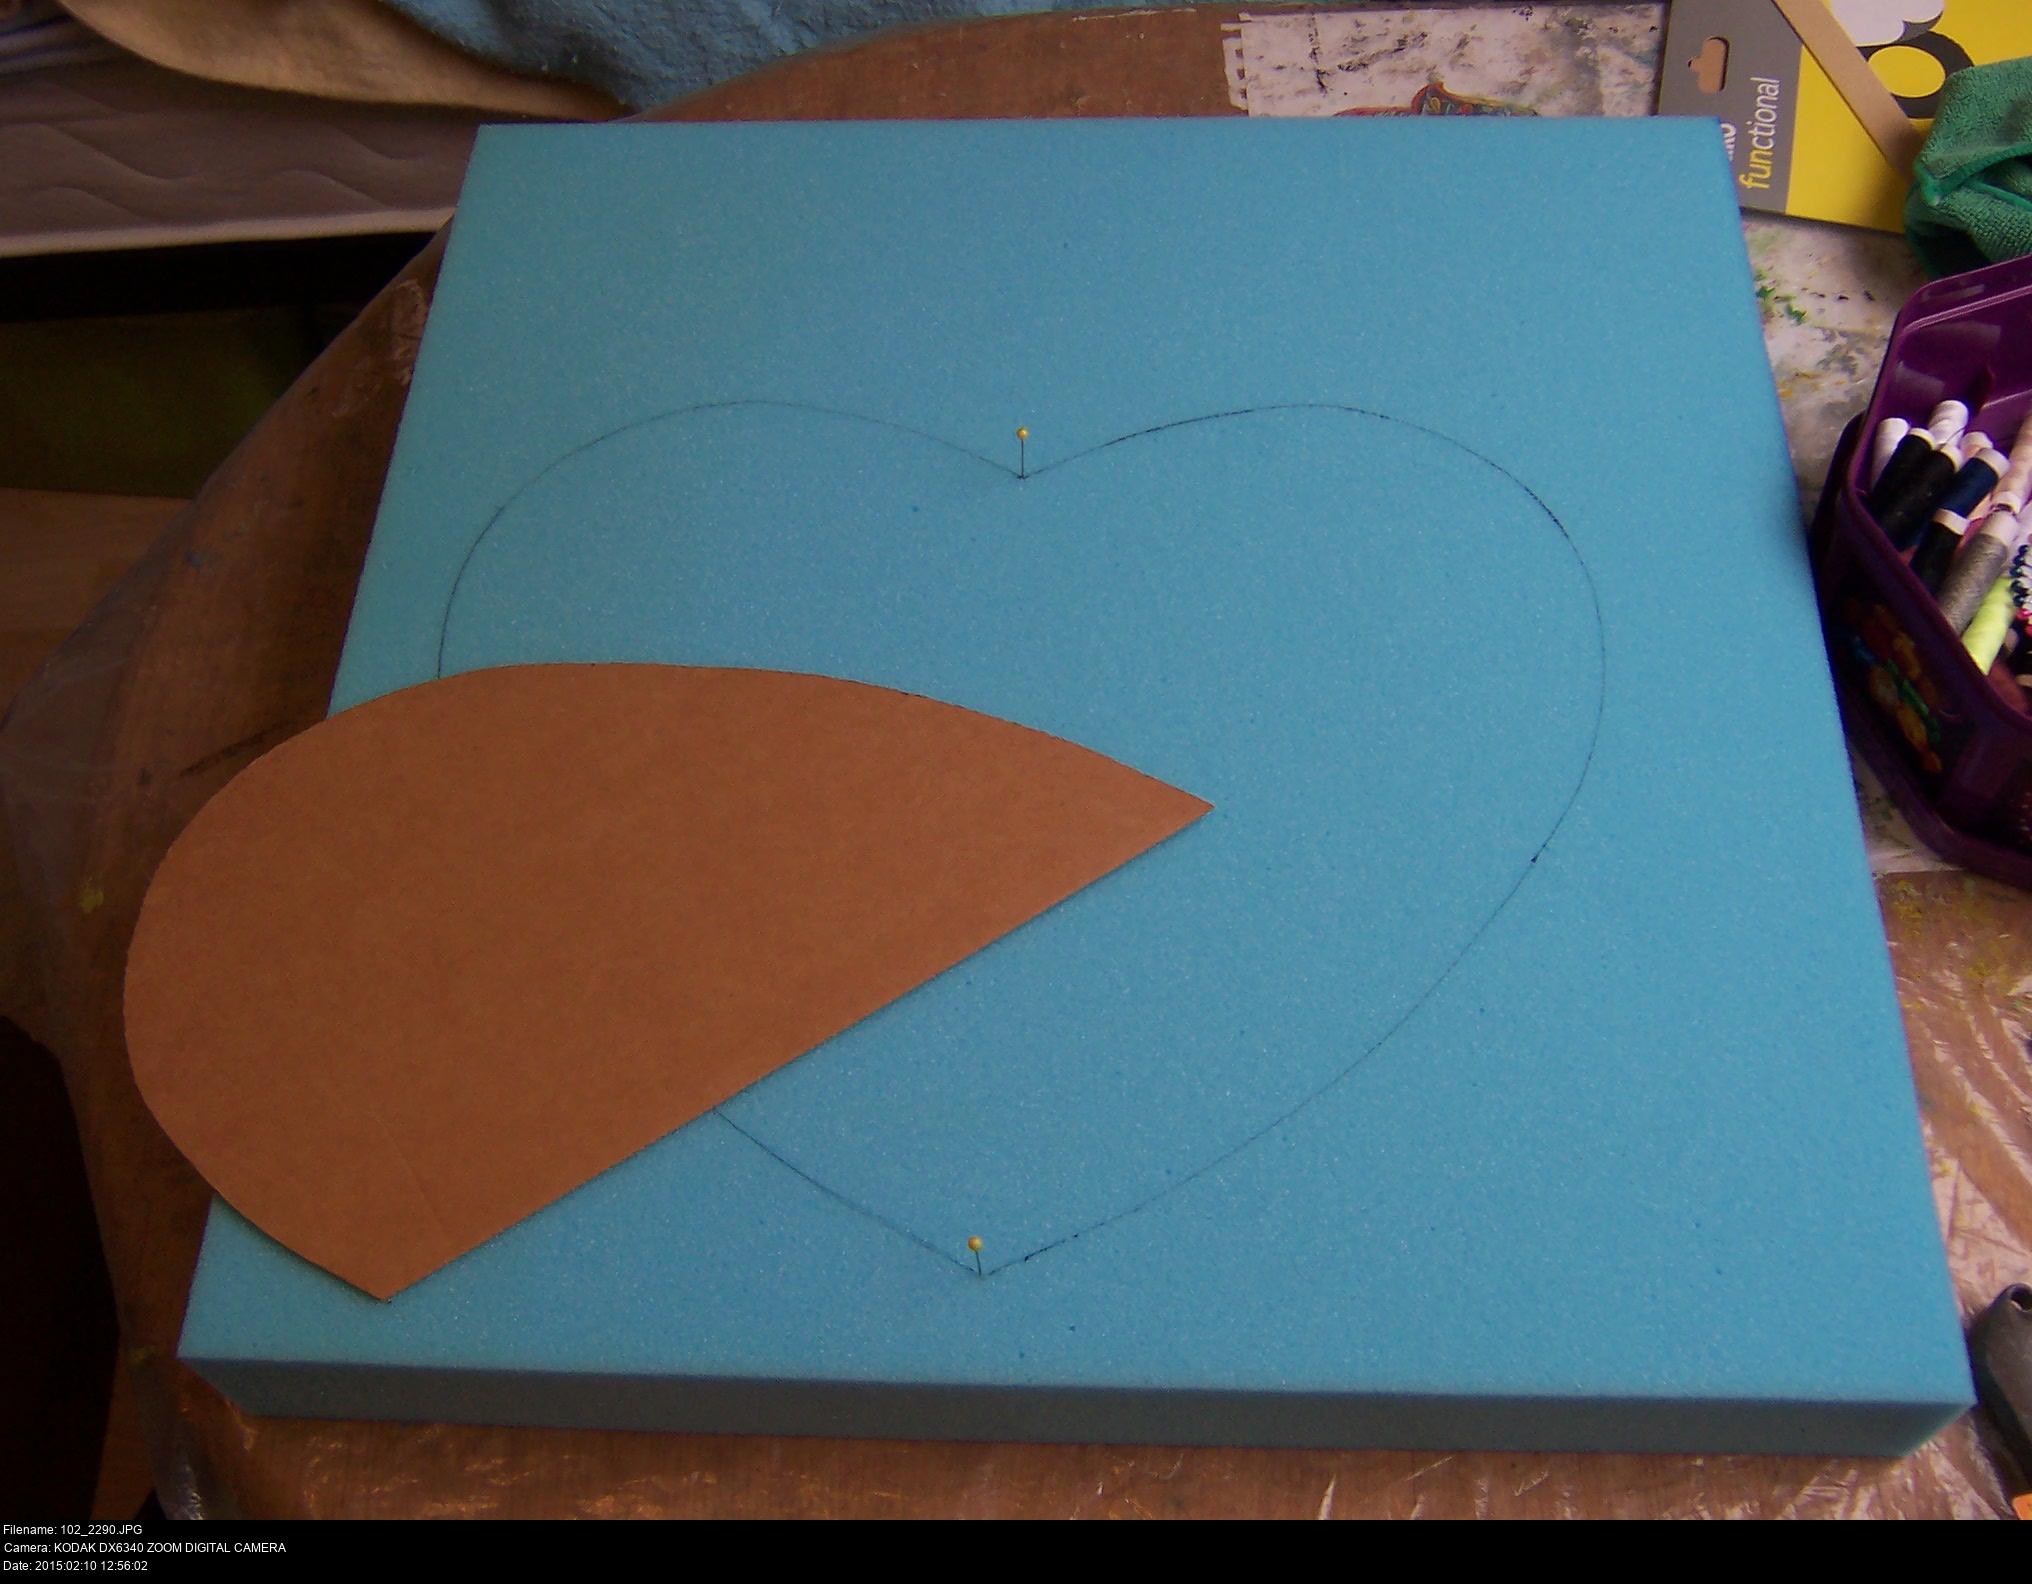
When I have the size how I like it, it's important to make a durable template to work from. It's like saving your progress: no matter how messed up your attempt gets, you can always go back to a good template and start working from there again. My template is going to be one half of the mask traced onto some stiff, thick card. For a symmetrical item, it's very useful to only make a template for half of it and flip it over when you're creating a full item of it to ensure the final thing is completely symmetrical.
Working on squared paper is also useful since it makes measuring distances easier. Also if you take a picture of your work on squared paper (or at least beside a ruler), you can readily recall the scale of your work, just in case you have to go all the way back and start working from your pictures again.
Now I have template which I can use to draw symmetrical heart shapes. But what am I actually going to use to make the mask?
My idea was going to be papier mache: make a durable form, then apply newspaper and PVA glue strips to it, building it up layer by layer until it was thick enough to lift from the form and wear as a mask.
My sister suggested another way: modroc. Modroc is another name for plaster of paris infused bandages. You cut them into small strips, immerse them in warm water to get the plaster to dissolve, then apply them to a form. They dry very quickly and solidify in the shape of the form. Layers of modroc will merge into one another, the powder turning into a thick paste that oozes between the layers under your touch.
Which way am I going to use? That's a trick question, because I'm going to do -both-.

Here's what I'm going to use to make the form:
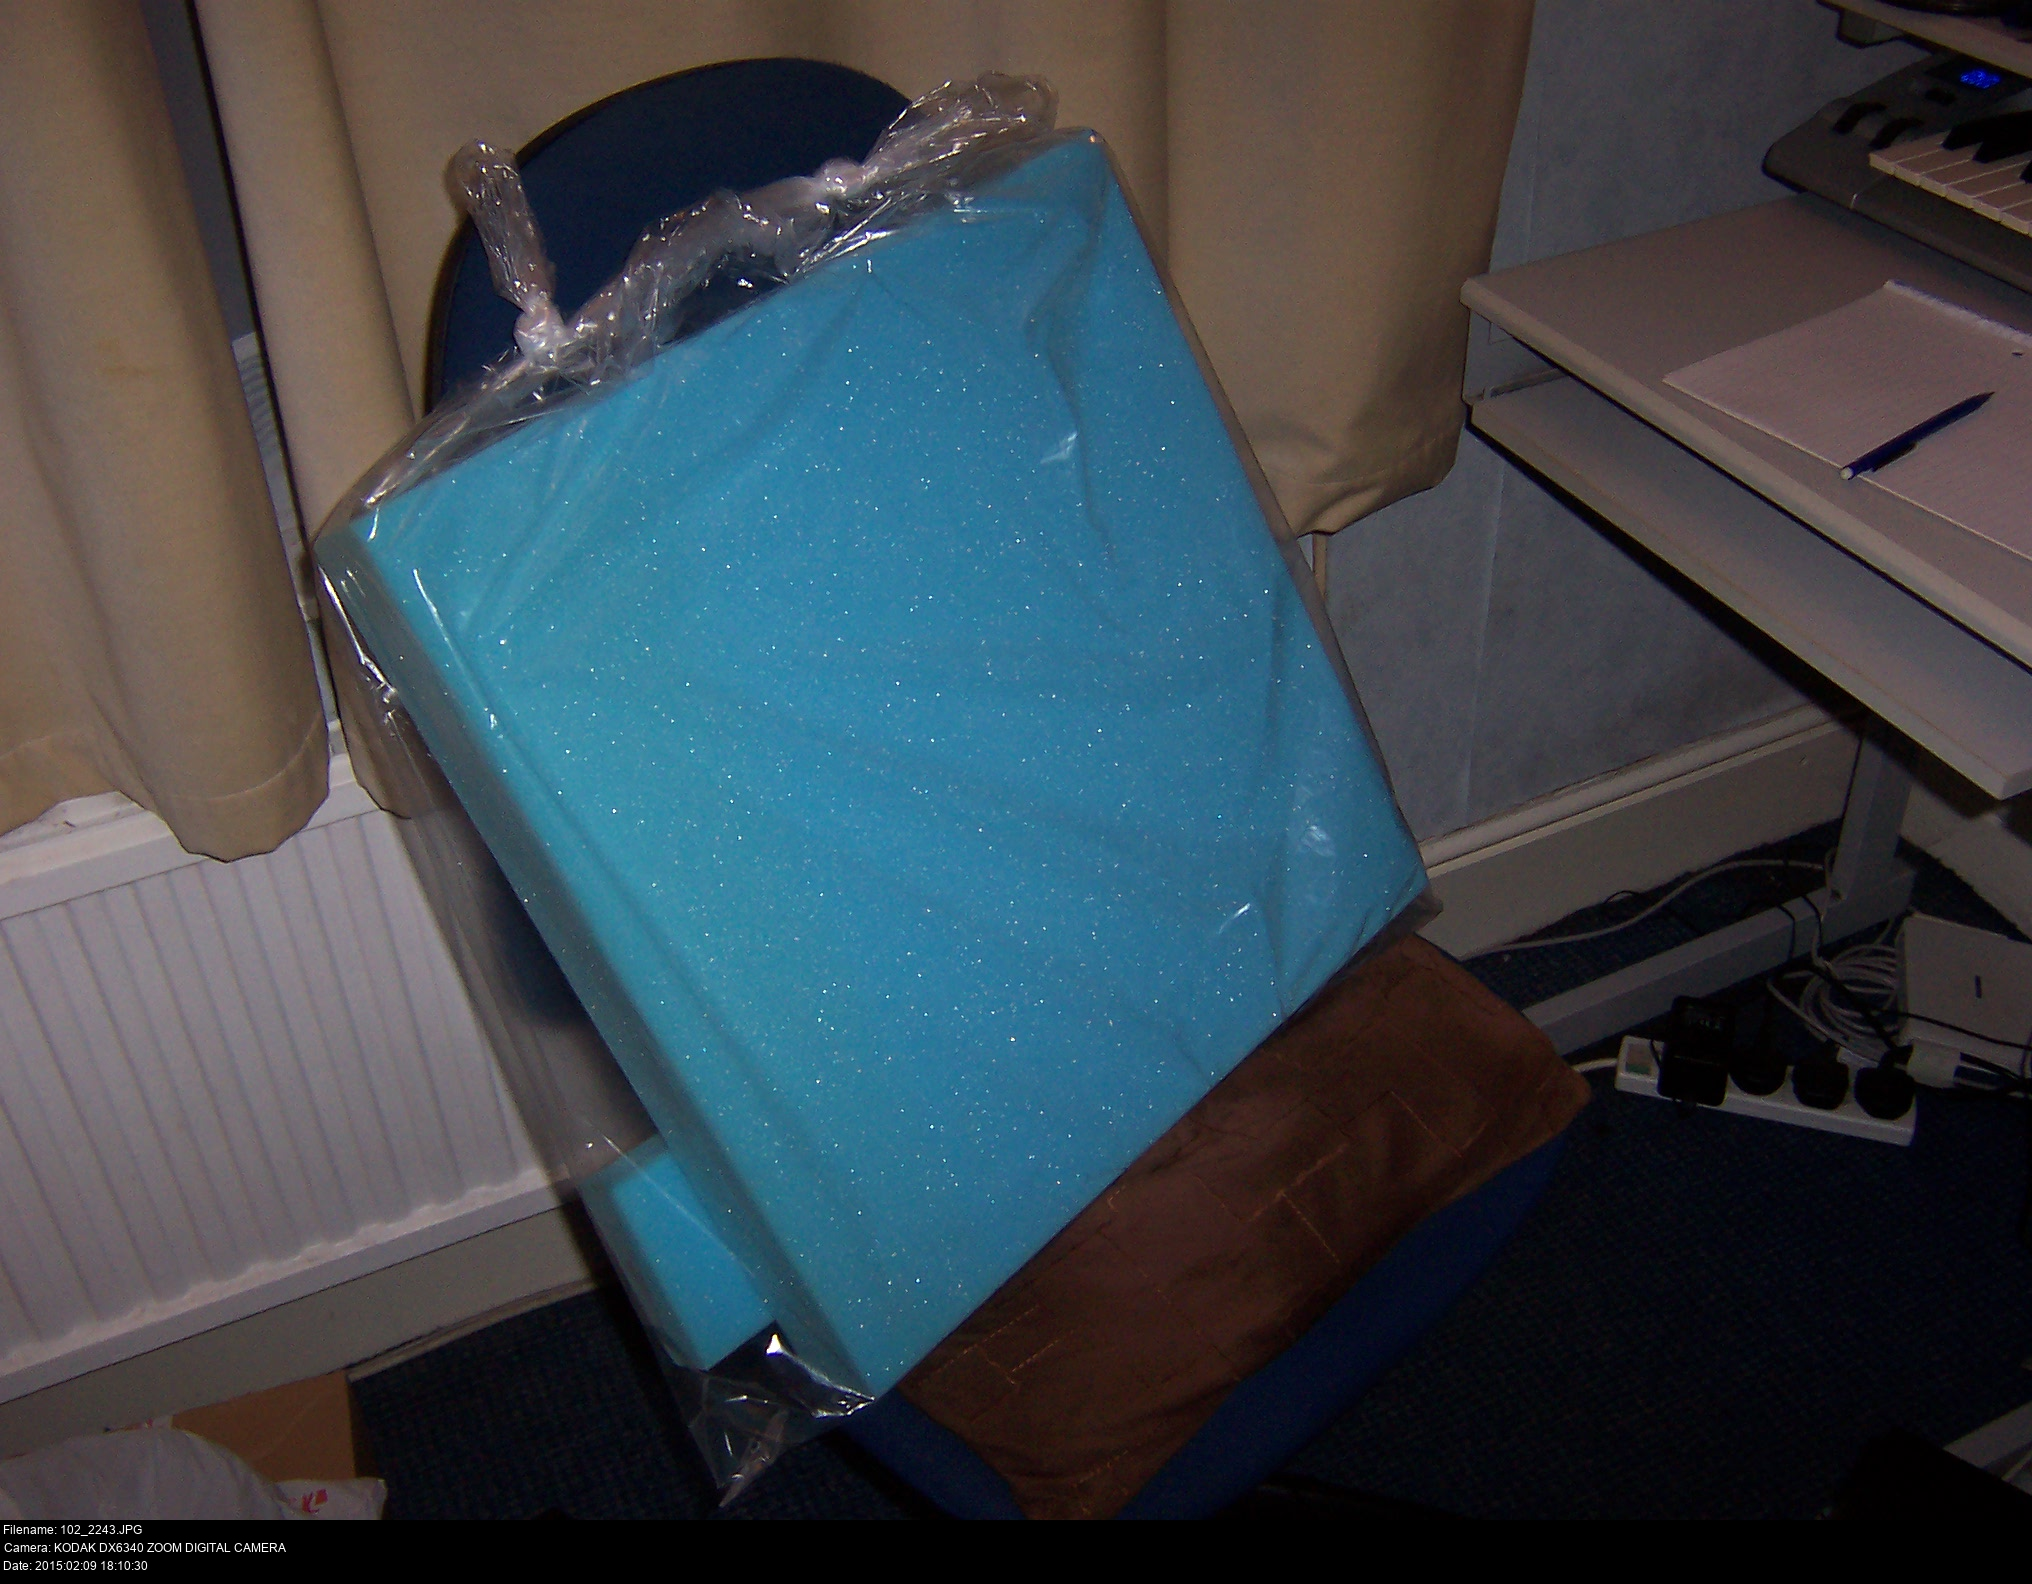
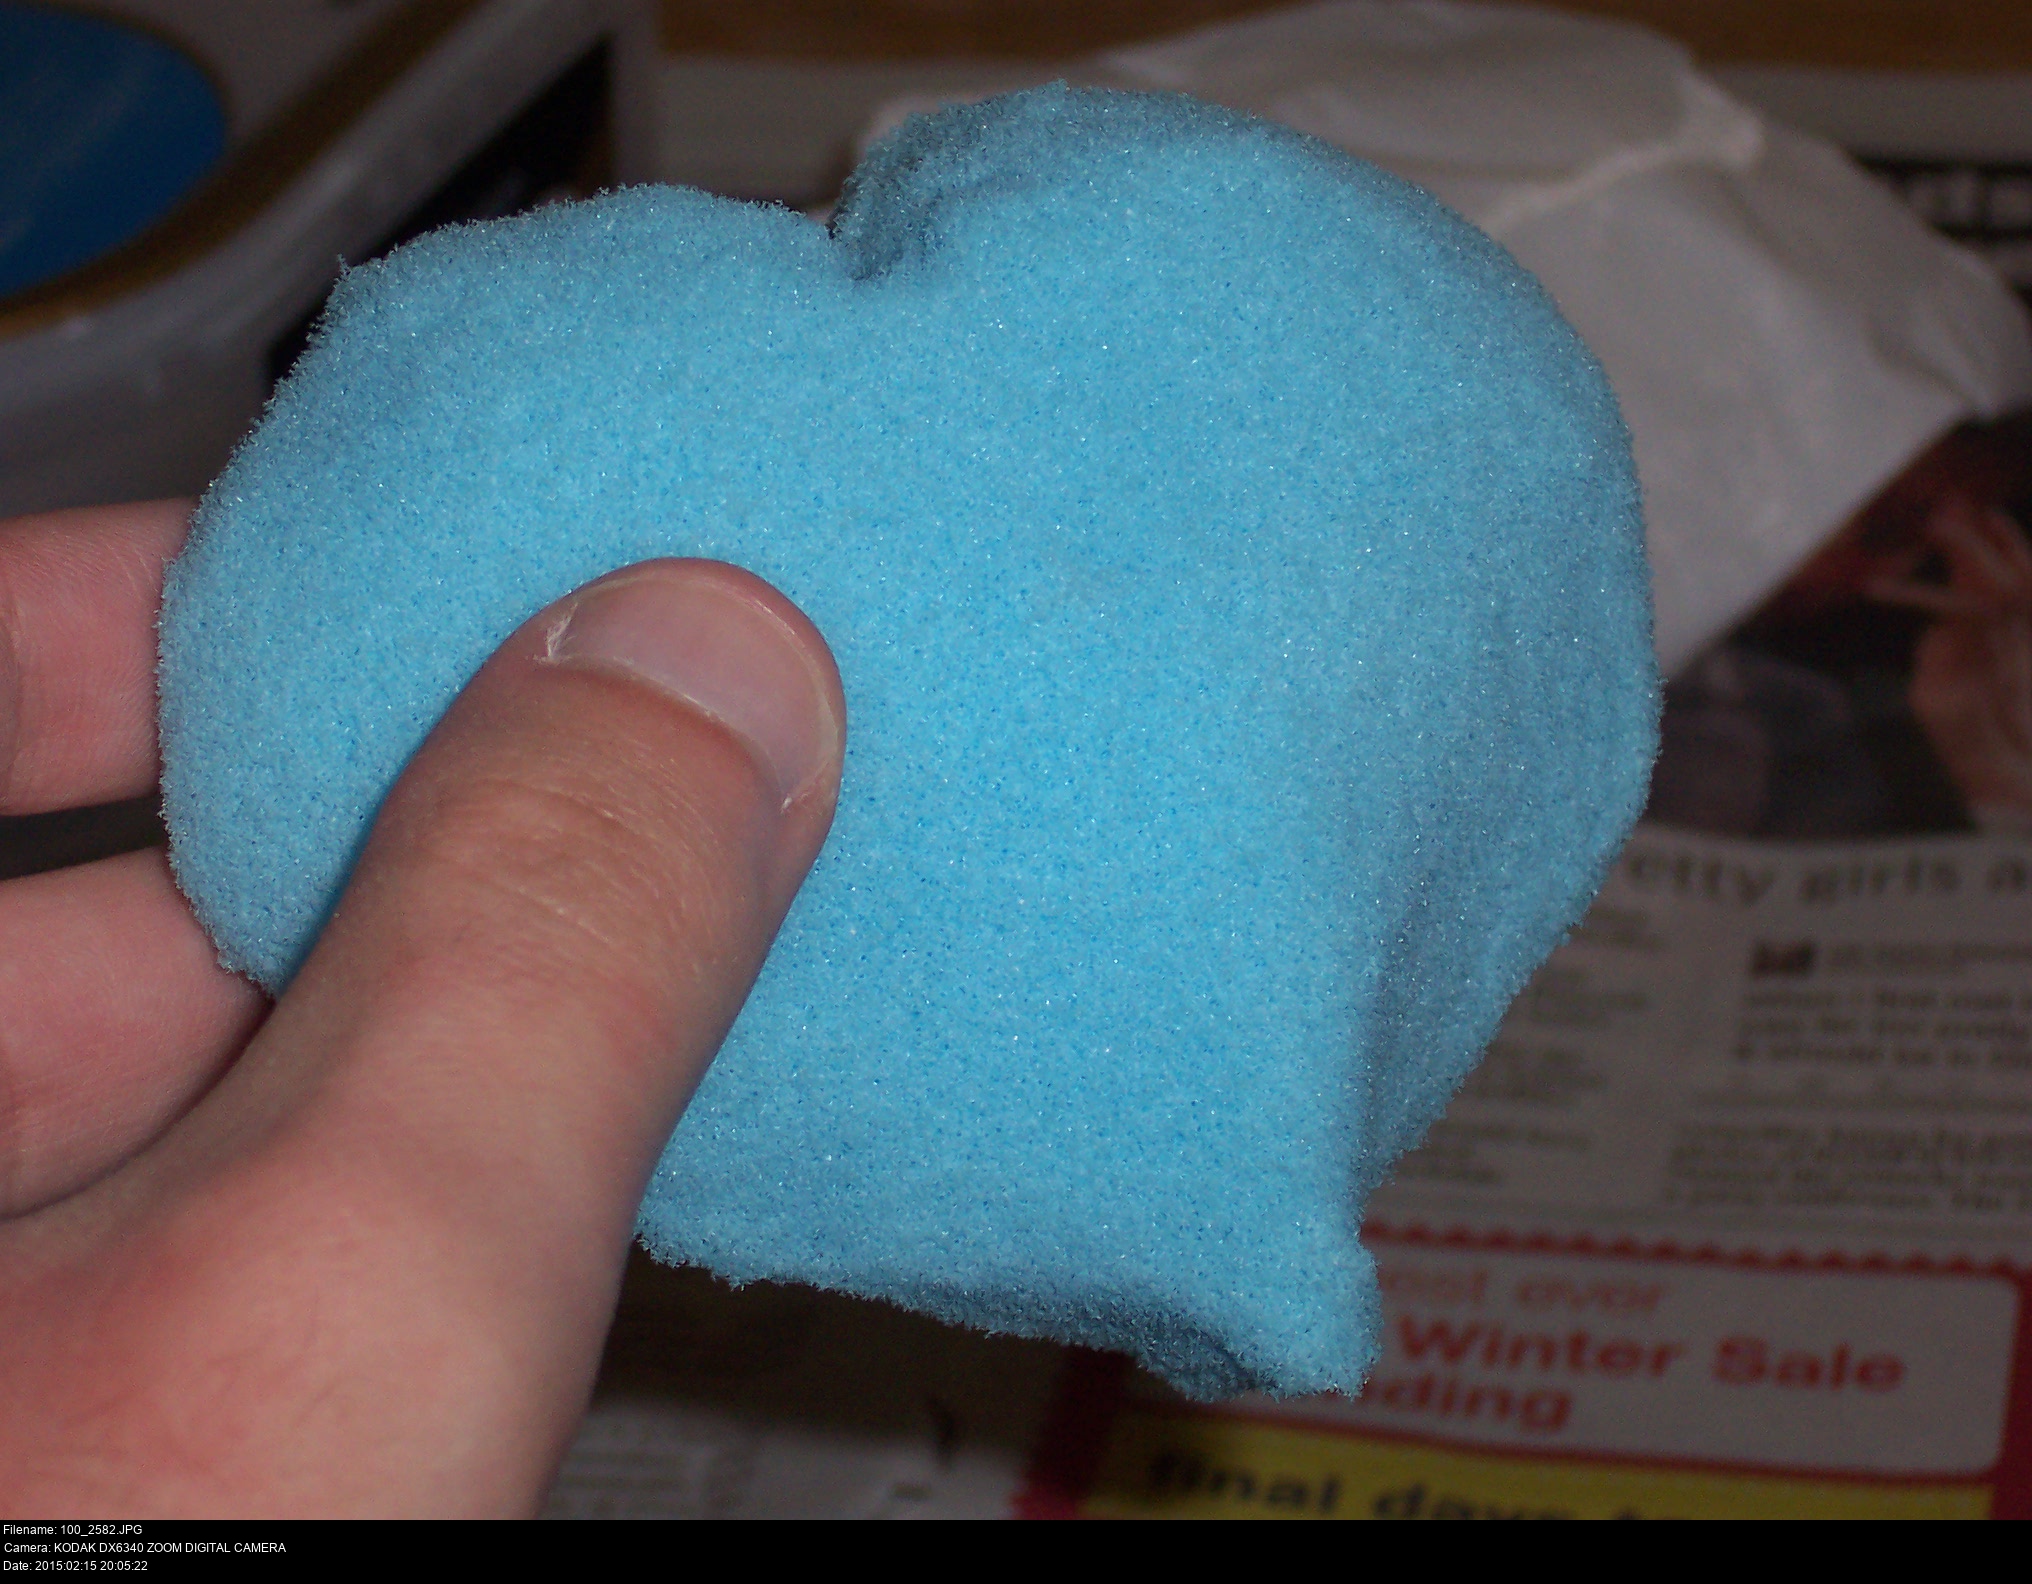
Blue upholstery foam from Coleman's in Birkenhead Market. This is ordinary furniture foam that you might make a seat from. It's durable and firm yet spongy. (Incidentally, also a useful foam for making fursuit heads and costume accessories. Anything that needs to be squishy but hardwearing.)
Sandpaper. Majora's Mask is smooth, so my form has to be smooth too, and that means either laborious, error-prone, intricate cutting or laborious, error-prone, intricate sandpapering. Expect both.
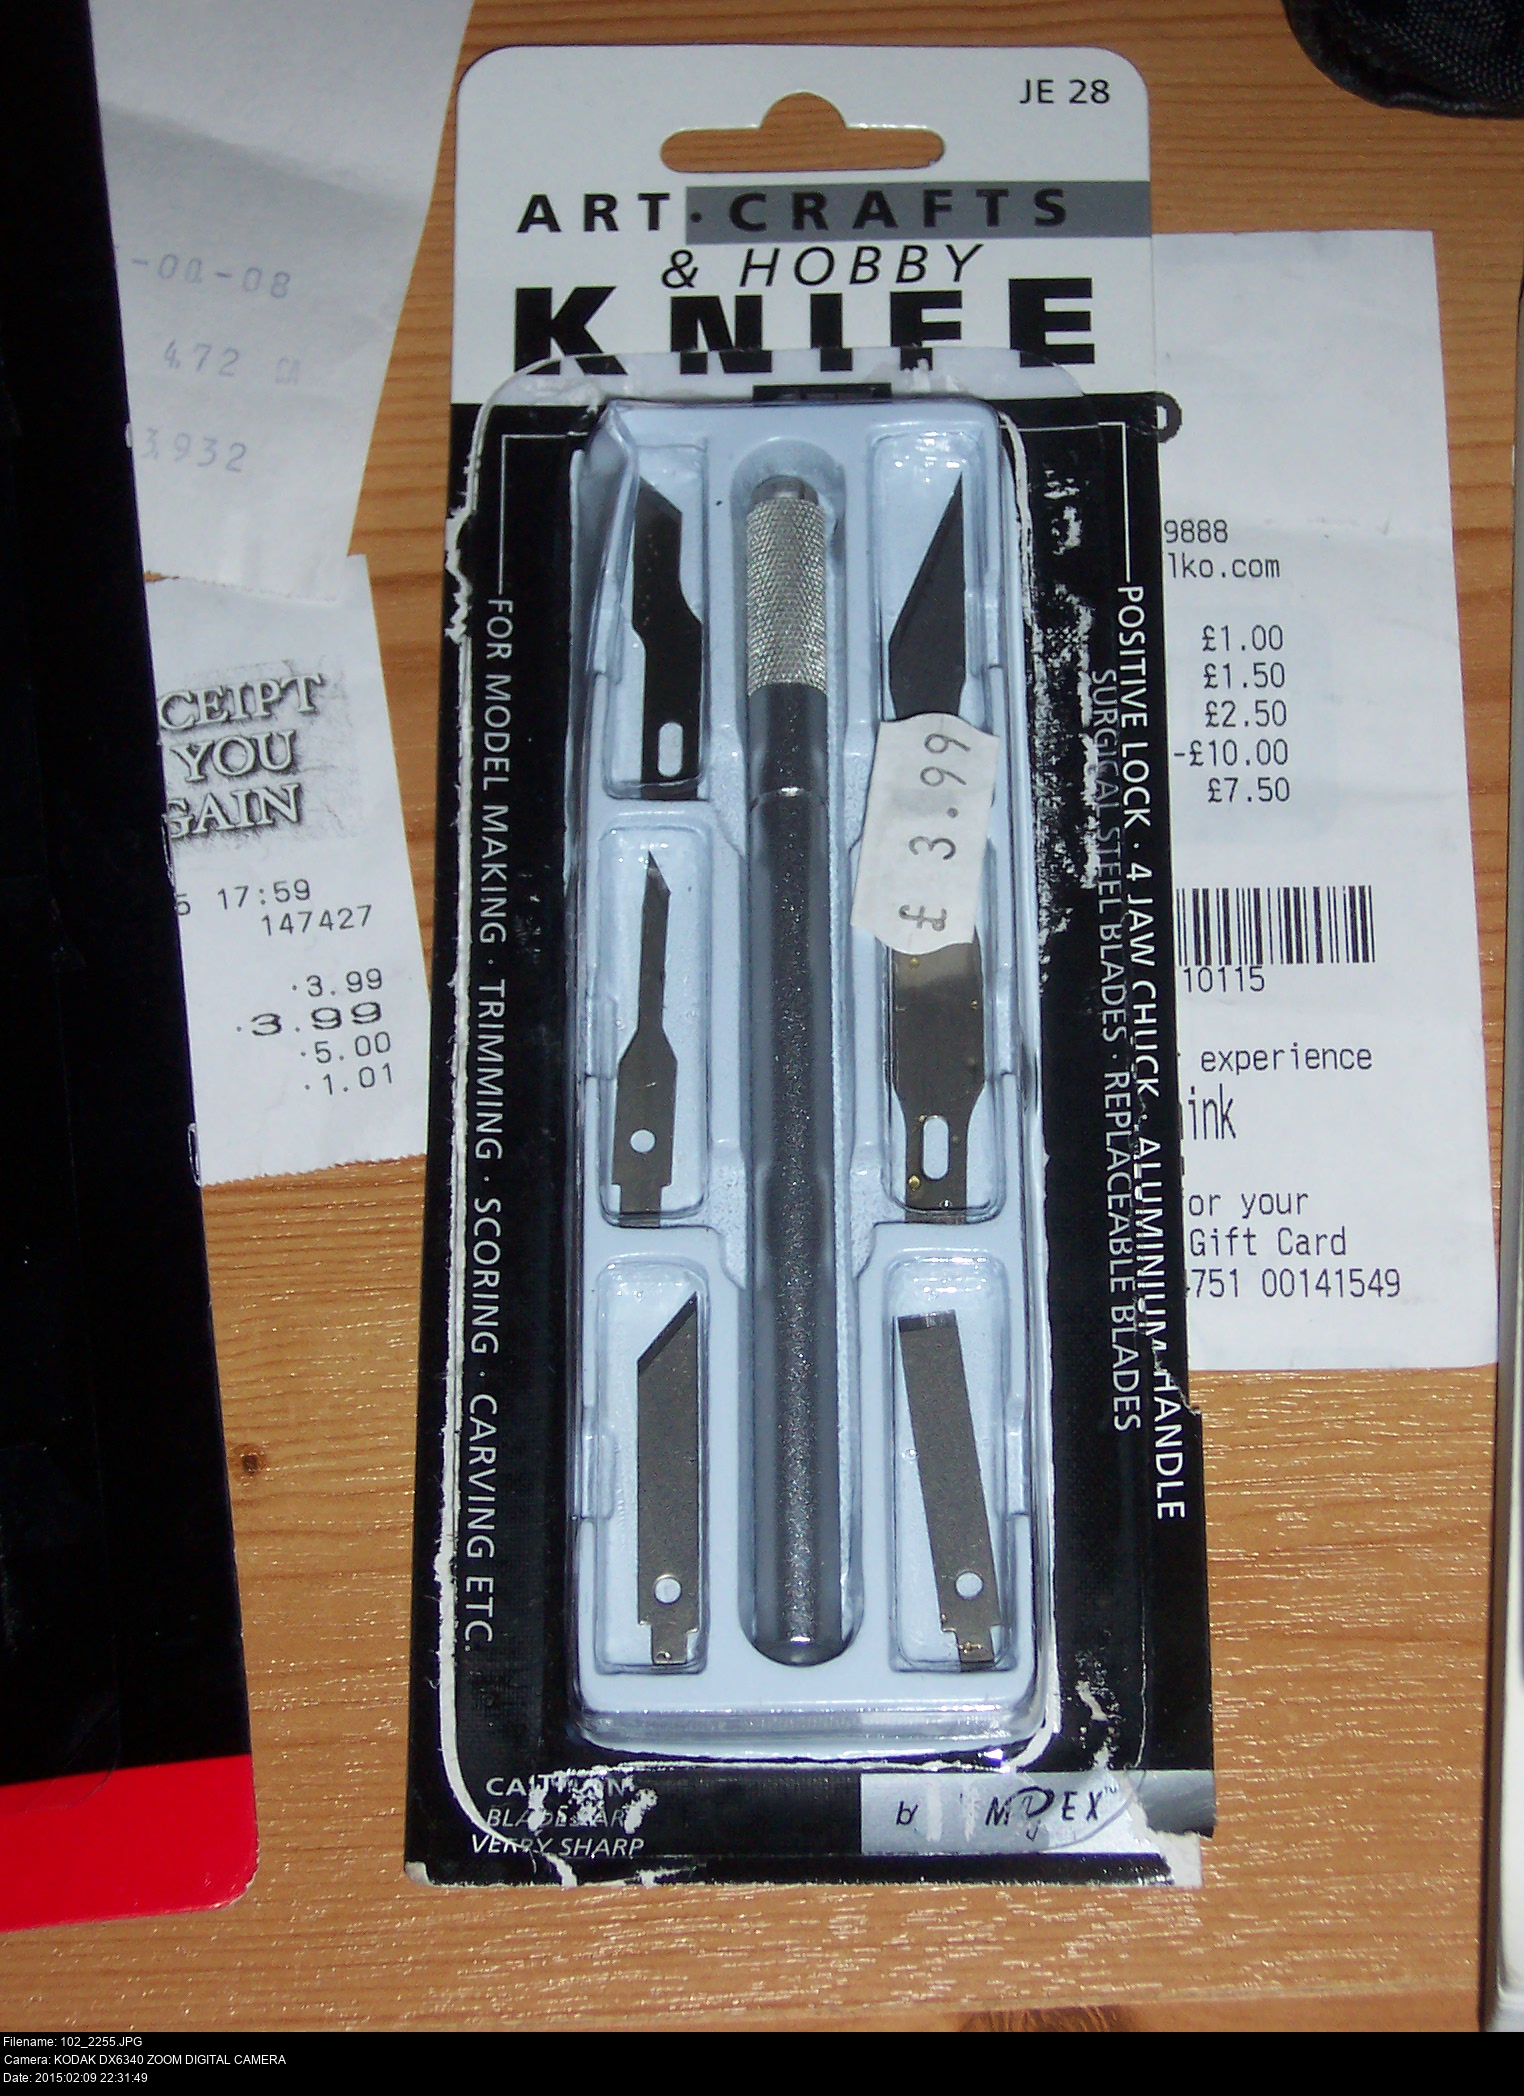
A hobby knife that cost kind of too much from my local craft store.


Always buy a little extra to try things with. I'm going to carve a little of this block of foam into a miniature Majora's Mask and try the papier mache method on it.
Newspaper!
PVA glue!
Foam and craft knife!
Water!
Rating: it's boring as hell and messy and I hate it.


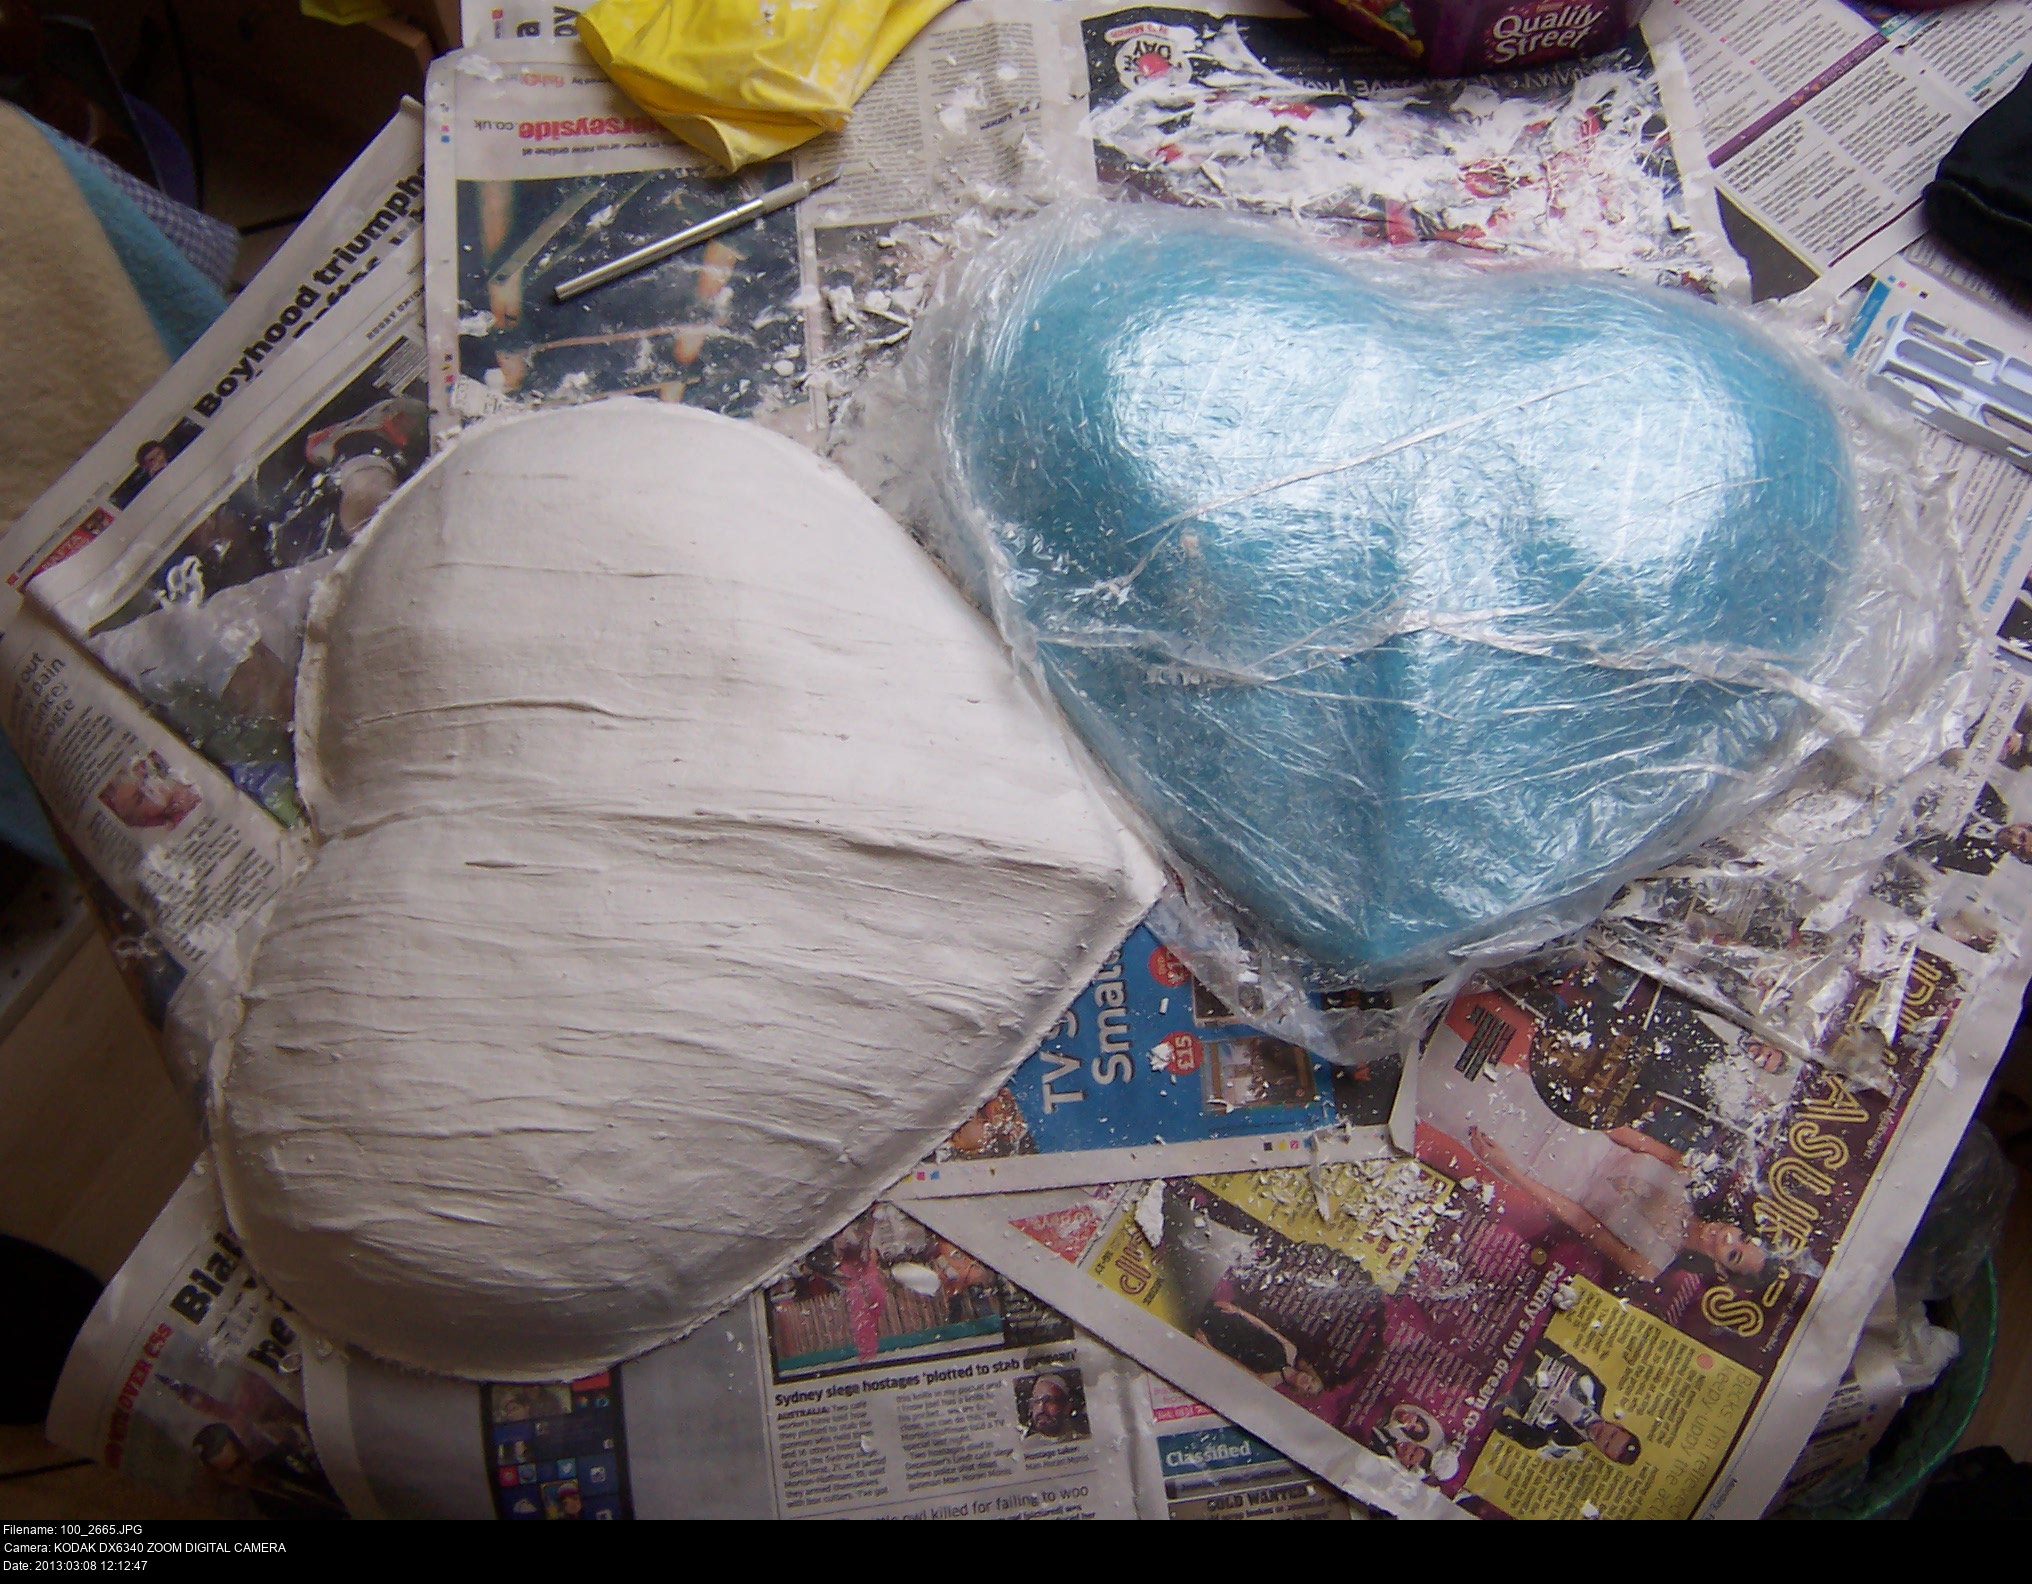
Meanwhile, I'm going to prepare the full-sized mask form.
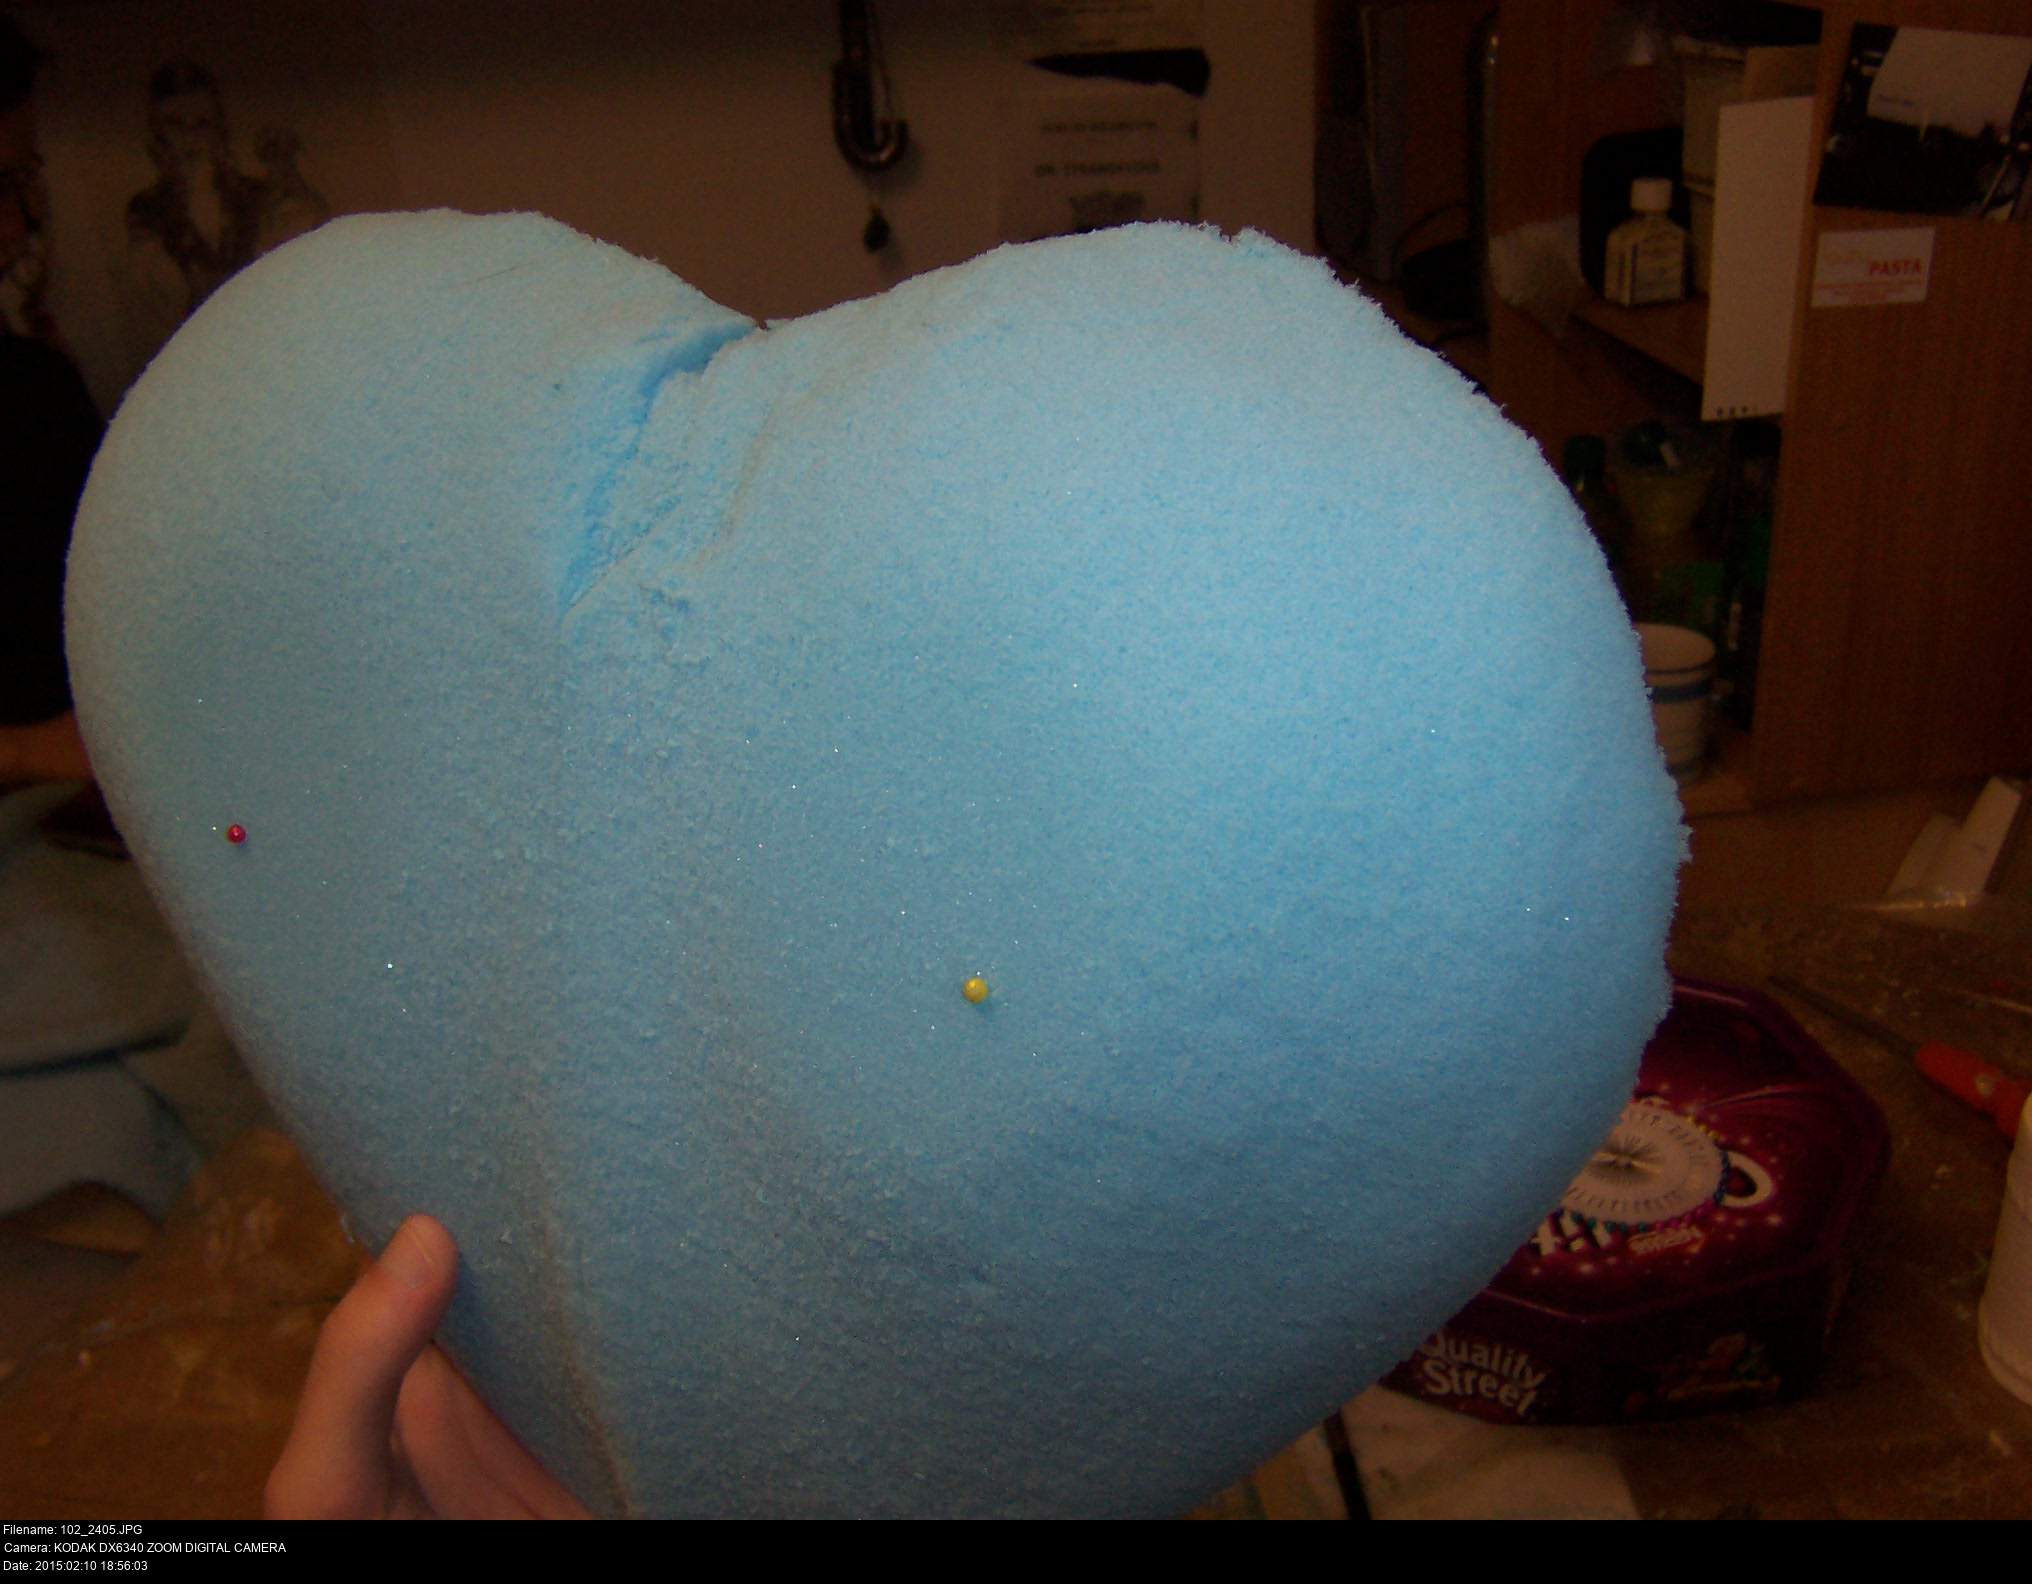
I've got my block of upholstery foam, I've got a big table, I've got a pack of fineliner pens, and I've got a template. Let's go!
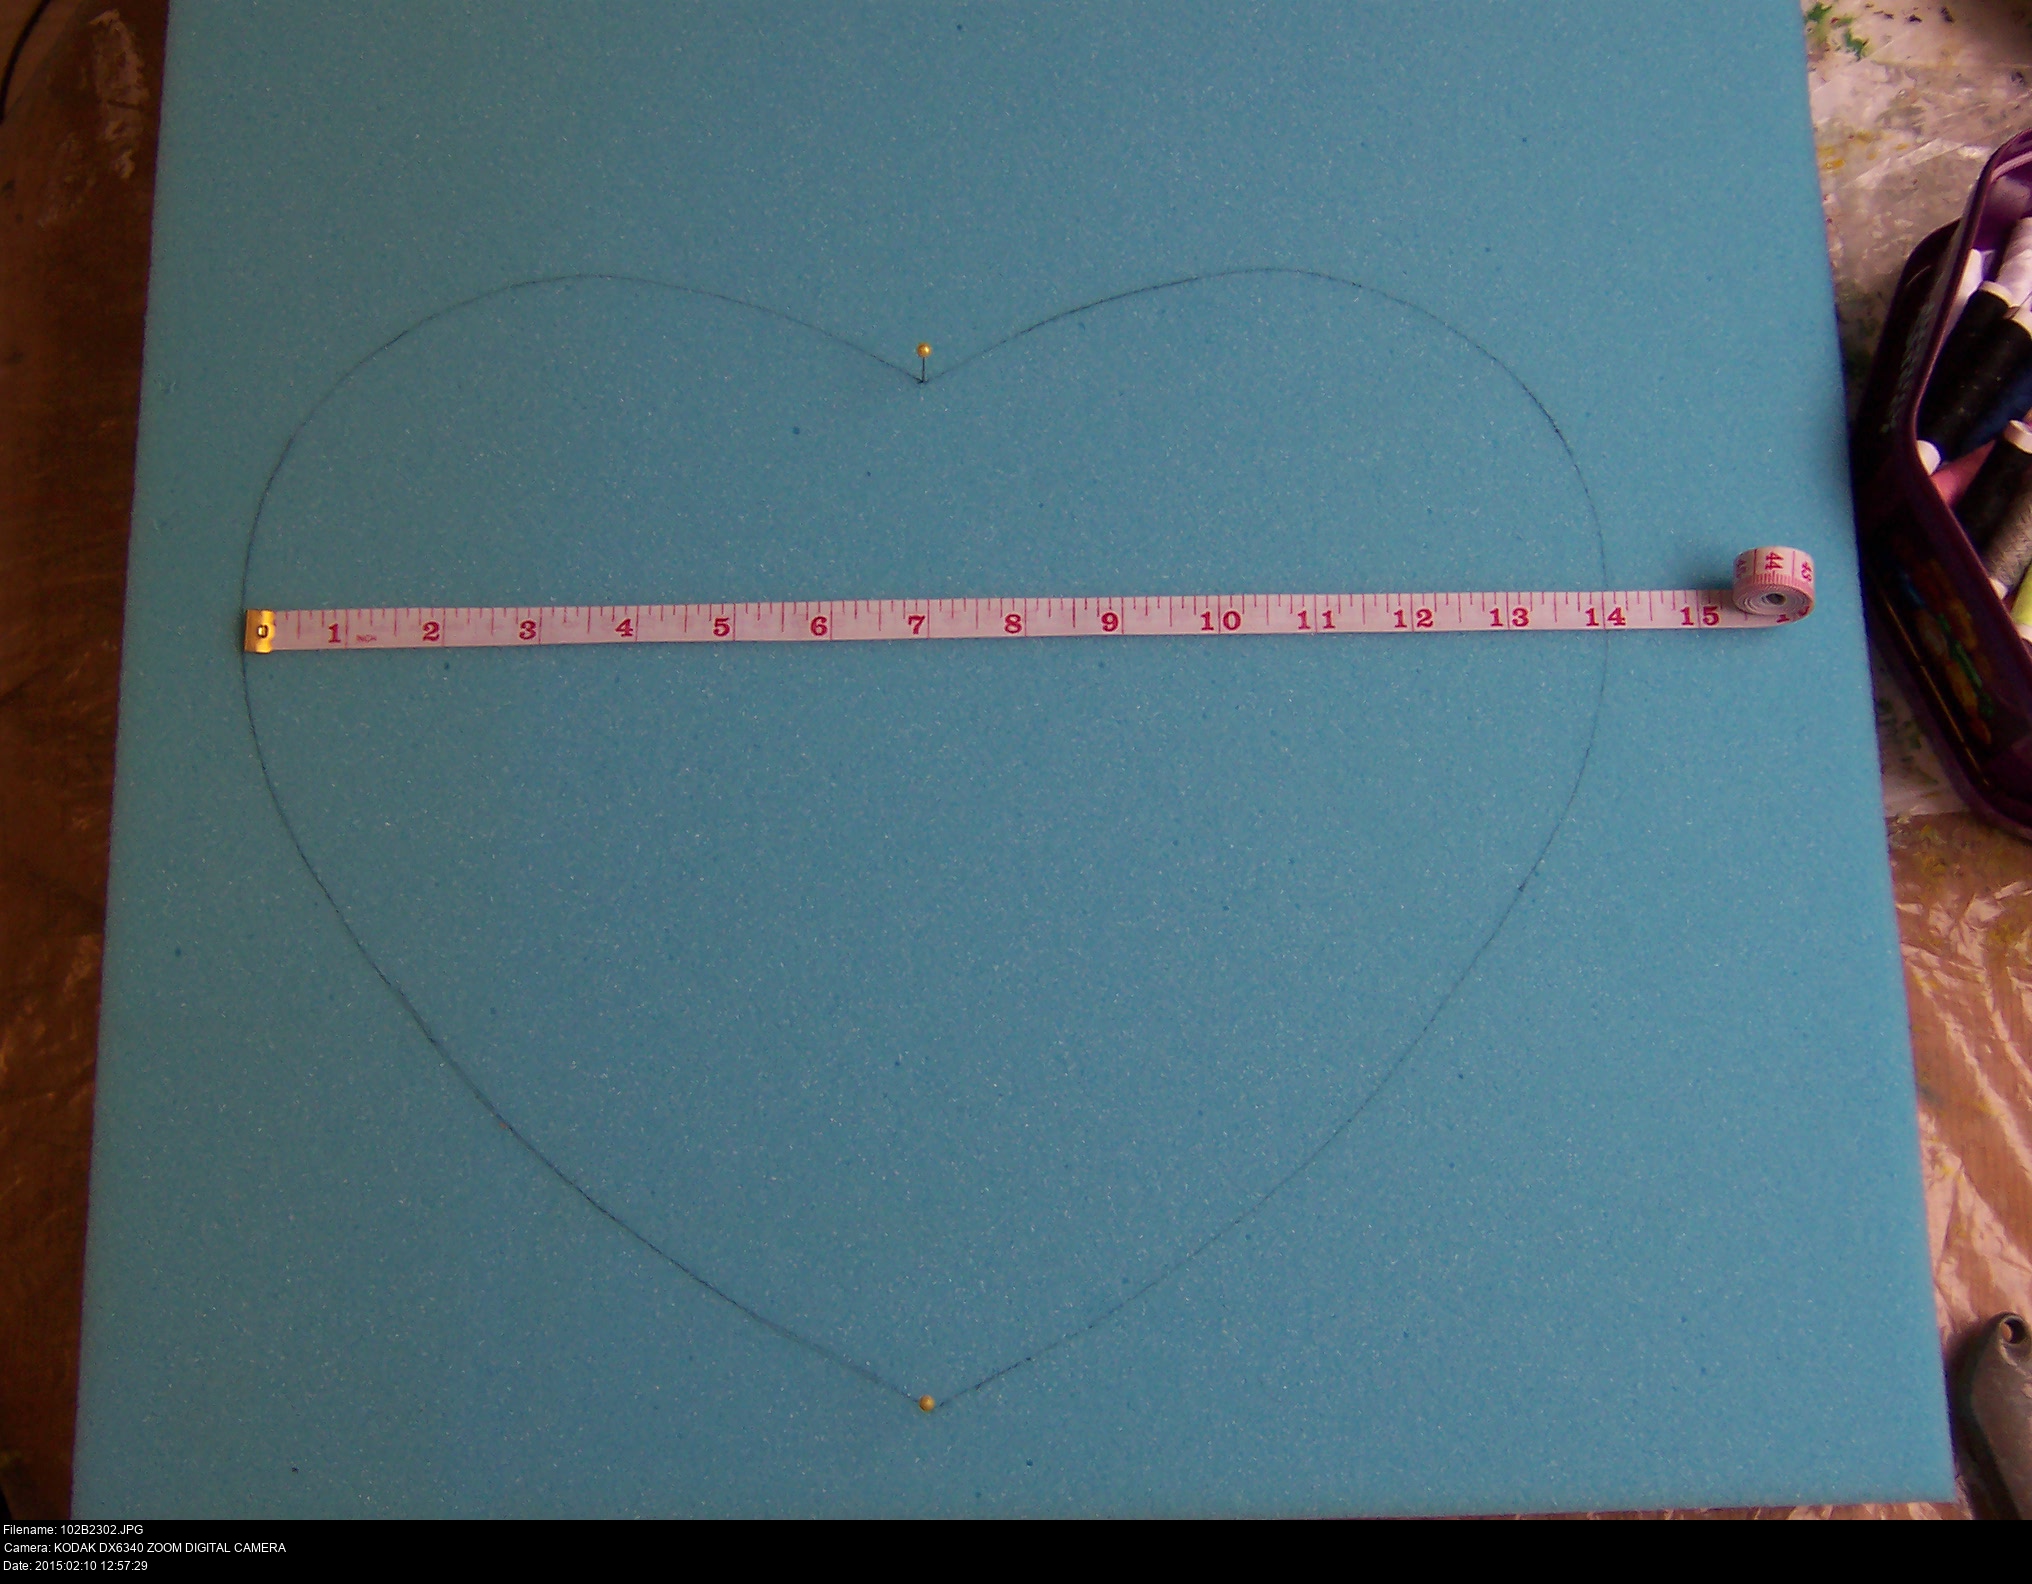
To make sure that you're correctly drawing a symmetrical shape, push berry pins into the foam to mark the top and bottom of the template.
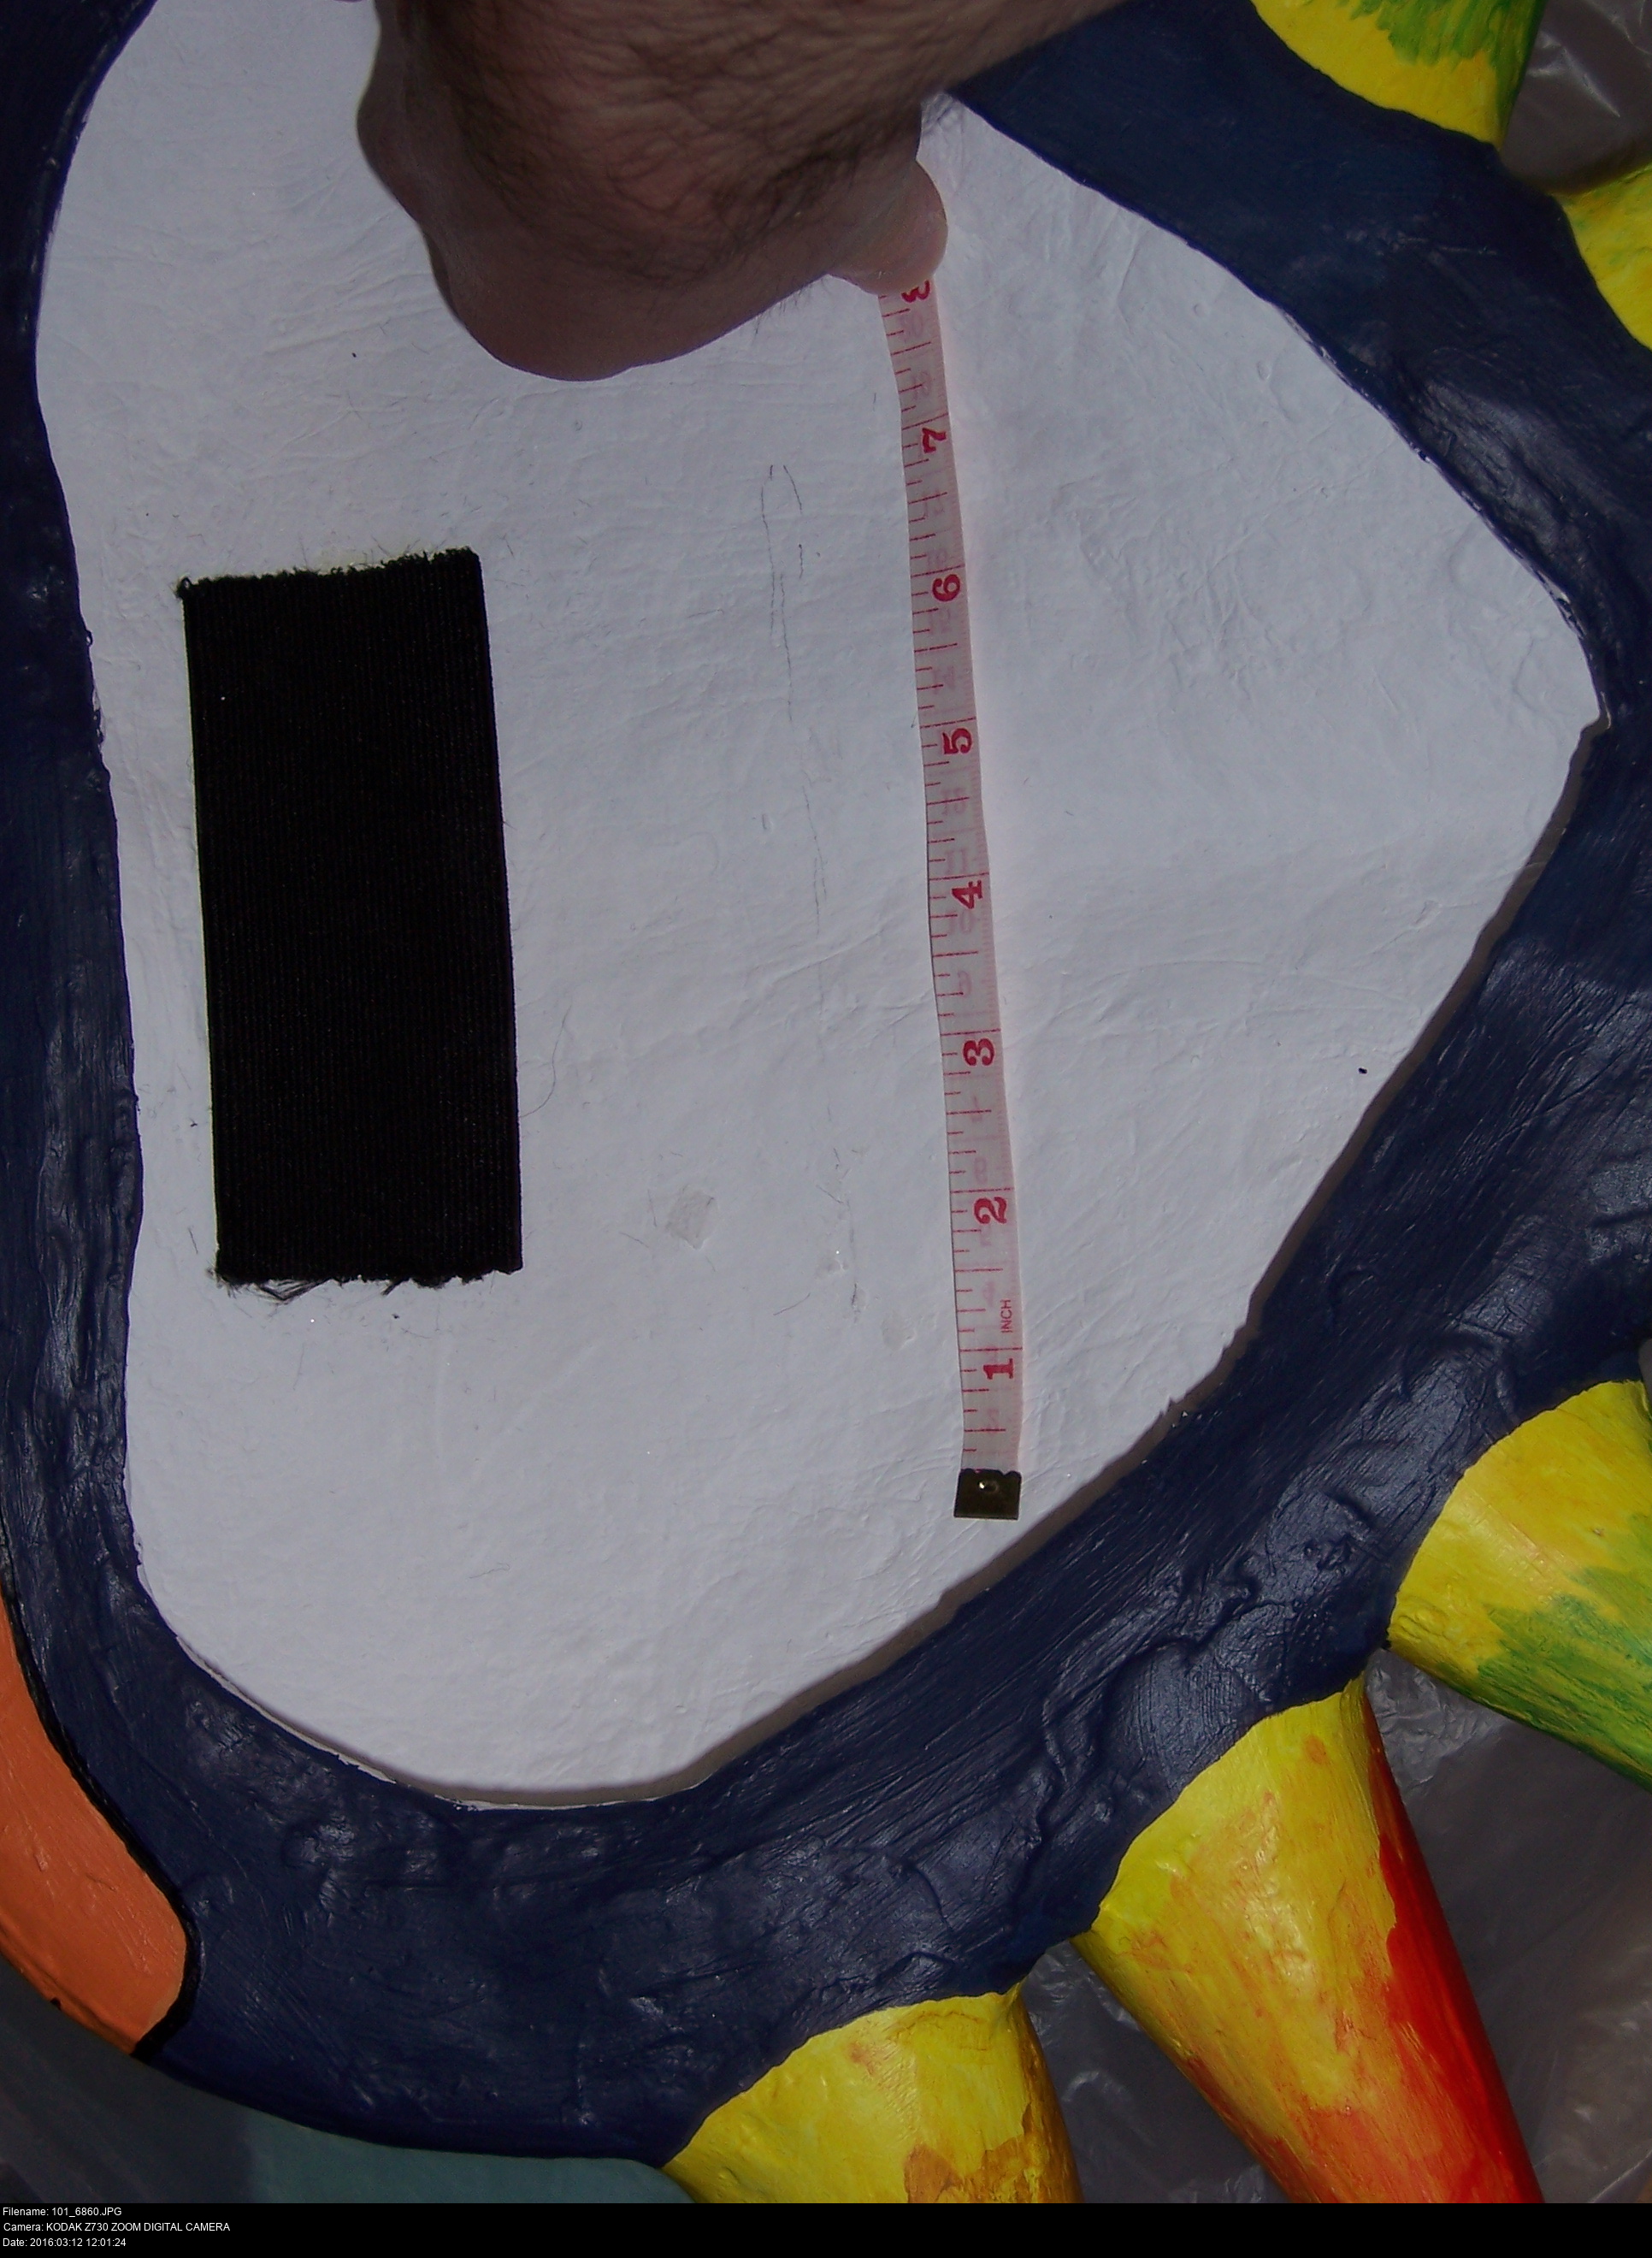
The mask is 14 inches wide and 12 inches tall from the top of the curves to the tip of the chin.
Here I've got this great big block of three inch thick foam to cut into a heart shape. What tool should I use?


Junior hacksaw? It's a good idea in theory, but it mangles the material to hell and back. My saw isn't very high quality, but I doubt a better saw would fare much better. A coping saw could work, but it'll still be an effort.
Stanley knife? It's a little short, I'd be hacking at the thing like mad to get anywhere, and I'd probably lose a finger if I wasn't exceptionally careful.
Craft knife? It's a little more controllable than the others, and it's all I've got left, so I guess I'll use it.


As it was, I had to stab into the foam with the scalpel blade and cut out the outline of the heart. When I had a deep groove, I had to bend the foam slightly and try to cut progressively deeper.
Don't cut directly against the line! Cut a little way away and then refine the edge later. Be aware that it's very difficult to cut exactly perpendicular to the foam.
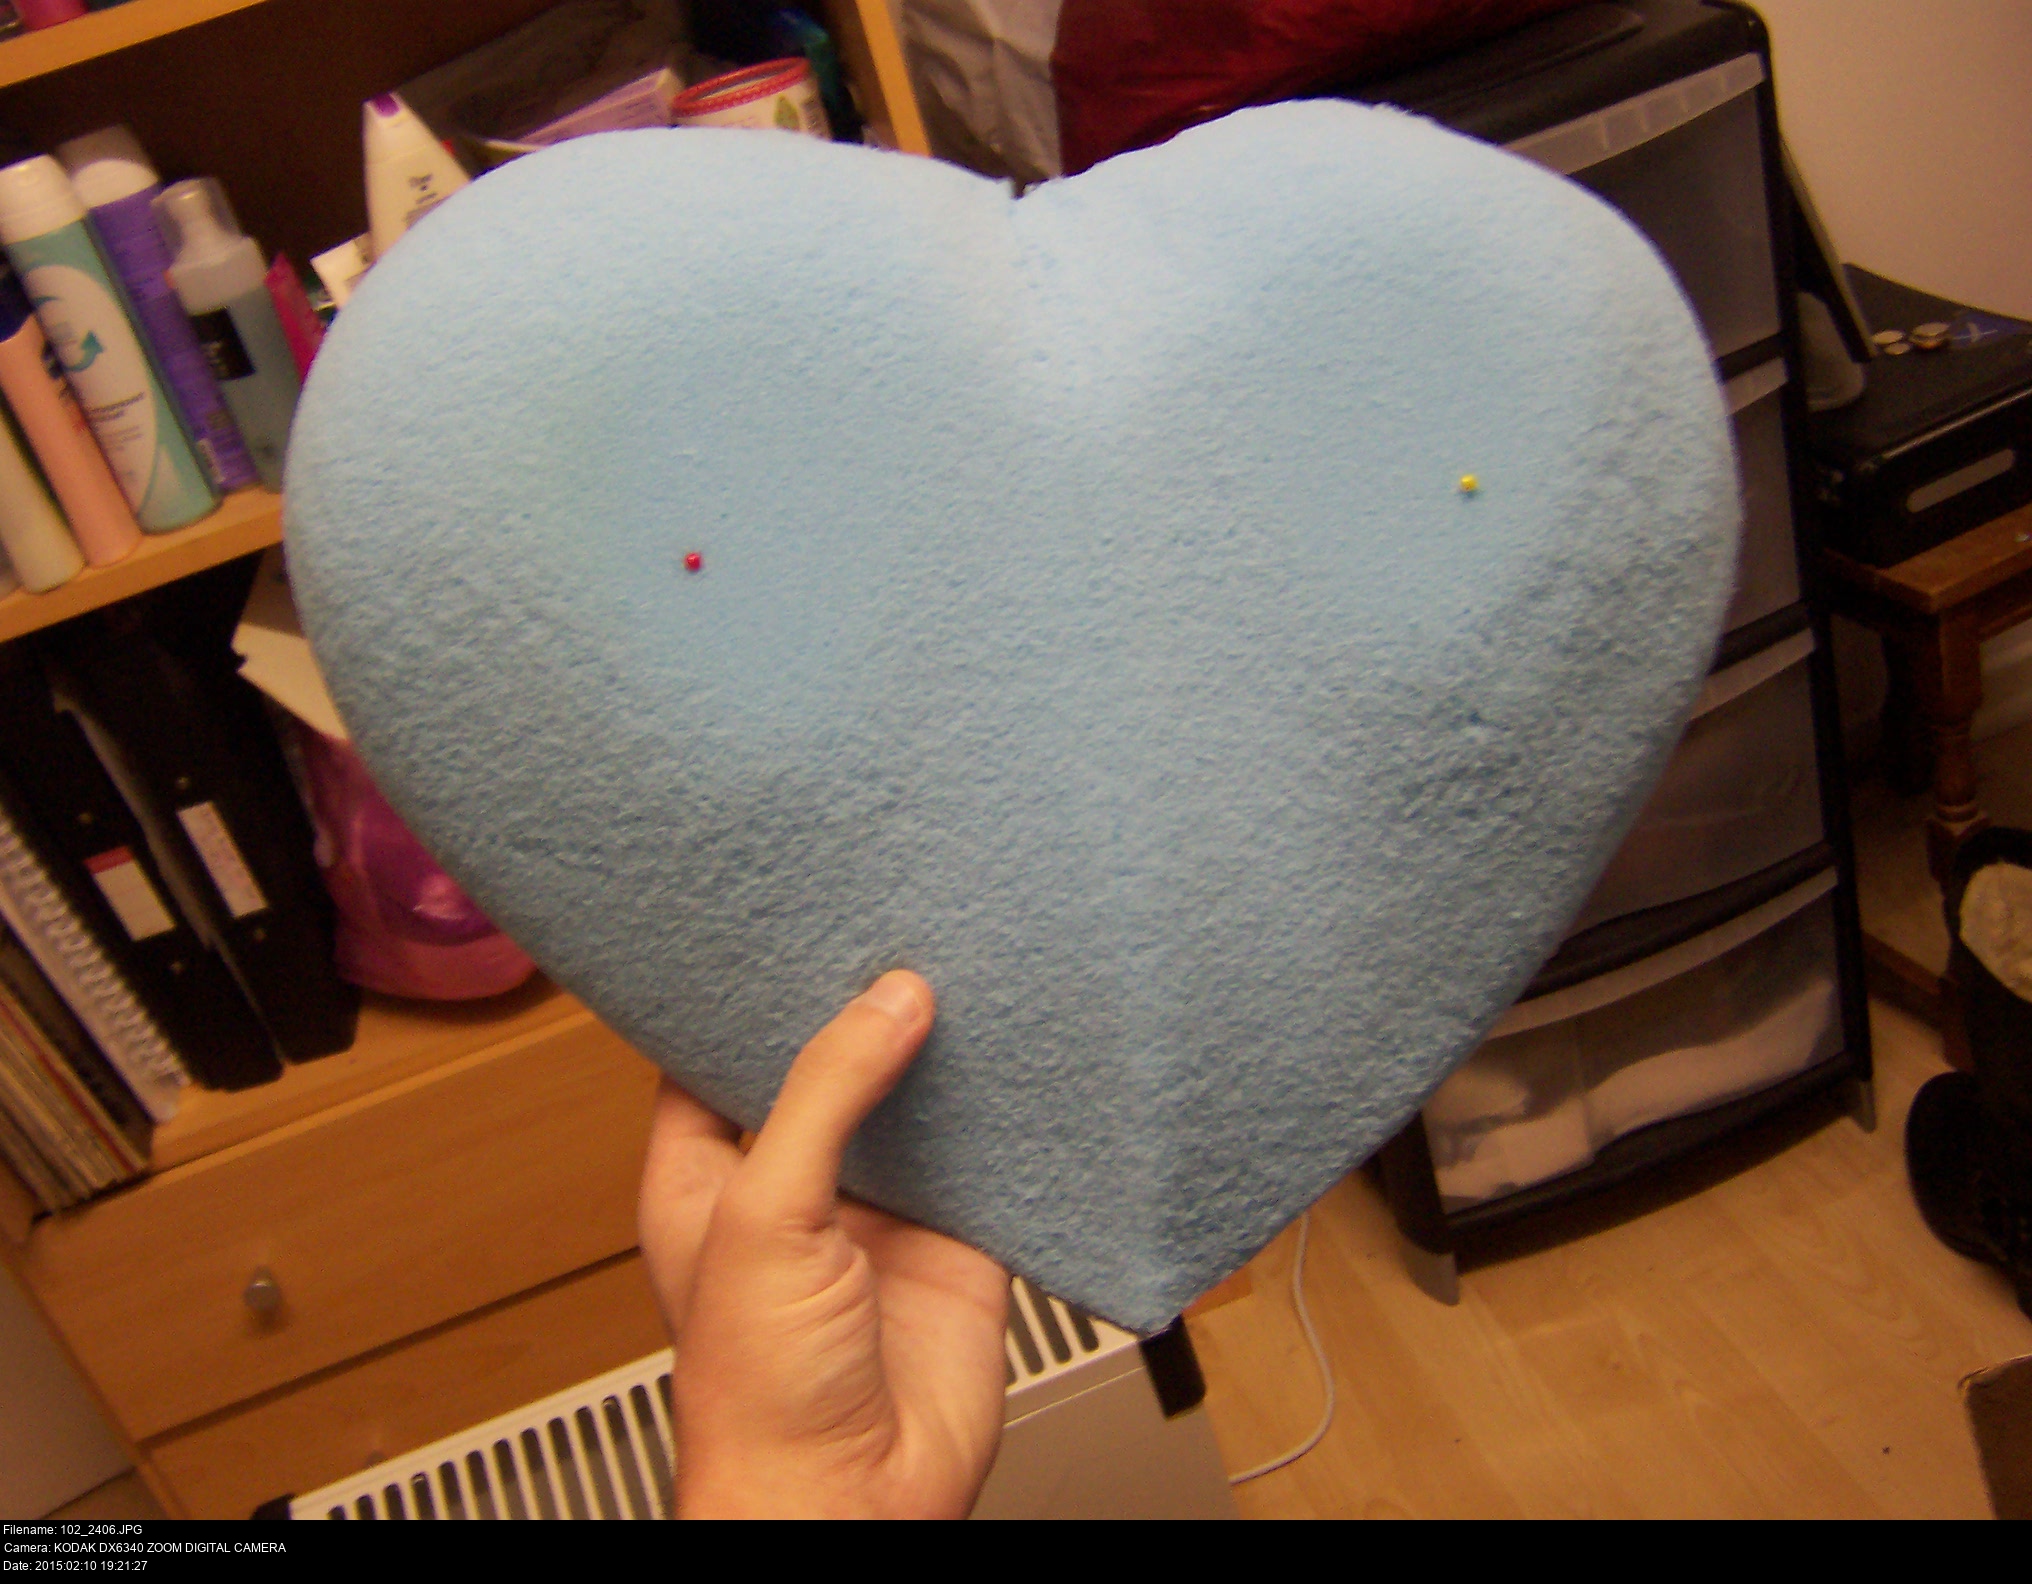
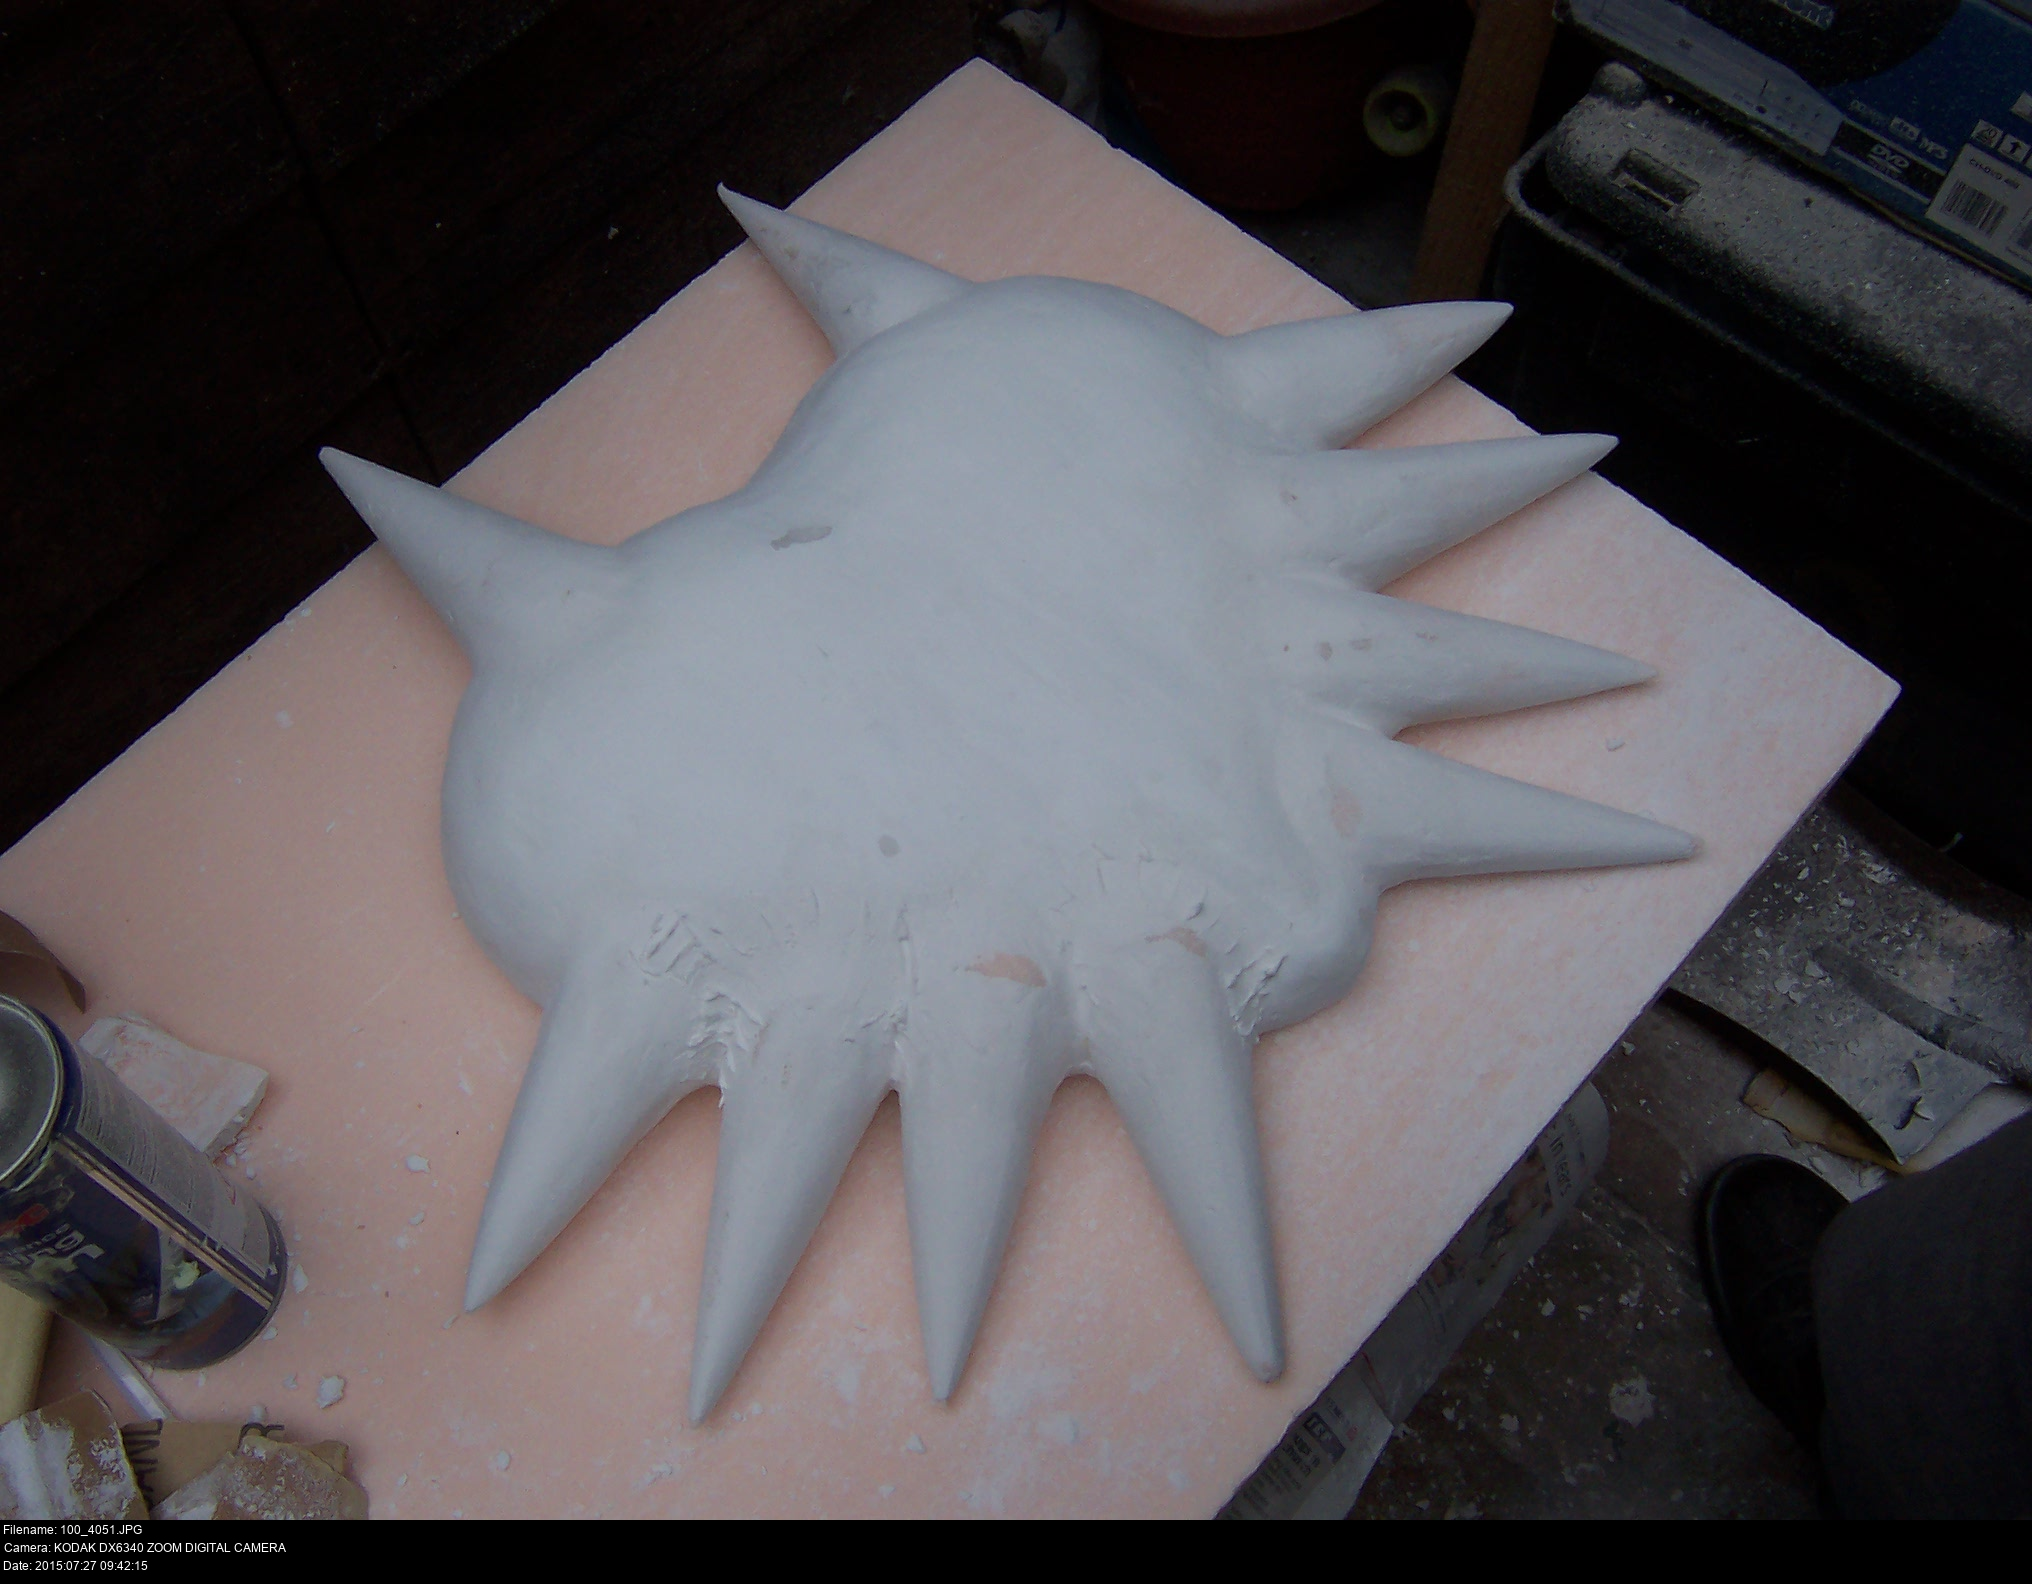
And there we go, one roughly heart-shaped piece of foam that partially resembles my template.

Here's how big it is beside my silly head. Looks good! And the foamwork isn't at all bad either.
Now it's time to:
Refine the edge so it matches the drawn line.
Give the mask the proper contours.

The mask isn't completely flat like a cake like my foam is at the moment. It's spherical near the eyes, descending into a blade near the chin. If you look closely, the centre of the 'beak' sticks out in a little ridge.
The surface of the mask looks very neat and smooth - not like rough, cracked wood tied together. It's tidy.
How're we going to get from what I've got to what I need?
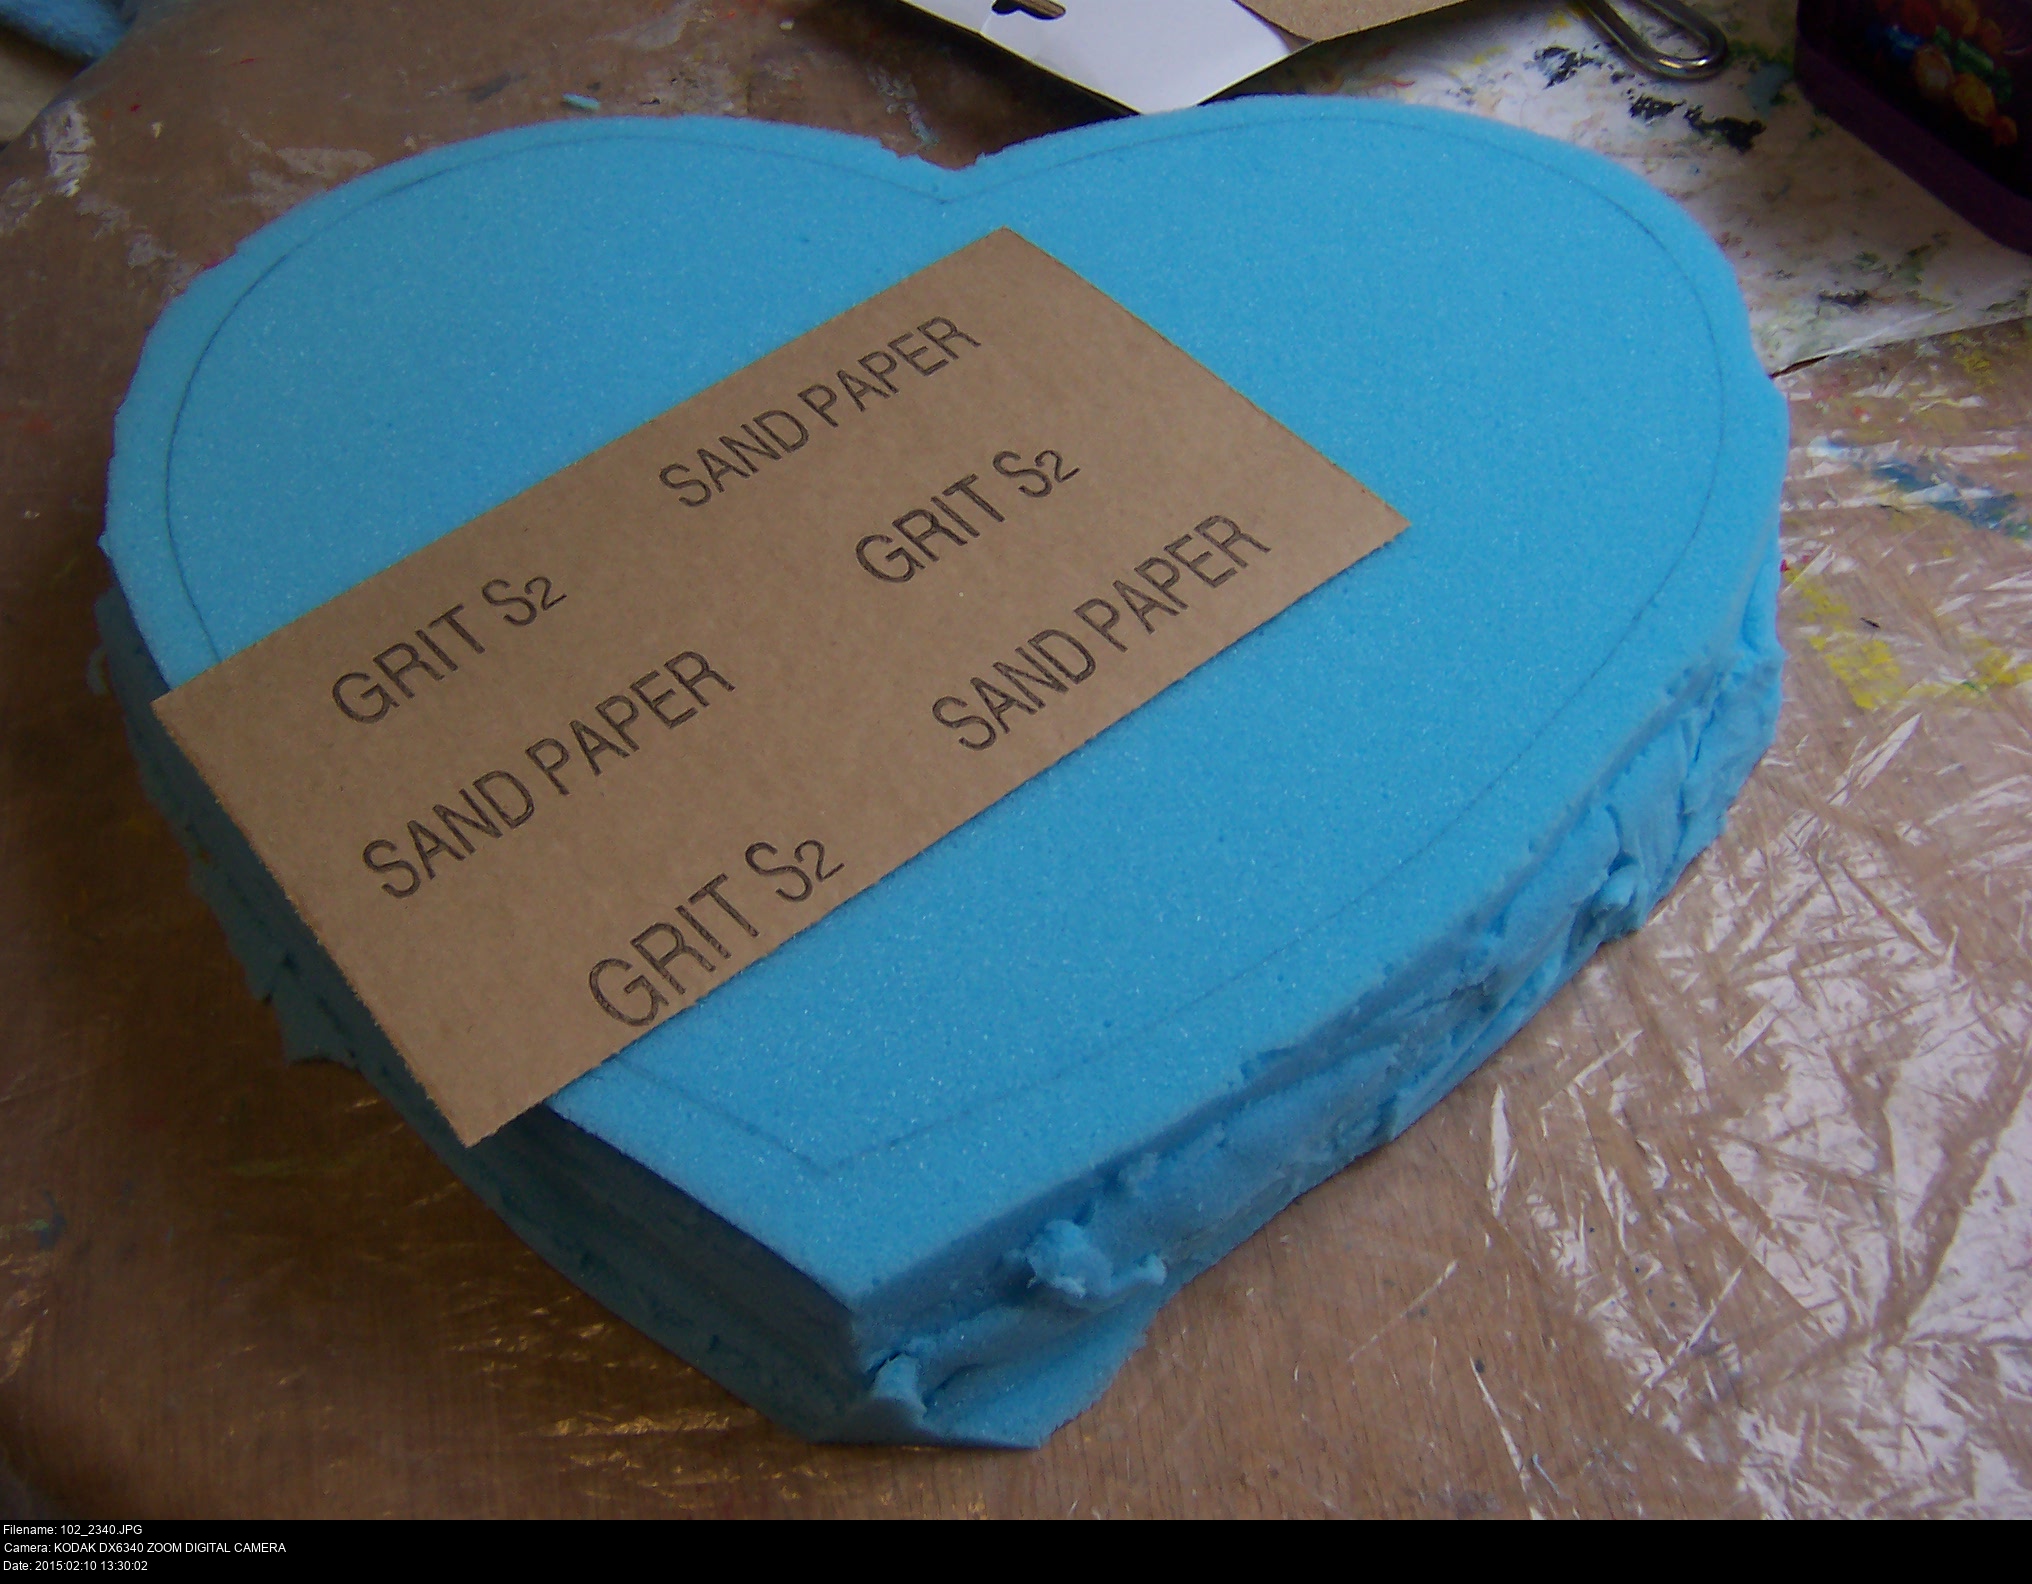
Sandpaper! Yeah, it sucks. It's almost as if it's a joke. But I'm going to sand my upholstery foam like a demon and get it done.


First, sand the foam form down to the line.
By the way, I've used my magic programmer powers to append a little info box onto the full-size of each of these pictures. You can click on any one of these thumbnails to see the time I took the picture, that way you can see exactly how long each stage of making the mask took!

Despite how nice your sister might be about all this, accepting her offer to use her larger bedroom as a place to do sanding is a really selfish thing to do. Don't do it. You will make a hell of a mess. Use the shed. If it's filthy, clean the shed first.


Here's a few pictures of the romantic ideal of cosplay made reality: wrapping some cheap sandpaper around an empty can of flea spray and sanding some upholstery foam for an hour and a half.
I've pushed a pair of berry pins into the foam to mark the centre of the mask's painted eyes. This helps keeping the mask symmetrical.
To begin, you've got to just pick a side and start from there. You need to be able to visualise the final contours of the mask as you work. For me it helps to visualise sanding as if it were cutting: gradually applying a new plane onto the object you're sanding.


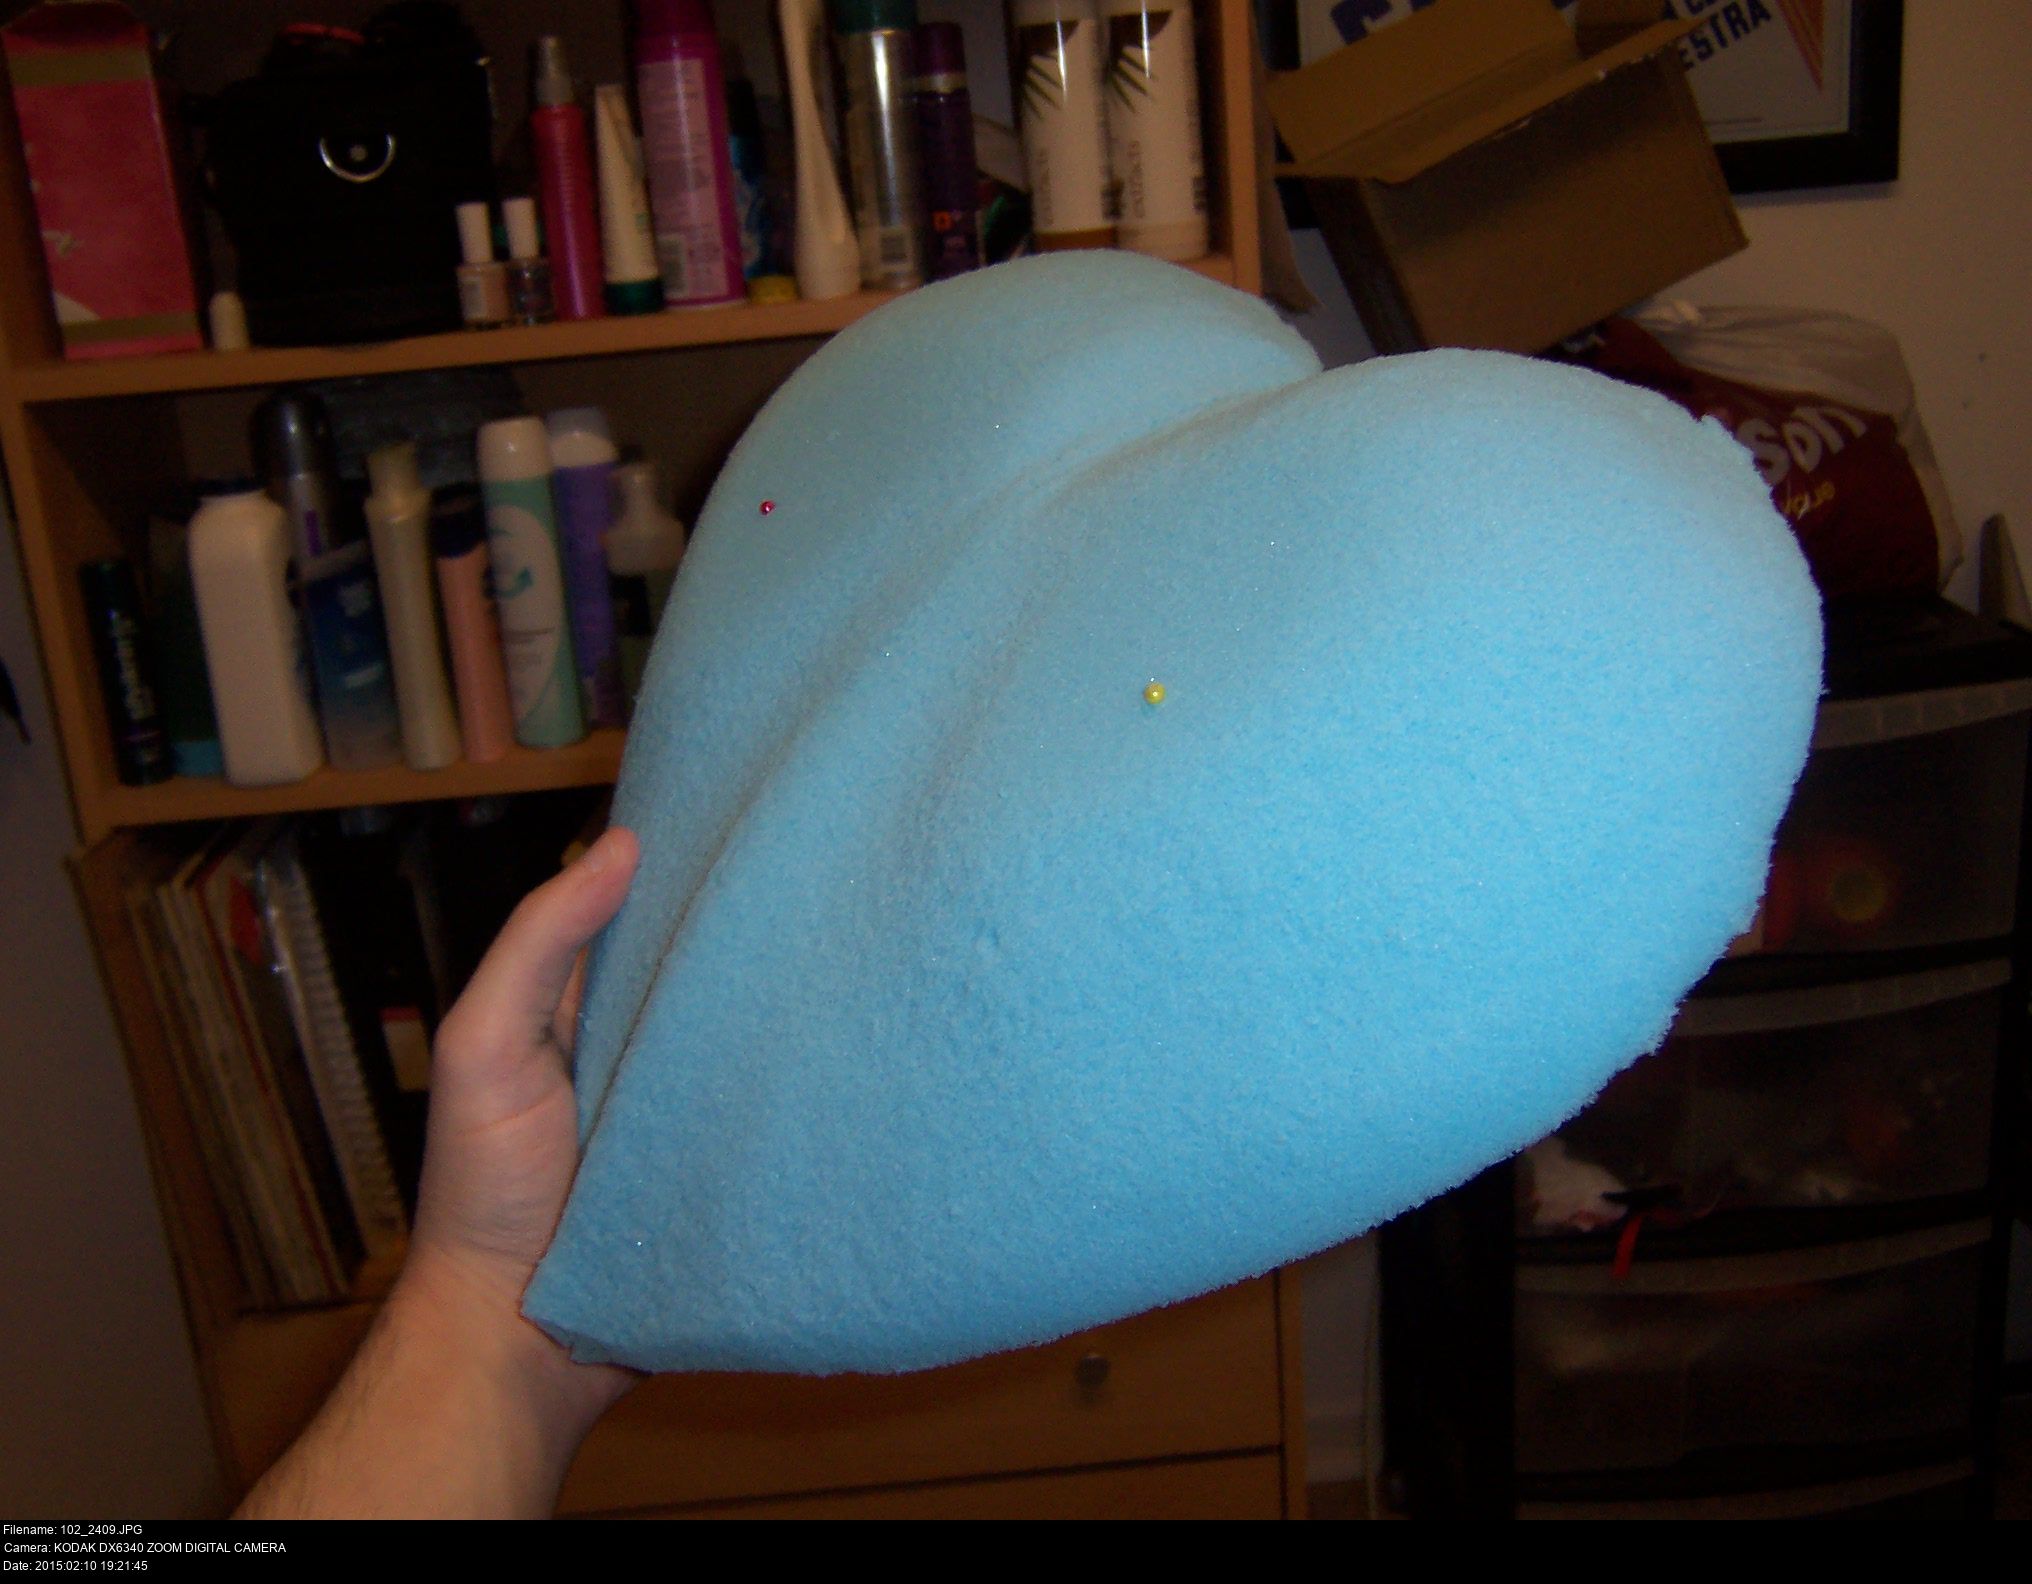


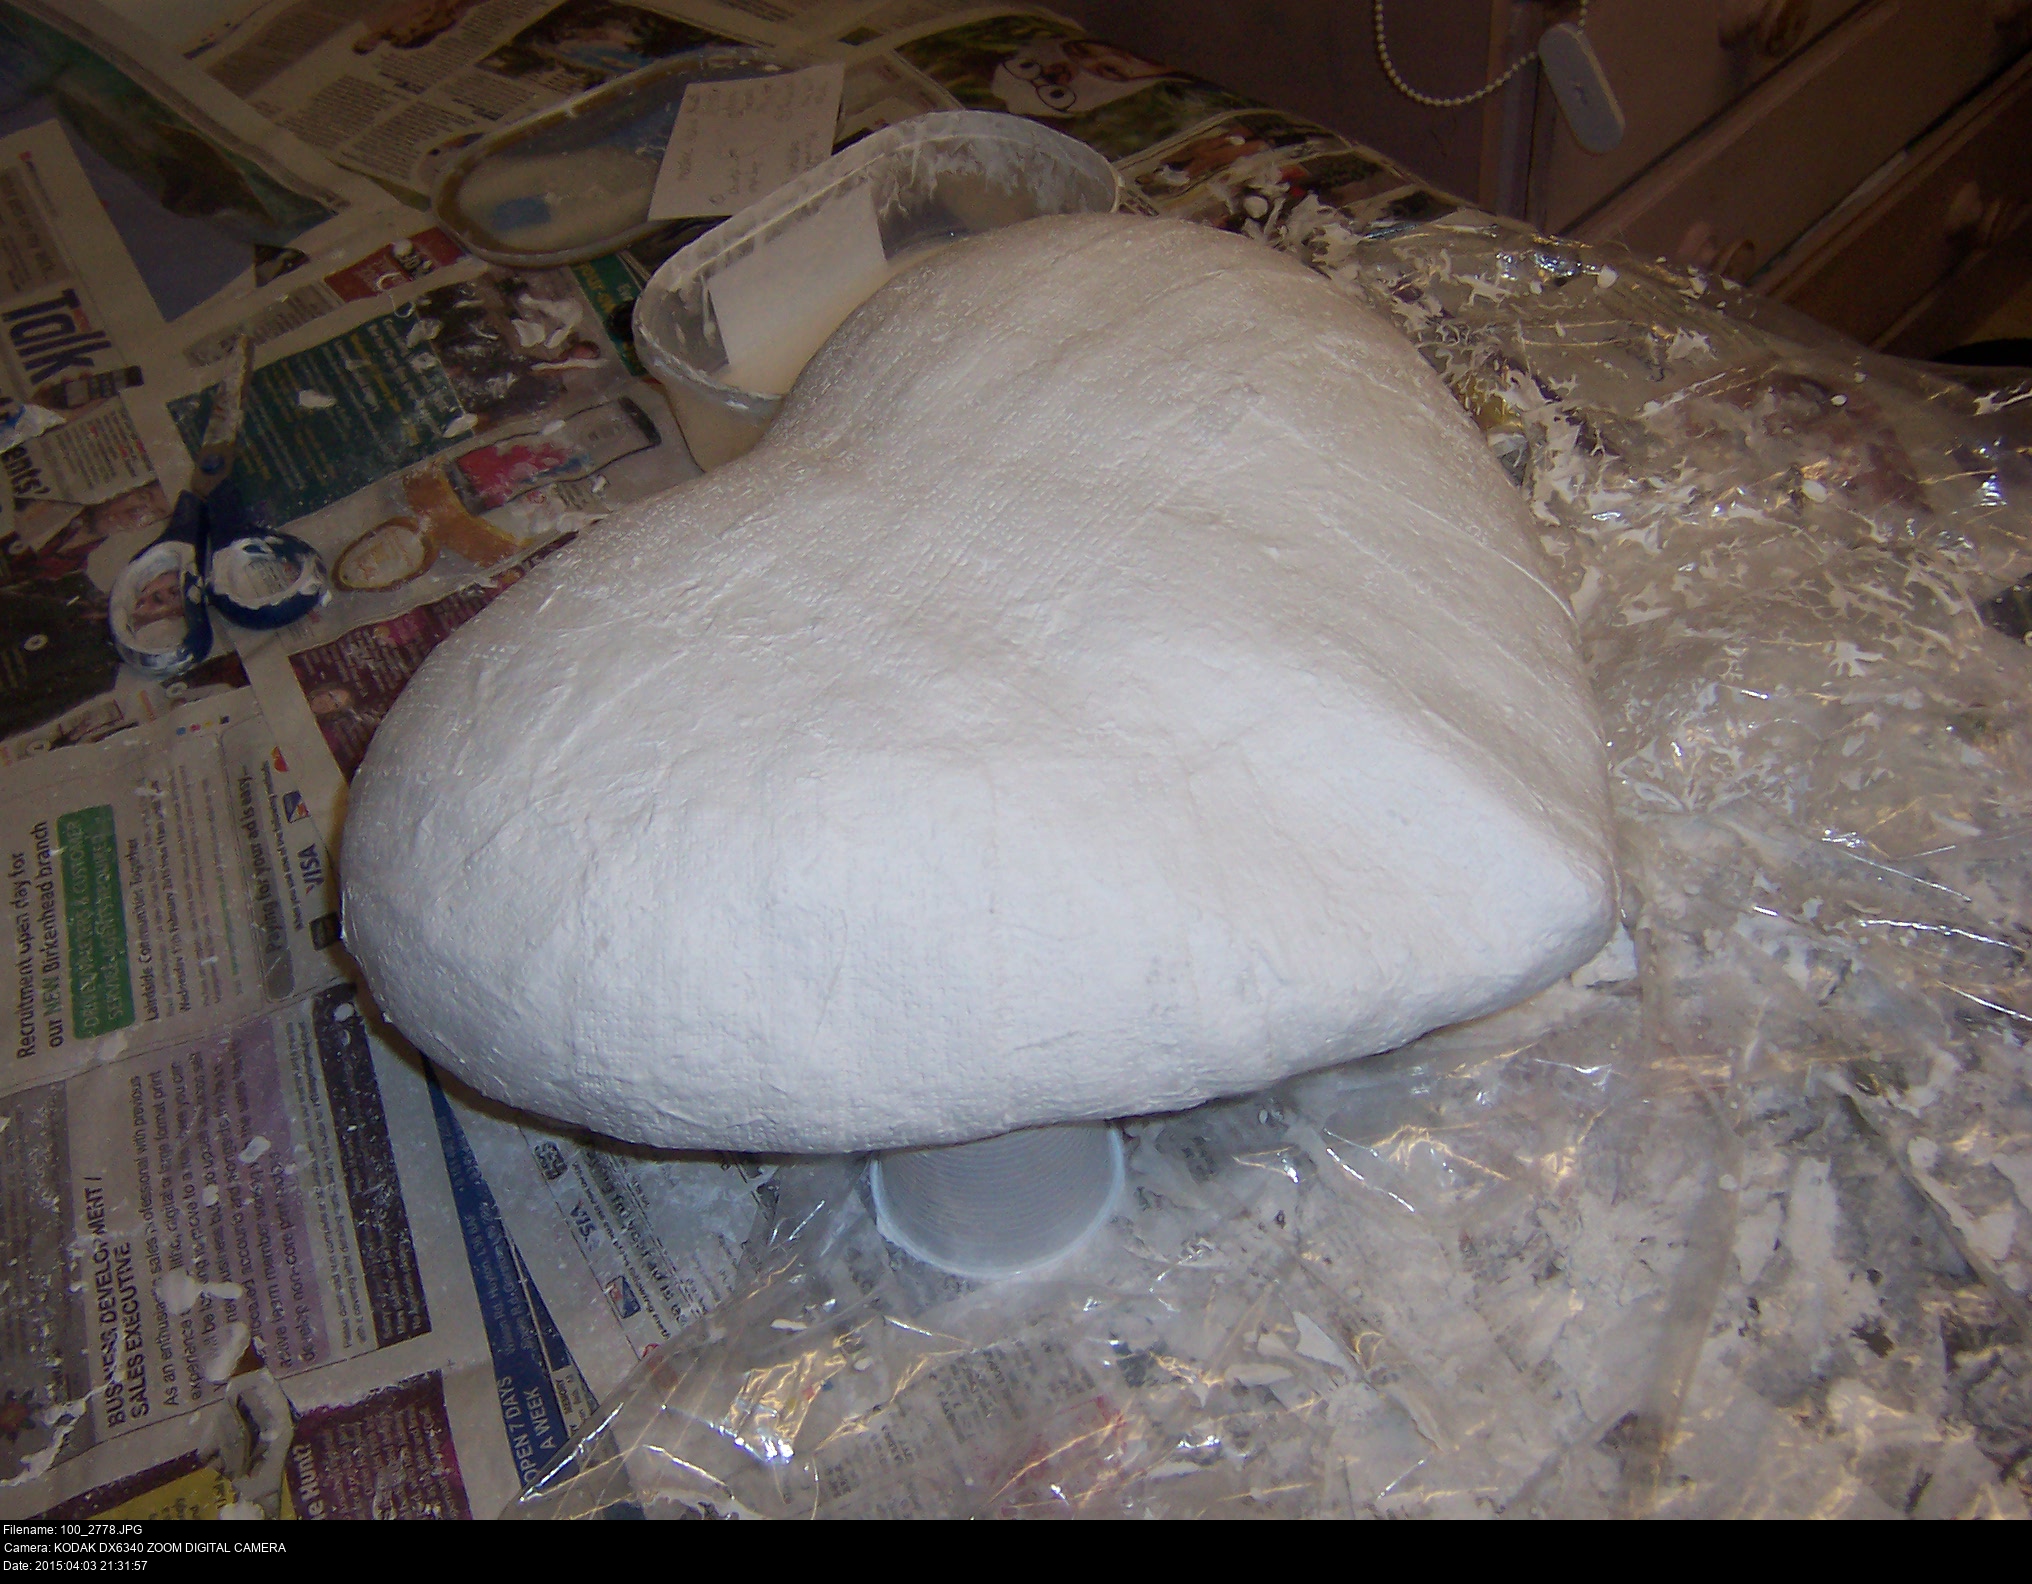
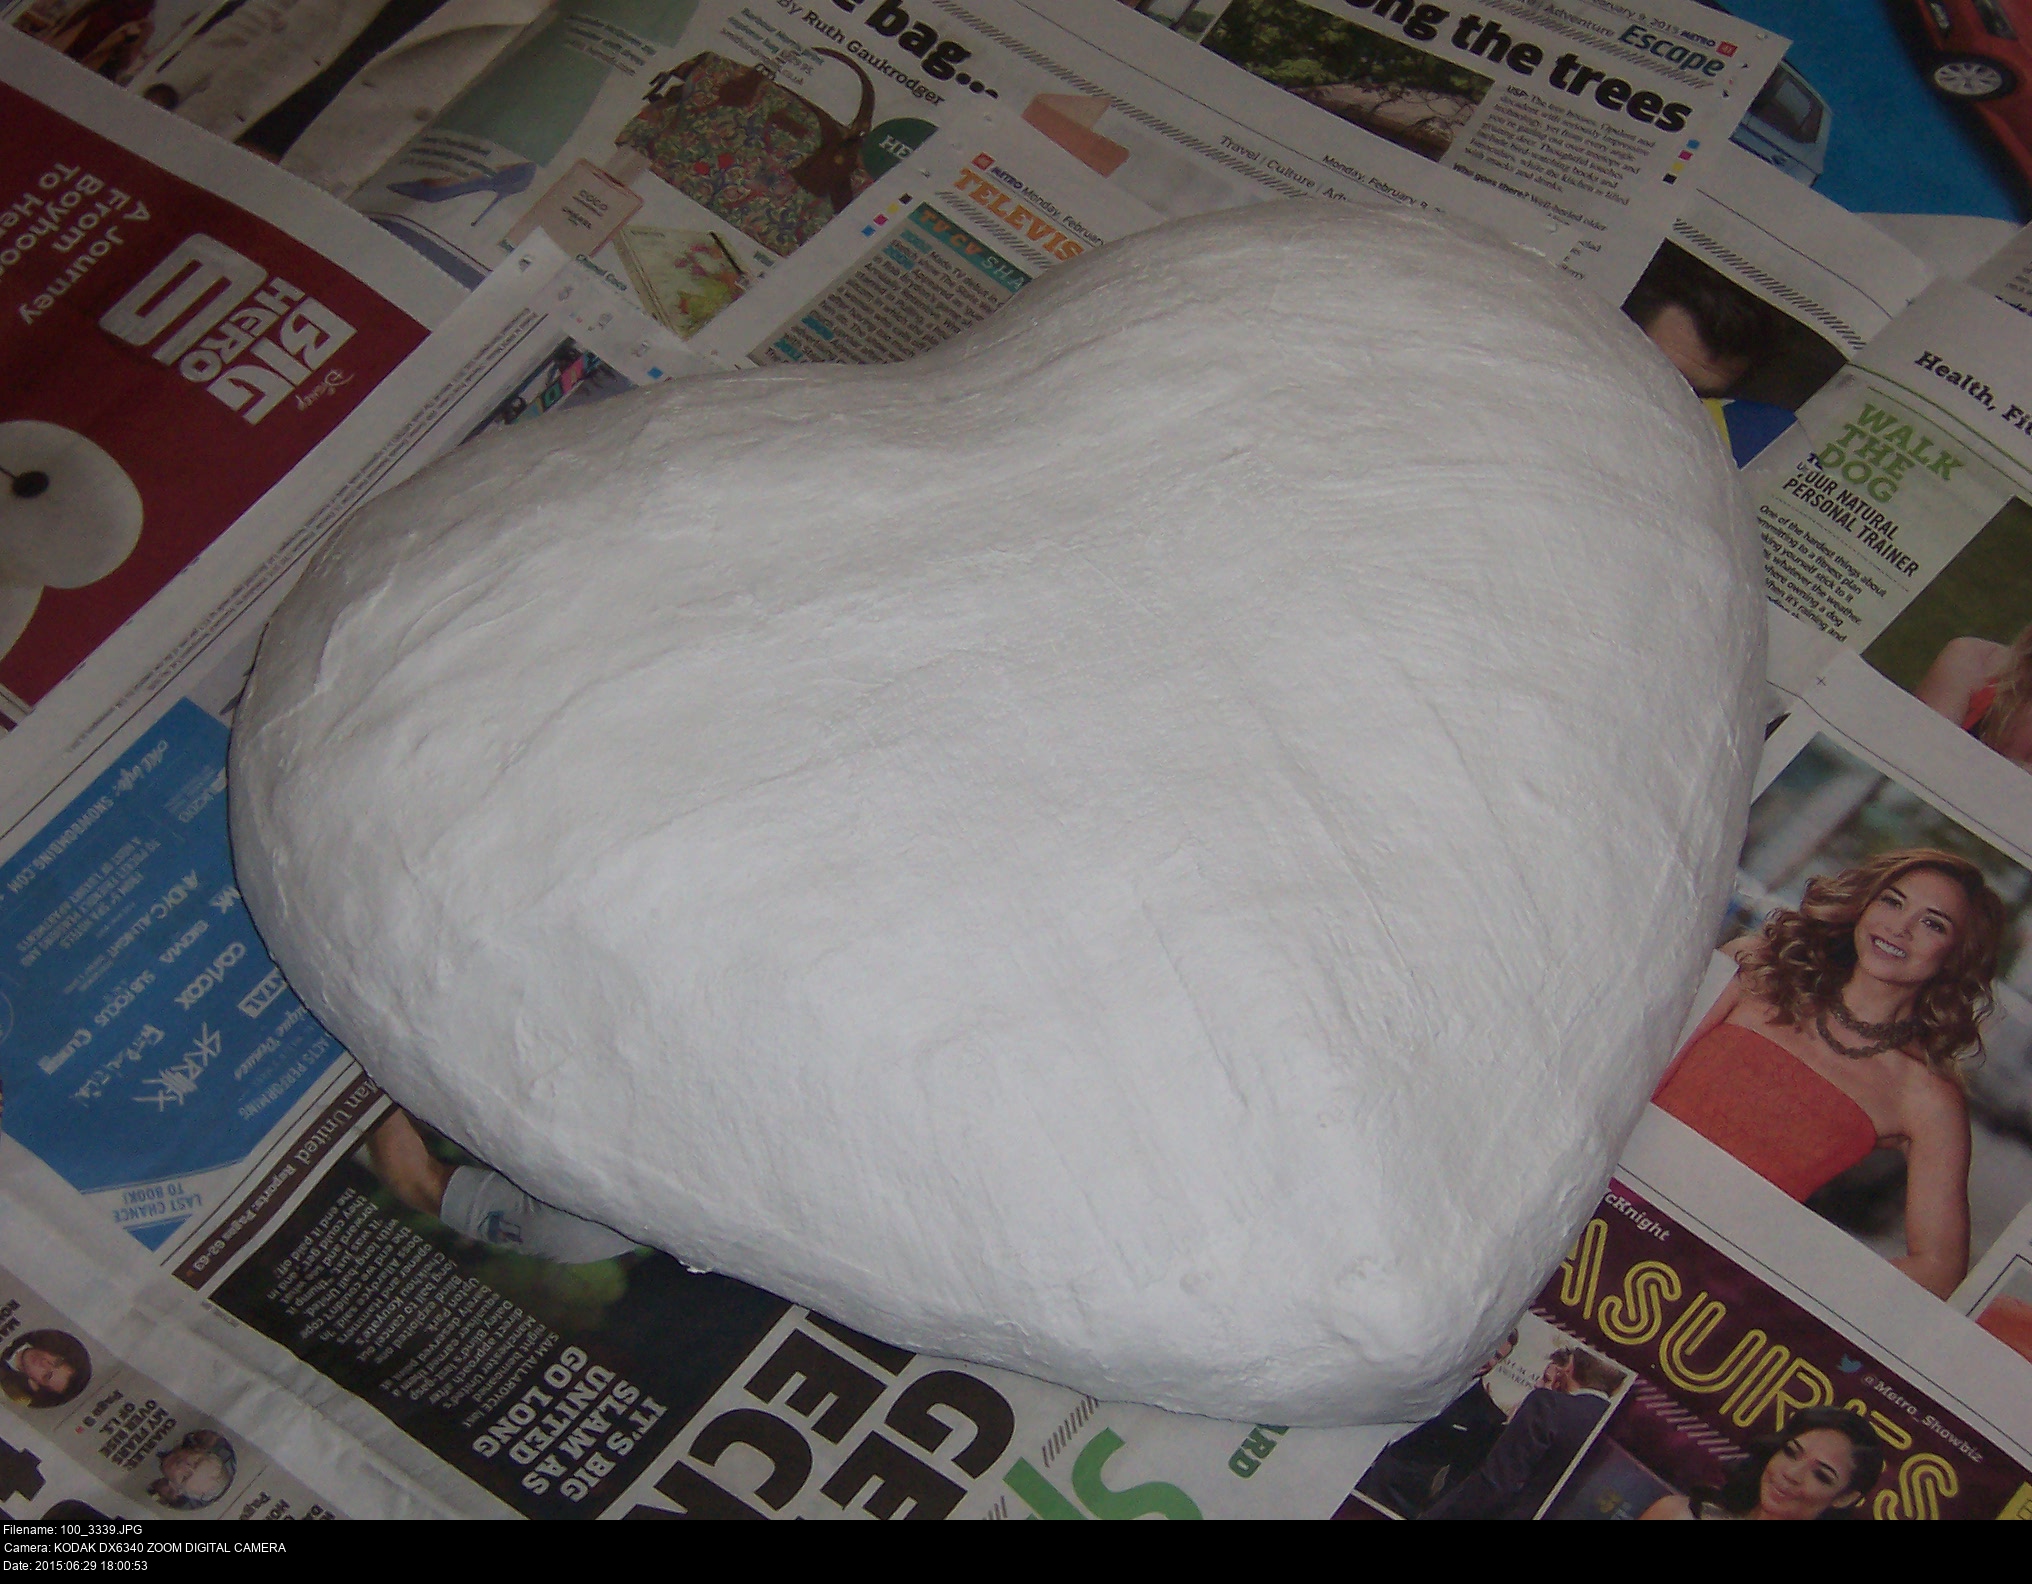
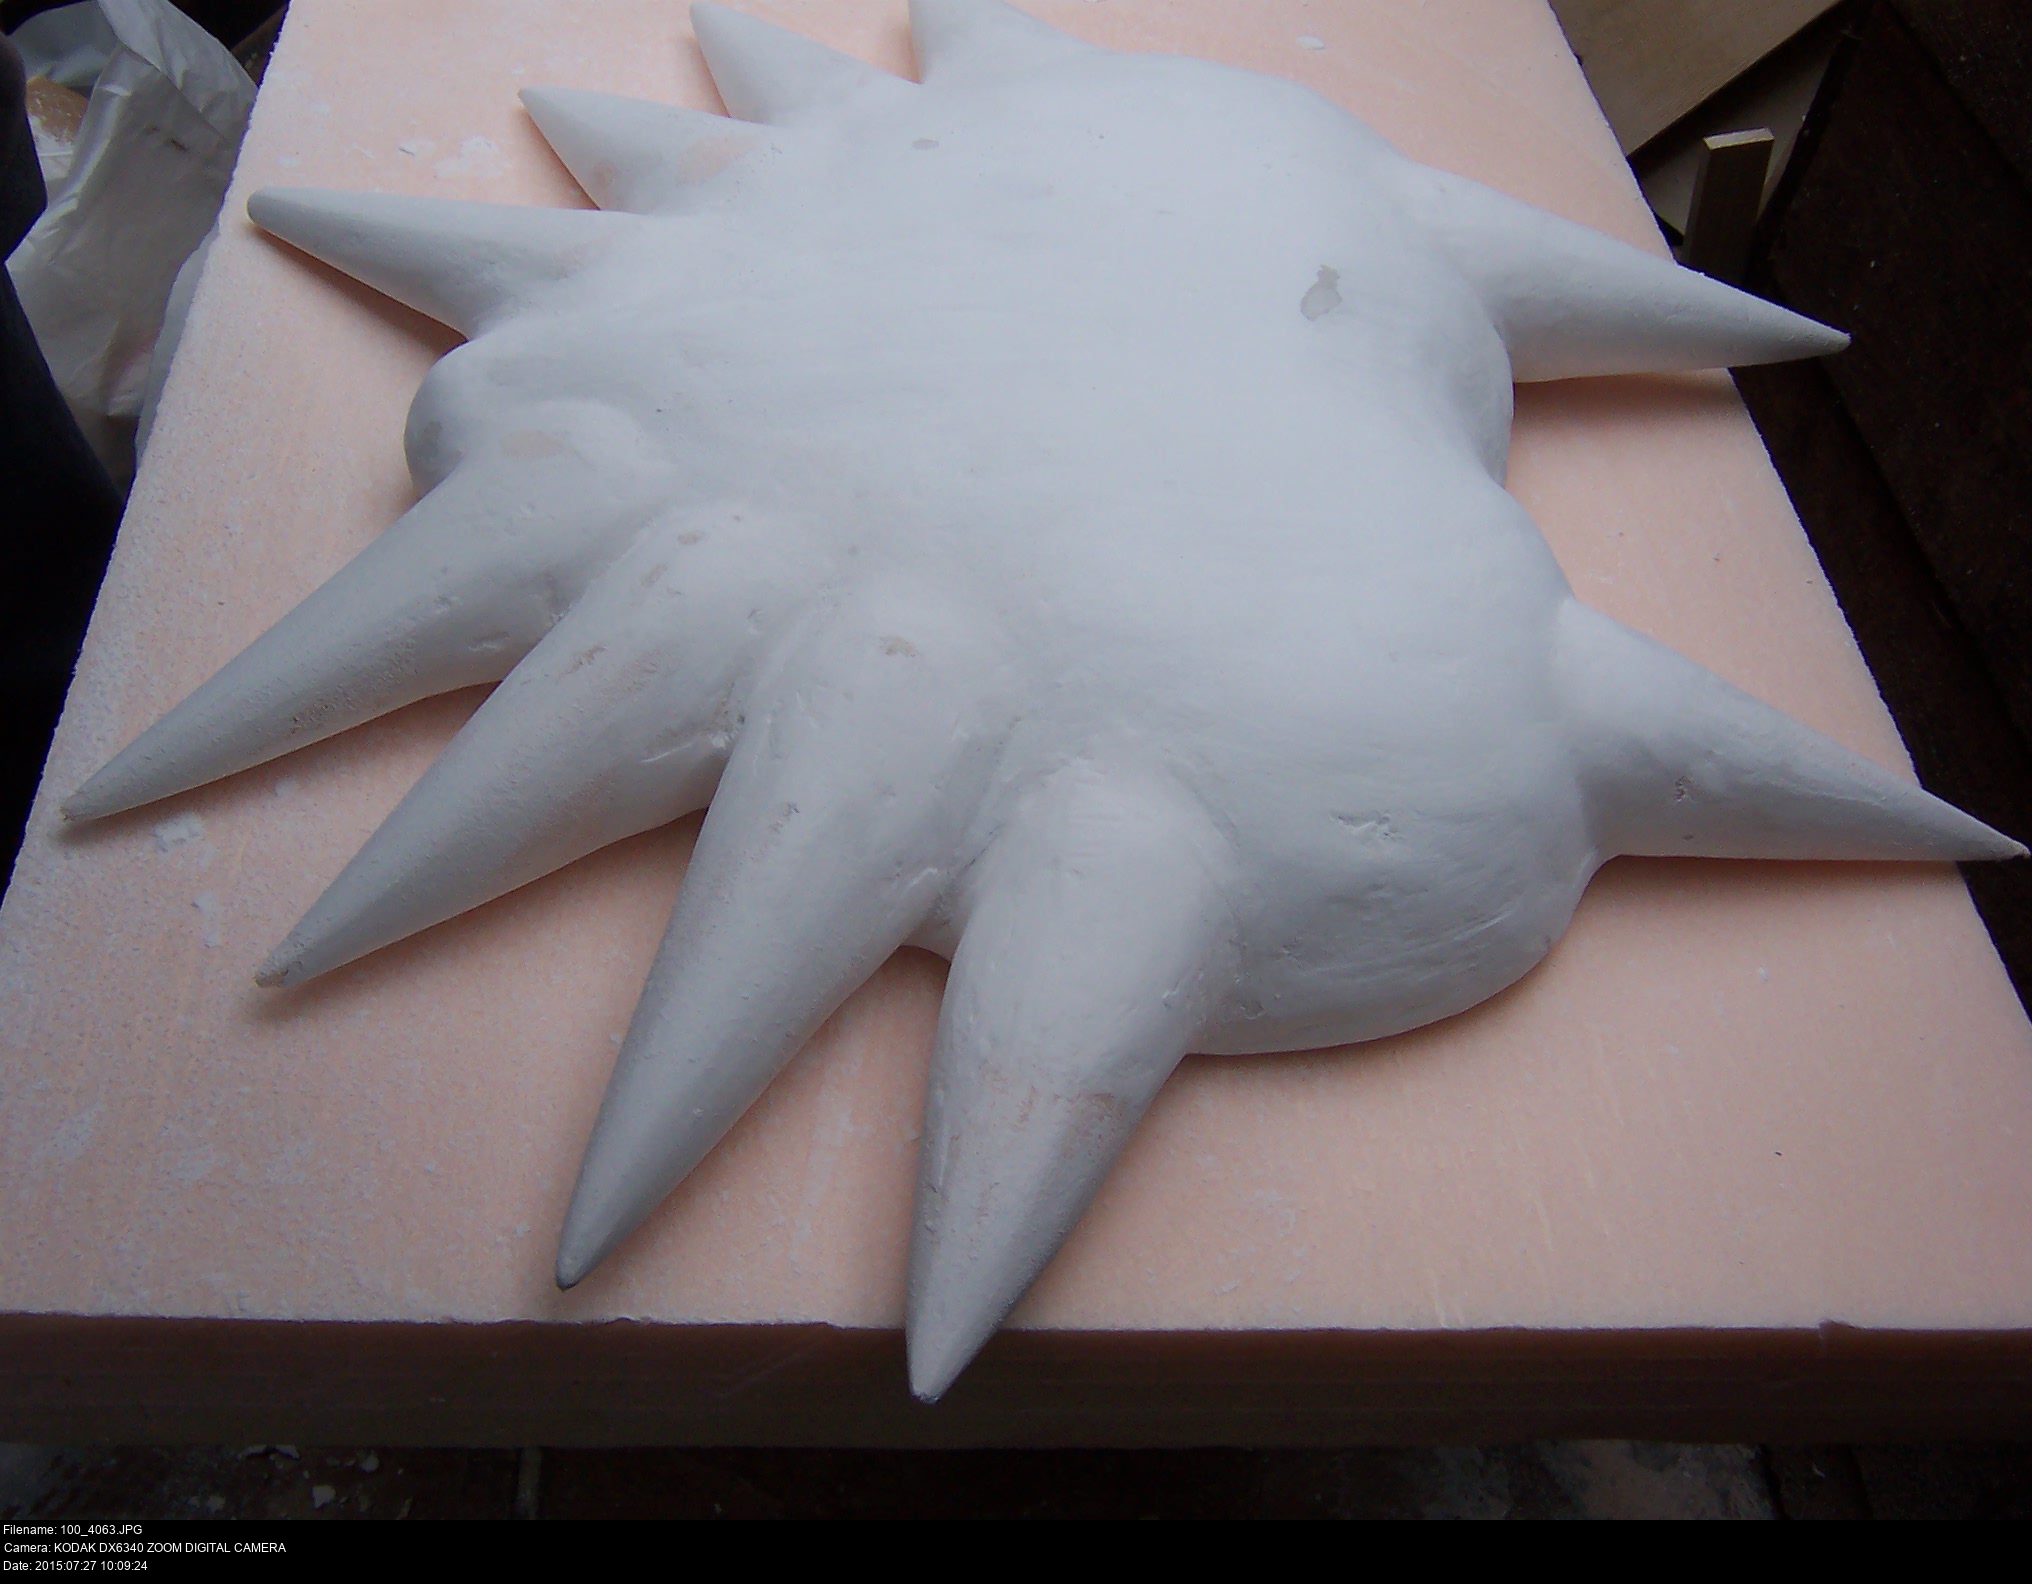
And there we have it! It took all day, but I've managed to carve a rectangular block of foam into a useful heart shaped base form for papier mache or modroc. It's not perfect. At certain points the sandpaper took off a larger chunk than I'd have liked, but I wore it all down to the right shape in the end.
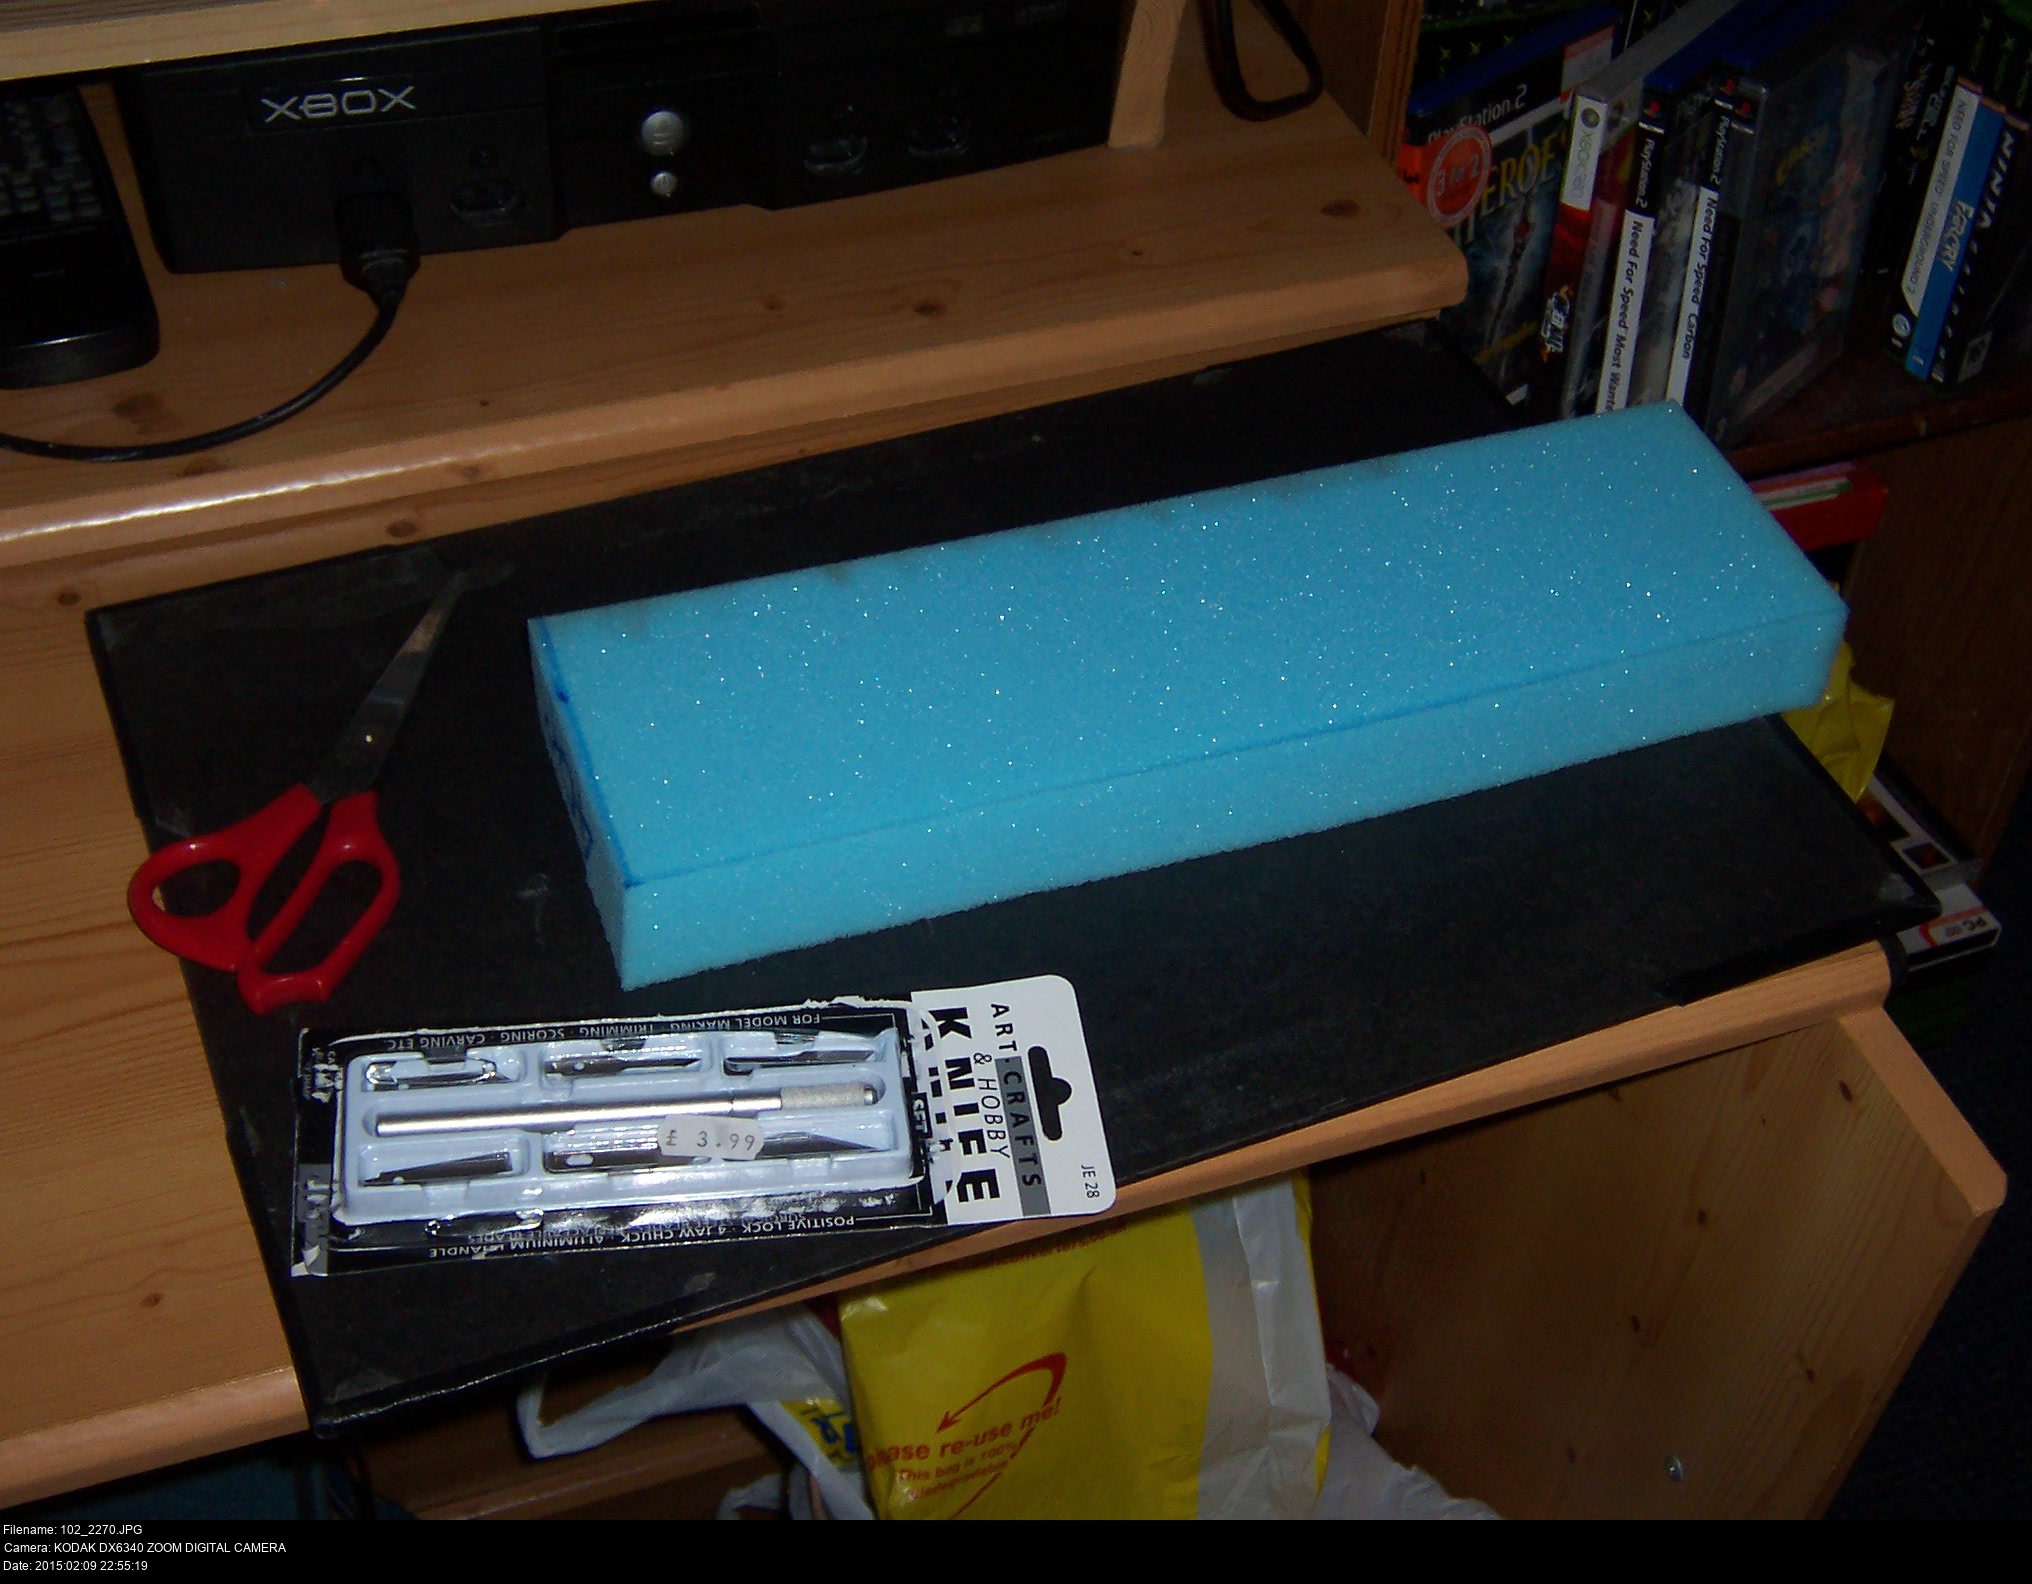
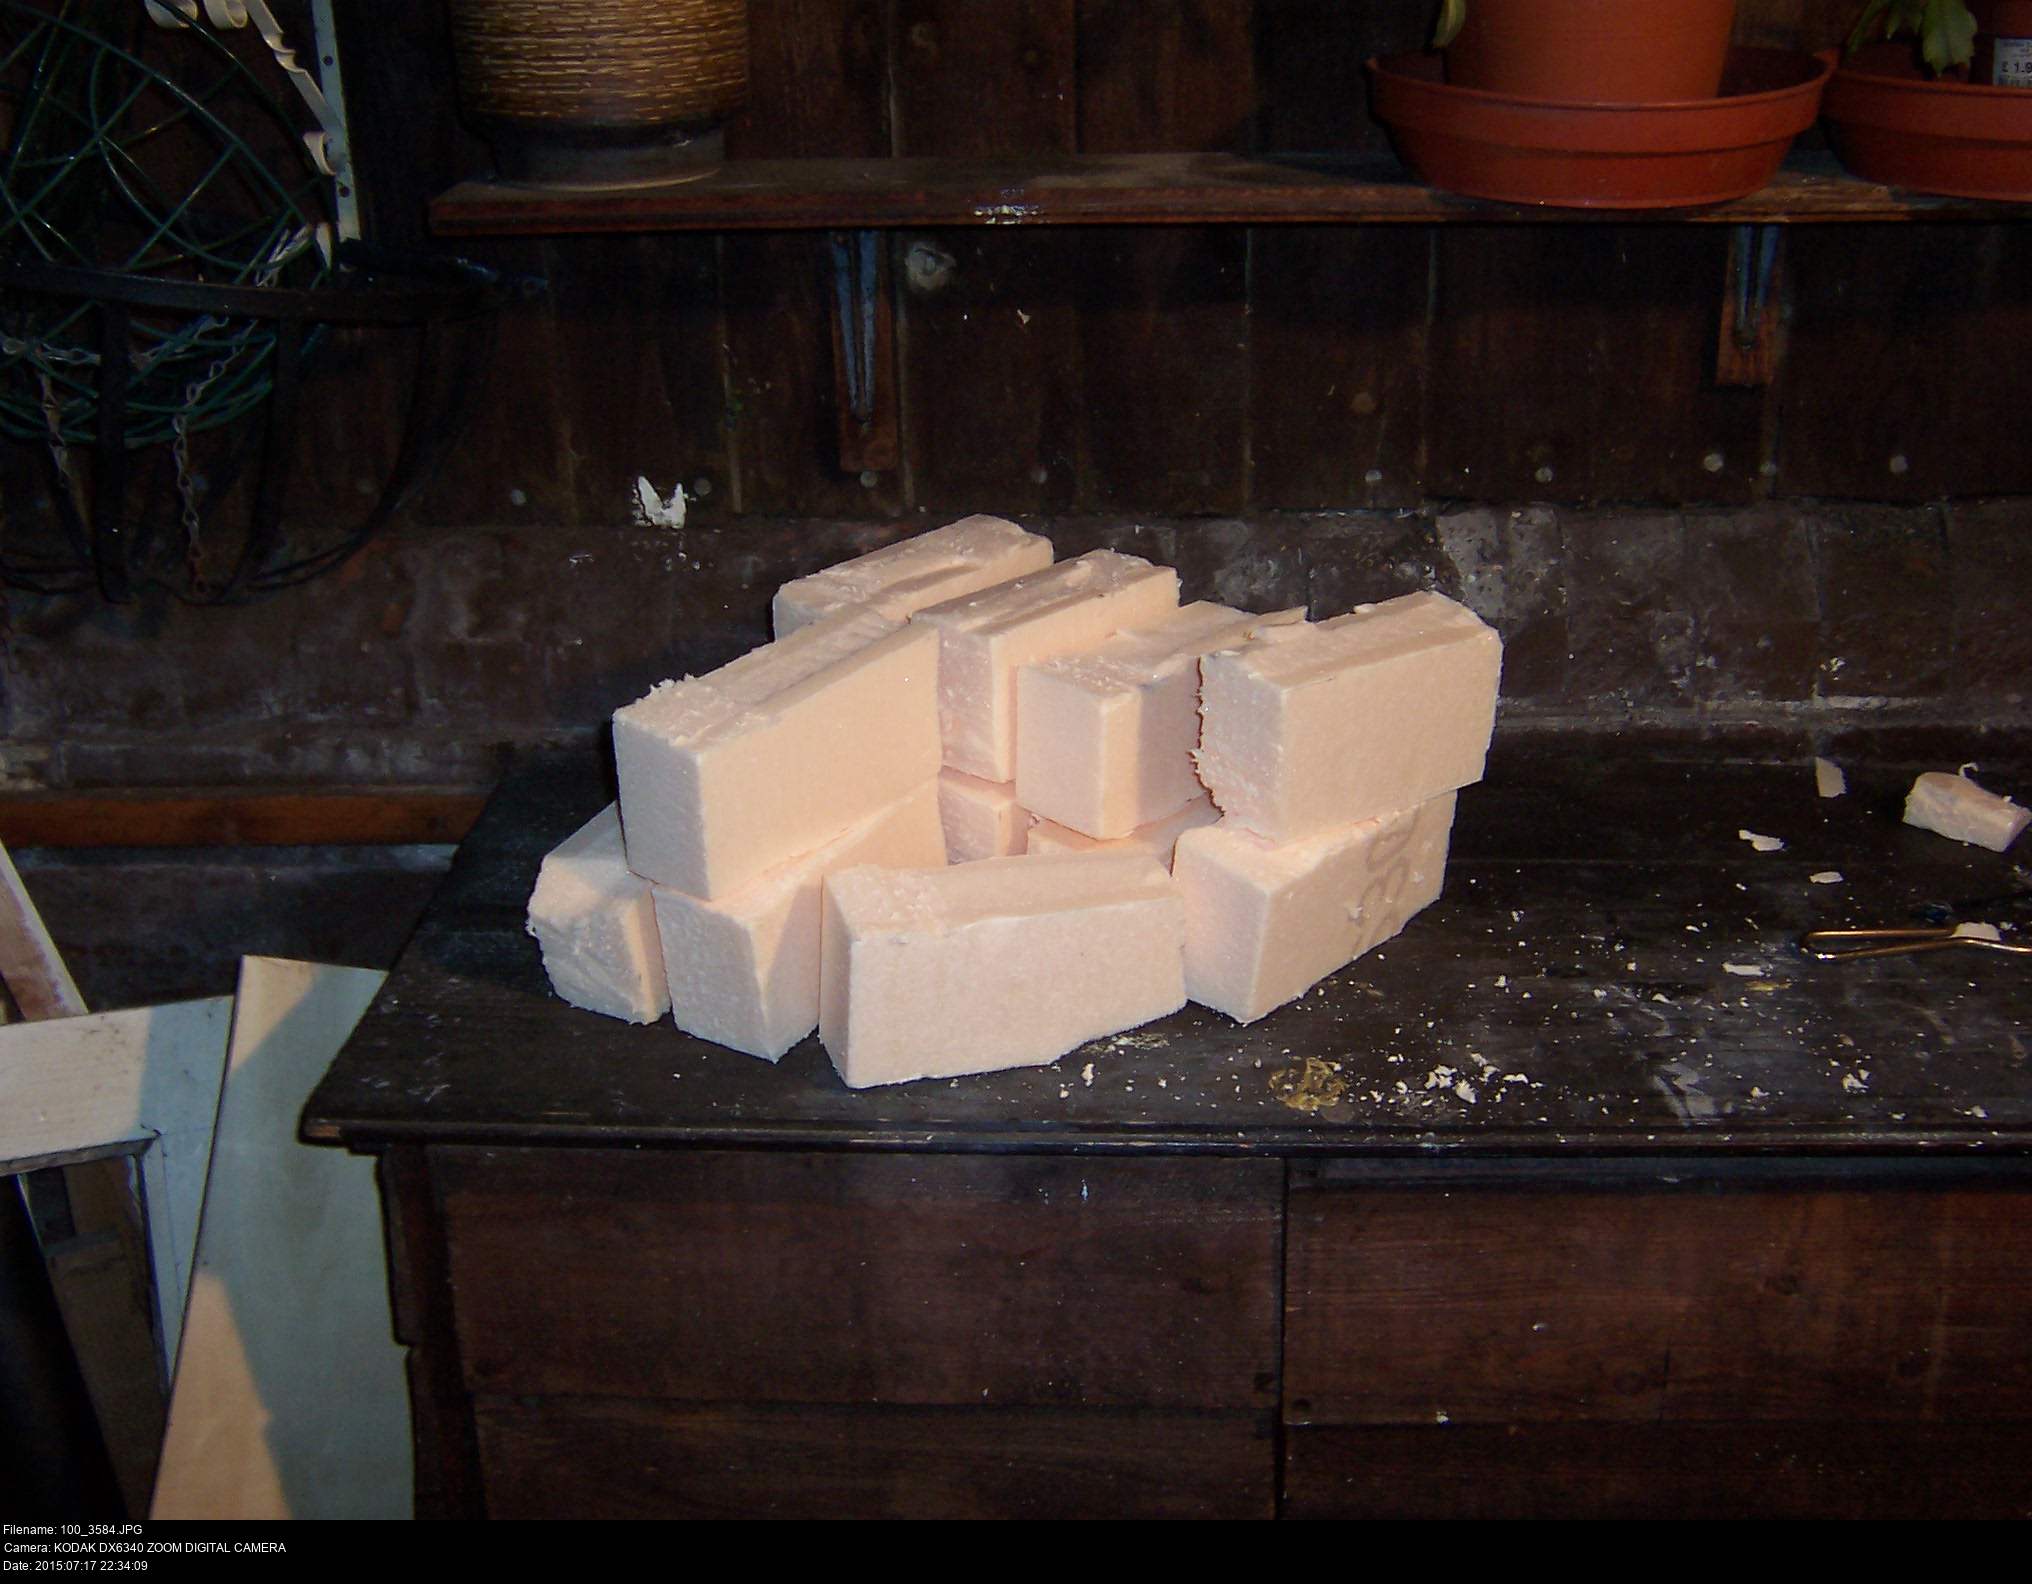
Keep those large blocks of foam, they'll be useful at some point. Plus, you paid for them.

I'll repeat what I said before about making a mess. Don't do it!

Meanwhile, I tried dunking a piece of foam in PVA glue to see if that would have any effect. Maybe seal it up to keep it nicer for longer, or make it stiffer and easier to sand. No effect, it was stupid. Don't do this, chuck it out.
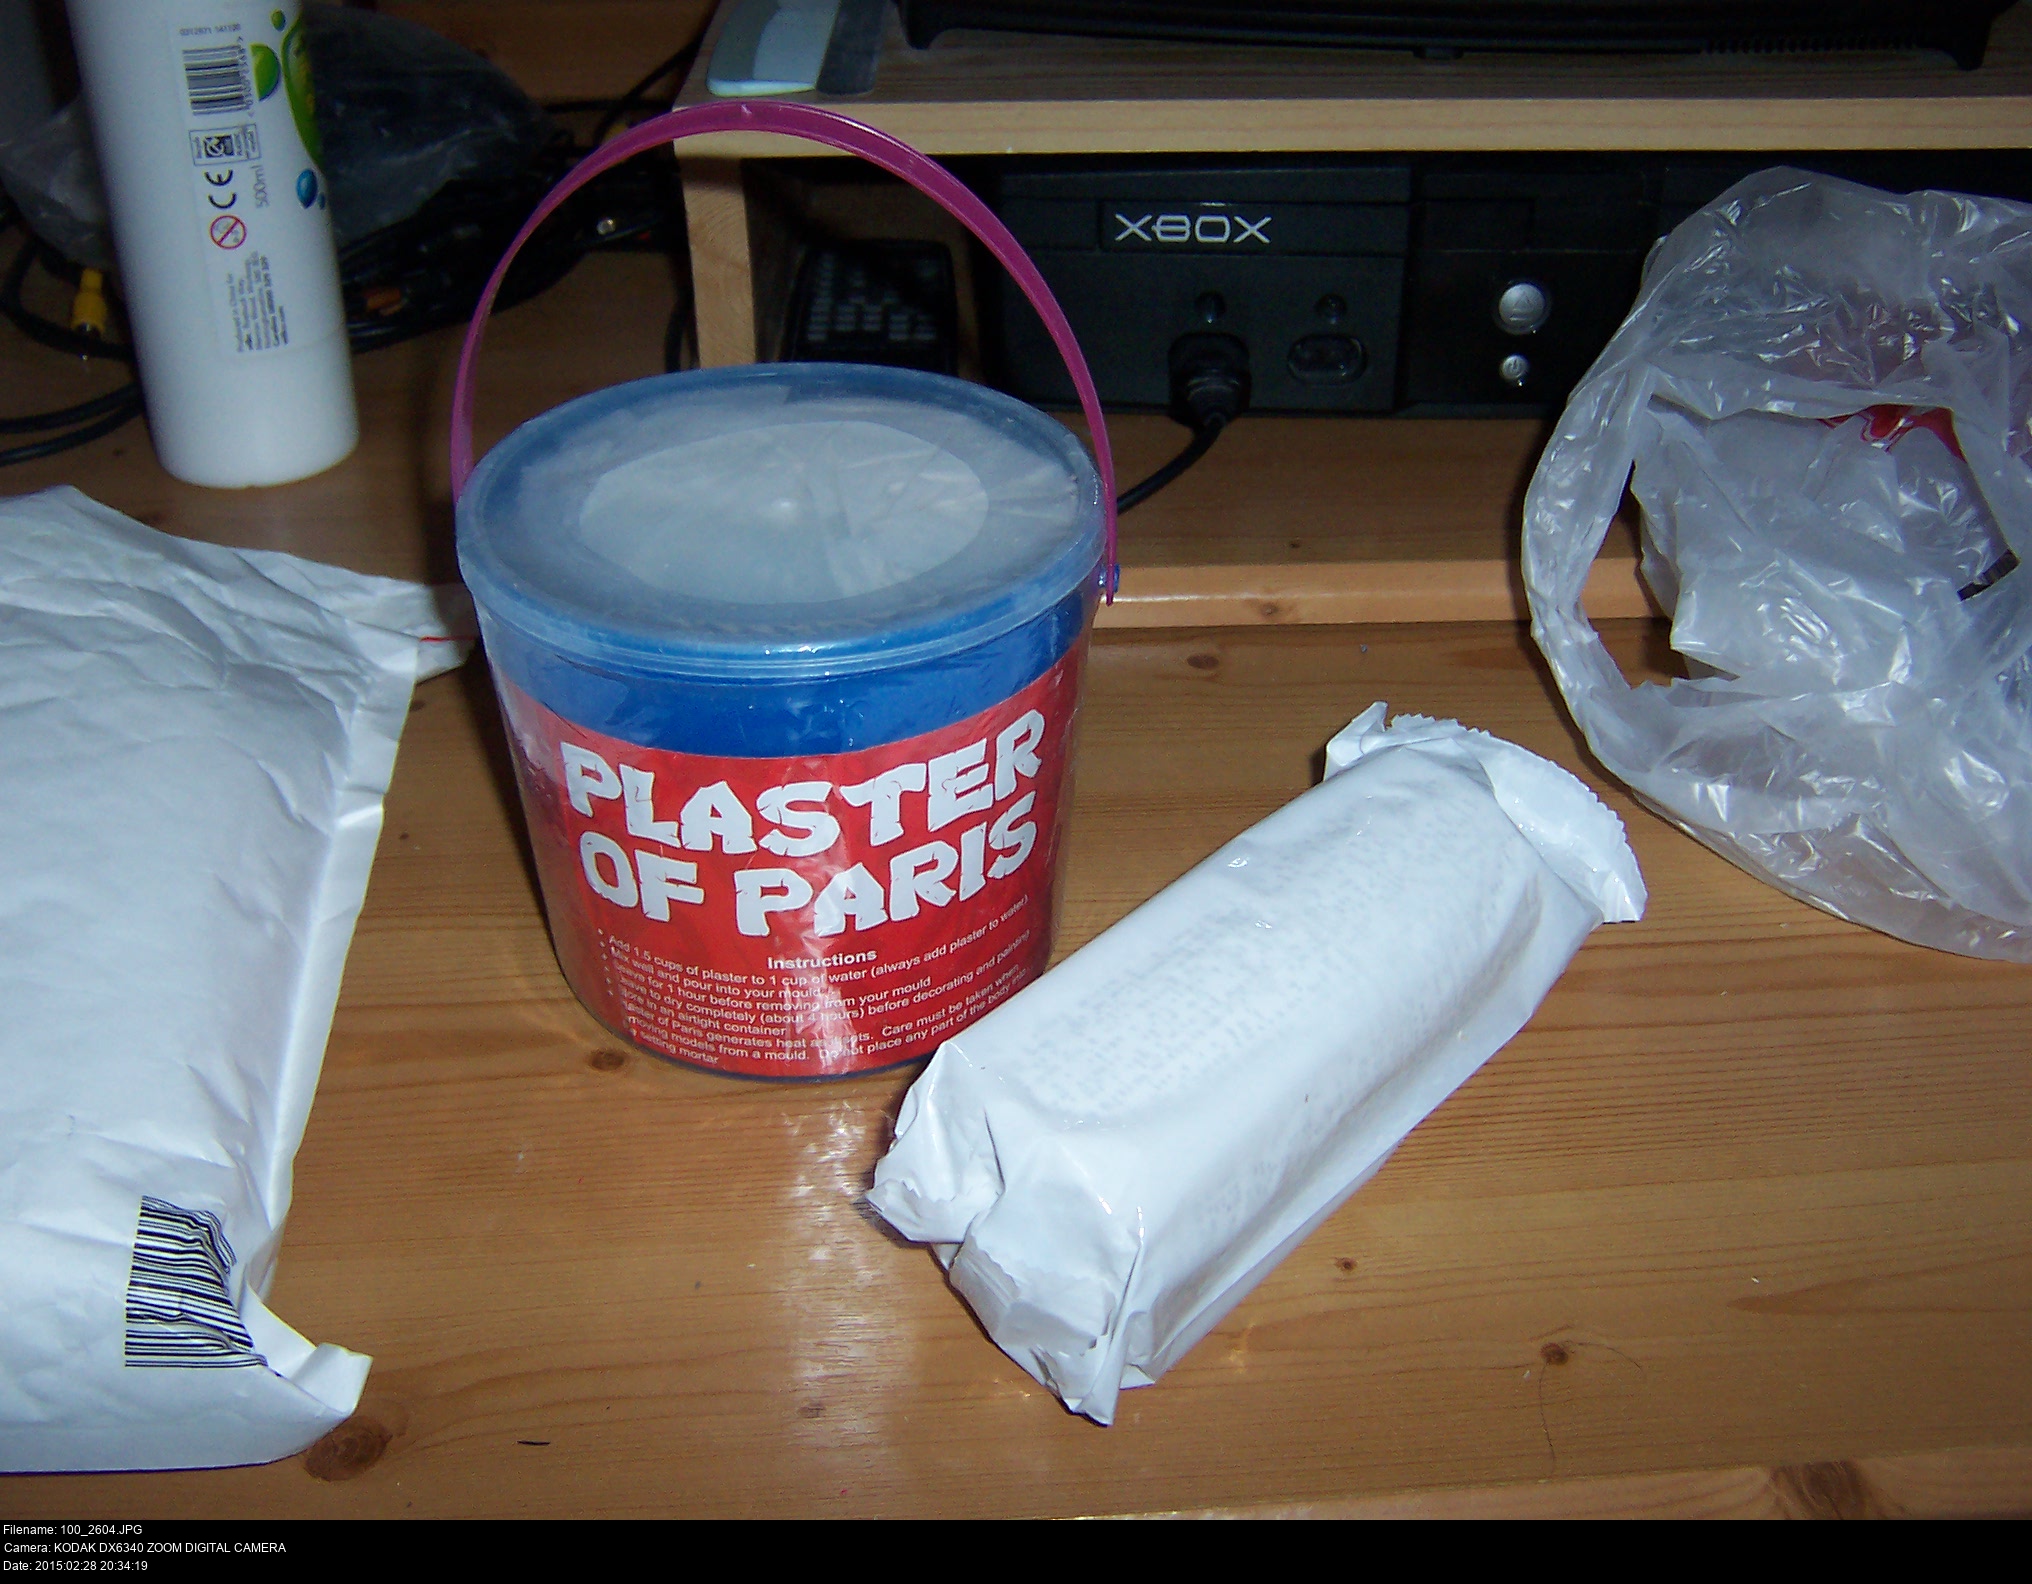

Plaster of Paris bought from Amazon and a bunch of modroc rolls. Keep these dry or they'll all get horribly mouldy. Definitely keep all this plaster stuff away from anything you'd like to keep clean, like your fabric stash, your tools or your costume-in-progress. Or your carpet.
You're better do this step outside as well because this stuff is basically quick-setting mush that gets EVERYWHERE. Be prepared to clean up.
I've got newspaper, scissors, cling film, THICK RUBBER GLOVES, warm water, sponges, water sprayer, bowls, wipes, disposable cups, bin bags everywhere and lots of newspaper.

But first, let's test this out on the tiny mask! Think: what would Adam Savage and Jamie Hyneman, the Mythbusters, do? They'd make a scale model to test their method is practicable first!
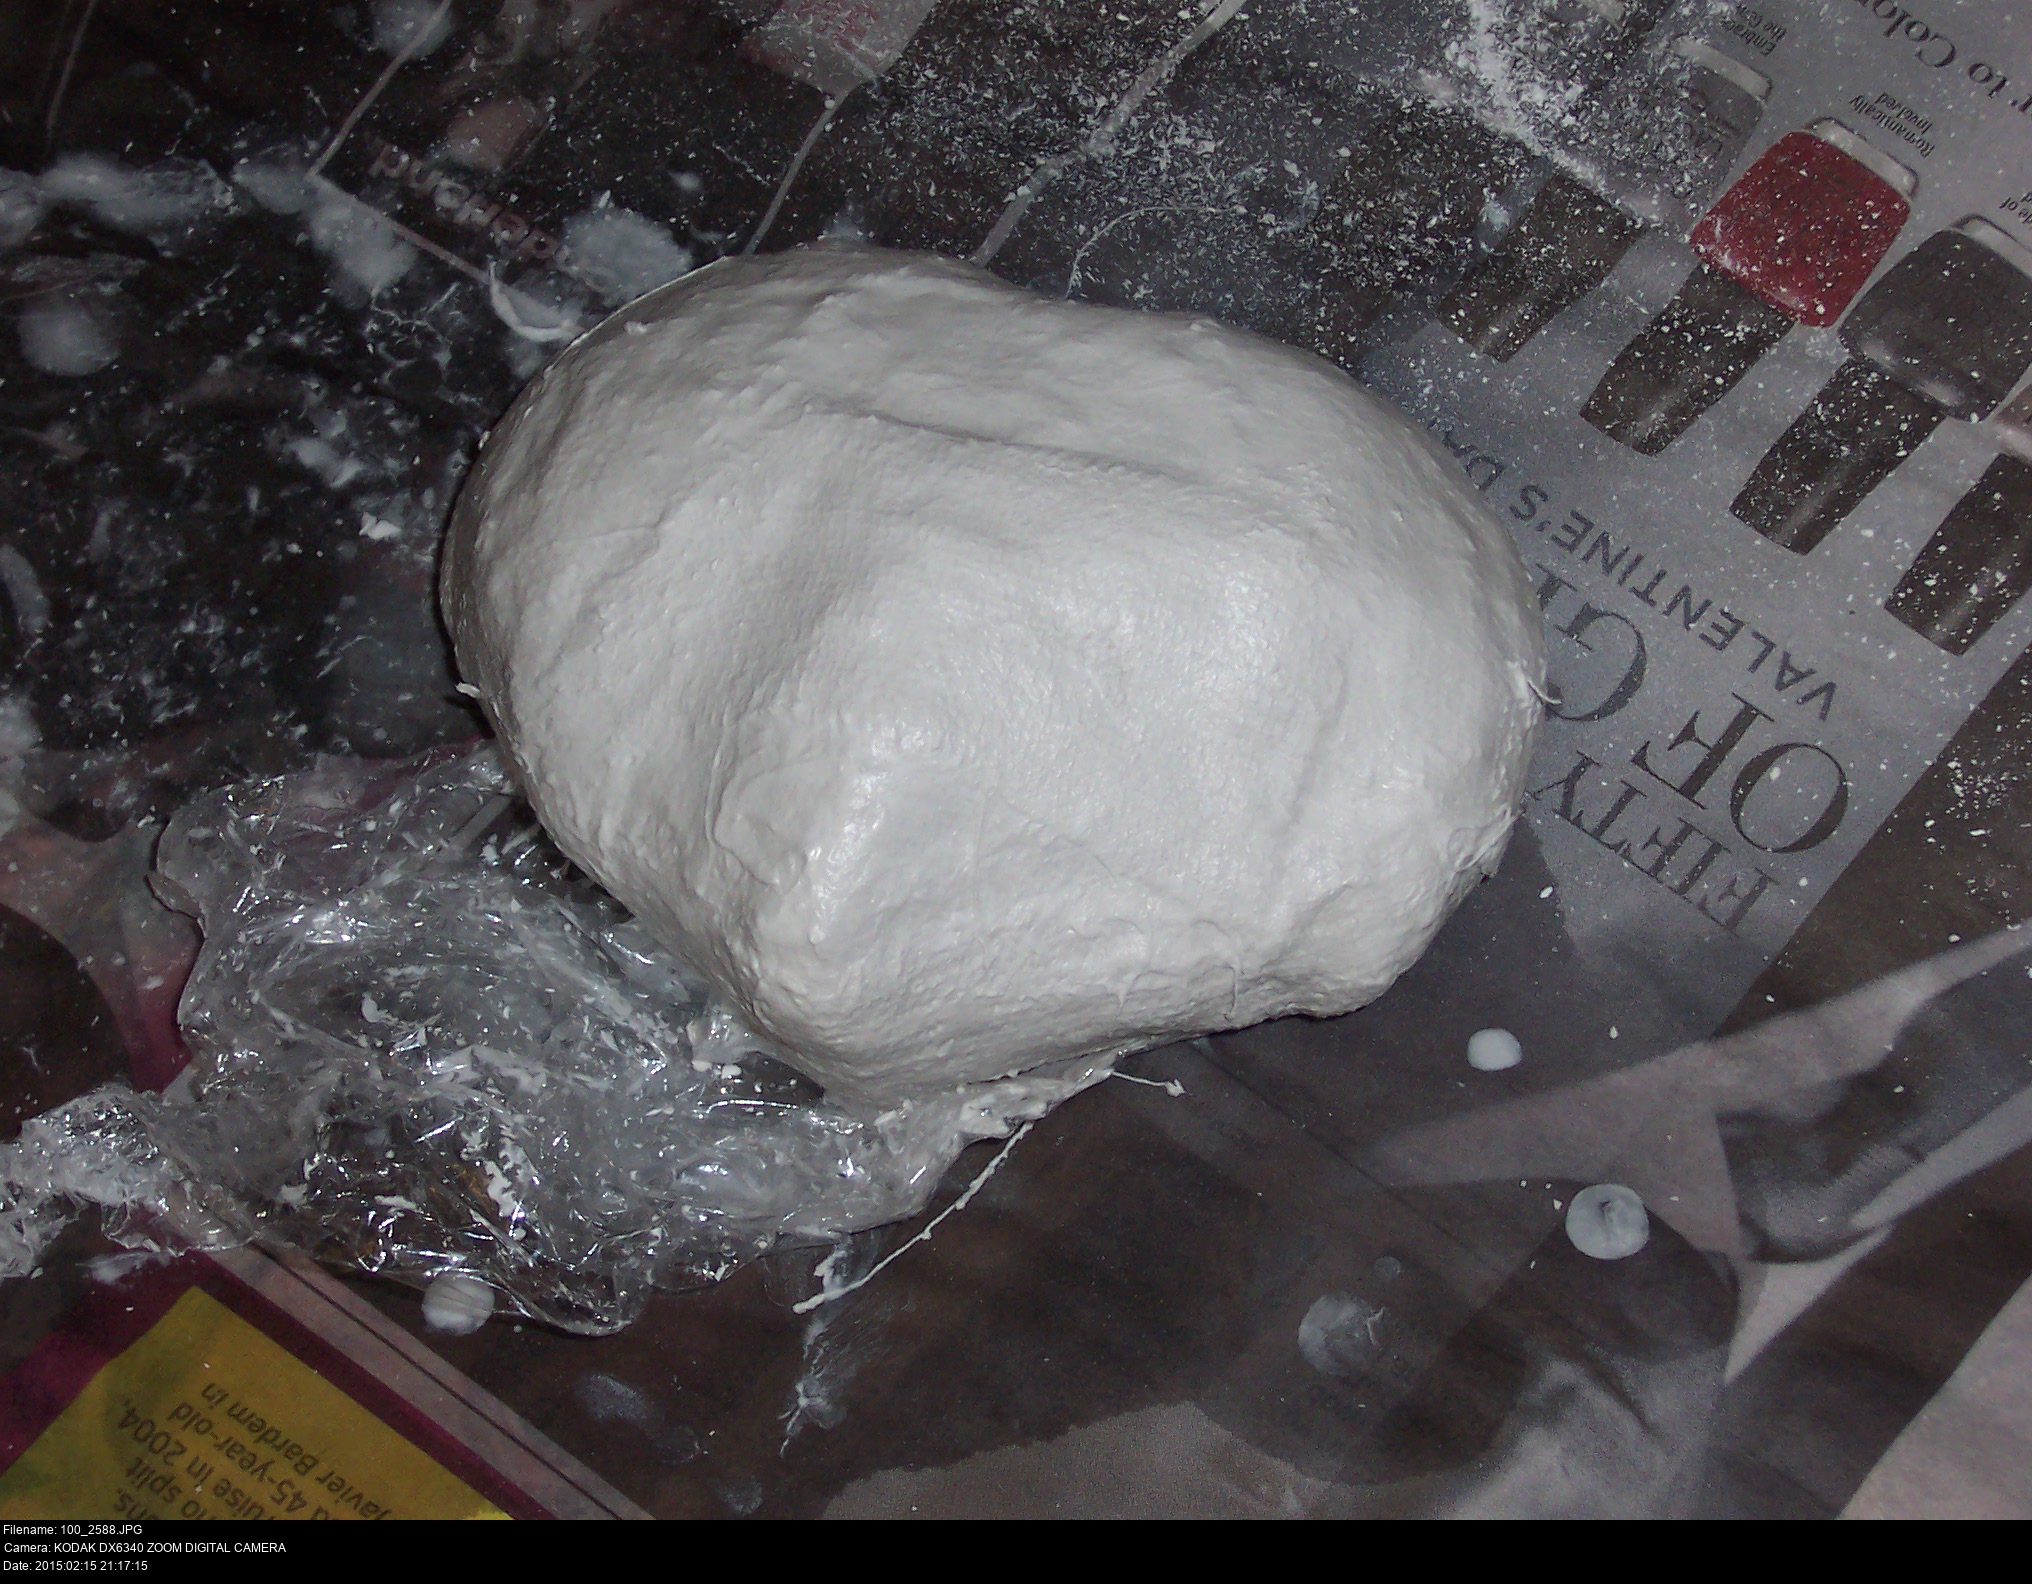
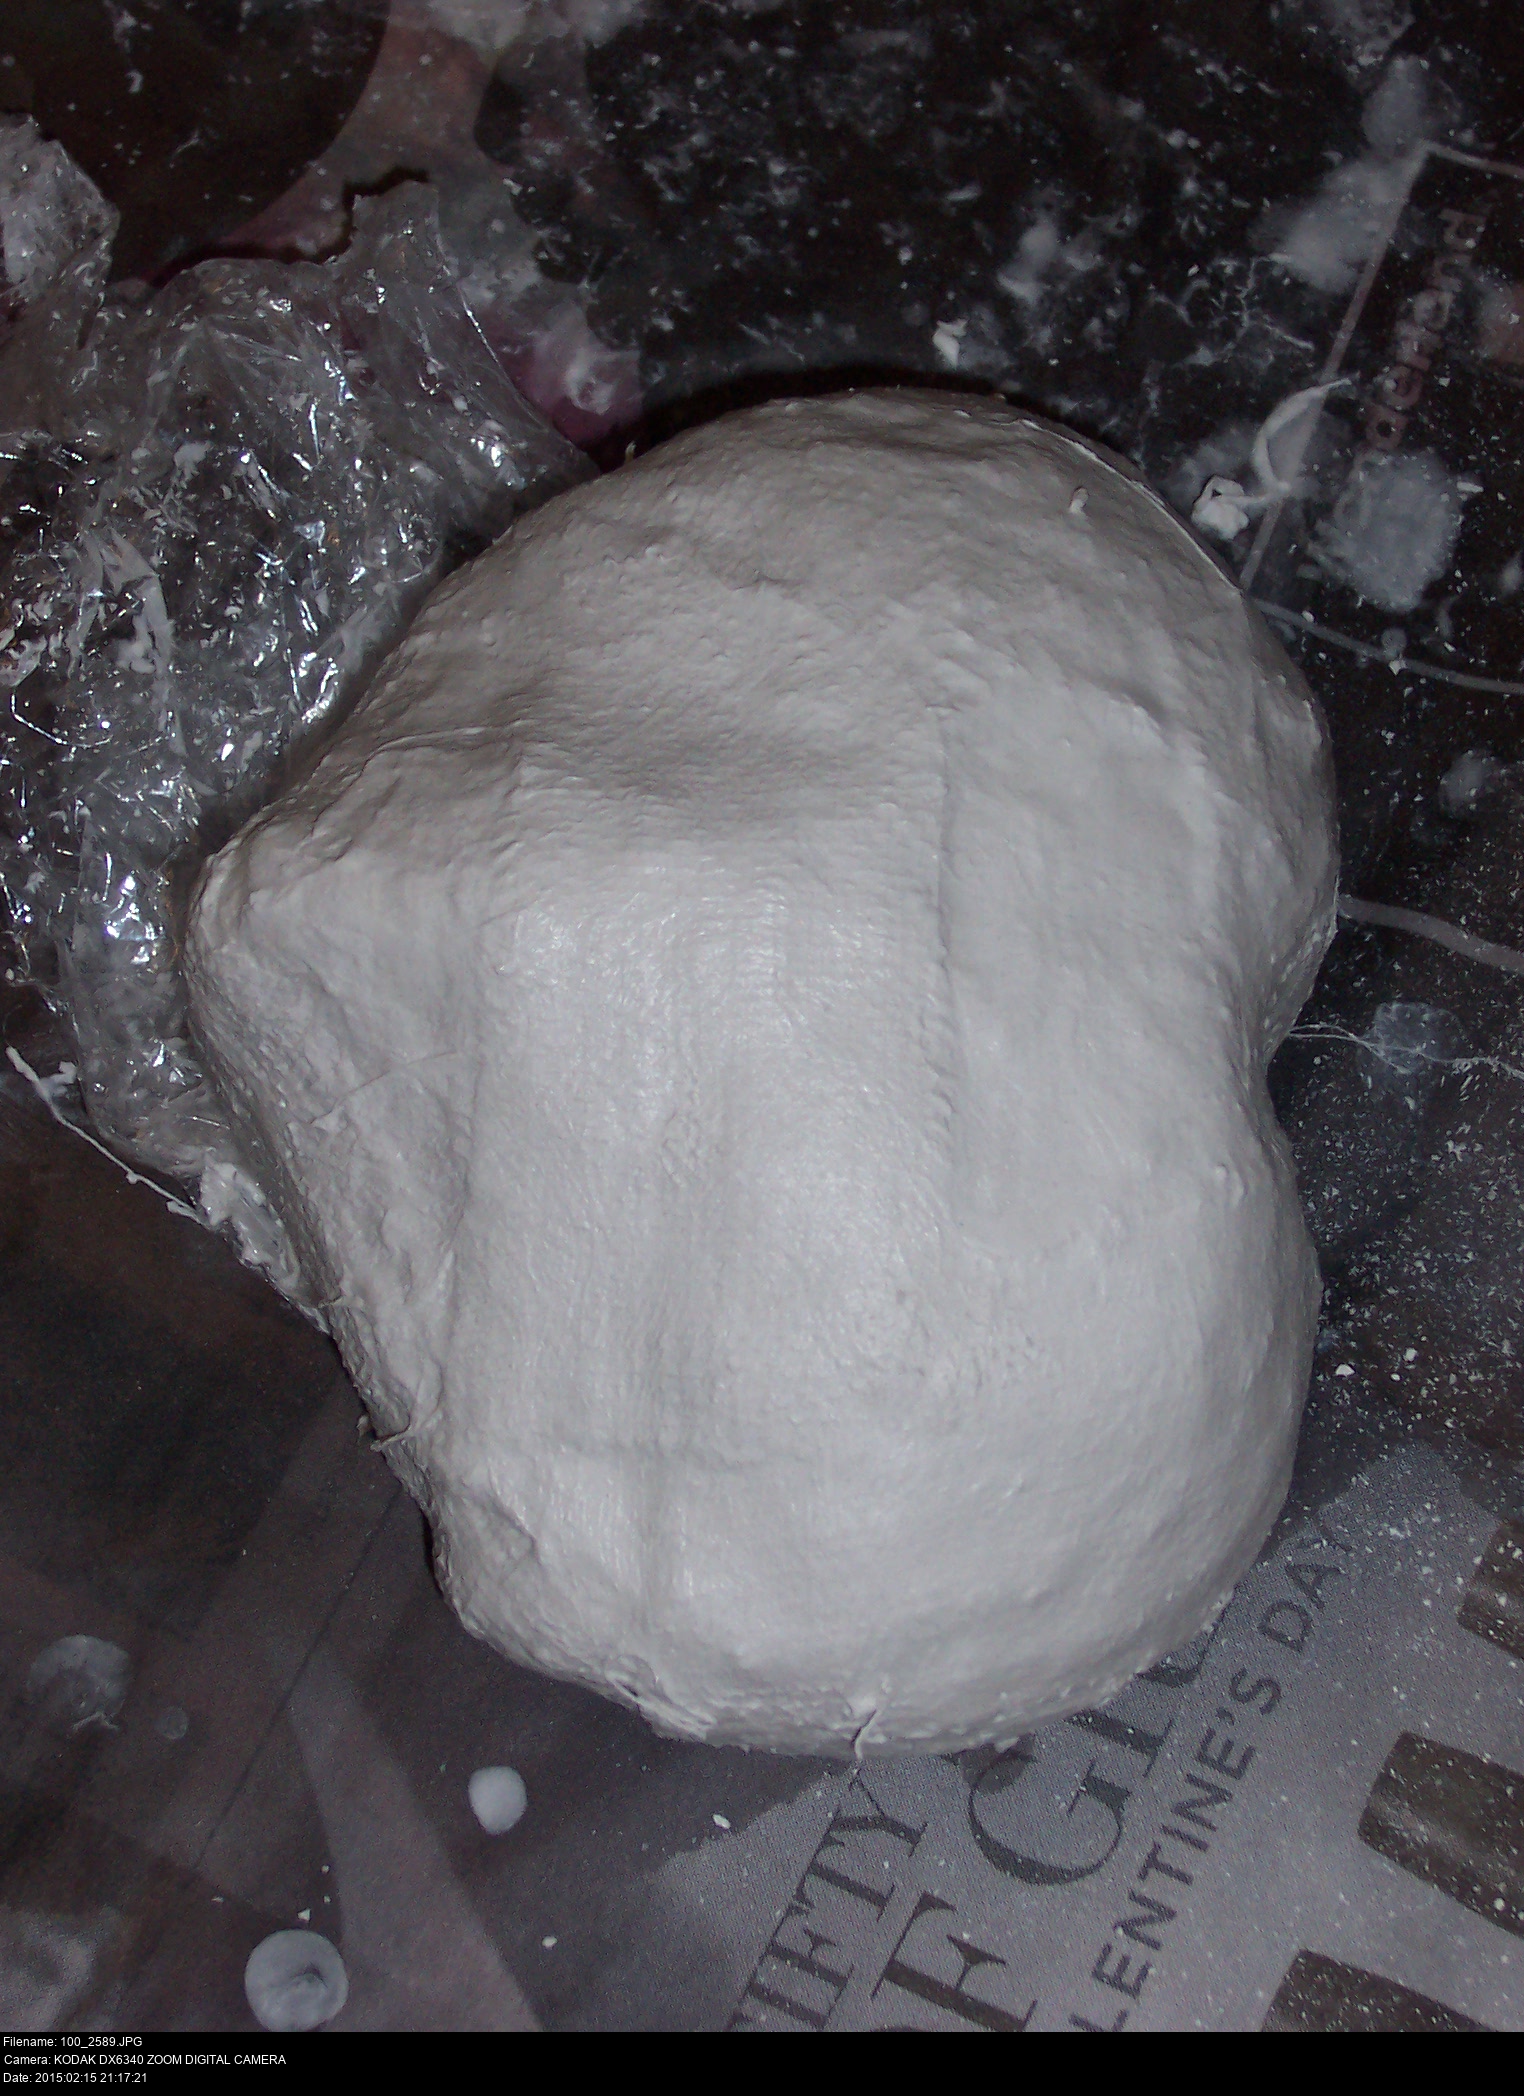
It was a waste of time, but maybe I can do something with this later. At least I've gotten a little practice at using the modroc.

One of the reasons I made the form out of upholstery foam is that I could re-use to make more masks in future, or, more likely, have multiple attempts when it all goes horribly wrong.
To keep the foam nice and clean, I've wrapped it in several layers of cling film, tightly. This ought to keep any water from seeping in or any powder splattering on the foam.
Modrocing:
Spray the form with a mist of warm water.
Cut your modroc into narrow, short strips and put them to one side.
Dunk a strip into a bowl of warm water, massaging the powder into the weave of the bandage.
Lay the strip onto the form, pressing it tightly against the form.
Quickly move onto the next strip, laying it beside the first. When you massage two strips together, the plaster will cause them blend together into one. The more blended they are, the better.
When laying strips, push them right into the contours of the form.
Don't do more than two or three layers at a time, since the plaster has to cure and dry in the air.
Occasionally spray the laid plaster strips with the spraybottle. You need to keep your work slightly moist while you work on it so that the plaster dissolves and adheres and coagulates correctly.

And there we go.
I've gone for the method of laying the form onto the table and pushing the modroc down on top of both it and the desk. When it's all done, I should be able to cut it away. (Nope.)
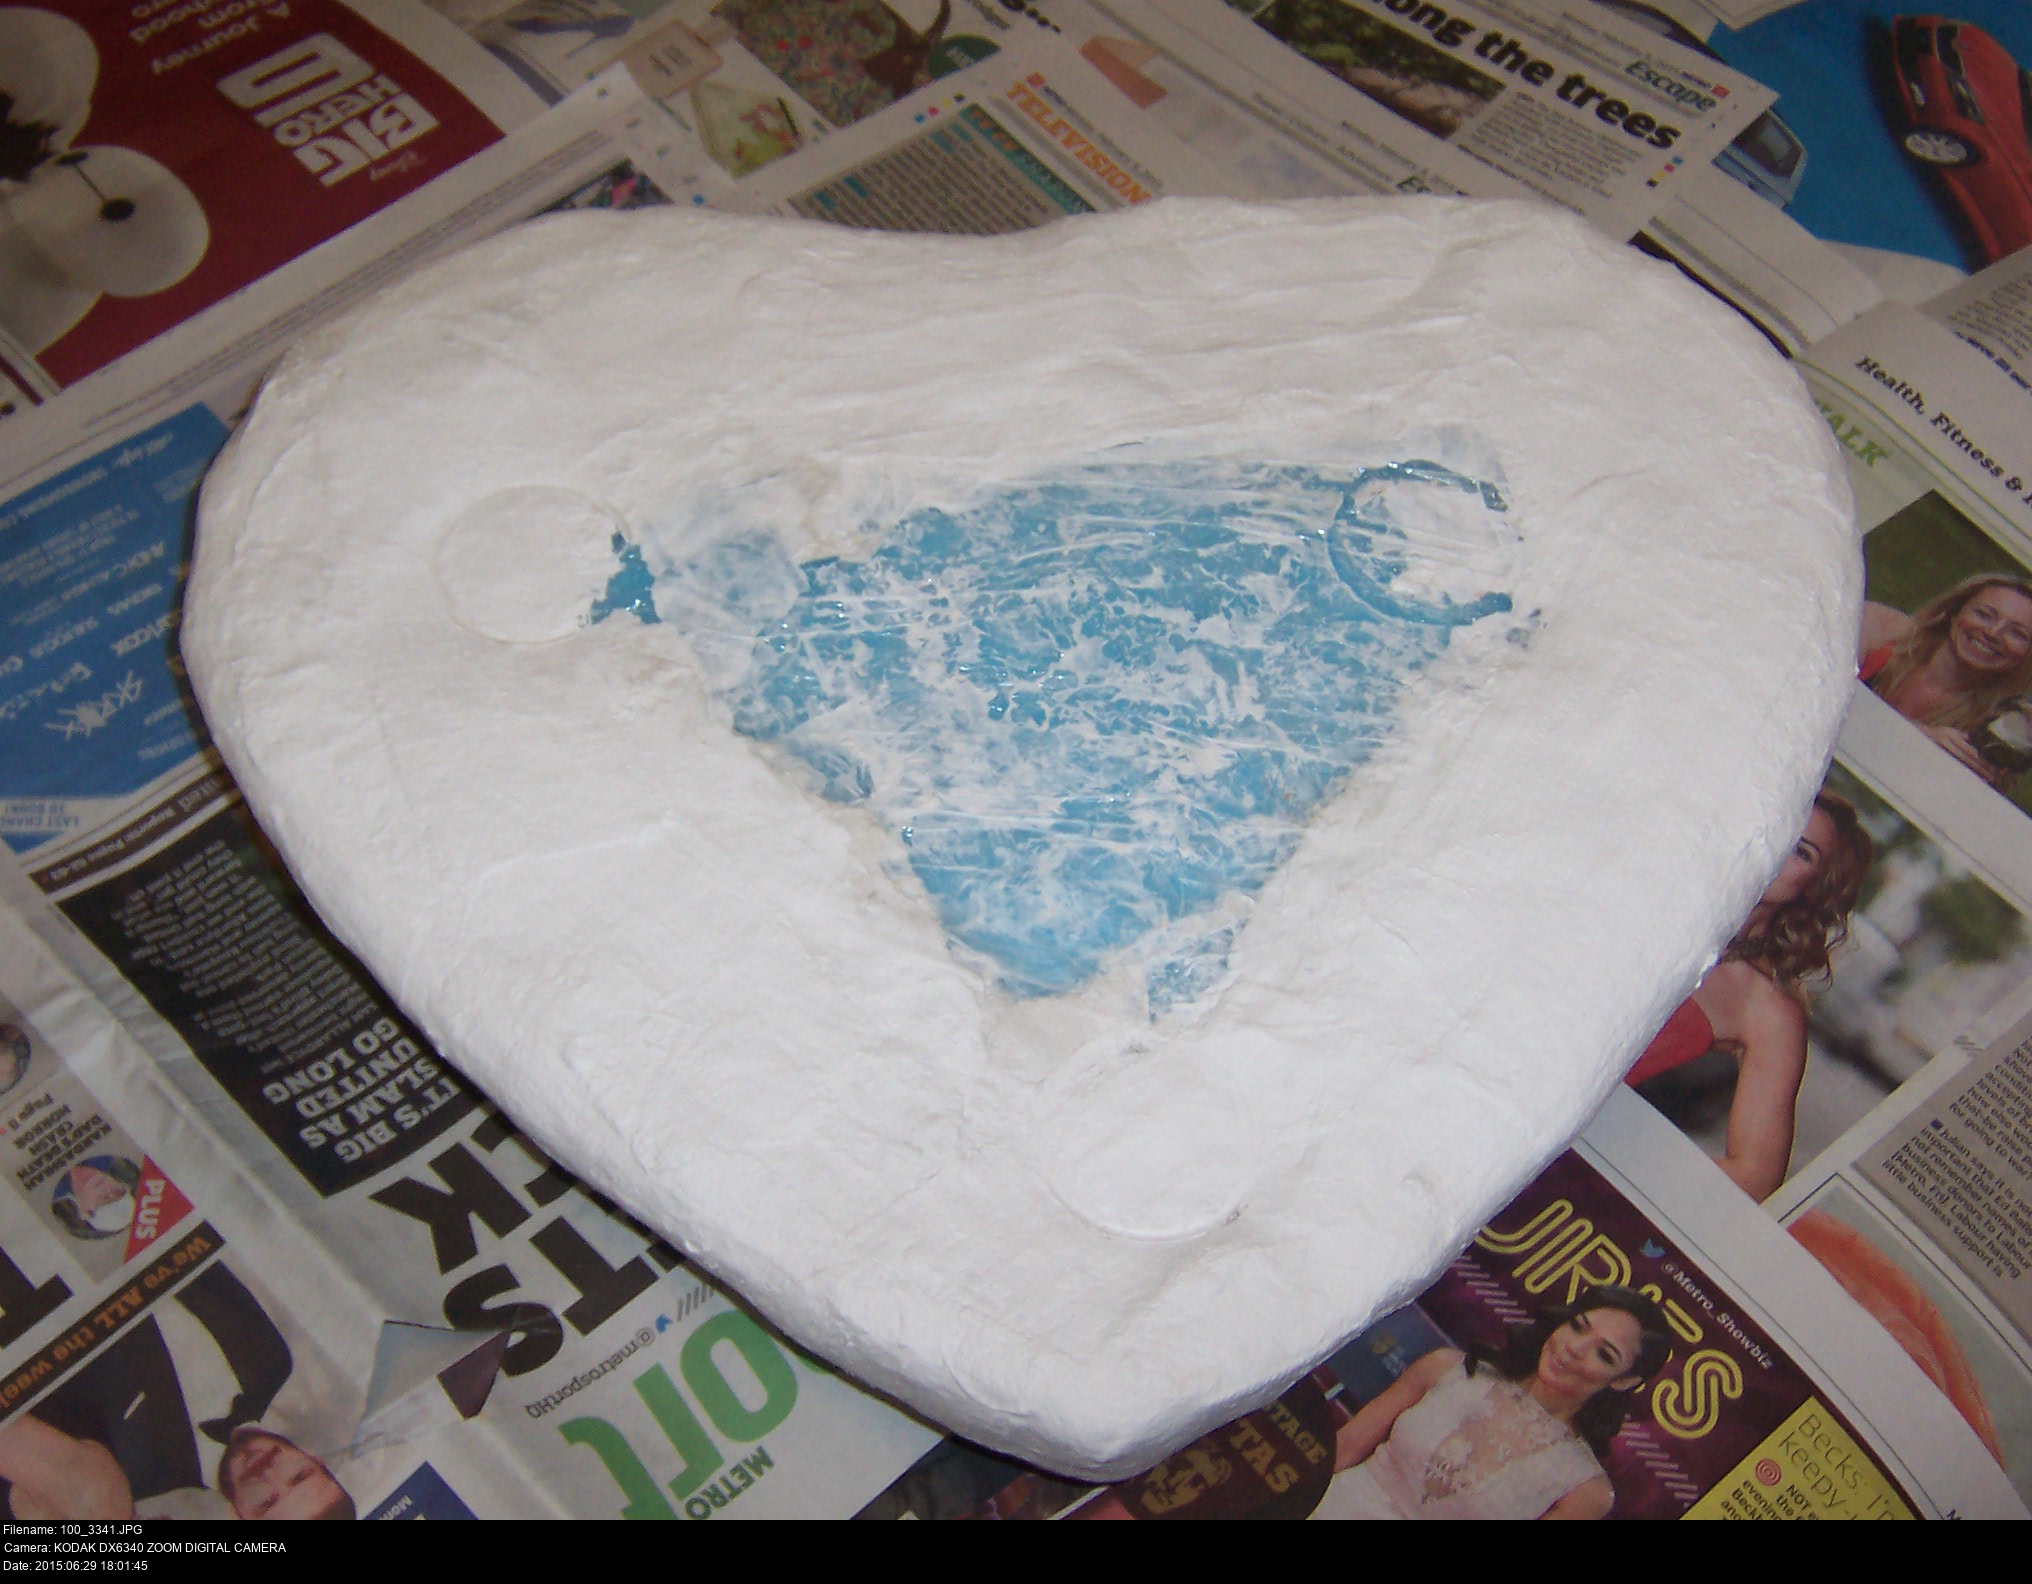
I can't lay any more layers on it for now, so that's it. You can't see it in the picture, but the mask is retaining the texture of the bandages a little instead of the plaster powder ending up smooth from pressing.
So I decided to wing it at the last minute and mix up a little of my plaster powder and smear it onto the top of the mask.


Ugh, what a mess. This was my first time working with plaster, and it's strange stuff. It starts of incredibly watery, almost completely impossible to work with. Within minutes, it's a thick paste, then lumps develop, then it's all one great big brick.
That's why I've got what you see there. It started hardening while I was painting it on in watery thin coats. I didn't know what to do so I decided to start working in vertical strips so it might dry with a bark like texture.
Plaster dries into a hard, brittle, very easily sanded solid, so I can sand all that off to get a completely smooth mask if I decide that painting onto the texture is too difficult.
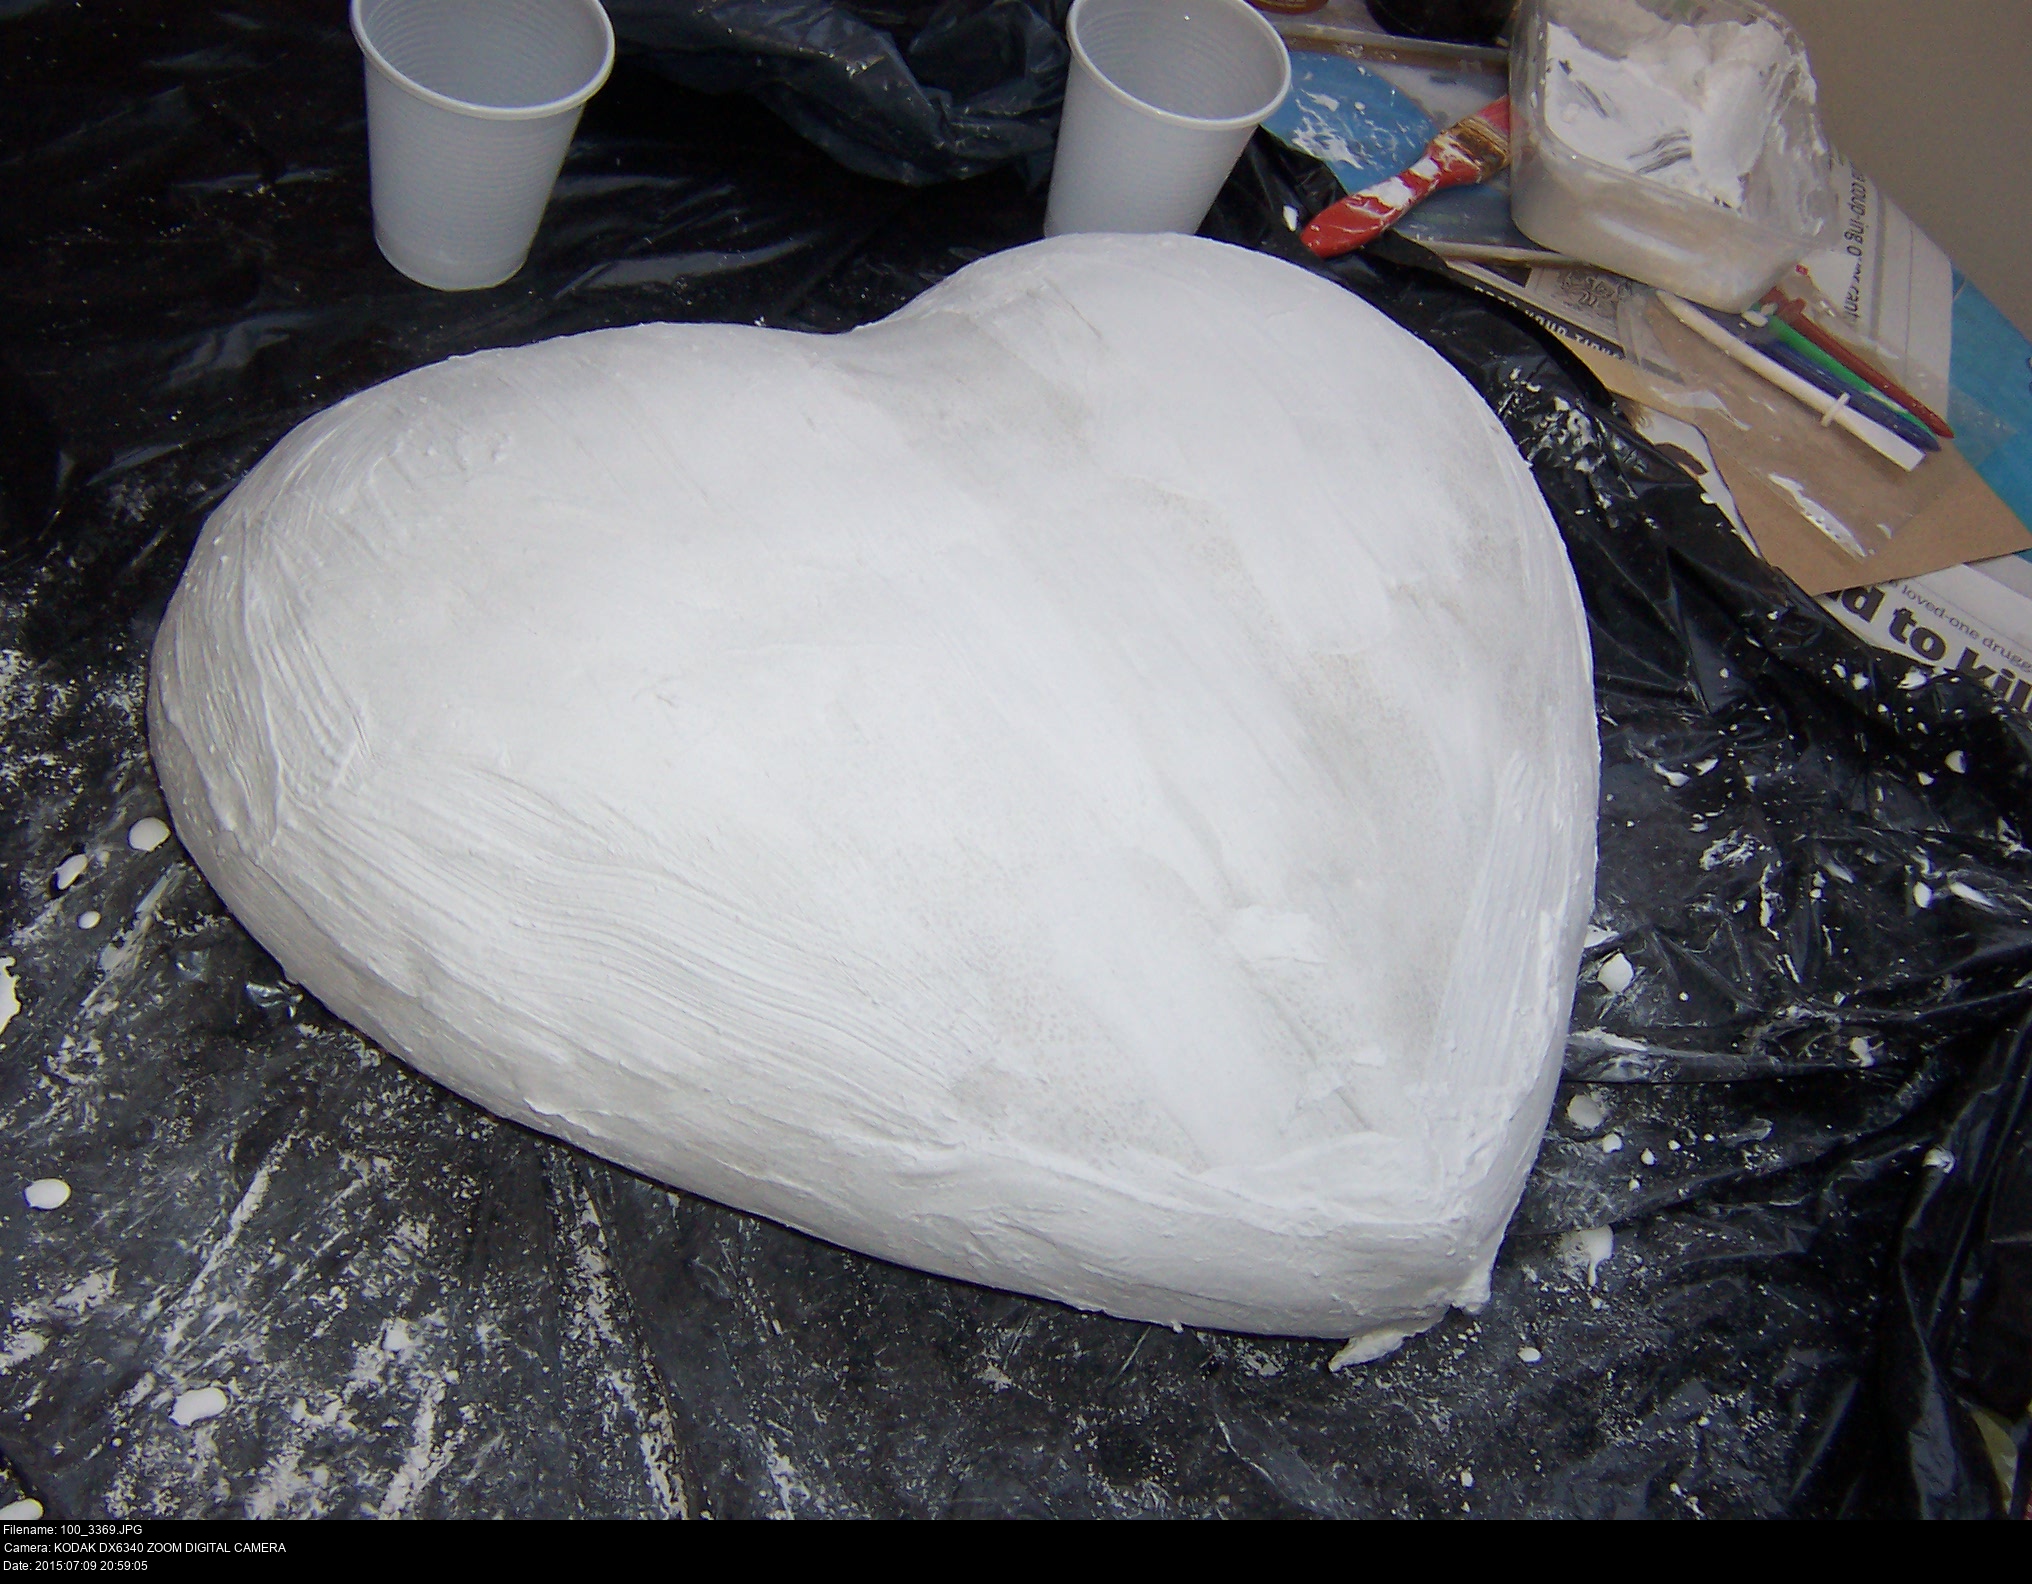
And that's all we can do for now. Gotta let it dry! 24 hours at least!

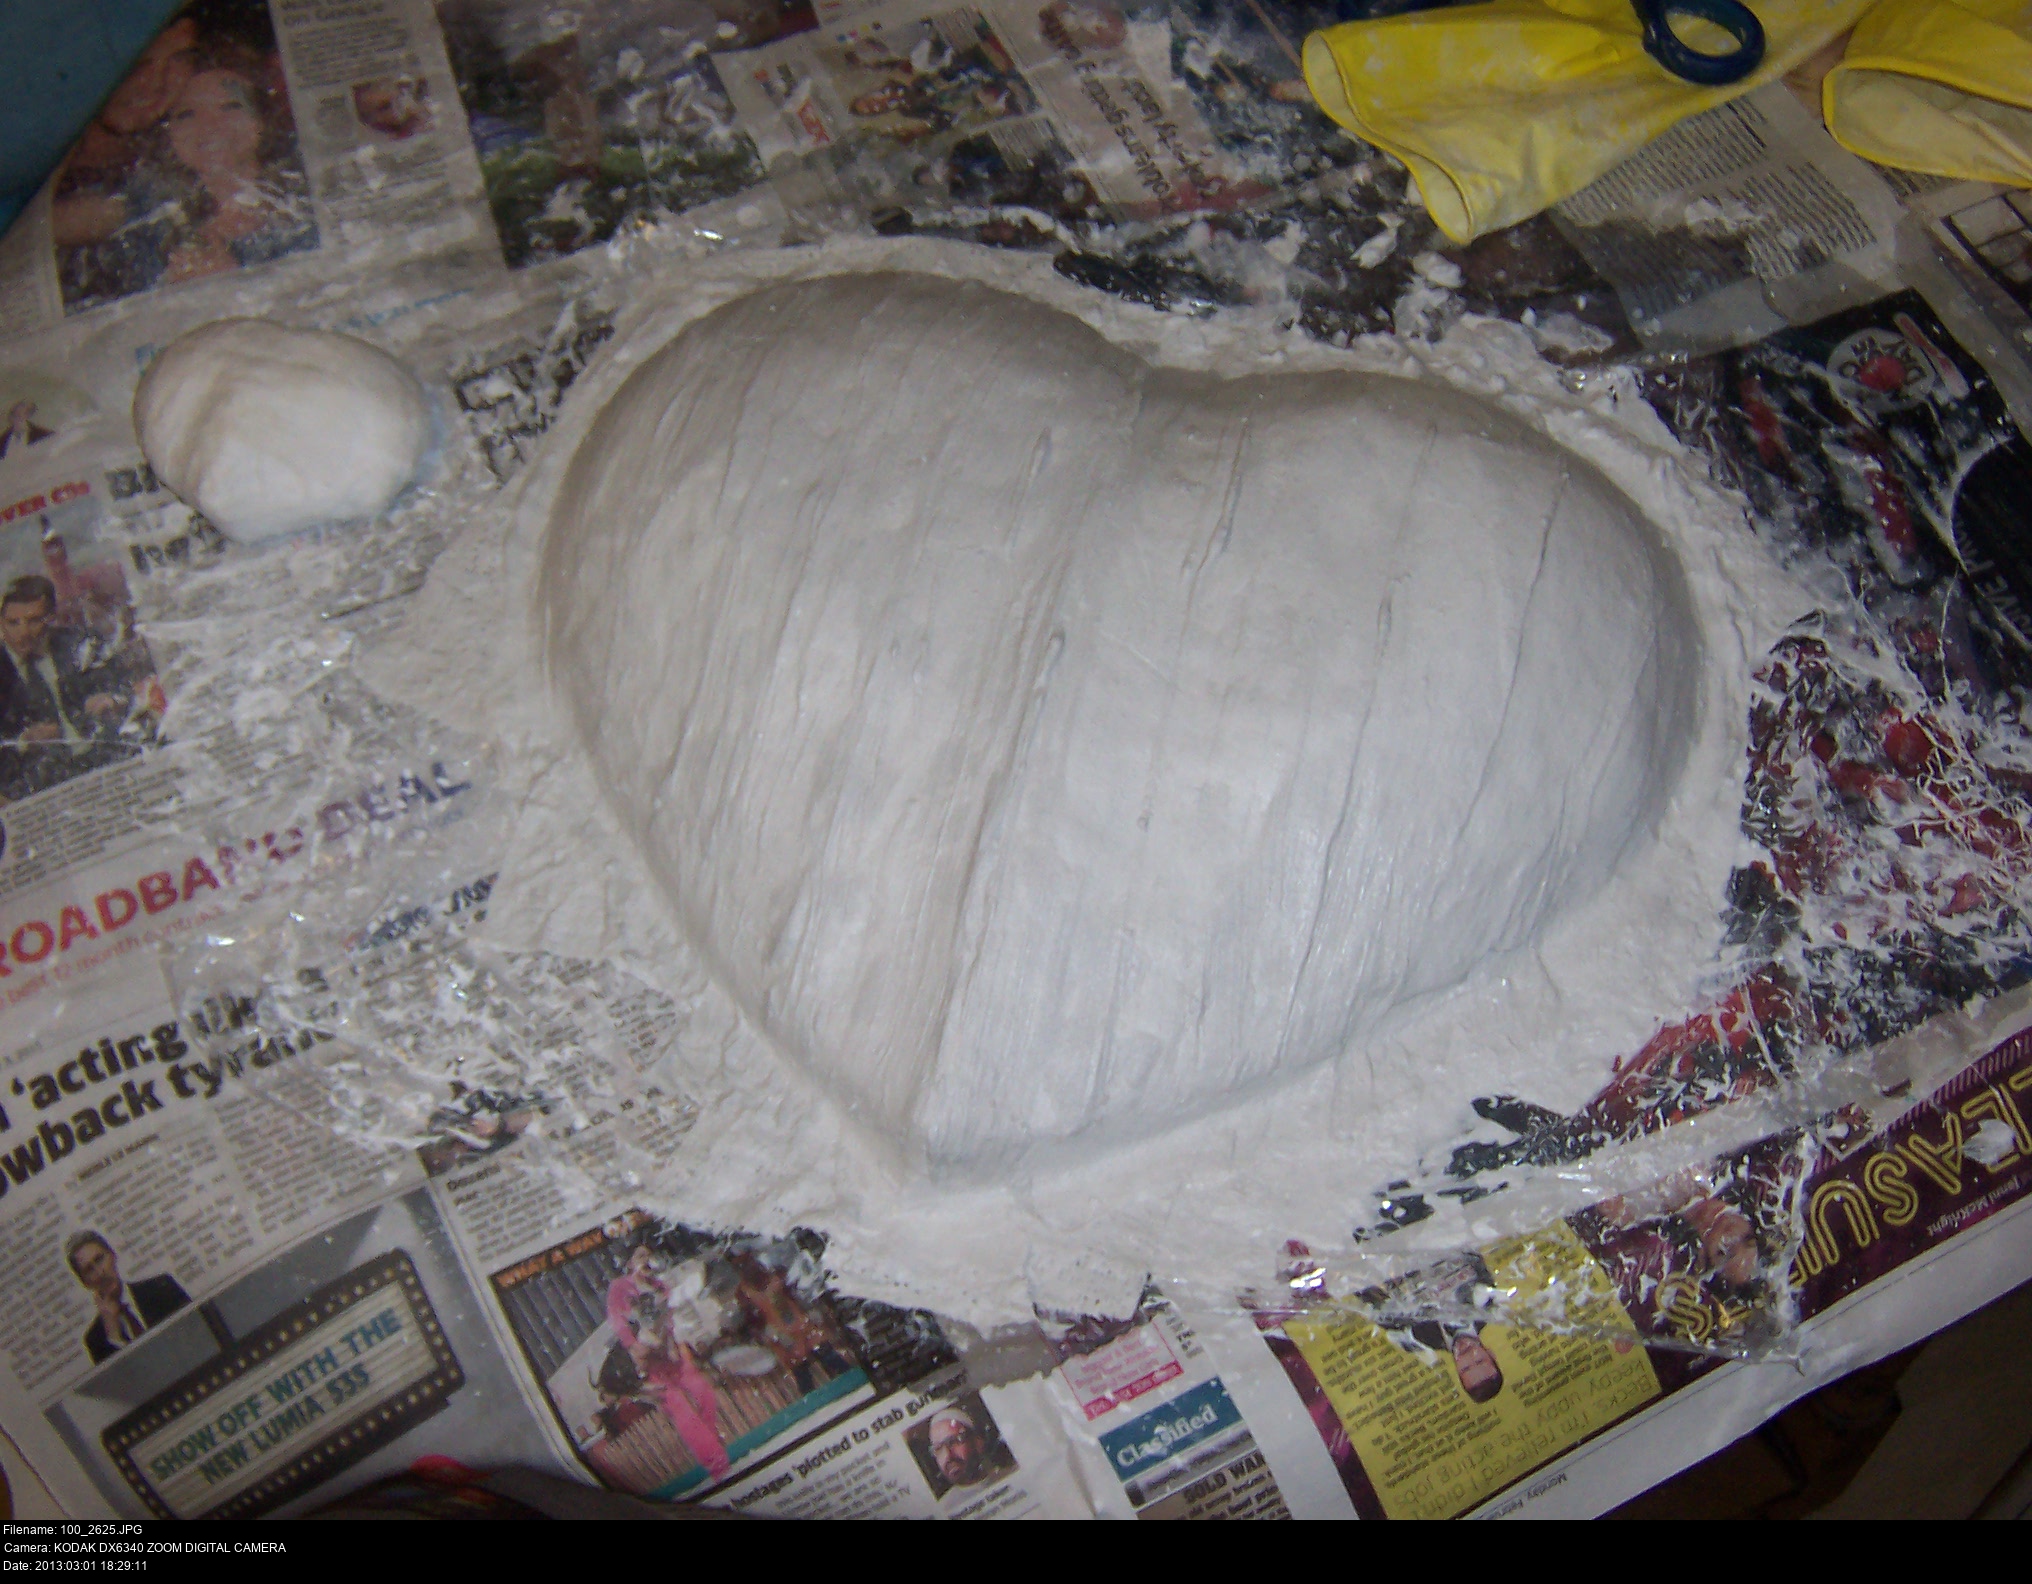
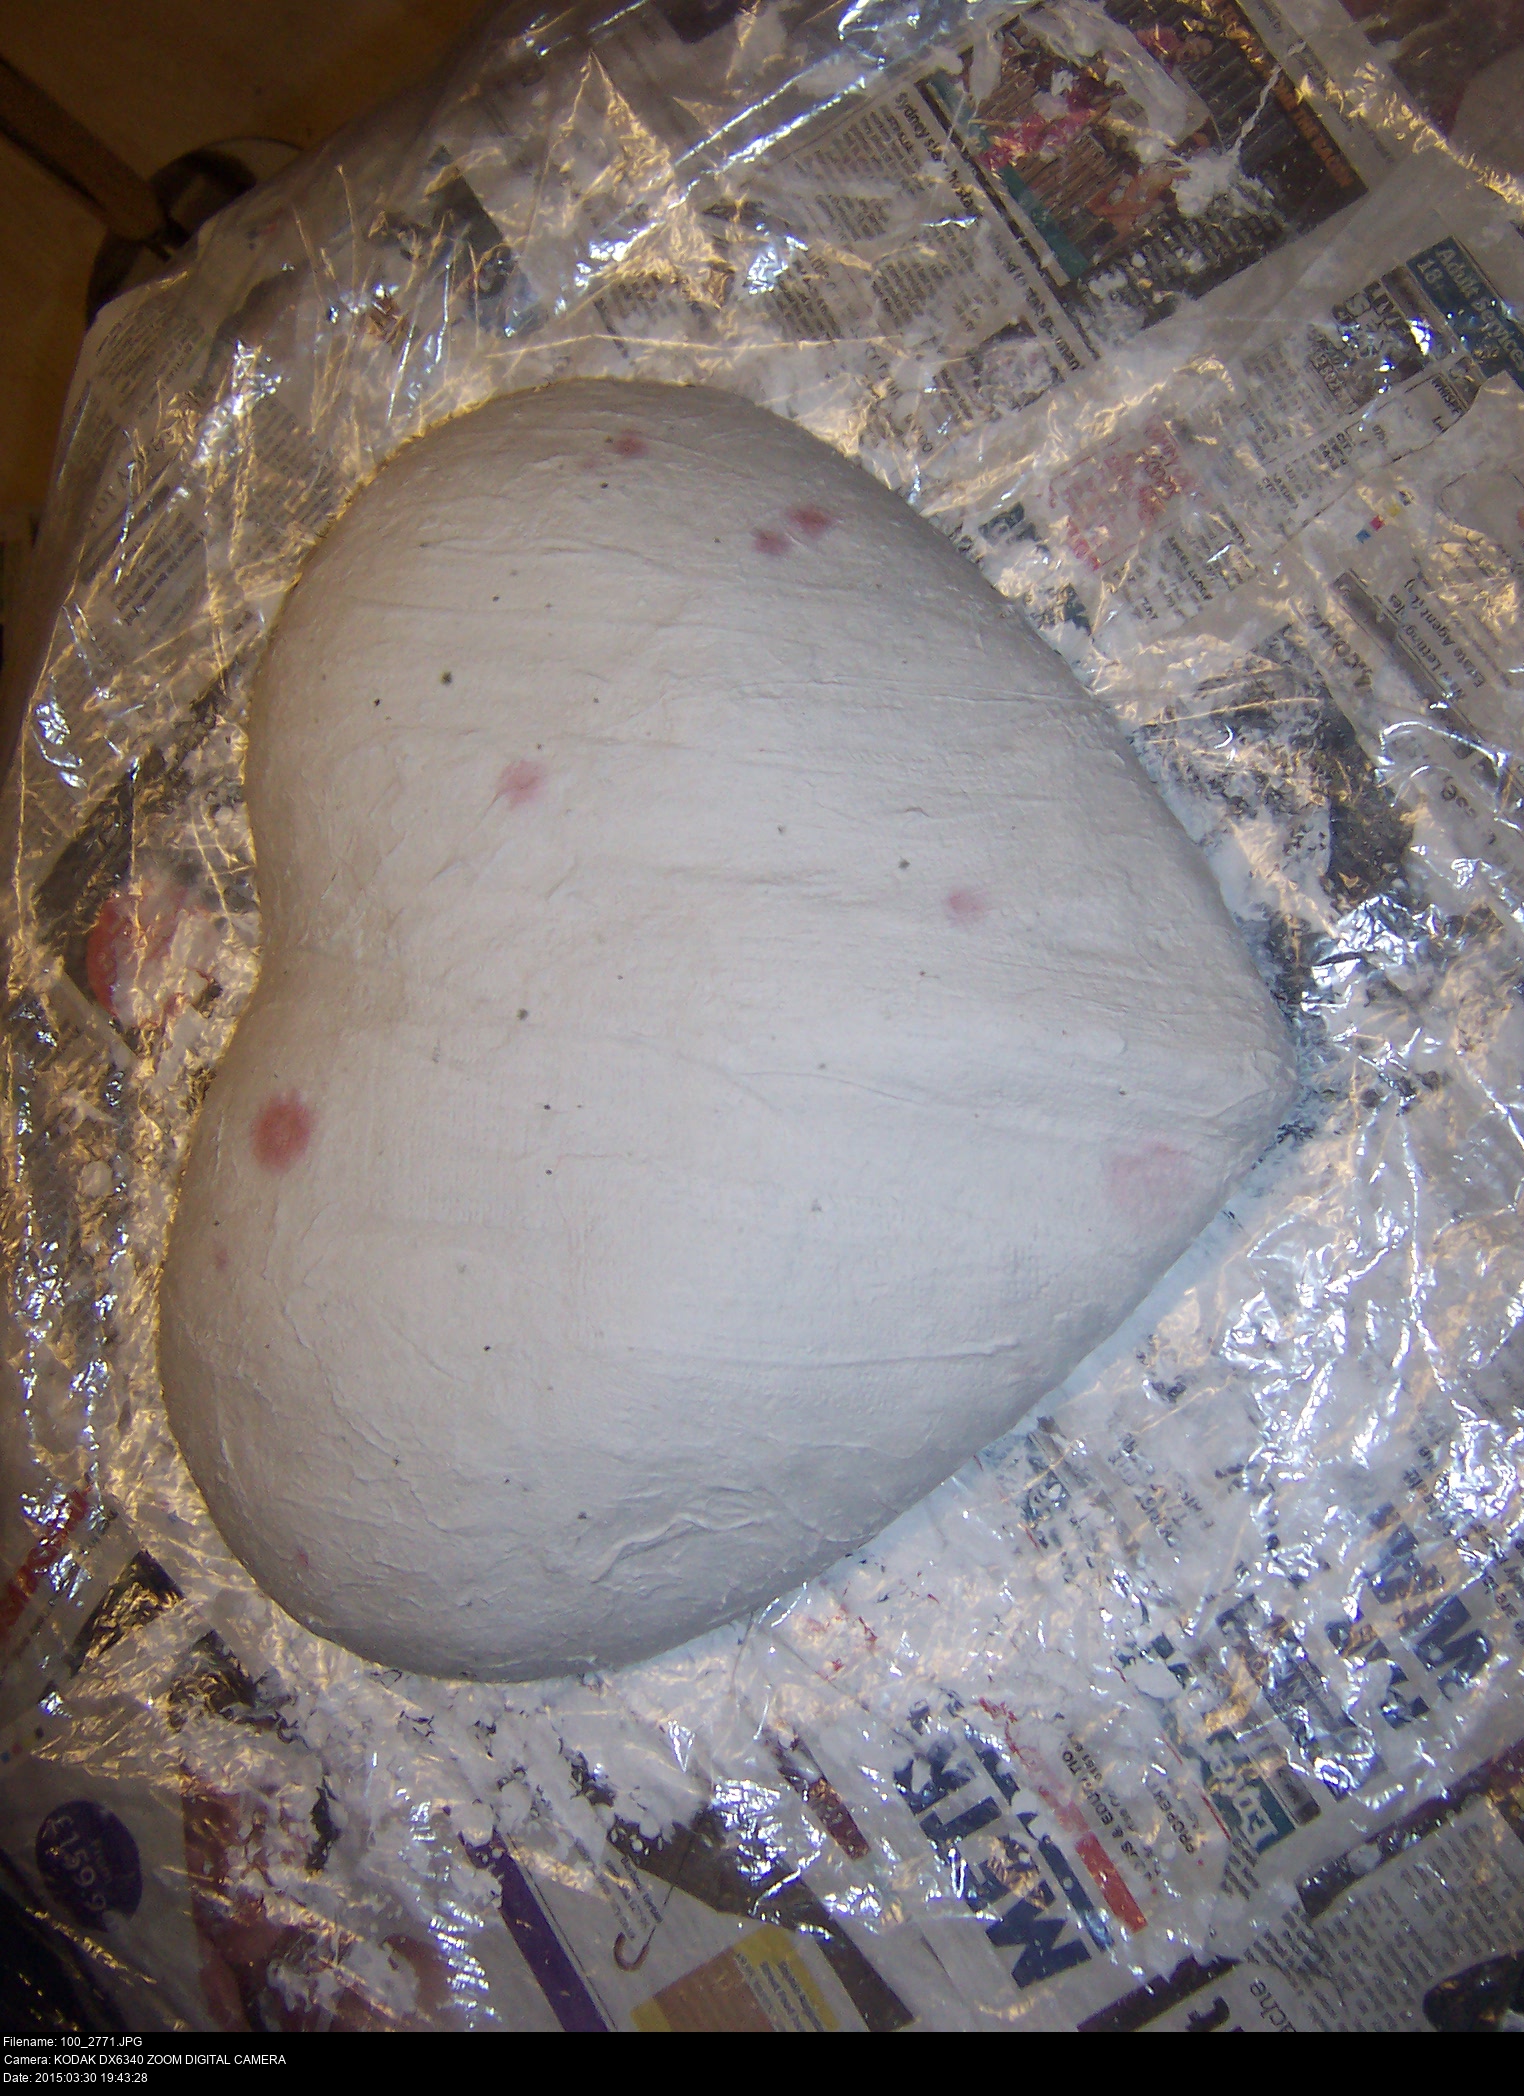
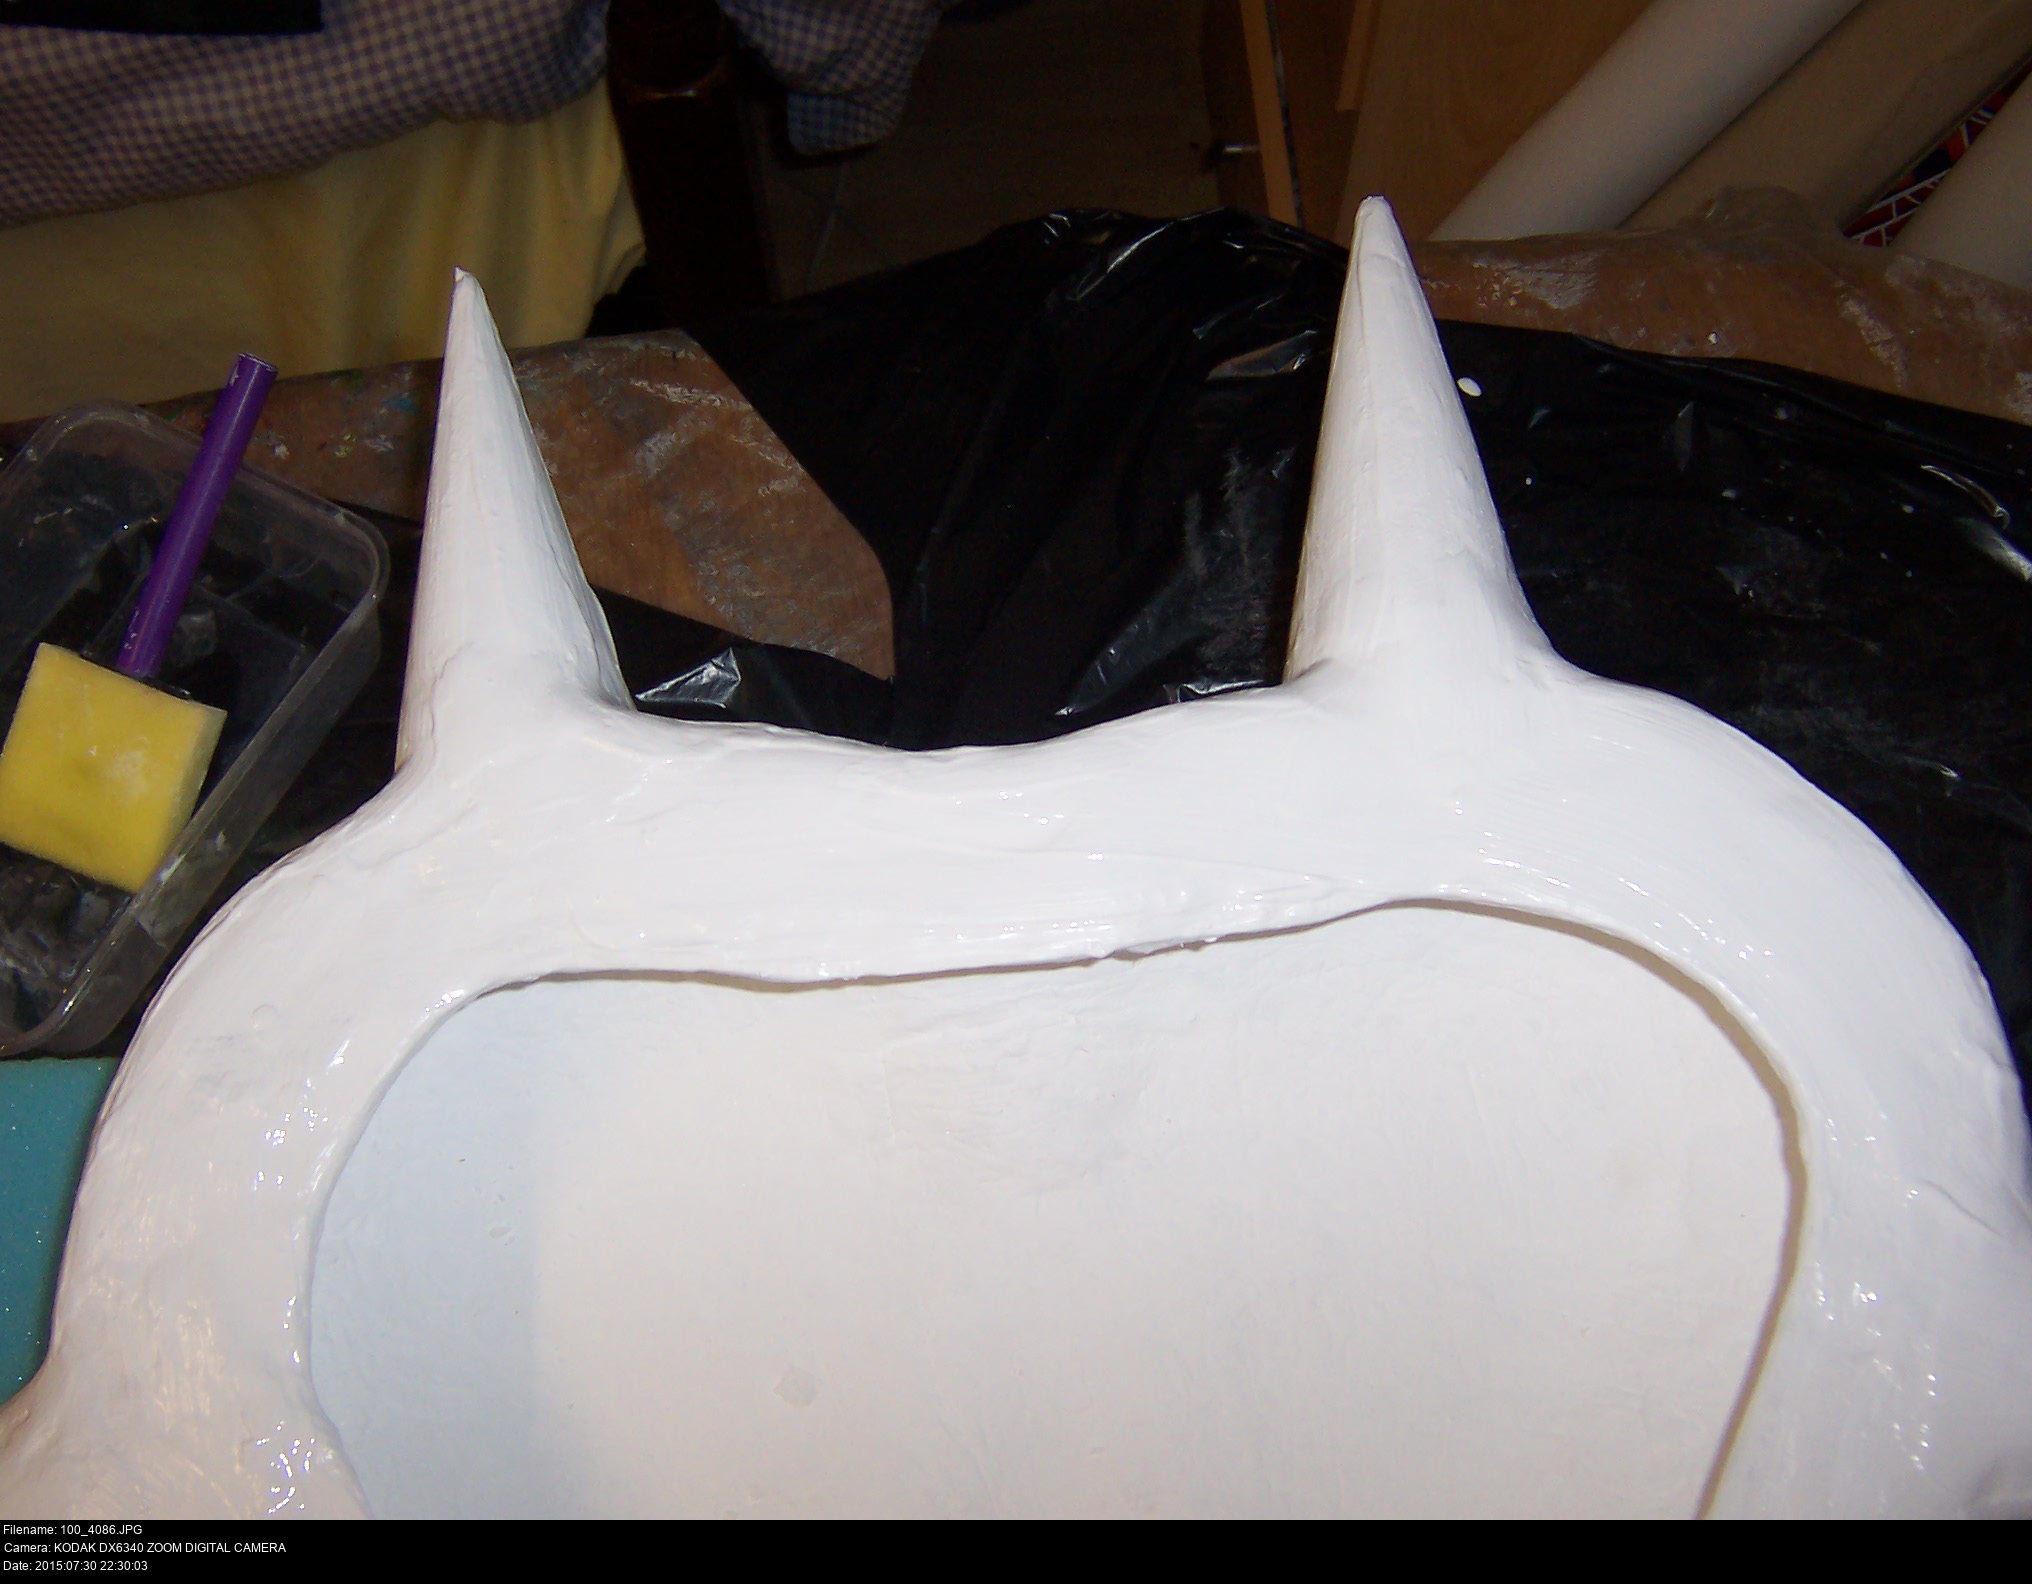
It's dried. What now? I can't apply any more layers with all that texture in place. I'm going to cut it out and see how hard it is. I've got to go around the edge with my scalpel and extract it from the table.


And once it's cut, we very gently prise the form out of the mask, and there we go!
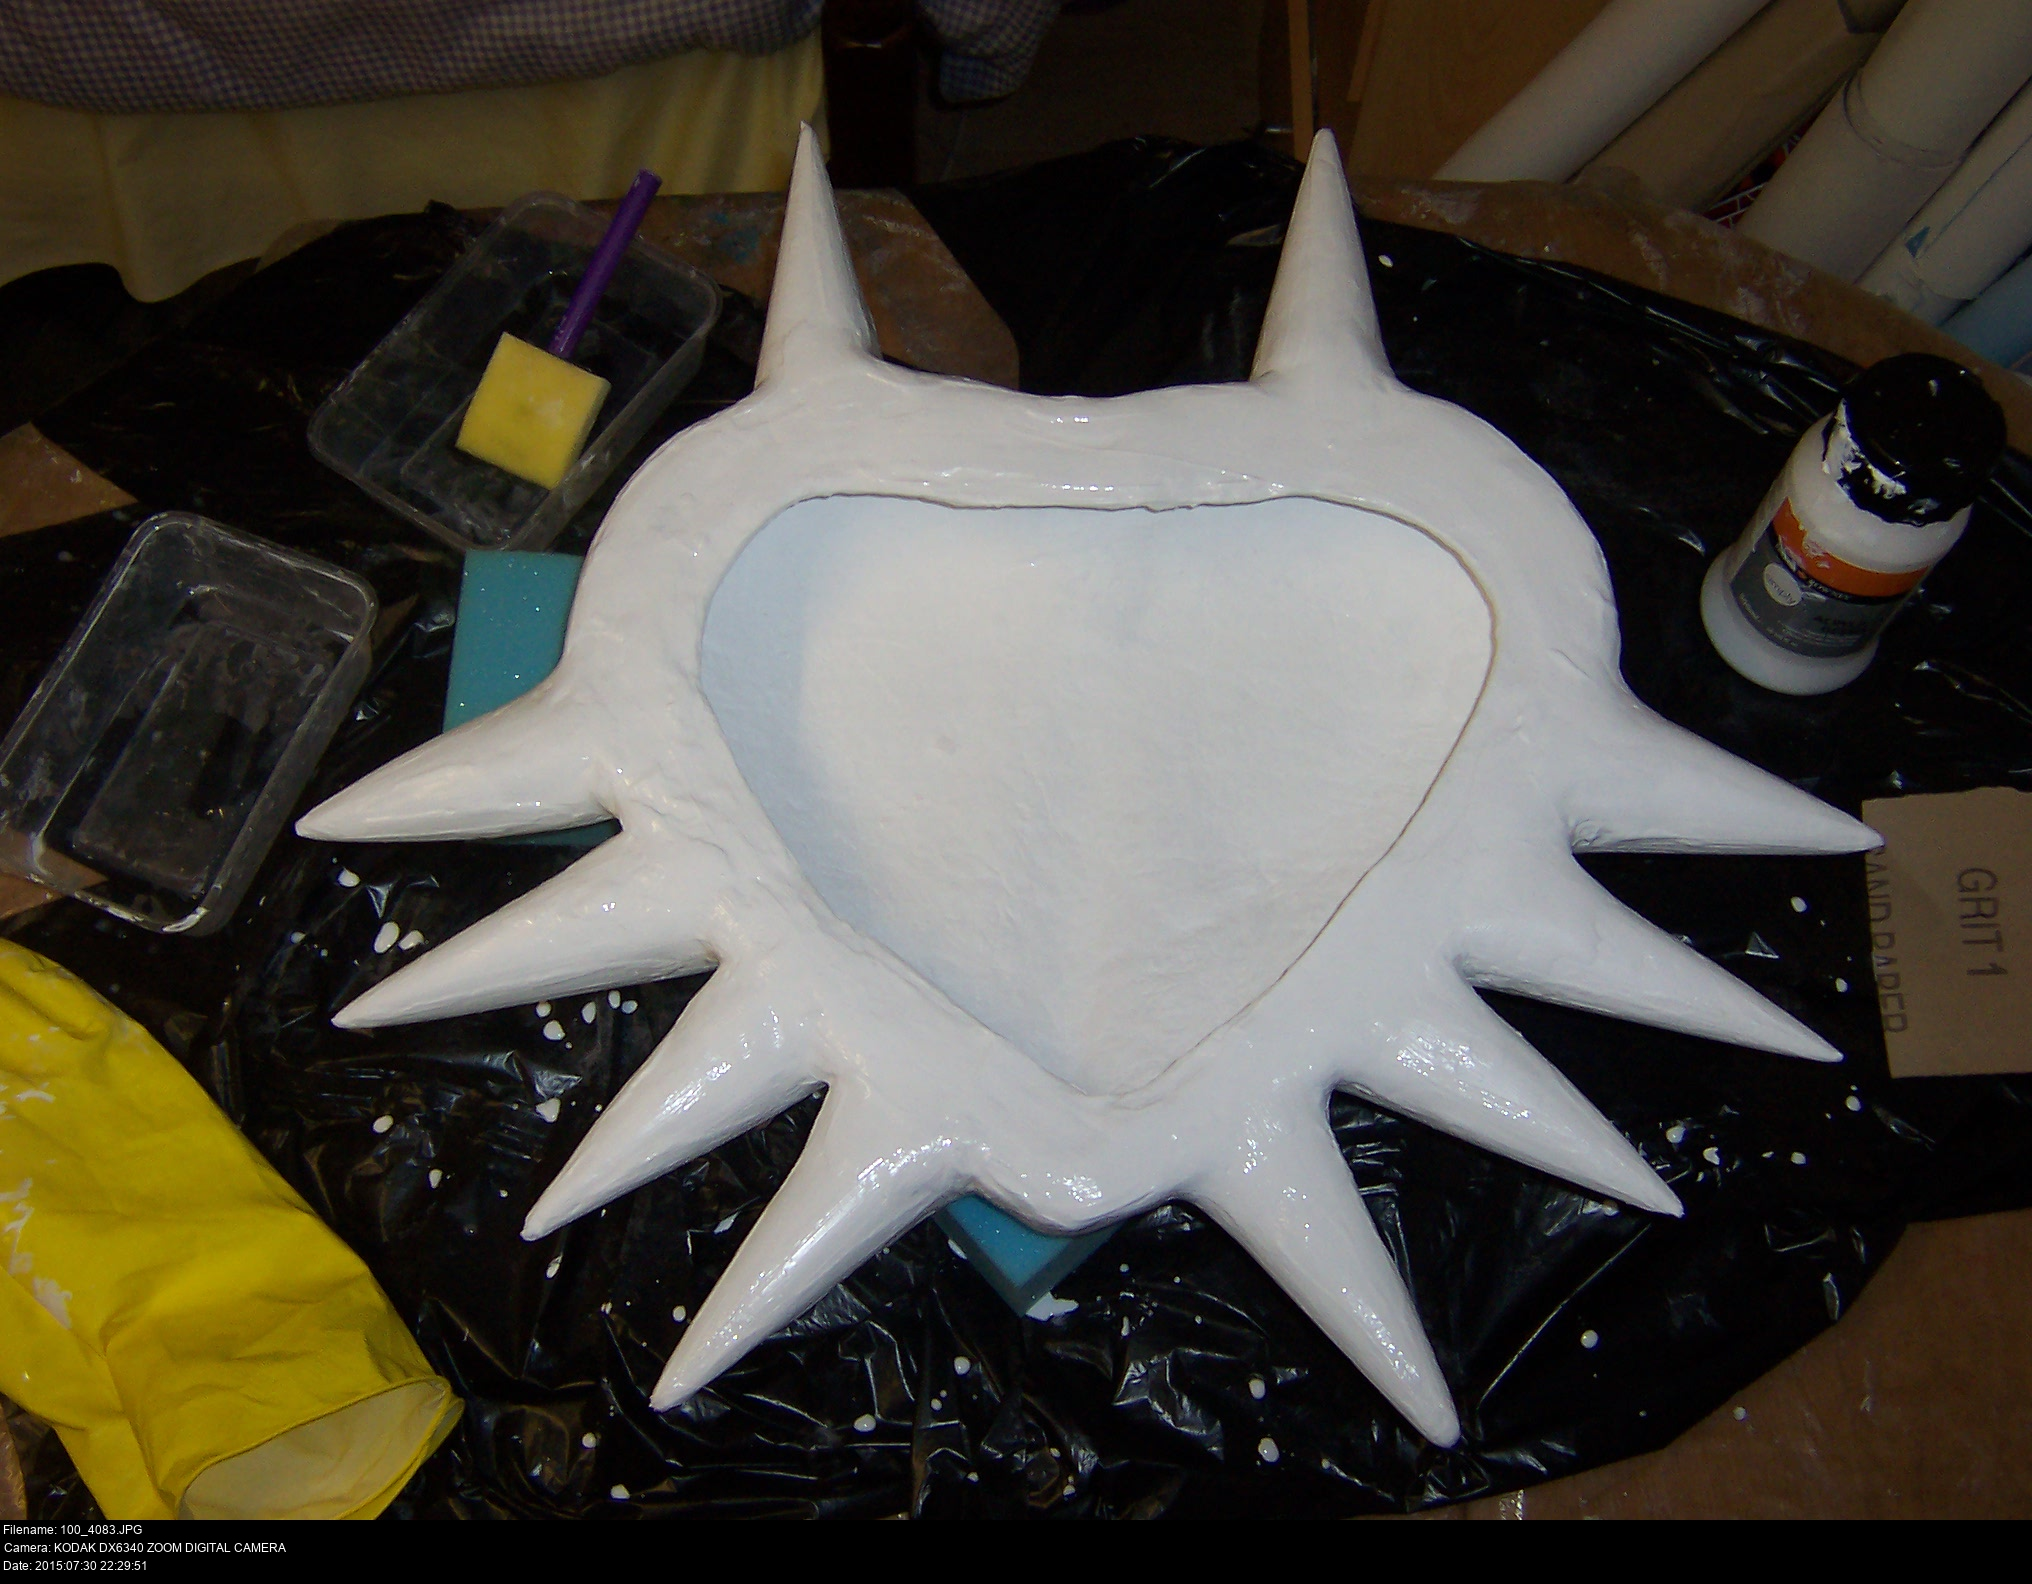
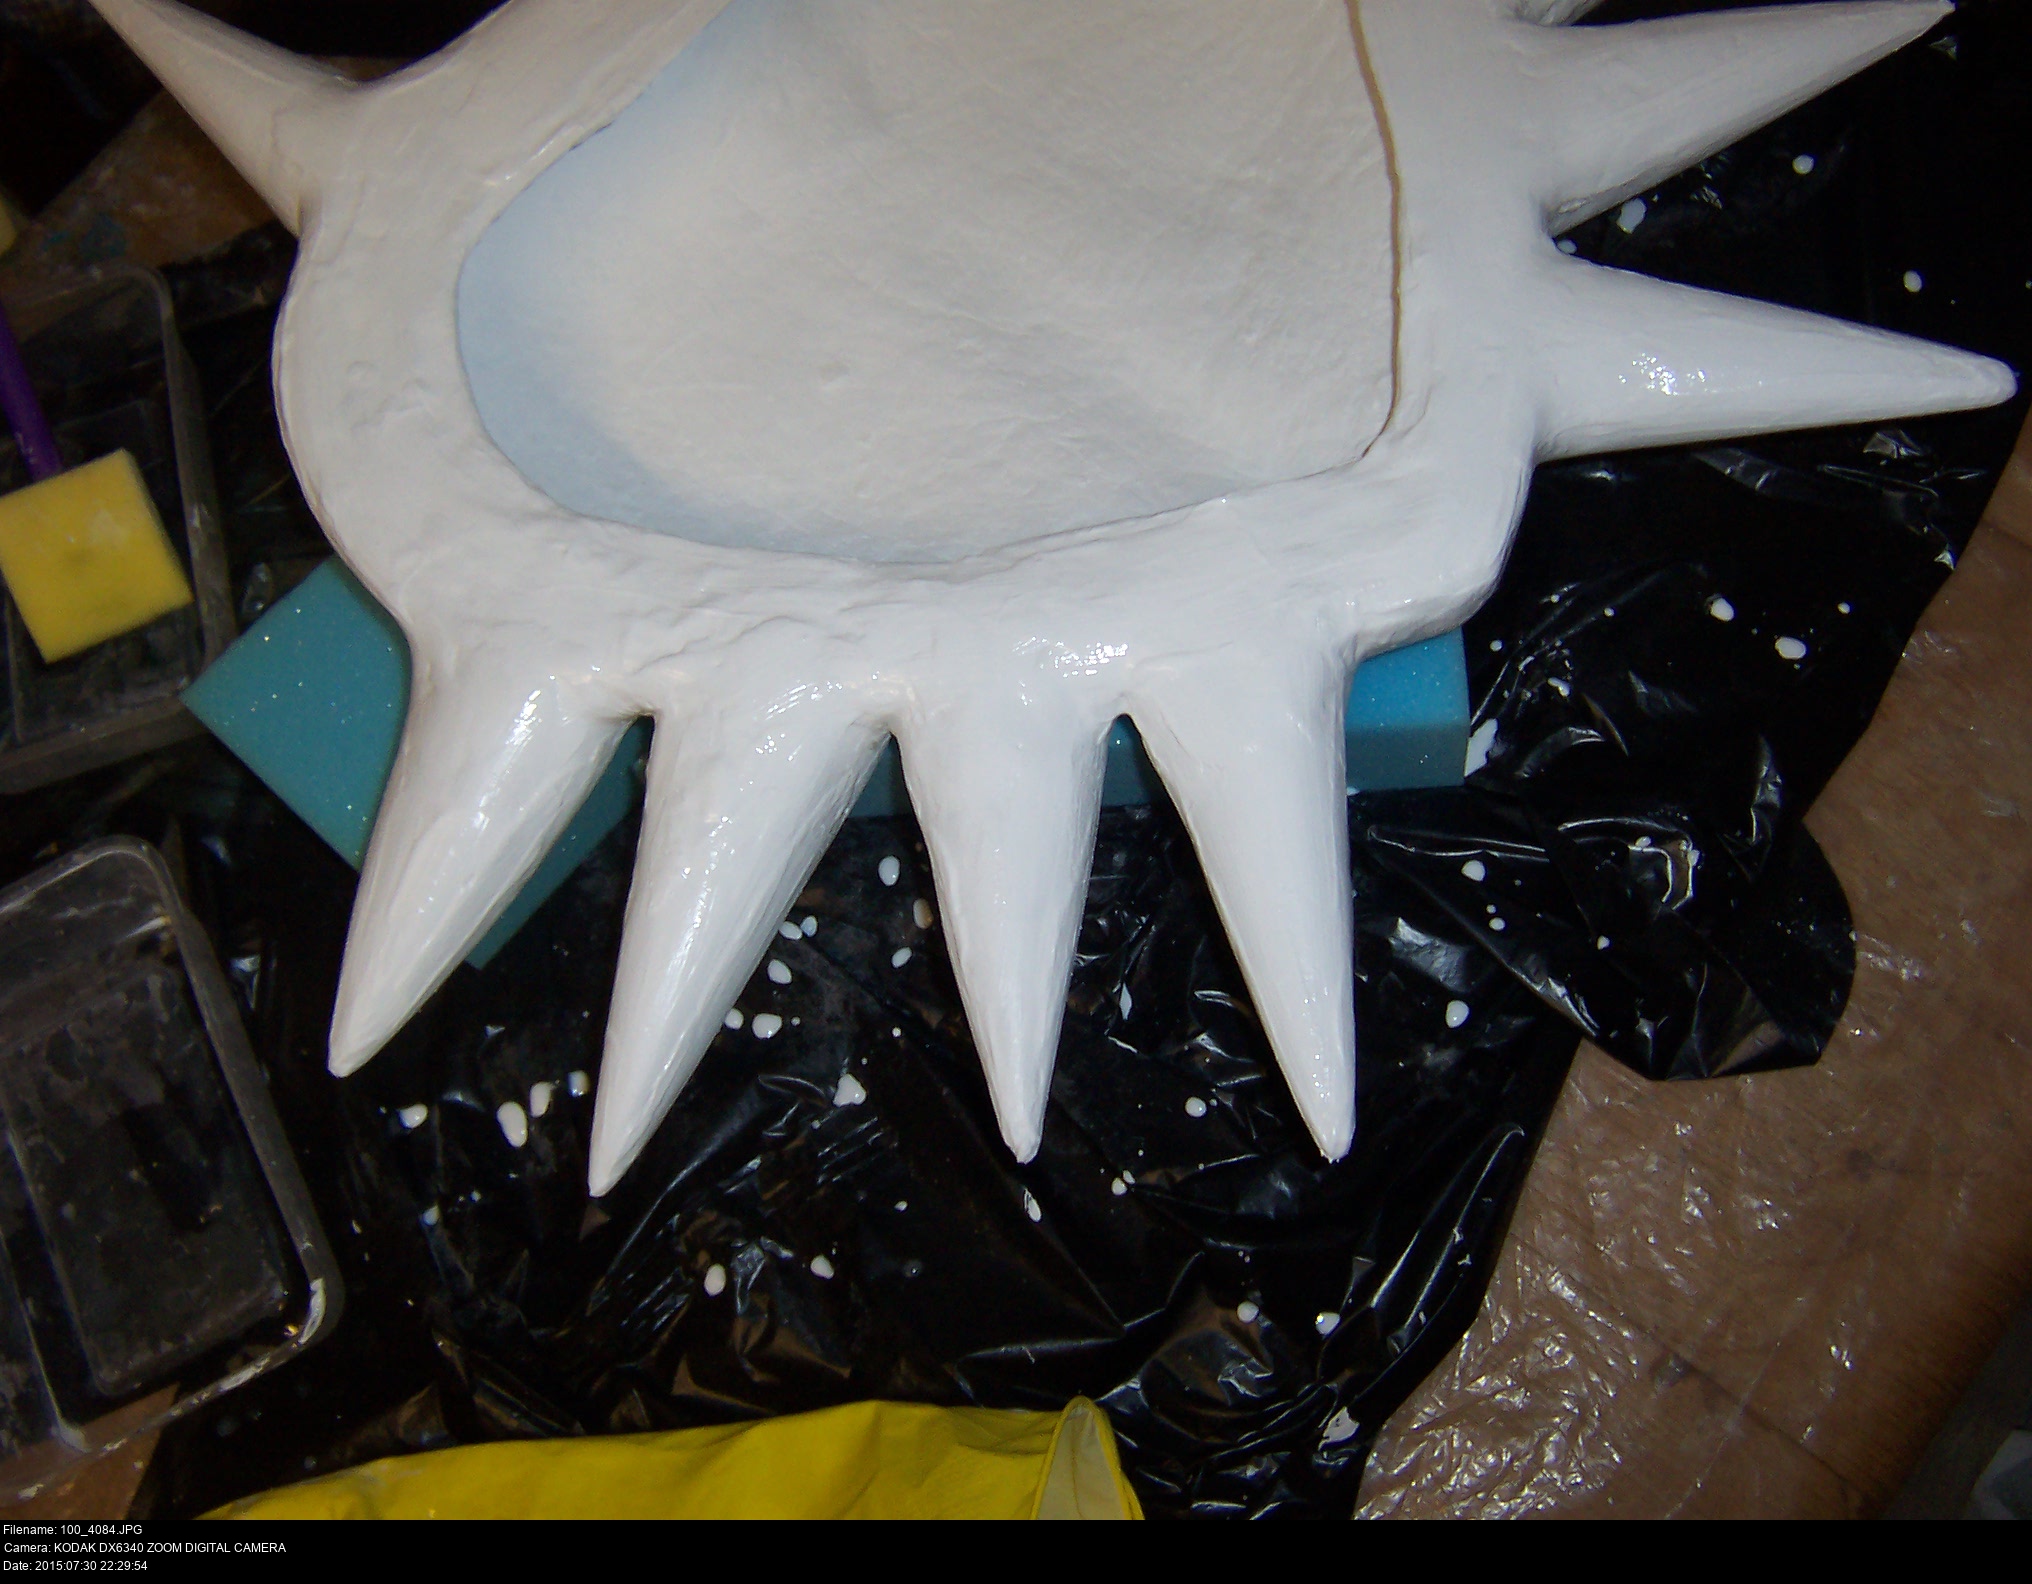
It's... kinda nasty. The edges are very ragged, and there's large chunks of plastery mess pouring out of them and I don't know how to seal them up. And, worse...


Looks like the layers didn't fully adhere together. Too much water, perhaps? Or too little? I have no idea. I might be able to push it down with some more modroc layers over the top? I could spend forever trying to fix this.
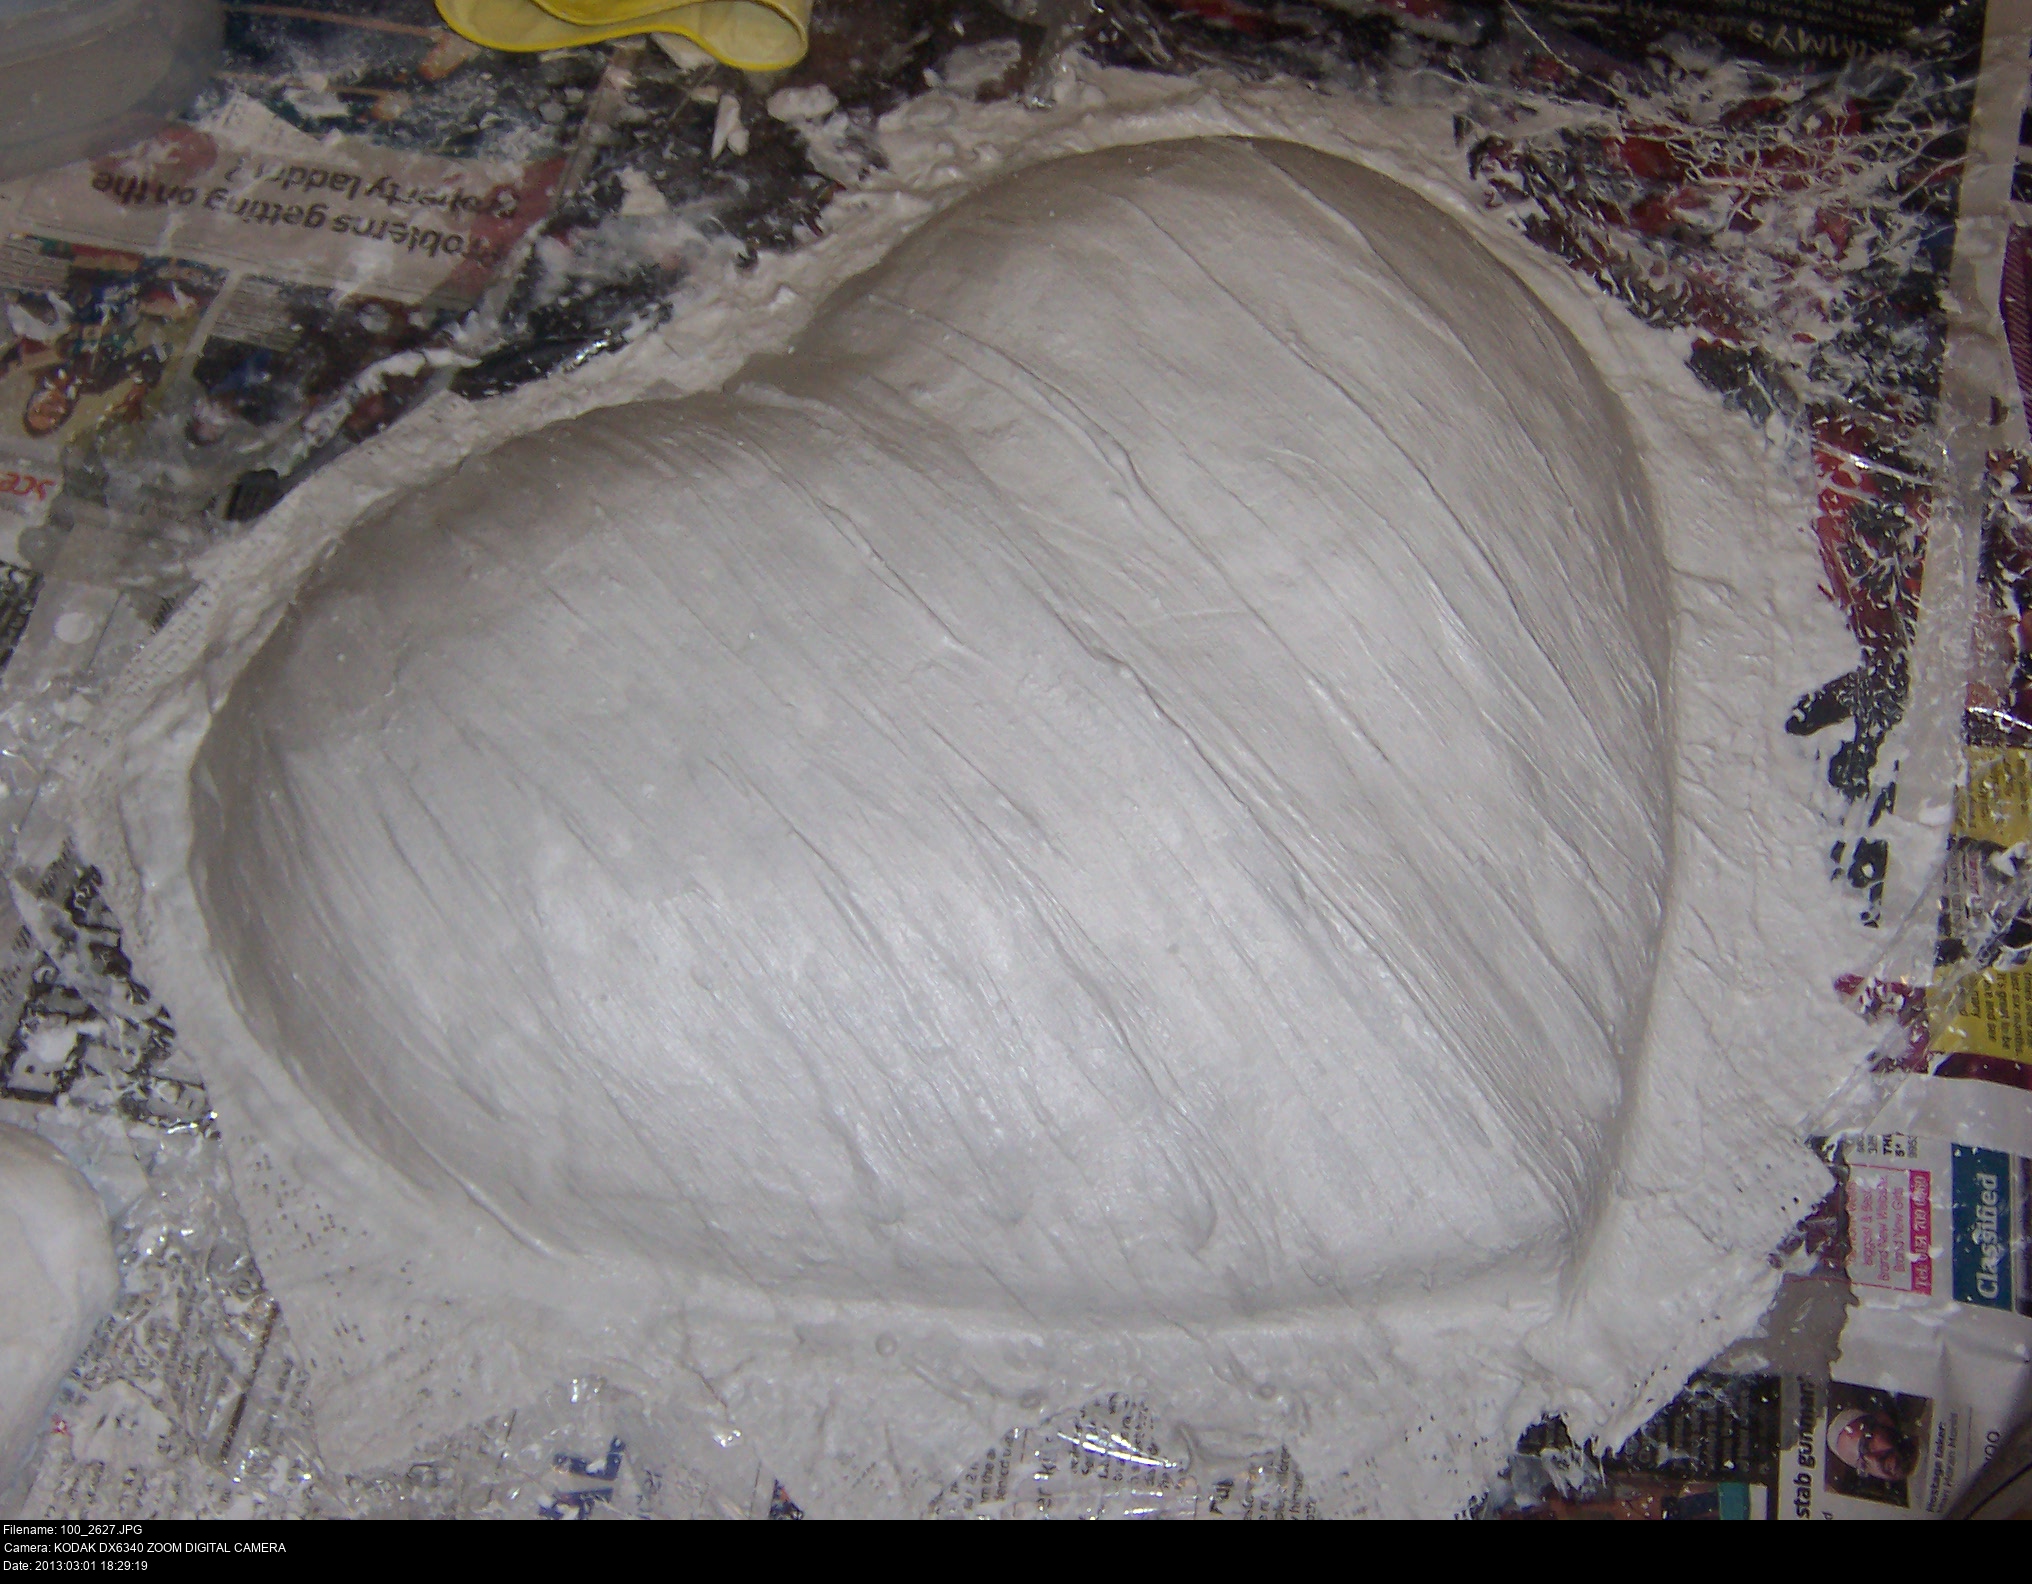
Let's try it again. That's why I made a resuable form, after all!
This time, I'm not going to do that stupid texture thing until the very last minute, if at all. I'm going to apply more layers, doing a couple a day until I'm satisfied that it's thick enough. I'm also going to fold the modroc around under the back of the mask, giving it a margin of a few inches. It won't solve the issue of the leaky edges, but it'll be more secure I think.
I propped it up on those leftover blocks of foam from when I carved it! Useful!


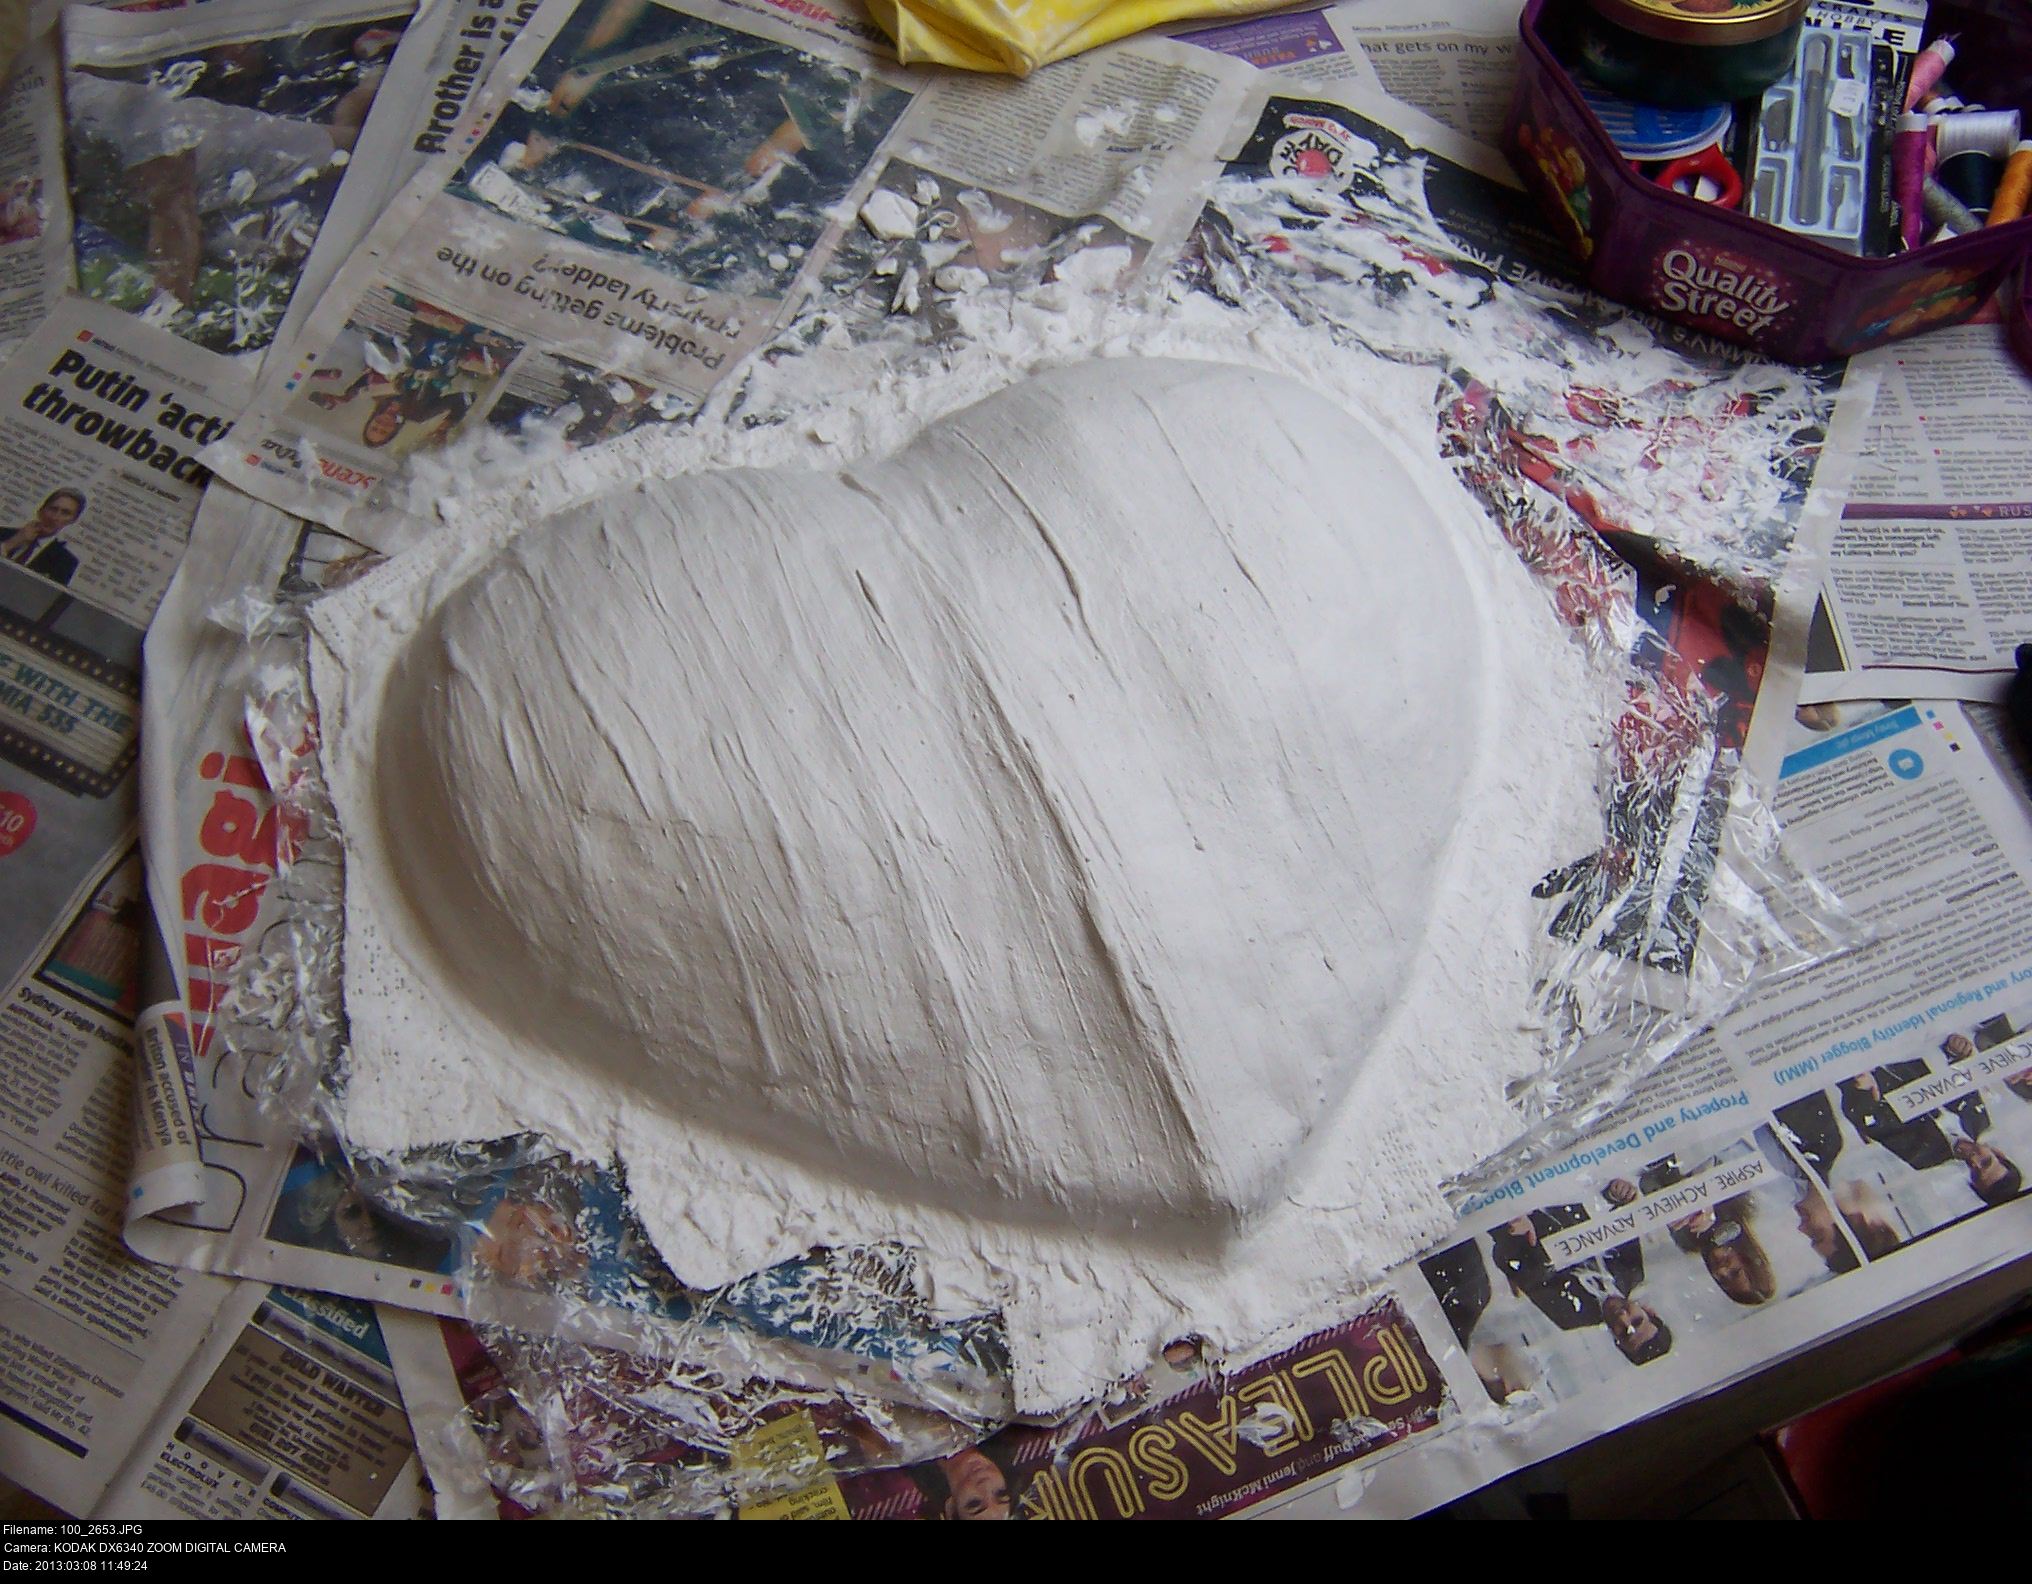
Several days later... Well, I have another mask. But it's gone mouldy. What am I gonna do? NOTHING. I'm going to keep it. It's mine and I made it, damn it.
I'll just put another layer of modroc over the whole danged thing.

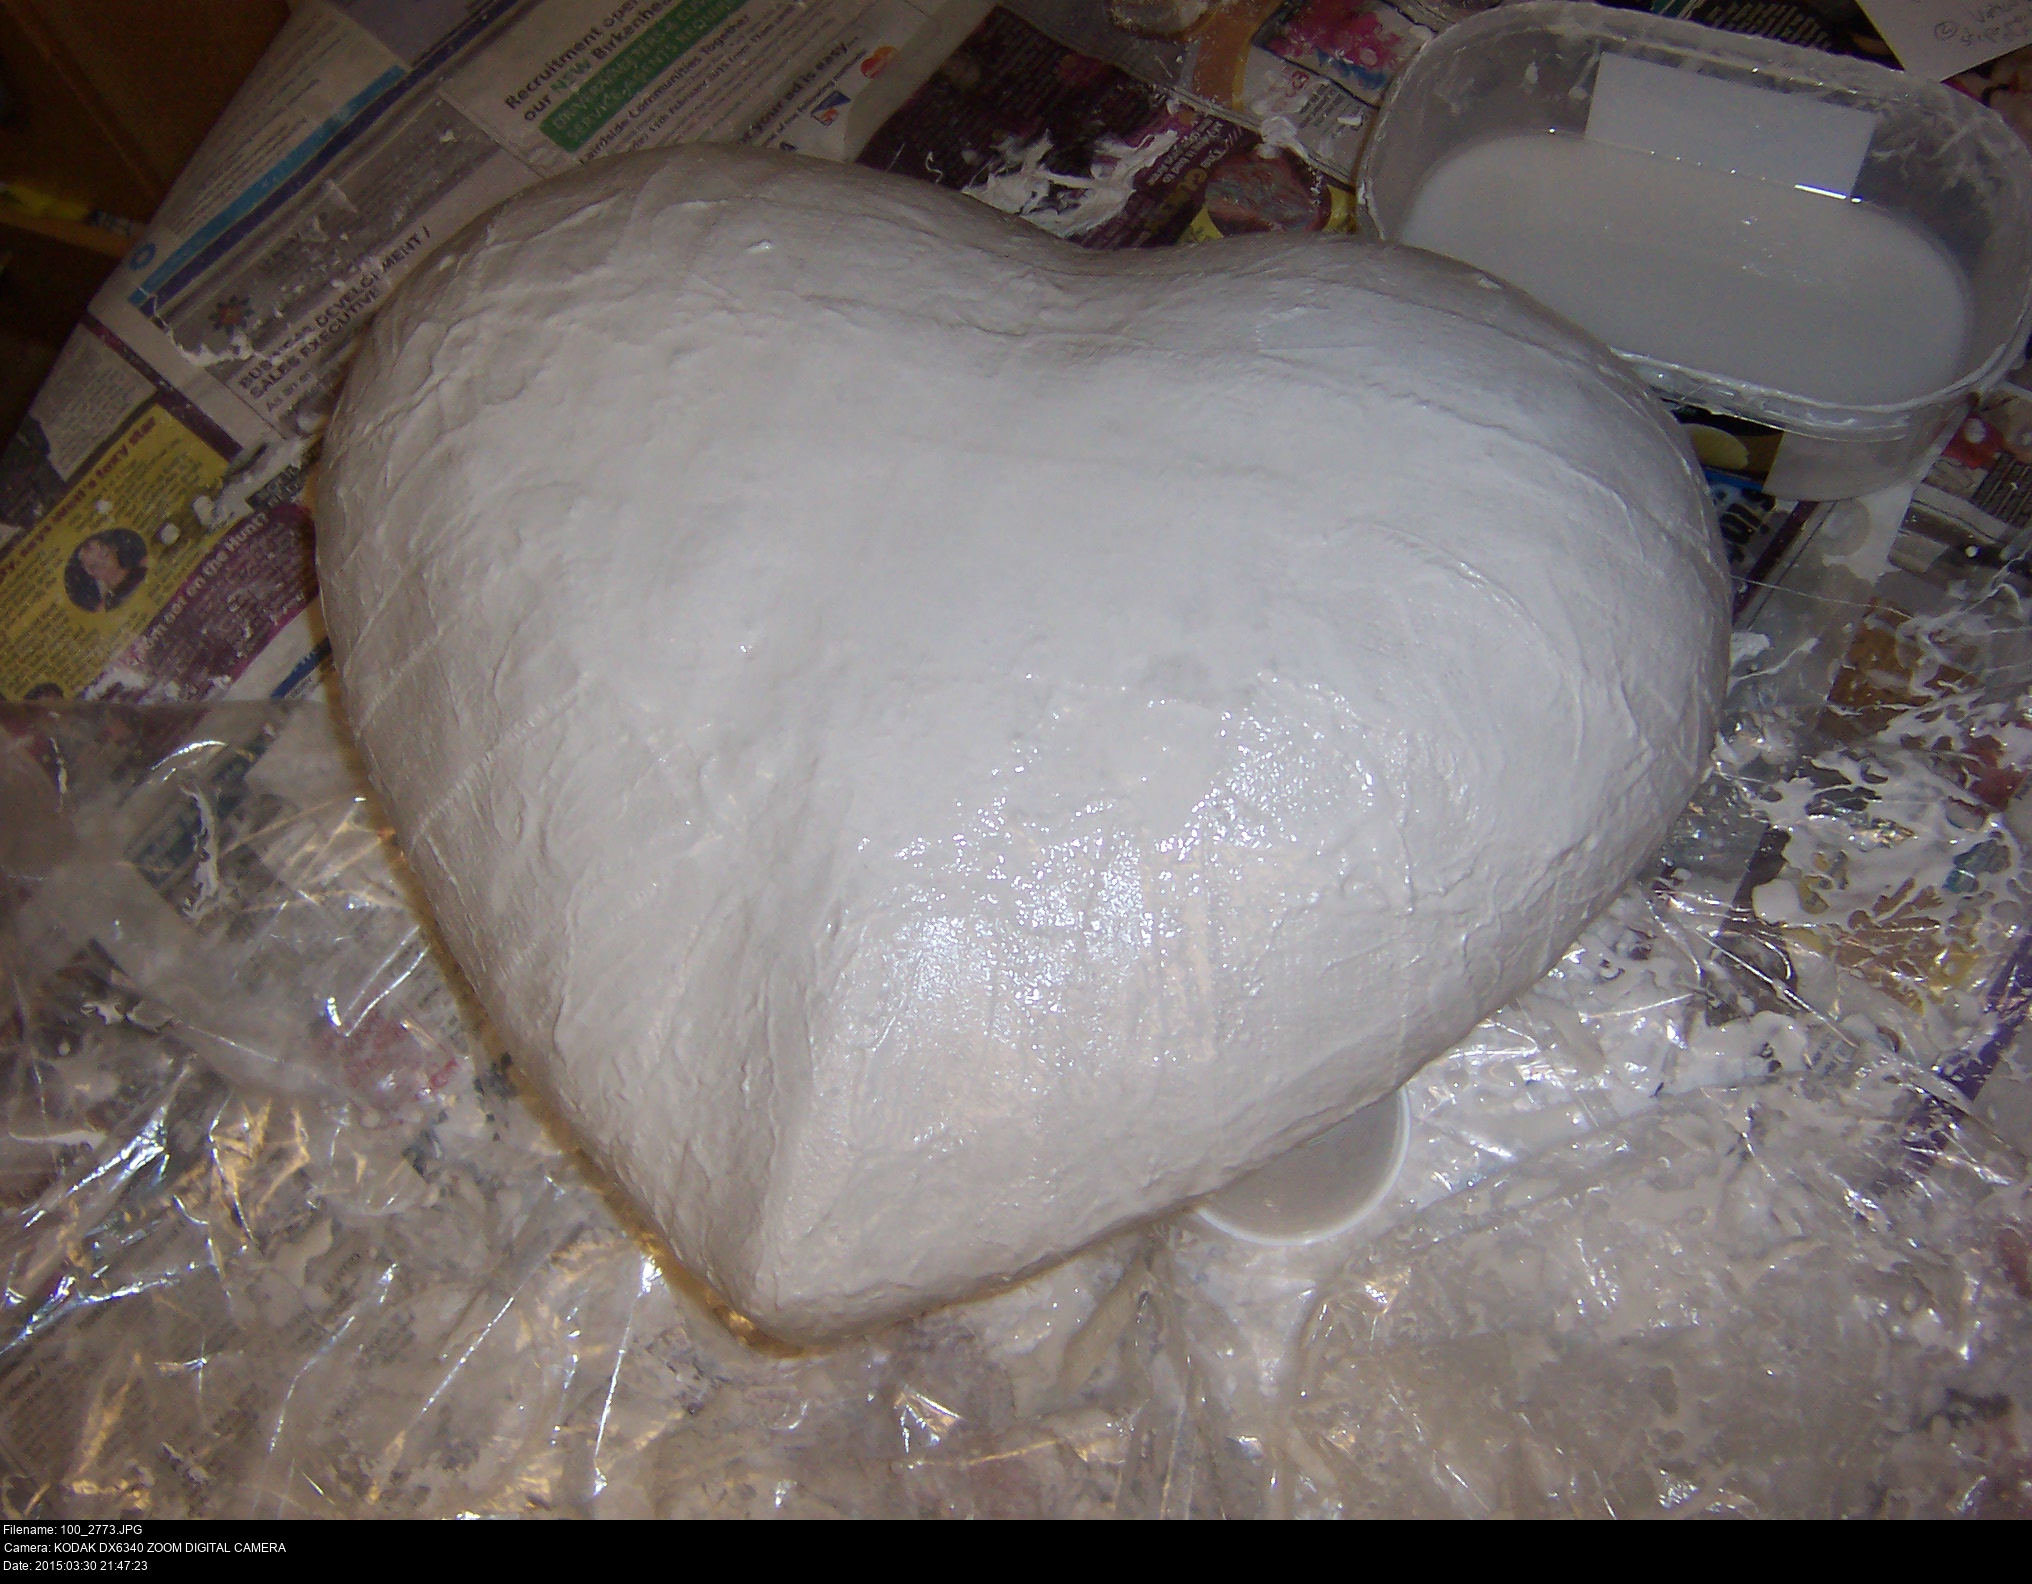
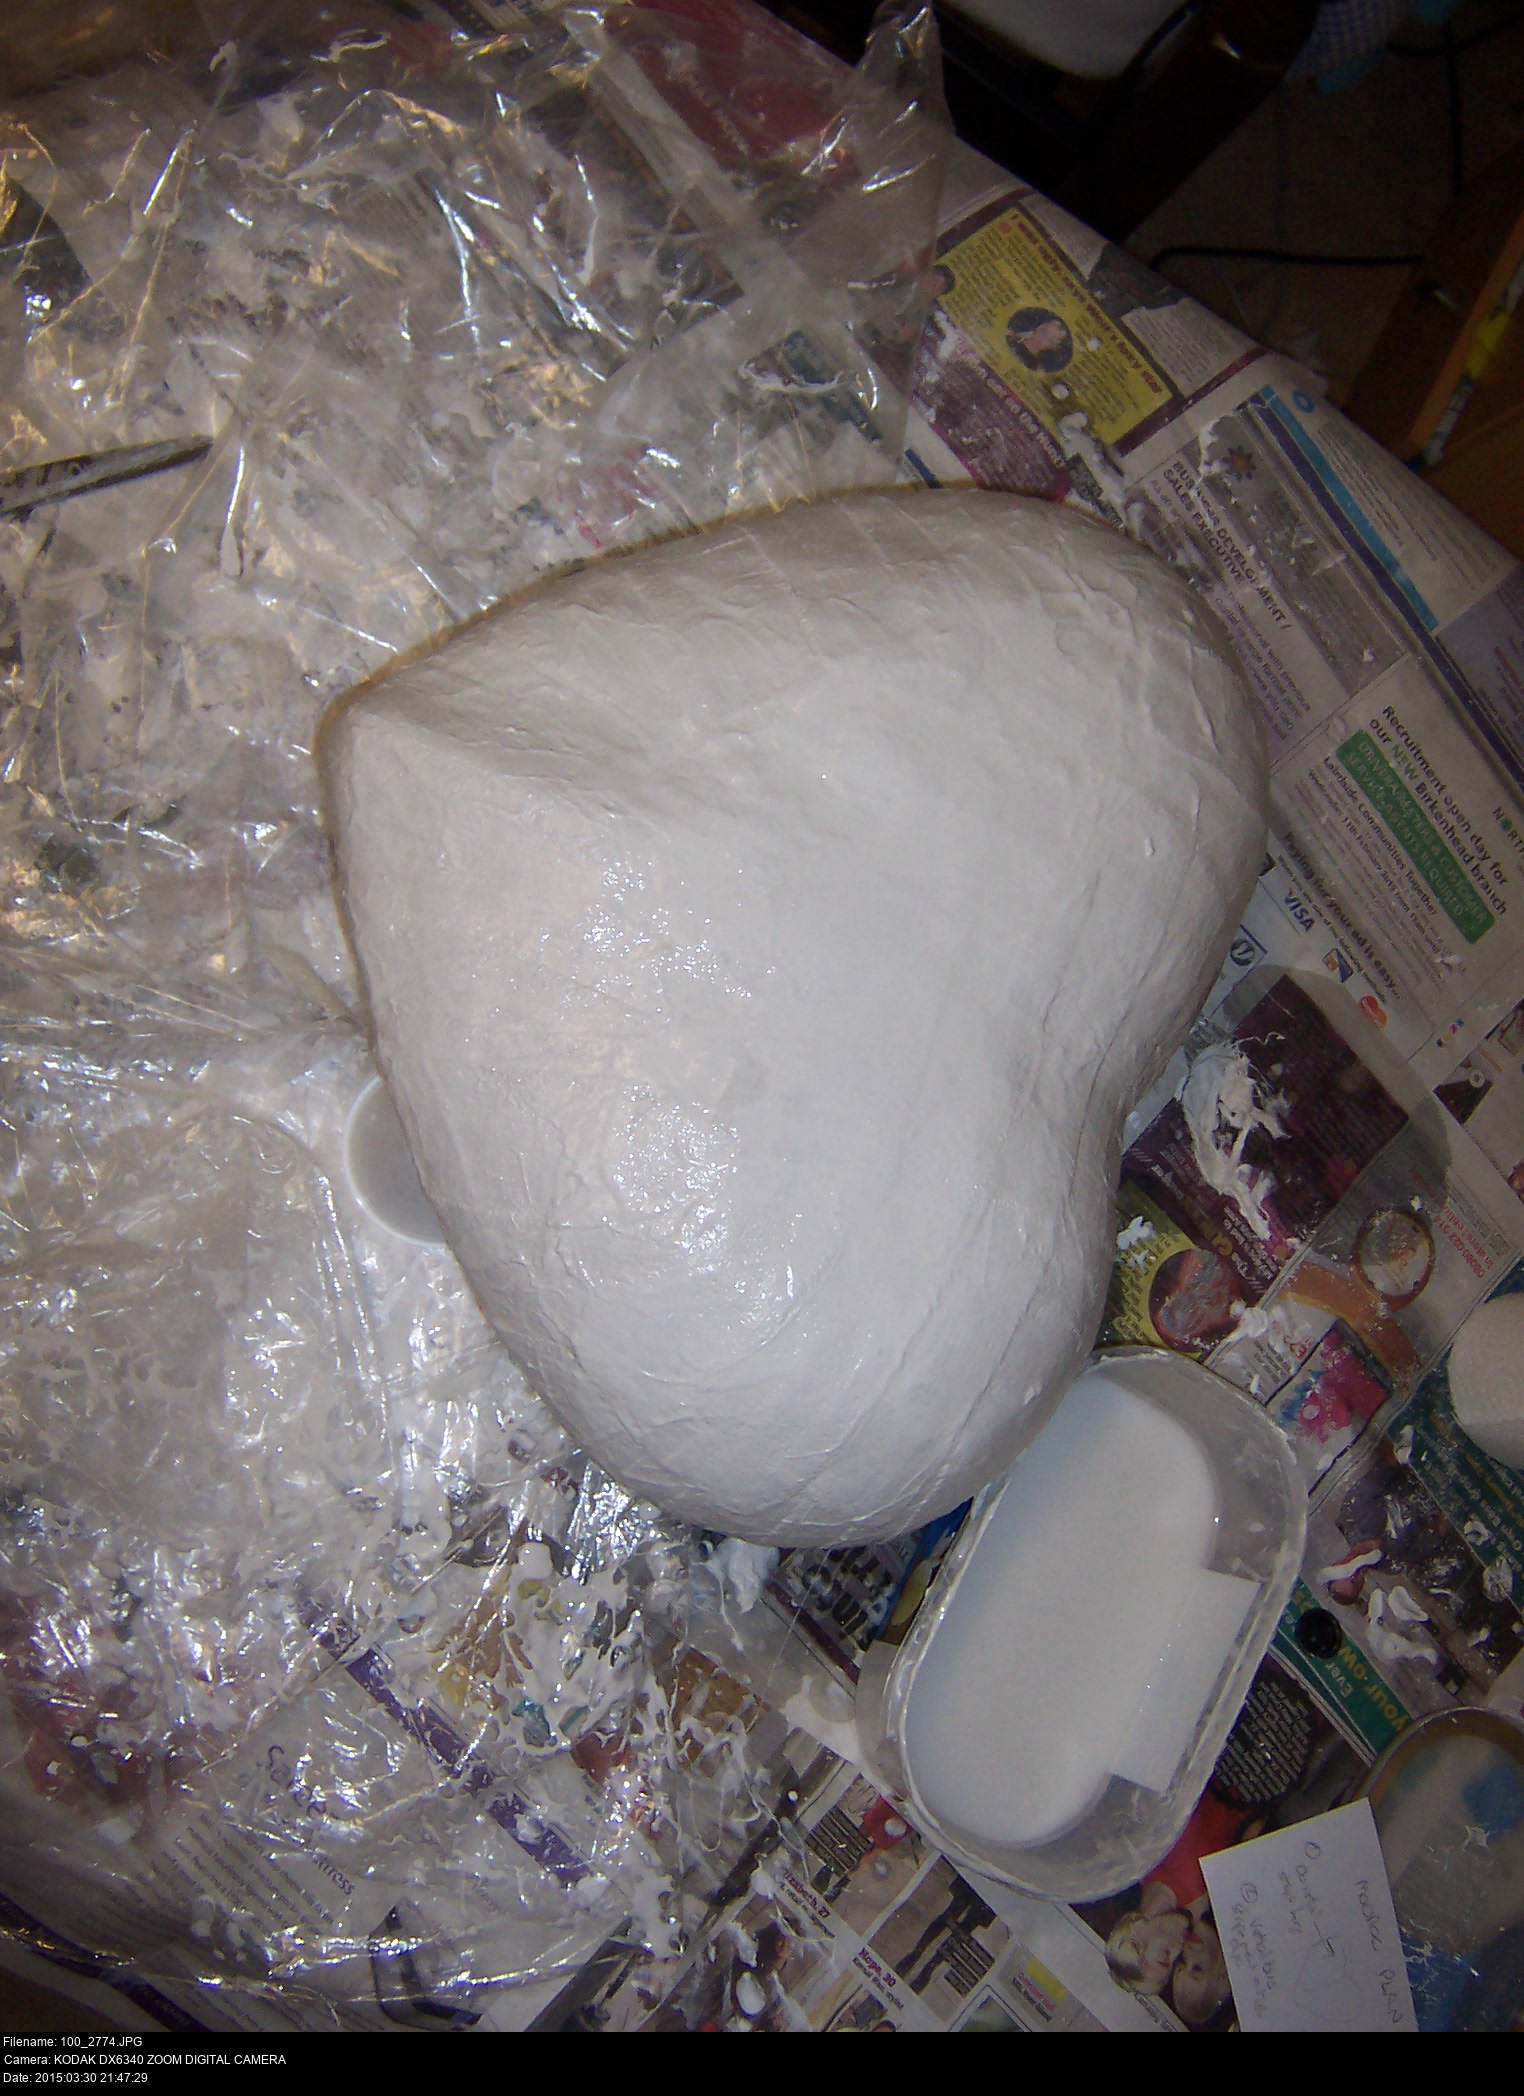

There, pretty as a picture.


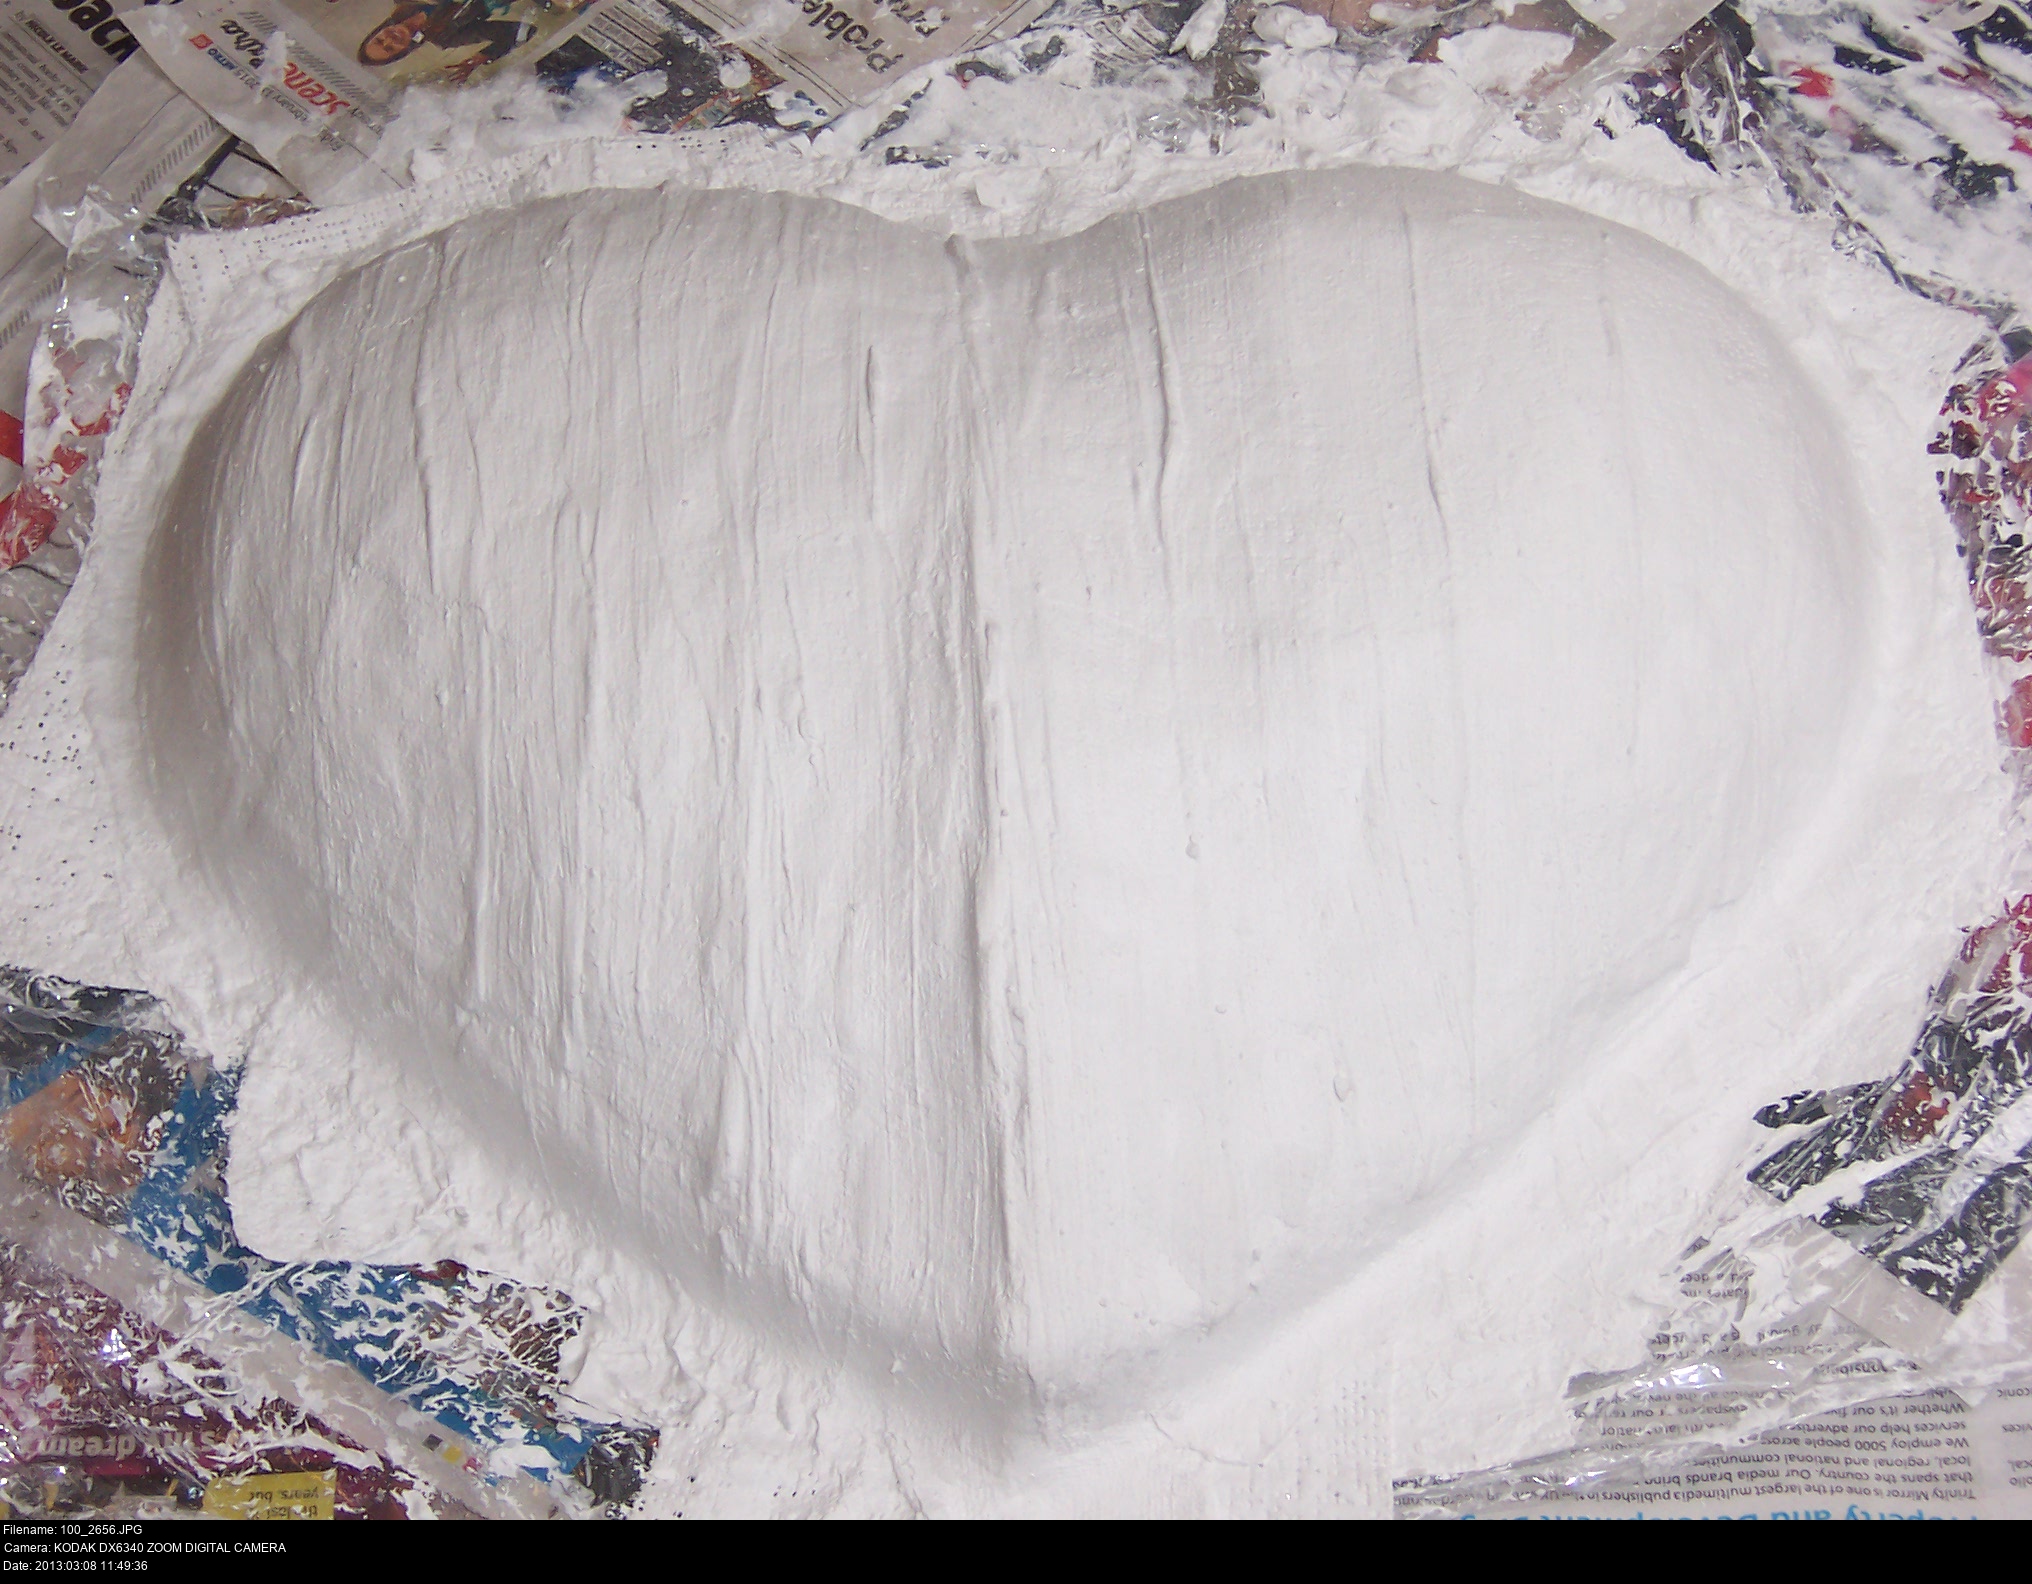
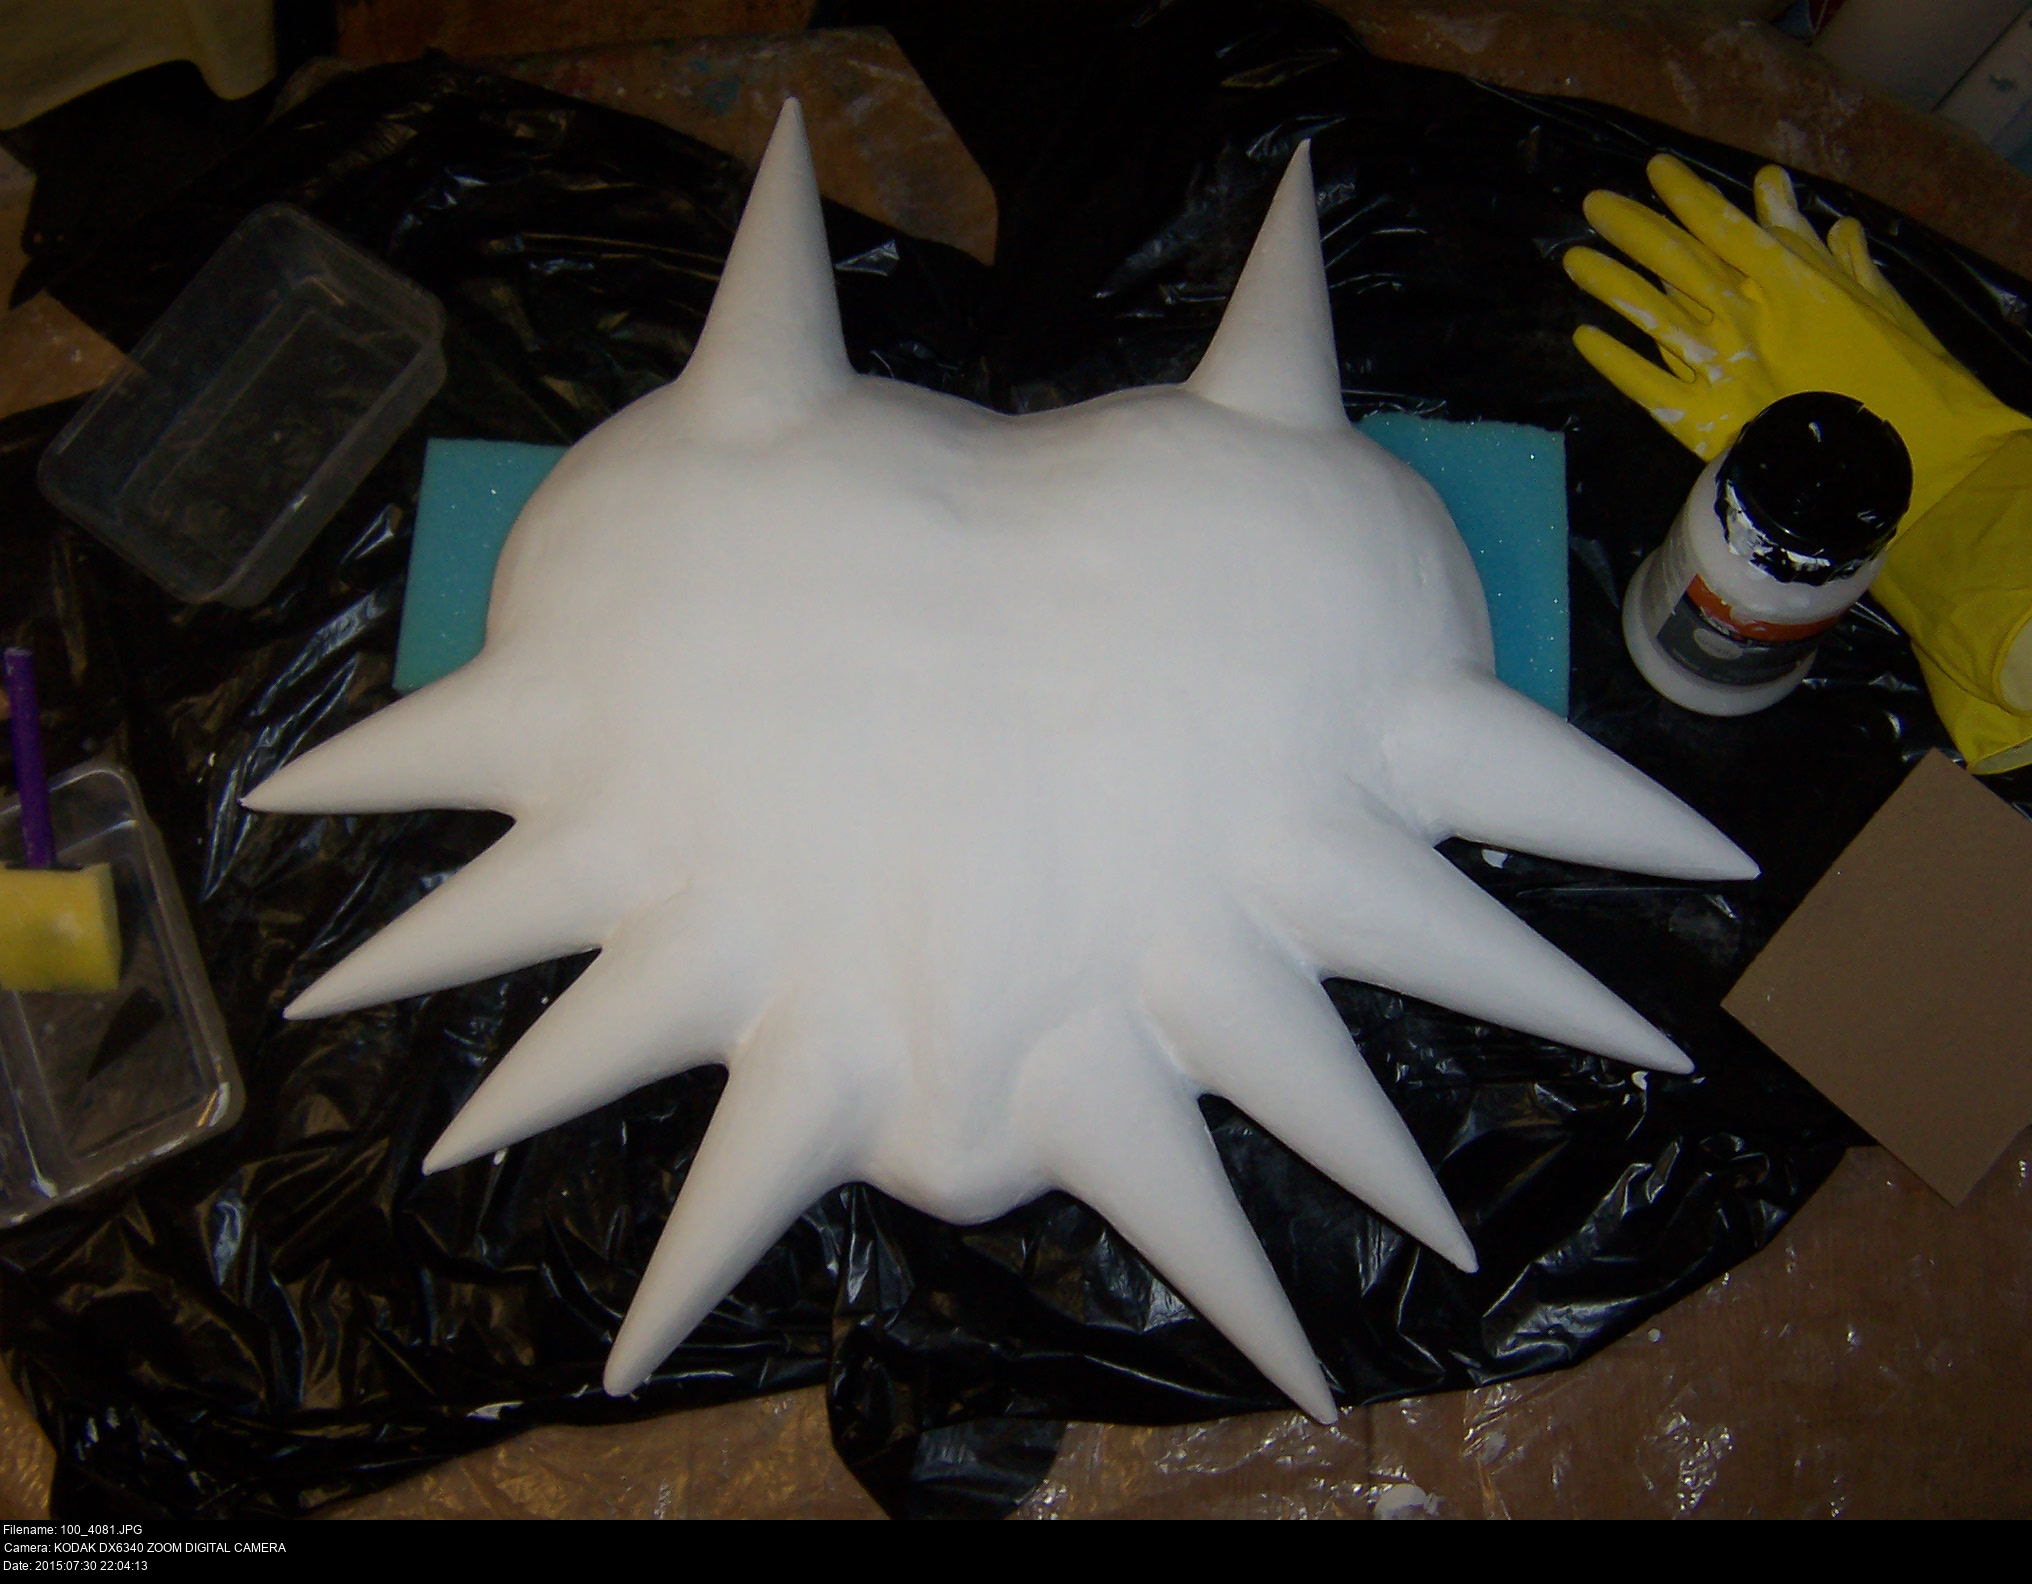
Here she is all dried. You can see the texture of the modroc still showing through.
I couldn't tell you how many layers of modroc are on this thing now. 'Plenty' is the answer.
Let's leave her to settle for a few weeks or so while we move onto something else.
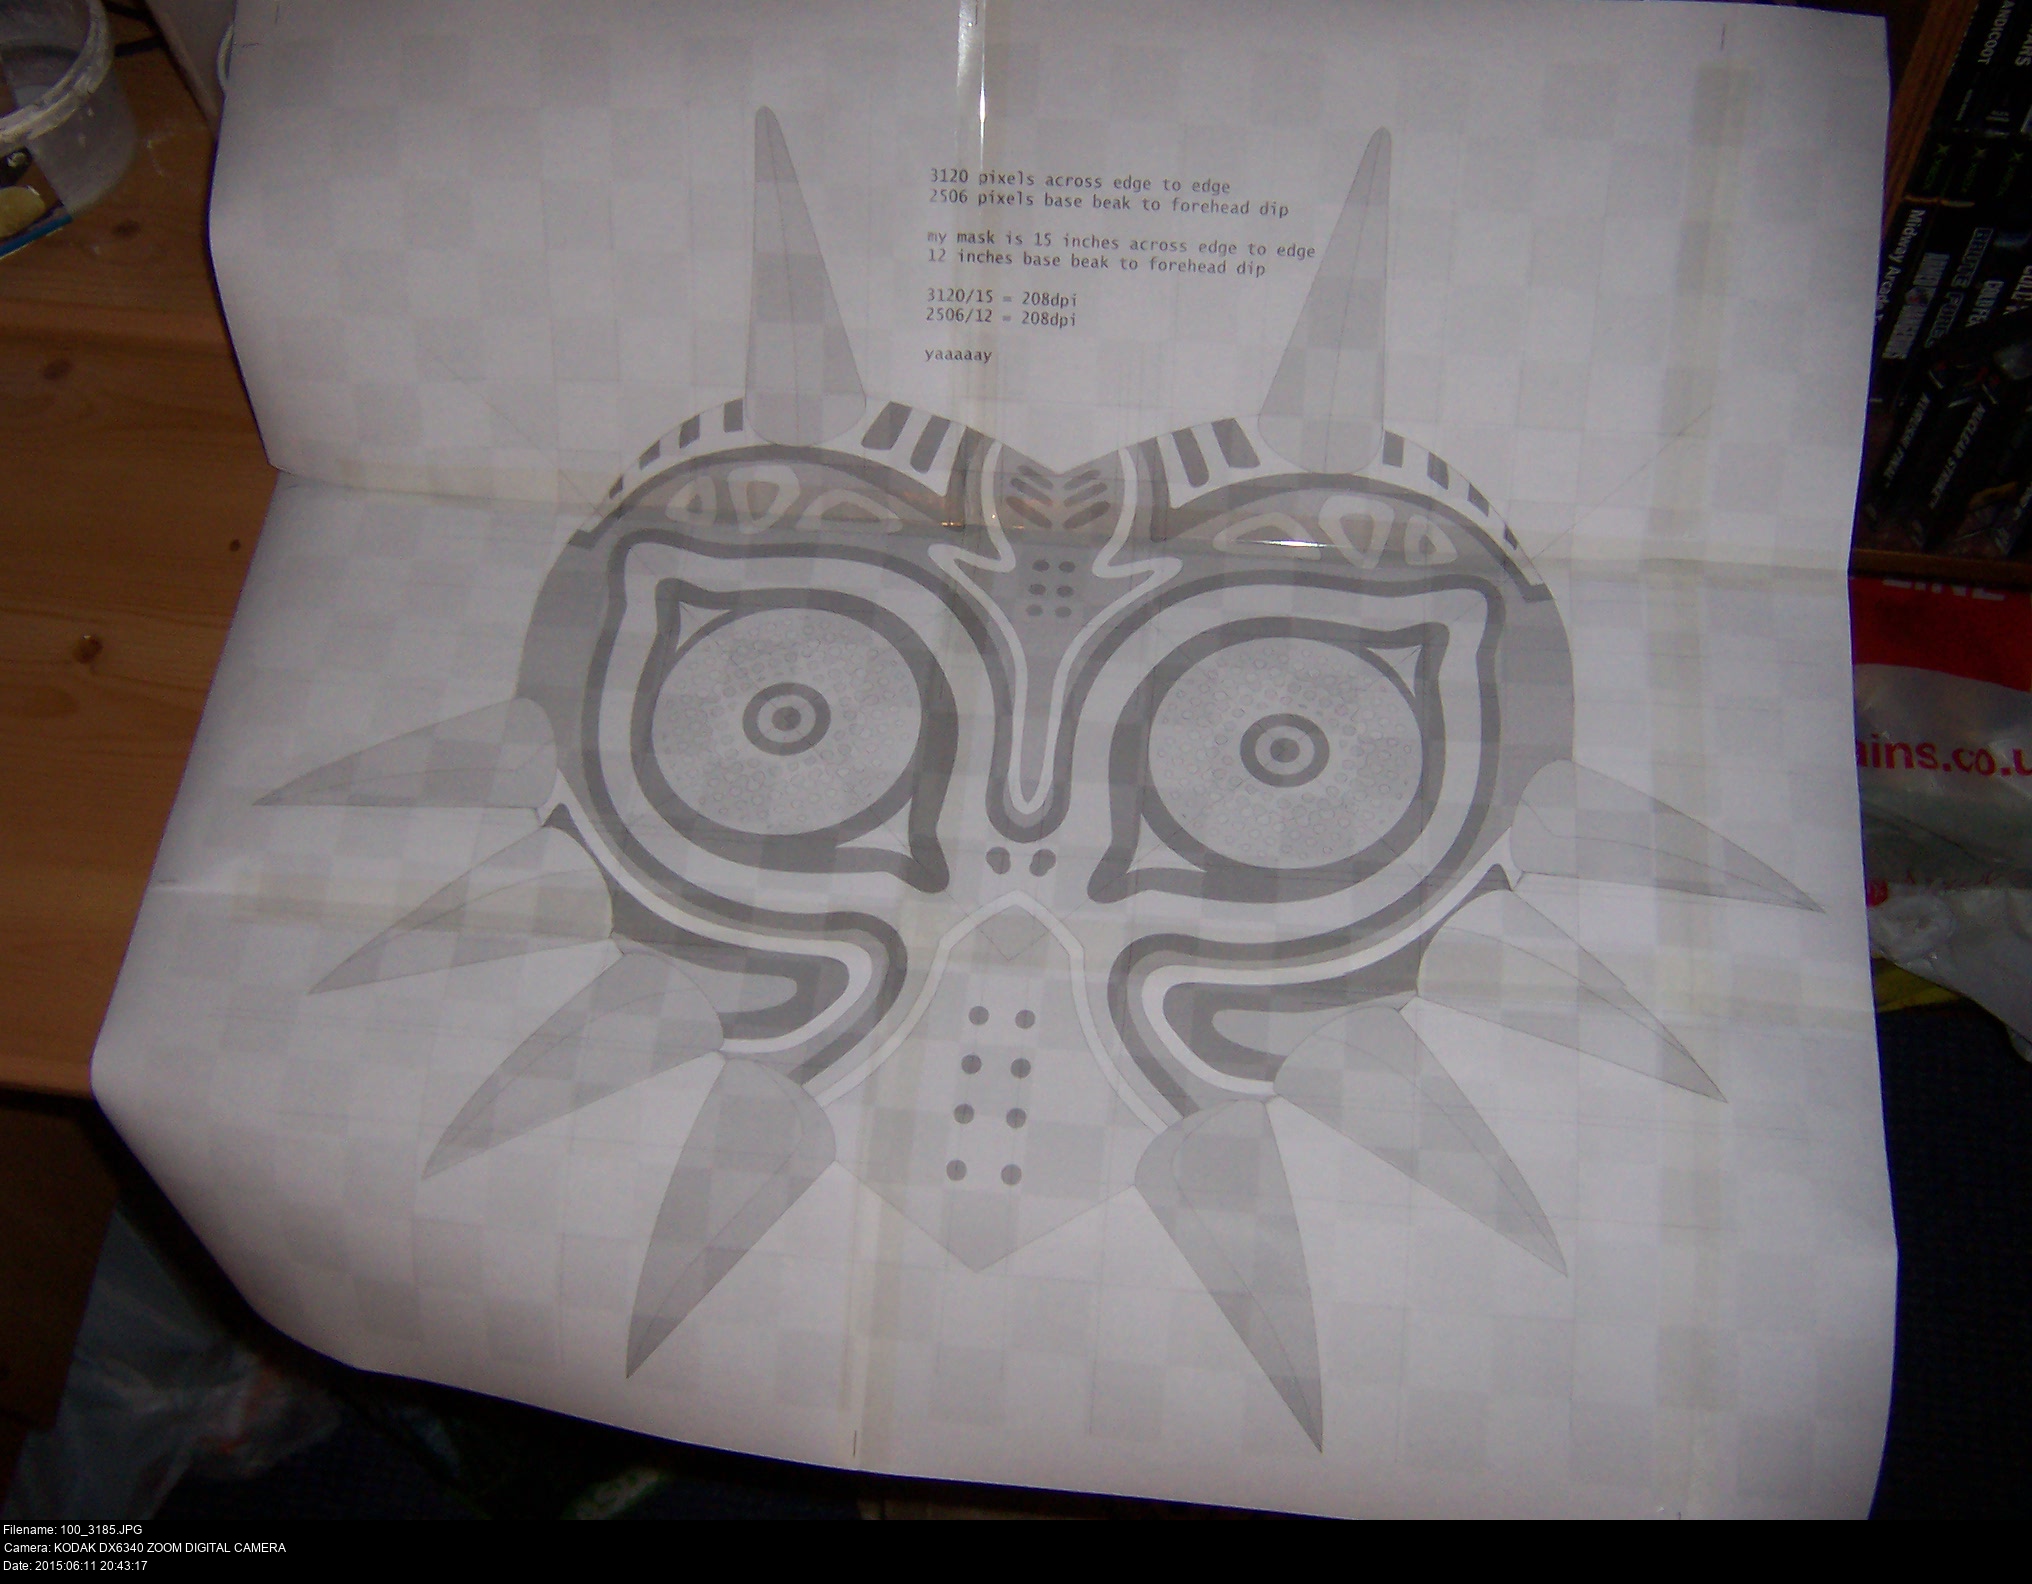

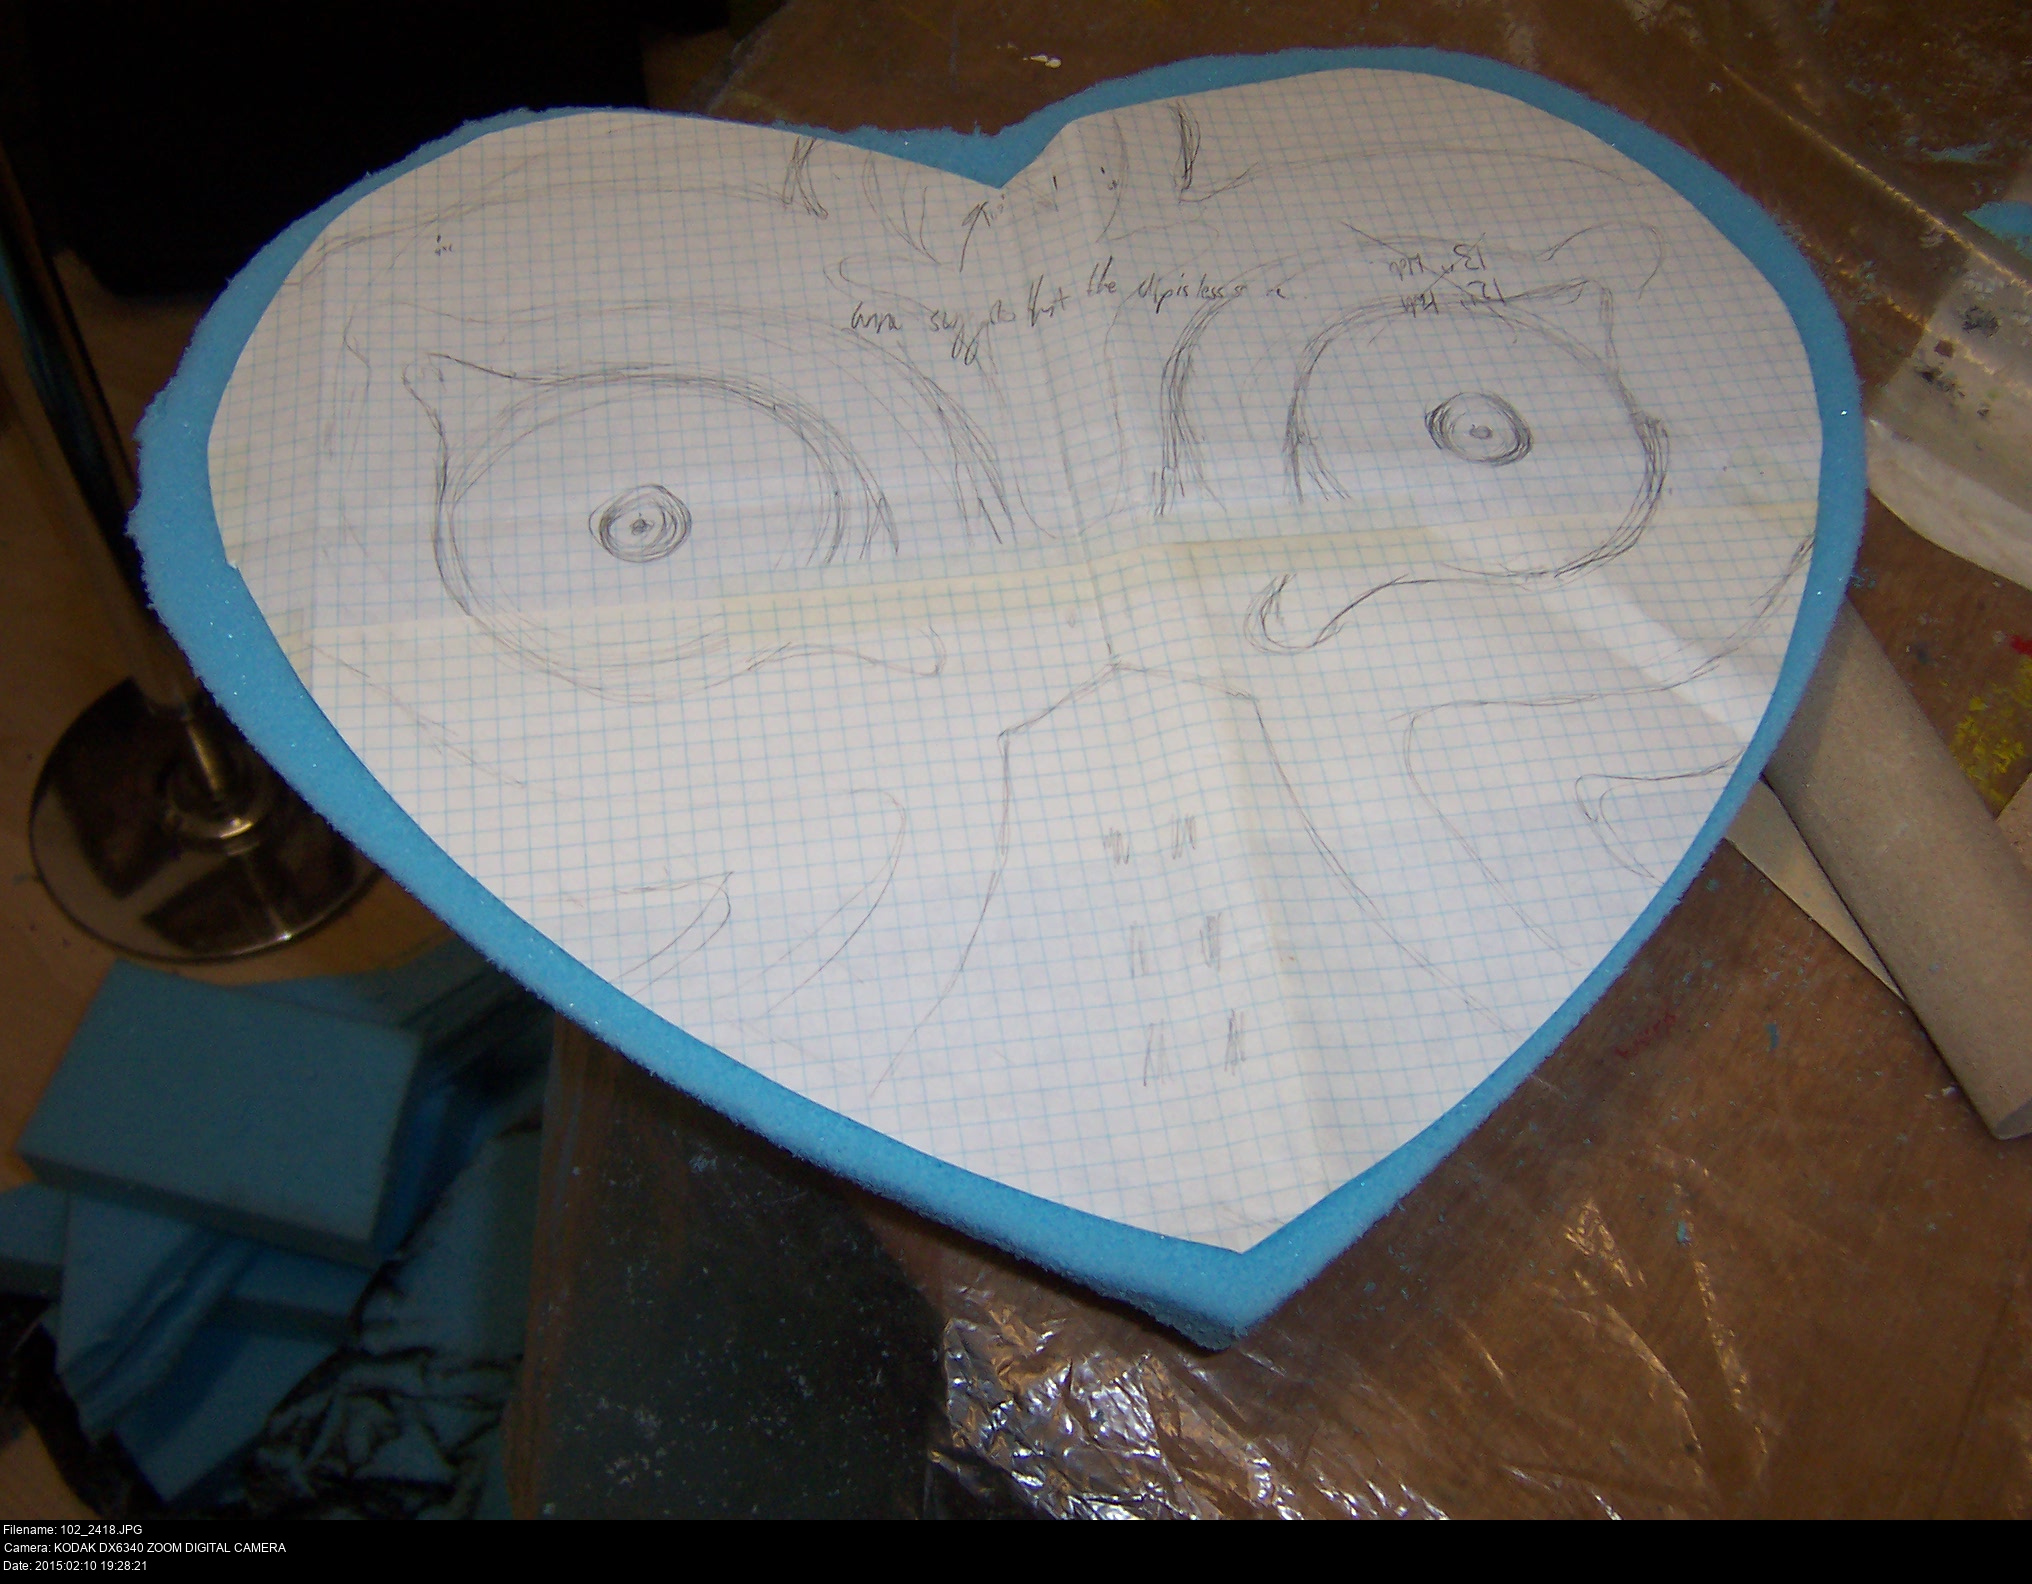
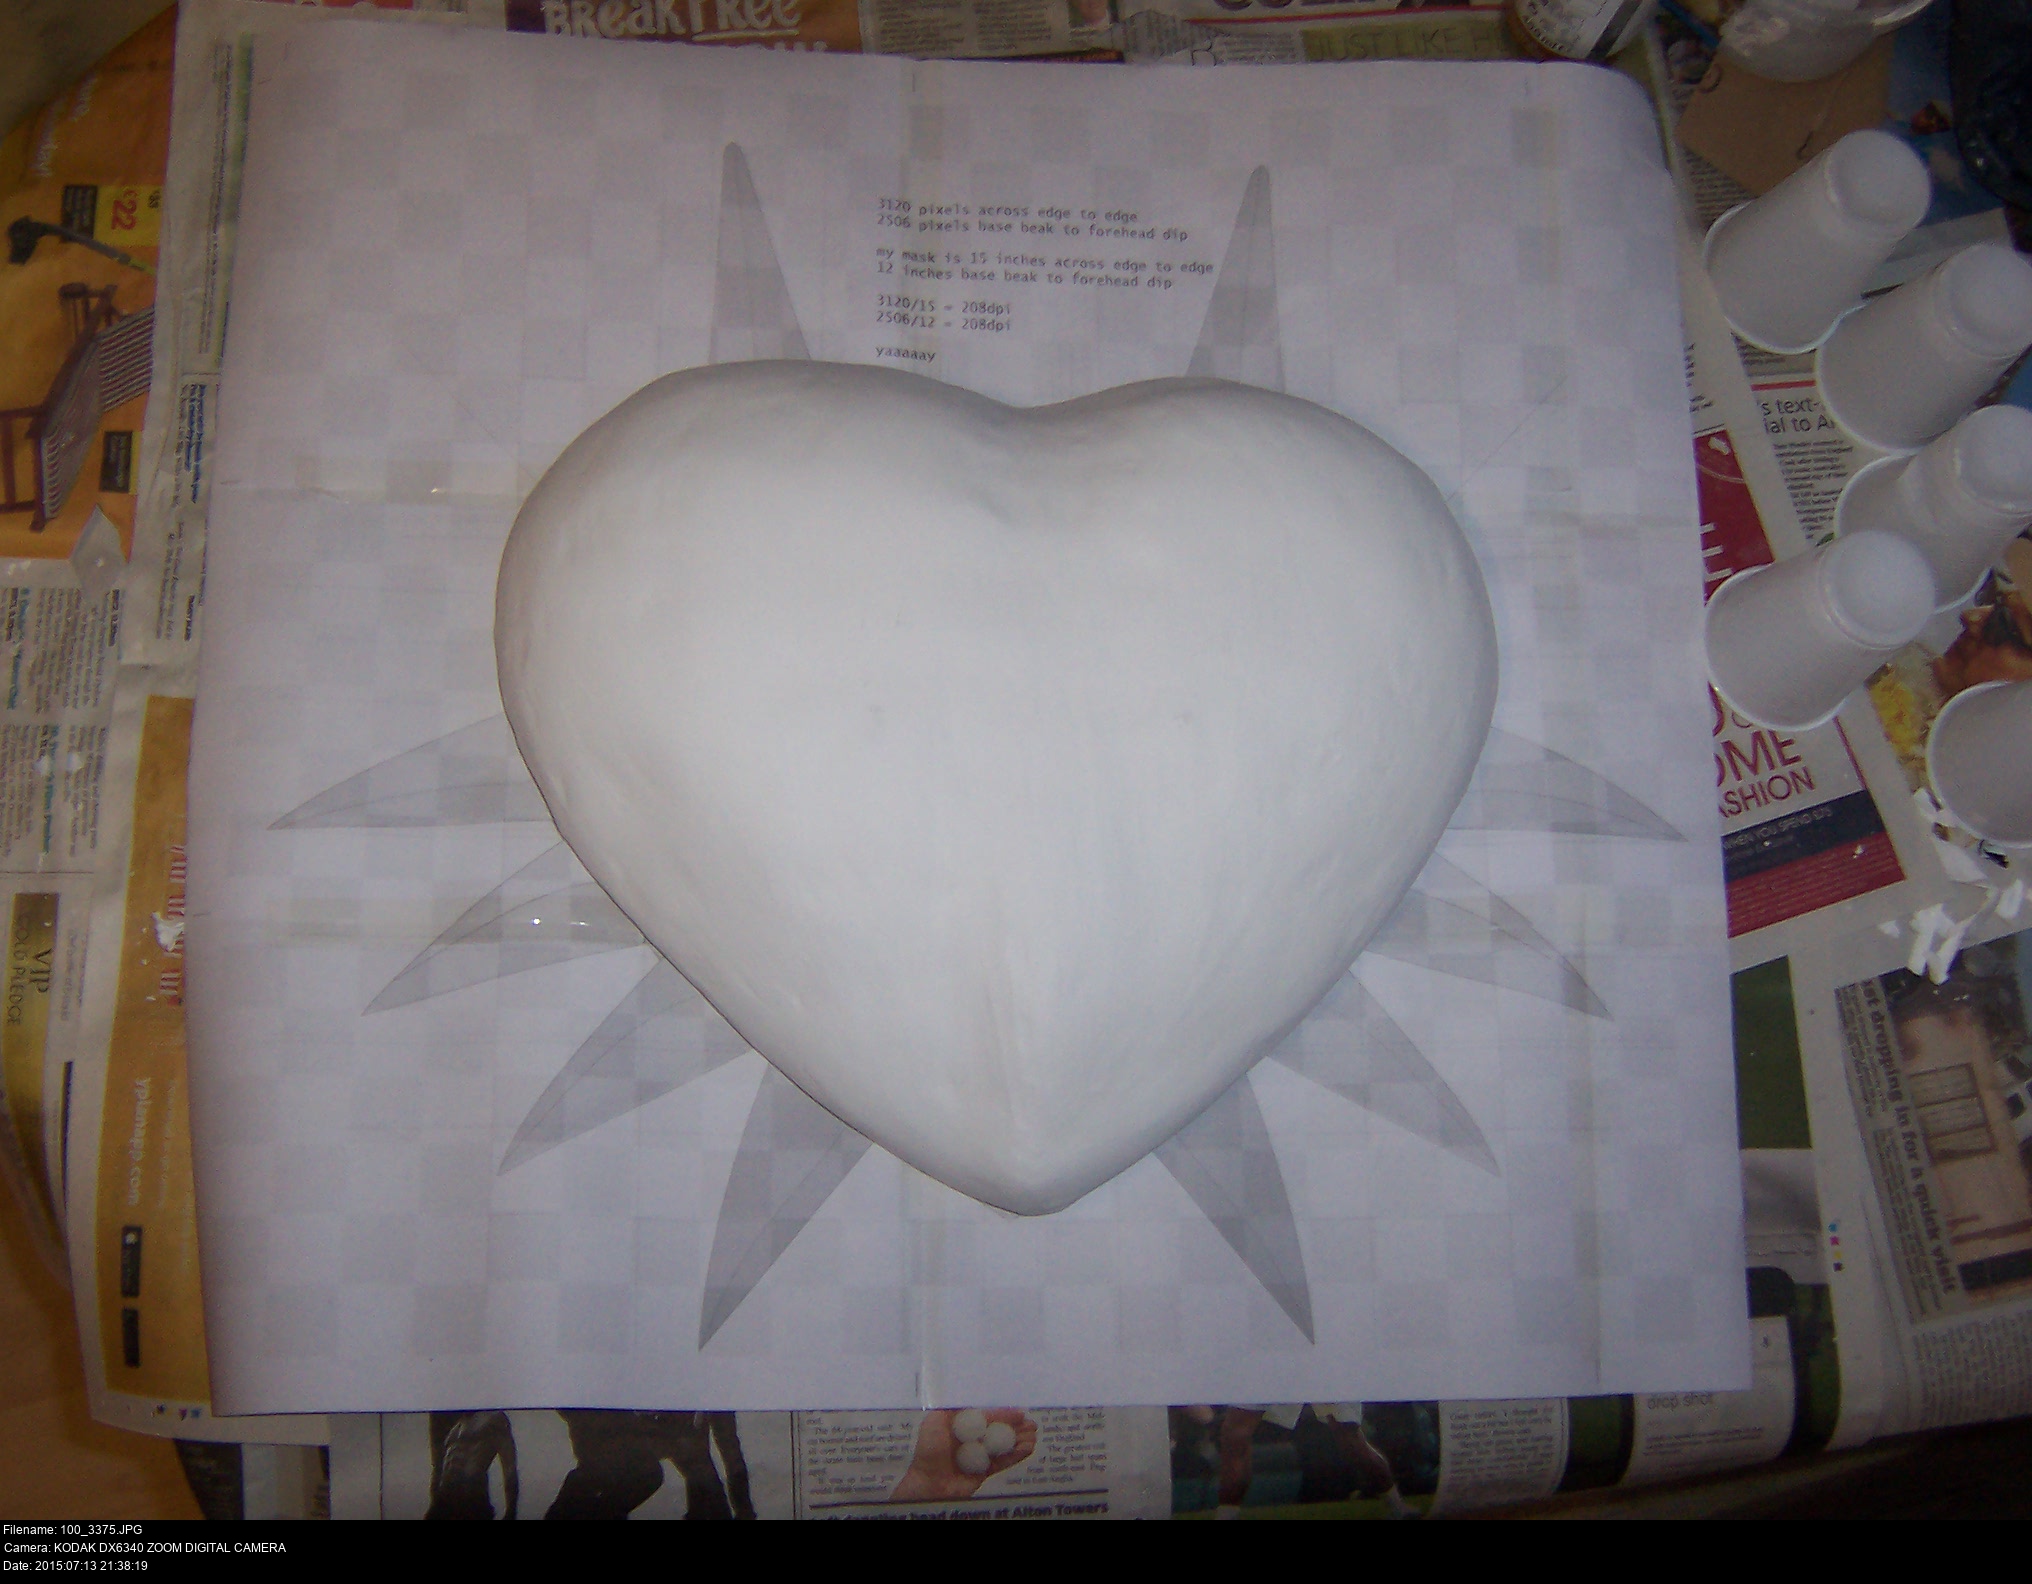
Before I can even think about transferring the design onto the actual mask I'm going to need a life-size, scale image to work from. This will also help me figure out what size the horns are supposed to be, which is what I'm going to be doing next.
Getting to know your image tools is a very useful time investment, regardless of whether you think you'll ever use them in making a costume. Being able to resize, rotate, recolour, fade, overlay or print reference pictures is something that can save you tons of time.
I used an online tool called Rasterbator to create the large print-out here. It's a tool that can magnify an image onto multiple sheets of paper so you can tape them together into full-size like this.
It also helps if you have access to a high-quality laser printer at work and you can slide a few sheets from it when nobody's looking.
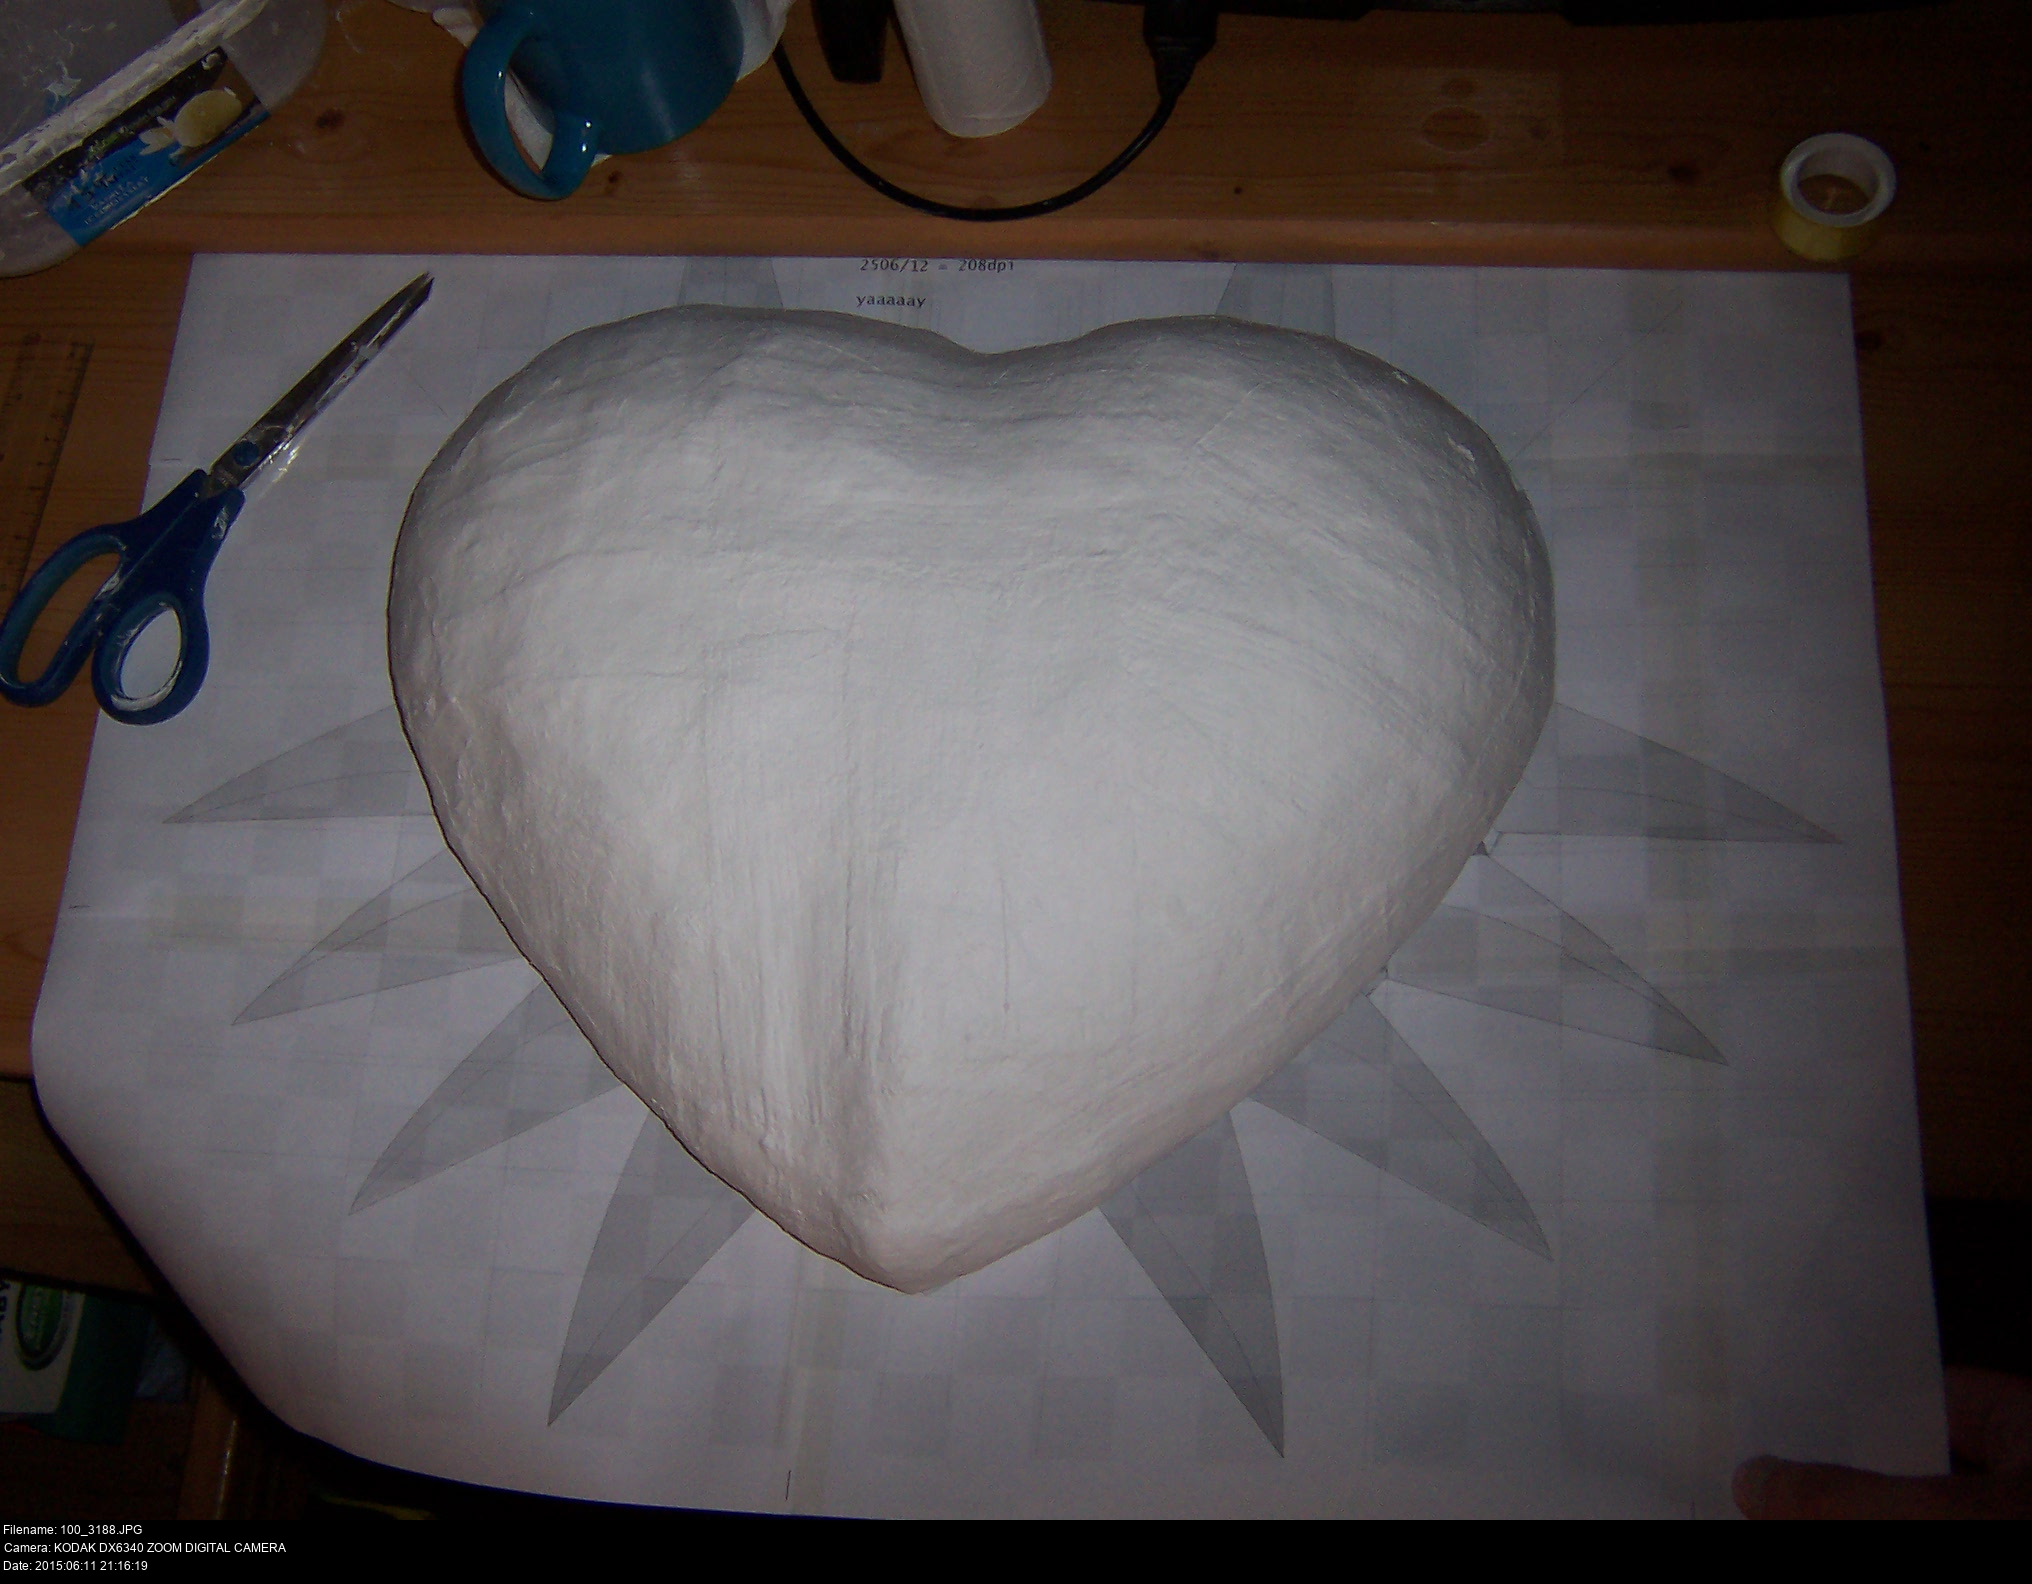

There's the fully dried mask on top of the print-out. It's a little bigger than I expected, but that's alright. Right now I'm only going to be using it as a guide to tell me how big the horns should be and how they should be arranged onto the mask.
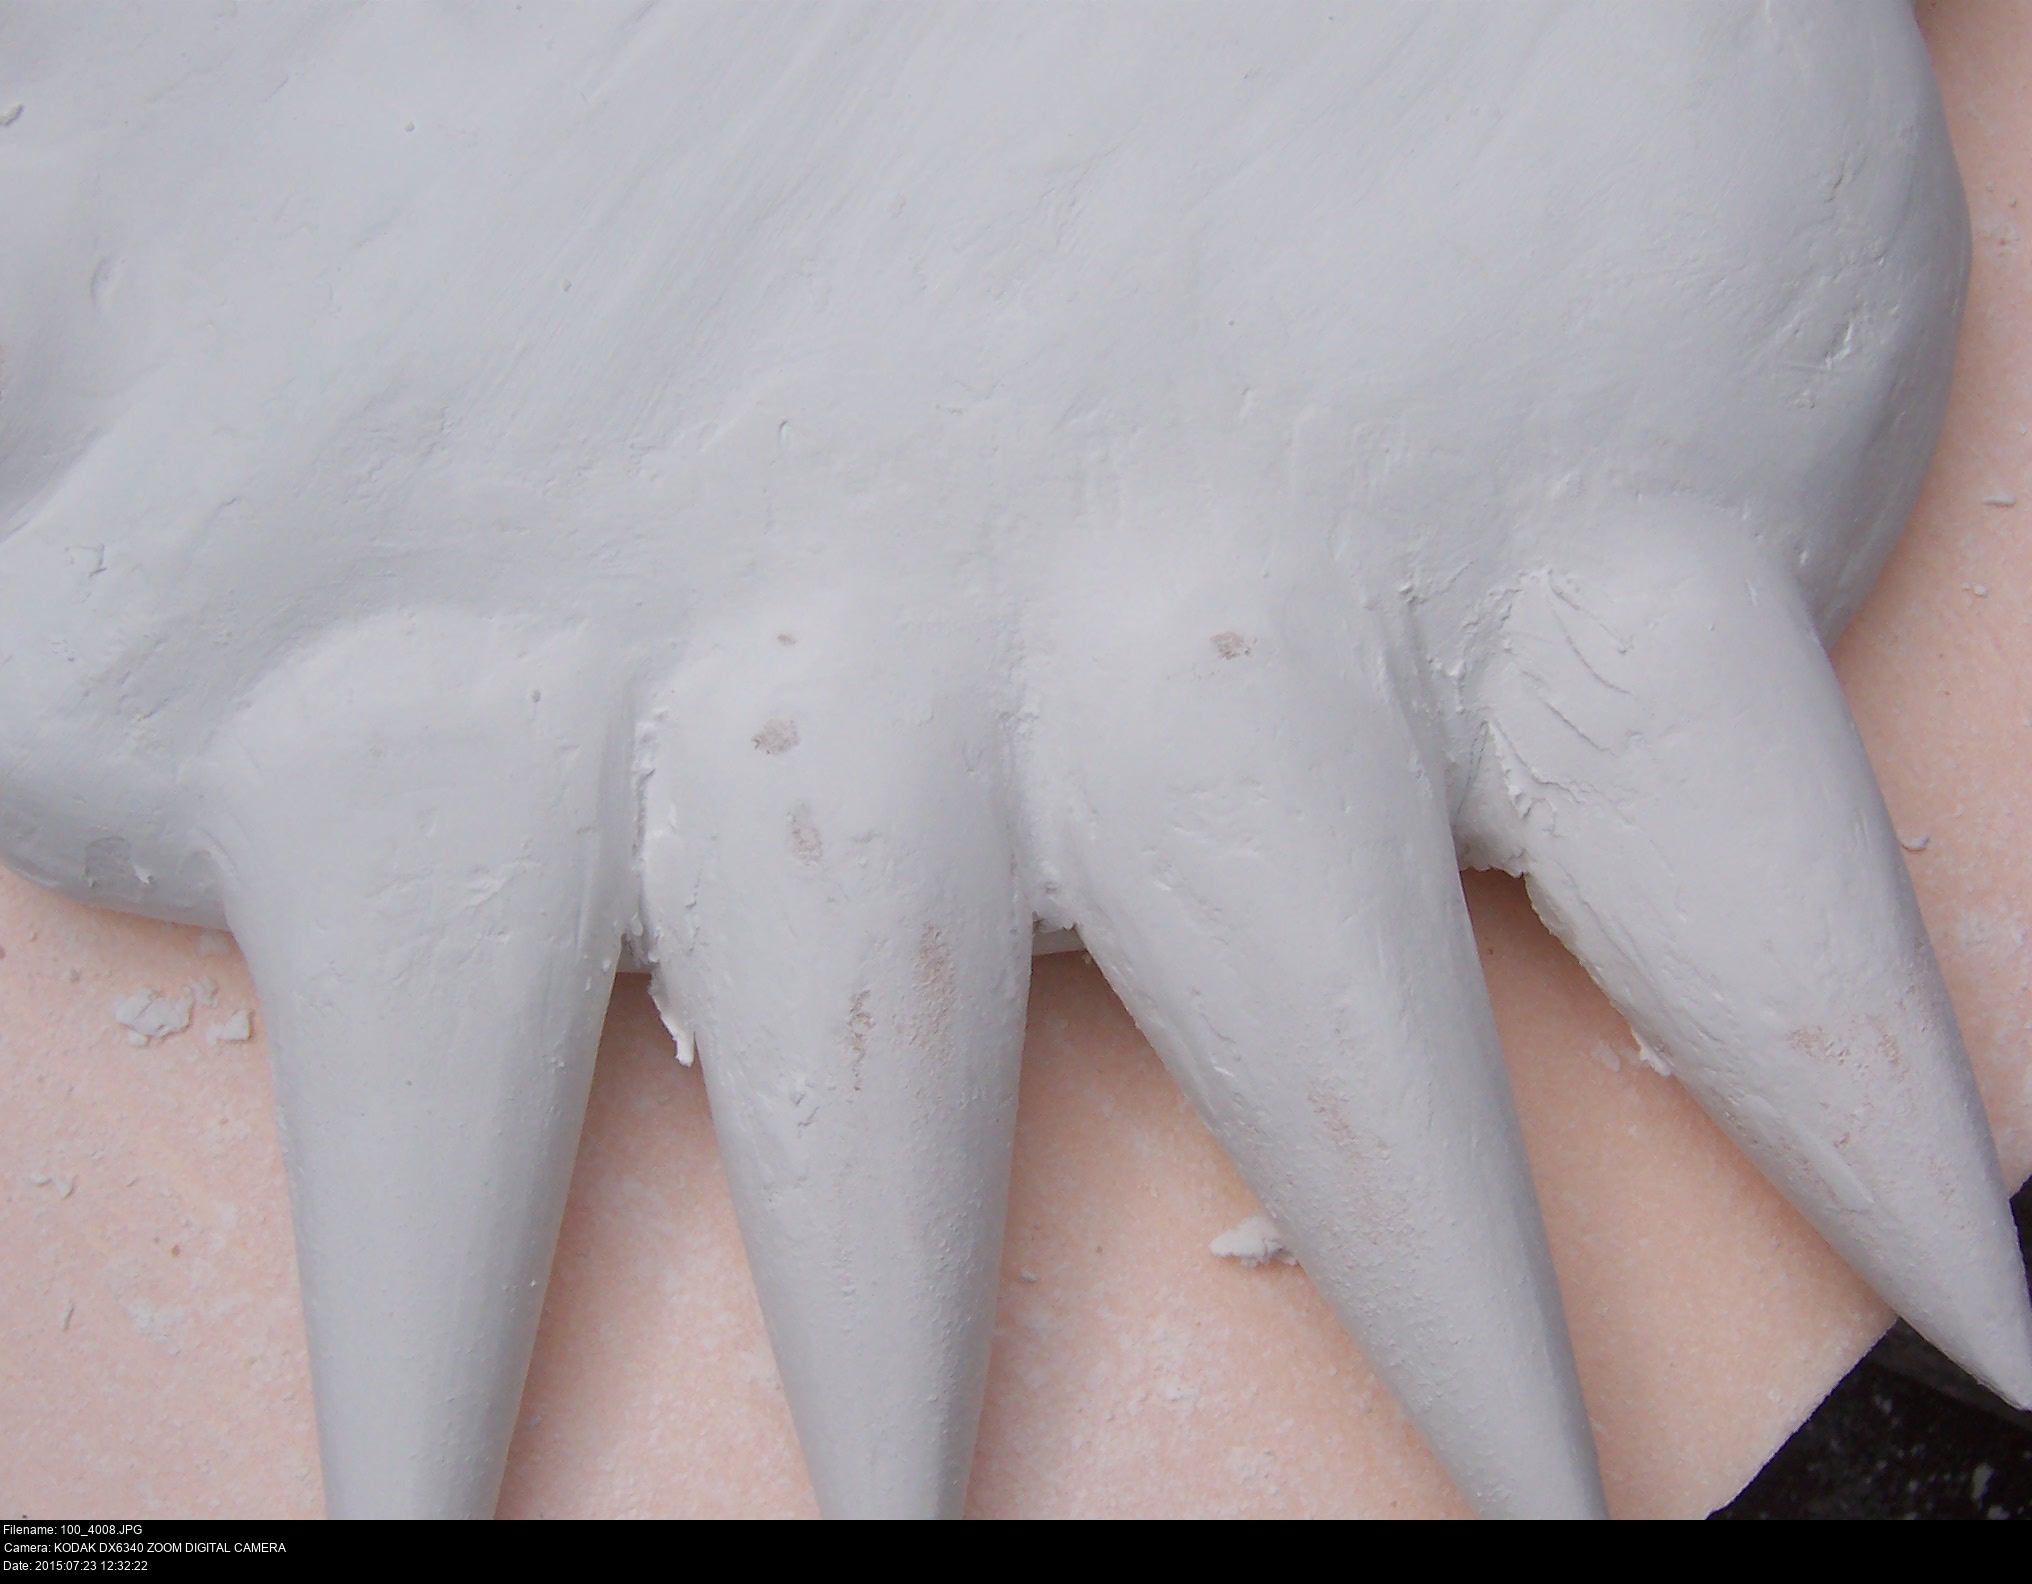
We need ten horns and they're roughly going to be four inches long according to the diagram. However, if you consider the contours of the mask I've created, the horns will hang over into the body of the mask a little longer than that, so I need to keep that in mind.
There are ten horns on the mask, arranged with left-to-right symmetry. The topmost horn points almost directly up and is straight. The remaining four horns point outwards from the mask from a point directly between the centres of the eyes. They also curve slightly. Depending on what images you look at, these horns can curve towards the back of the mask, towards the front of the mask, directly down, or some combination.
What am I going to make the horns out of?


I'd read online that useful item in making lightweight, sturdy foam props is expanding DIY filler foam. You spray it into a form similar to the one you want, it expands to fill it, it hardens overnight, and you get a nice, usefully-shaped block of foam to work on.
Over there on the left are a collection of disposable plastic champagne flutes. I'll spray the foam into them, it'll fill 'em up, and I can simply tap out the foam to get nice conical foam shapes that I can finish and attach to the mask.
What could paushibly go wroang?


E V E R Y T H I N G.
What a dog-awful mess.
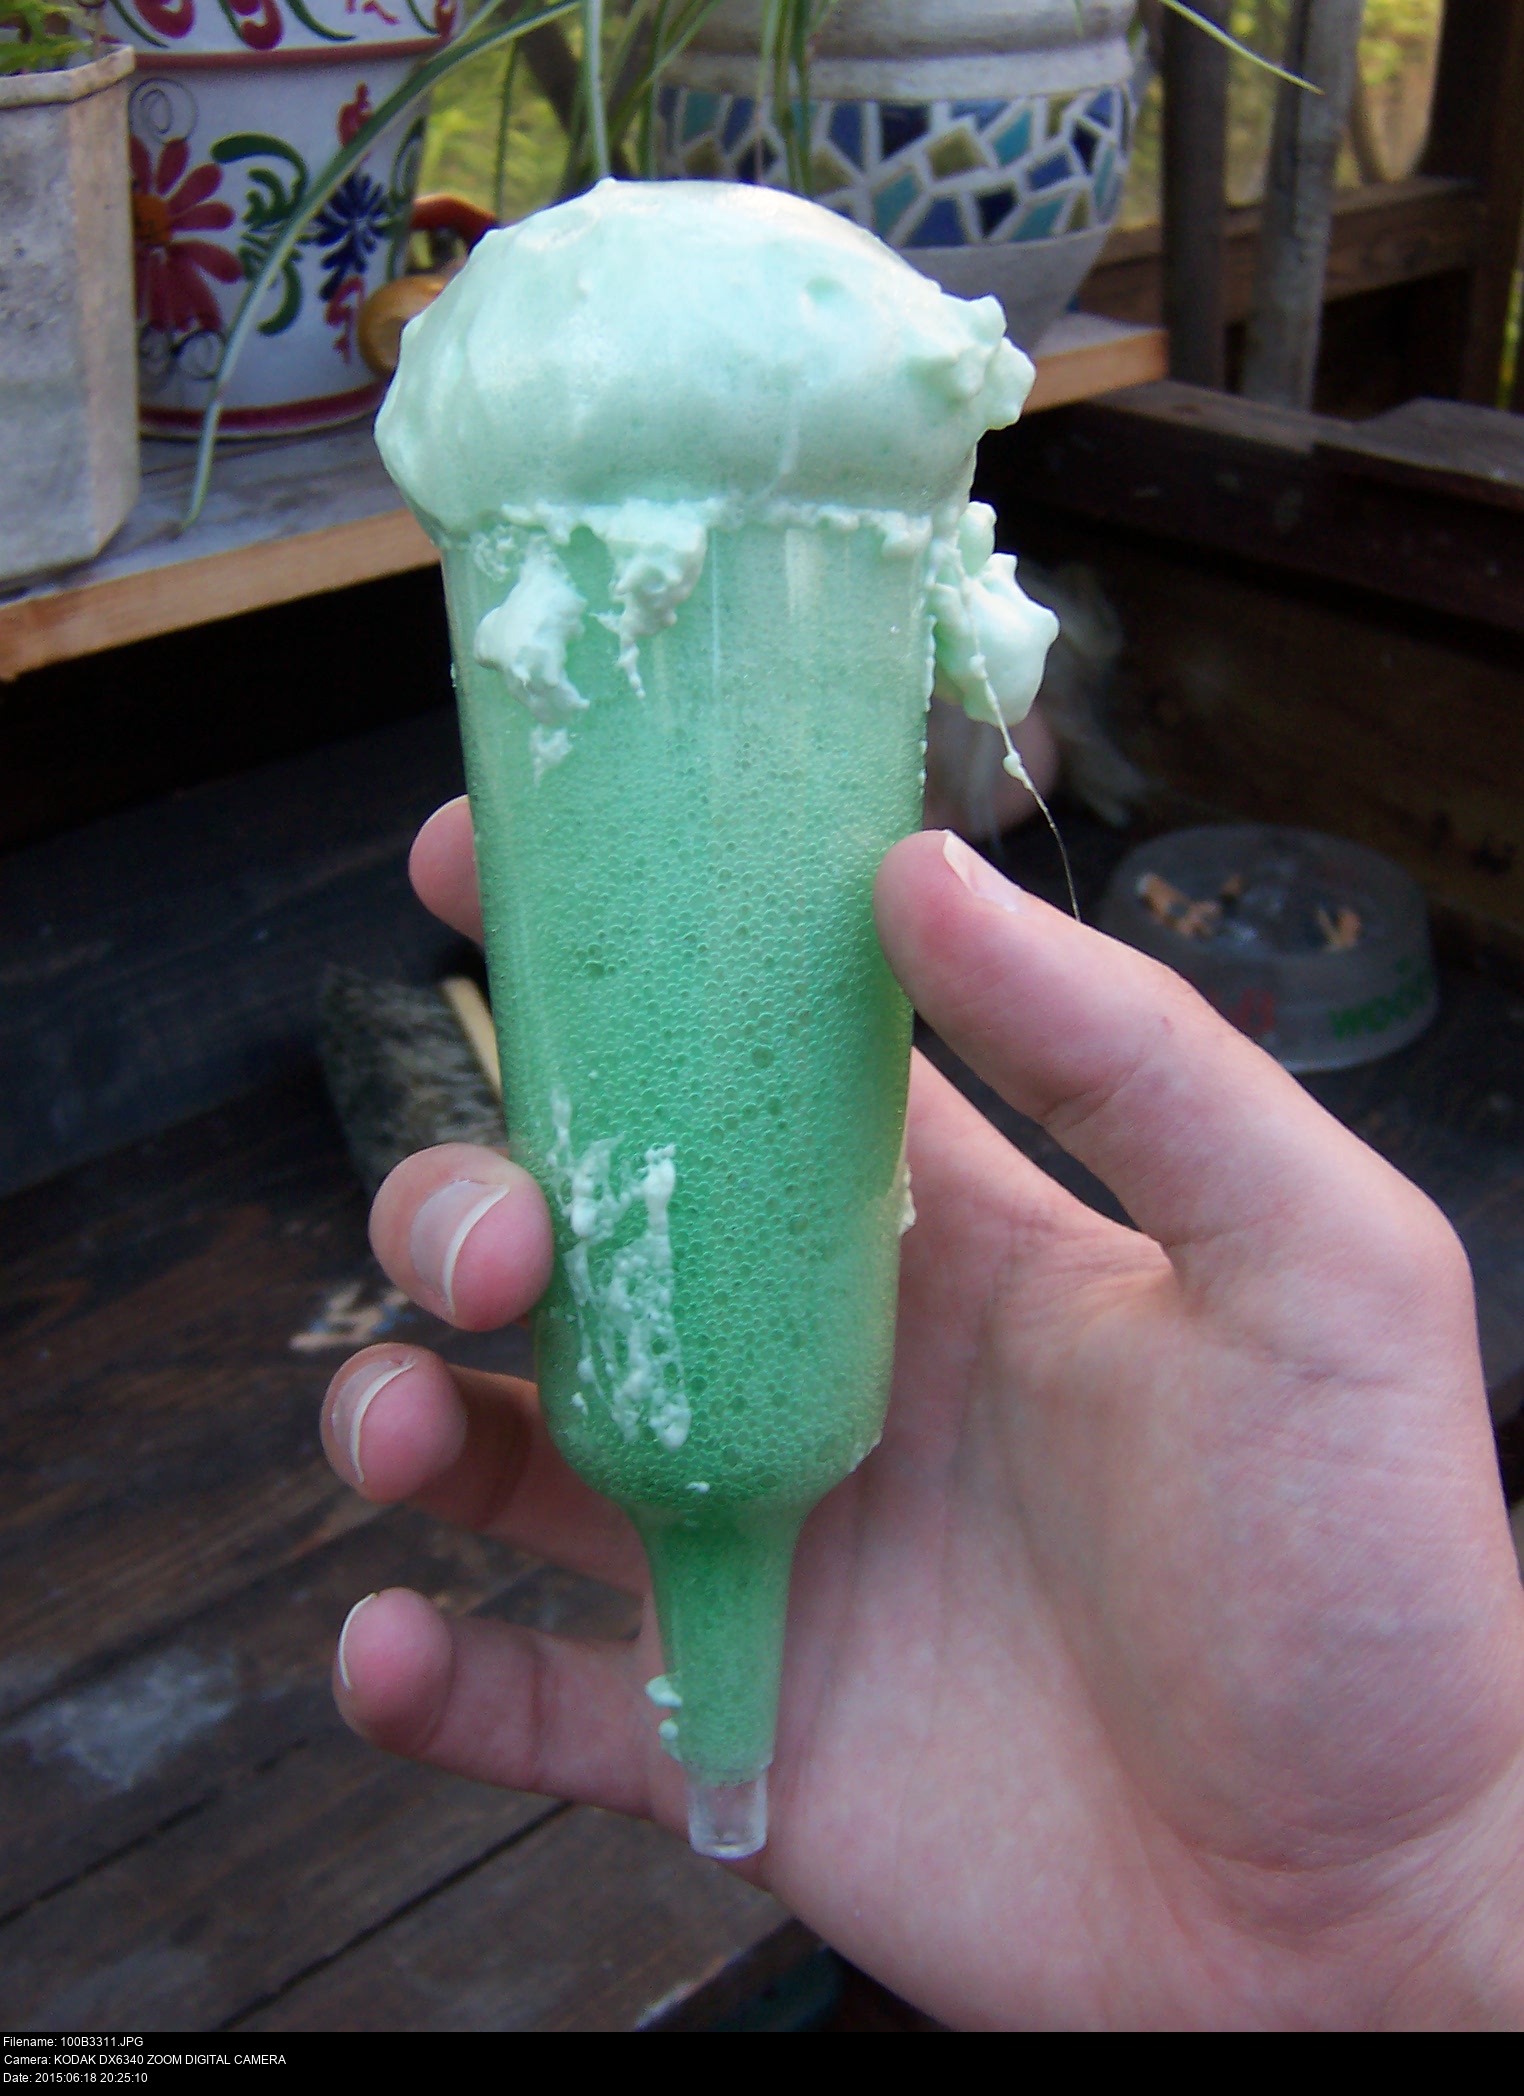
The filler expanded alright. It expanded all over the place, turning the whole experiment into one big tangled mess of sticky horrible gunk. Worse still, the actual plan didn't even work. The filler I sprayed into the flutes didn't have any oxygen getting to it, so it didn't cure. I've got a perfect cone showing the filler in all of its states, from fully cured at the very top to raw liquid at the bottom. I can't do anything with this! I can't even get it out, it's glued into the flute!
The rest of the foam that poured off into the tray solidified into a big rectangular chunk. I might be able to saw that off and carve it into cones -maybe-.
This filler is essentially expanding foam mixed with glue. Unless you're really trying to fill something, this stuff isn't for you.
At least the mask is dry and intact.


First up, before you do anything, take a moment and -think-. Remember Blue's Clues? Sit down on that thinking chair and think. Think. Thiiii-iii-iiink.
It'd be very easy to ruin everything at this stage.
The idea is the same as always: I'm going to cut away a little of the ragged edge of the modroc layers, compress the blue foam (without putting ANY pressure on the mask itself in case I bend it or crack it) and gently pull the blue foam out of the cavity in the back of the mask.
Work slowly, carefully and deliberately. Mark out the line you're going to cut with a pencil, then cut. Peel away the part you've cut. If it doesn't peel, make sure you've cut through all the layers of modroc and plaster. I've hollowed out the form a little to make it easier to compress. I've got to pull it inwards from all the edges simultaneously. In doing this, I've accidentally cut through to the front surface of the form, but it's not major damage. I just need to take care if I (dog forbid) modroc this a third time.


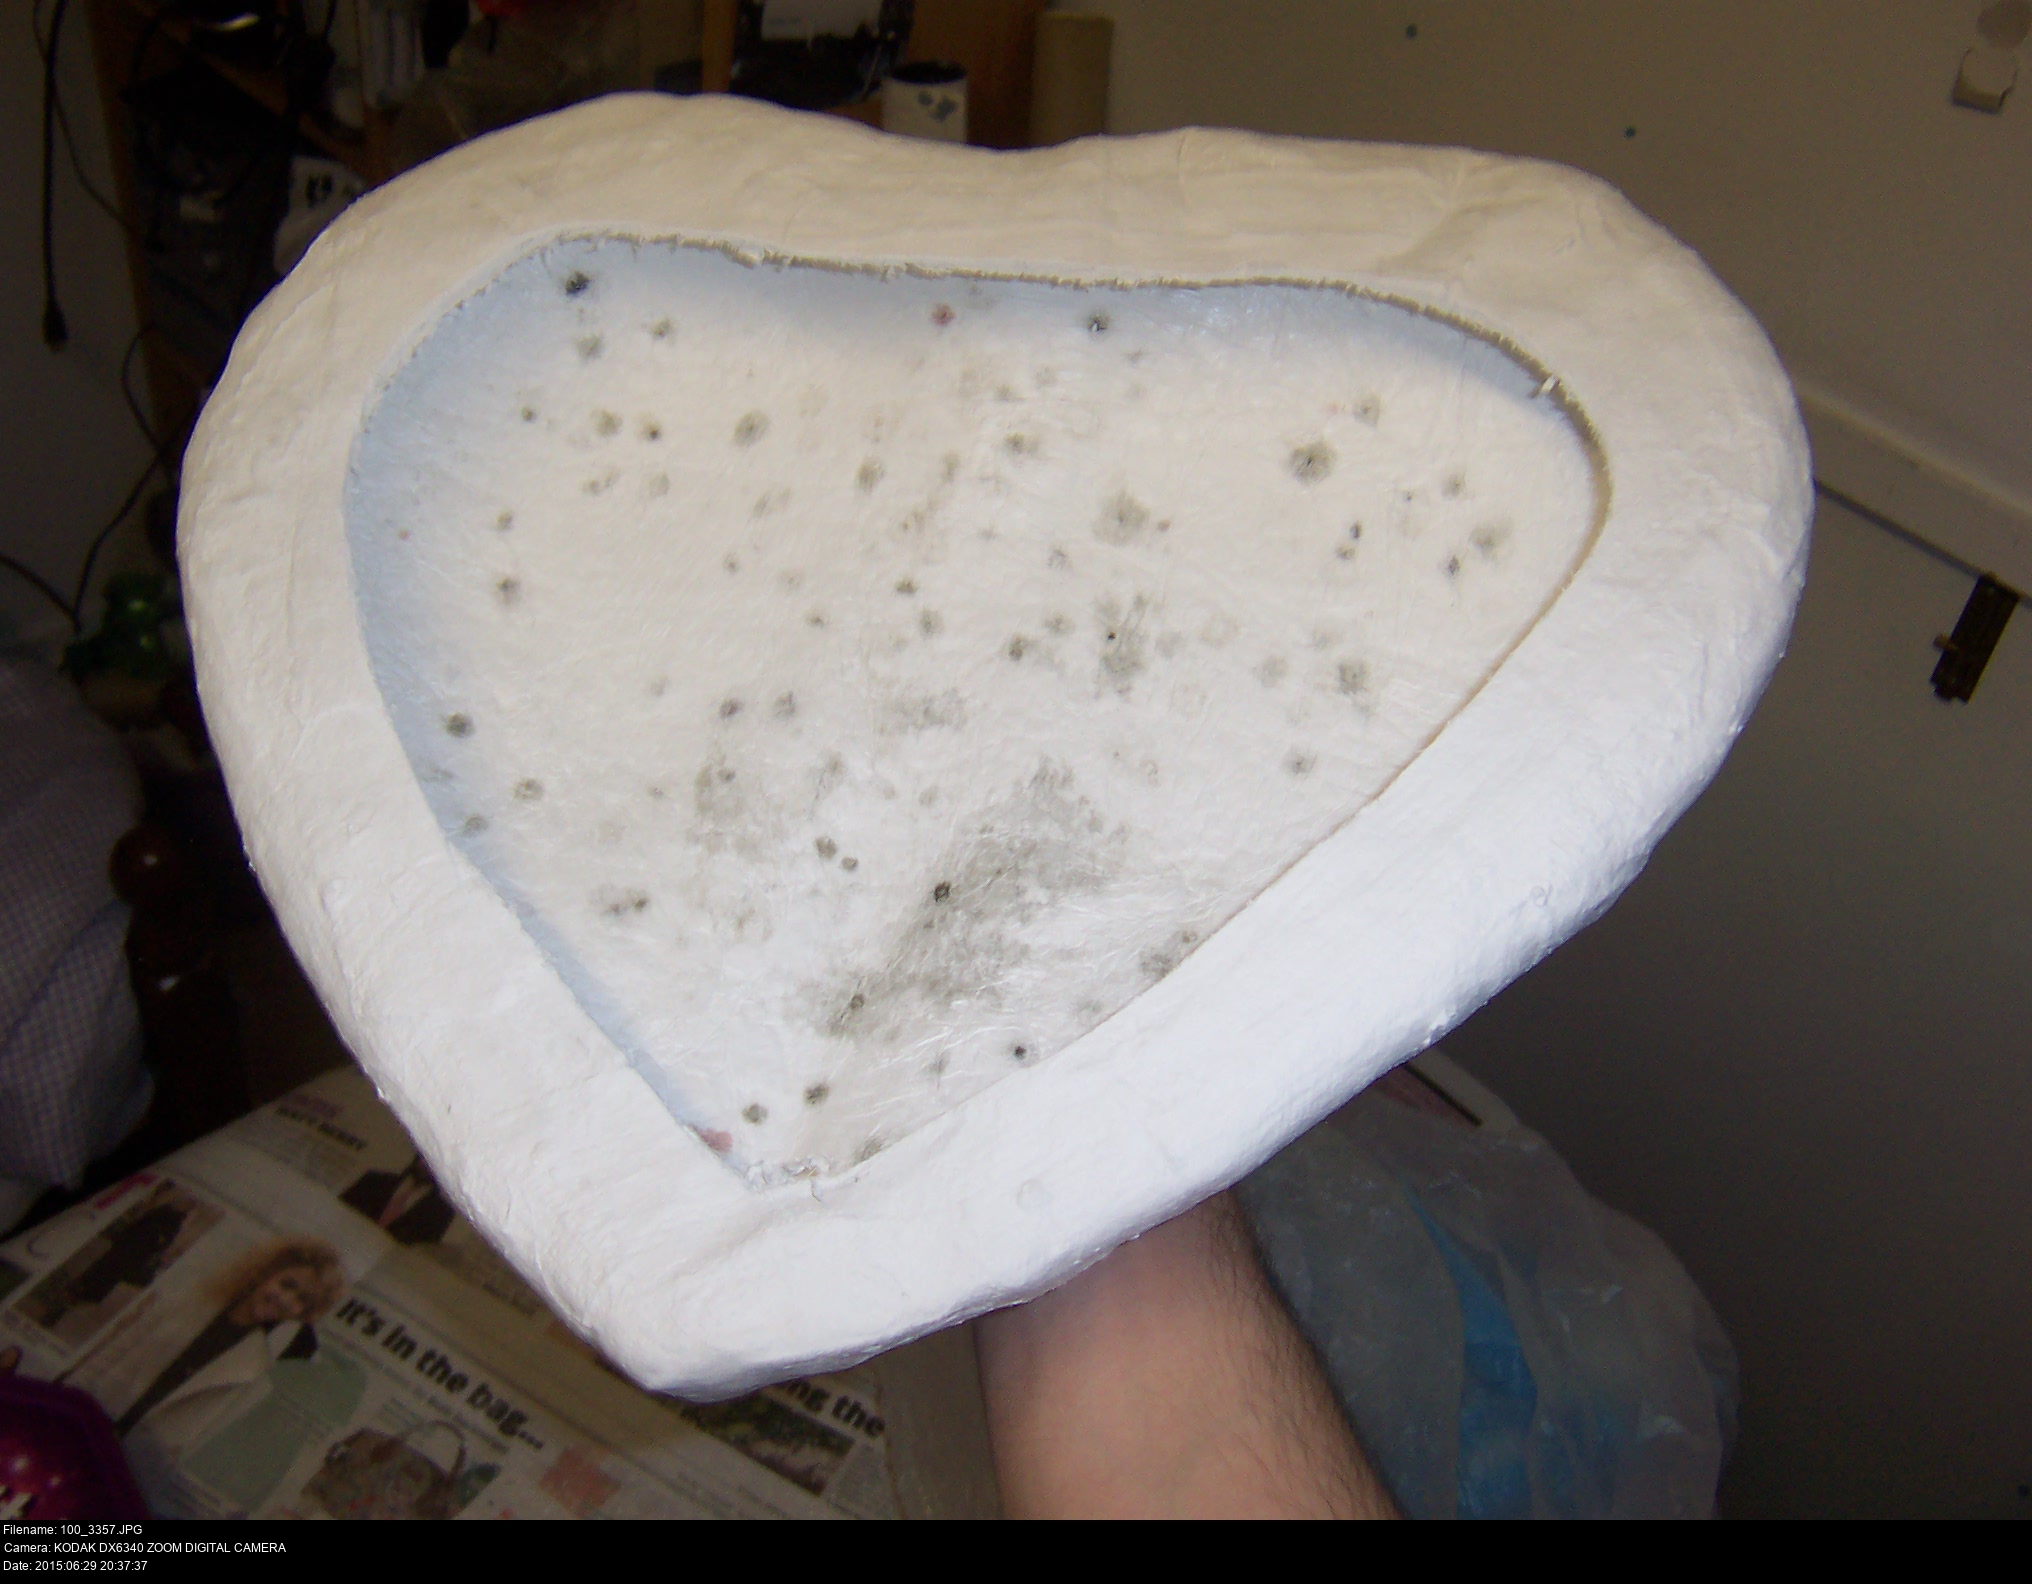


And it's out. And... wow. That doesn't look nice at all. Mould. The entire interior of the mask is lined with small patches of mould. And I don't know how to avoid it.
I can't wear it in that state, that would probably not be very healthy.


I'm gonna -gesso- the whole friggin' thing! Then, when it's dried, spray the interior with some Wilkinsons' anti-mould wash spray and give it a rub. I really shouldn't get any fluid on the mask, since it'll weaken and dissolve the plaster. I'm worried that even sneezing on this thing will turn it completely floppy.

At least it looks nicer on the outside. Just don't try eating this, alright?
How're those horns getting along...?


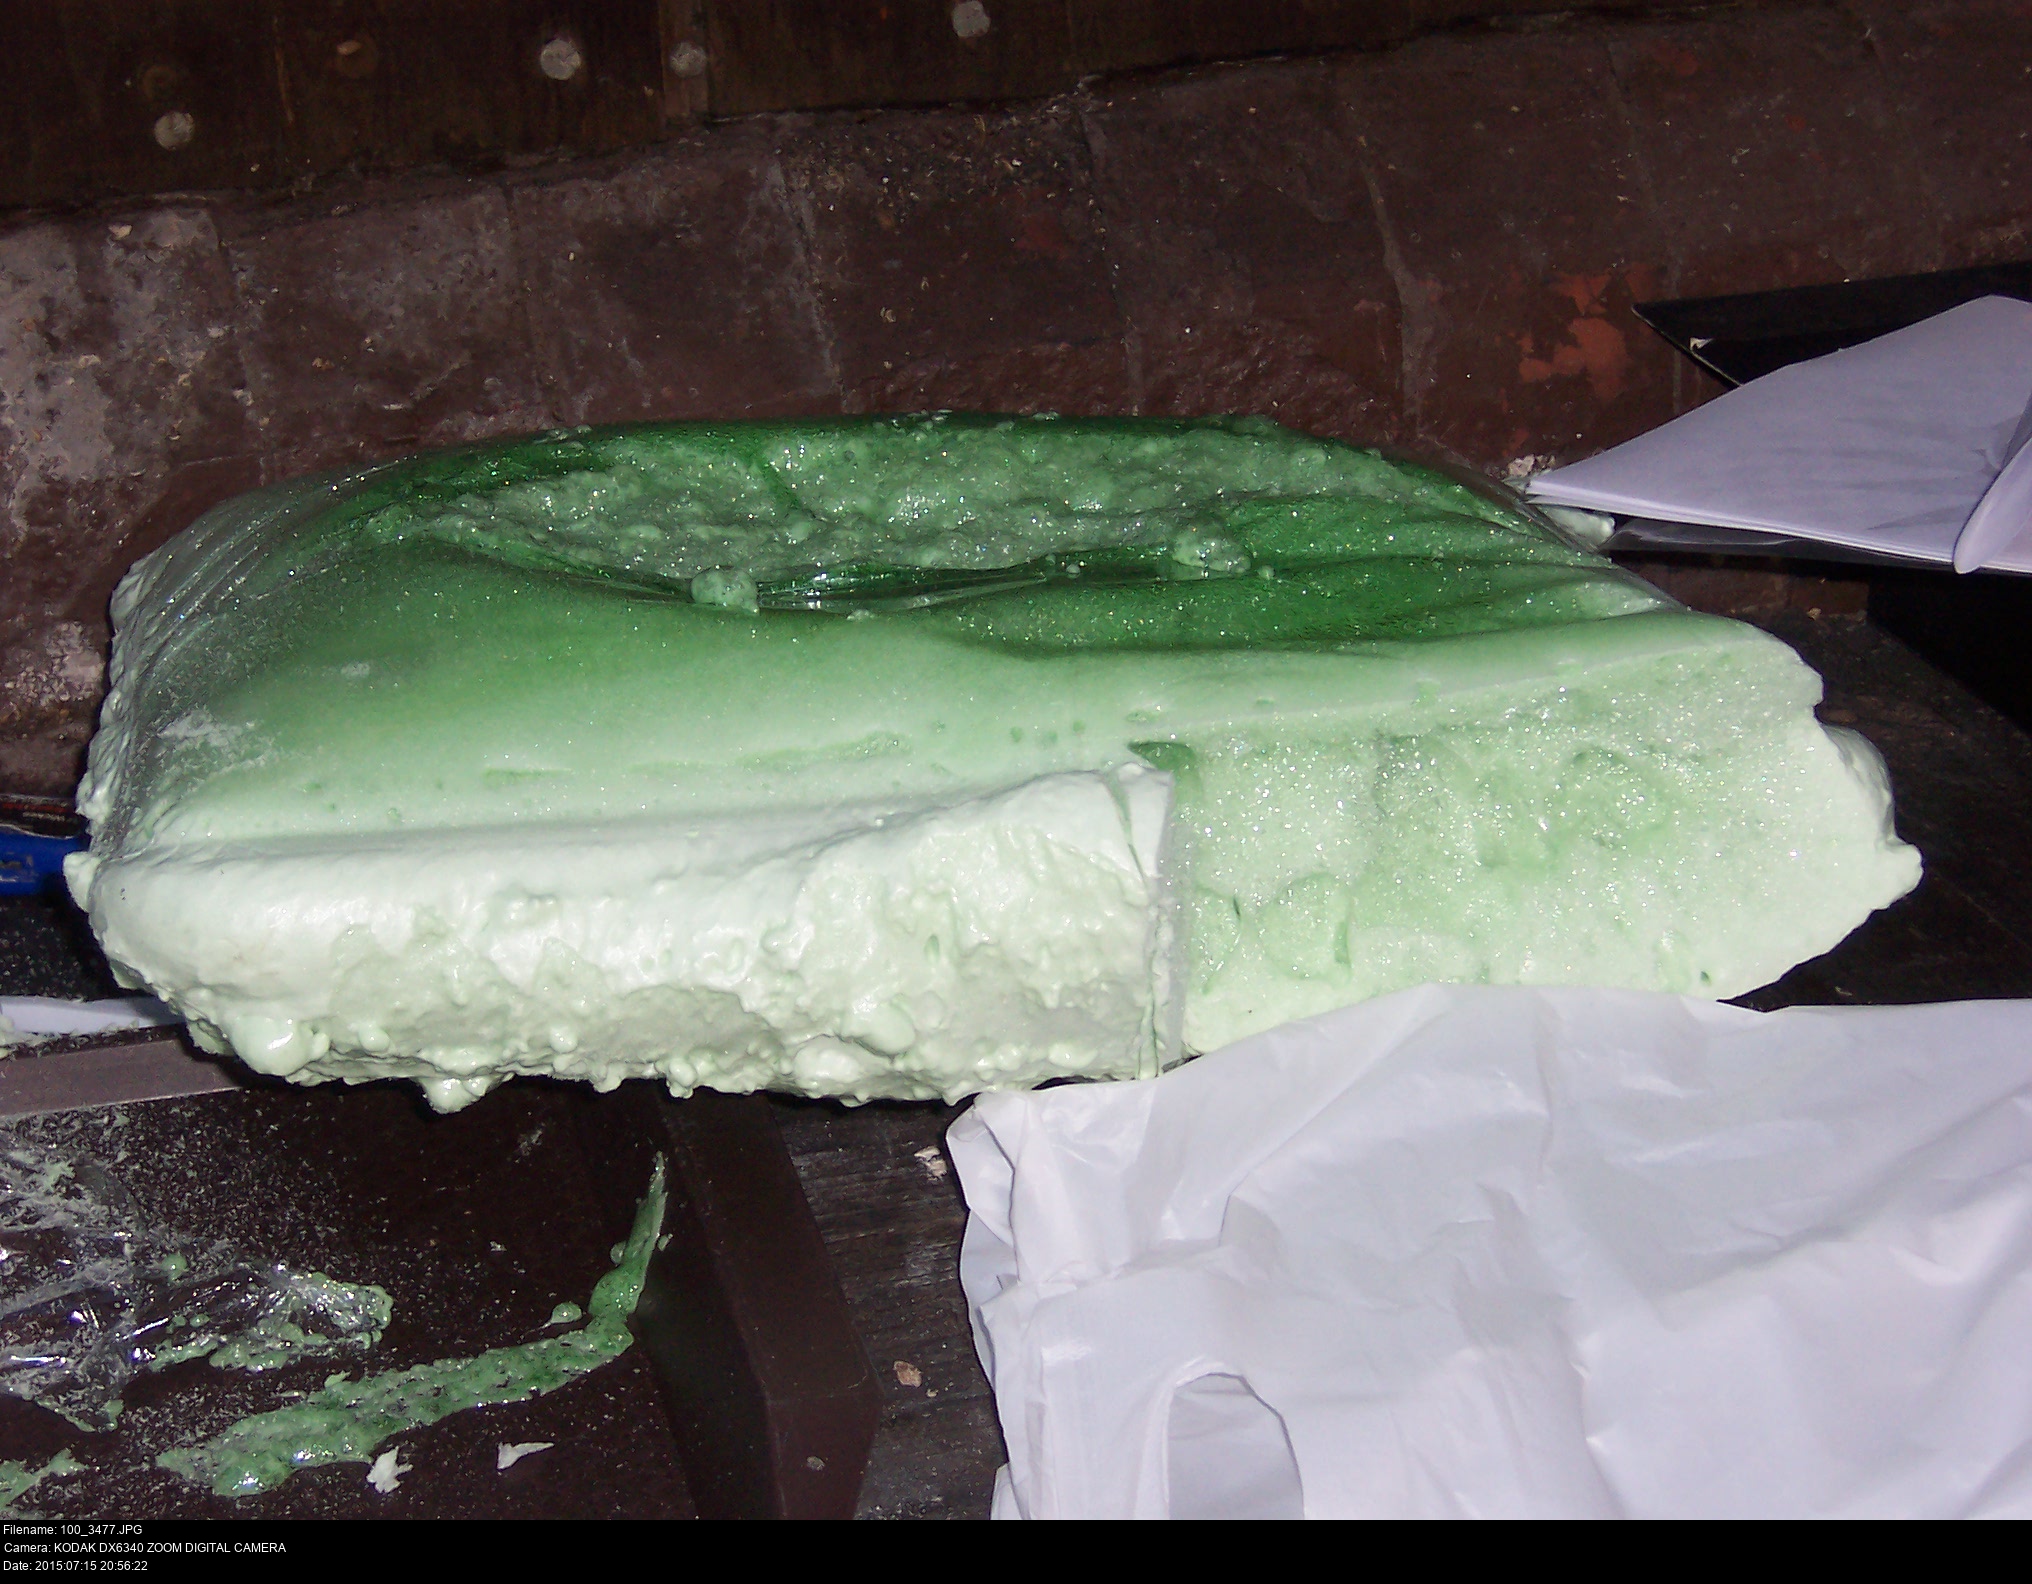
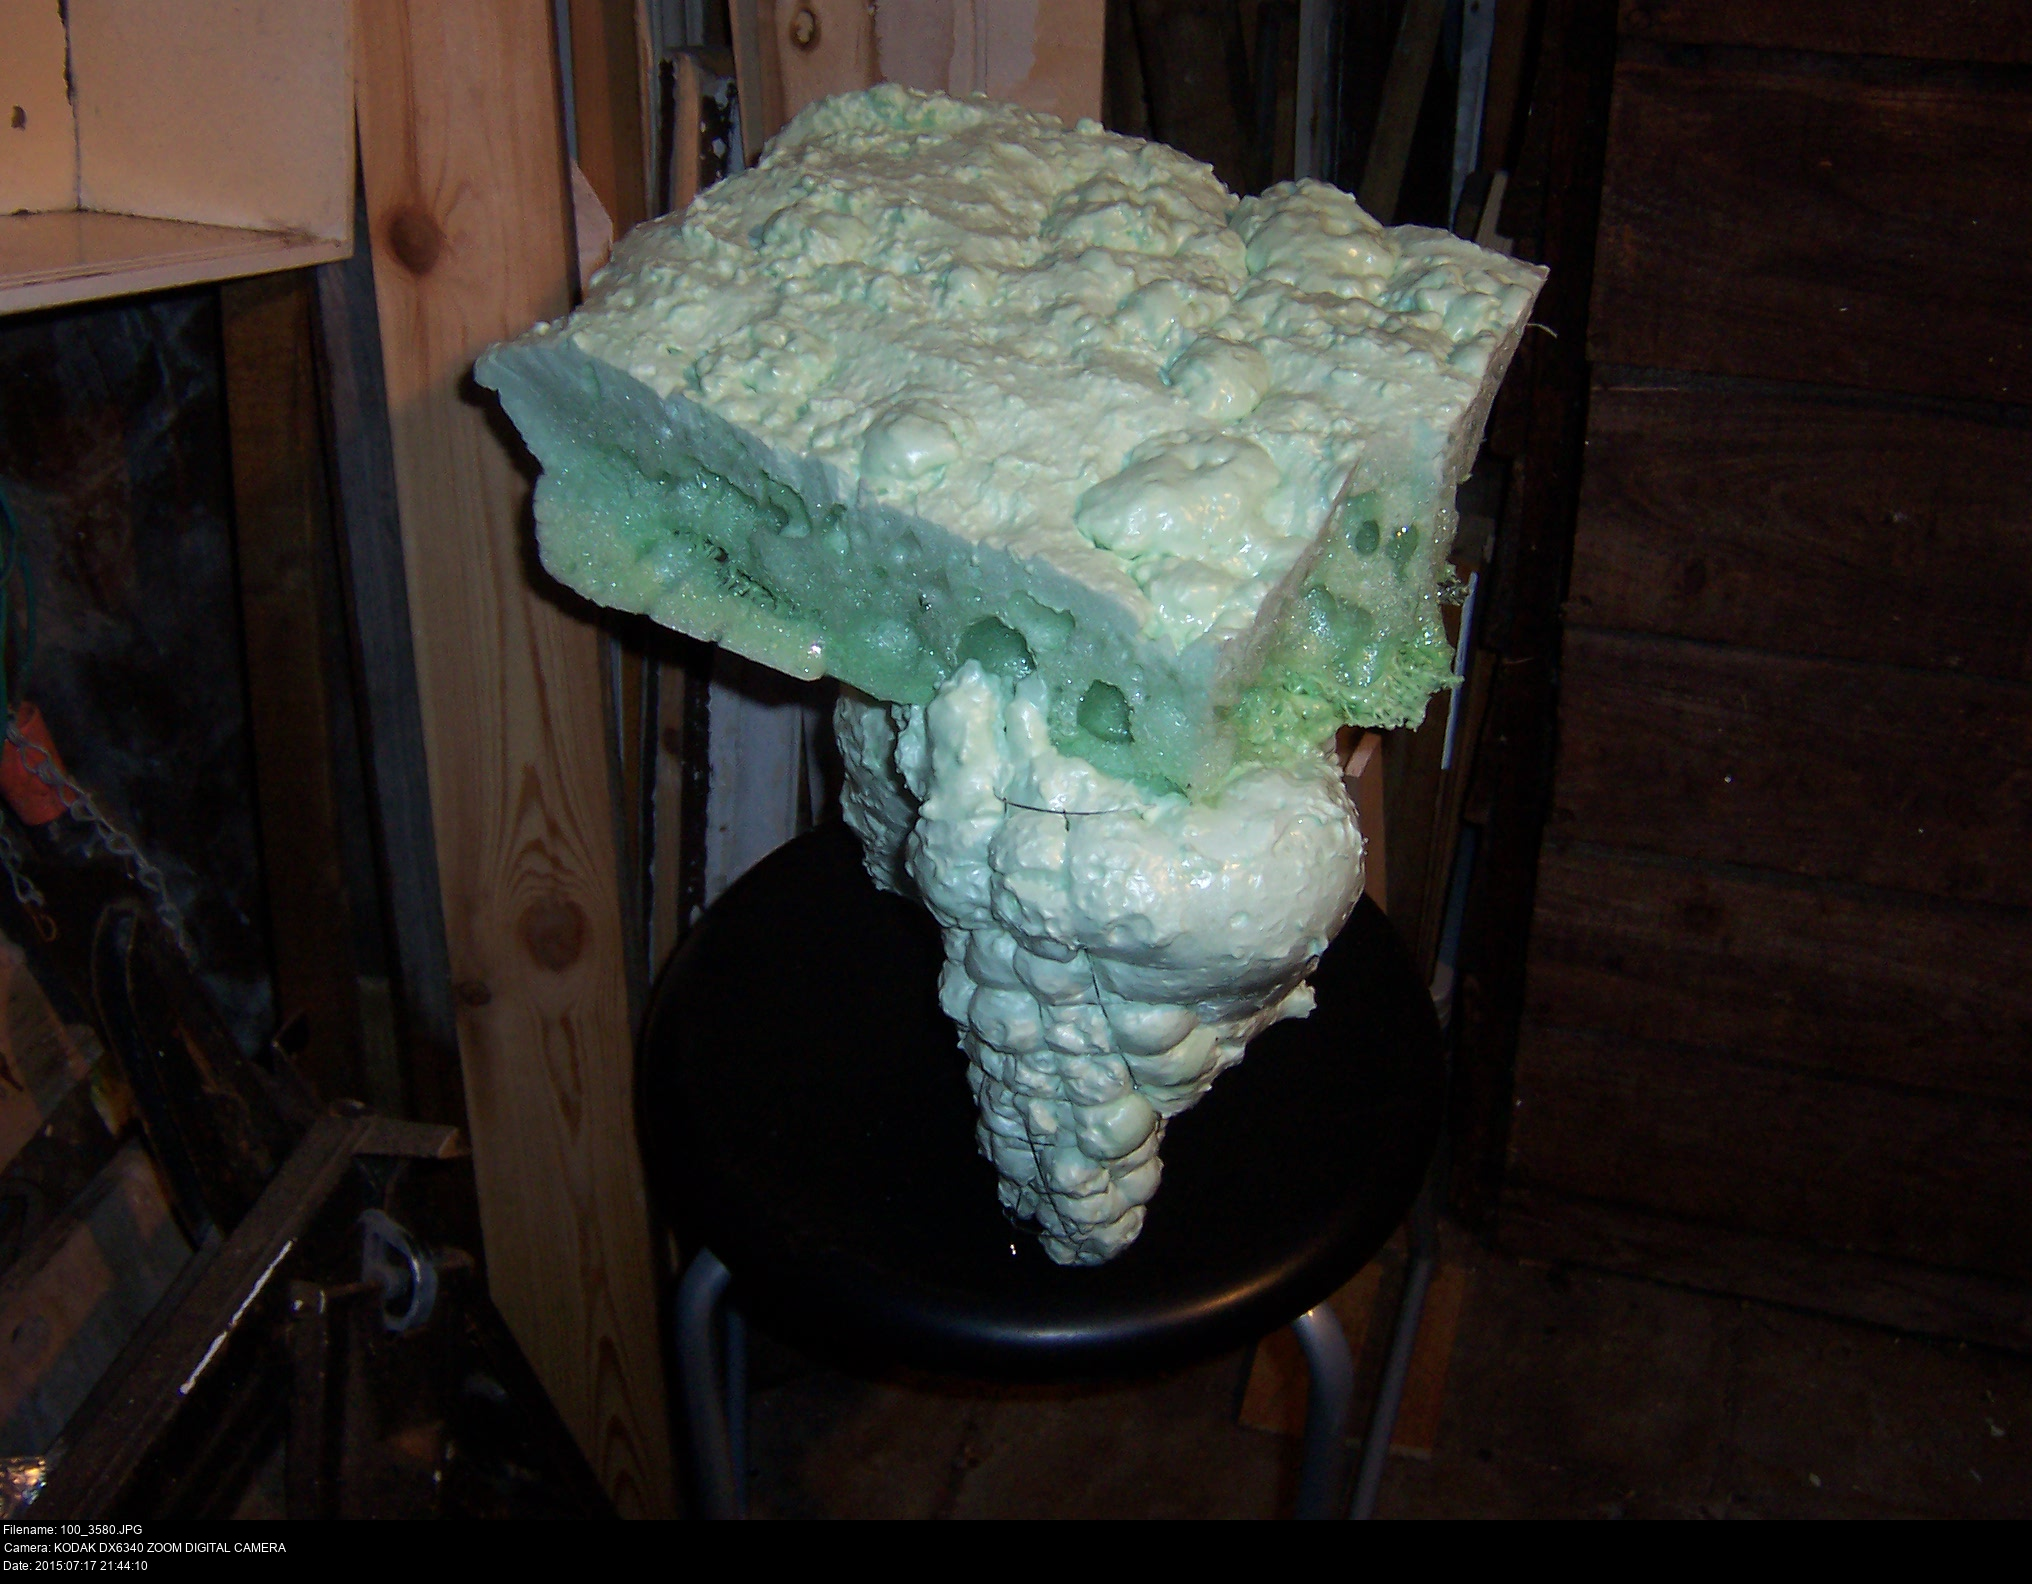
It's back to the expanding filler foam again. Yeah, I don't learn my lessons well. Or at least, I don't learn them fast. This stuff isn't cheap, but it's the best shot I have at getting the mask done. I've laid a layer of cling film into my tray and emptied an entire second can of foam onto it. Hopefully I'll end up with a solid slab of green stuff that I can carve into the ten horns. It doesn't look like enough material, though.

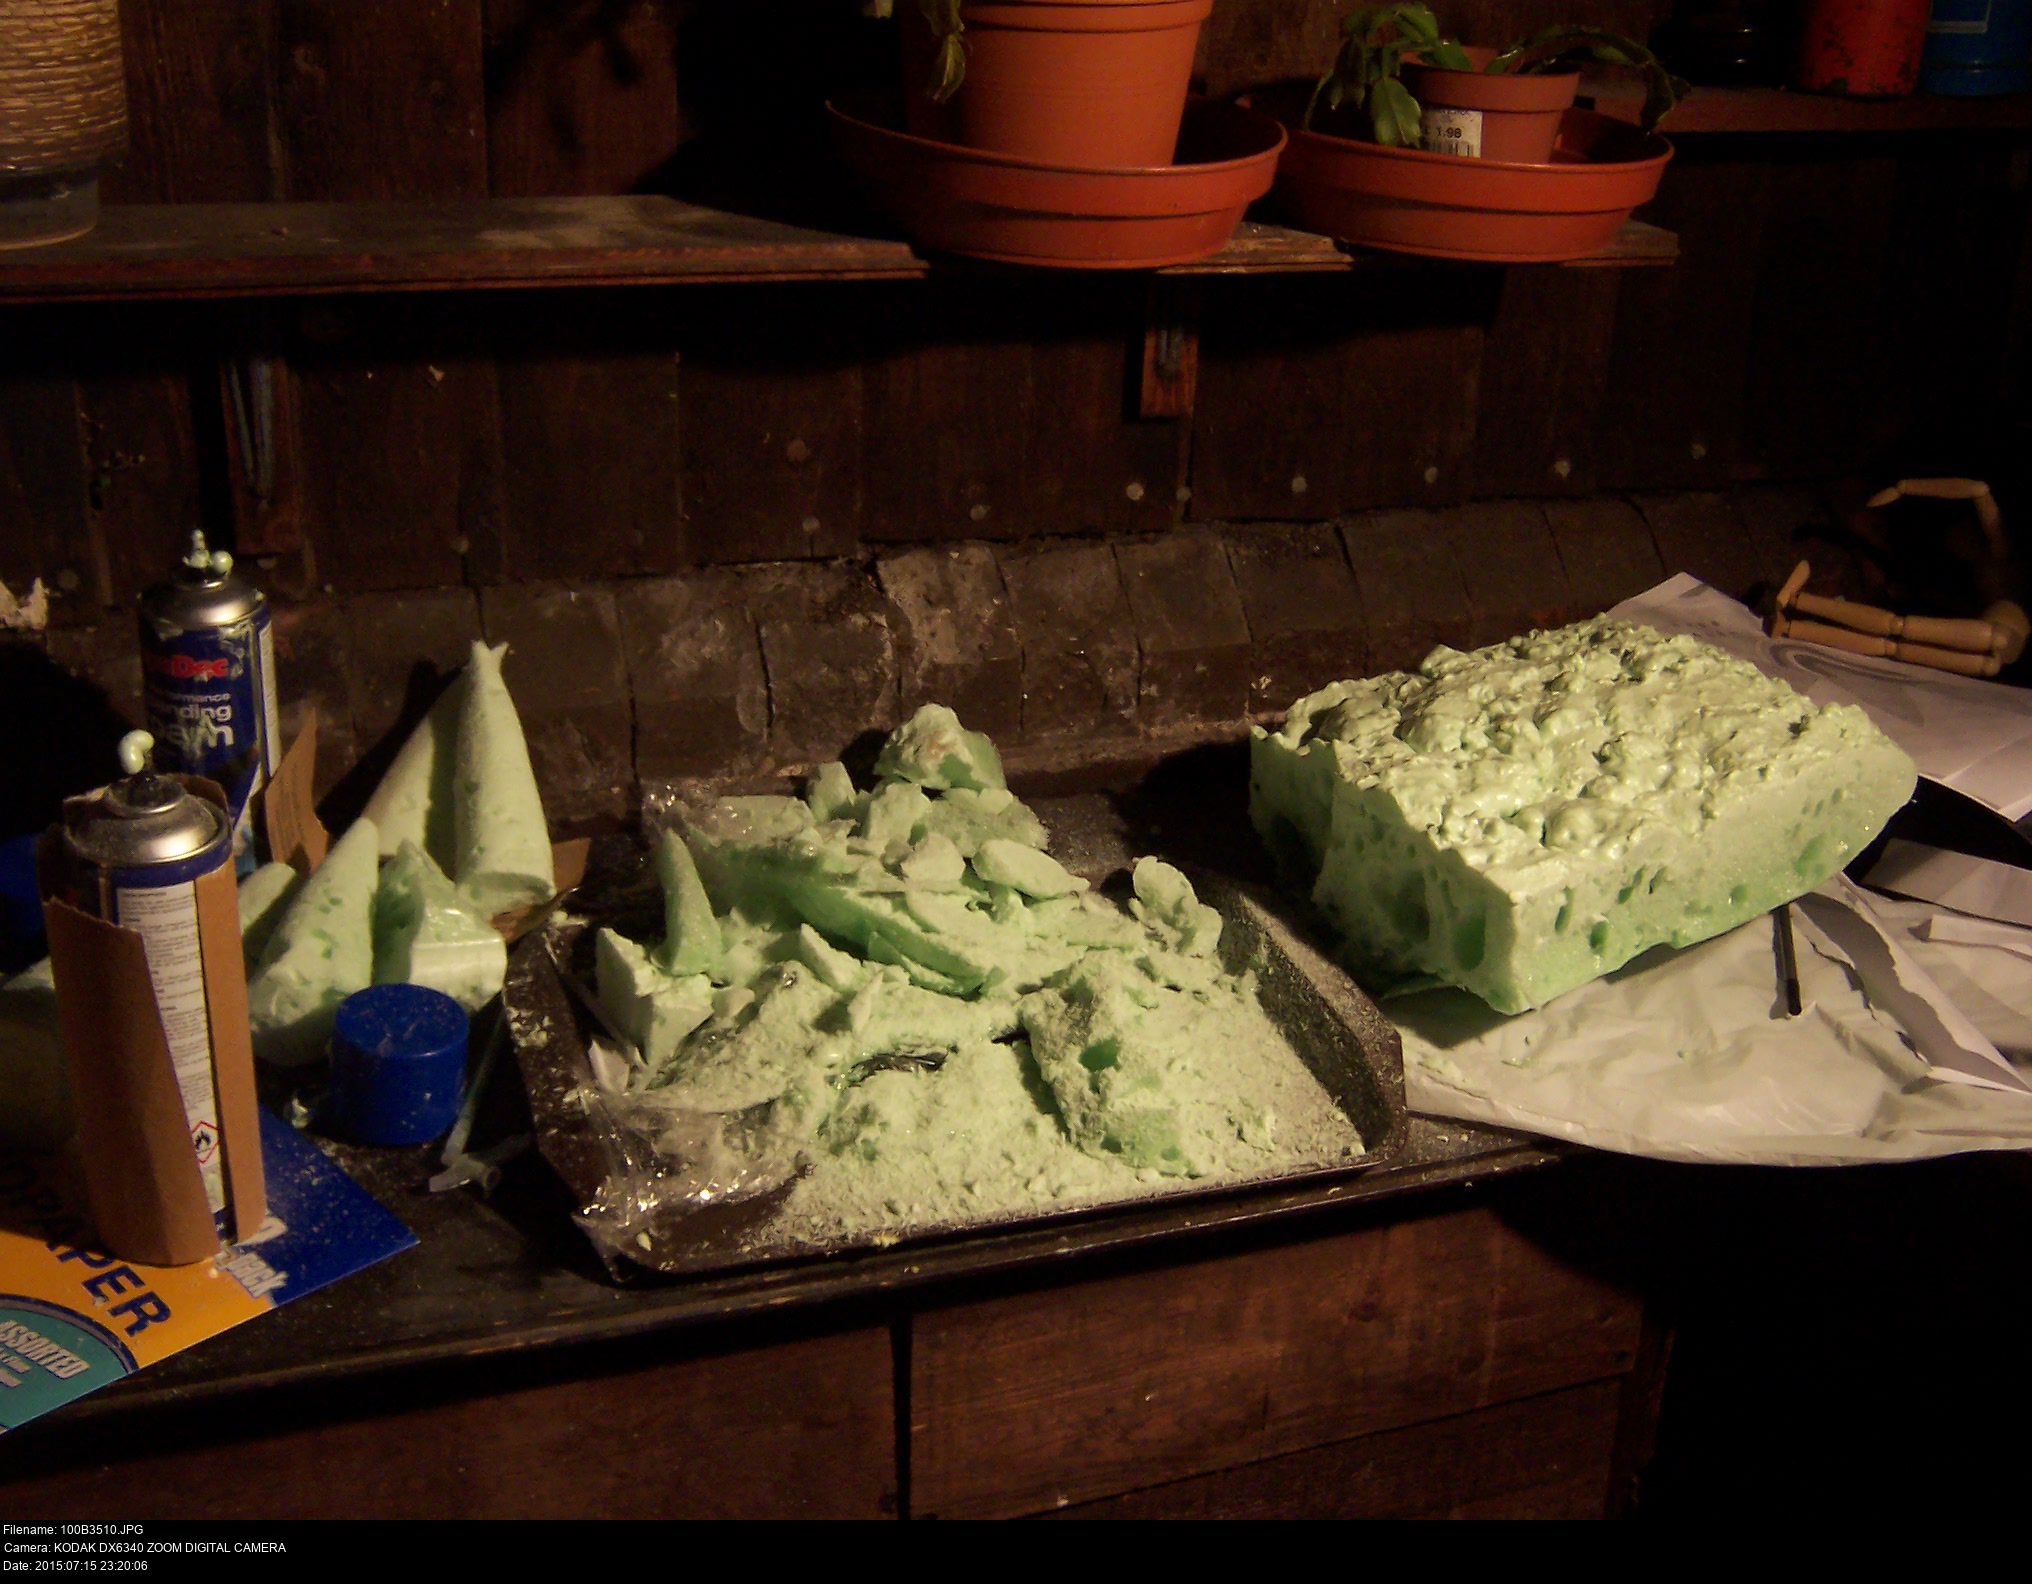


What a bother. The block doesn't have a very consistent density, so my horns are coming out full of holes. The underside of the block I extracted isn't cured, just like the plastic flutes. But I do have -something- at least. But I don't have enough of something, and this is going to take ages. I might as well set up another block to solidify overnight.


What you see here is the mad thrashing of a man who refuses to believe that he won't be able to get his mask finished before MCM Manchester 2015.
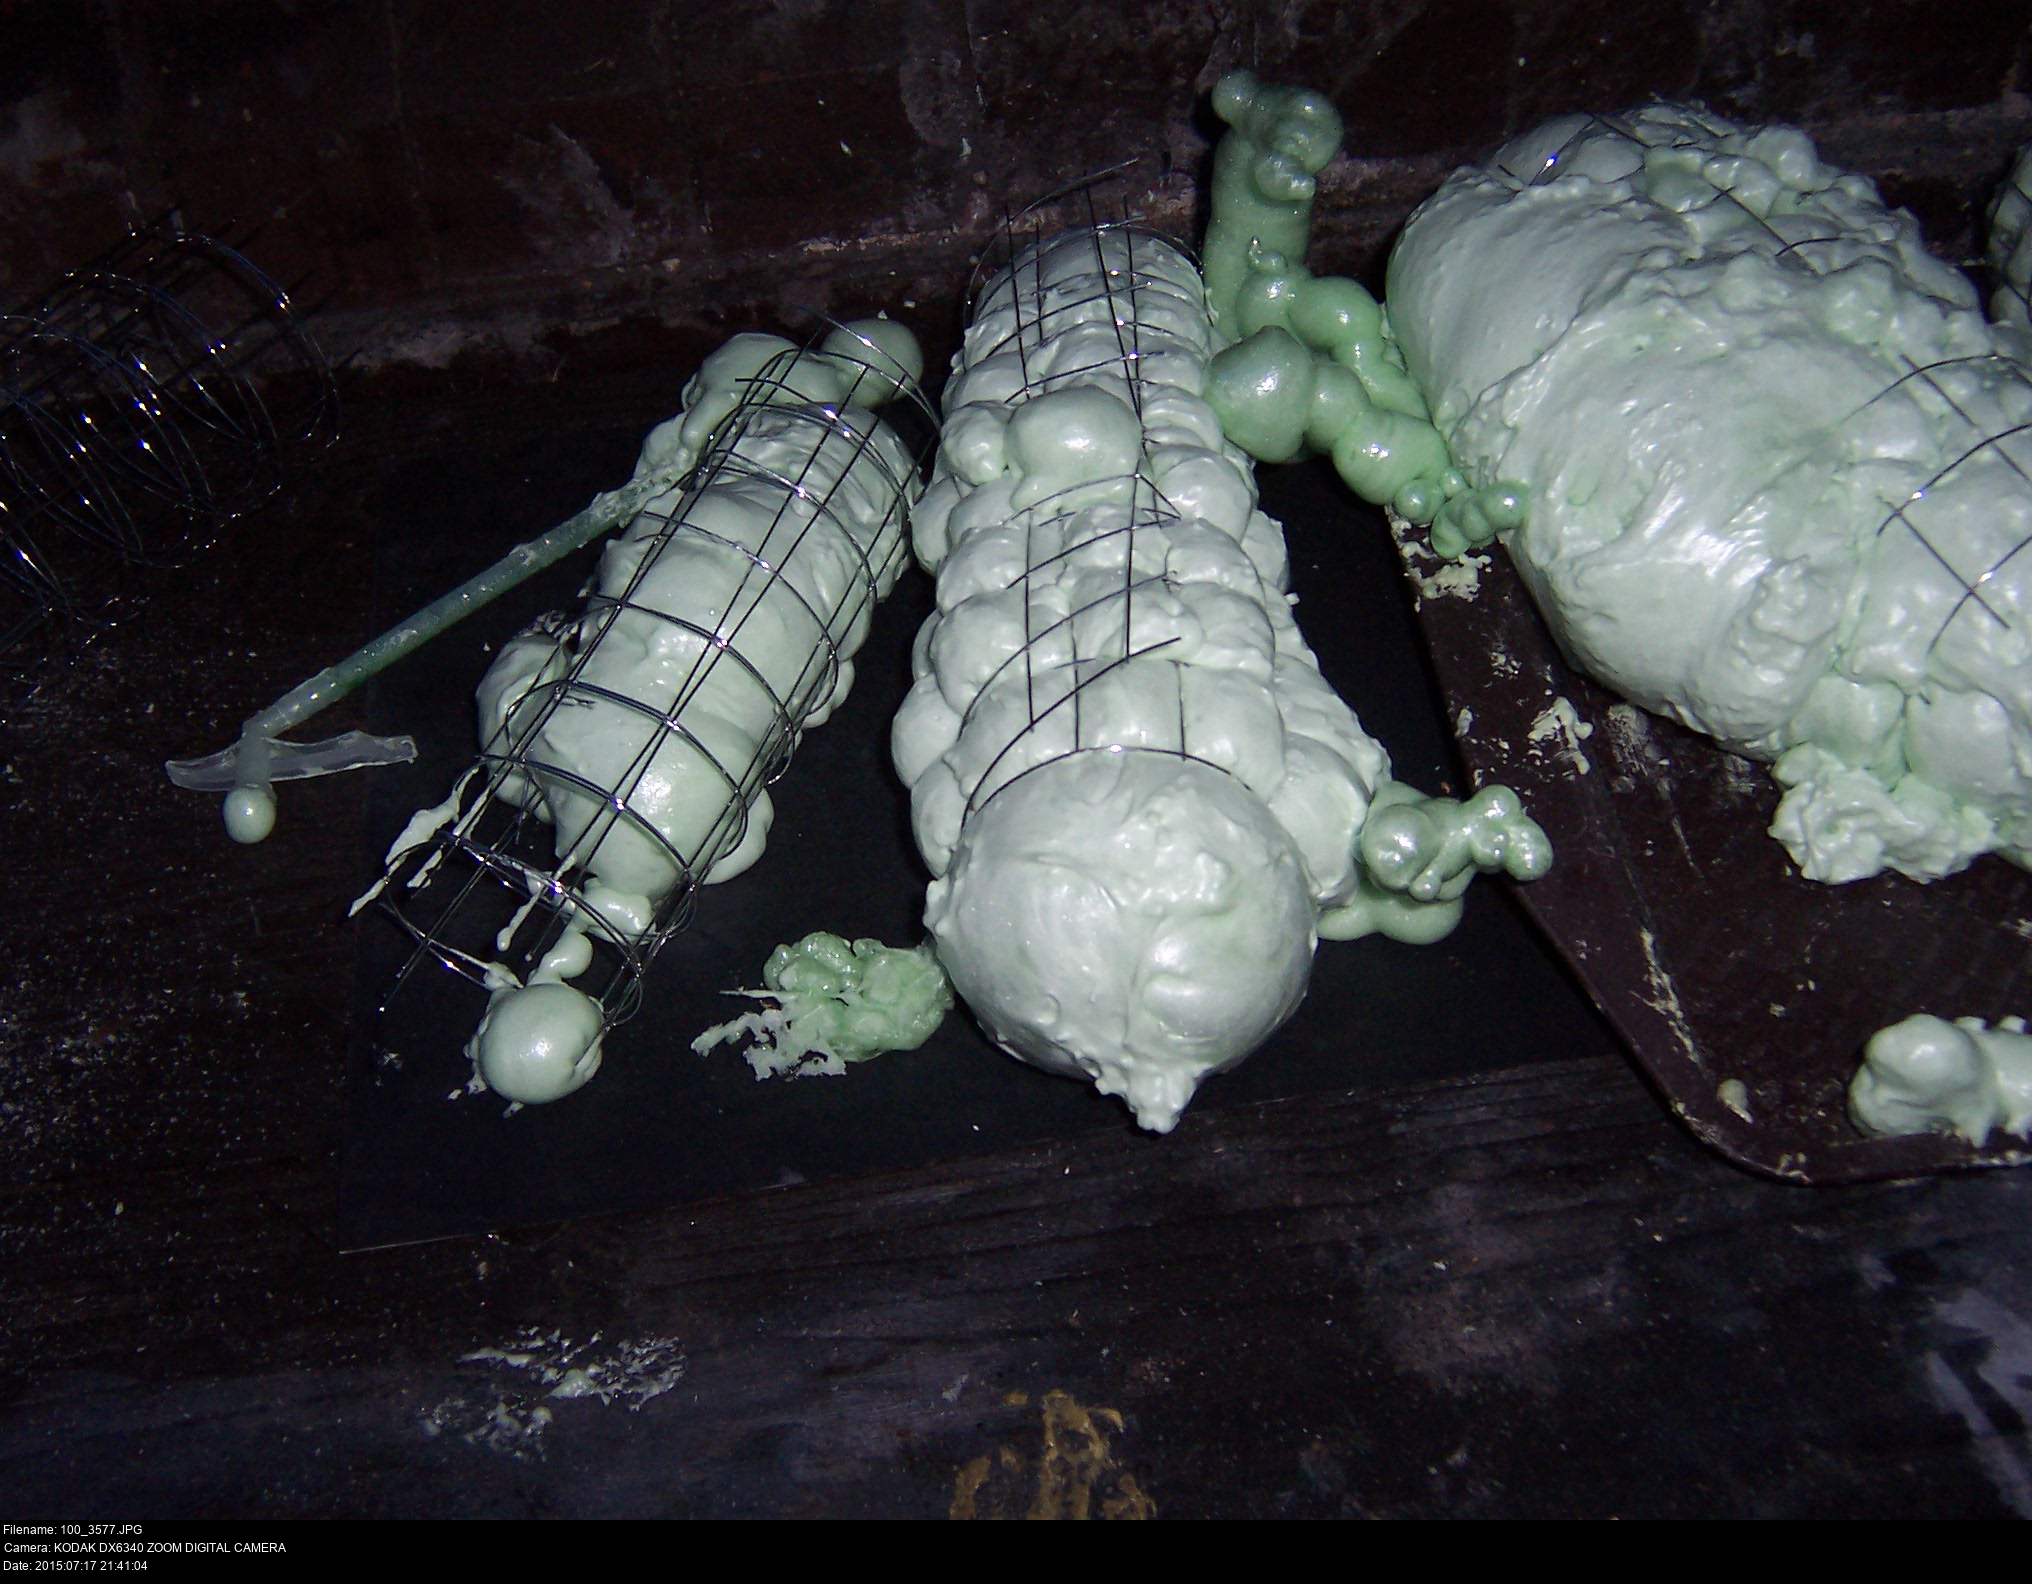
I read online (I'm starting to think this whole 'online' place was a really bad idea) that you can use wire mesh with the filler to make a porous shell for the filler to expand into. When it's solidifed, you can cut the wire away to reveal the form, all ready for shaping.
It was a big disaster, the third one with this foam. Three cans' worth of money wasted, as well as the flutes and the wire. DON'T USE THIS FOAM!!
I'm glad I wore gloves, even thin ones, because manipulating the wire really mangled the hell out of them. The resulting foam blob tower things were alright, still not entirely consistent, but I could make cones out of them.
What I could really use though...
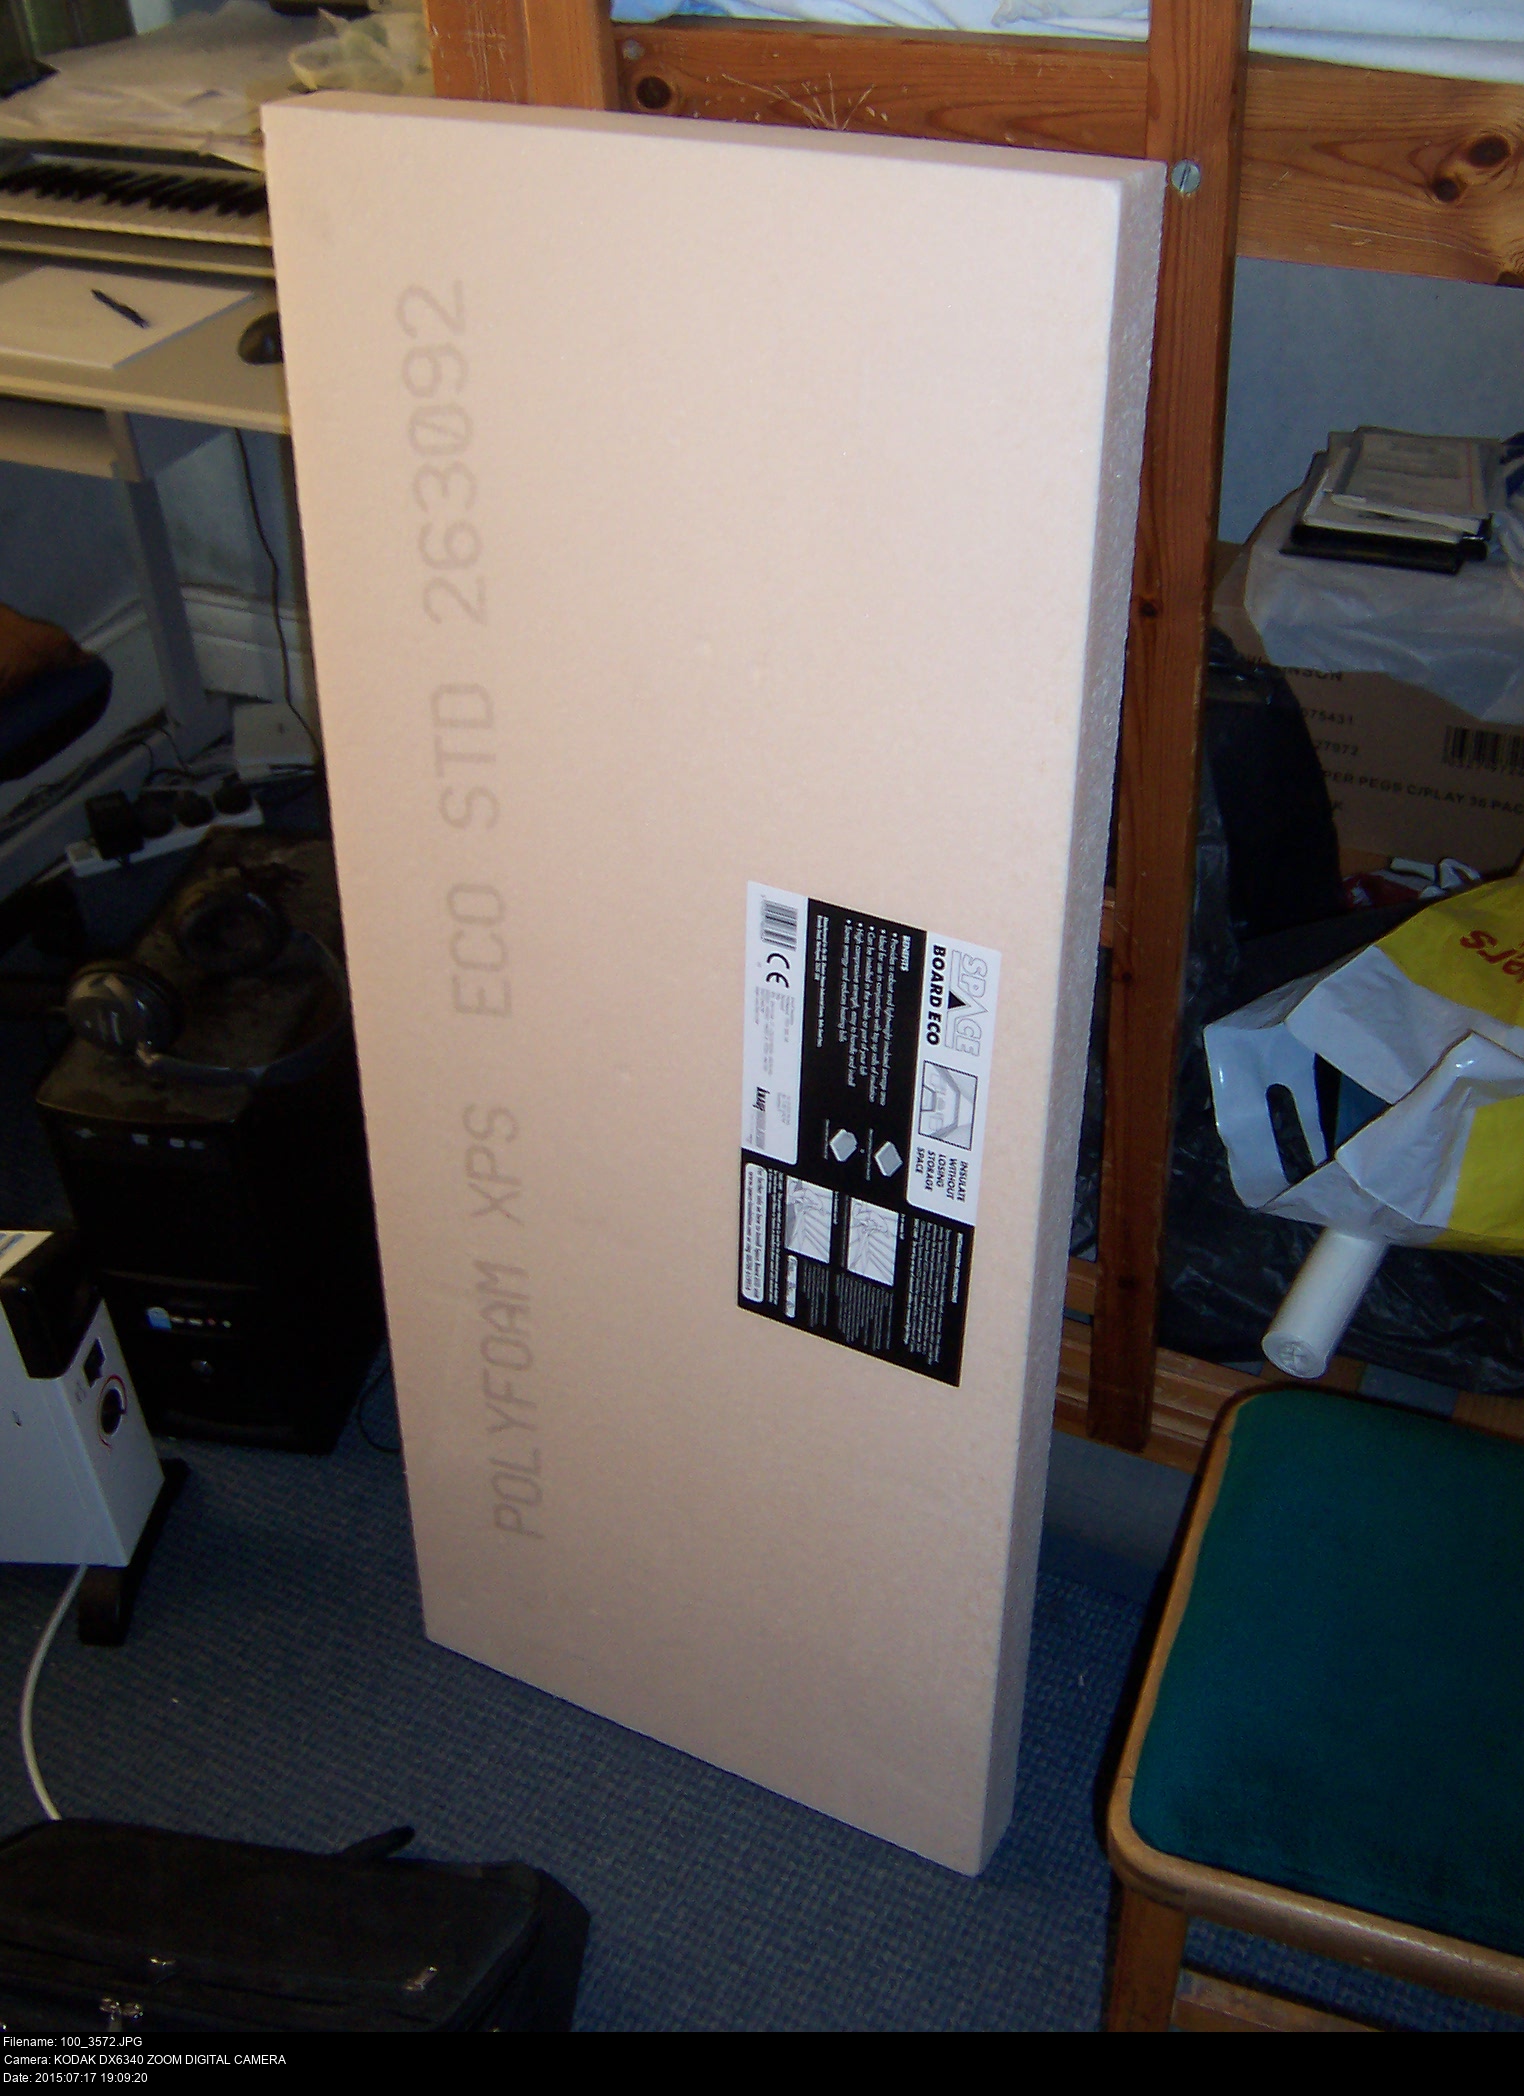

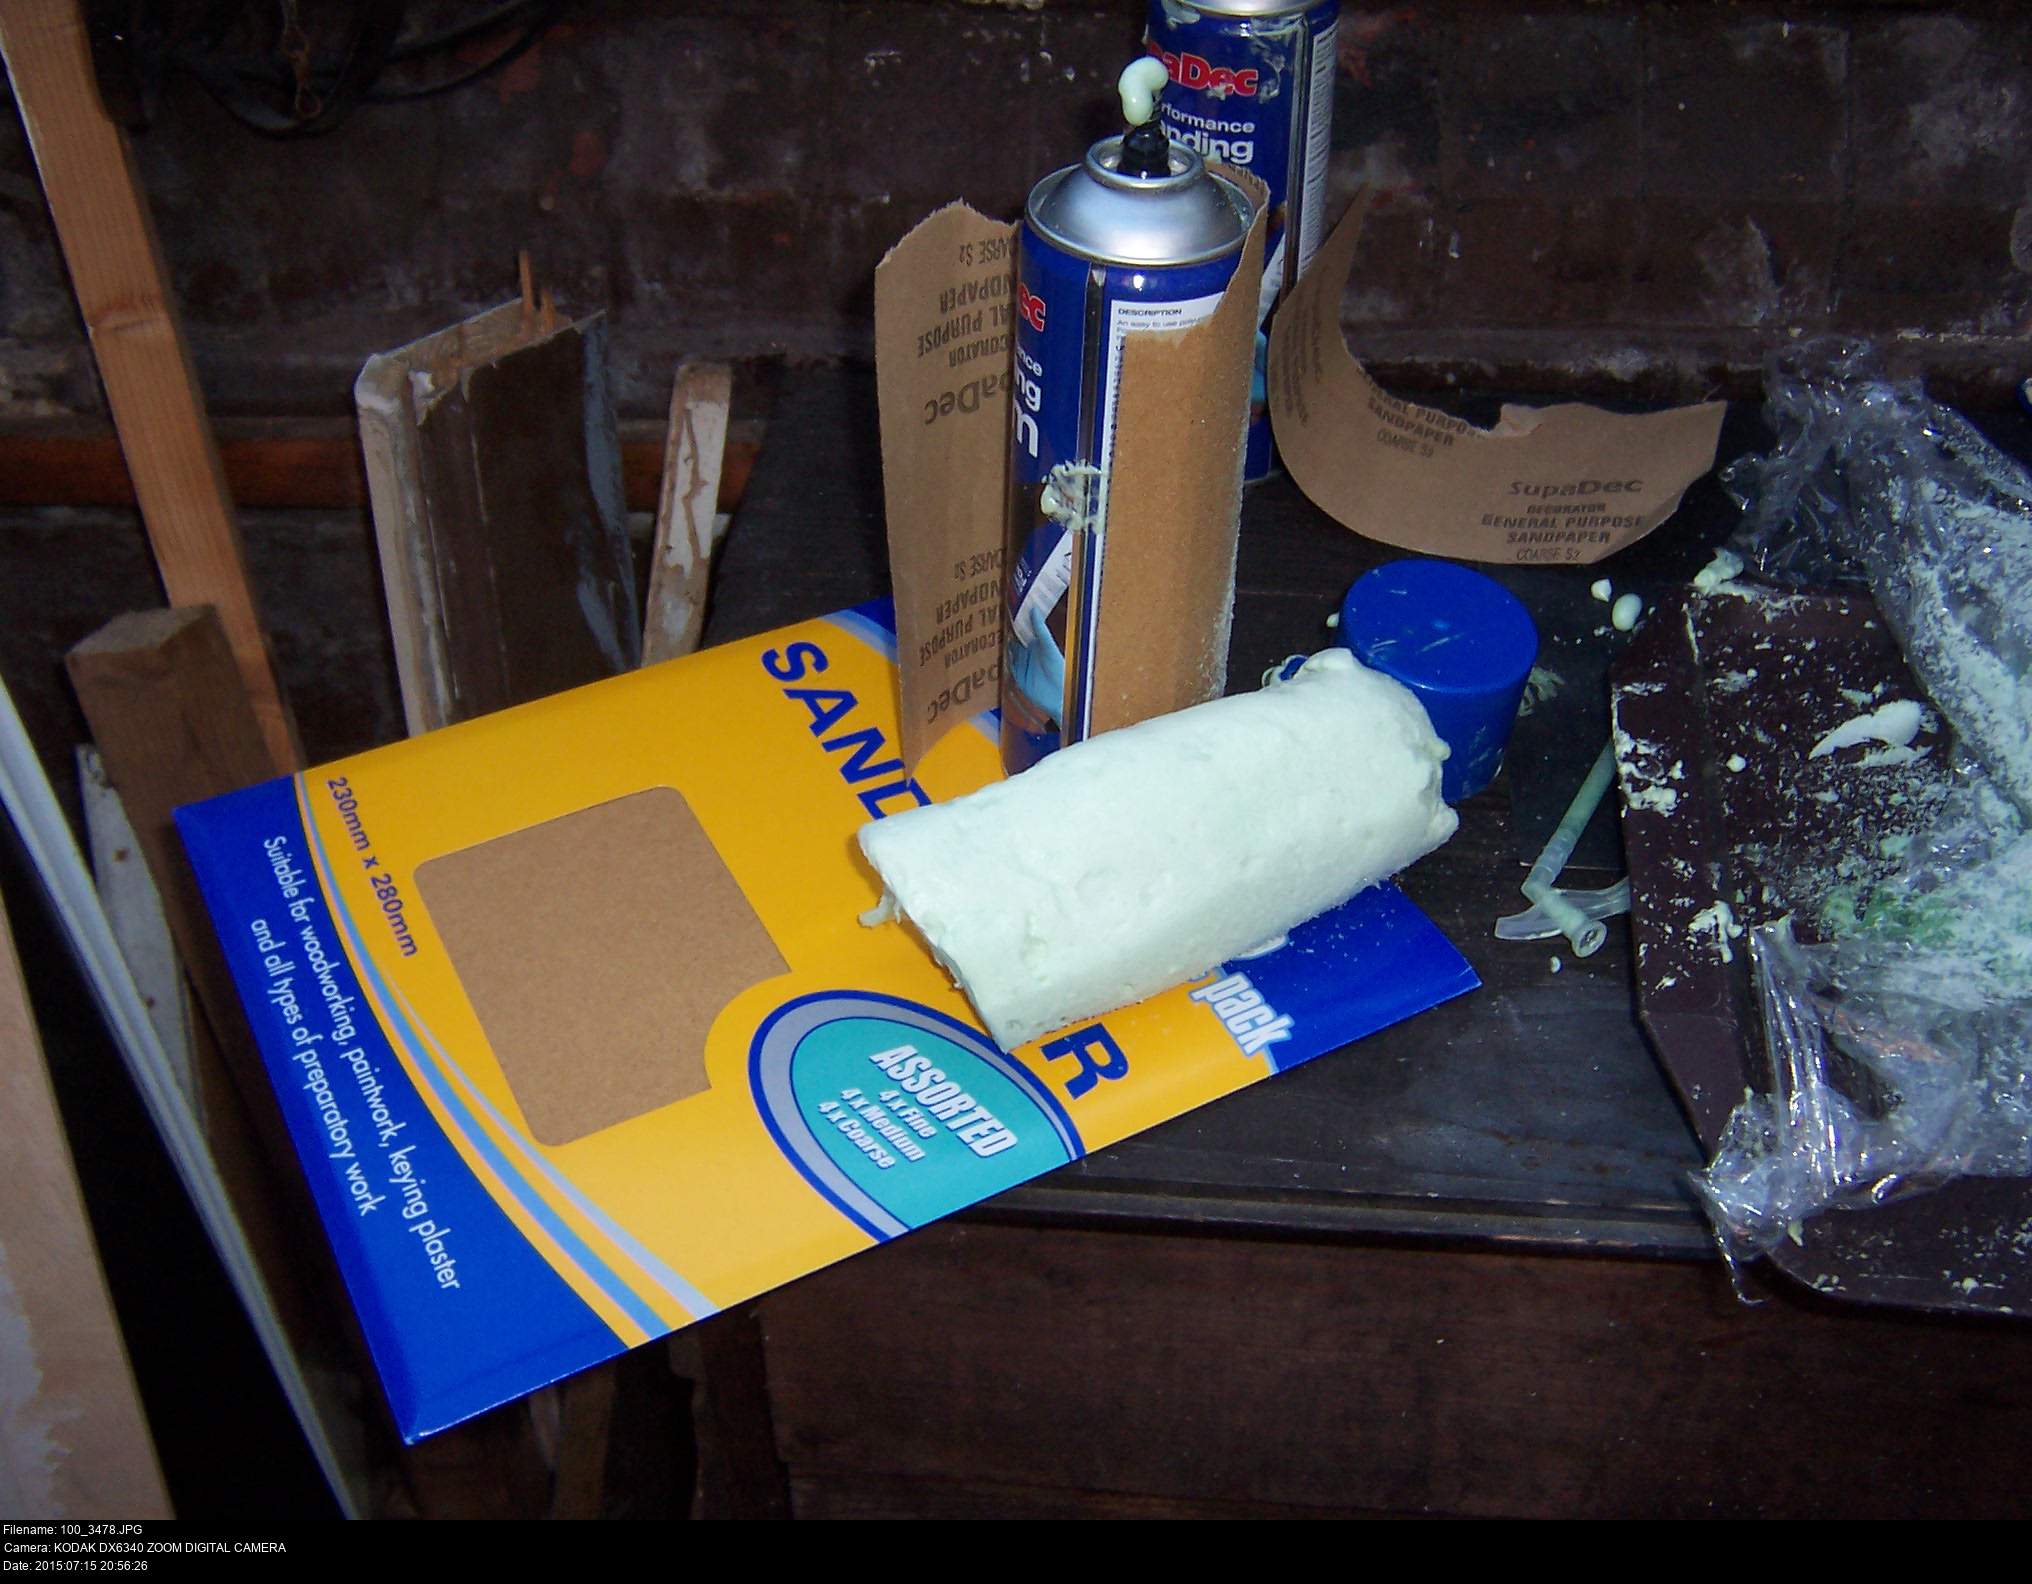
XPS foam! Extruded polystyrene foam! Loft insulation foam from Wickes.
I didn't know about this until my dozenth or so time looking for guides on cosplay prop-making materials. This stuff looks a lot like cheat mode for props: it's ridiculously cheap, lightweight, sturdy, shapable, sandable, cuttable, durable, wonderful. I got a door sized piece for the cost of a train journey, more than enough for anything I want to make for the forseeable future.
Step one, cut it into little cuboid pieces that I can shape into cones.
Step two, shape them into cones.


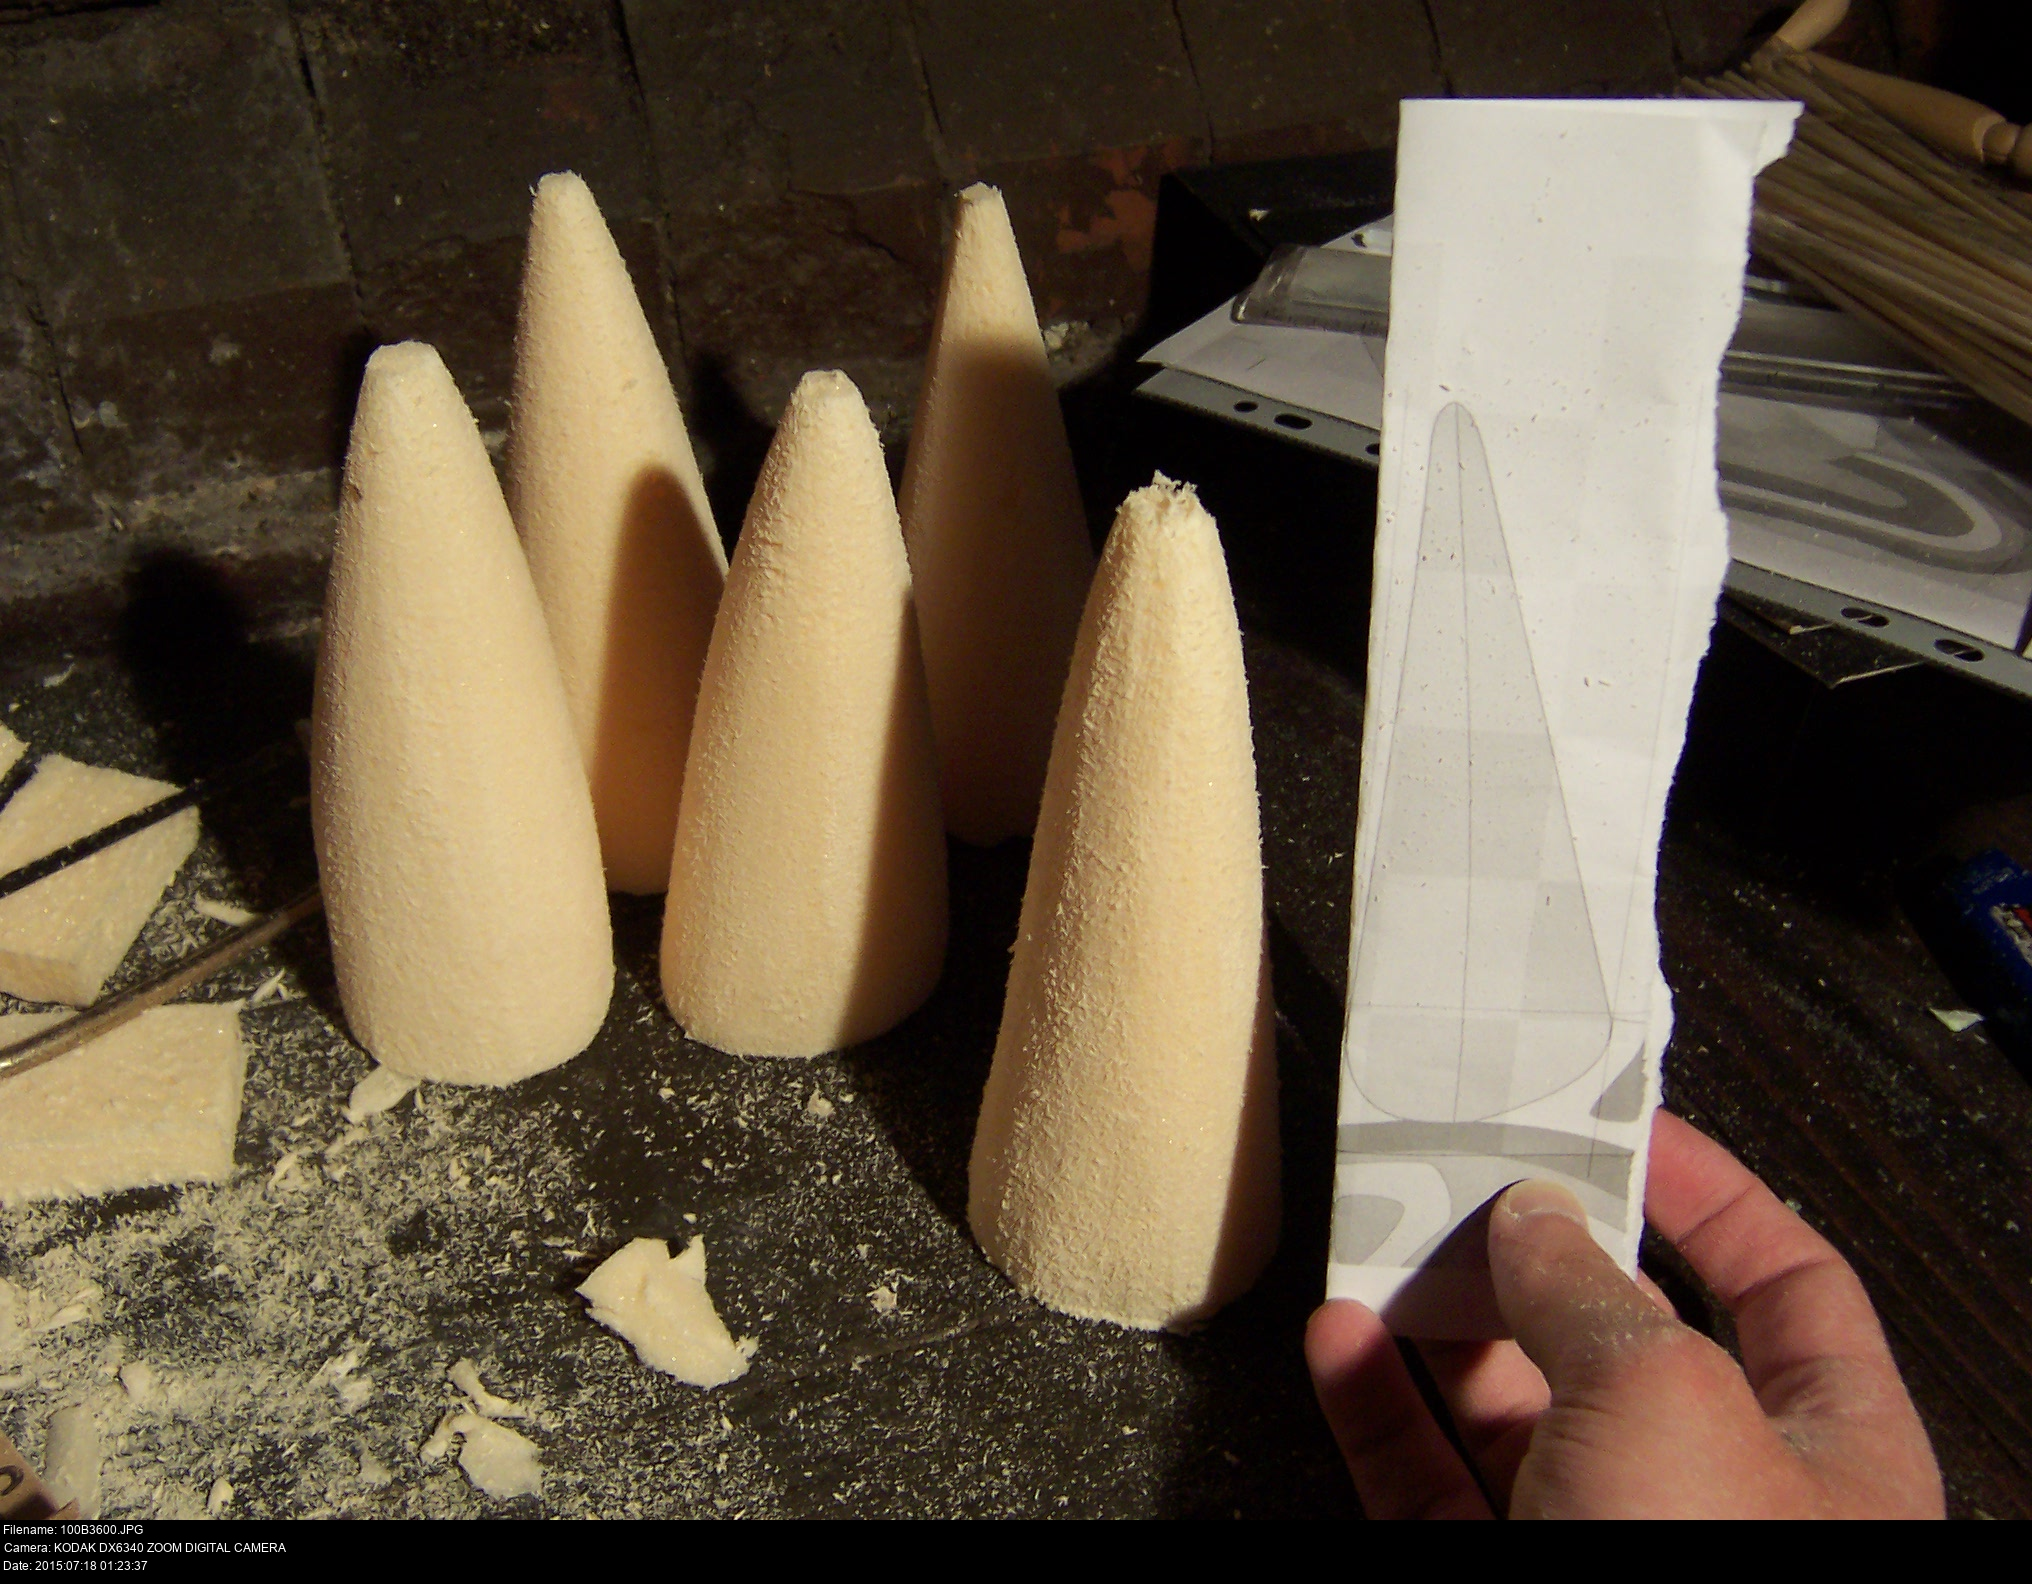
I'm still working with the dinky little knife, Stanley knife and junior hacksaw here. My future self is screaming at me from two years from now, telling me to get a set of those disposable blades I mentioned, but present day me can't hear him.
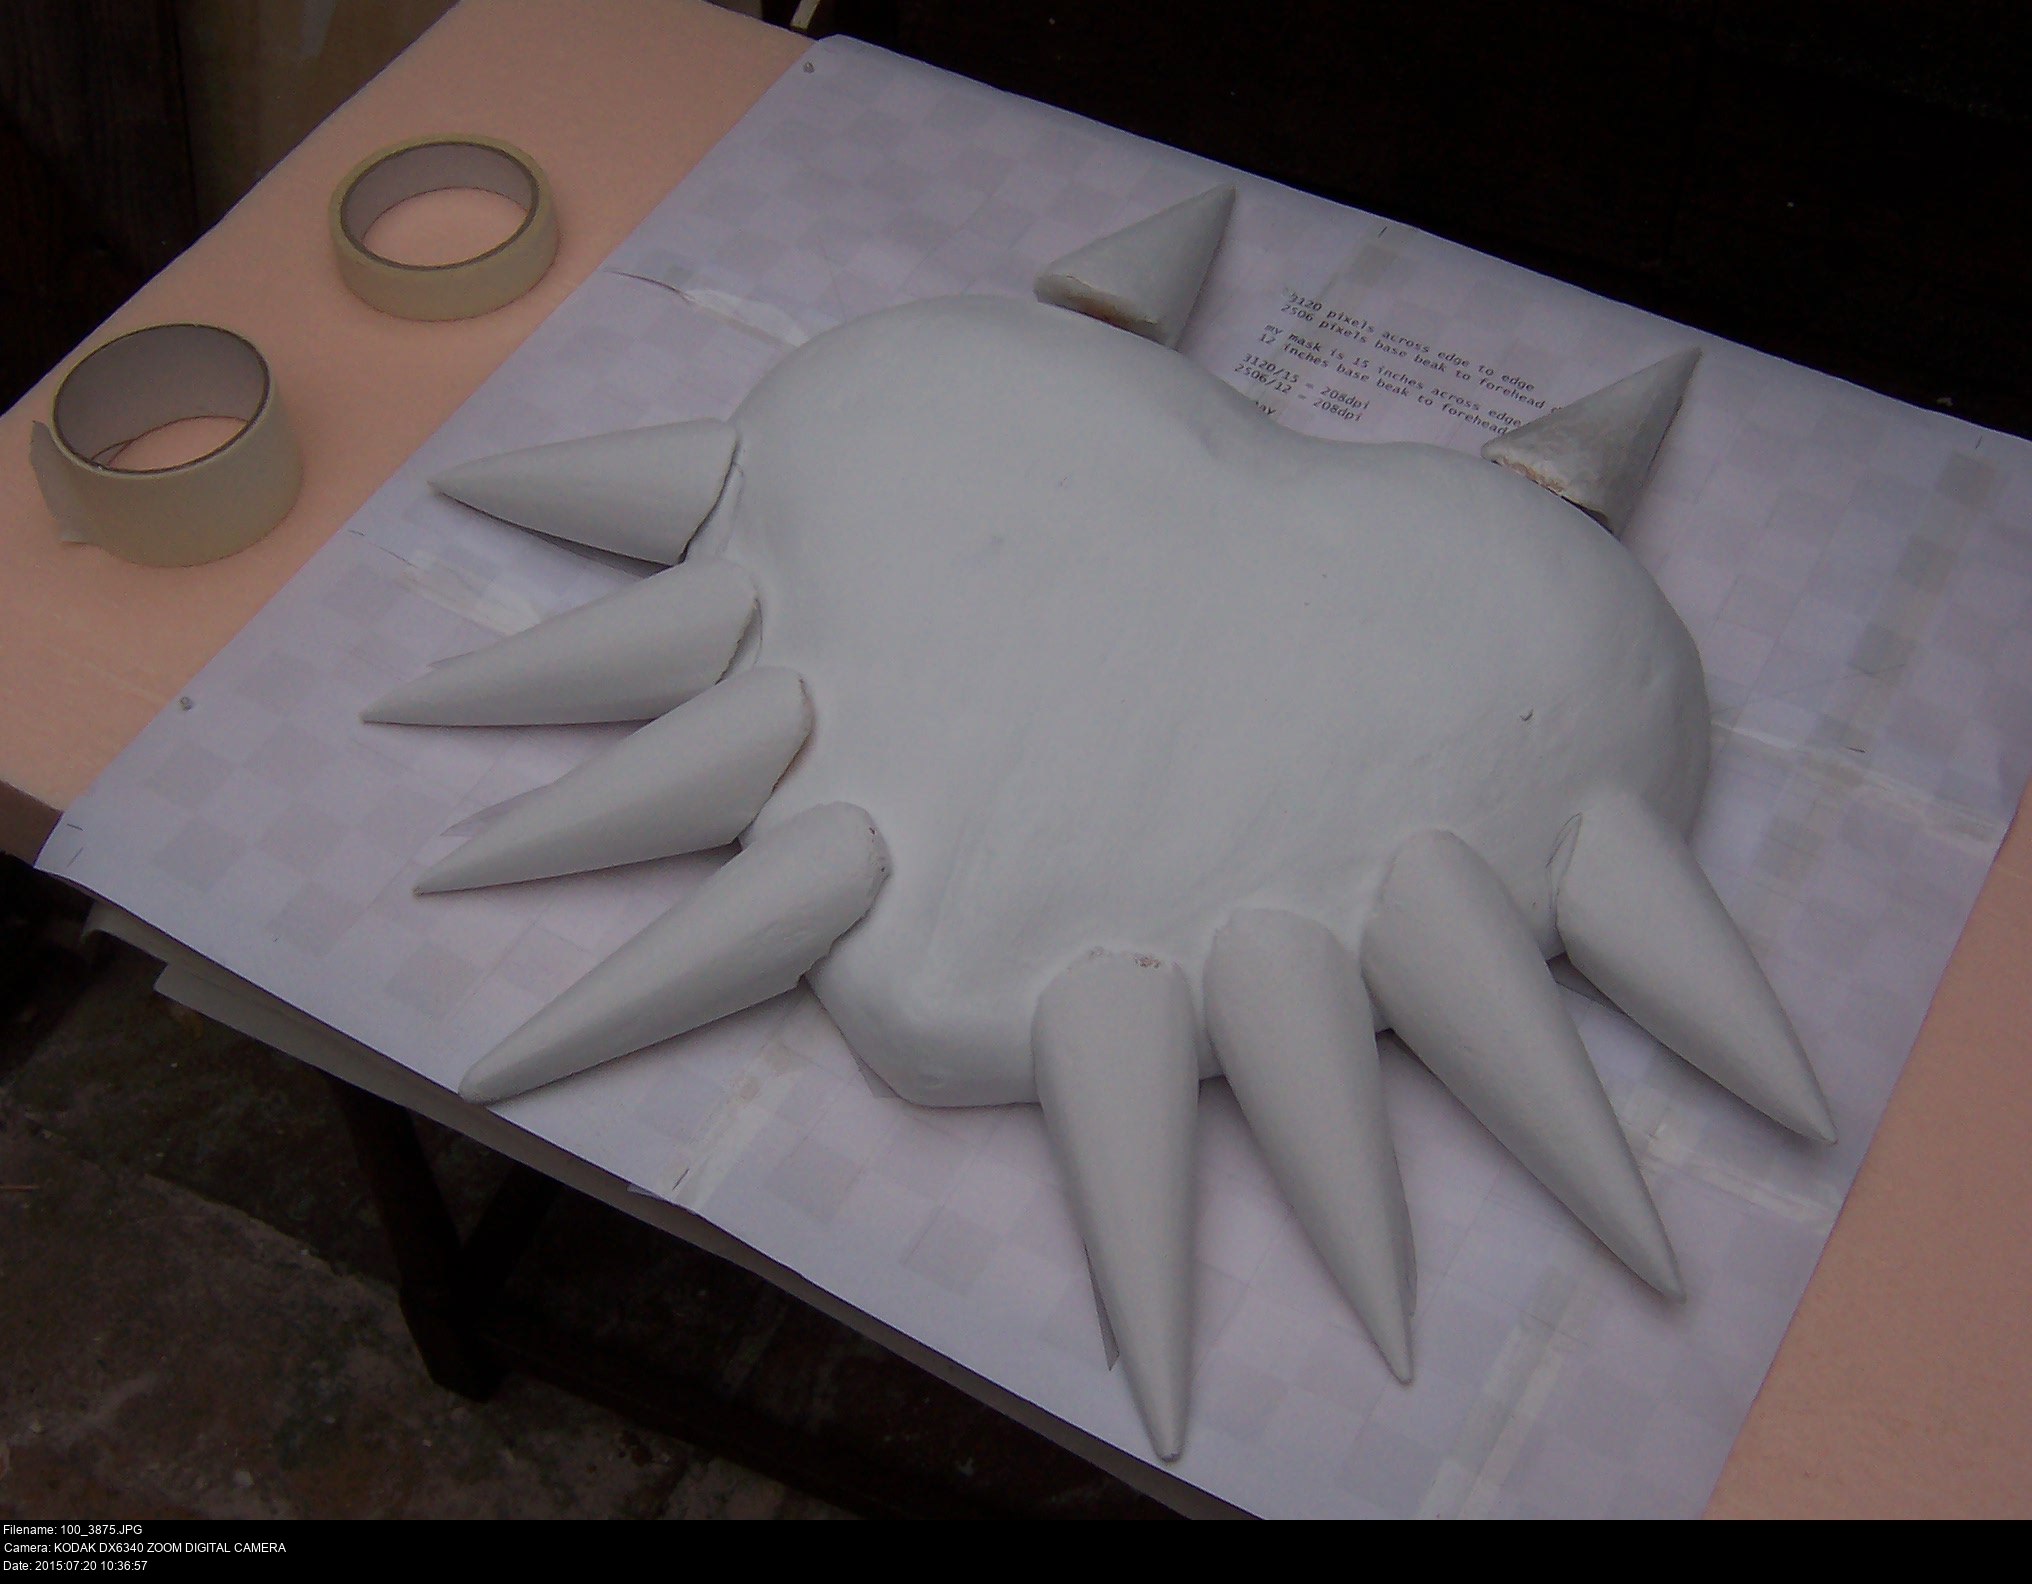
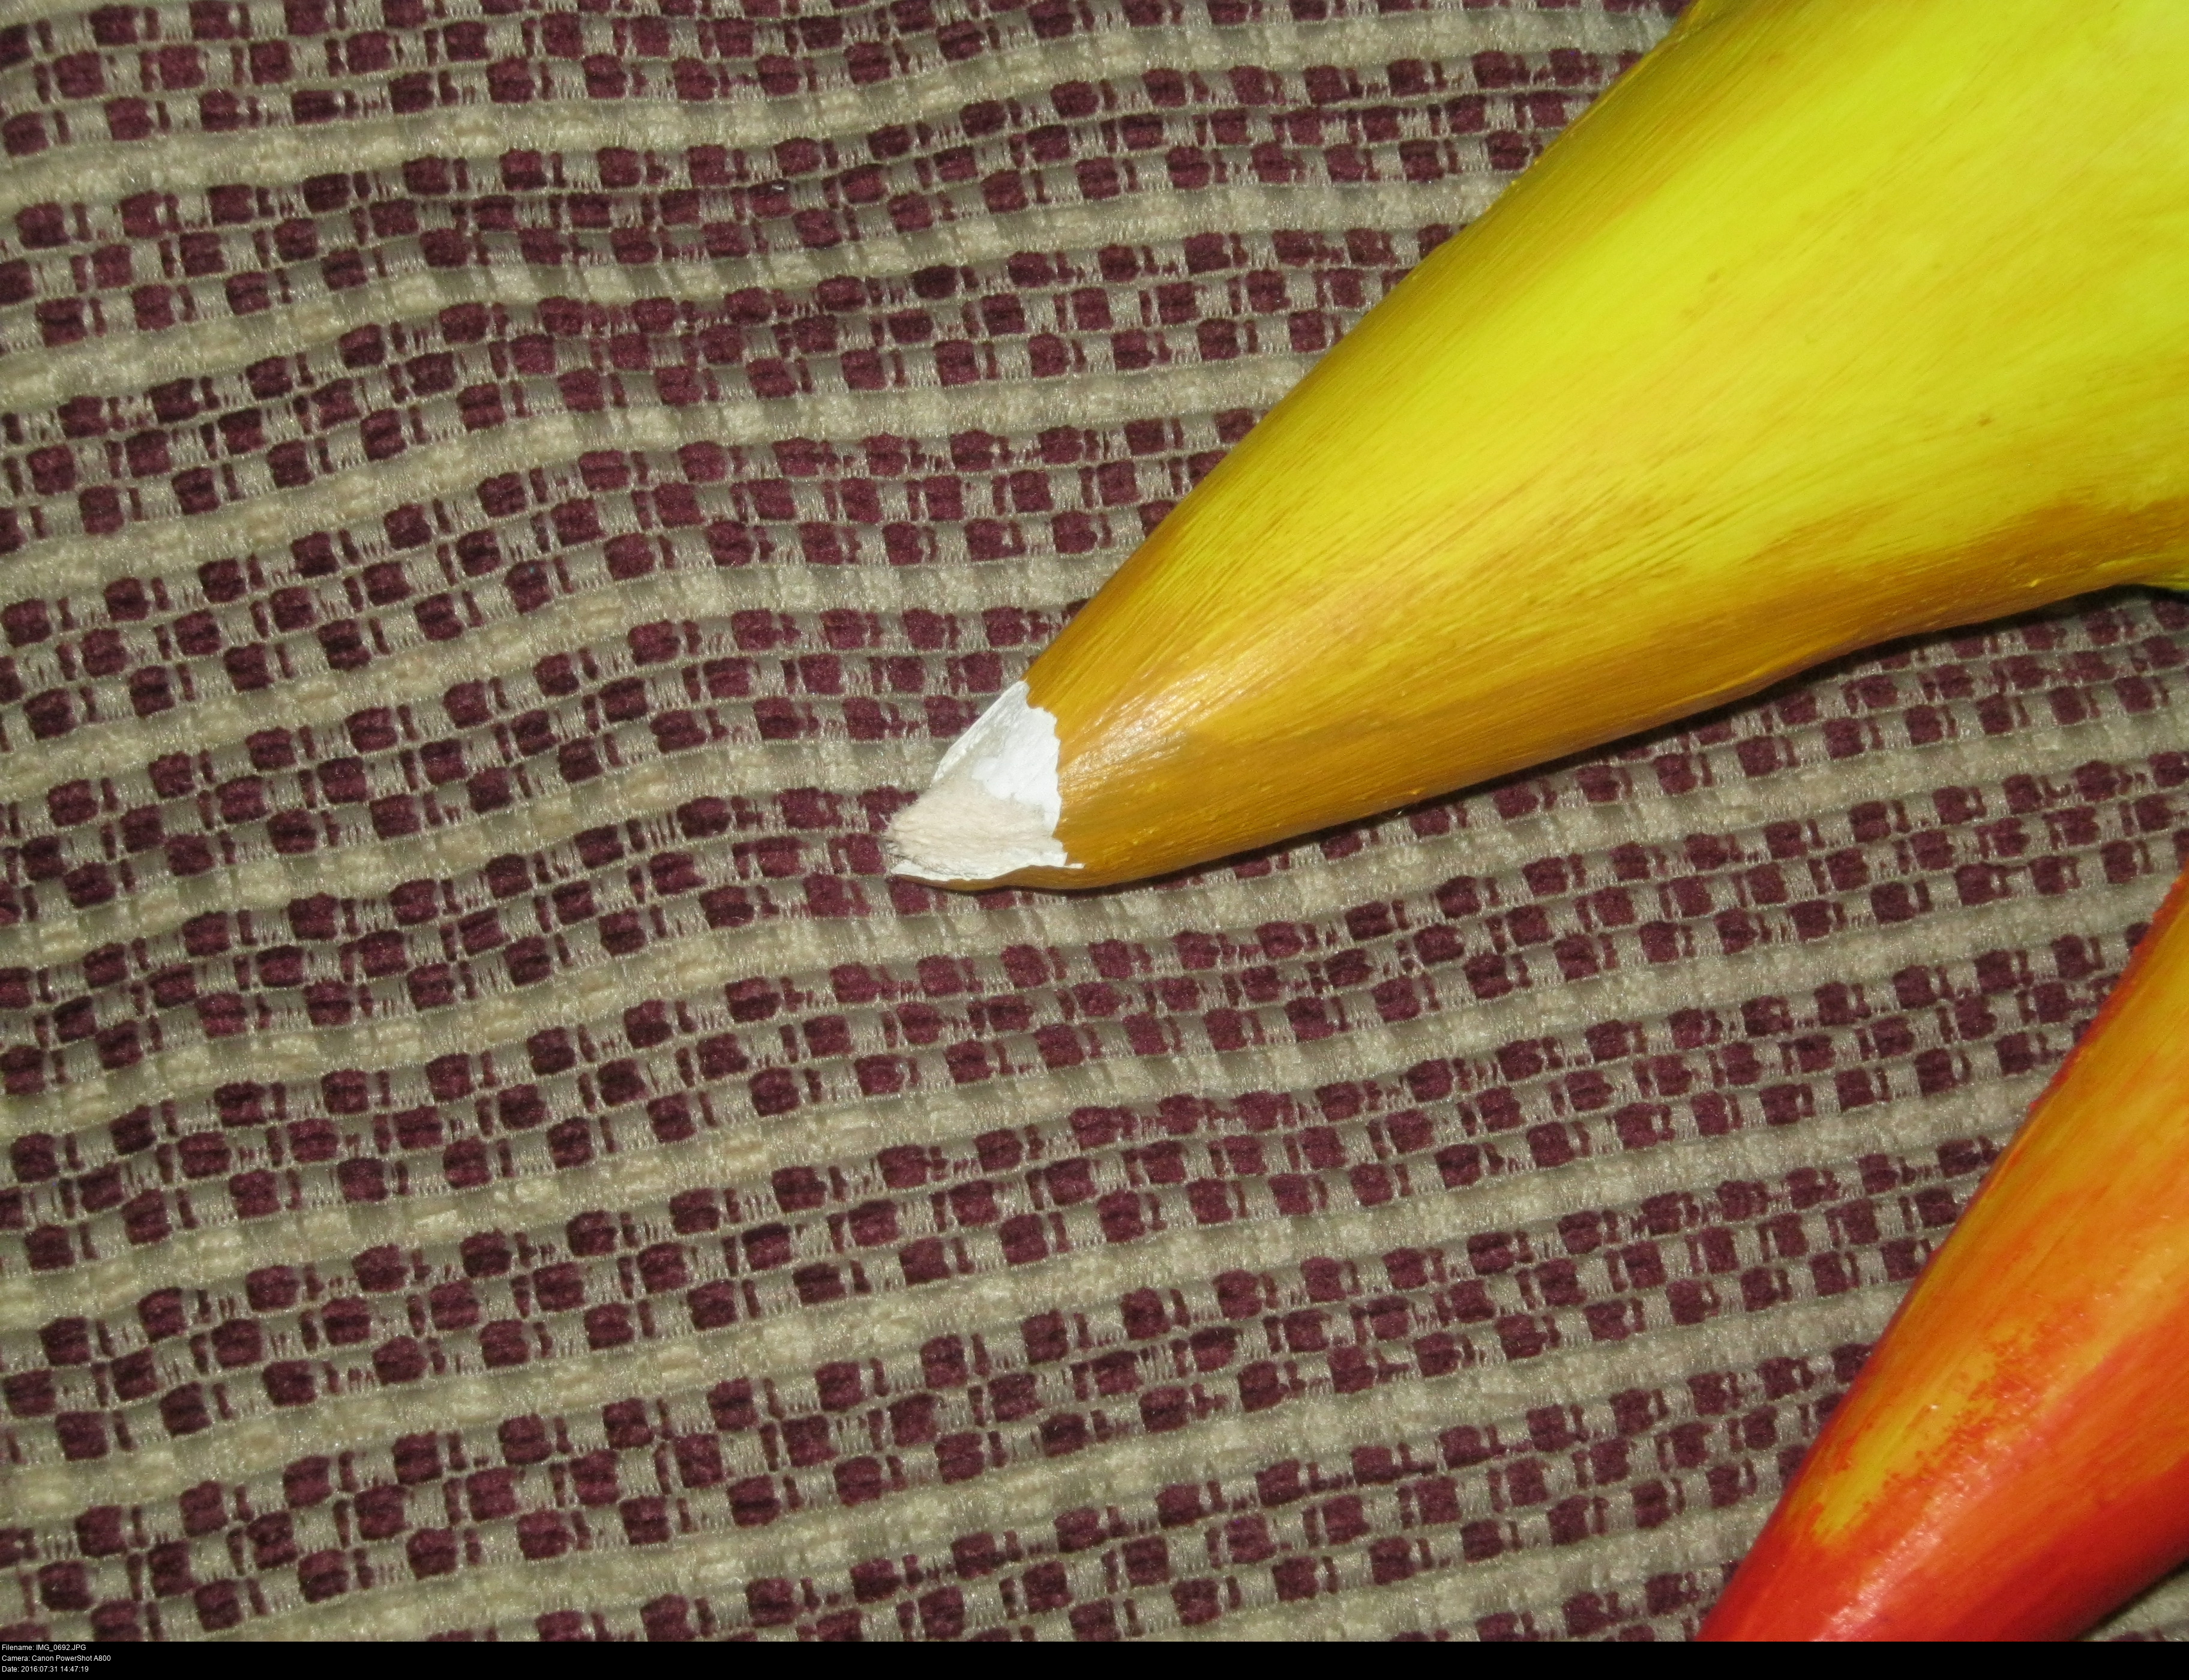
Use a spare 1:1 scale print out to see if the horn is the right size. I'm just making them rather chunky and rounded for now. When I've got all the cones together in one place, I can see how they'll fit onto the mask and sand them into their correct shapes. You'll be kicking yourself if you make a whole menagerie of cones to use, all of them completely useless since they're too small to fit on the mask. (One of the few mistakes I anticipated!)

Here's a bunch of pink horns and a bunch of green horns. You can really tell the difference in the density.
How am I going to attach them to the mask?


You've got to test the glue on the materials you're going to join before committing your work to it!
My old favourite, the EvoStik Impact Adhesive red 'shoe glue', isn't going to work. It's just melting right through the pink foam. There's an alternative EvoStik formulation, the blue glue, which I've always thought to be the safe alternative, but it's also melting everything.
I'm going to need something else. But that will have to wait for another night.


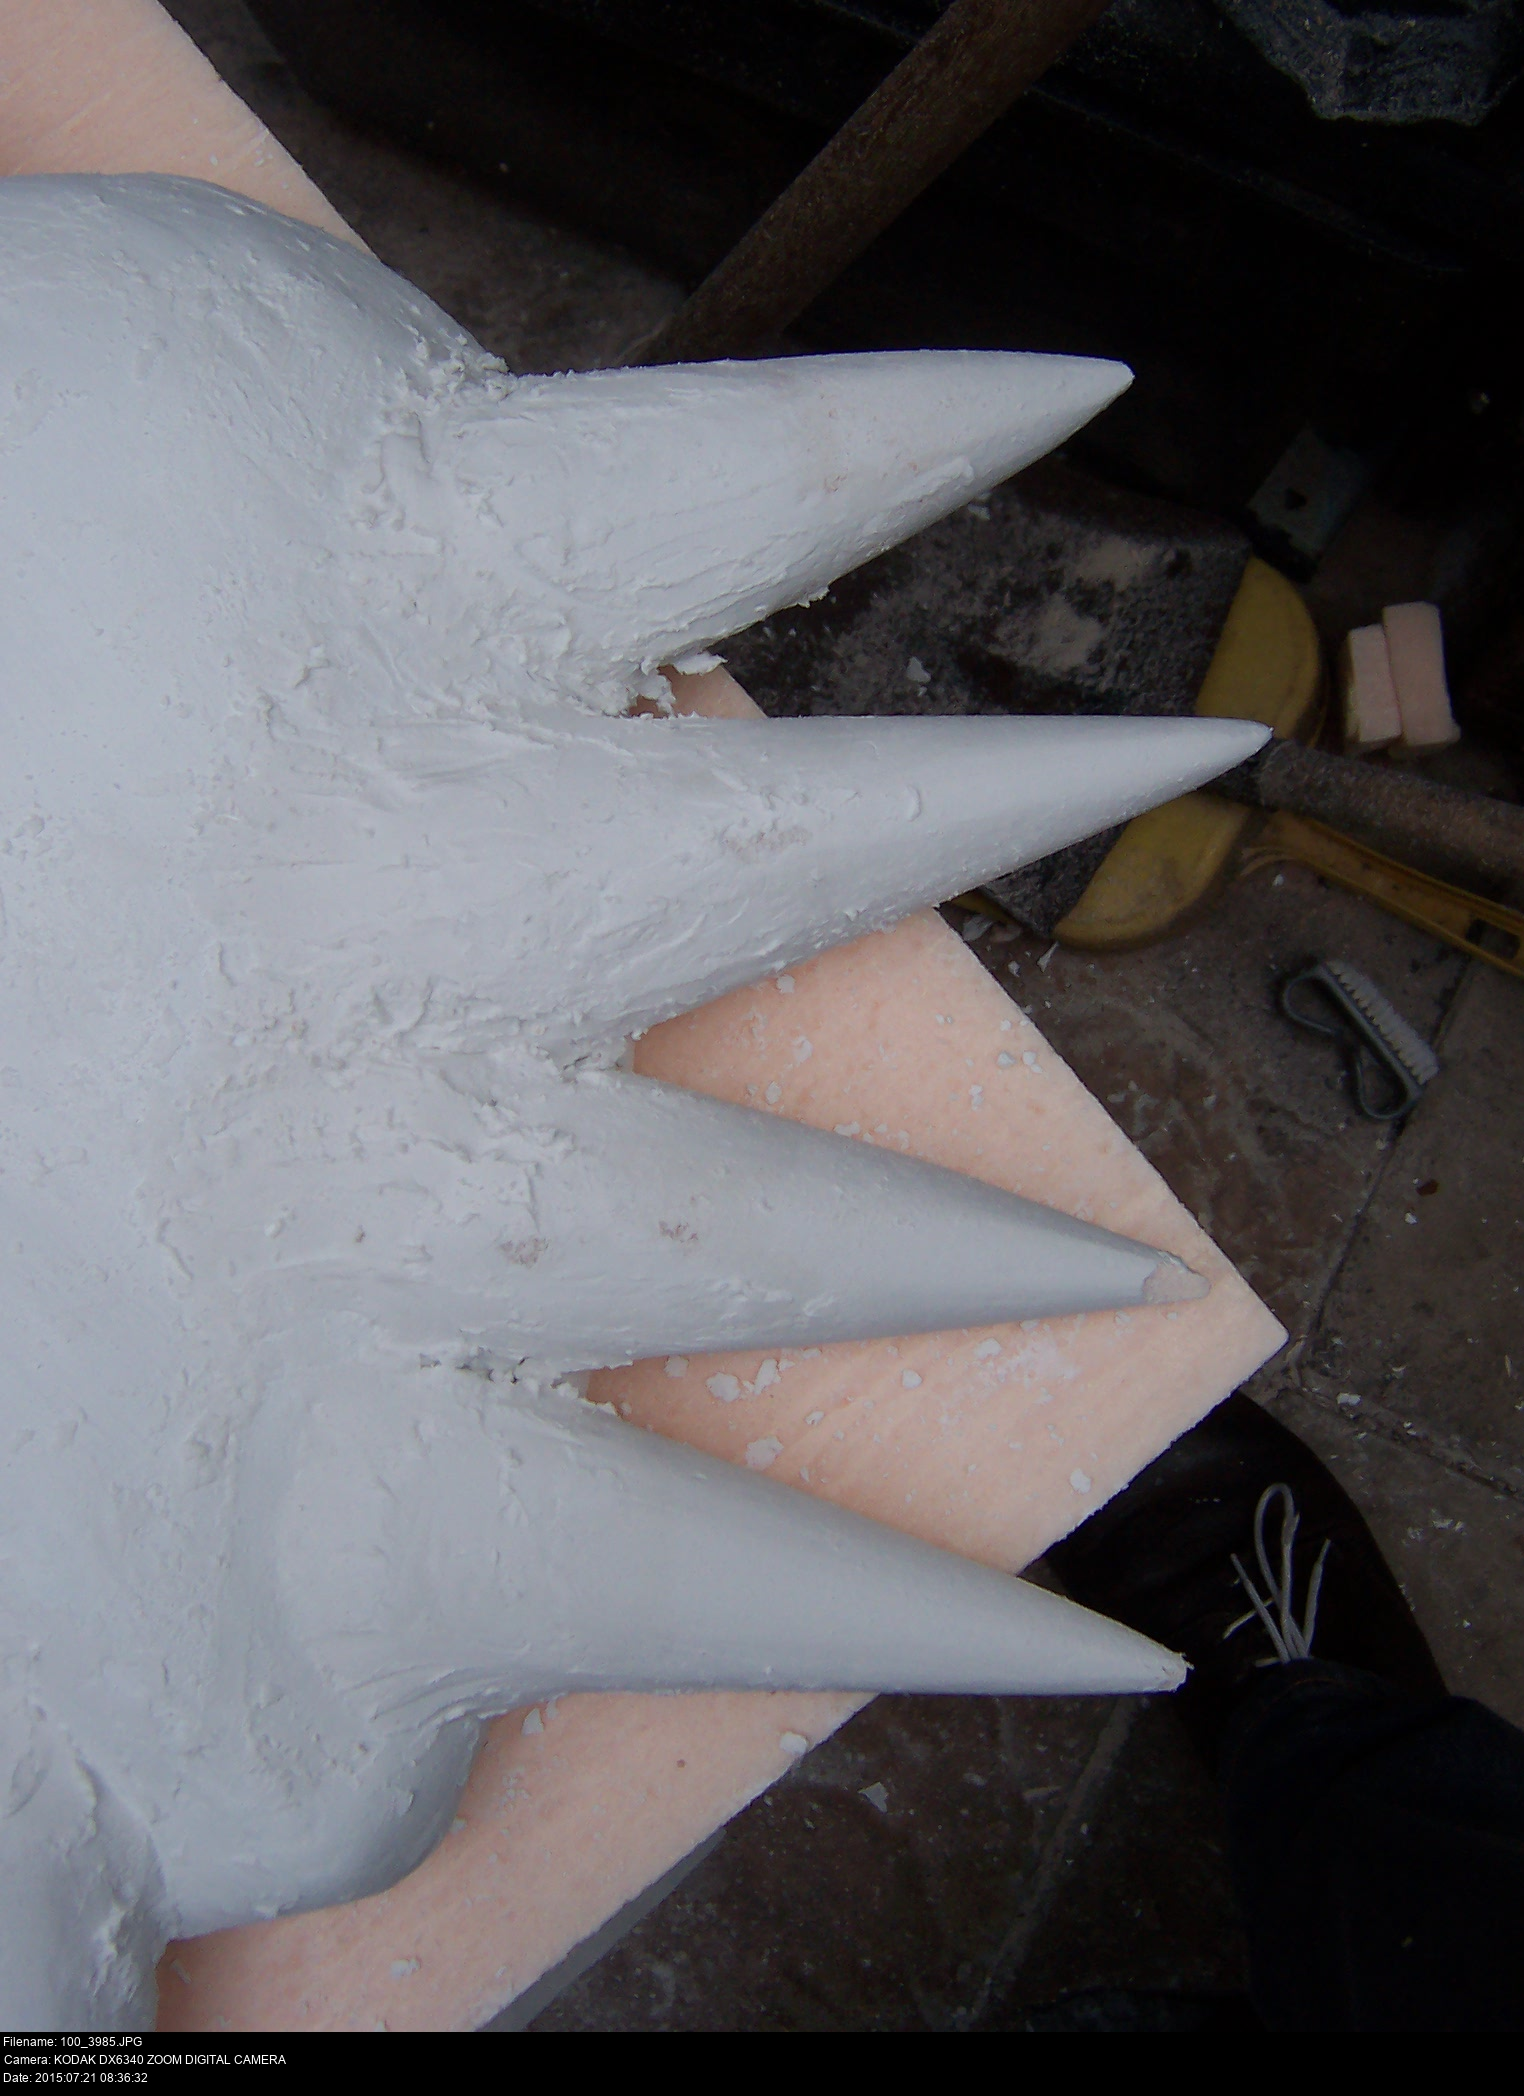
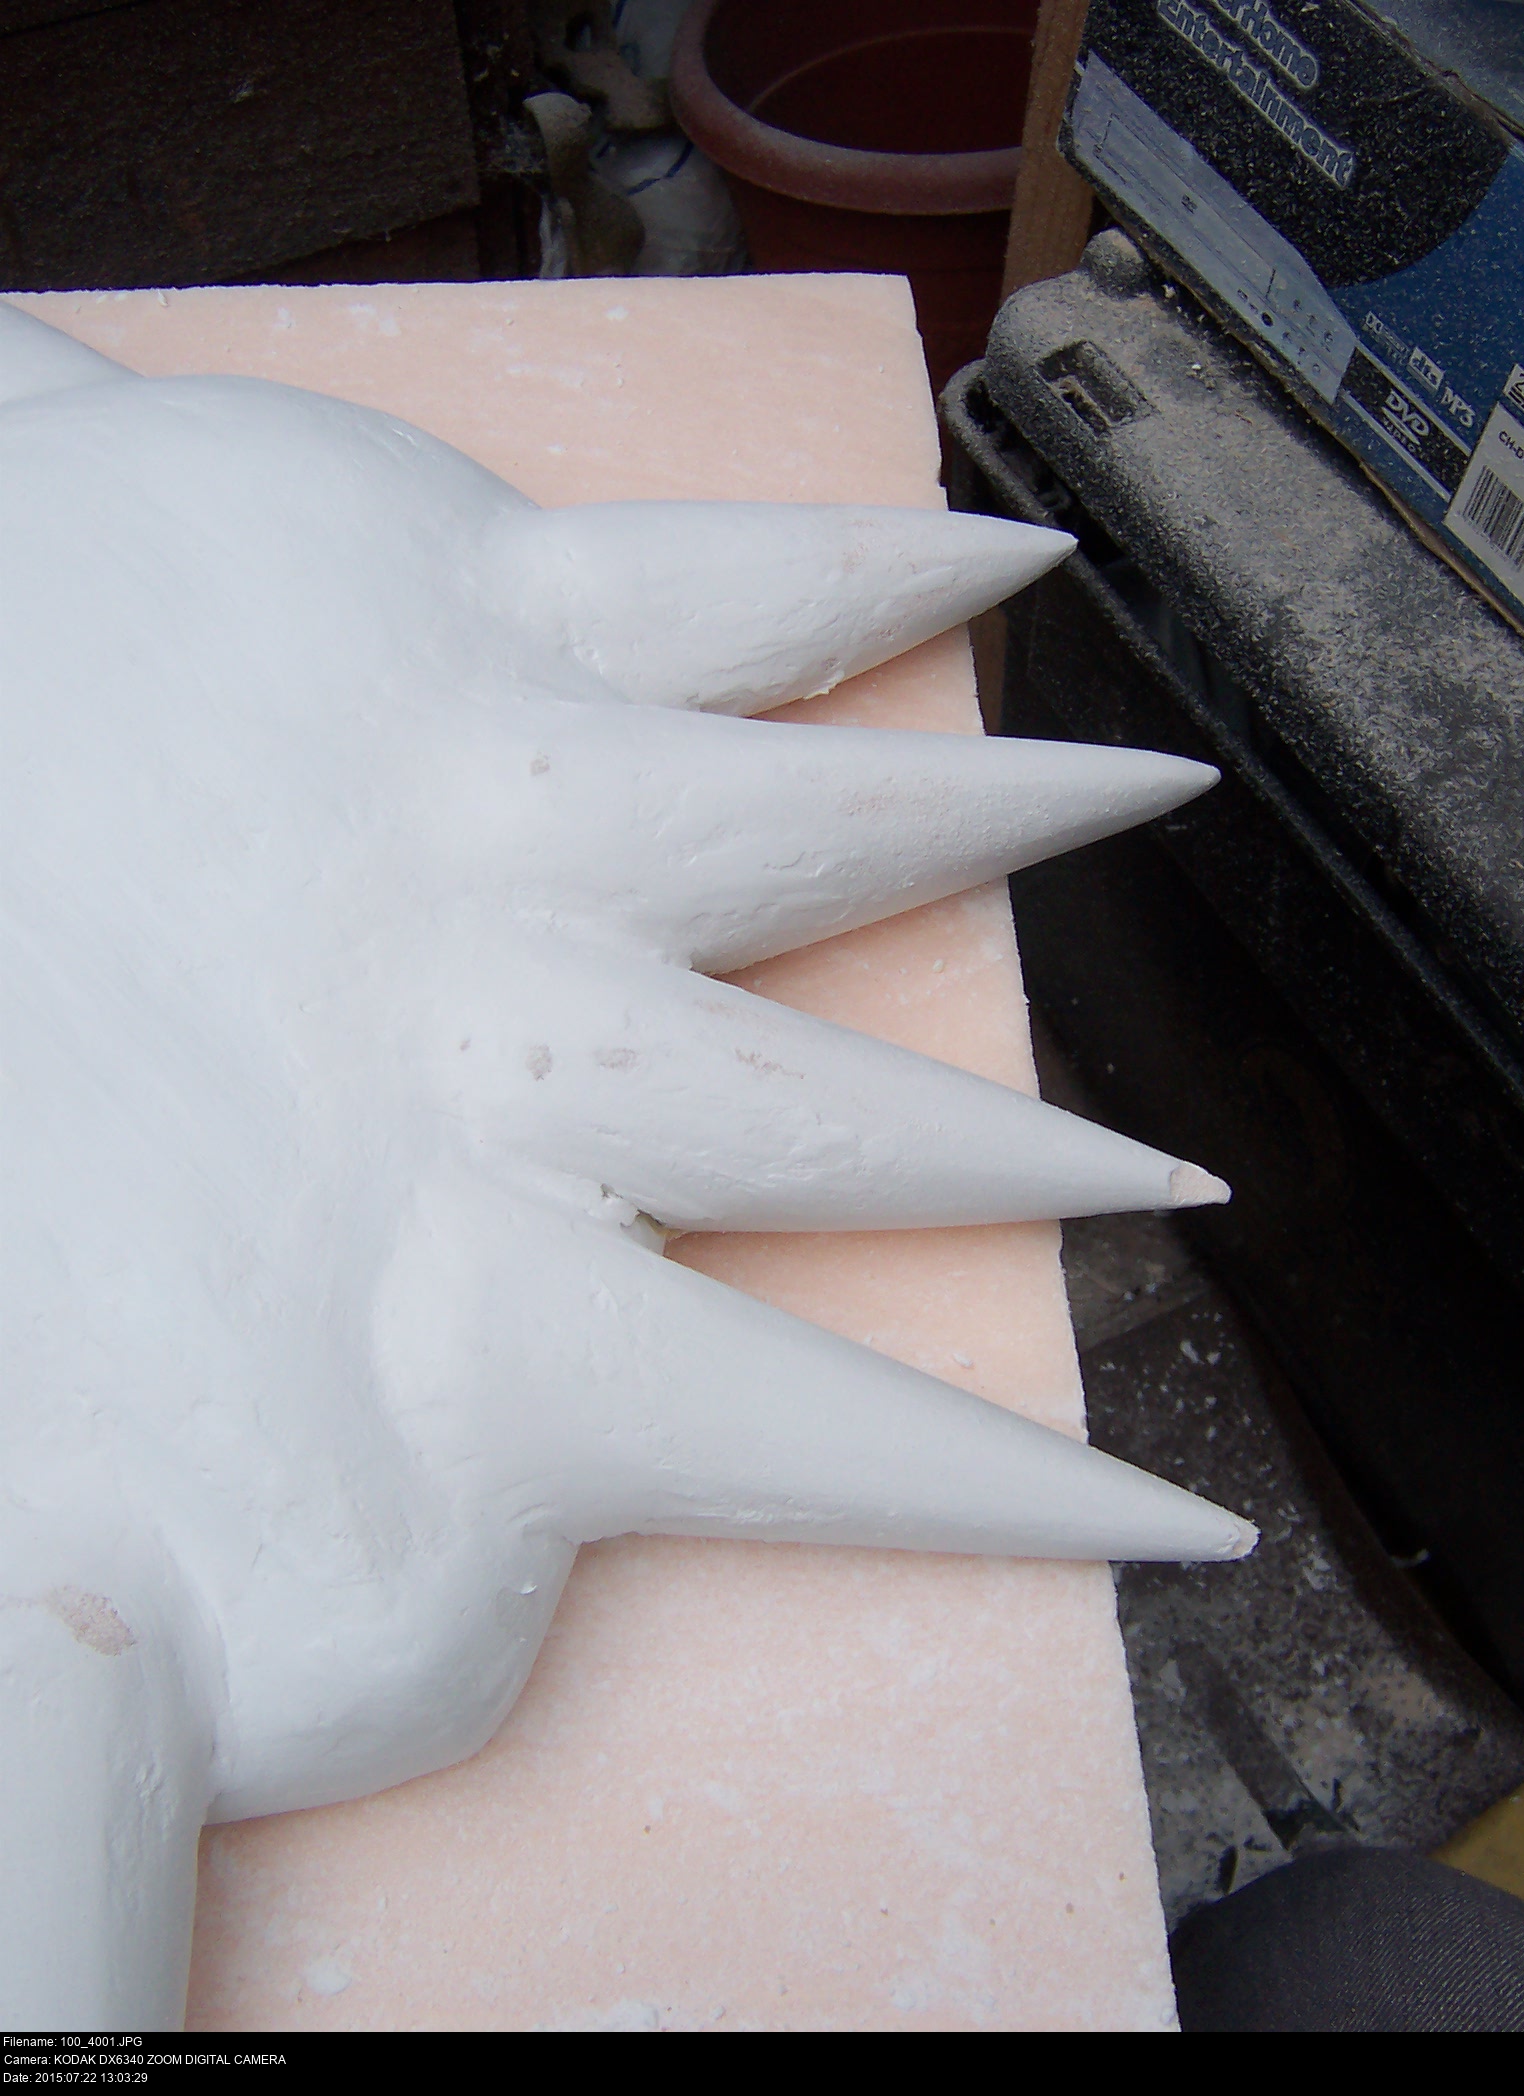
Here's all the horns I've carved so far. One at a time, hand-carved and handed, almost half-an-hour each. NO MORE HORNS.
The blue horns are carved out of the upholstery foam. You never know, right? It might turn out to be the most incredible idea I've ever had.


My idea being that I take all my various horns and cover them in a coat or two of plaster to give them a solid surface for me to work on. It ought to protect the foam from any scrapes (I hope!). When they're attached I can gesso over the top and then paint as I like.
It probably doesn't need to be said that it worked rather well on the pink foam, a bit worse on the green foam, and was a complete disaster on the blue foam.

So then, full speed ahead with the pink!

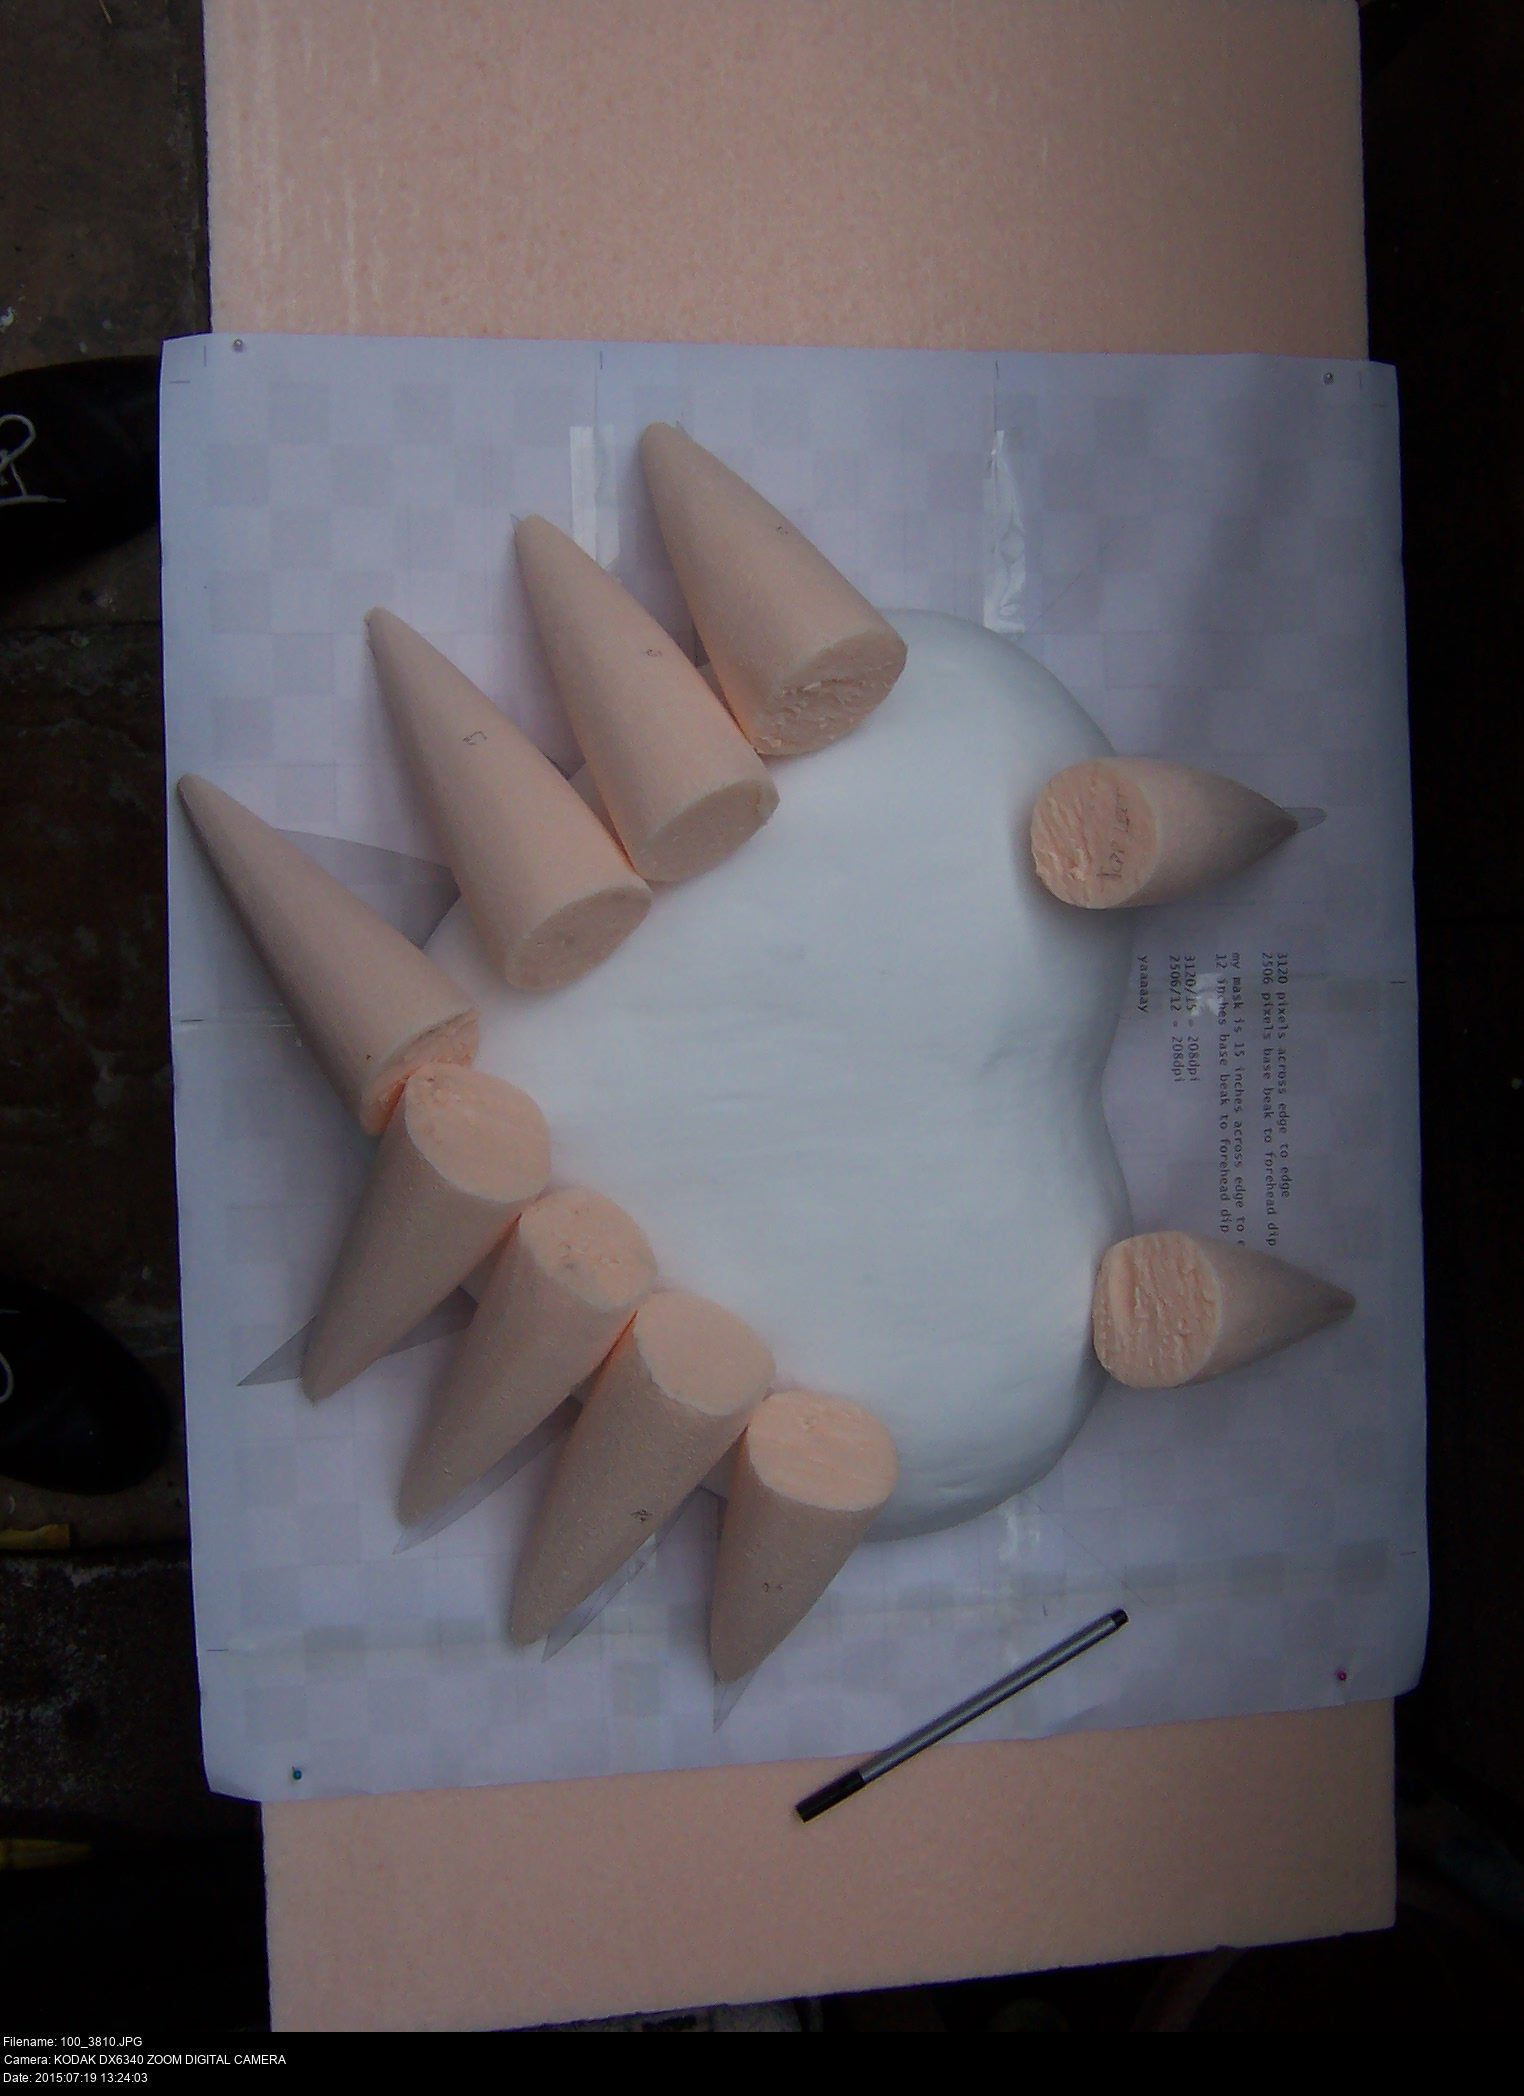
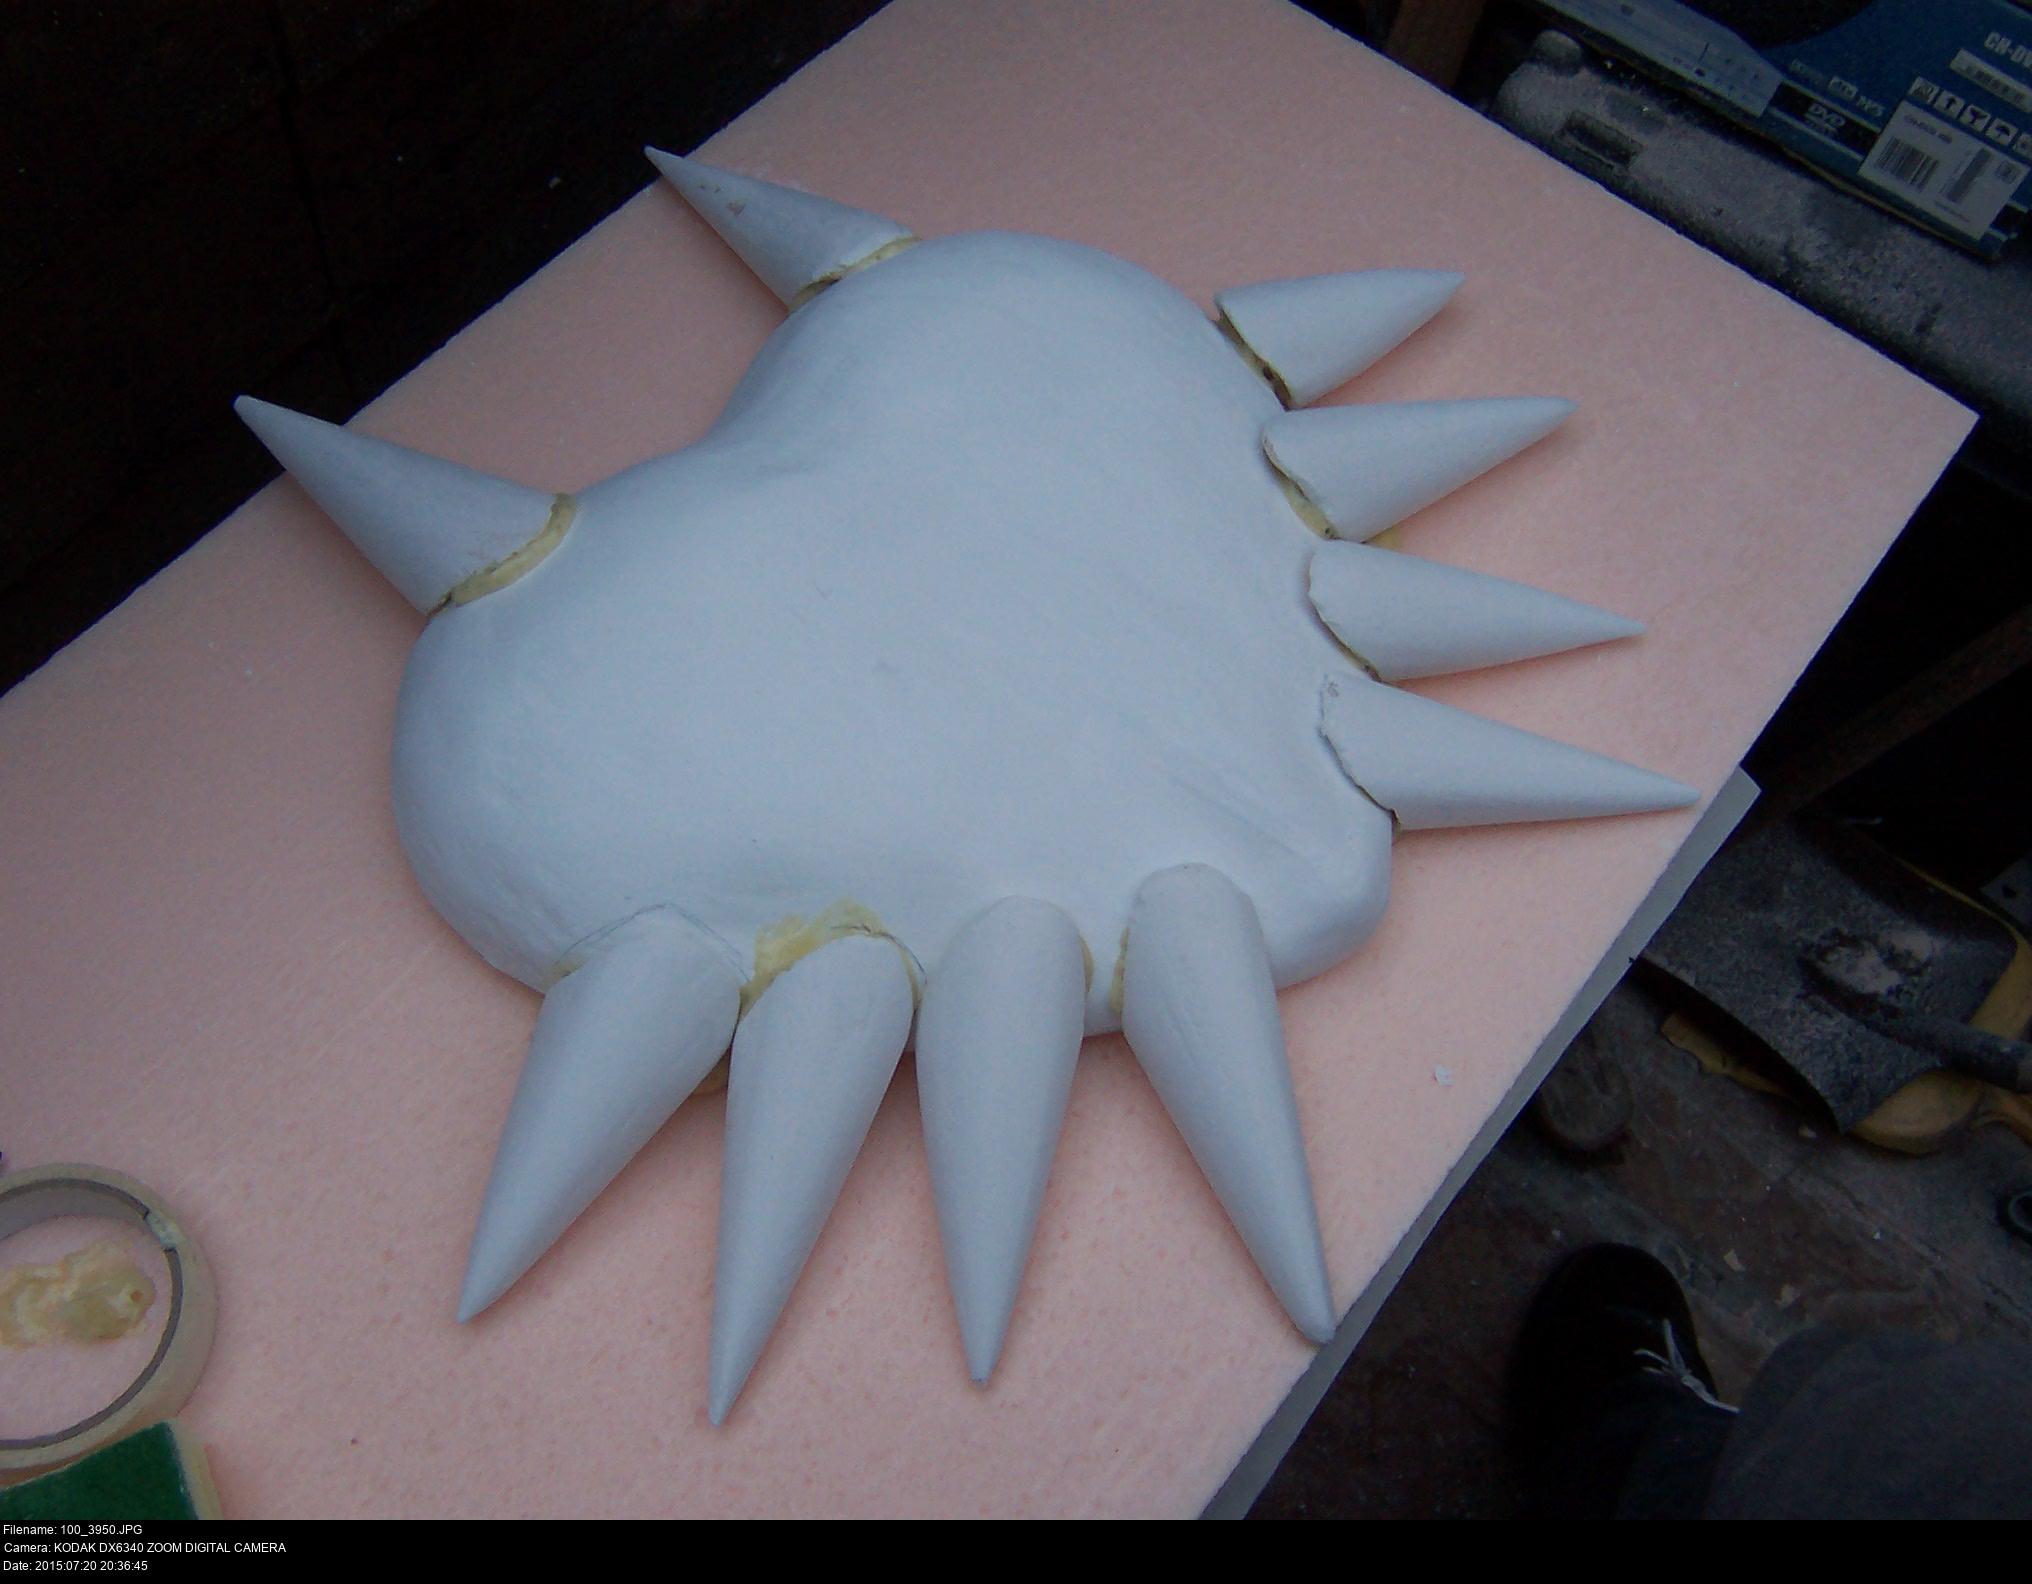
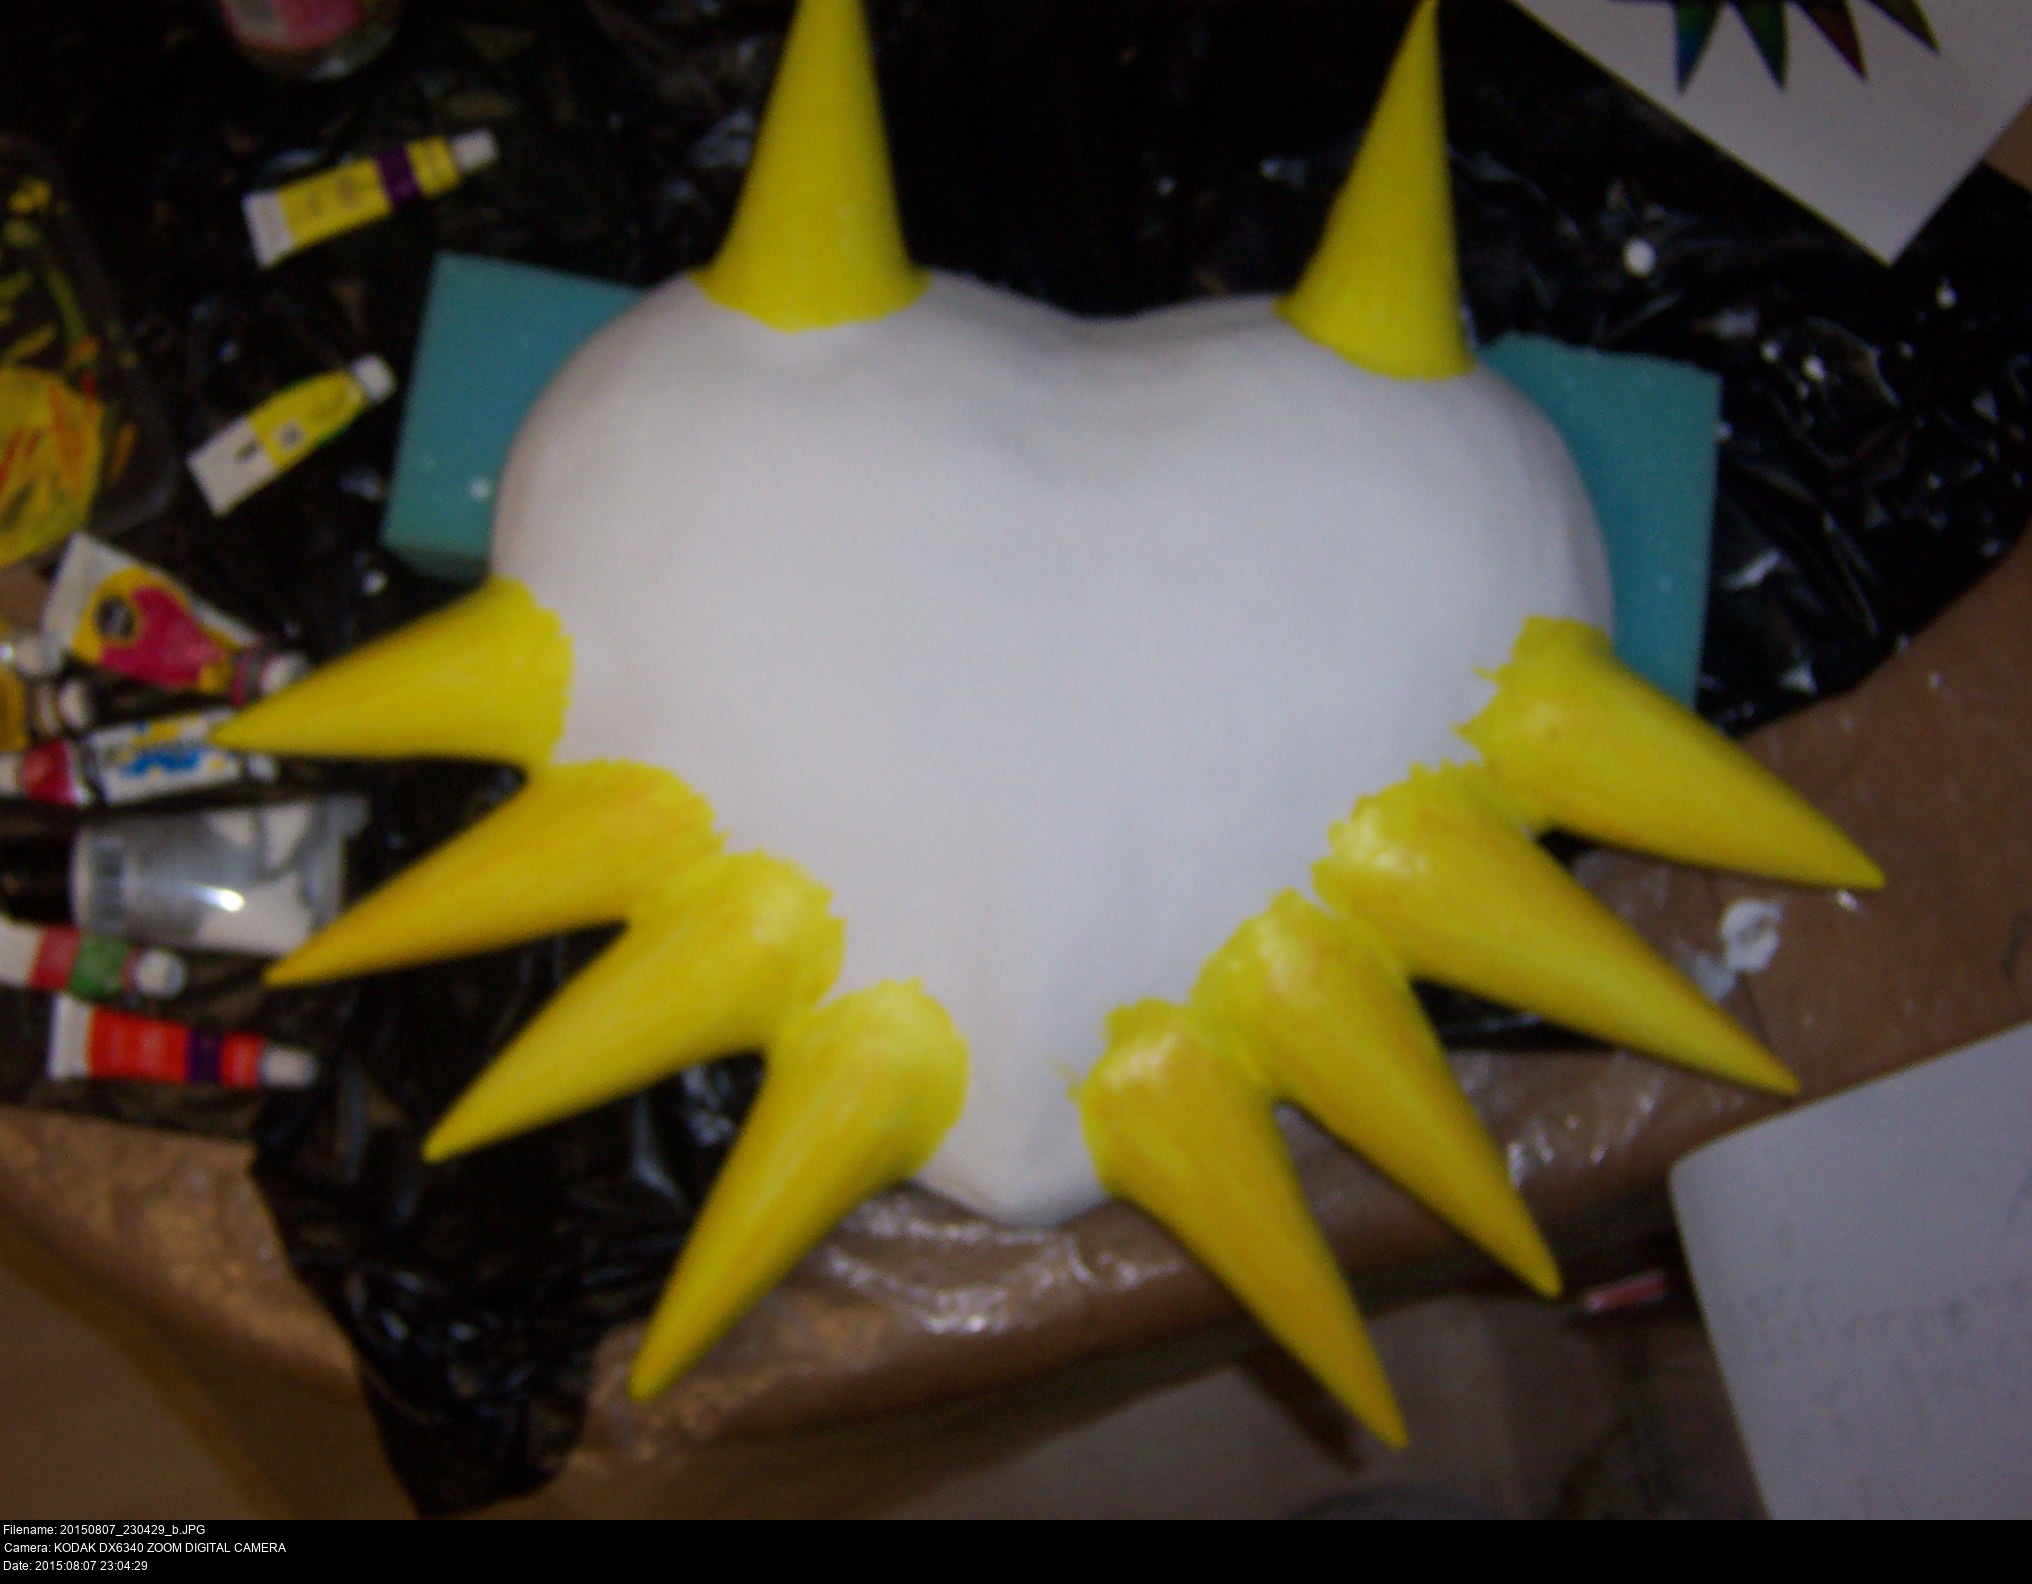
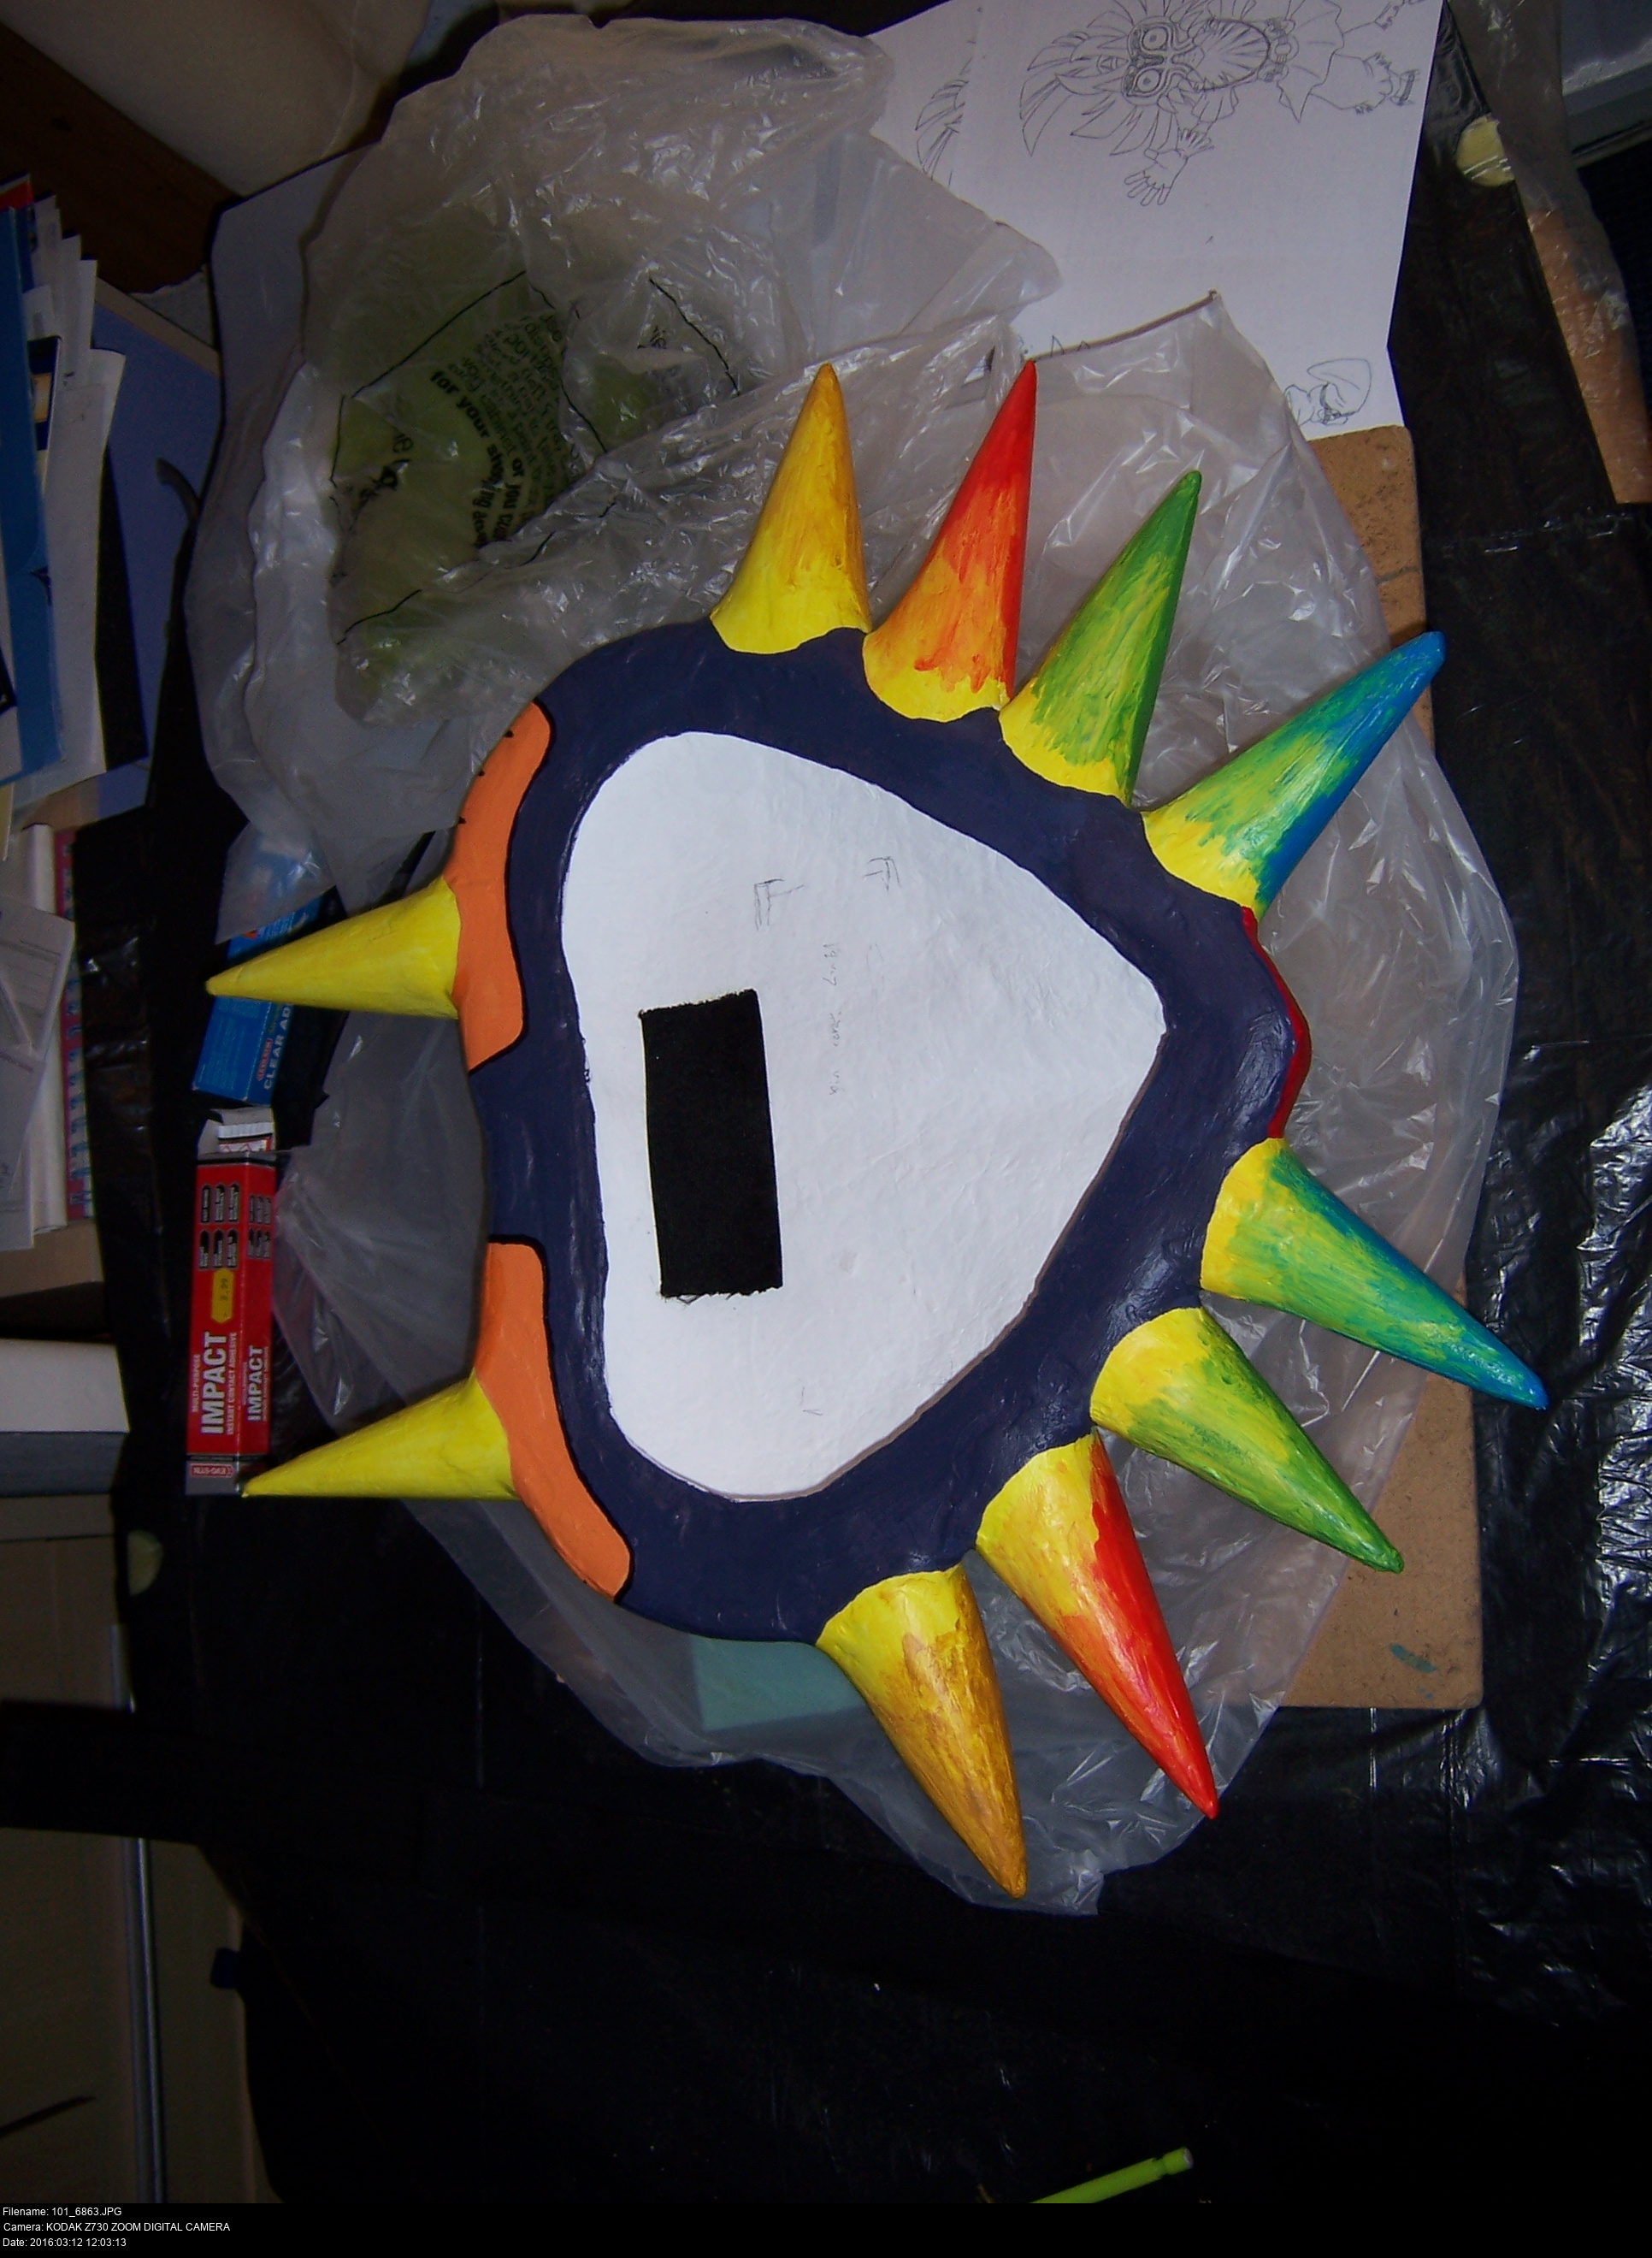
Each horn on the design is unique (excepting symmetry). Some are thicker than others, some are longer than others. I'm going to lay them out on the design and match up the horns to the slots that are closest to their current shape. Once I've decided which horn goes in which place, I'm going to mark them with their location and carve their base so that they fit against the contours of the mask.
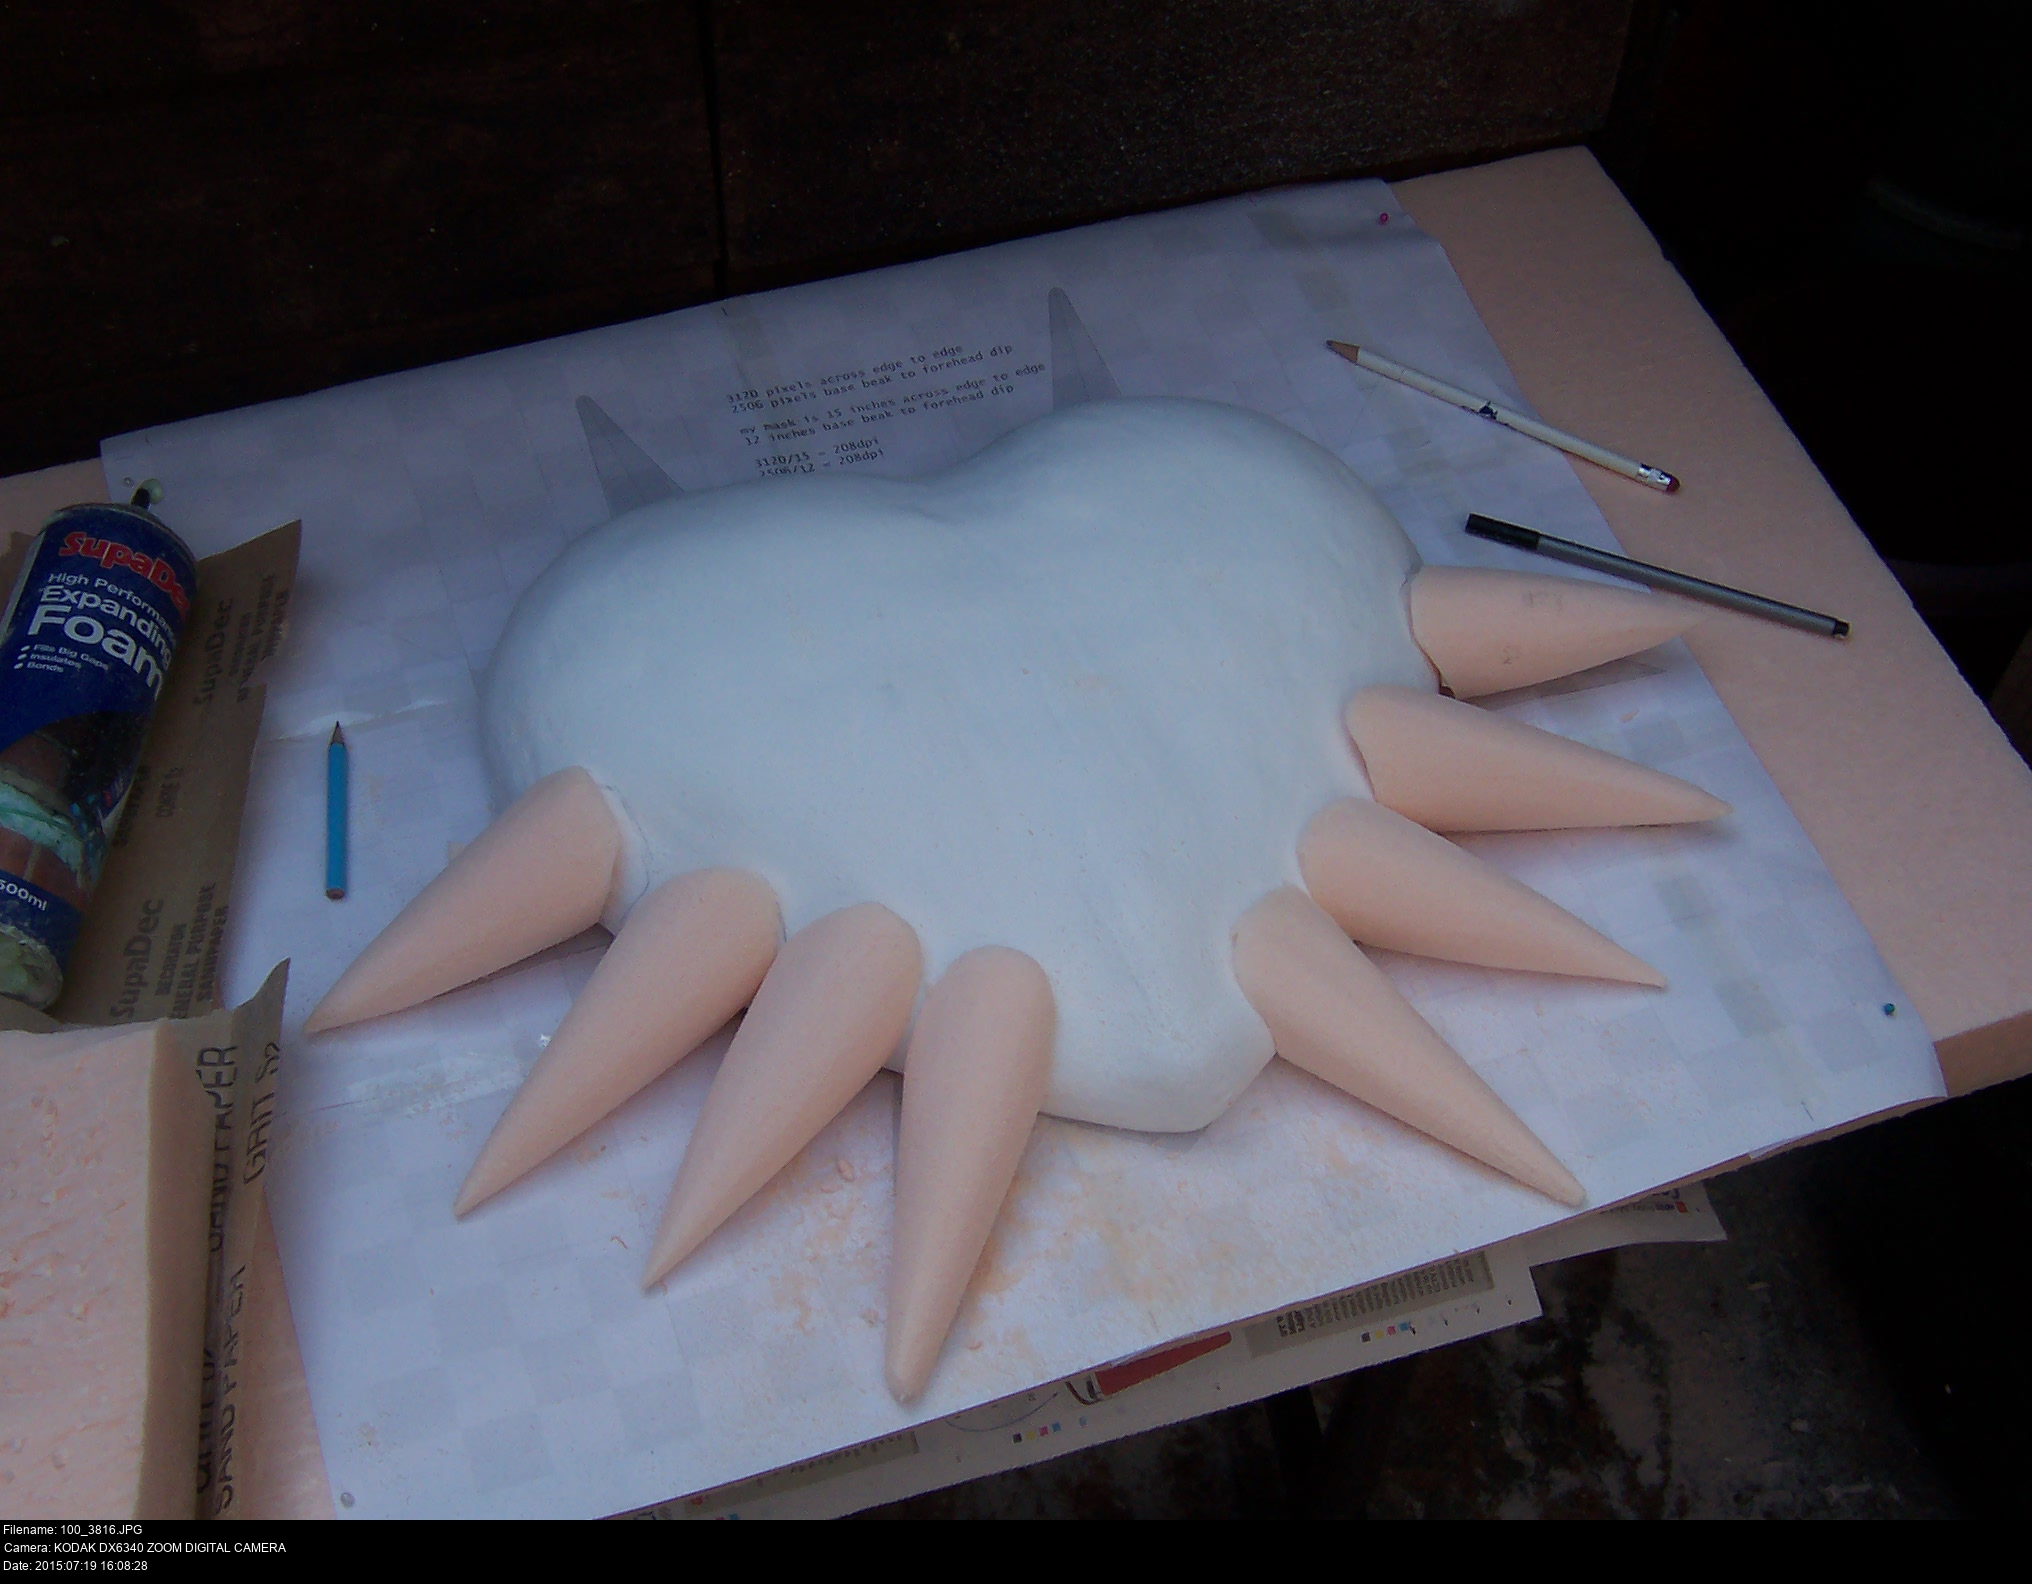

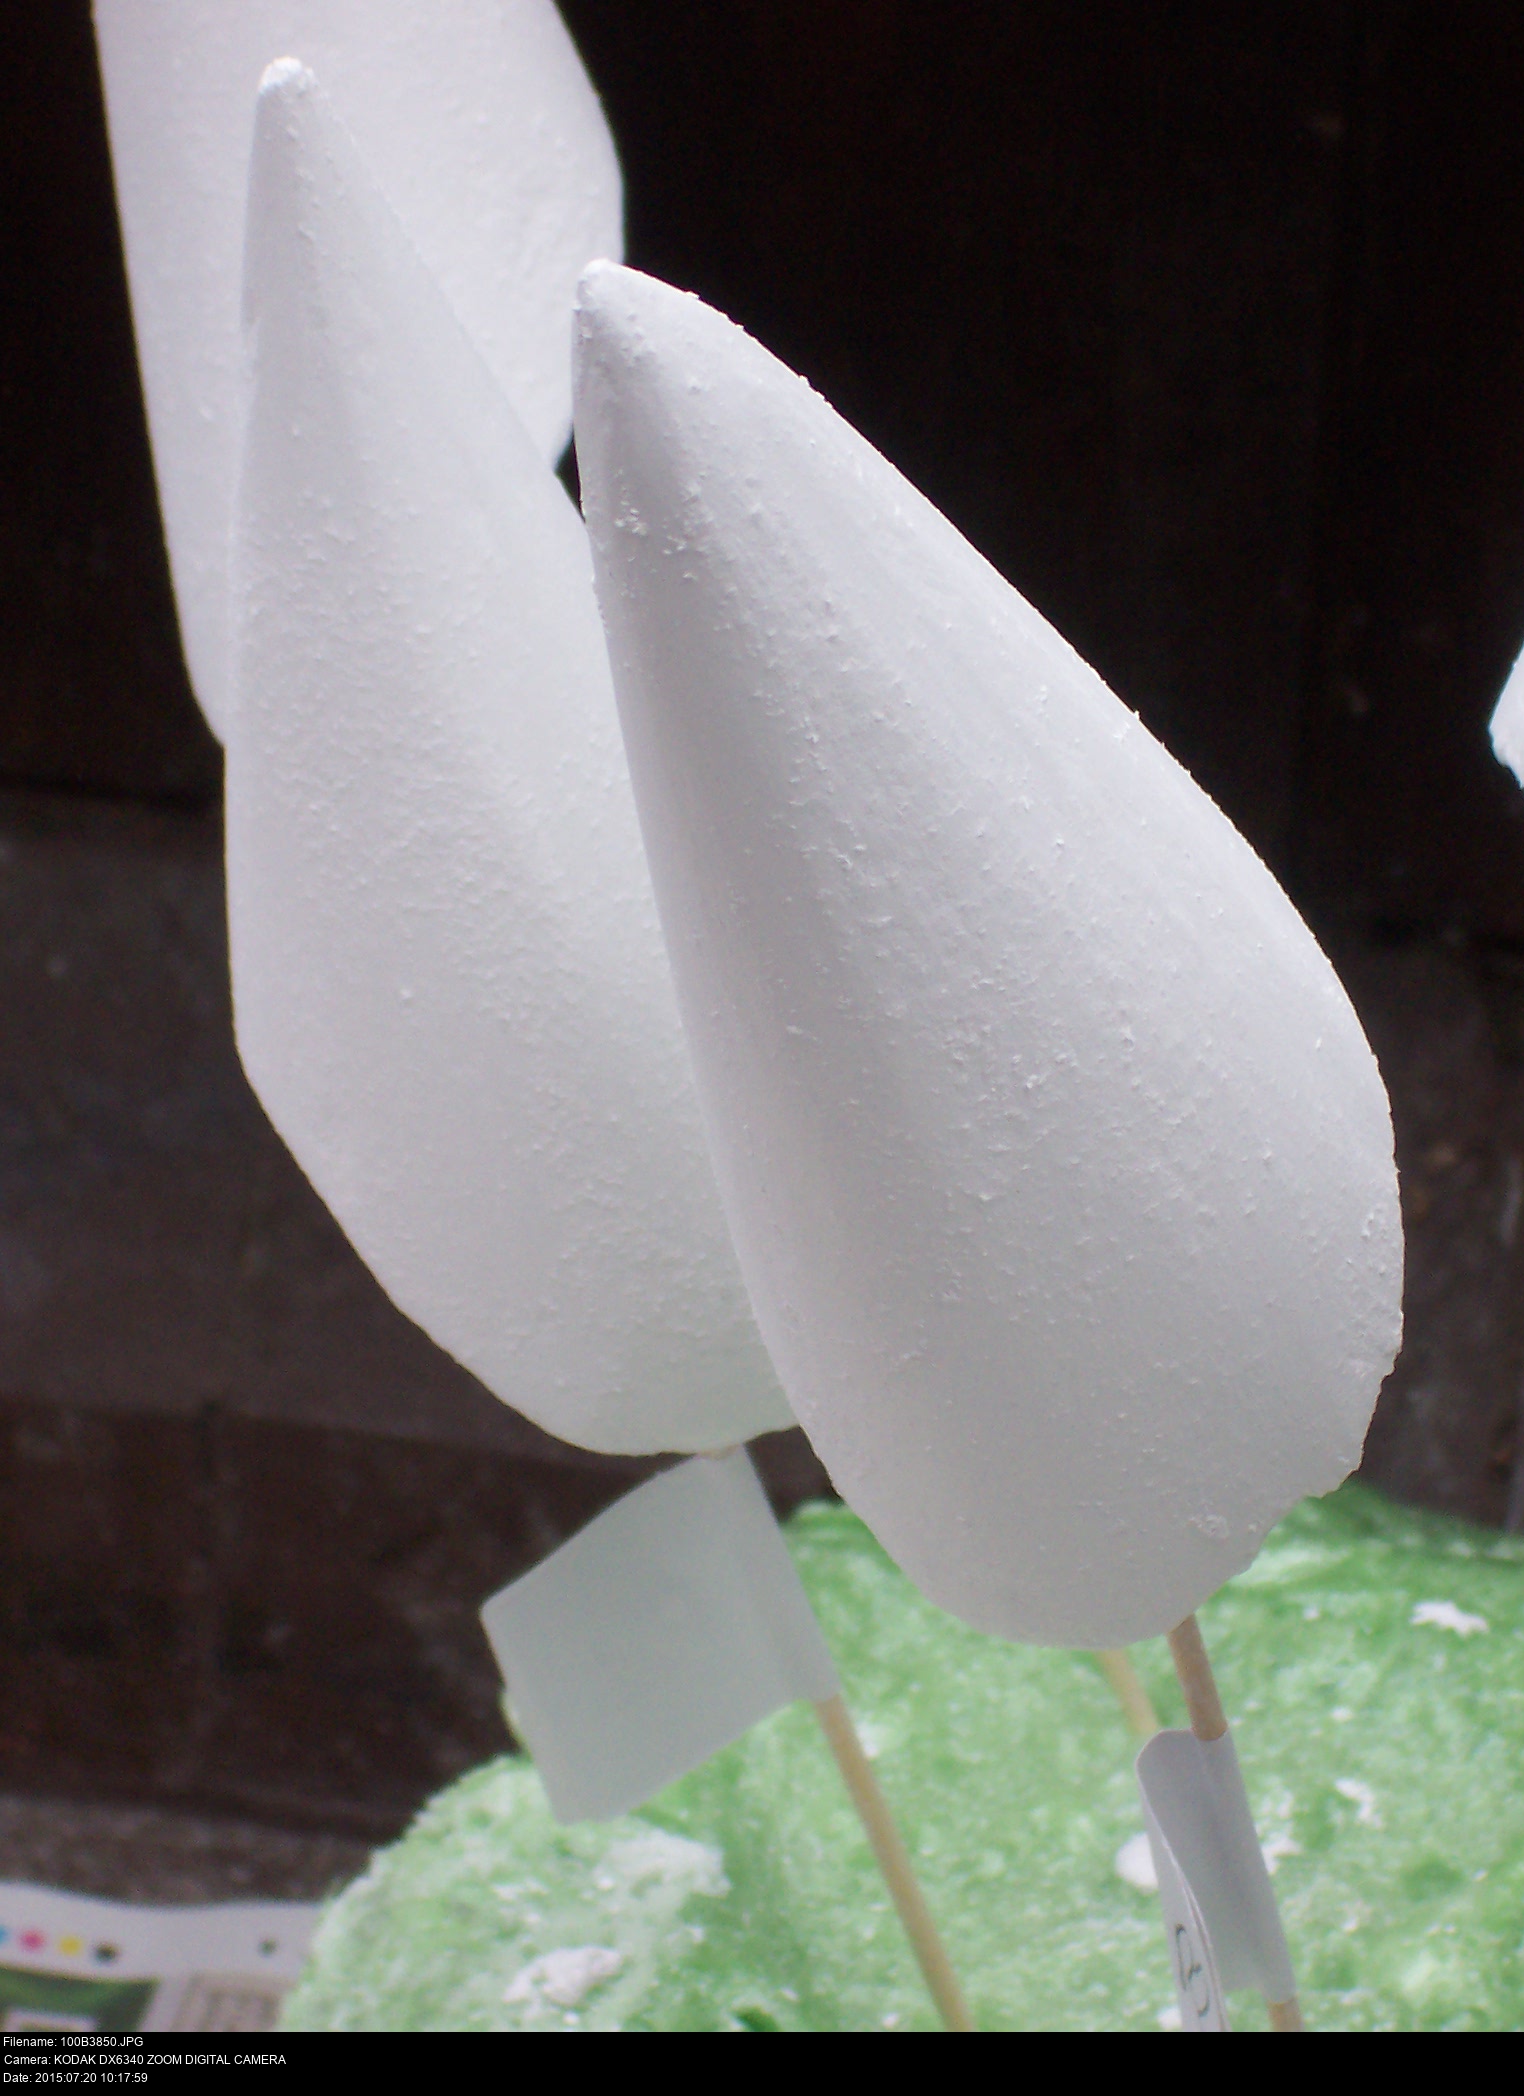
There's no trick to this. You just need the skill to visualise the volume you need to cut away from the base of the cone to make it fit. I've also sanded the cones a little more so that they have more of a point. It's impossible to get this pink foam to keep a point though, since it'll snap off or become deformed easily, like you're trying to carve a statue out of stale bread.
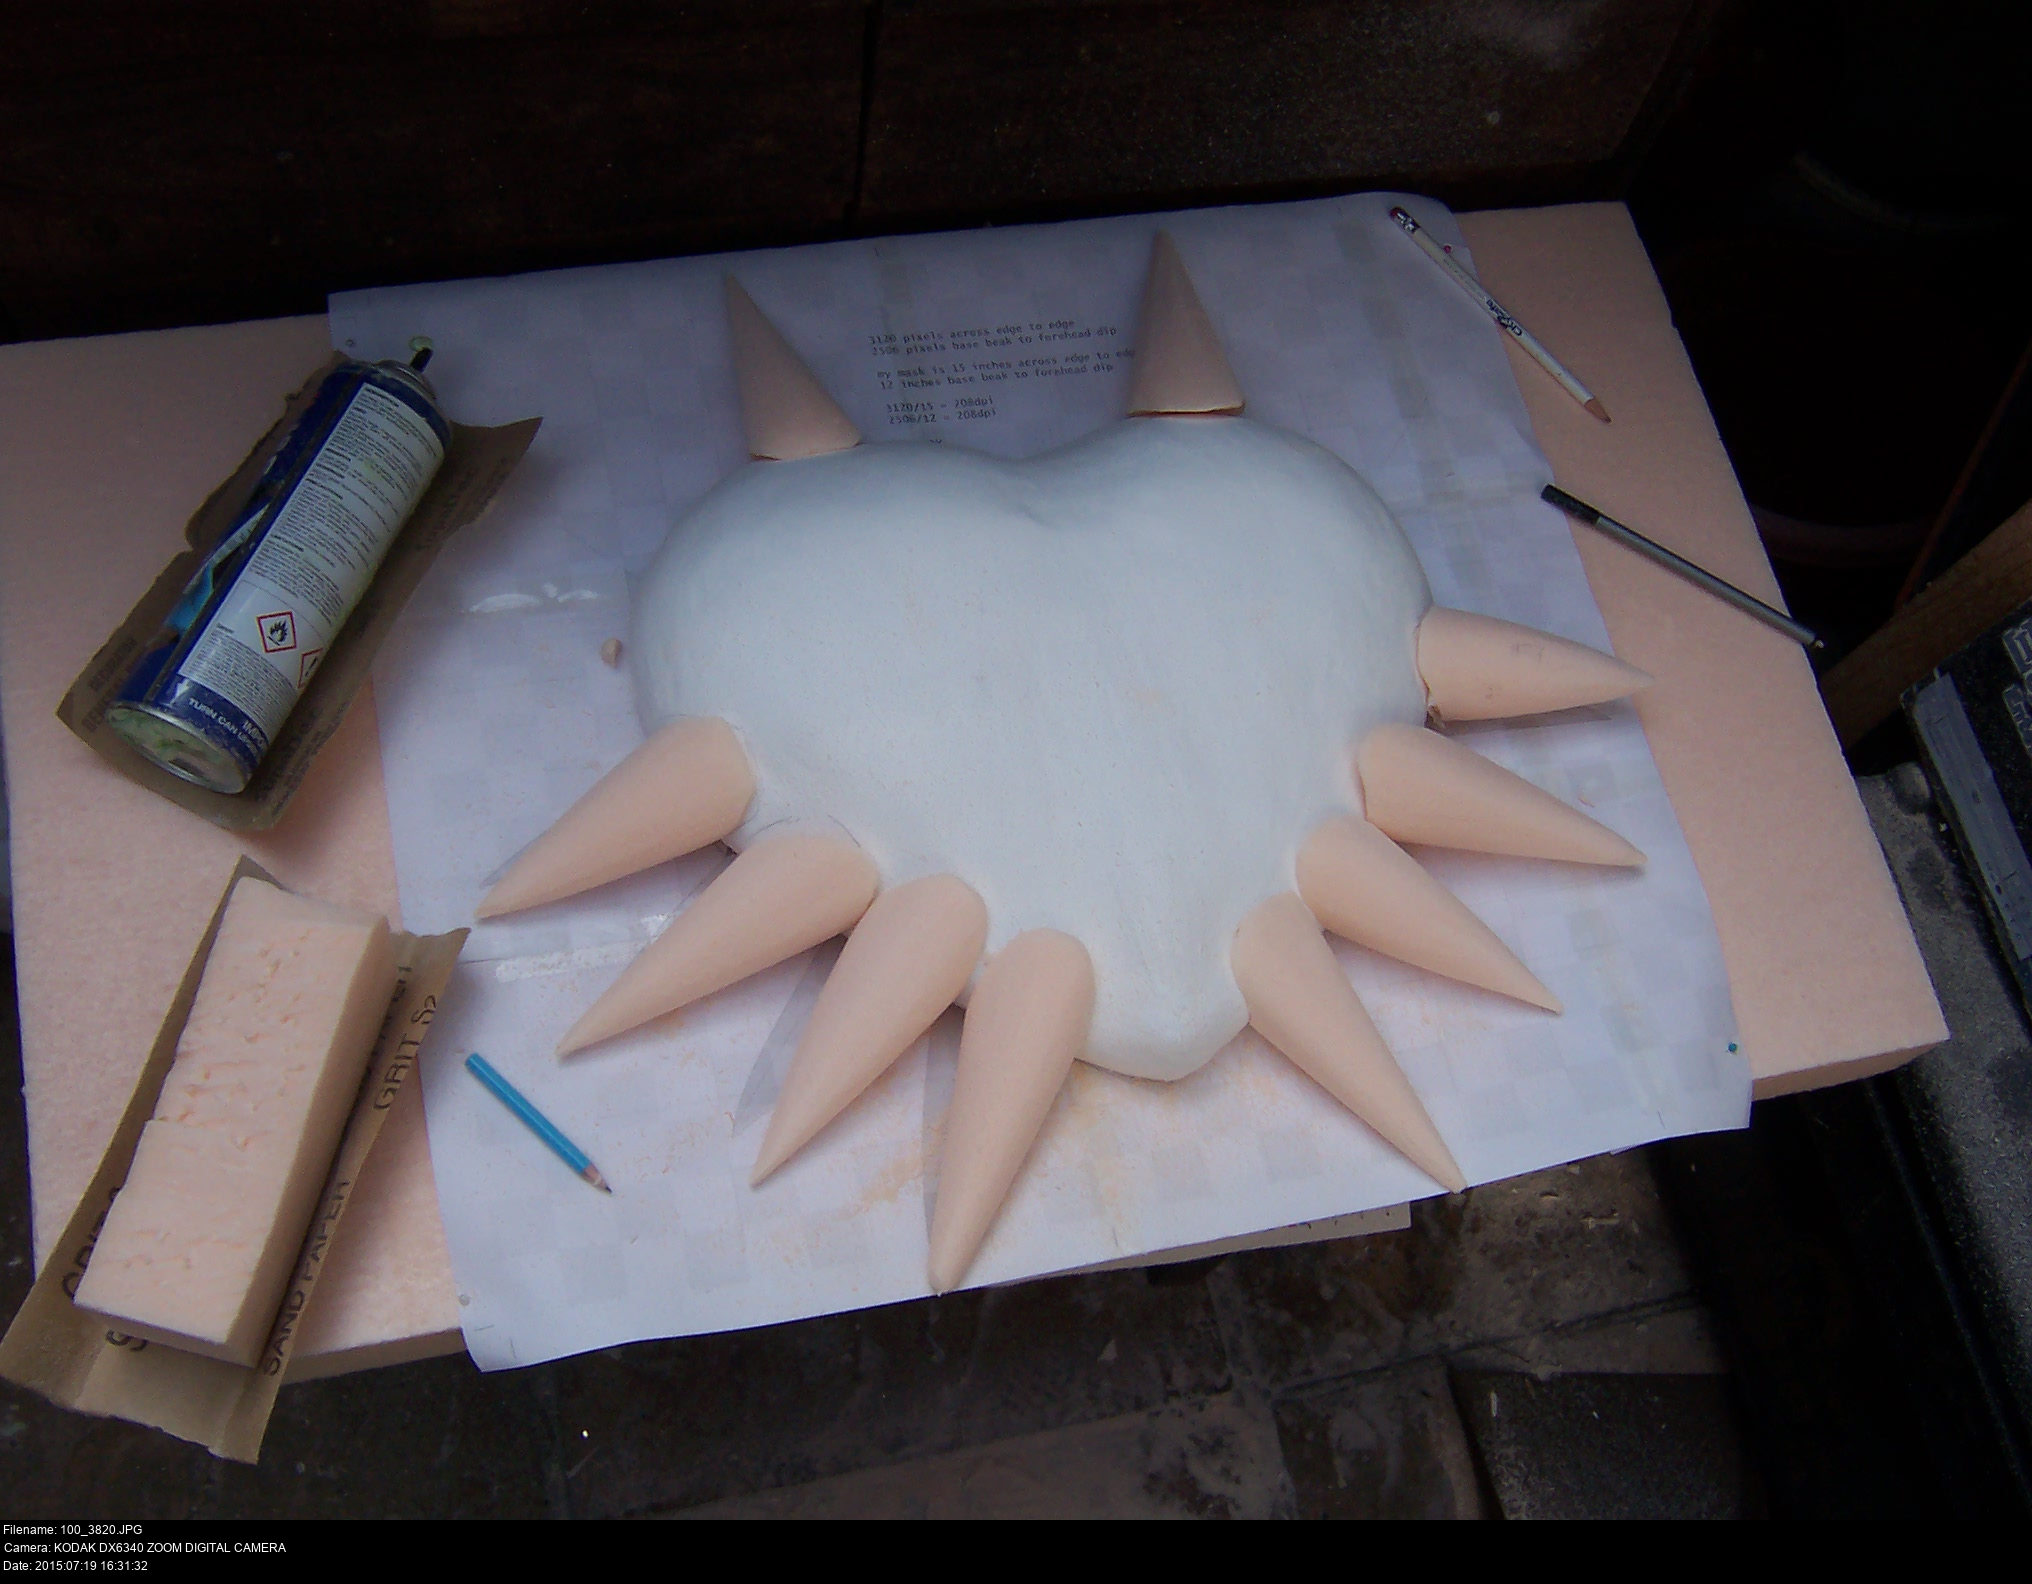
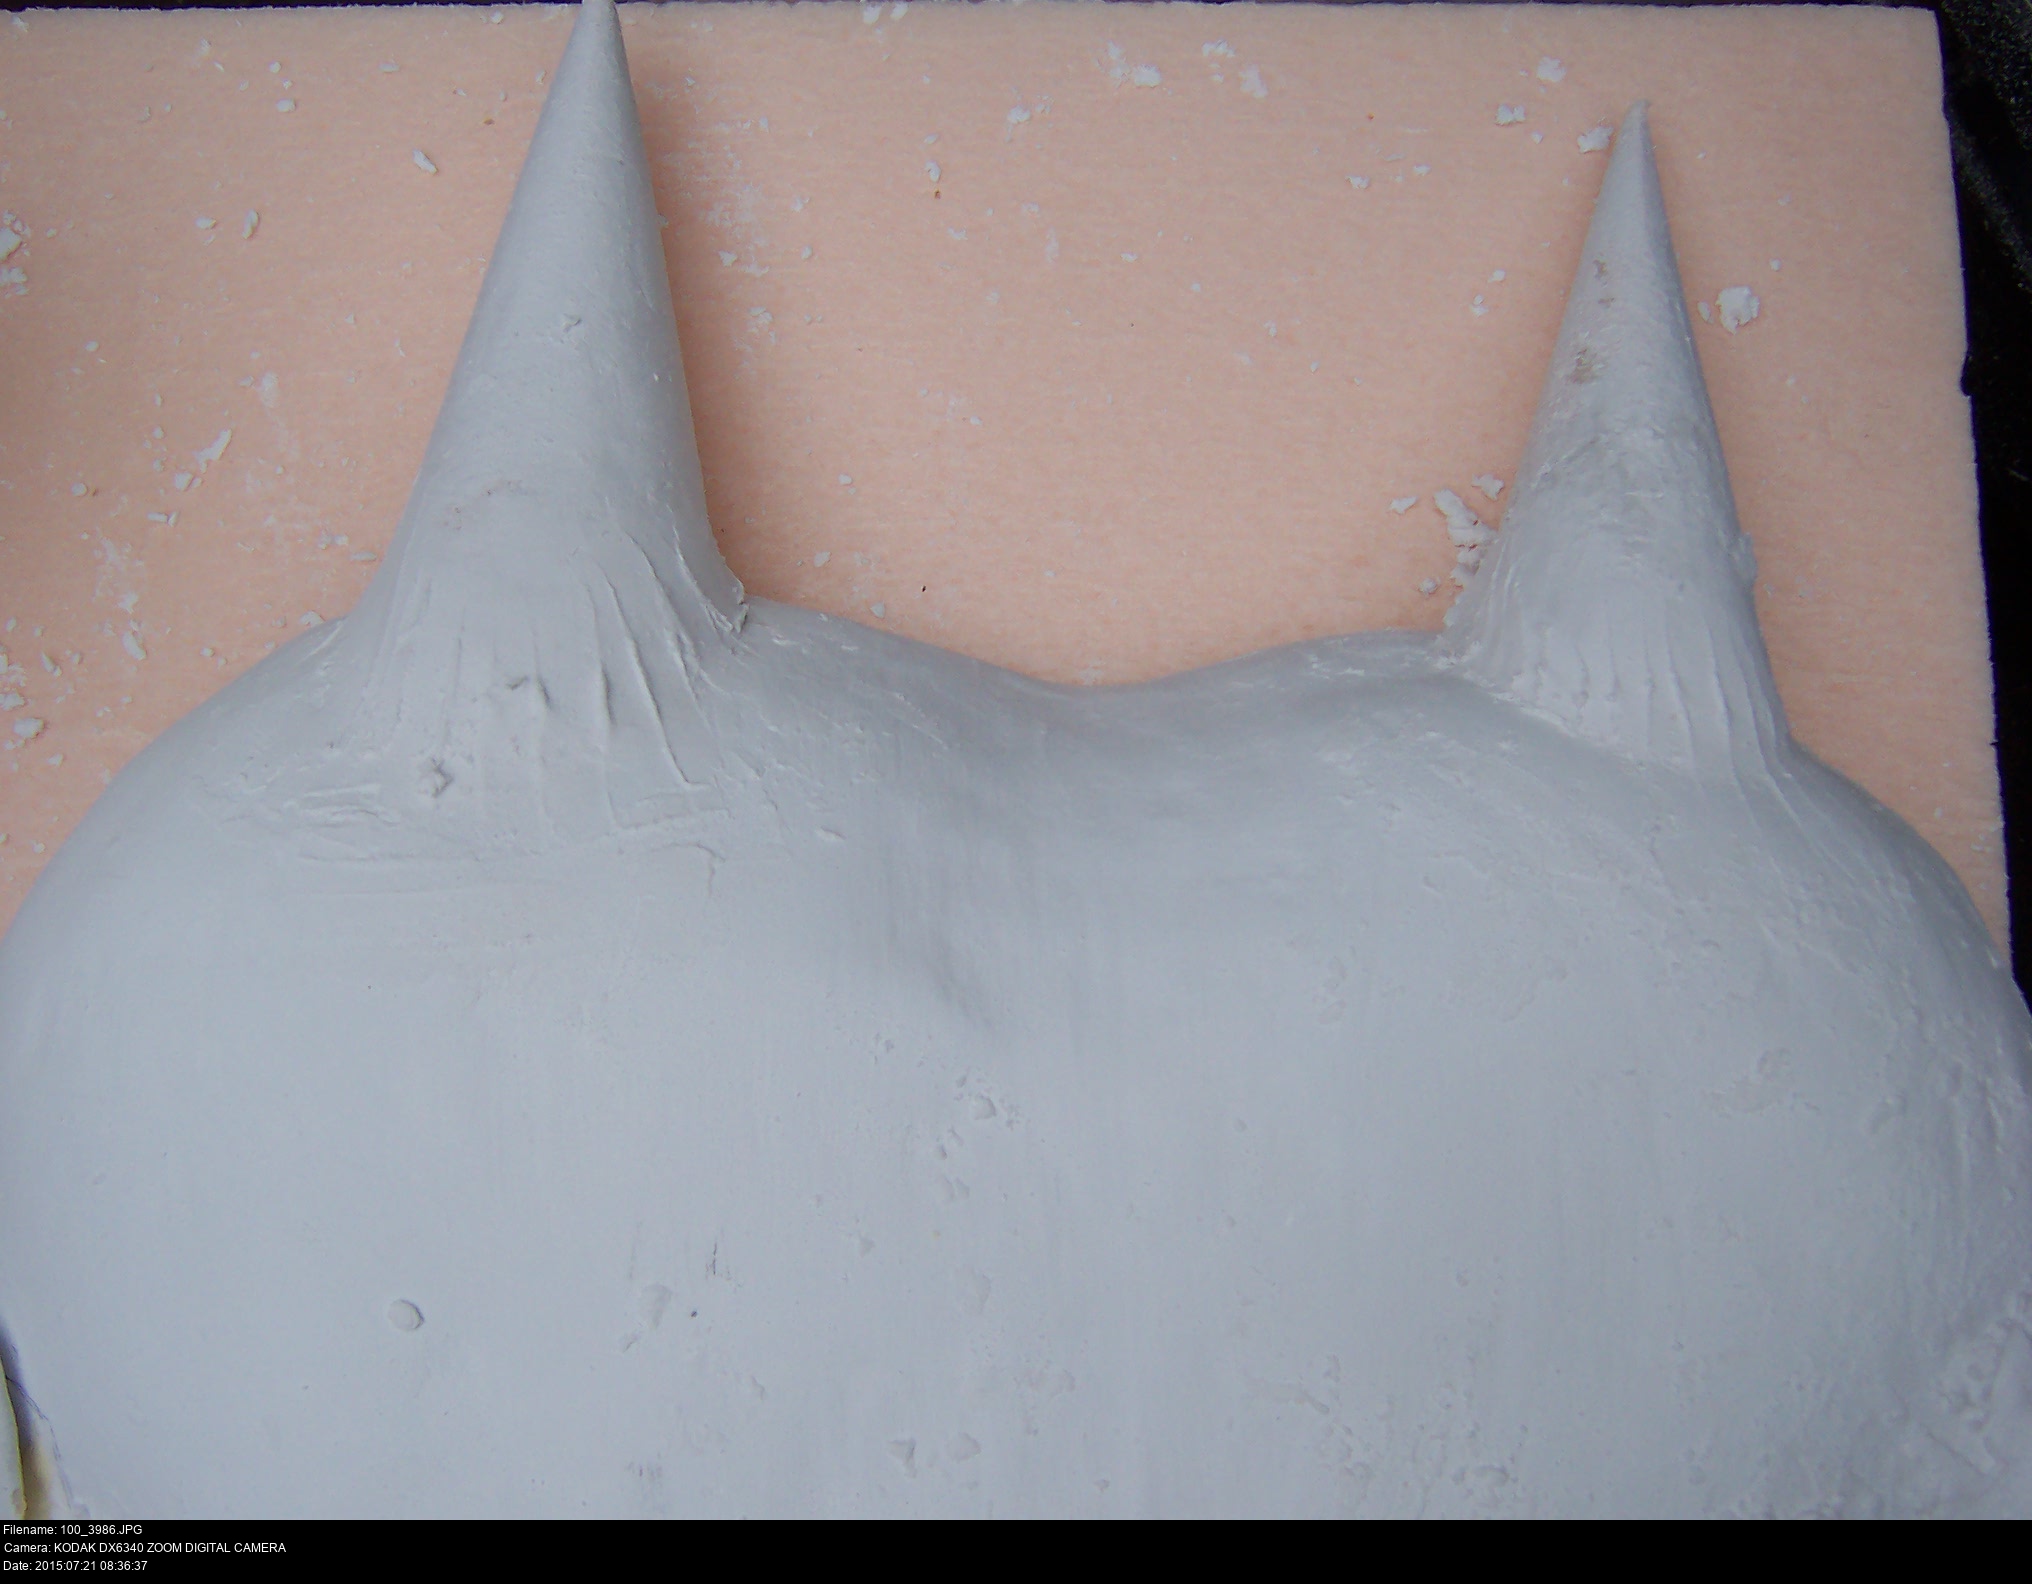
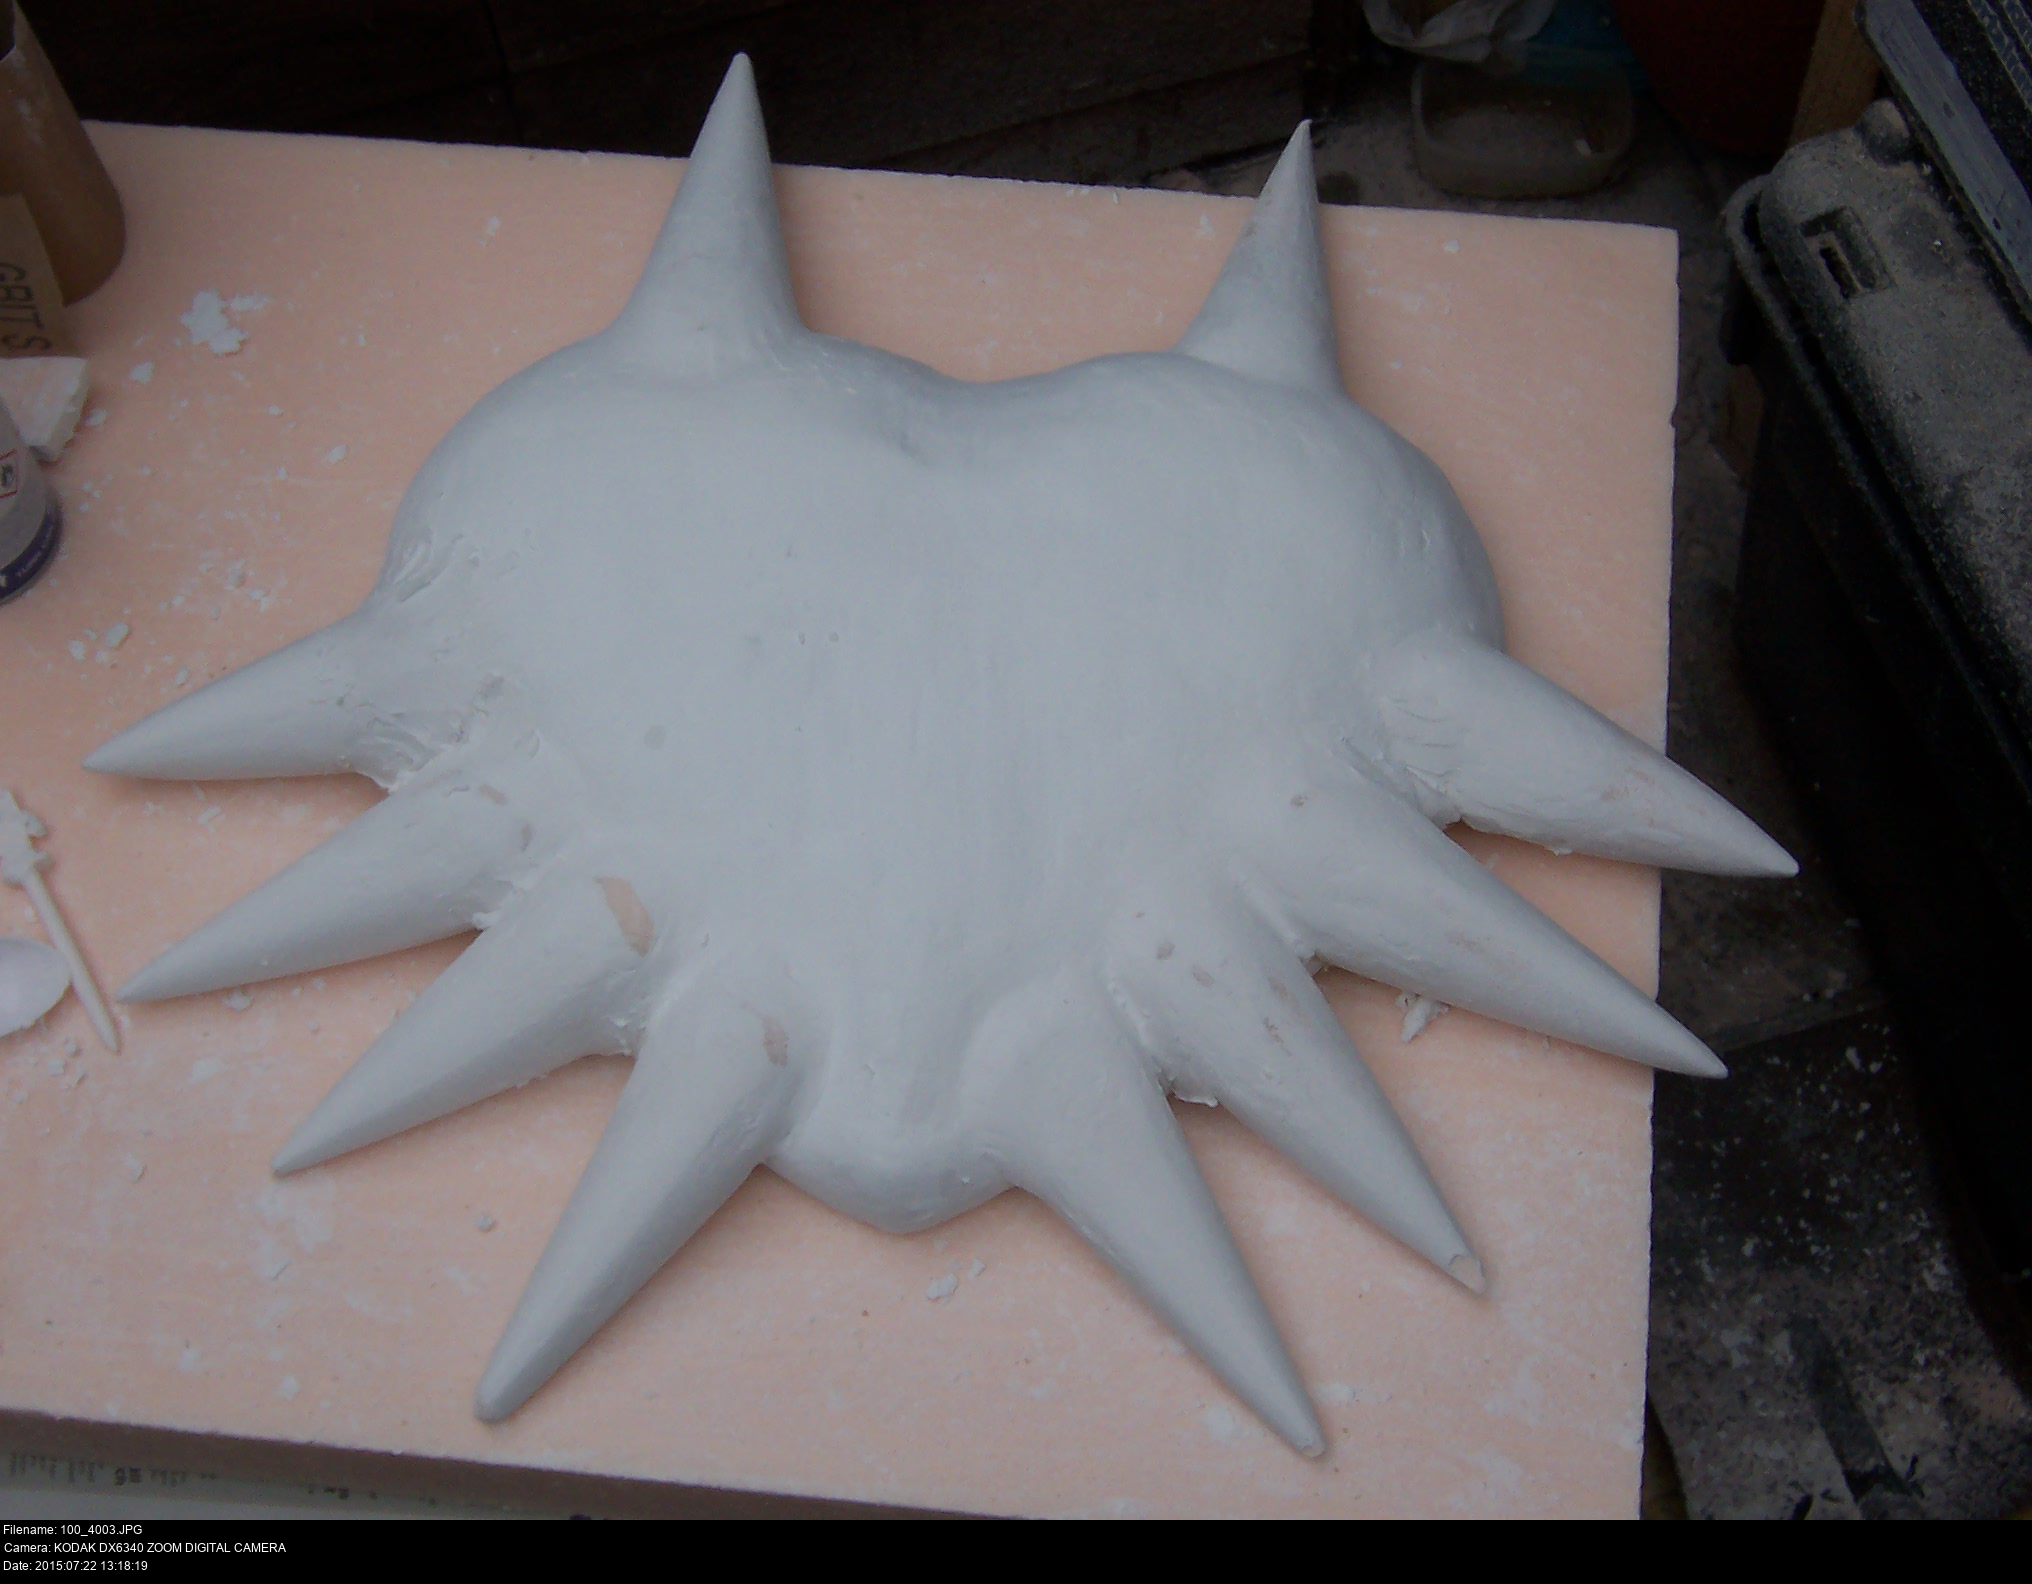
Now it's looking more like Majora's Mask! Making progress!


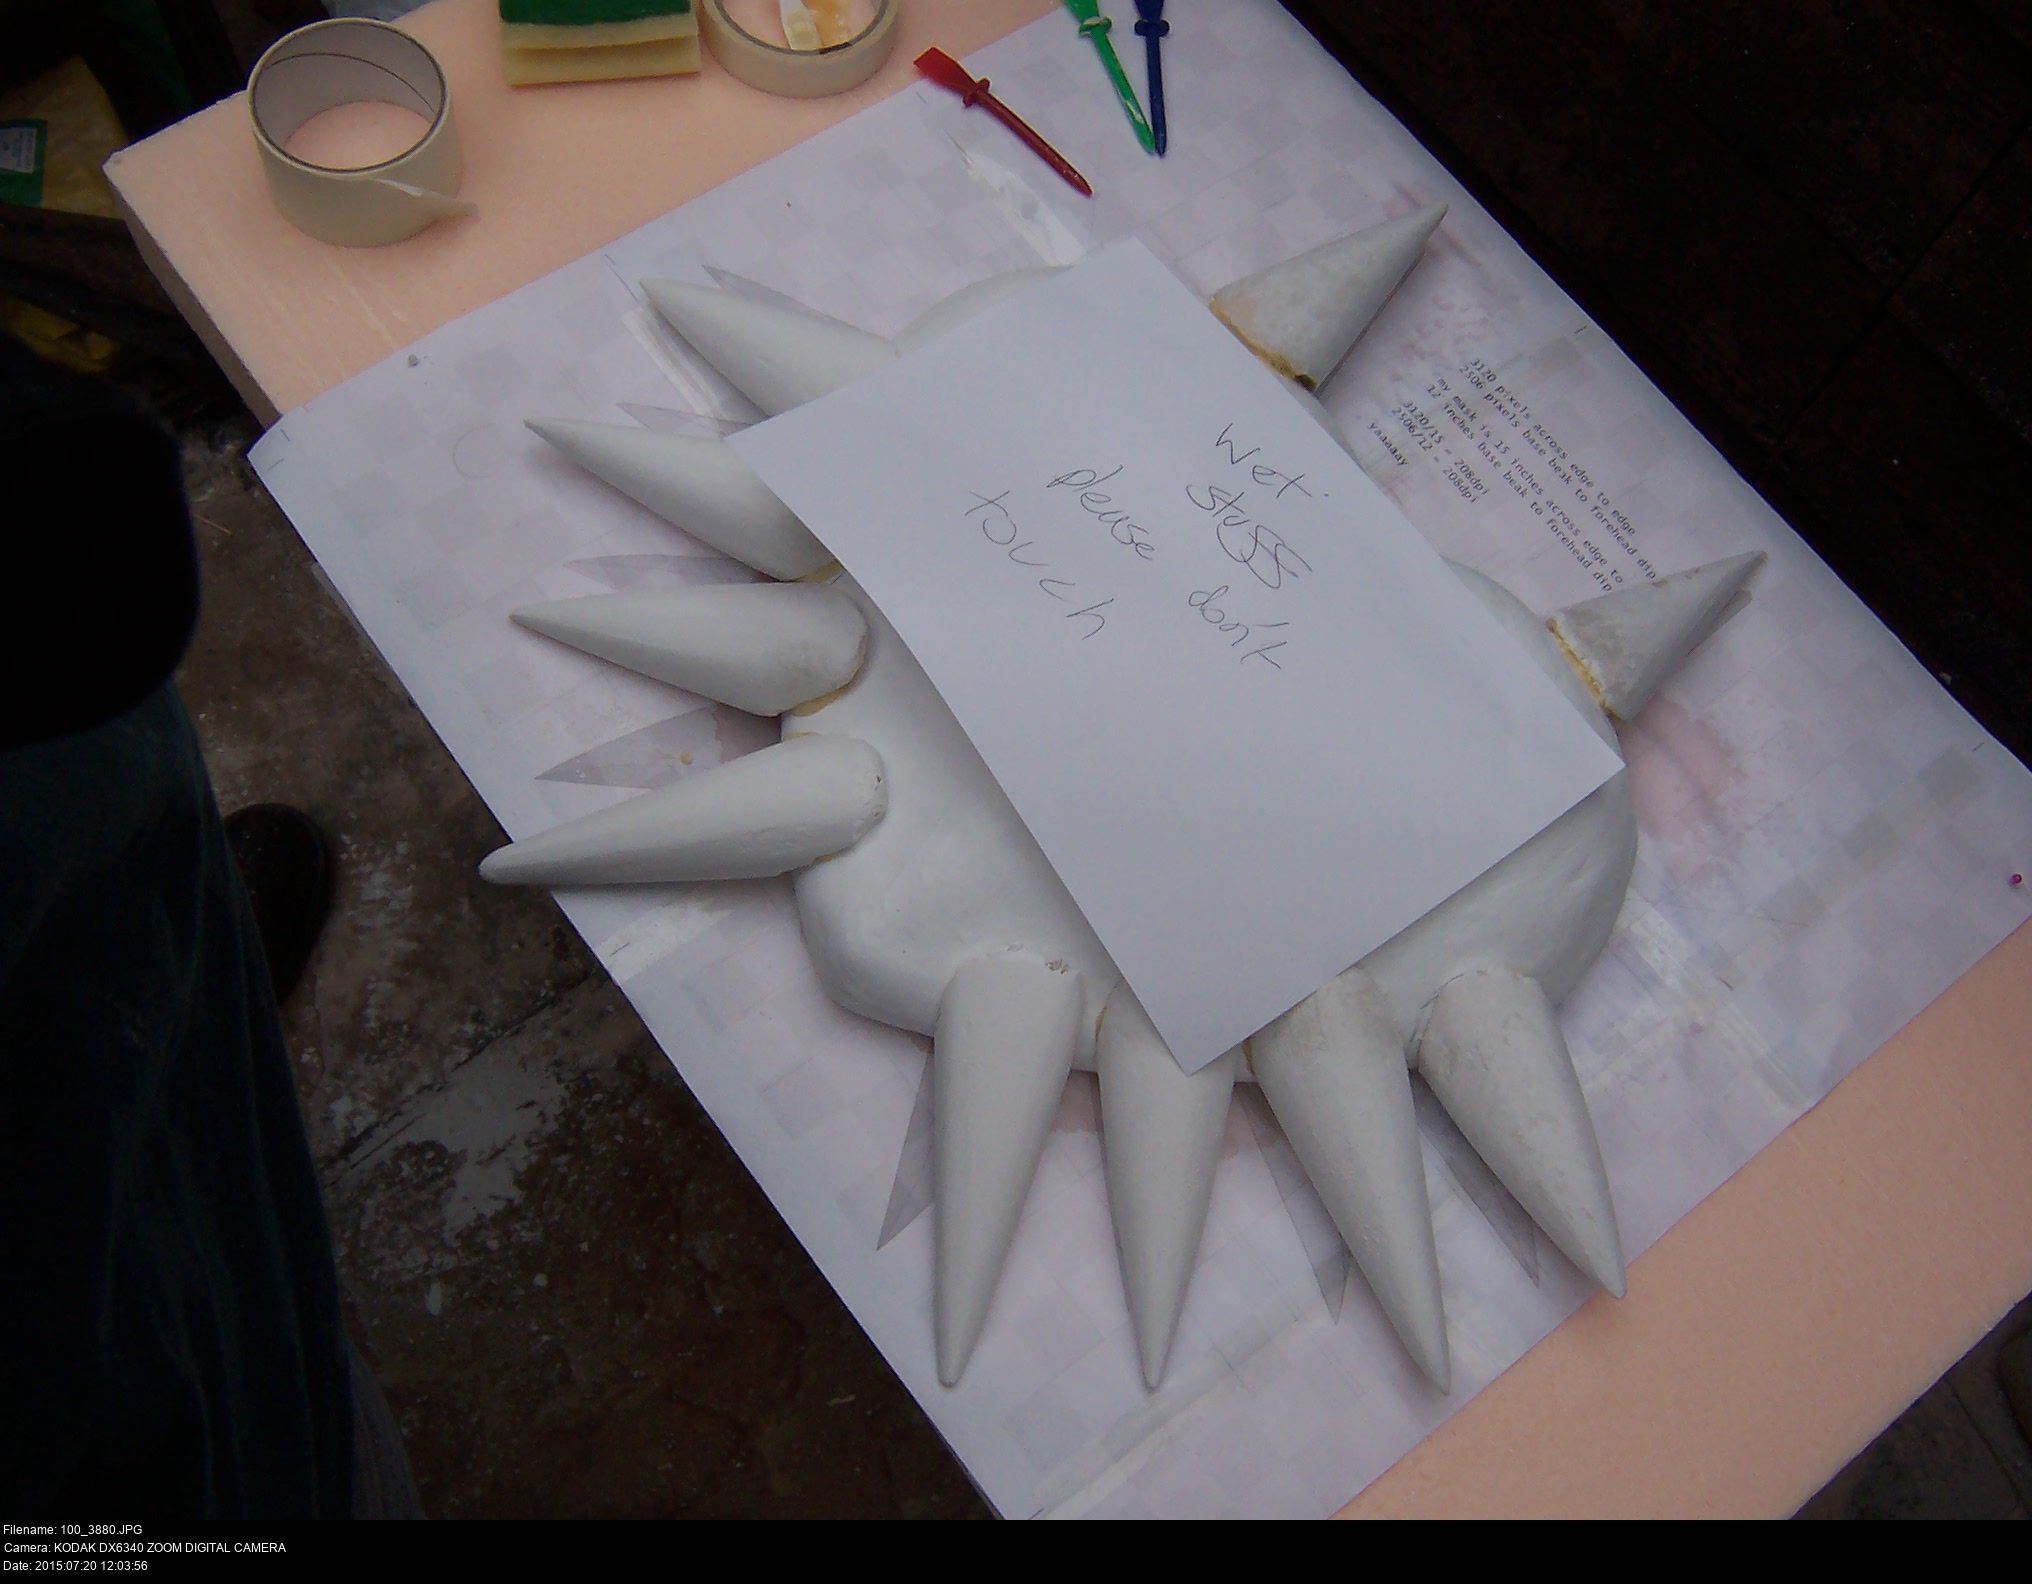
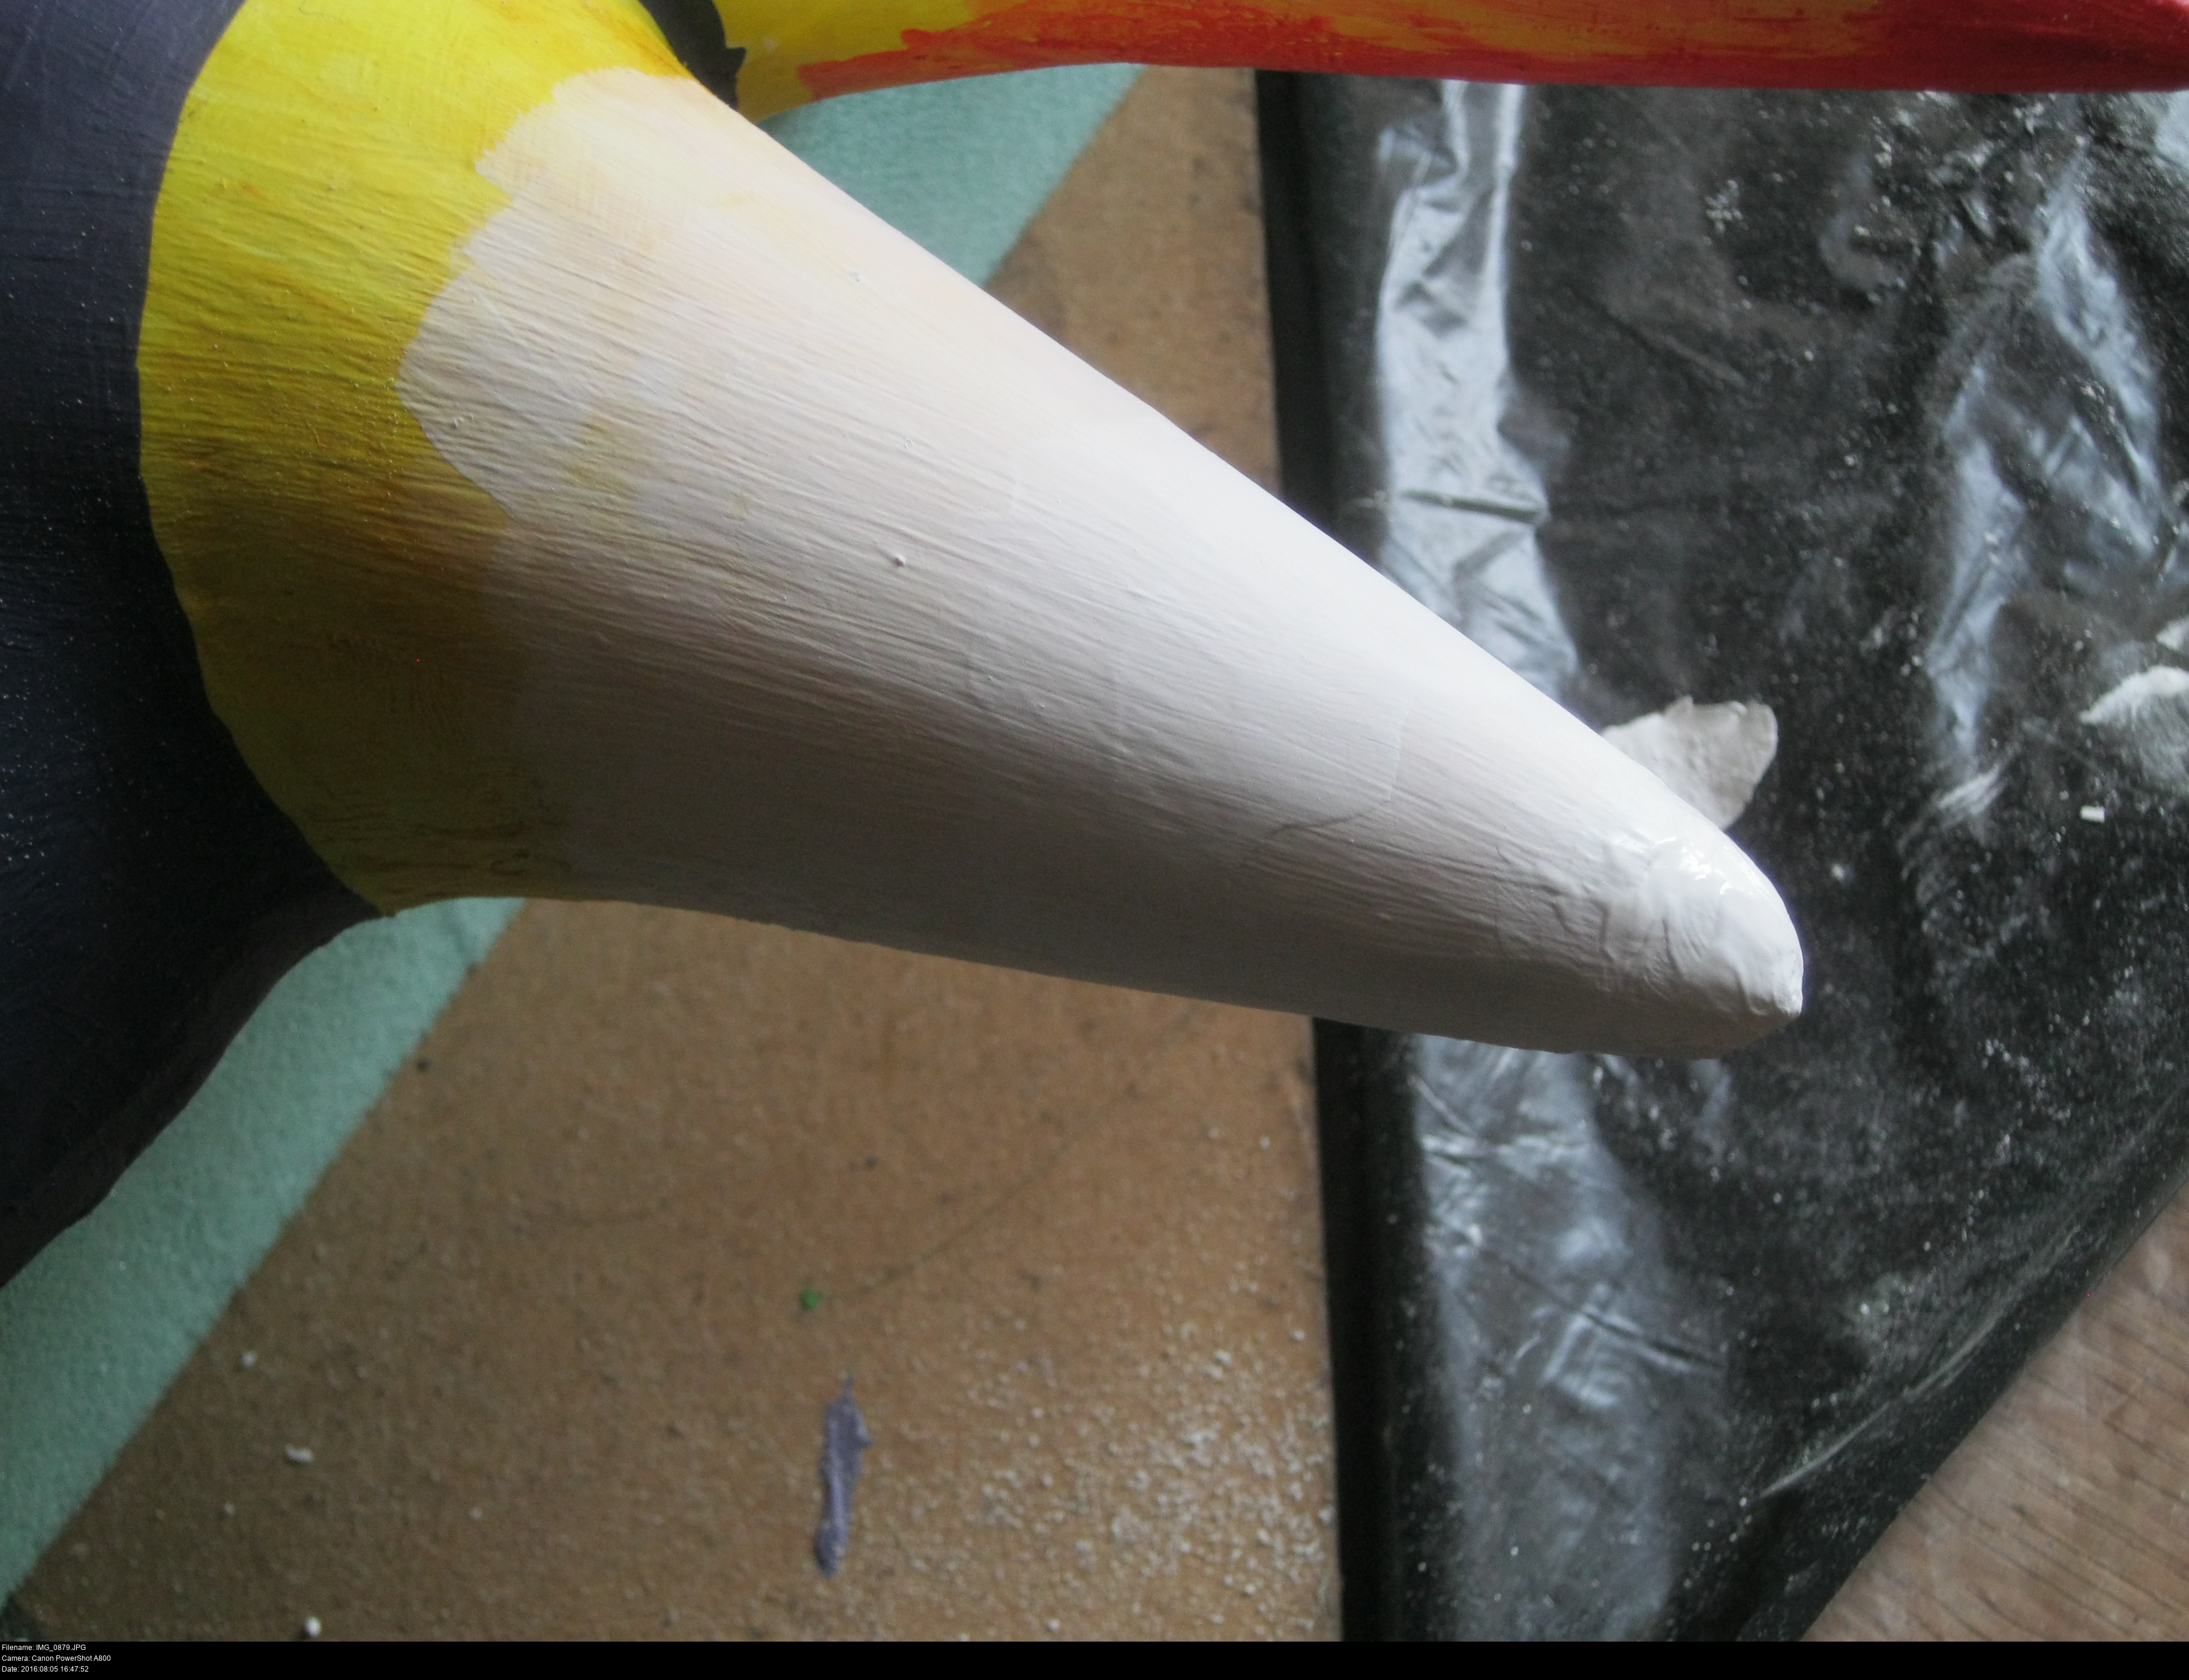
These guys have been given a couple of thin coats of plaster, allowed to dry overnight between each coat.


It doesn't hurt to give them a little bit of a sanding to keep the plaster coats smooth, as long as you wait until the plaster is completely dry first. They're going to be hell to sand if you leave it until after you've attached them.
Keep an eye on the mess. Always anticipate cleaning up.
Also, did ya notice I'm reusing that horrible green slab from my second attempt with the filler foam as a base to hold the horns while they dry?


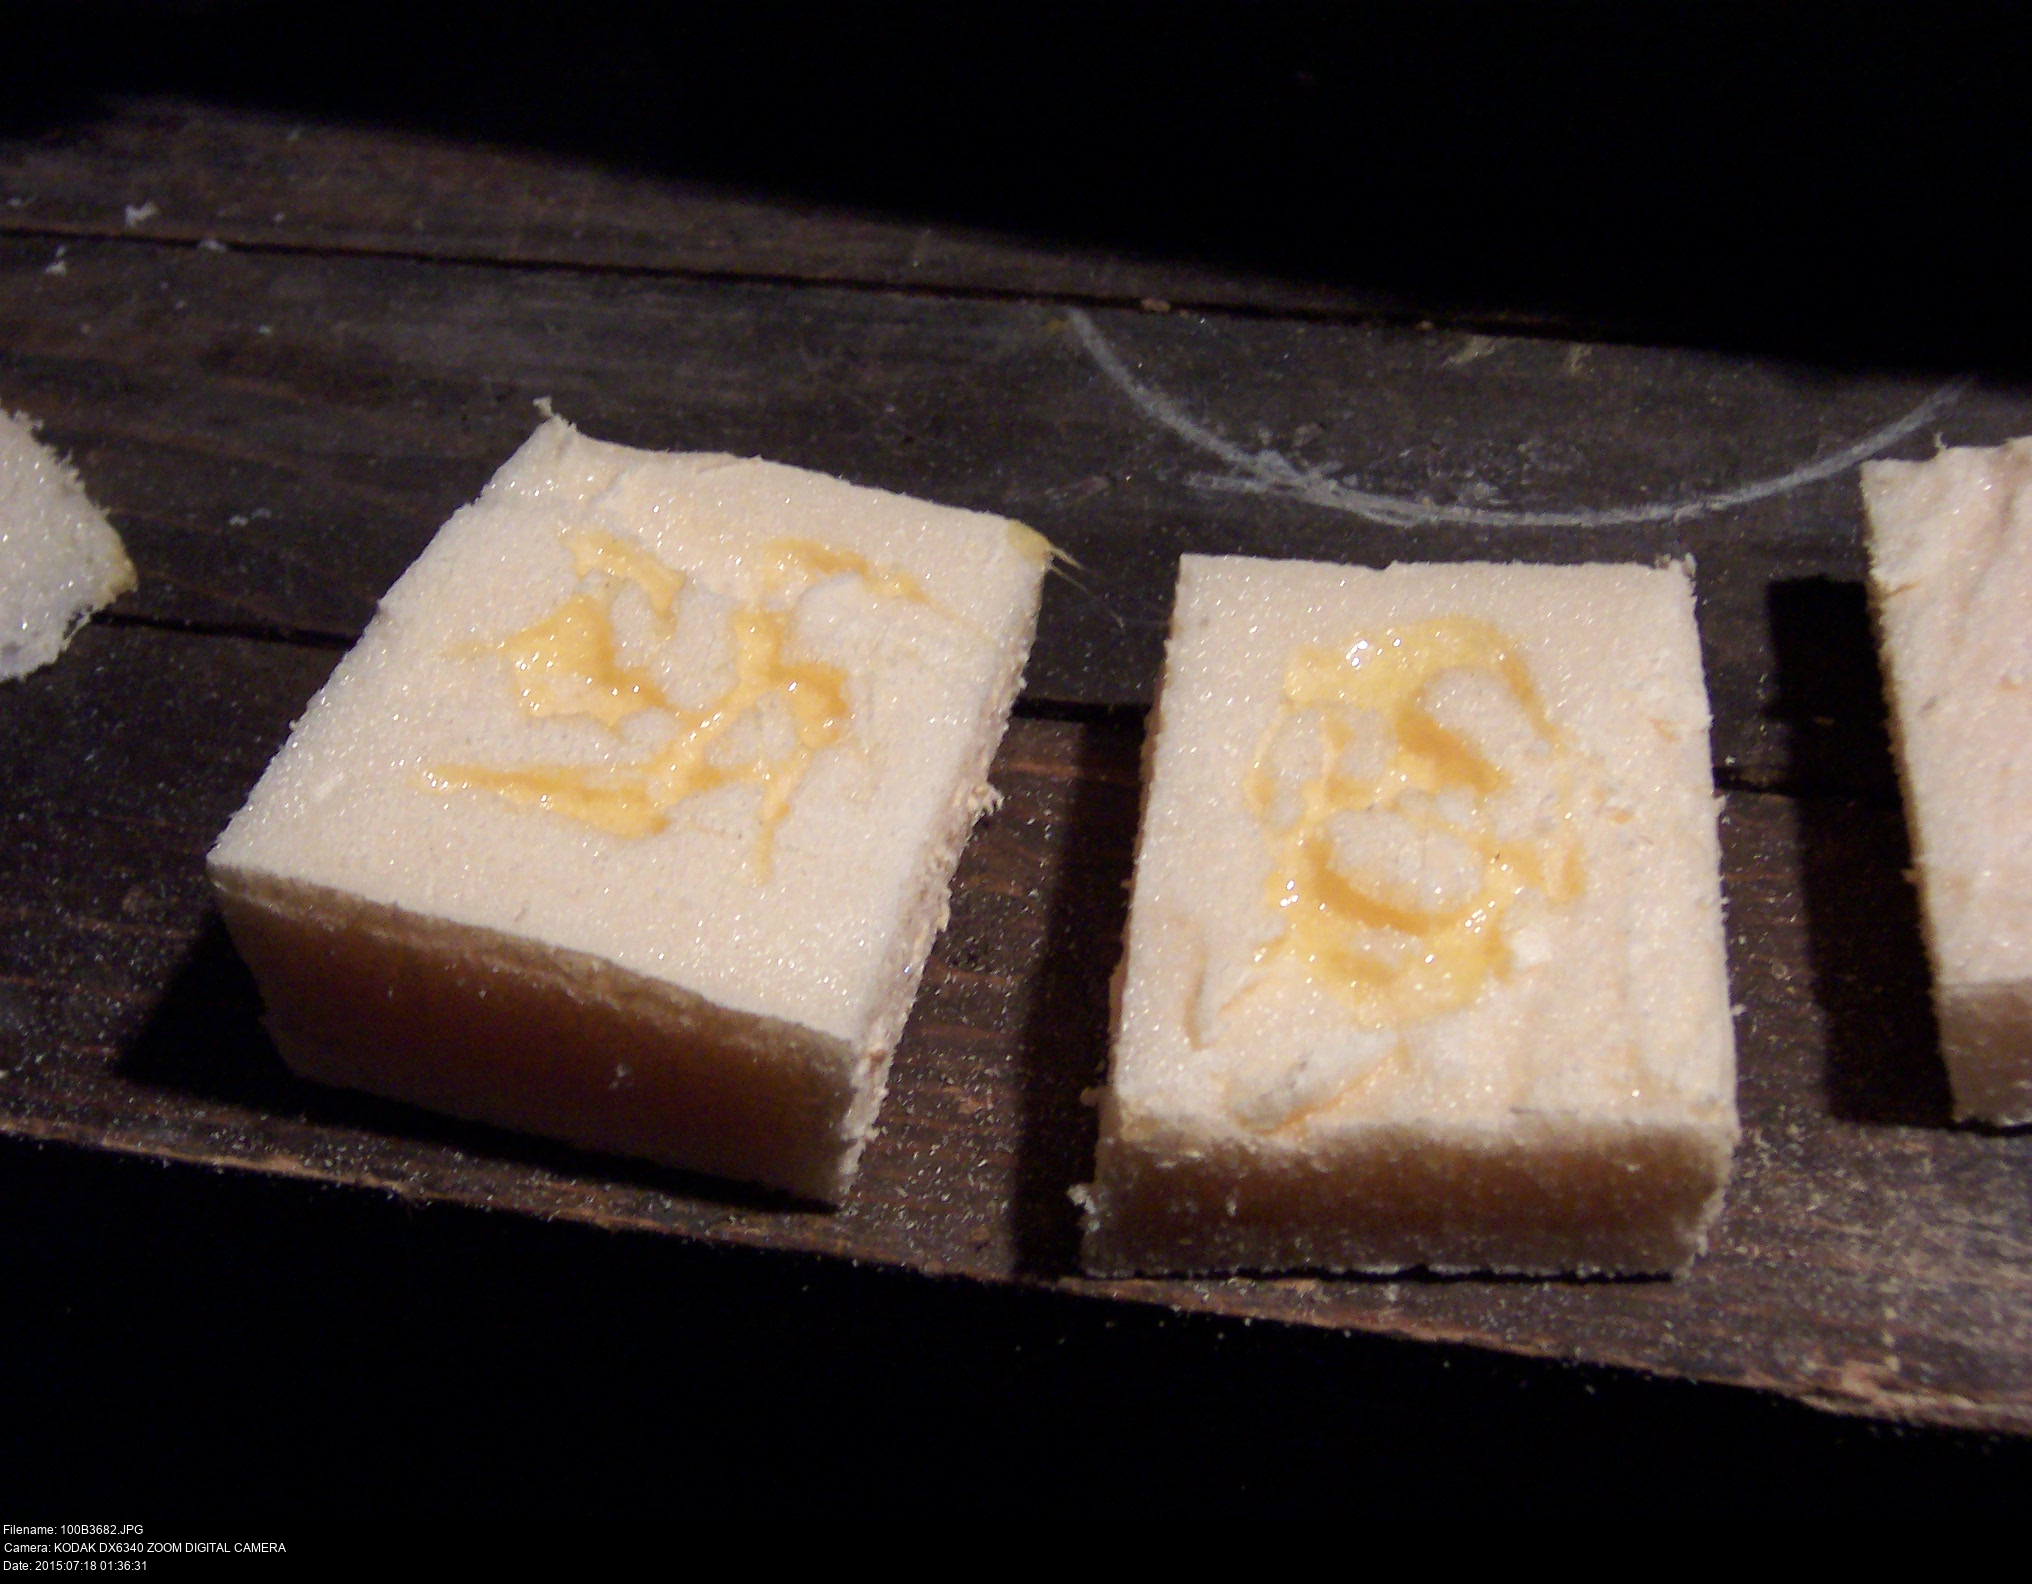
Here's what I'm going to try to use to glue the horns to the mask. This is Gorilla Glue, apparently it's super good, but I've never used it before. It's an all-purpose, water-activated foaming glue. Since it foams, you need to clamp the pieces together otherwise you'll have a mess. I've tried it gluing two pink foam blocks together, and it works.
N.B. check the warnings on the things you're thinking of buying before you put any money down. You never know what amazing special features you'll be getting.
For instance, this Gorilla Glue is 'suspected of causing cancer'.

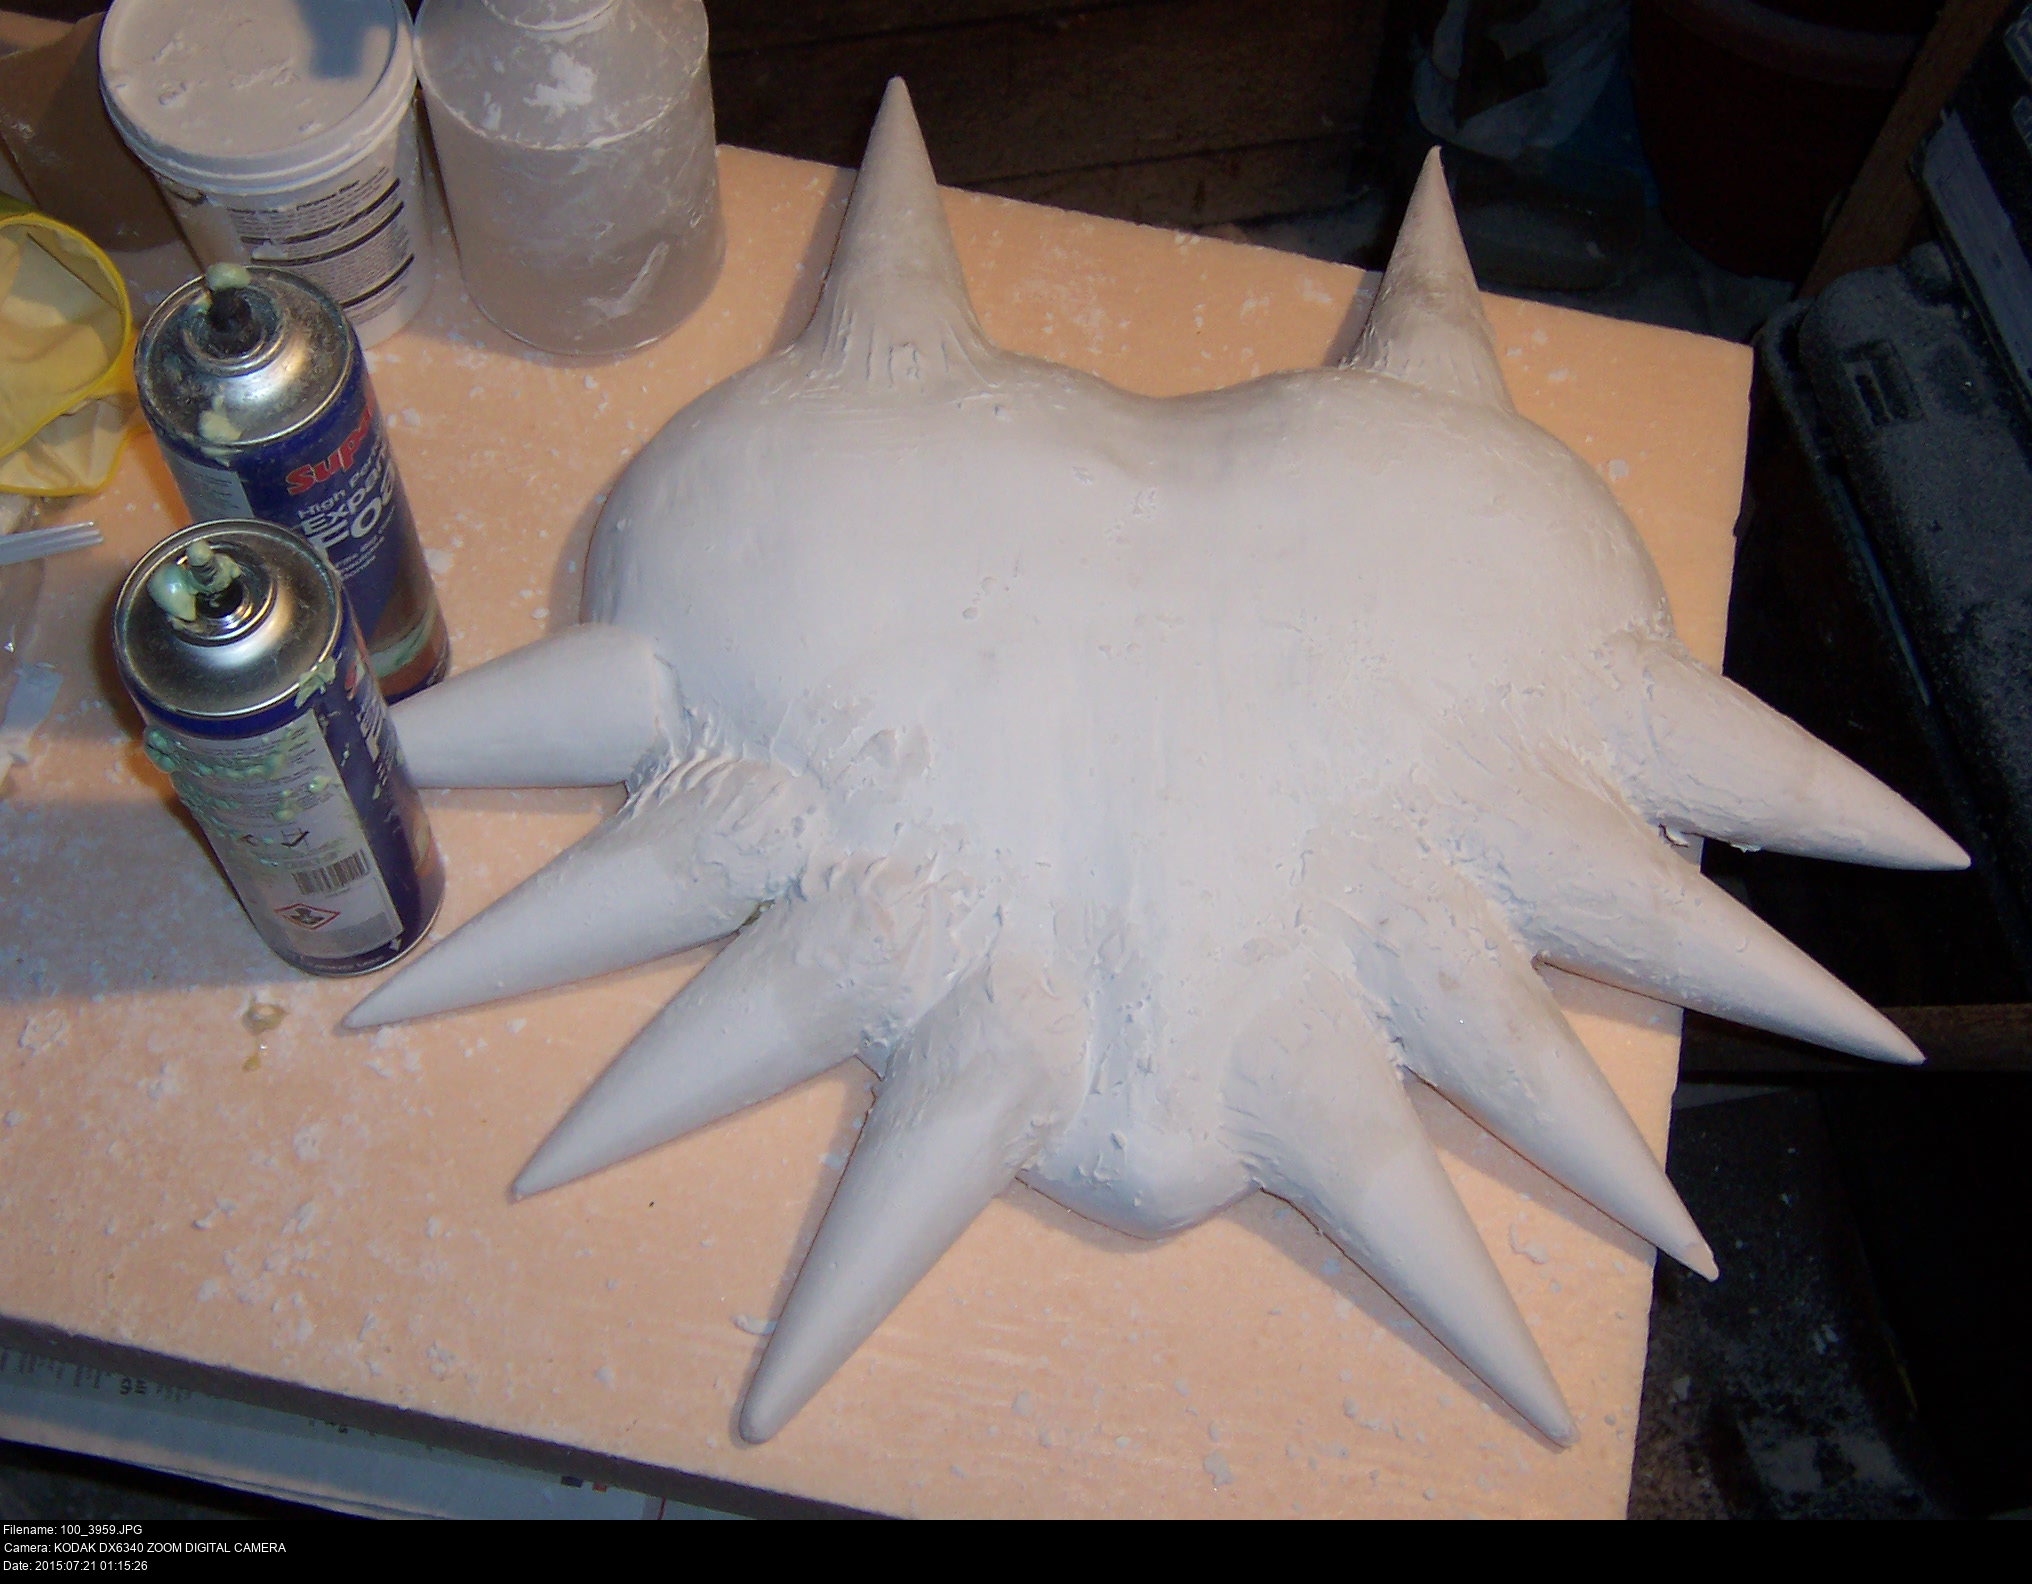
Are you ready? Let's do it! A little smearing of glue, a spraying of water, and leave it.
You can see clearly here that I've given up on the idea of making the horns curved. I just don't have it in me to try that. It really doesn't matter all that much. Choose your battles.

Let it dry. The glue doesn't care if the convention is next month, next week or tomorrow.
Make sure no curious individuals, like well-meaning parents, touch it. Don't let them near it. Ever. Nowhere near.

I tried holding them in place weakly, propping up items against them, but you -need- to keep items -clamped- if you're going to use Gorilla Glue. This stuff has a mind of its own. It's pushed the horns out of place very slightly, but thankfully not enough to ruin the design.
At least it's cuttable, carveable and sandable. And I had the luck to lay it out to dry on top of the paper design, so the glue only ended up sticking to the paper instead of seeping out all over the foam (I'm using the remainder of the pink foam as a makeshift work surface since there's so much of it).
I had to get out a whole stack of wood files and nail files and -very very very gently- sand away the ragged edge of the glue foam blobs.

And... well... yeah.
At first I thought this was because I hadn't properly clamped the Gorilla Glue, but a closer look shows that this isn't the case. The glue is perfectly fine. The problem here is that I'm gluing onto the -gesso-, aren't I? I shouldn't have gessoed it to hide the mould, I should be gluing onto the structural plaster layers, not the gesso semi-finishing layer. Then again, I can't go spraying water (to trigger the Gorilla Glue) all over the unfinished plaster either. It's a miracle that this is holding together at all!
The way to solve problems like this is as follows:
Remain calm.
REMAIN CALM I AM CALM.
Remove anything that is completely useless: peel away loose paint, gesso. But if it's hanging on, leave it.
Sand the area flat and flush and clean and nice.
Make sure everything is clean and dry.
Retry the gluing with proper clamping.
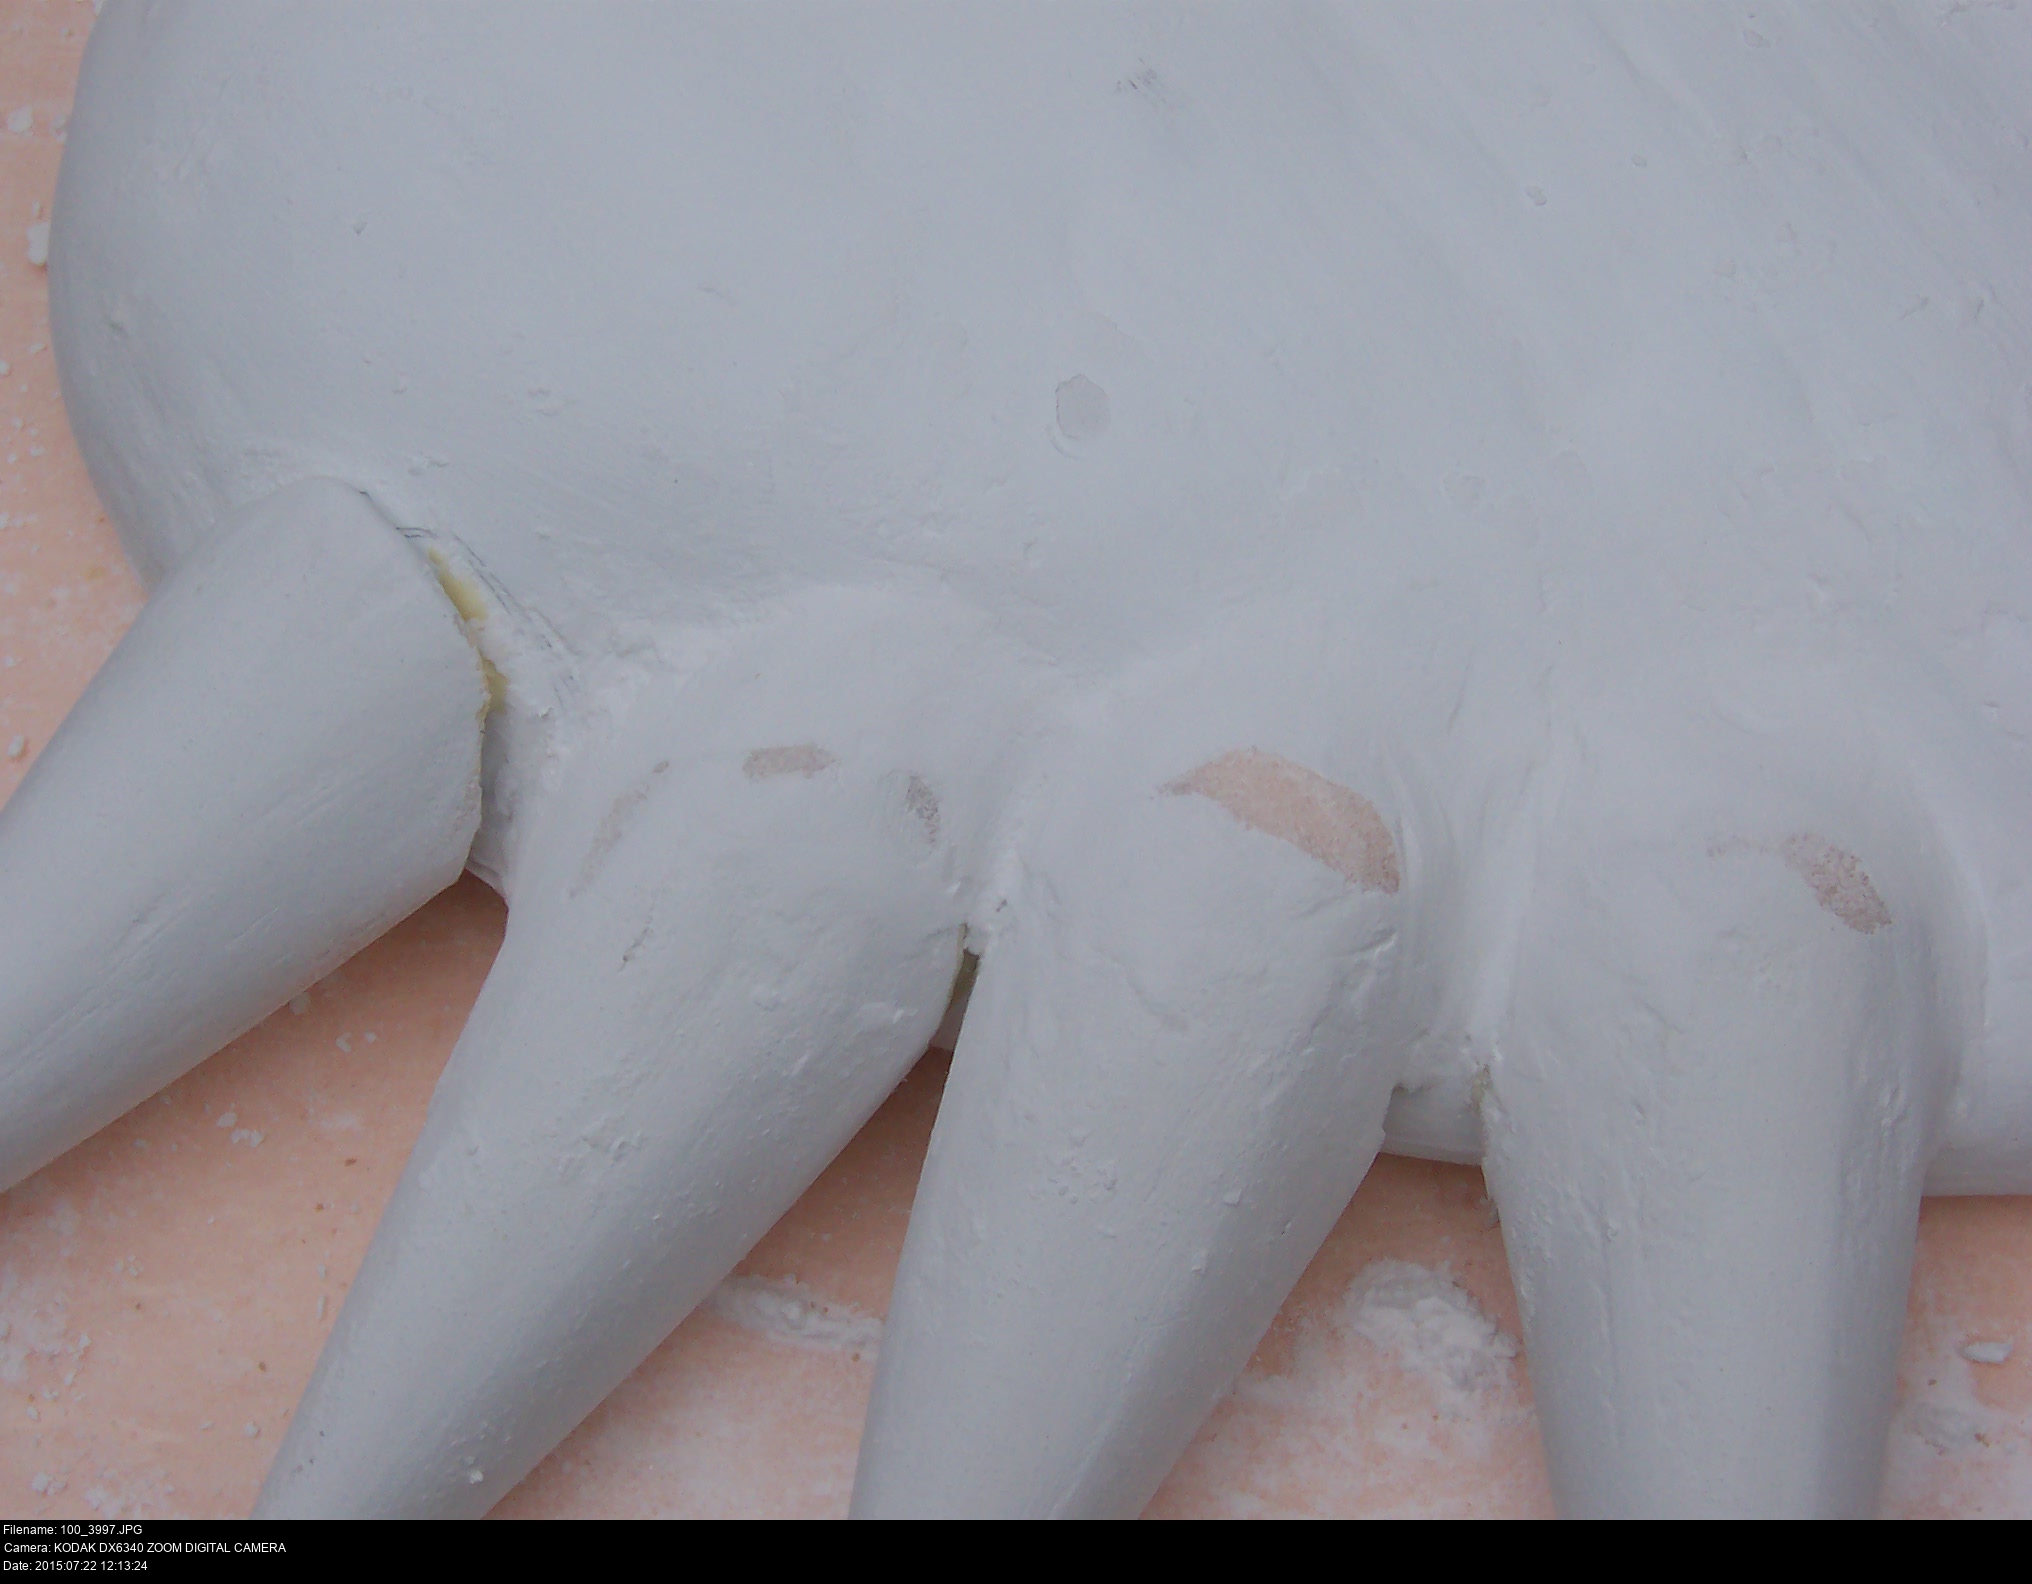
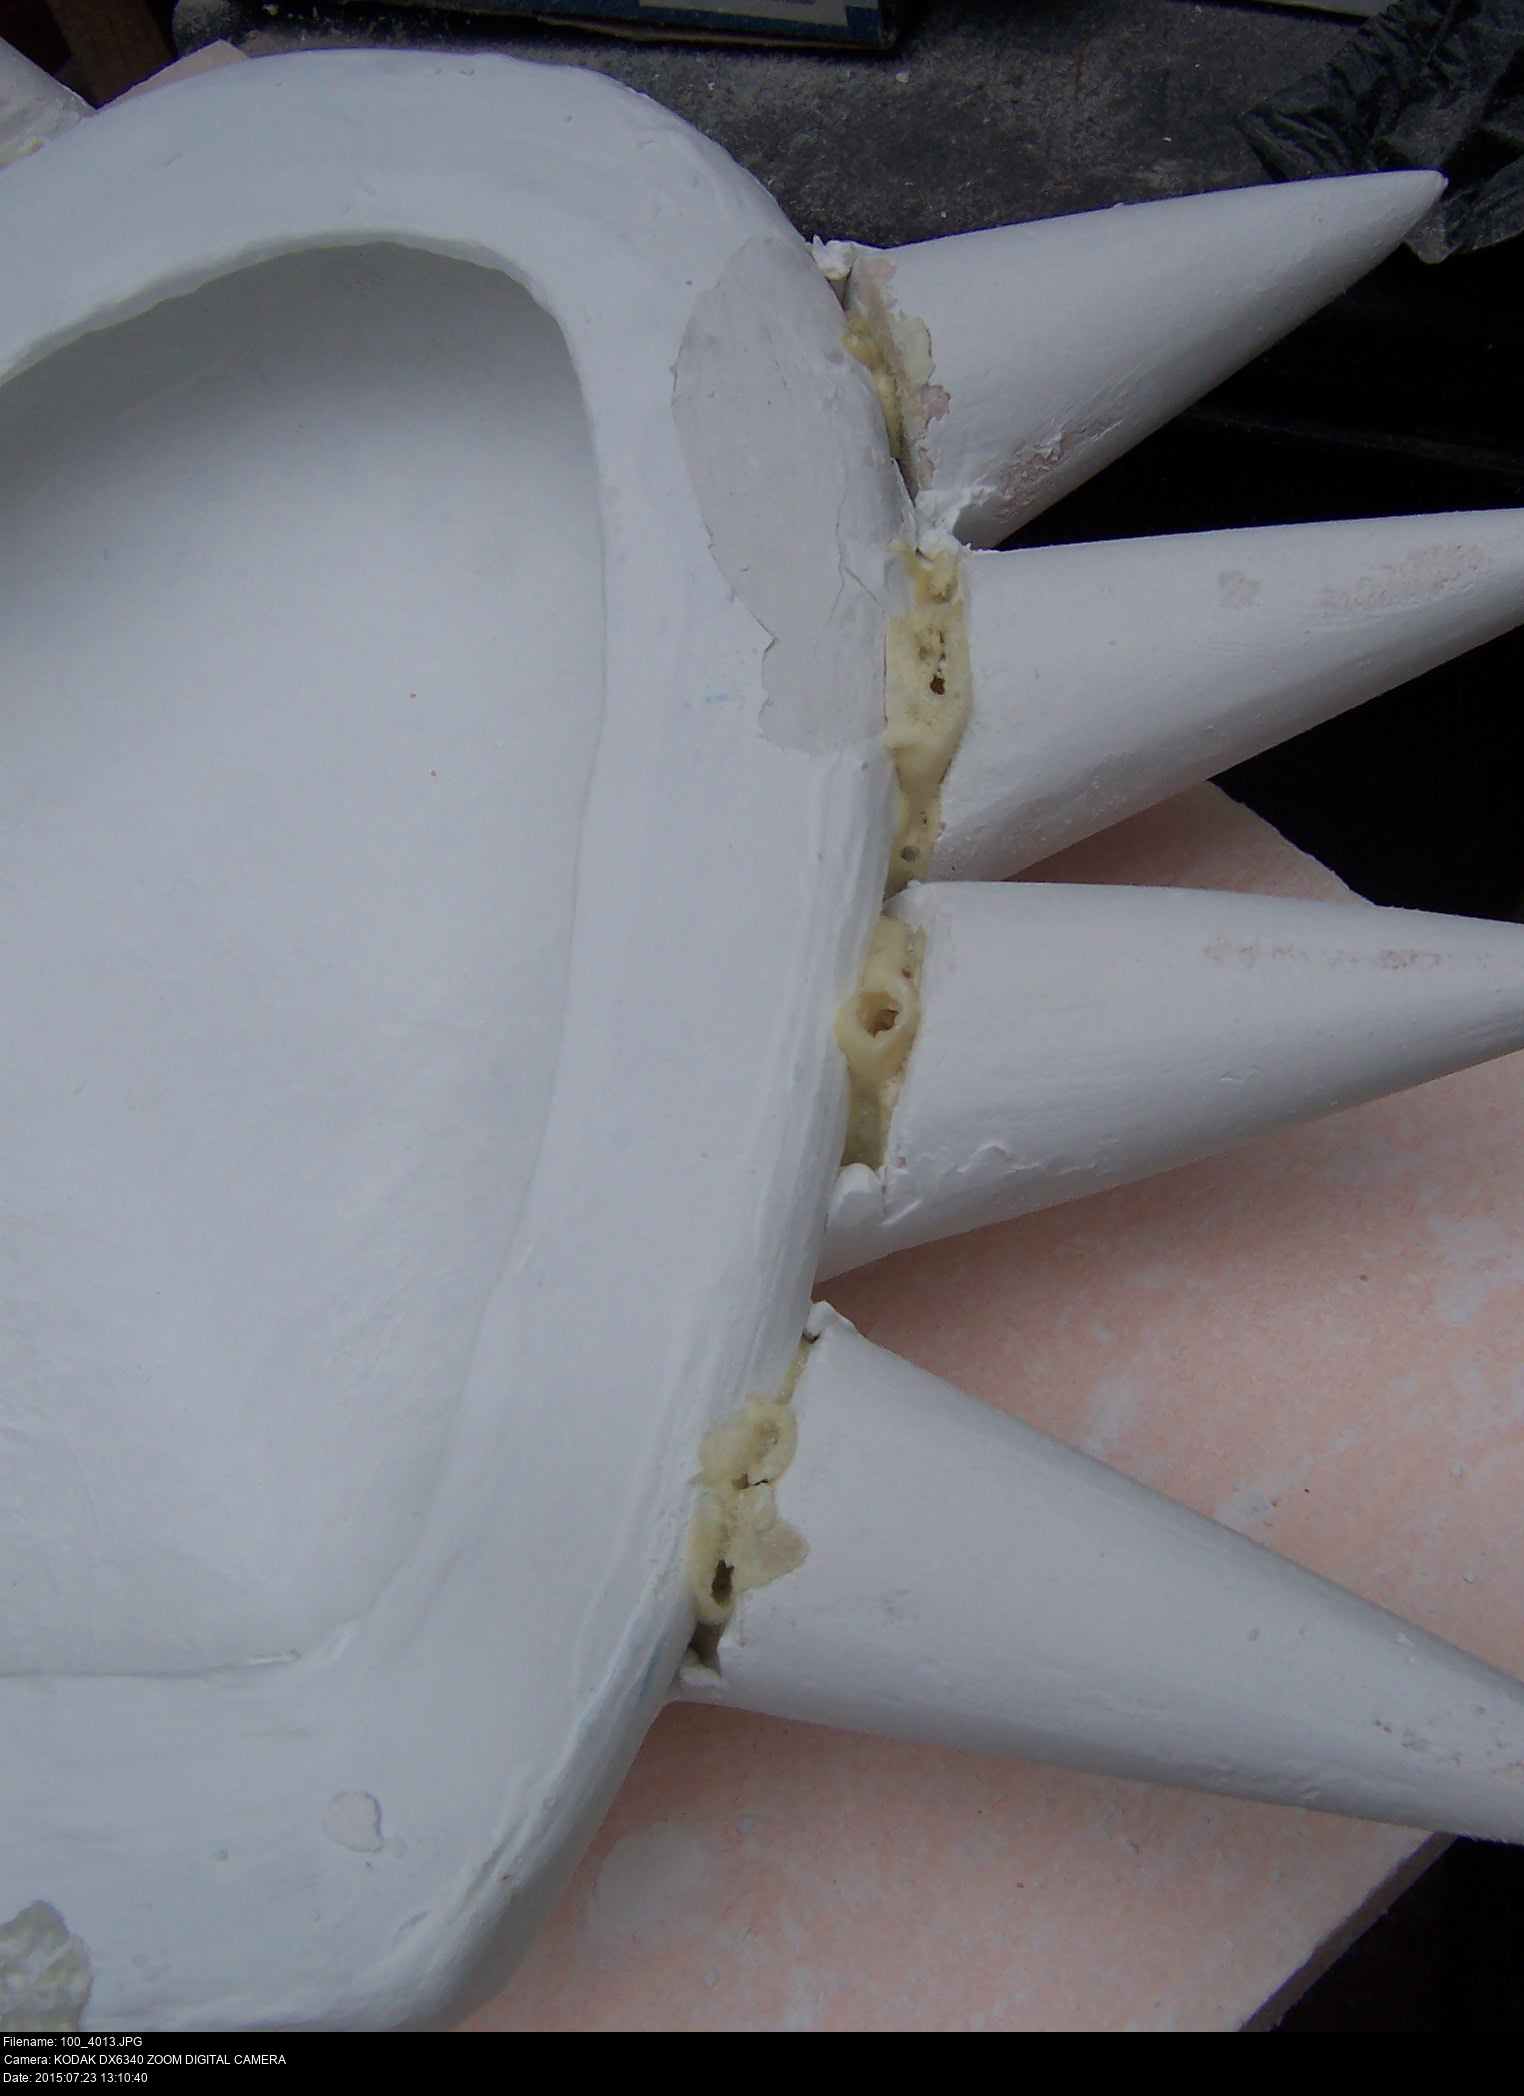
There's another issue that needs looking at first though: since the horns have pushed slightly away from the mask, there's now gaps between the horns and the mask. There was always going to be little gaps, but these are quite large. I was desperate at this point, and went for the first thing that sounded logical and plausible.

Standard household filler. 'Once and for all'. I like that.
Get your disposable tiny plastic school glue spatula ready!
Mix in a spoon of water to the tub, get it all squishy, and apply it into the holes, flattening it down into place. The finish doesn't have to be perfect, since this stuff dries to a hard crust that can be sanded.


A few days later and it's all dried. The horn is firmly attached, as it should be. All the filler is hard and stable.
Very gently lift the mask up to make sure that nothing is going to fall off... there we go.
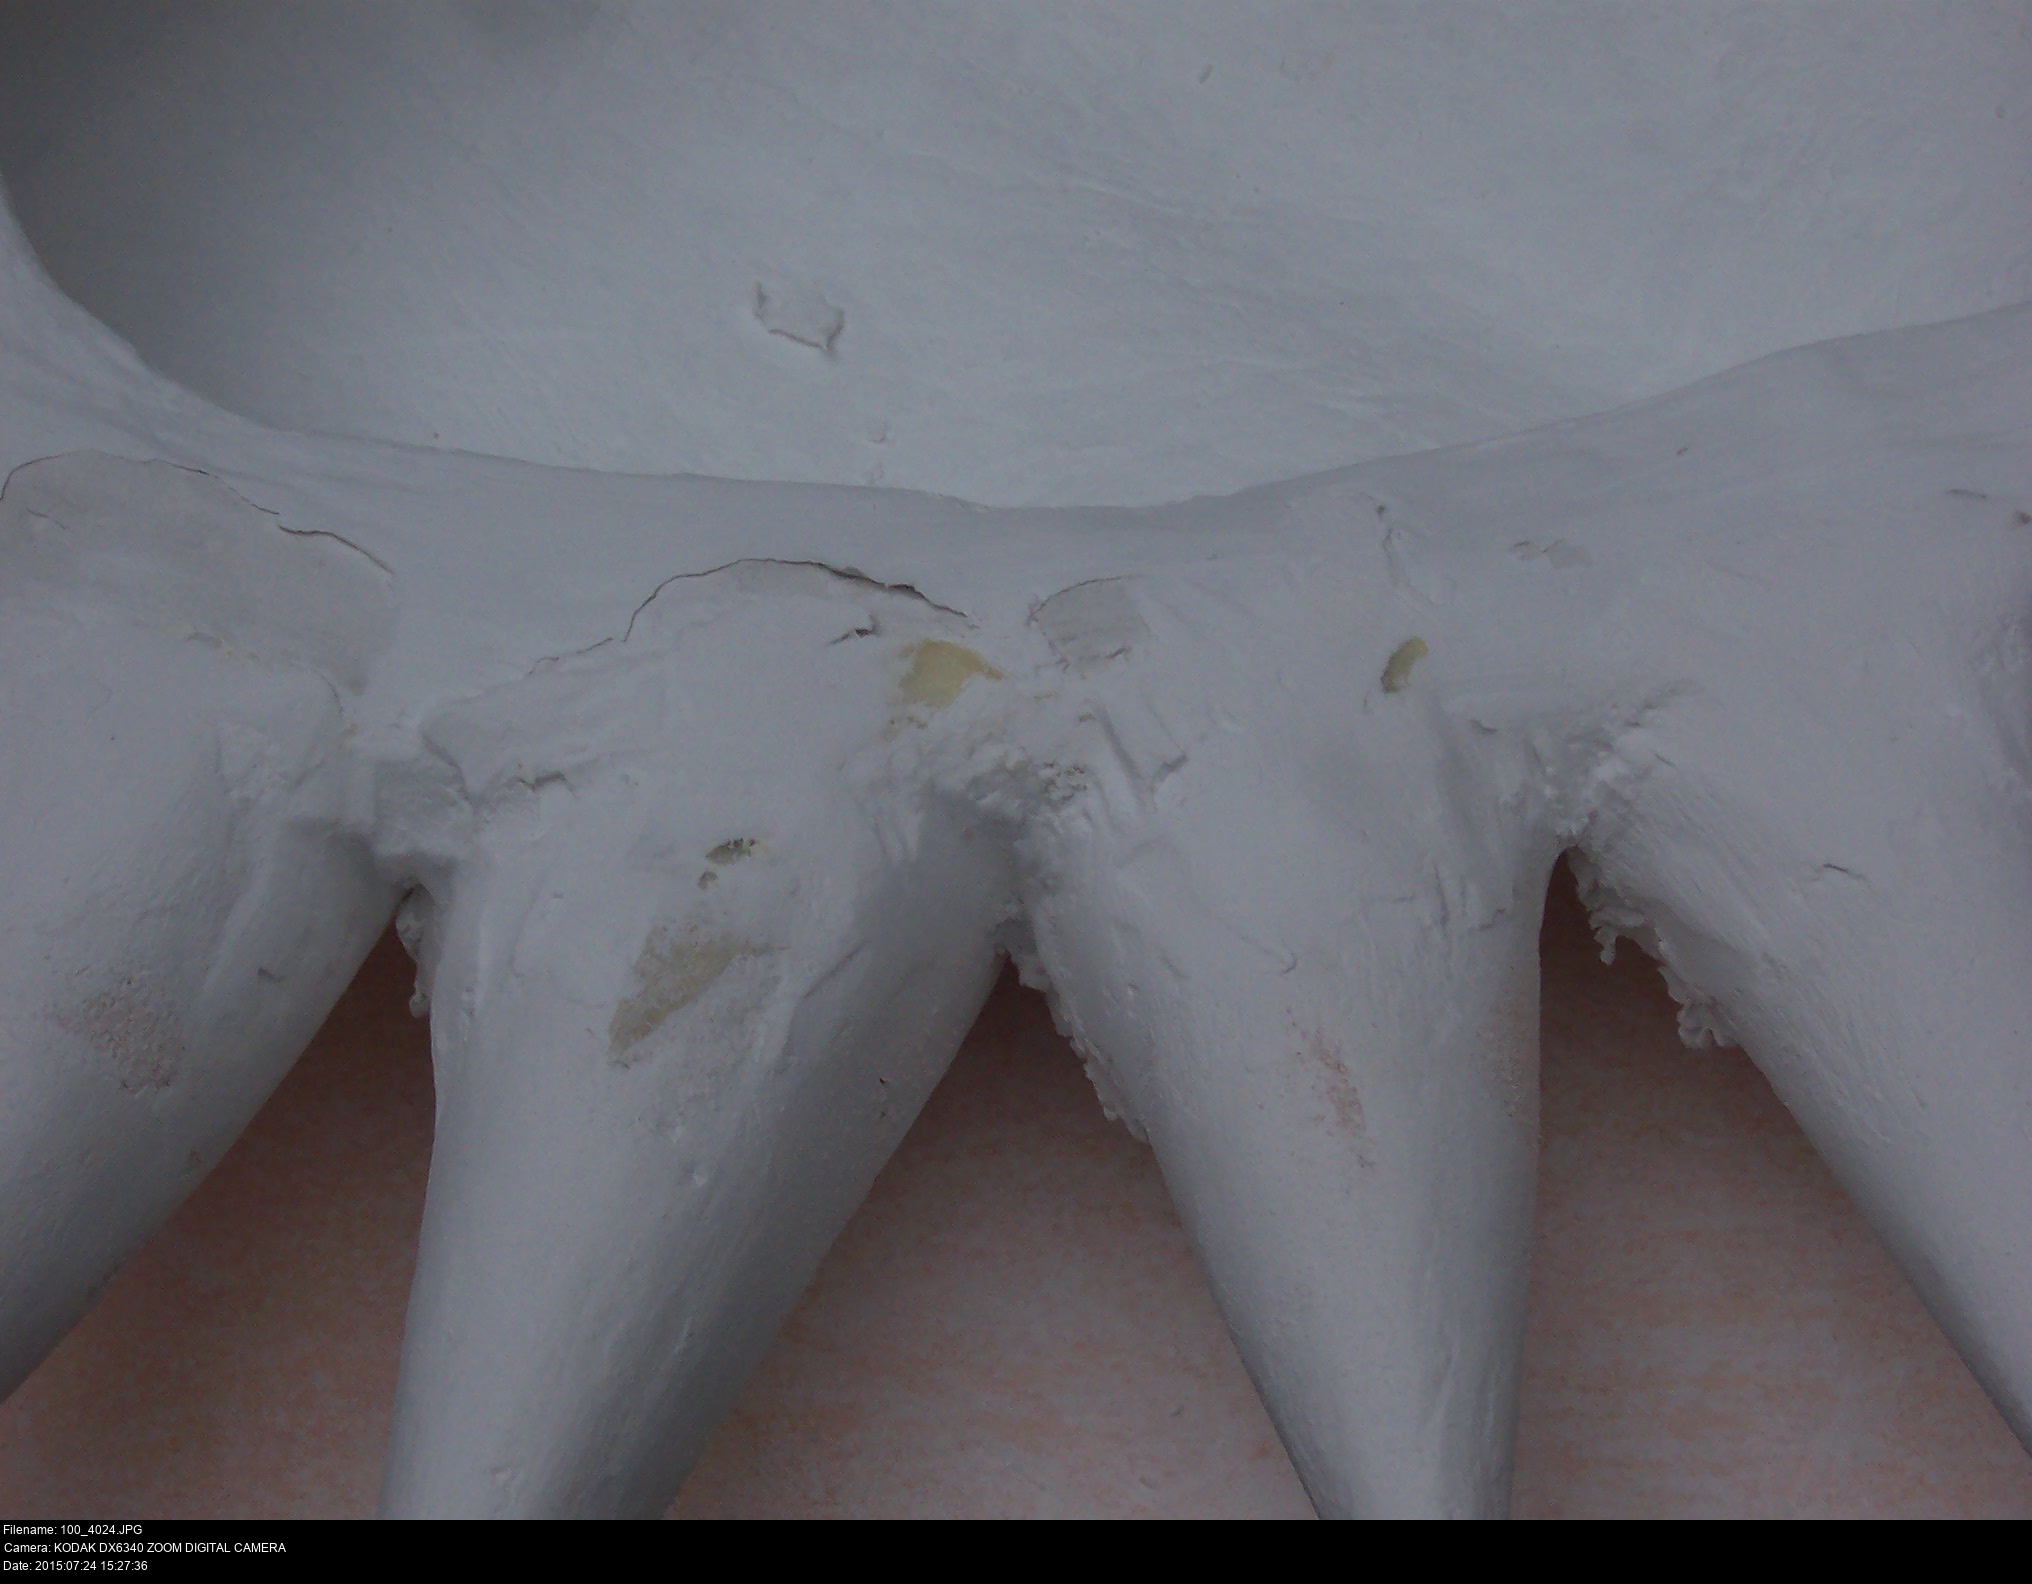
Time to sand. And file. And be very very very careful!

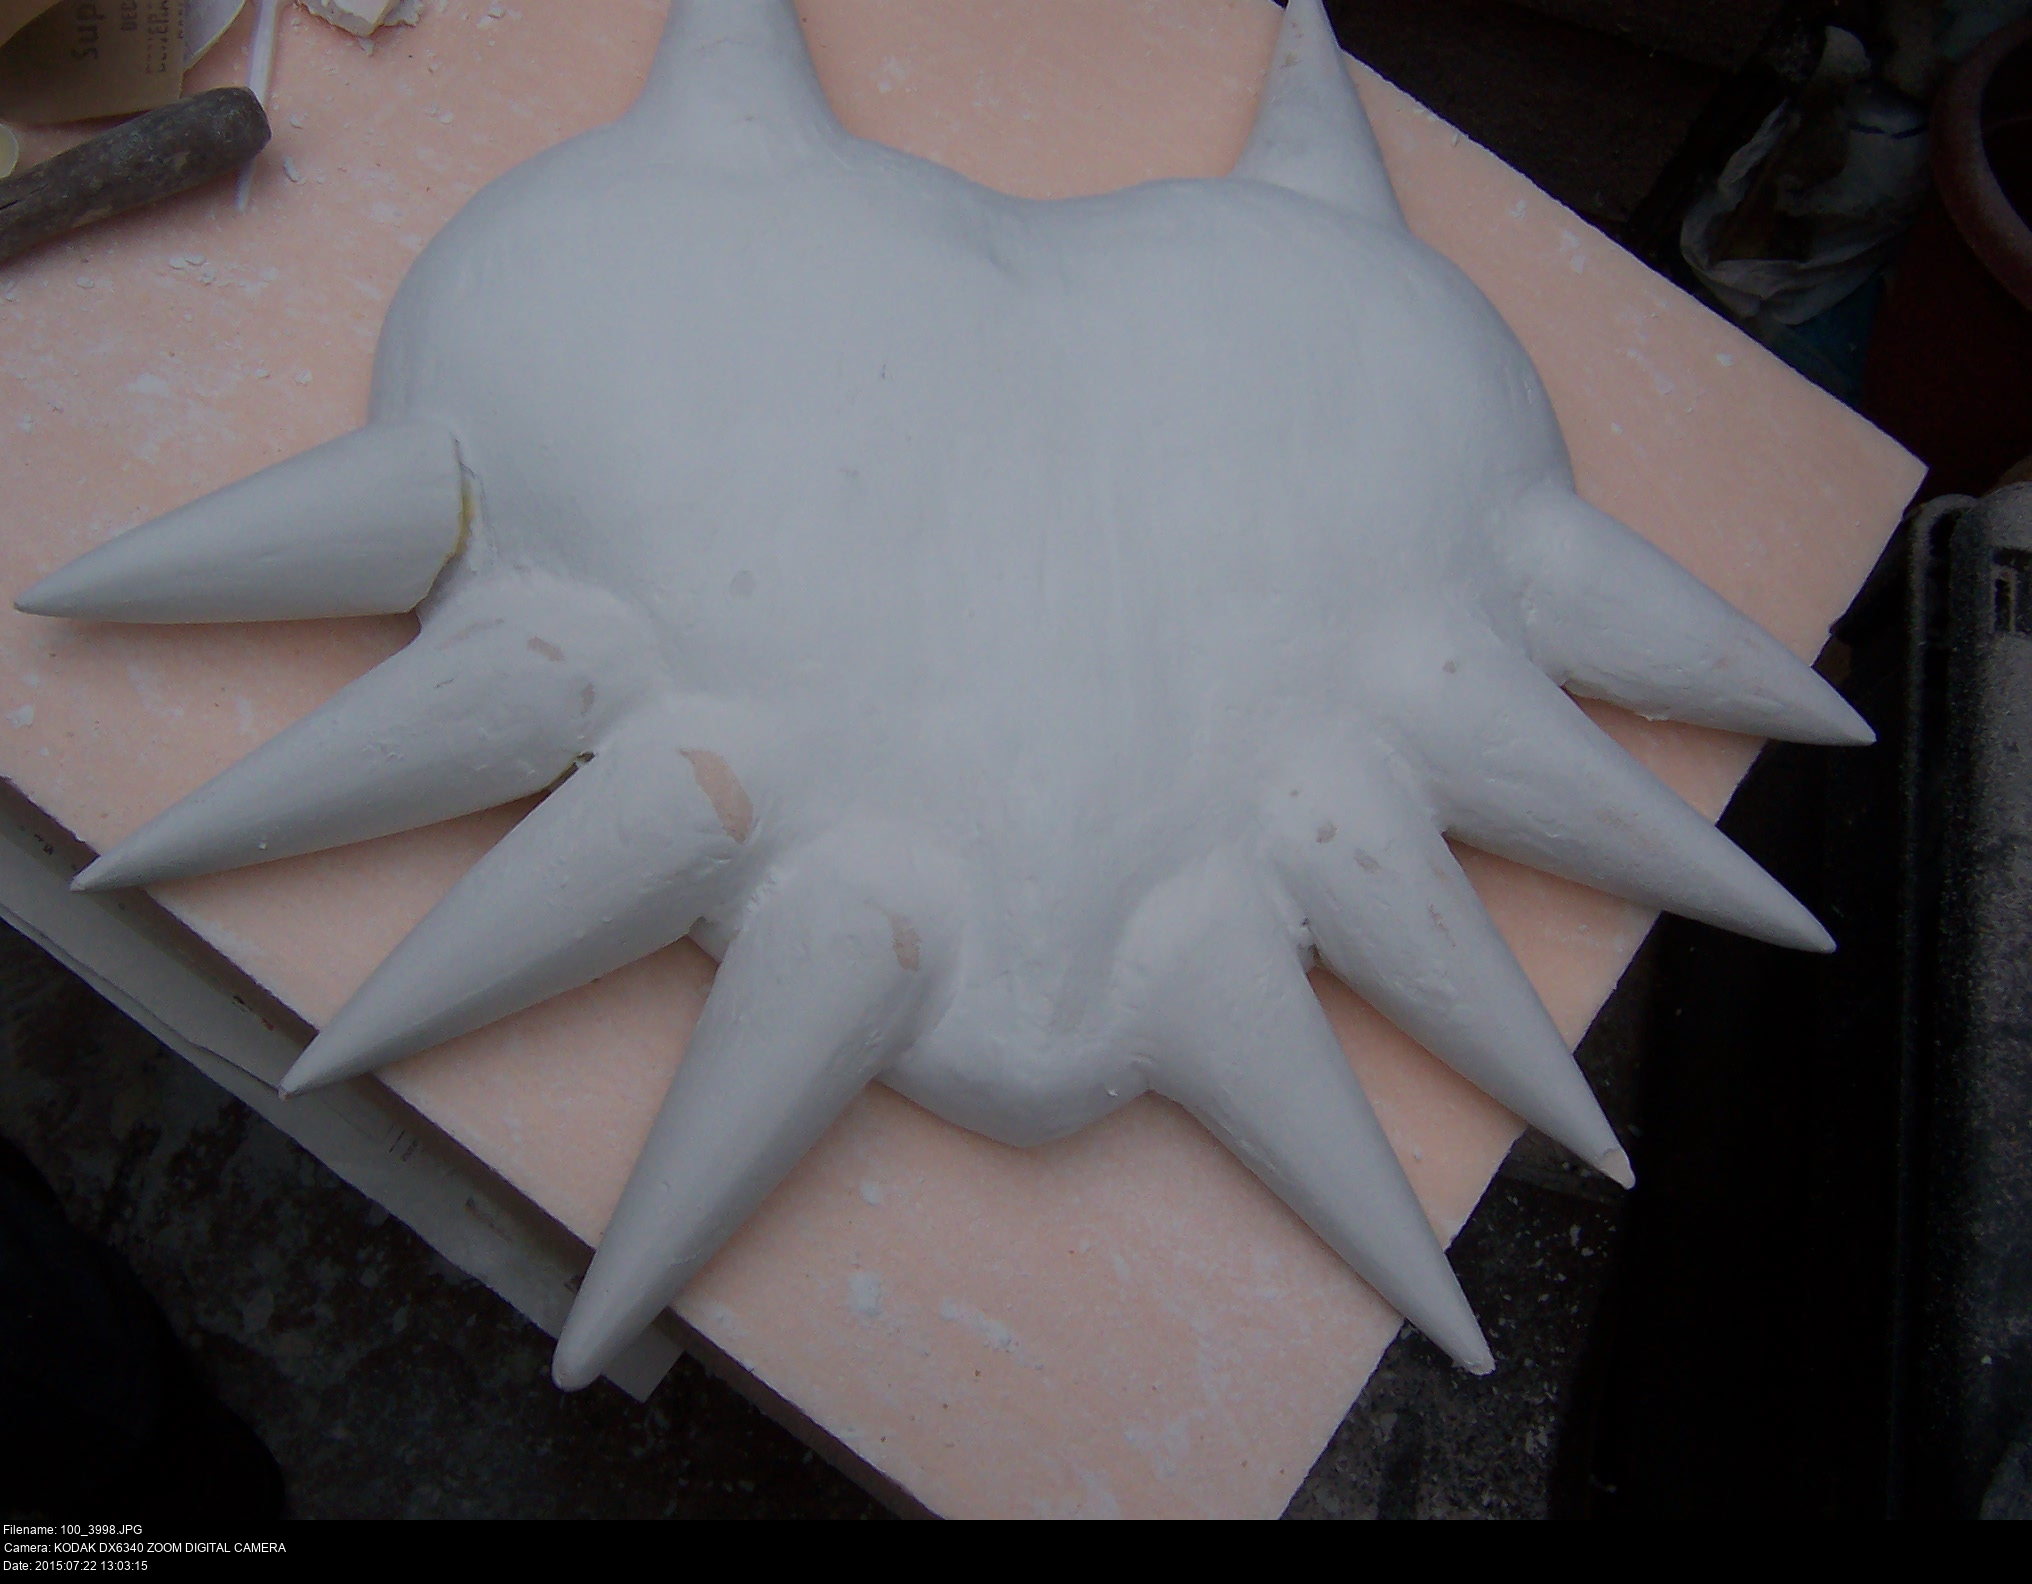

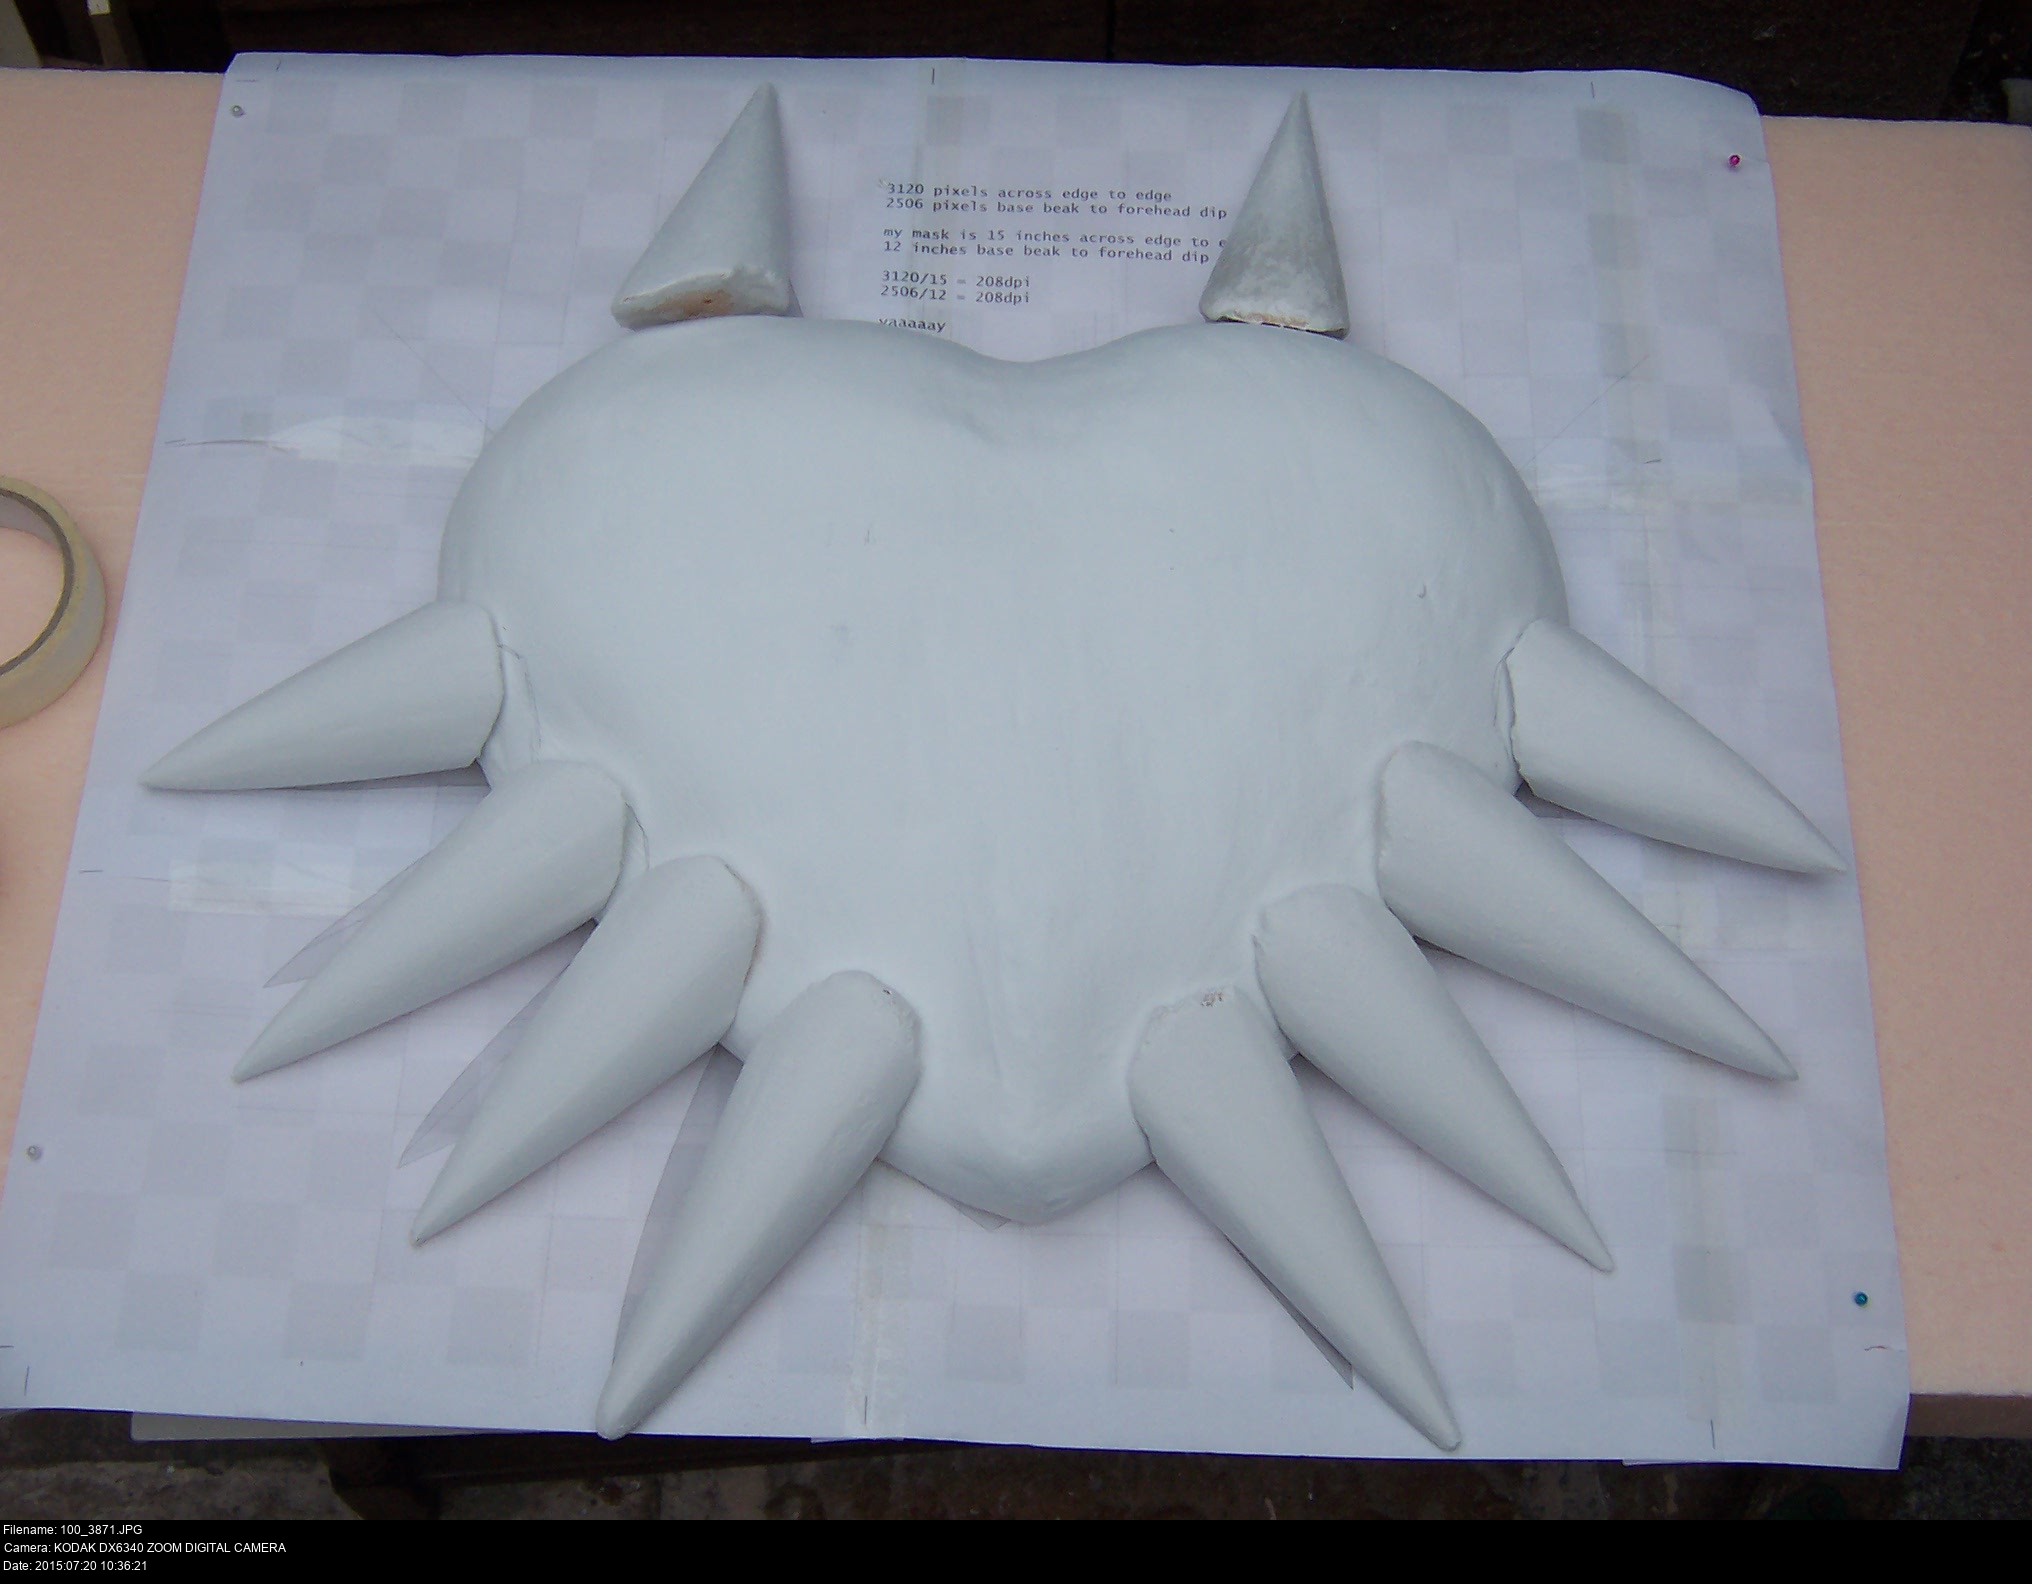
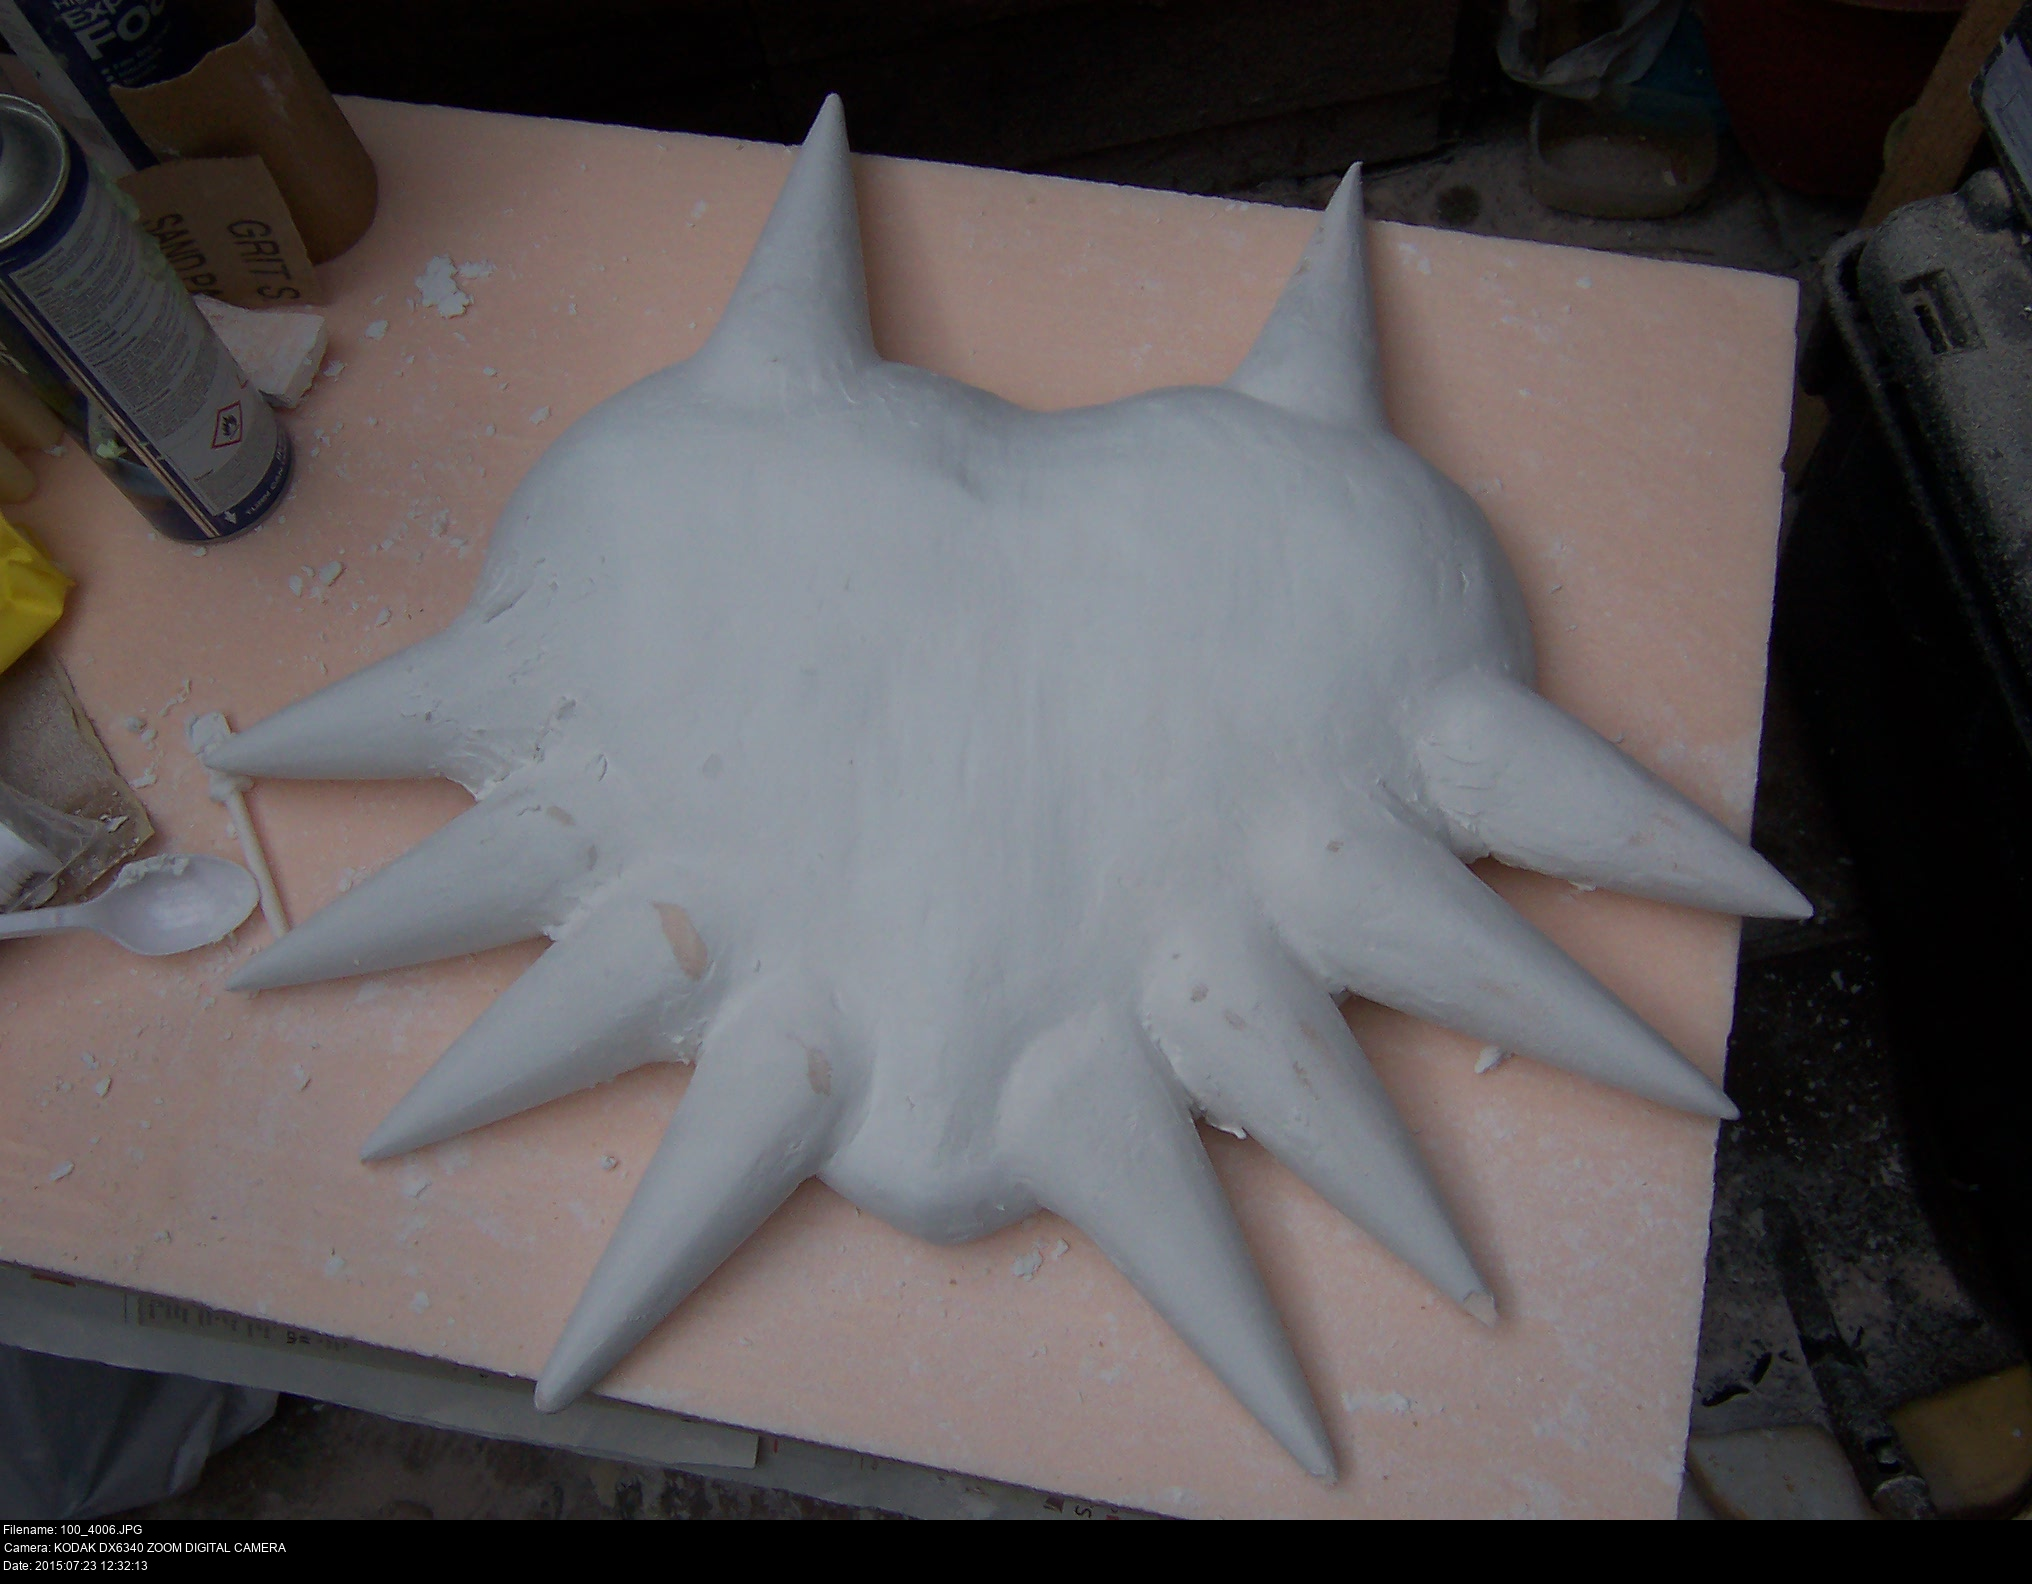
Now that is looking wonderful, ain't it! All the filler is blending into the mask, and the horns are looking if not exactly as they do in the illustration (poking out suddenly from the main heart of the mask), then a very acceptable substitute!
With the majority of the mask sanded and nice I can get to work applying the filler to the last horn.


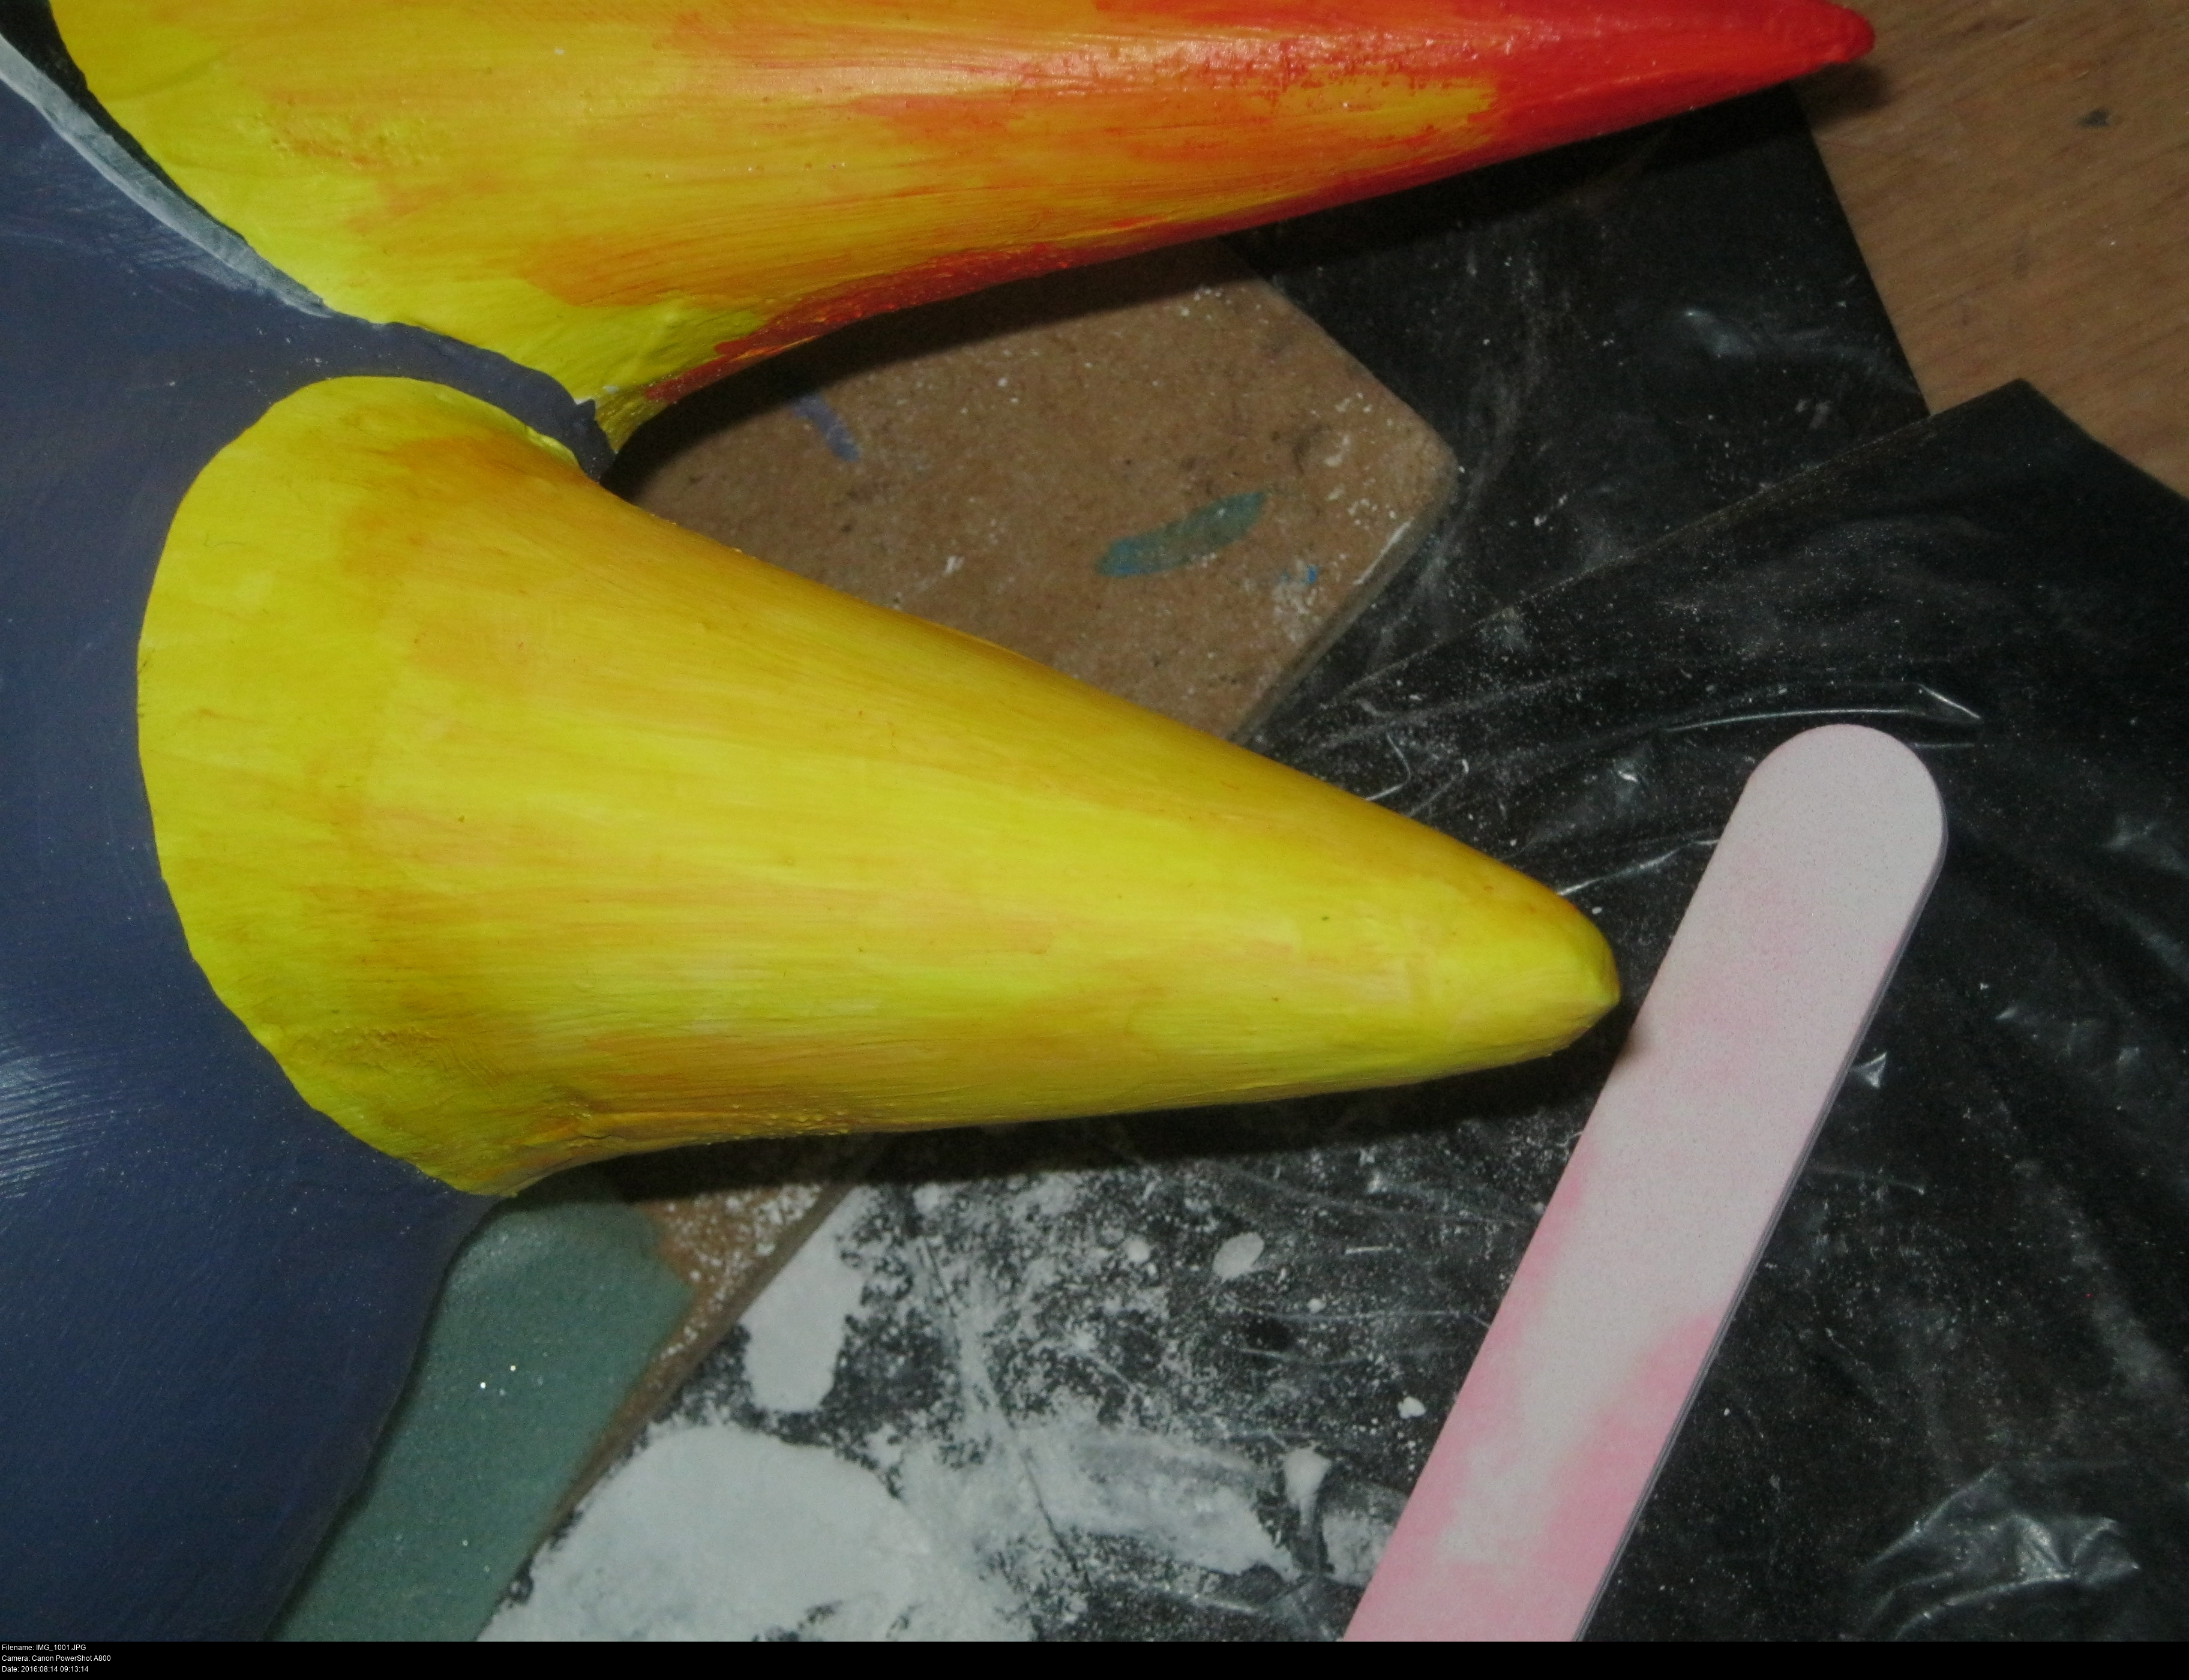
Over the next few days, I sanded a little filler off, applied a little bit more, kept refining the contour of the mask. Bear in mind that it doesn't matter whether the colour of the filler matches the mask since it's all going to be re-gessoed later anyway.
There's just one little thing that I haven't done yet before I can take this out of the shed:


I haven't even looked at the reverse of the mask once yet.
But, check it! Even though it's been left in the shed for a week or so now, no mould! Yeah!
I just need to get right in there with my files and my sandpaper and make all that neat, then cover it in yet more filler.
Before you get too carried away with all of these sanding and filler steps, it's a good idea to have the horns a little bit of elbow grease: waggle them gently, see how much they can take before they, the glue or the mask itself starts to warp. Don't tear them off, but simulate the normal acts of picking up and moving it about. If you can't even pick up the mask without the horns dangling by a thread, then you're never going to be able to wear it! You might need more glue or even remove horns entirely and reapply them.


Squidge that stuff on nice and thick and tight. Then leave it to dry. You can't rush chemistry!


Slowly. Refine it. Back and forth. Filling, drying, sanding, filling.
Even between the horns. Have a set of small paper/card nail files handy.


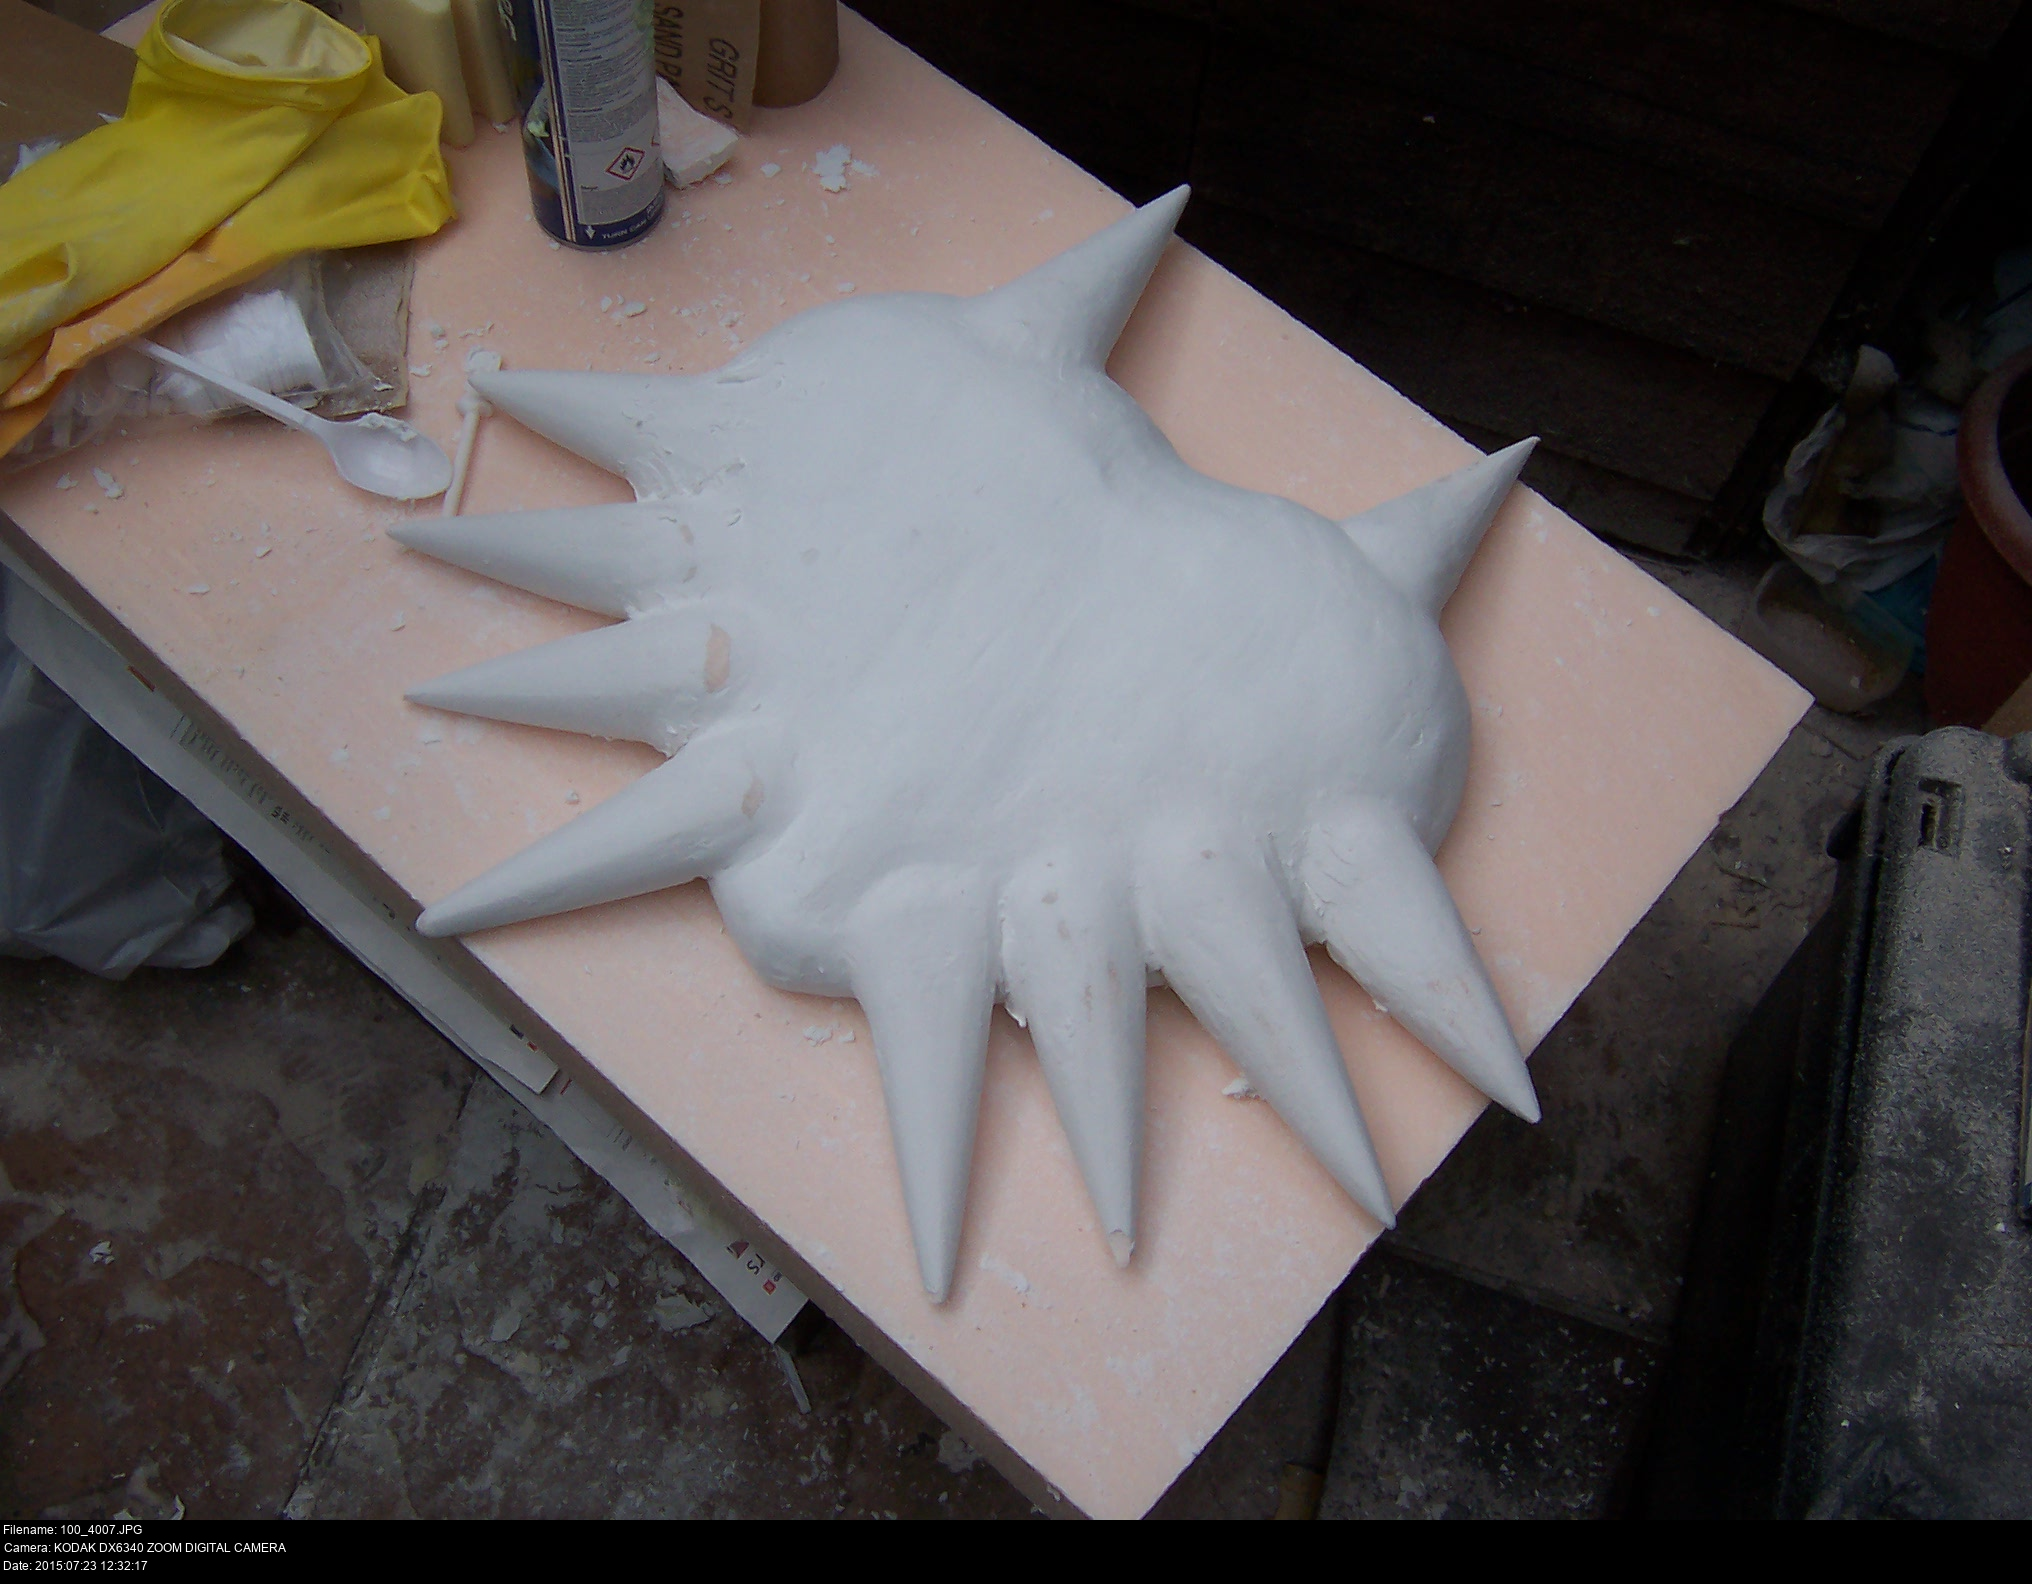
More fillering, more sanding... and it's DONE!
Doesn't it look wonderful? All that hard work paid off! You'd feel really good about this great success if MCM wasn't -tomorrow-, but what can you do?
The filler is holding tightly to the gesso, the plaster, the Gorilla Glue foam, the XPS foam. It's lovely, a perfect decision!


What a freakin' mess! Sorry everyone...


At long last, the mask is safe inside my bedroom instead of living in the shed where anything could've happened to it. This is it as far as physical alterations to the mask are concerned. No more sanding or filling necessary.
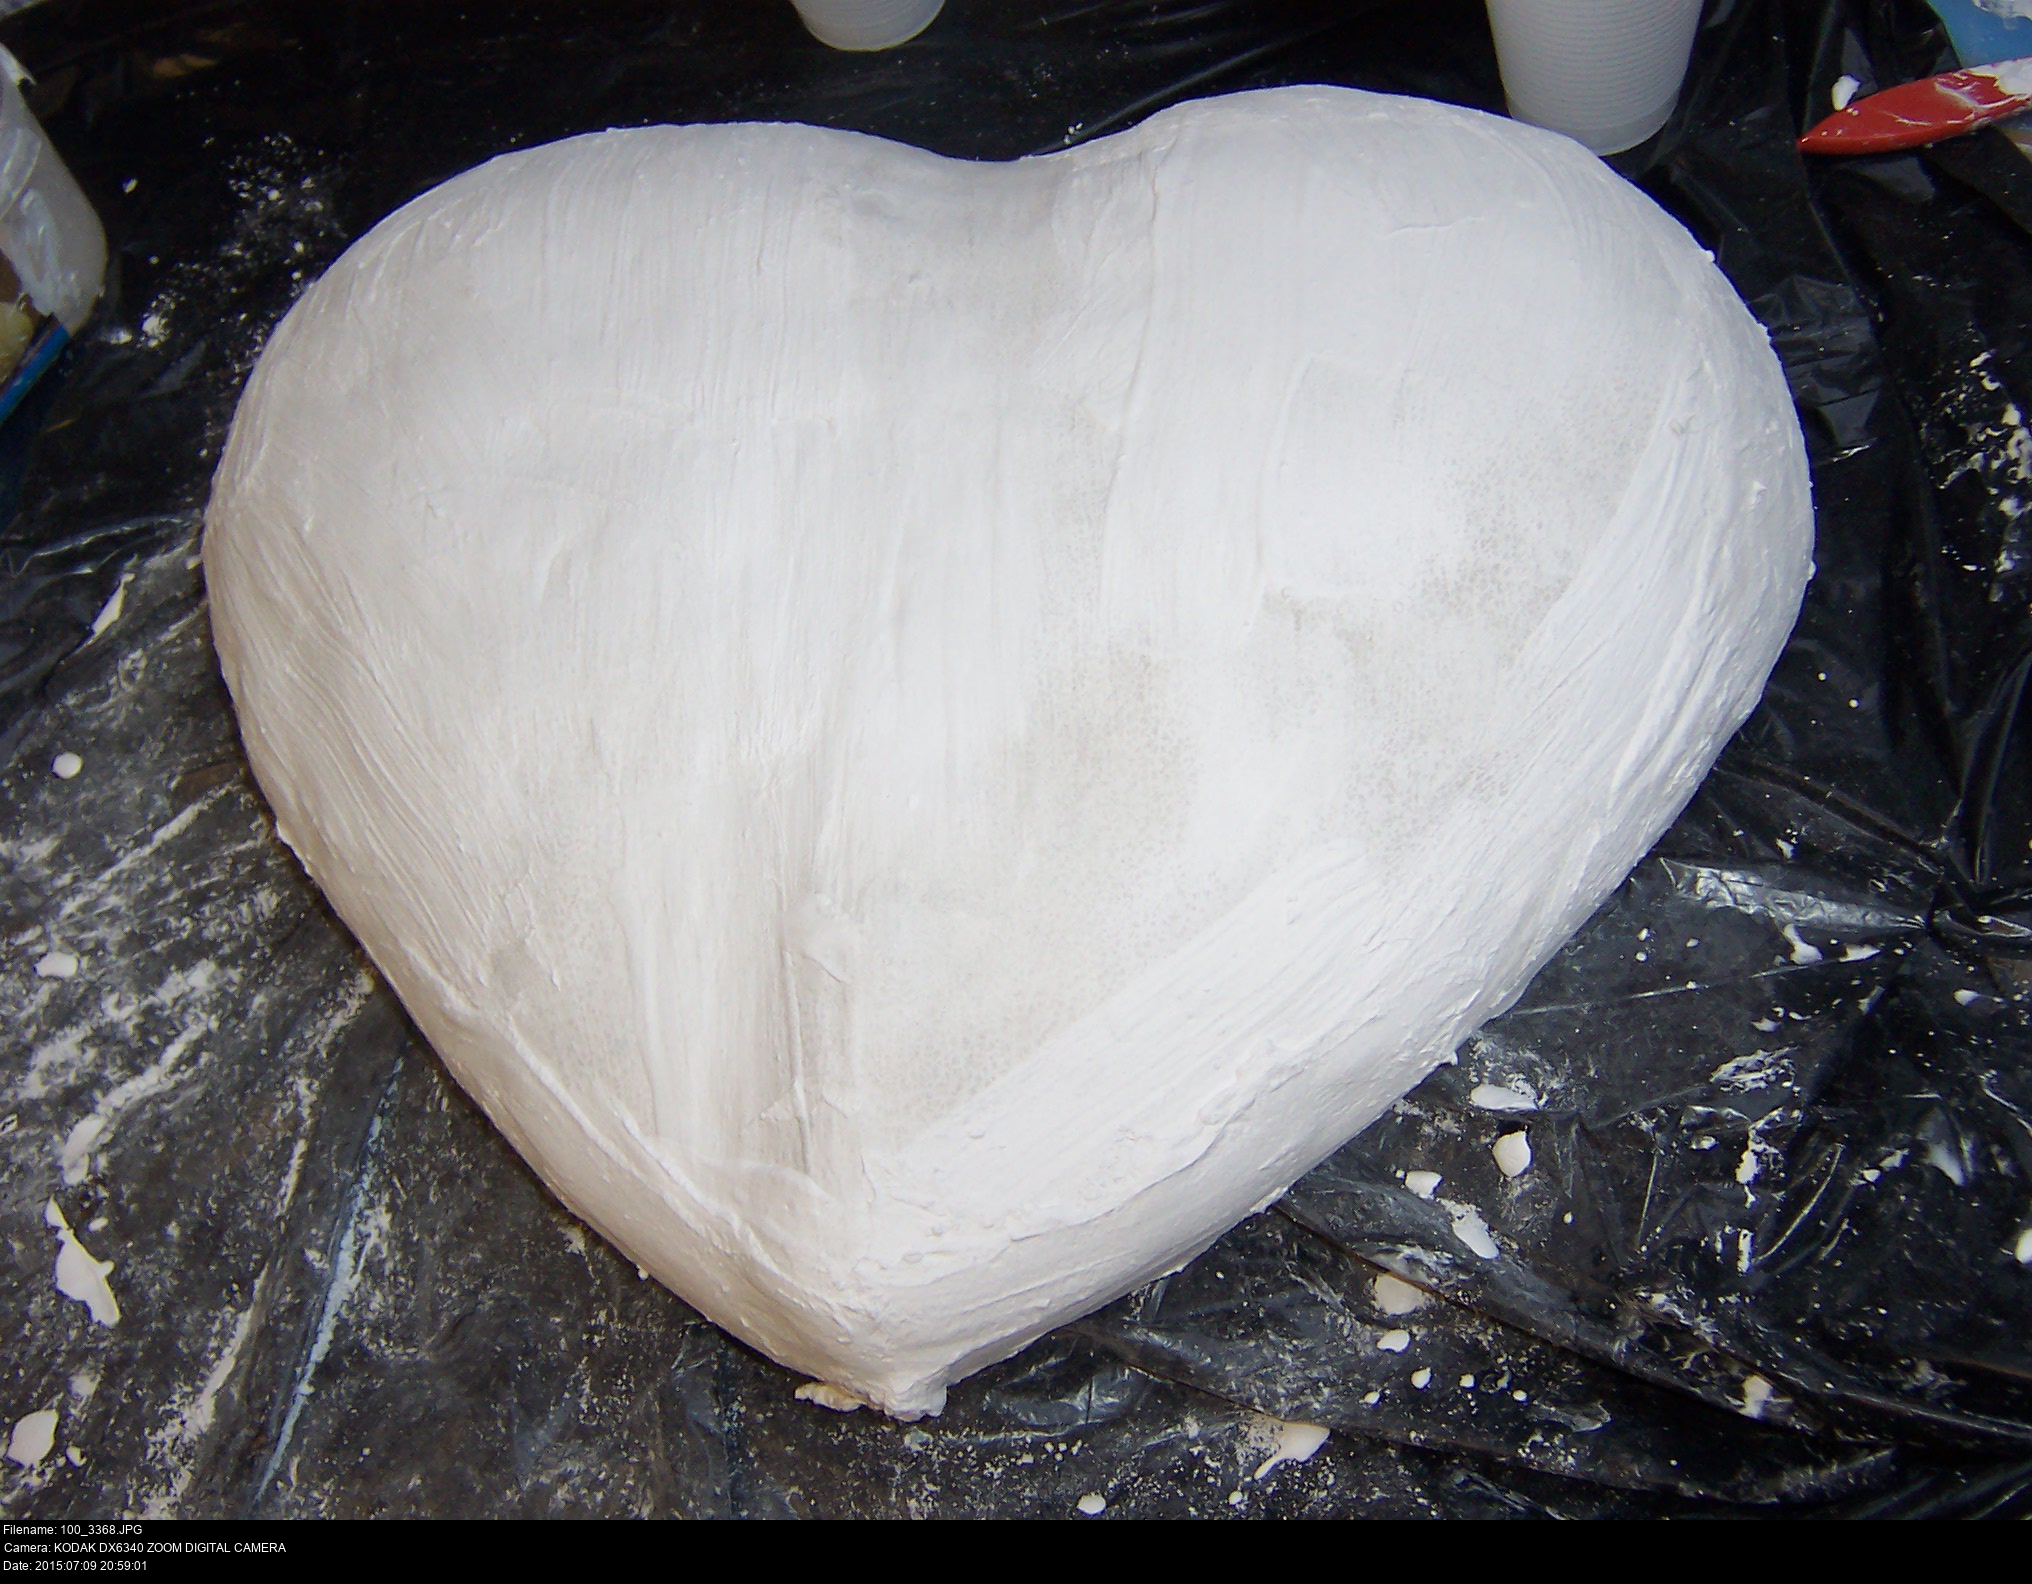
I'm going to give it a couple of coats of gesso now, making sure every surface of this thing is covered in a solid layer of the stuff. Don't apply the gesso thickly, it won't work; it'll peel. You need to use thin coats and -time-. The filler is designed for household work, so it takes the gesso fine. I don't know if the XPS would take the primer directly, that's something that needs testing. I went with the plaster method because... I don't know.
This ought to seal those rough edges as well, stop all the plaster pouring out over my face while I wear it.

There we have it, the objective. One high-quality full-colour image of Majora's Mask as designed by the Nintendoes themselves. All I have to do is get my zig looking like their zag, and we're done.
One problem. The last time I held a paintbrush was easily twelve years ago, back in secondary school. And you don't want to see what the stuff I painted turned out like.
Here's some advice from somebody who has no possible basis for giving advice:
Use high-quality brushes. Don't buy the cheapest ones you see.
Use high-quality paints. Don't buy the cheapest ones you see.
Take care of your brushes. Rinse them one at a time under cold water, rub a little normal hand soap onto your palm, rub the bristles into your palm, then rinse them clean. Let them dry.
Do one area at a time.
Let the area dry for several hours before attempting to paint anywhere else.
Work from lightest to darkest. Paint isn't like overlapping layers of paper: paint is semitransparent. If you need to paint a light detail on top of a dark area, consider using the gesso to make the area light first, since it's opaque.
Work slowly.
If you make a mistake, you can clean it away by applying a small amount of water from a second brush then wiping away with a soft tissue. This only works if the underlying layer is completely dry! I relied on this technique so many times, it ought to be in big letters.
Try to visualise what you're going to do before you do it.
Mark out what you're going to paint and where with faint pencil.
Make sure your work is secure on the table.
Make sure your work is sufficiently primed and that the priming layer is smooth and dry.
Don't paint unless you're calm.
Work with lots of light available, preferably natural light.
Mix too much paint. If you run out of a colour you're using in the middle of painting a large area, you probably won't be able to recreate the exact colour to finish the rest.
Have enough paint at your disposal.
Don't assume that the same named paint from multiple different brands is the same colour.
Don't touch work that is drying.
Are you ready? Then let's begin.


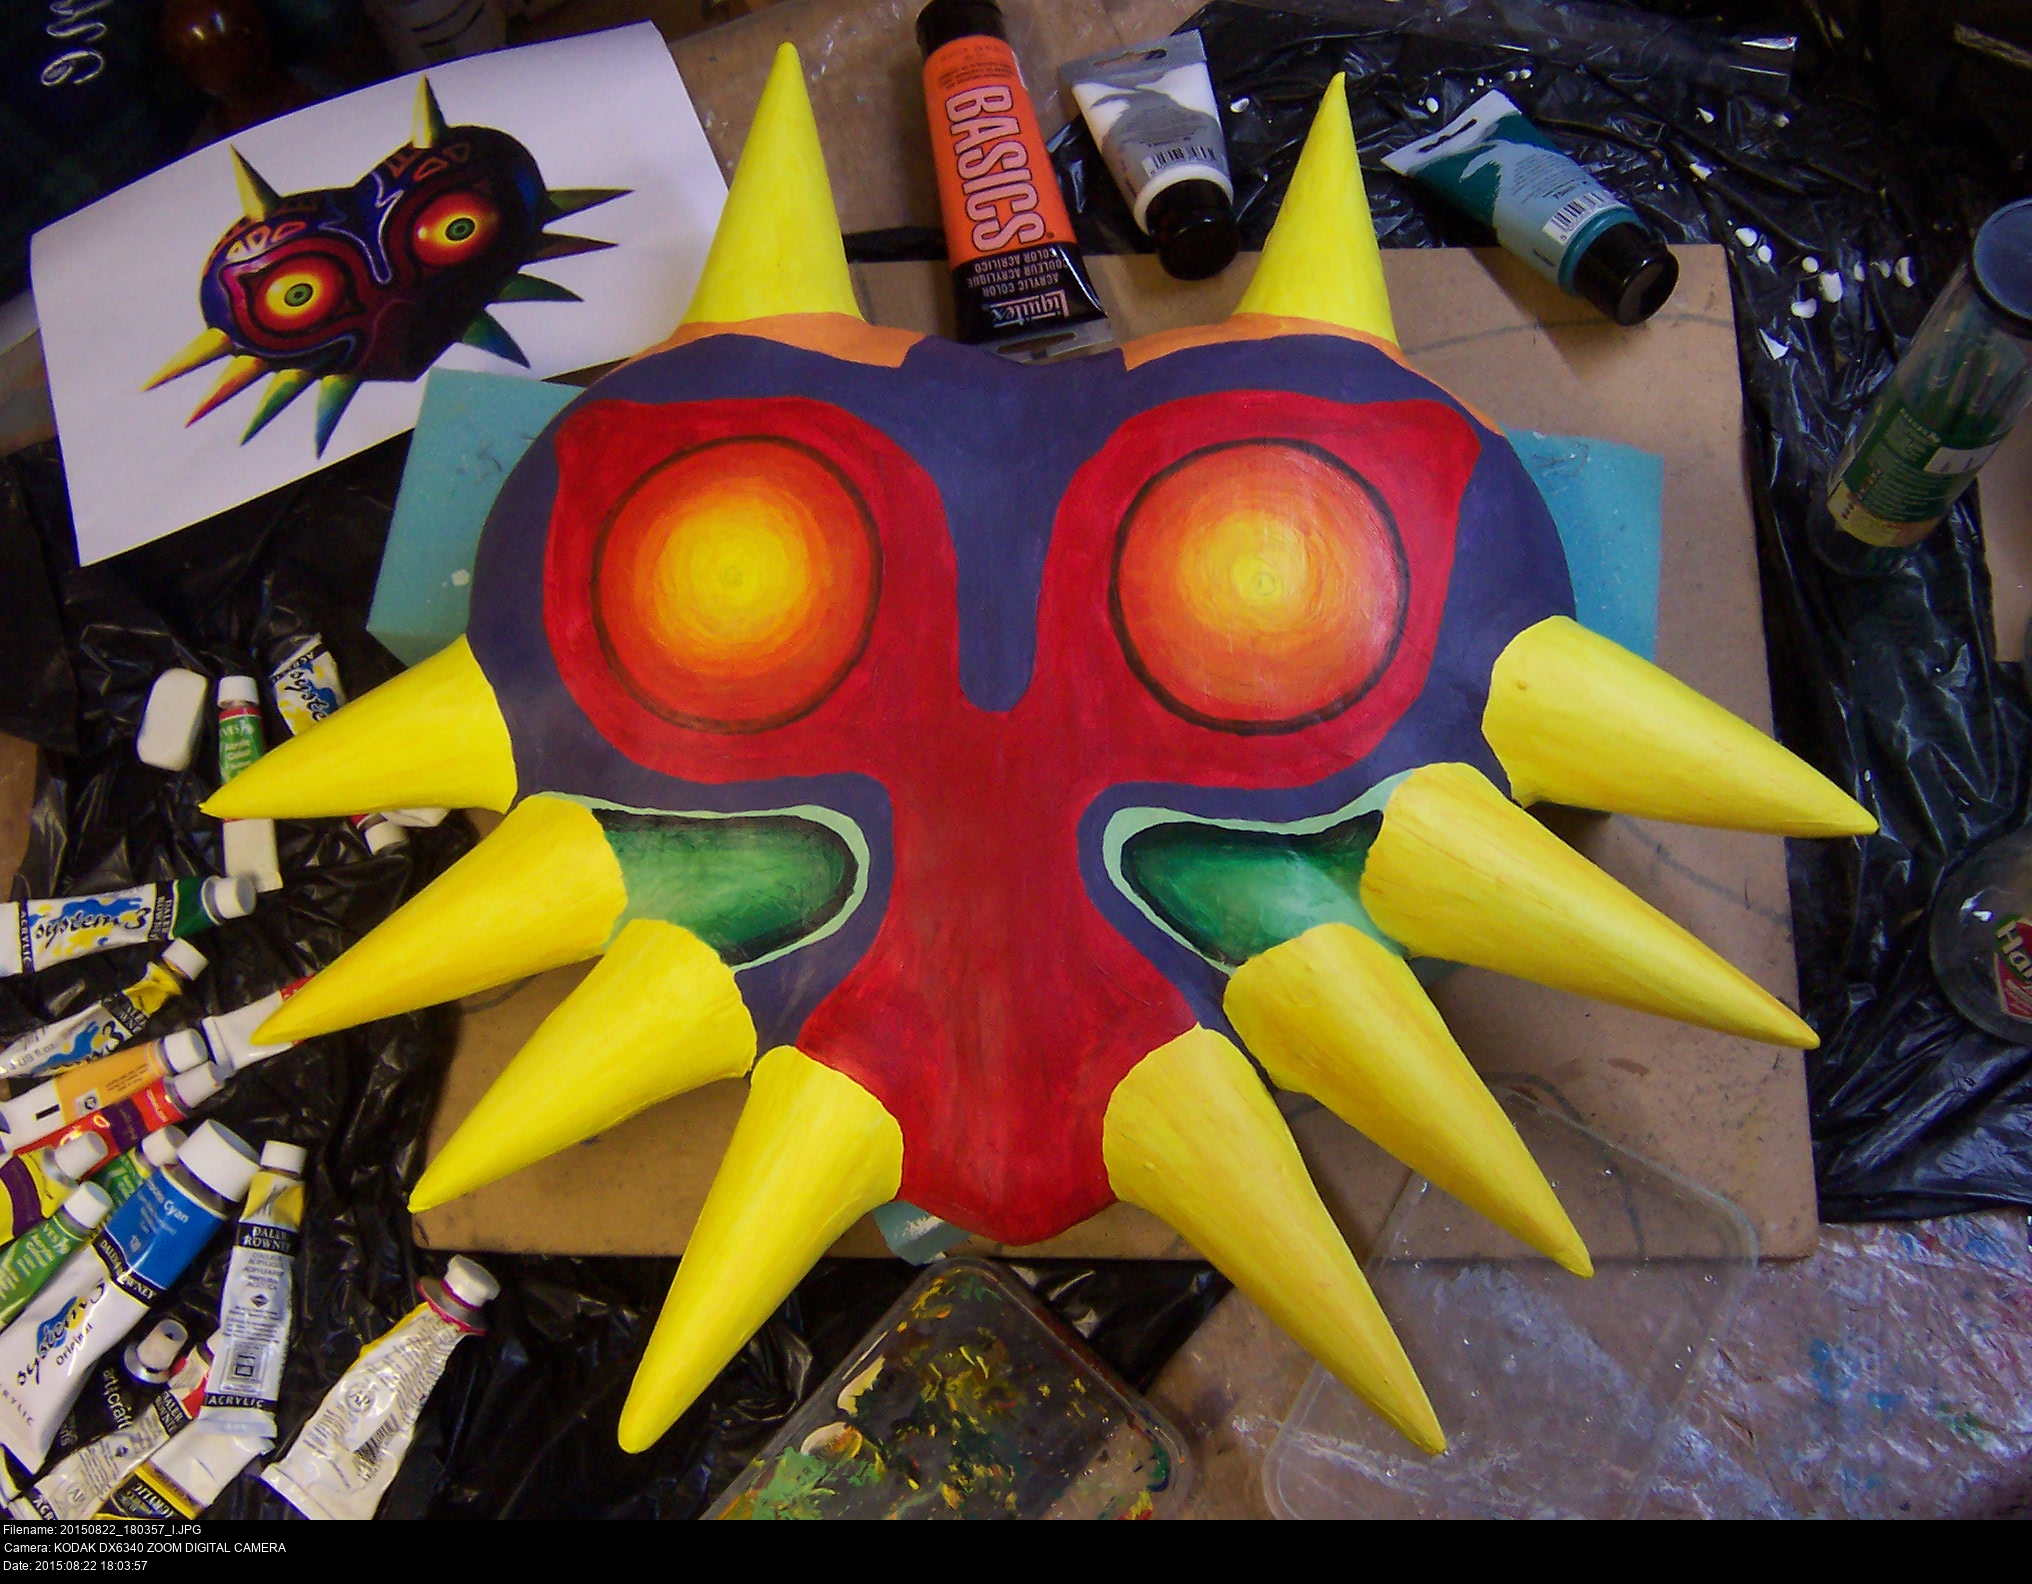


If you'd like to know how long it took to paint the full mask, click on the images and look at the date in the lower-left corner.
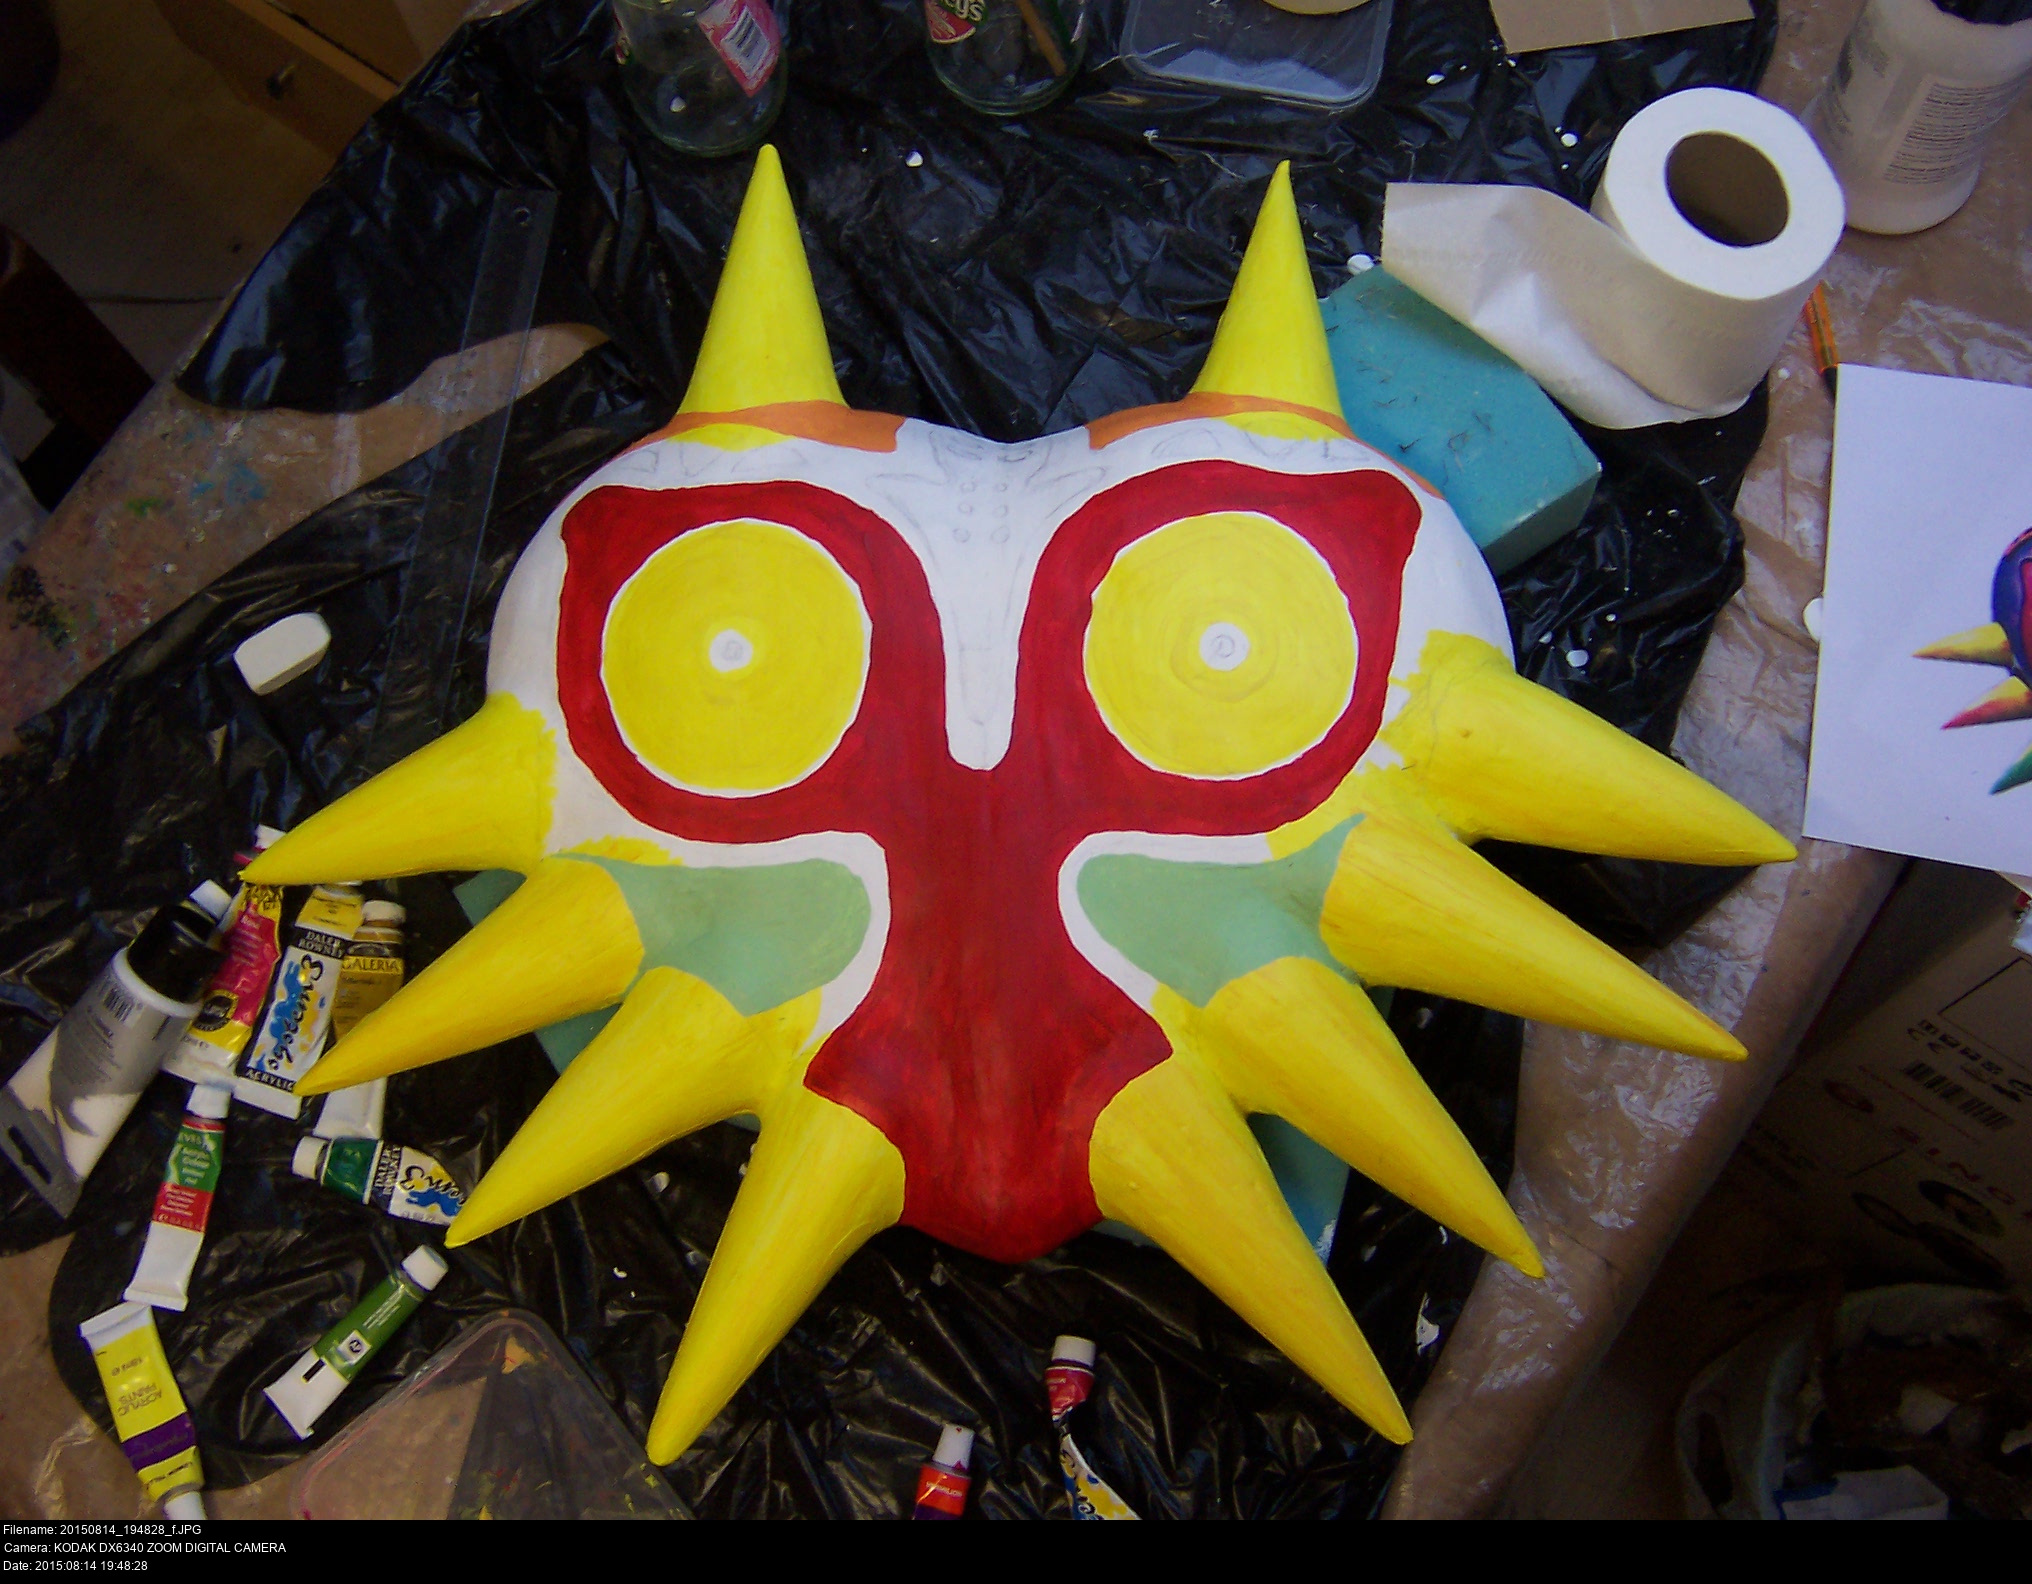
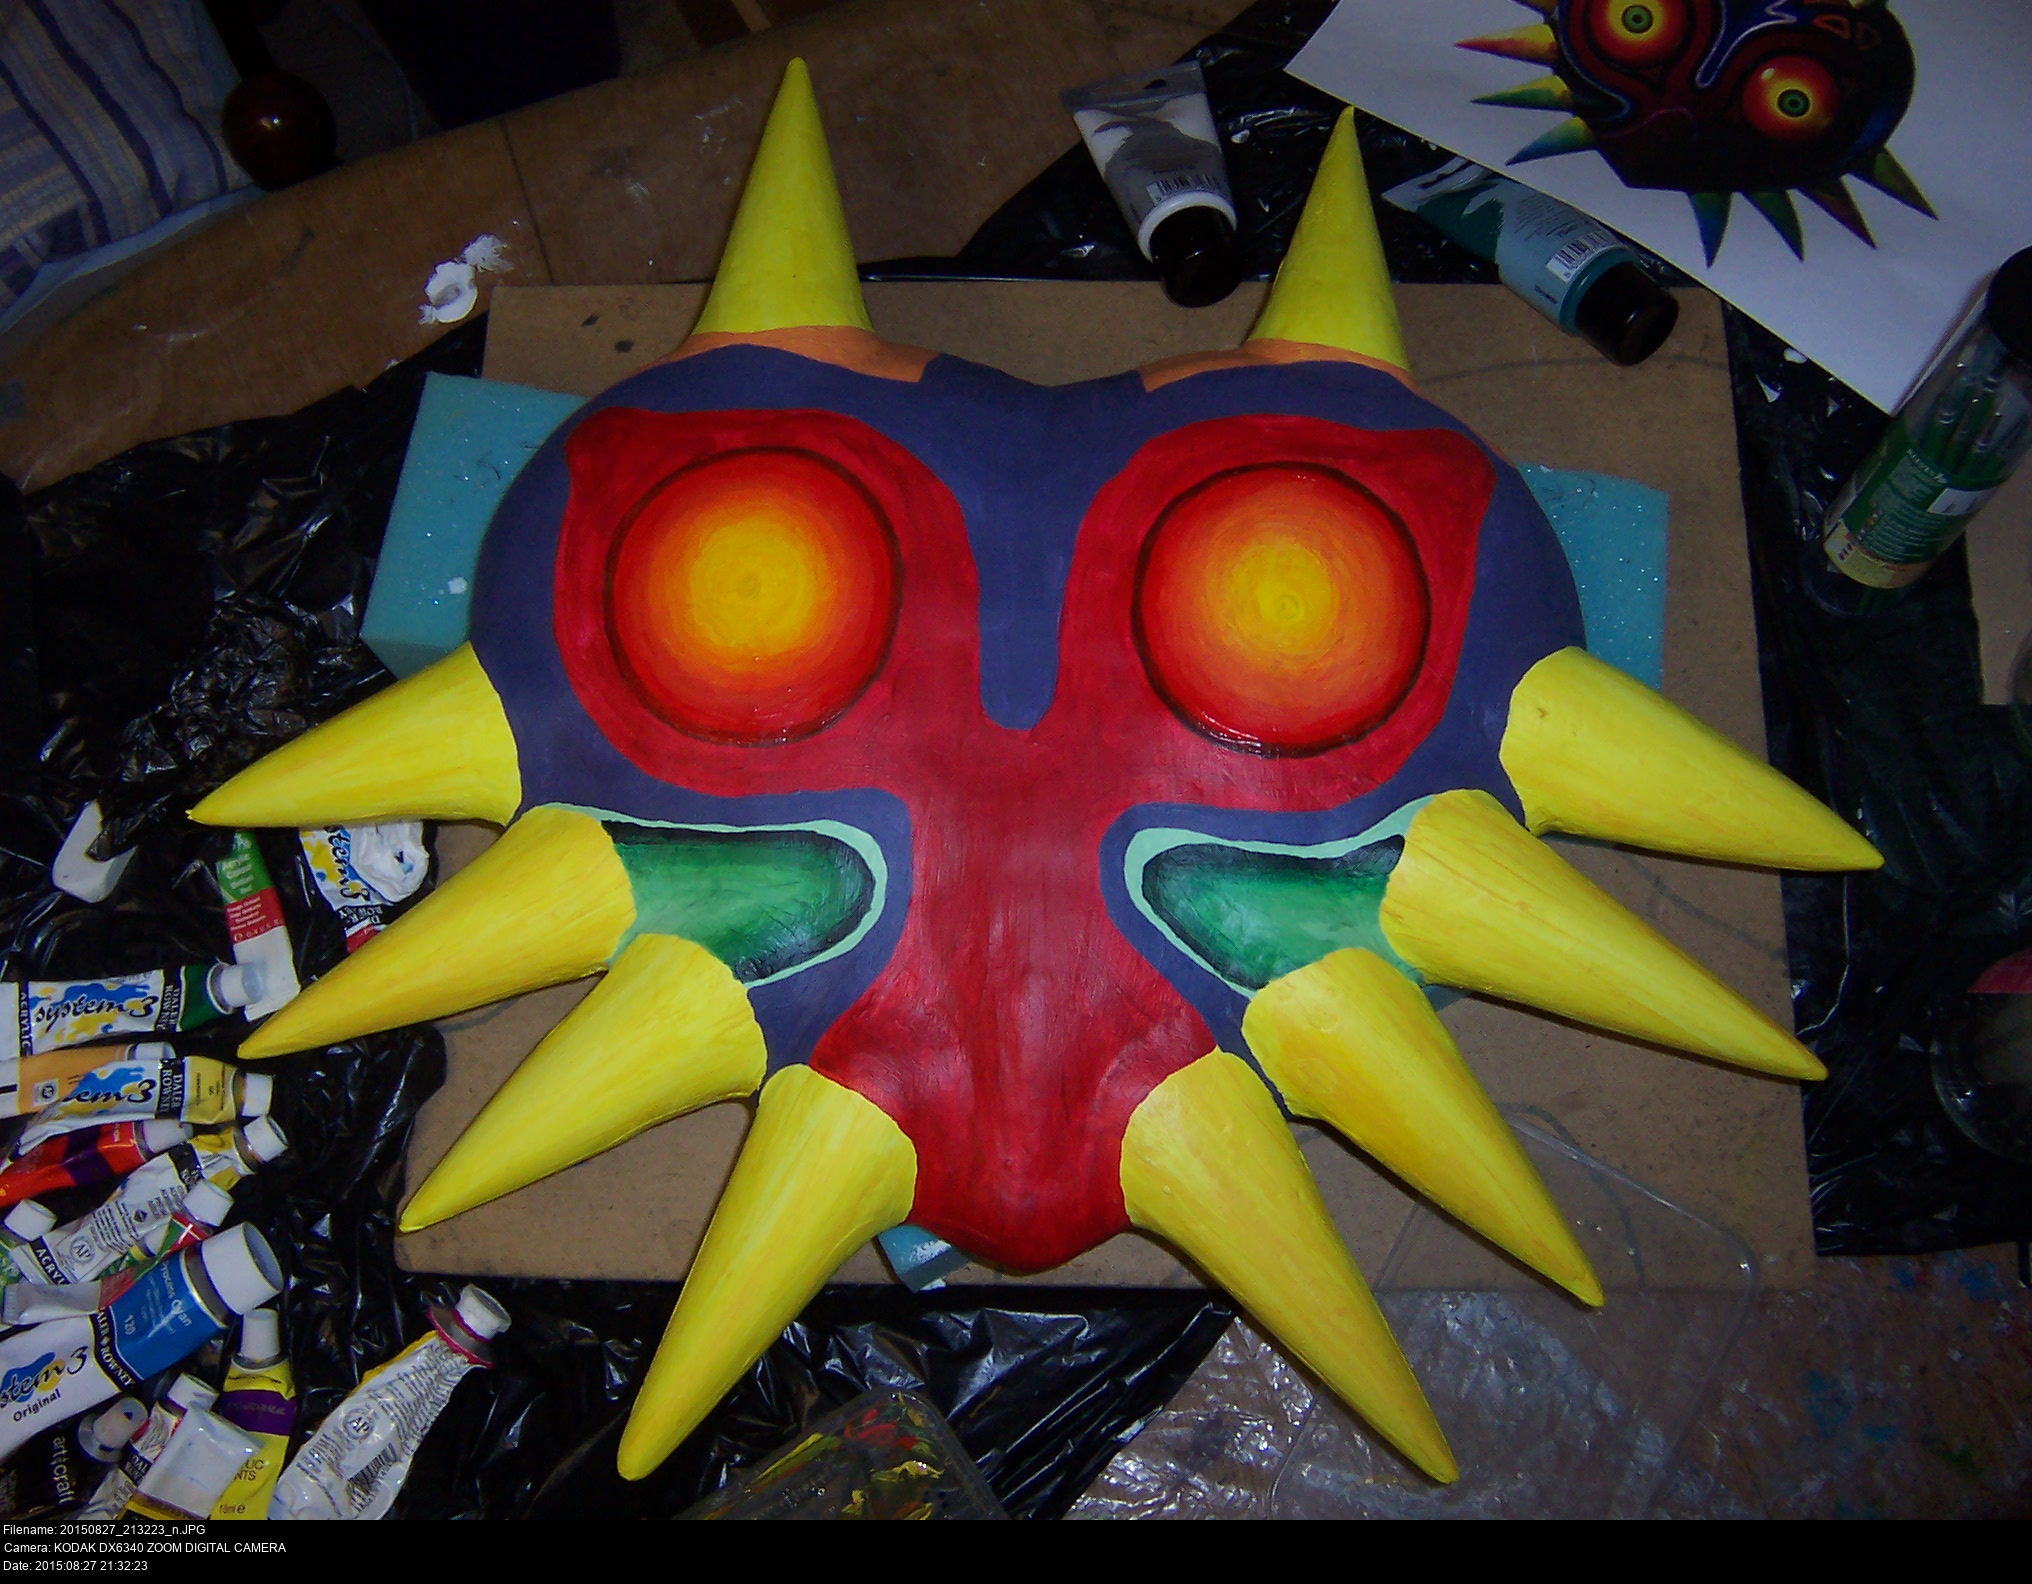
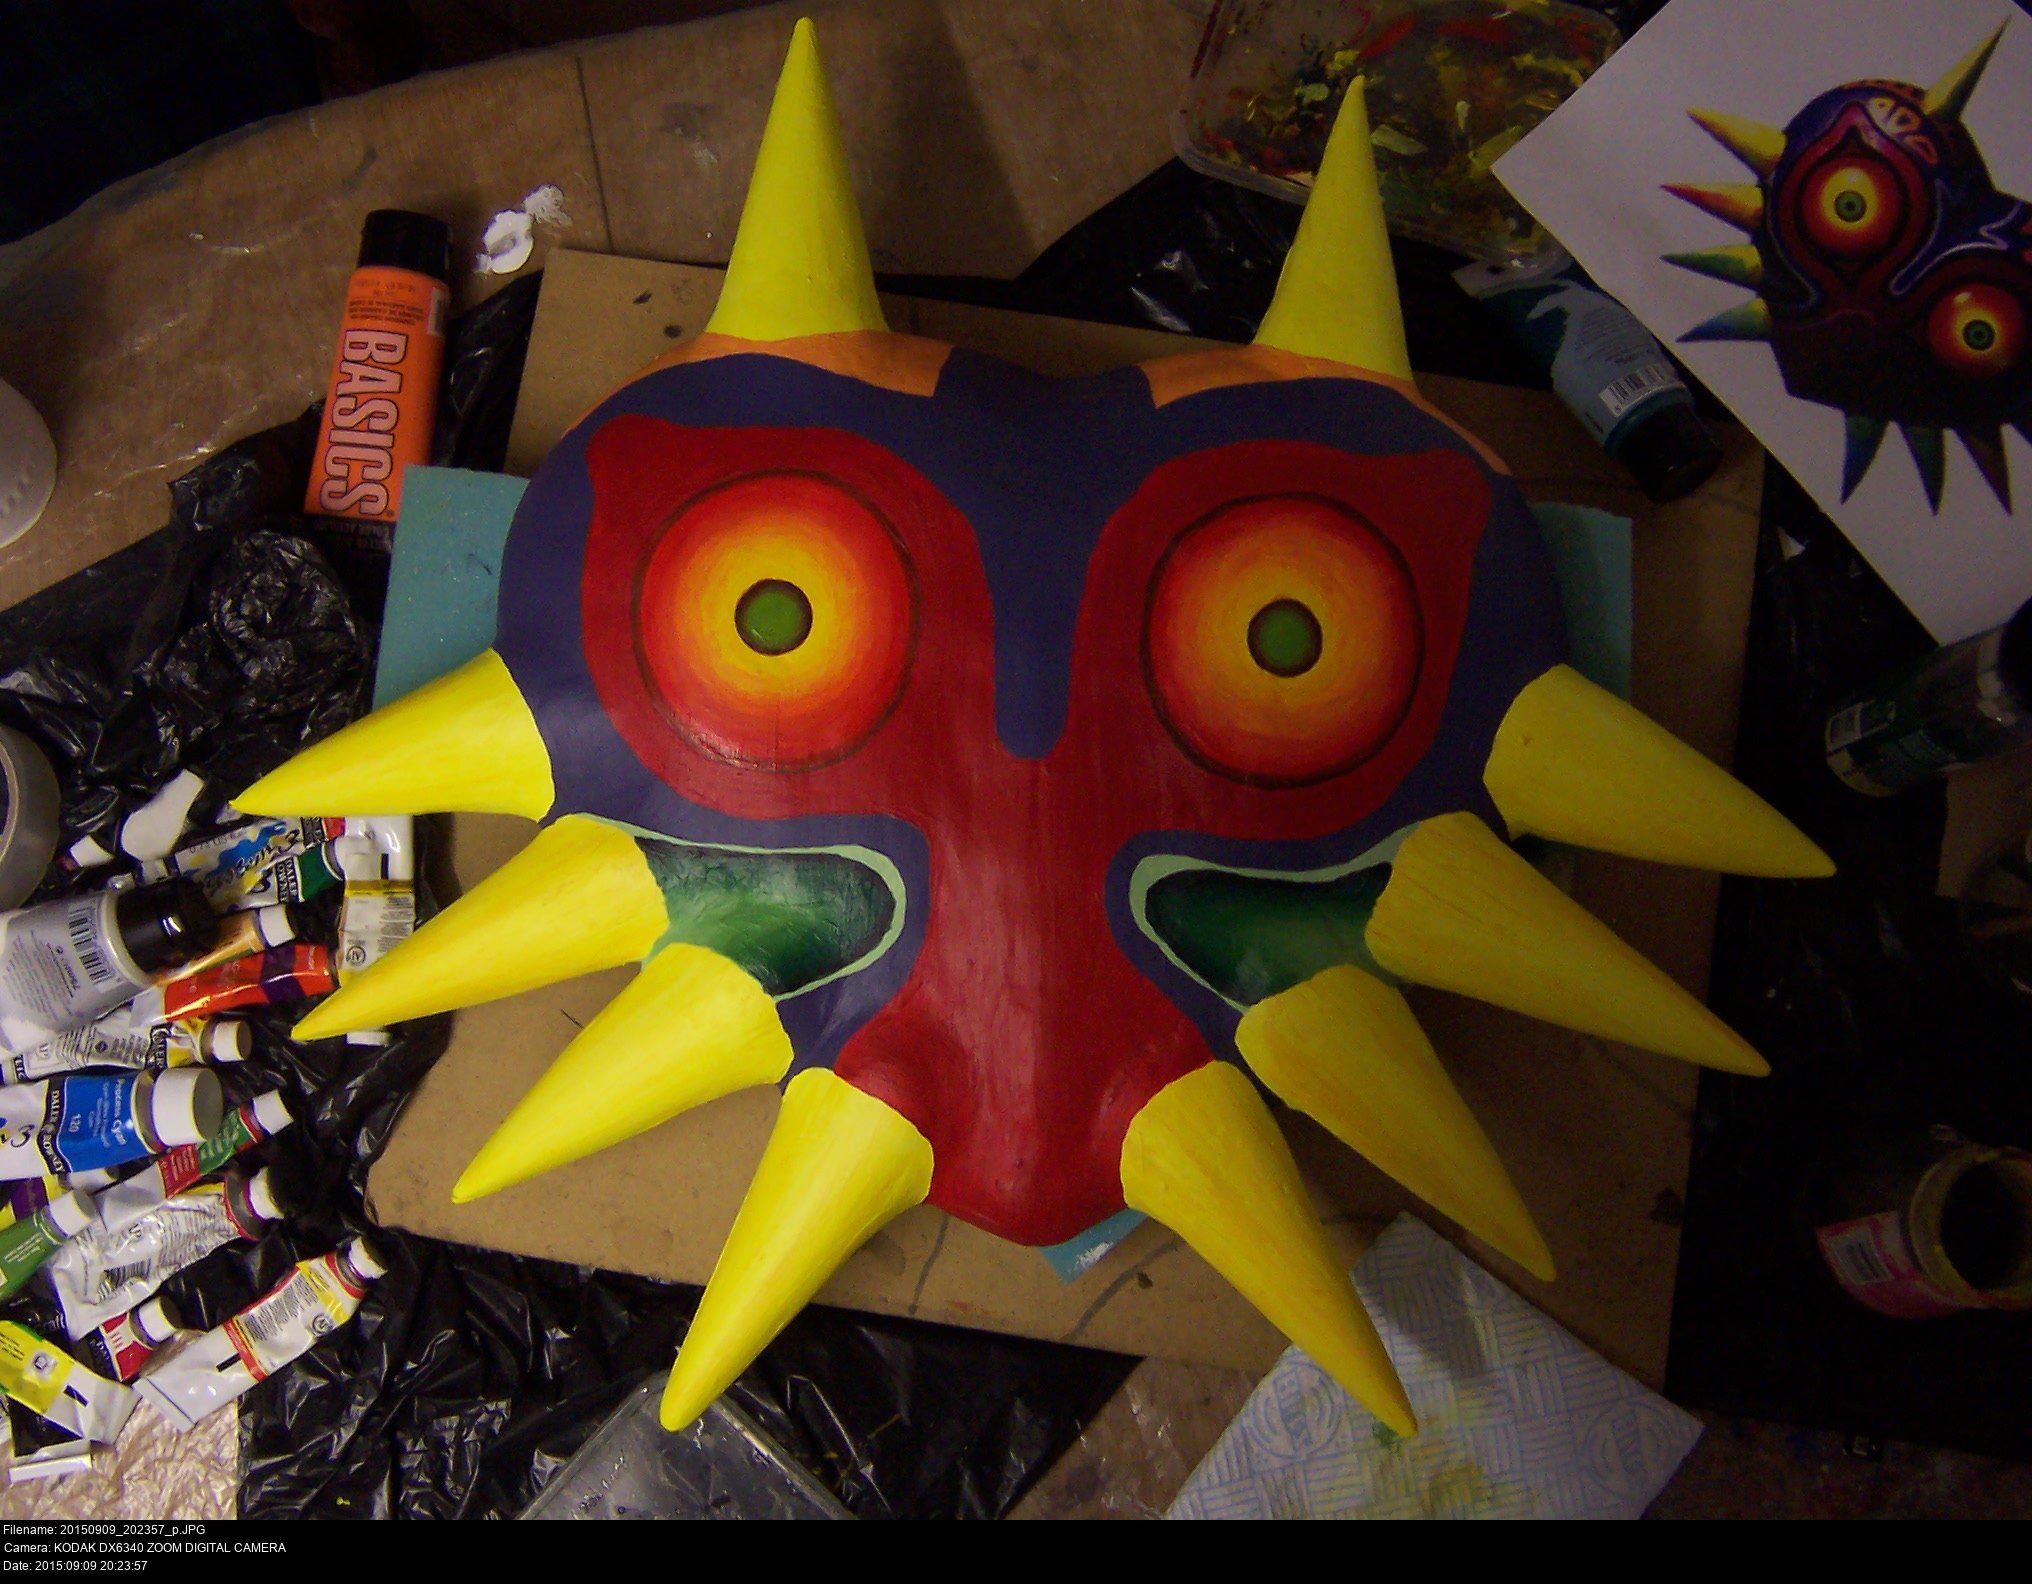
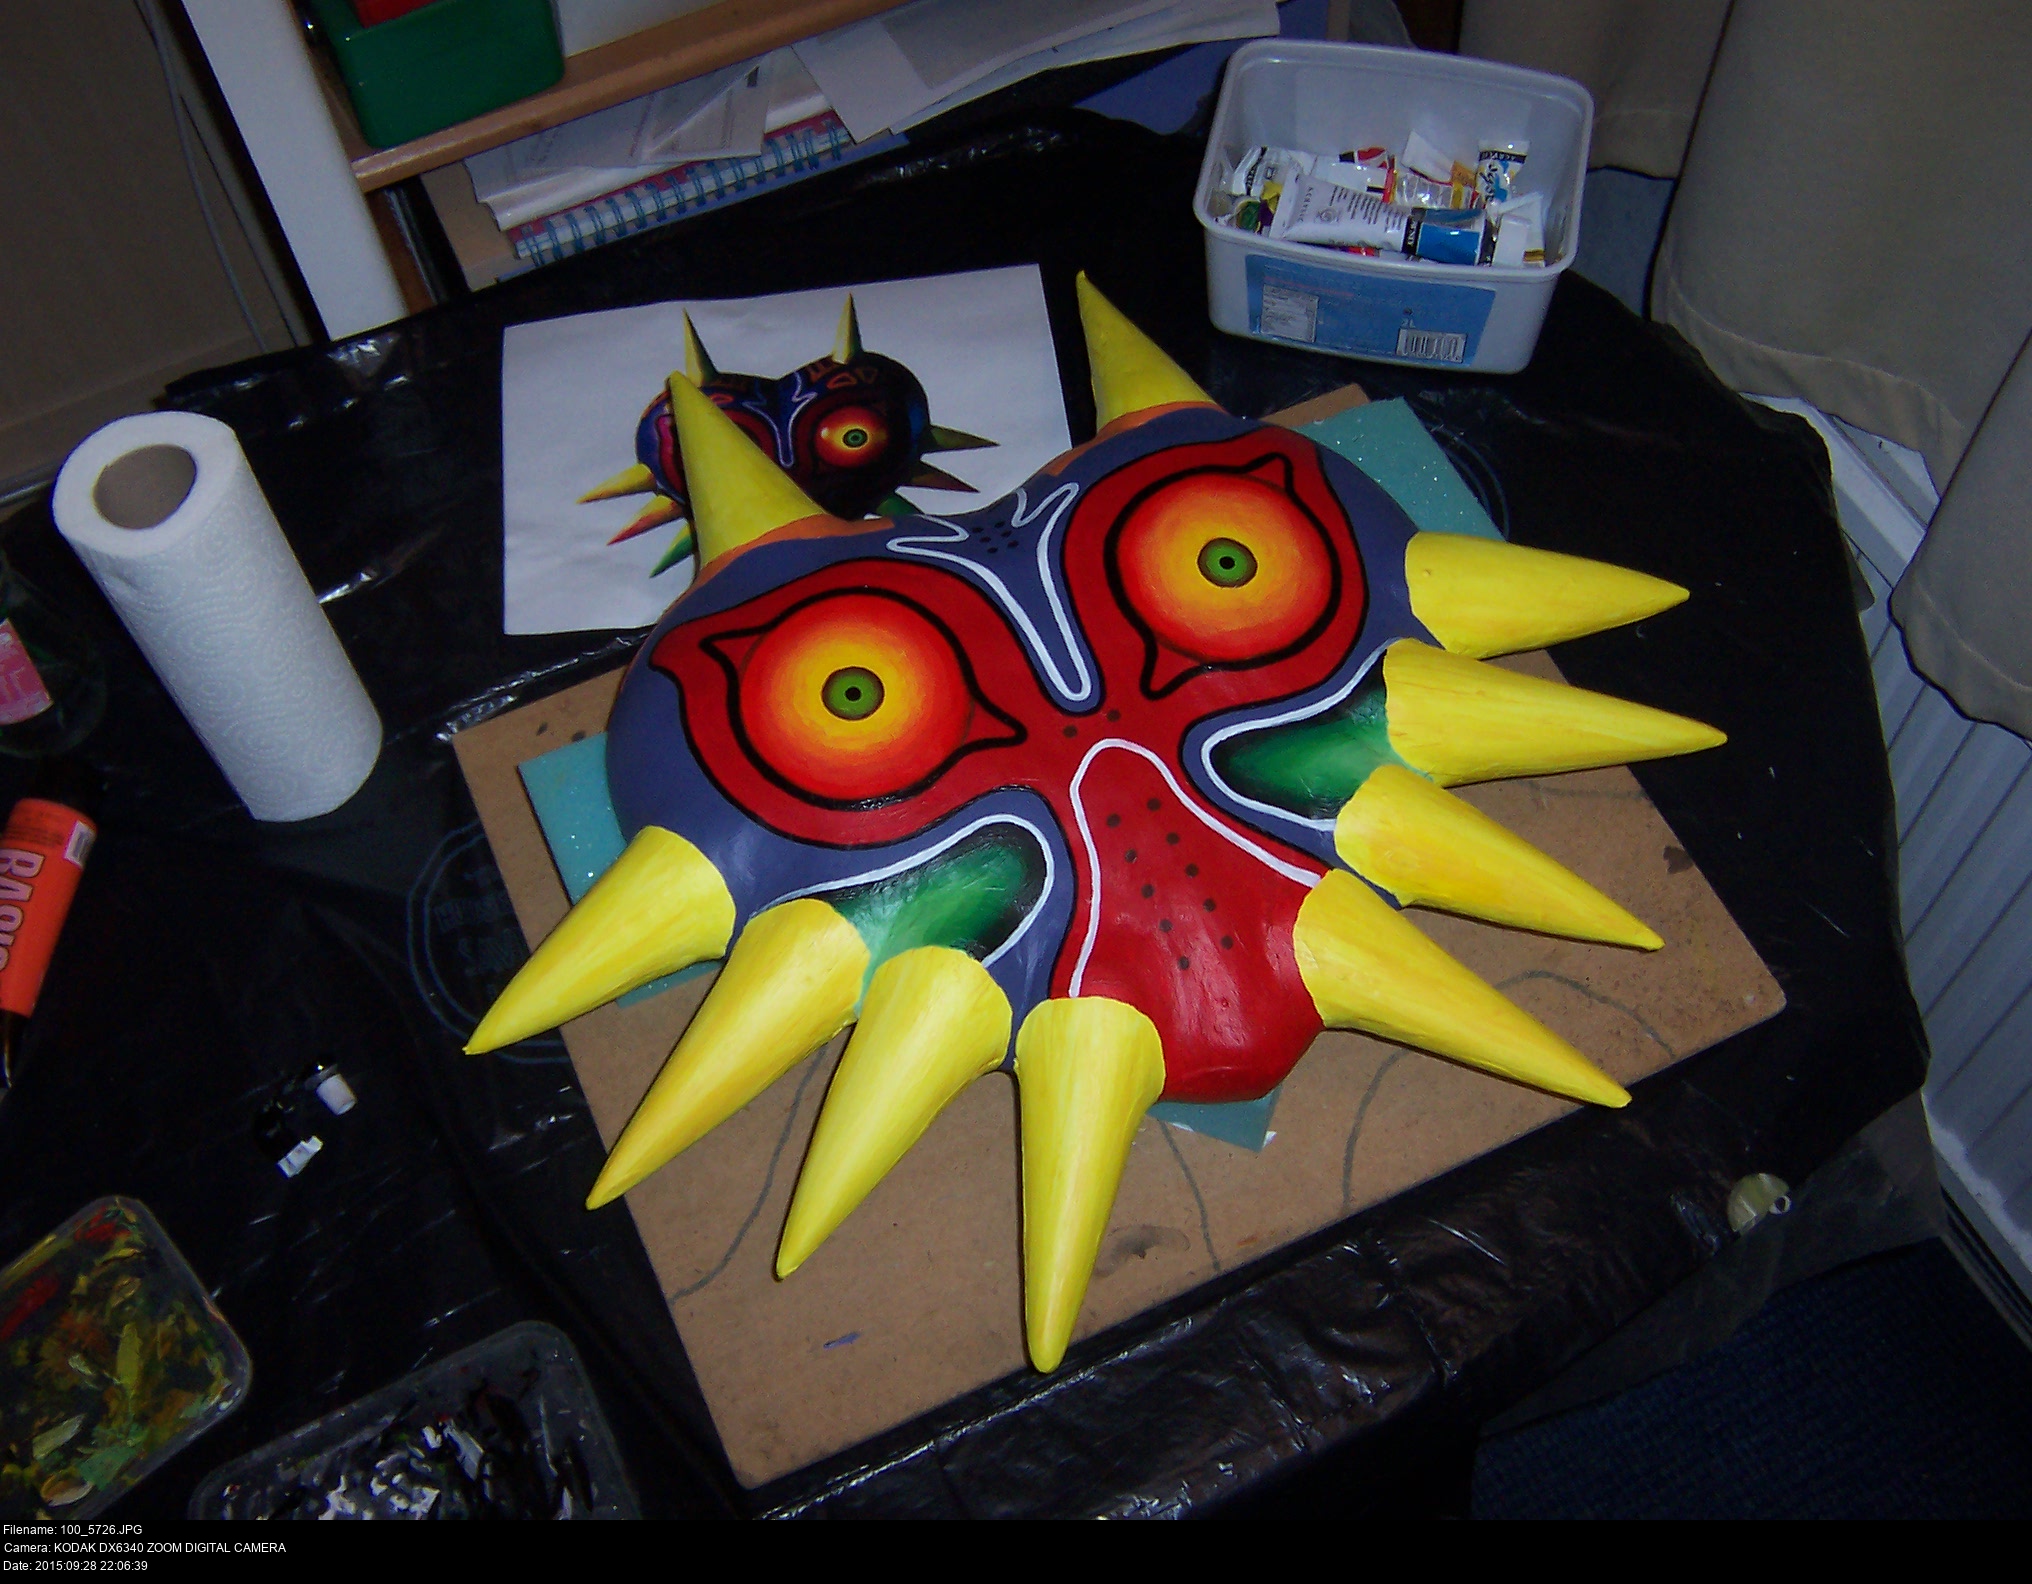
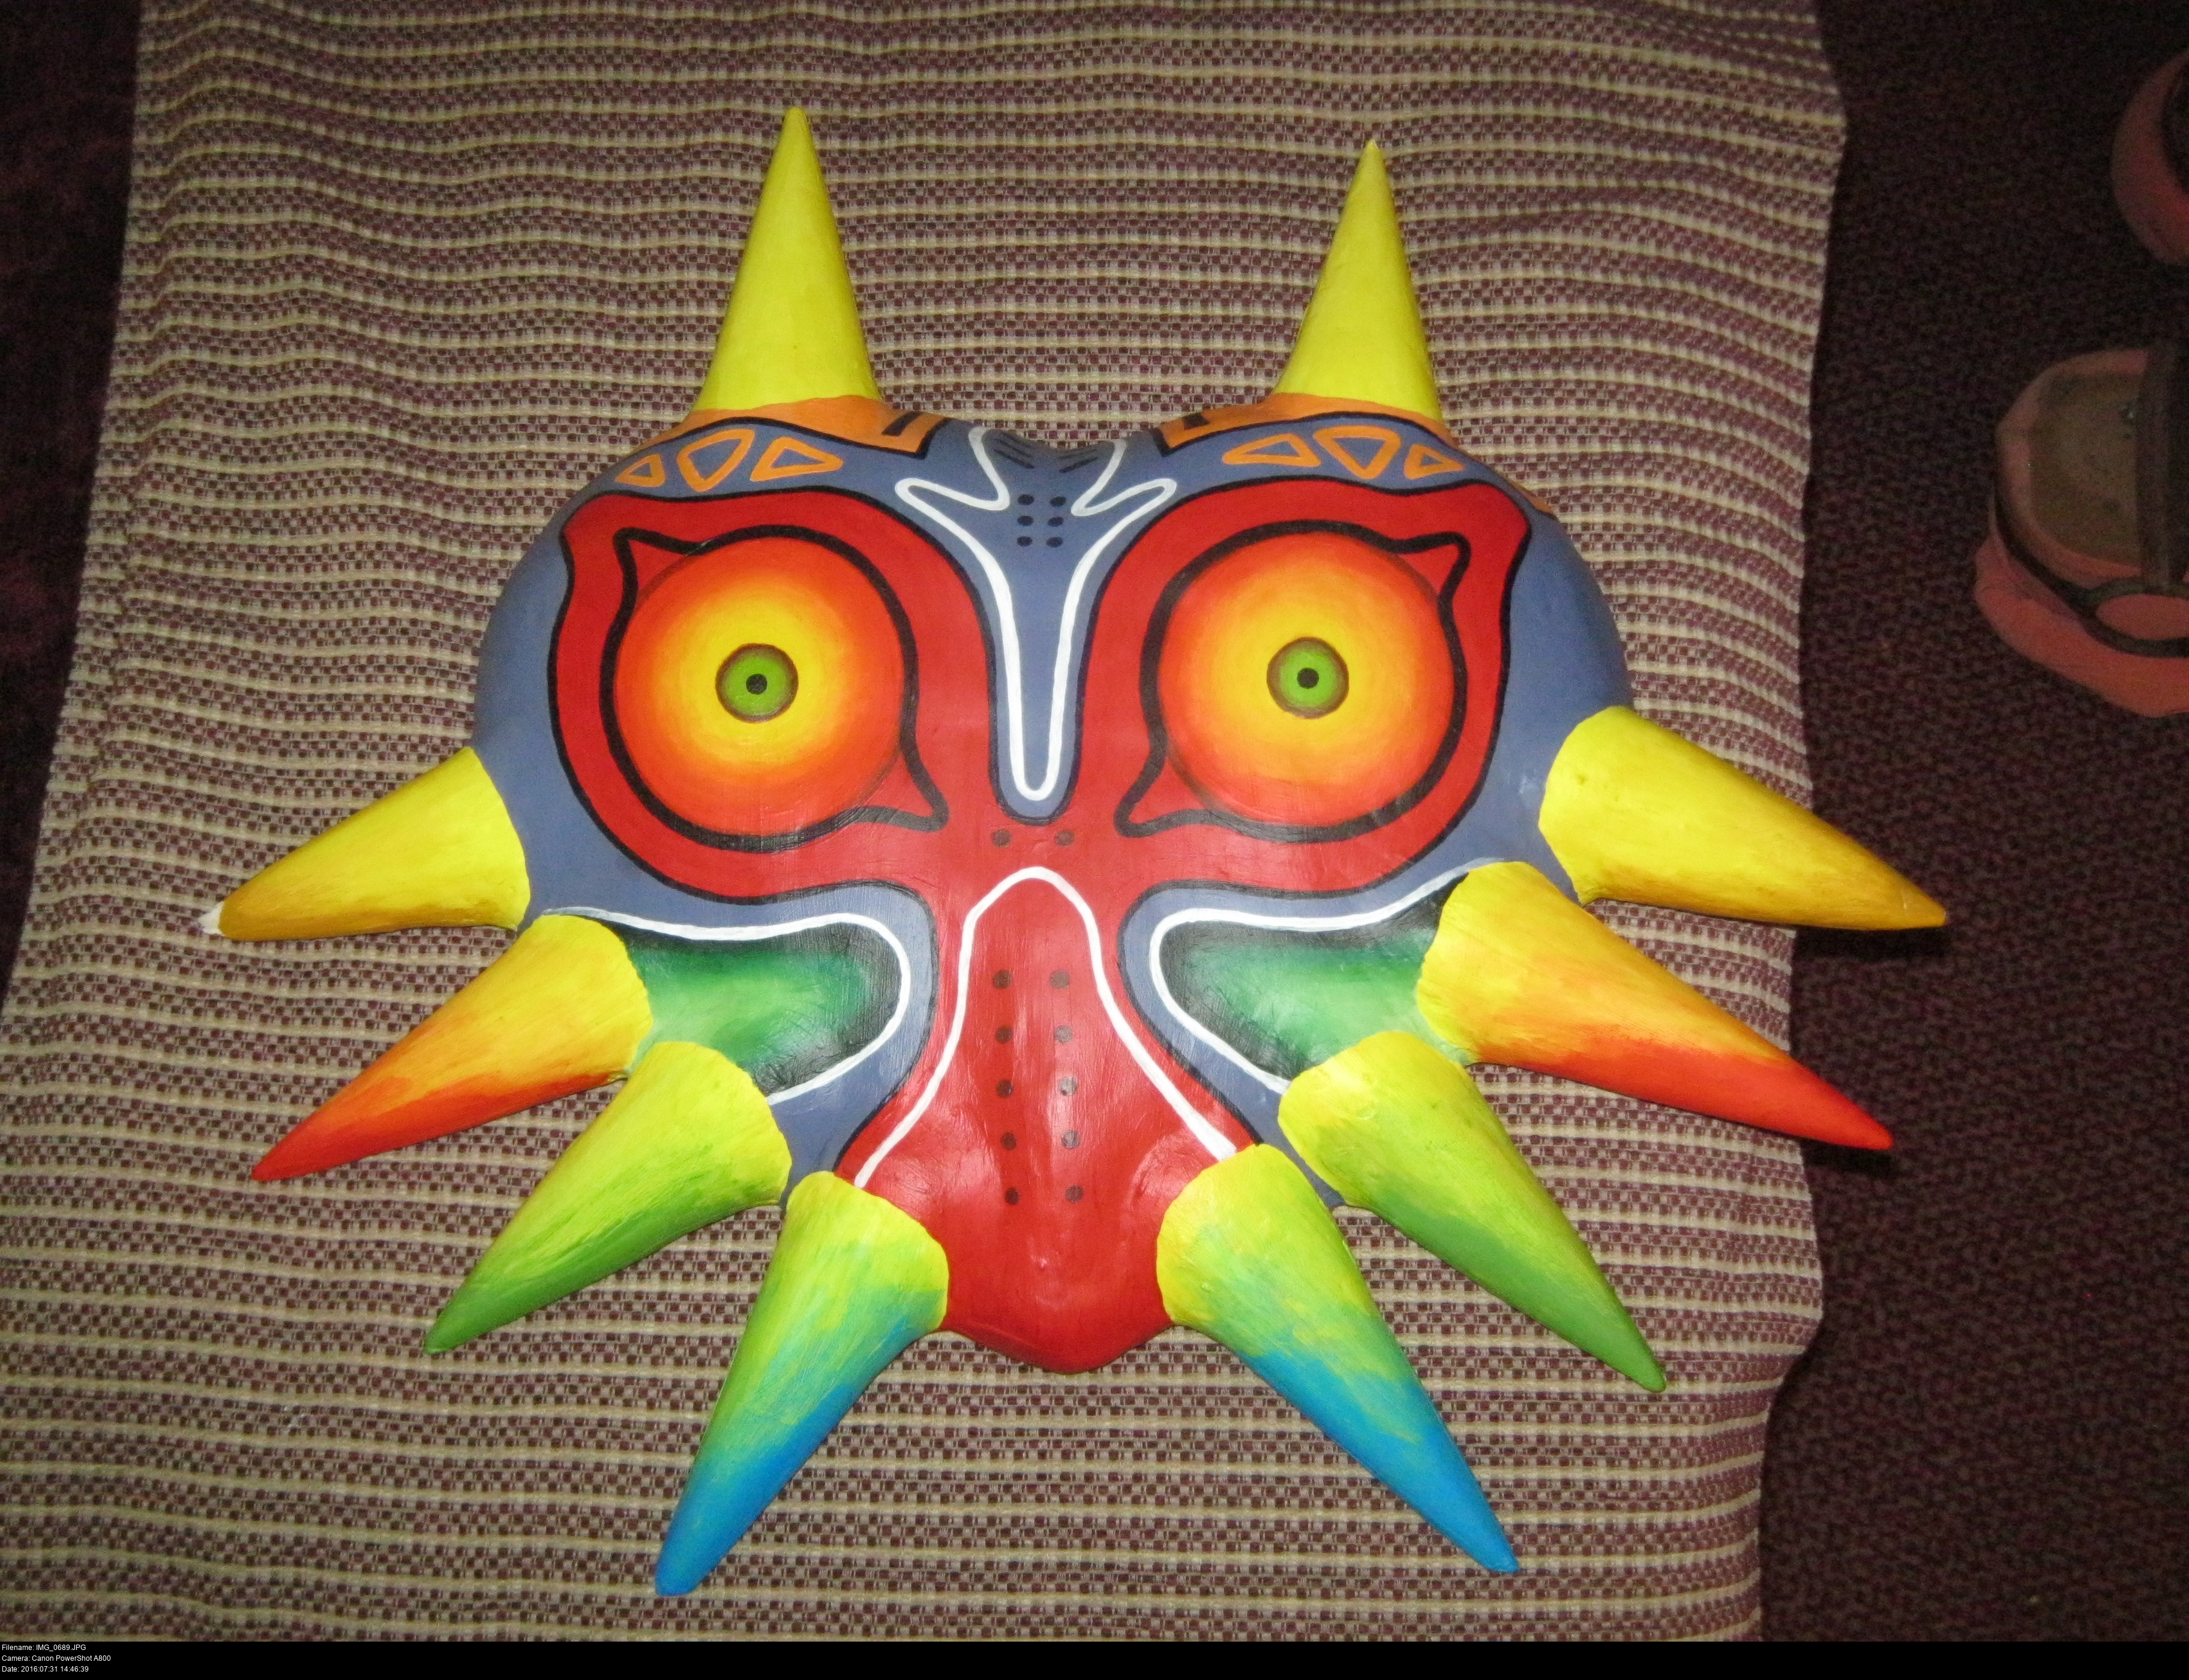
There's so many things that are imperfect about this mask, but none of them truly matter since the overall look of the finished mask is consistent and bold. It tricks you into thinking the paintwork is better than it is, that everything is the correct proportions and the right colour. It meets the -expectation- of Majora's Mask.
Notice how since my mask doesn't have exactly the same proportions and horn layout as the illustraiton, I've had to move things around a little bit. Also, the illustration depicts the mask at a very slightly downwards angle, so the positioning of the design might end up slightly shifted vertically.
The black and white detail lines took so many attempts, it's unbelievable. Master the art of undoing painting! I don't have a very steady hand for painting, and I really wanted to get the two sides symmetrical.
If you look at the very last two images of this set, you can see I first tried to paint the correct number of black vertical stripes onto the orange patches at the top of the mask, then removed them and tried again by painting over the patches with thick coats of orange all over again. I couldn't fit in the correct number of stripes because the horns are slightly assymetrically places, so I settled for a single stripe on both sides.
There's very little evidence of all the palaver with the horns, plastering, sanding, gluing without clamping, regluing, filling. It's all disappeared under the paintwork since I worked slowly, filled thoroughly and sanded and primed properly.


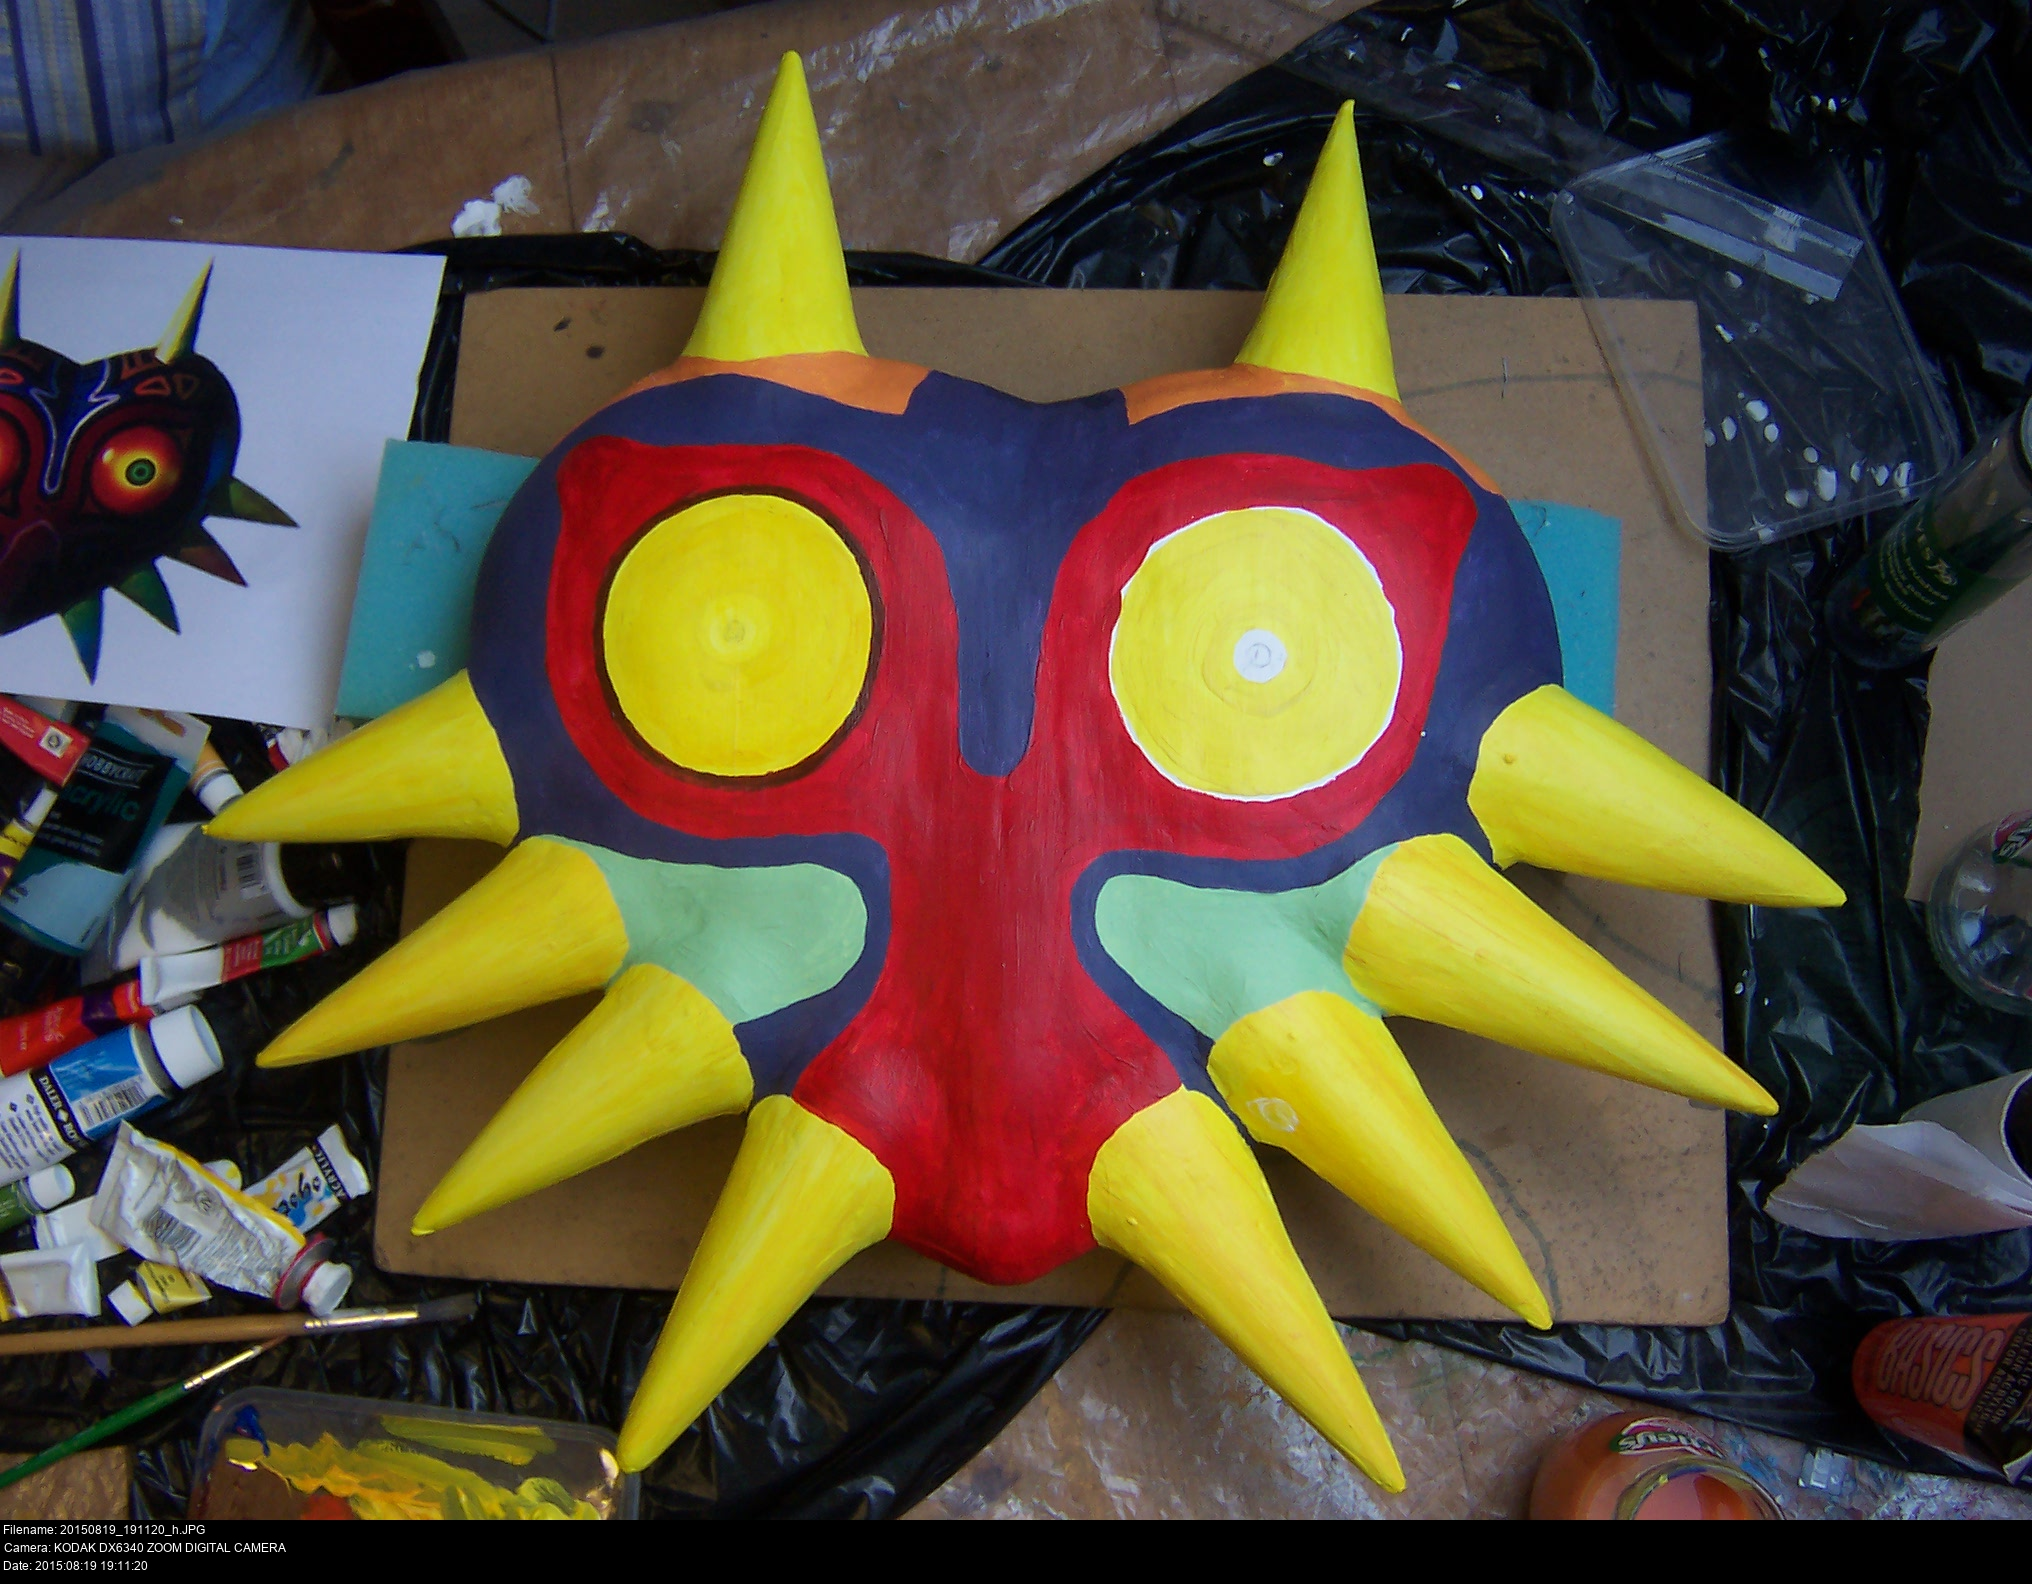
I don't have any trick to doing the fancy gradients on the eye and green cheek parts. There's two different ways to do it and I used them both haphazardly together.
When that's dried, you can either:
or:
Alternatively:
If you use a combination of these methods, your gradient should end up with the colours you want with the subtlety that you want.
The horns were done in stages over several days: first solid lemon yellow, then with slightly dilute red smeared back and forth to give a vein-like weak staining, then painted working up from the tip with the final colour, blended and streaked with dabs of toilet paper or kitchen roll. That's how they look in the illustration!
Take a breath! You've done it!
Now you have to figure out how you're going to protect, move, store, and -wear- this. And if you get any step wrong, you might end up breaking the thing you spent months painting. No pressure!
One simple protective measure that ought to help in the long term is applying a coat of varnish. I can't say for sure whether or not applying varnish has helped my mask in the years since I made it, but it sounds useful and it doesn't hurt.
Ask in your local art shop for a decent acrylic non-yellowing varnish with the finish you want. I used spray varnish because I wanted an even, thorough coat. Brush varnishing this would've taken a long time, and I was worried about making the paint bleed. Bear in mind you should apply more than one coat (do it -outside-) so you might need more than one bottle.


Now onto a more practical matter, how am I going to wear it? The simplest solution is a strap mounted into the back of the mask. My strap is made out of two inch wide elastic, with sections of velcro sewn to the ends so that they can curl around into a full, secure loop.
To mount the strap into the mask, I'm going to try my EvoStik shoe glue again. I know full well I'm gluing -elastic- to -gesso-, but there's not a lot I can do, save for scraping away or dissolving the gesso layer somehow (without weakining the plaster structure) and sewing a more glue-amenable surface onto the elastic.
Luckily my test piece (that's the short piece you can see mounted towards the top of the mask) glued just fine, EvoStik to elastic and gesso.


Mark out the rectangular area to be glued with pencil, apply your EvoStik, and apply -pressure- since this is an impact adhesive that requires clamping. I've got a few blocks of upholstery foam under that book so that the pressure is applied only onto the elastic, not onto the fragile mask. But remember to also support the mask itself with a soft surface underneath since you're now resting the mask on a painted surface. Use more sponge blocks or foam padding or something!
Leave it to dry for -days-. You do -not- want this step to go awry.
If you work carefully, deliberately, with preparation and knowledge, you too will be able...


... to do the dance.
For your mask is done, and all is finally well with the world.


Now what?
You've got a mask that's two feet across by one and a half feet tall. The outside edge of the mask is lined with horns made of easily deformable foam and coated in chippable plaster. You've left it on tables and workbenches for weeks on end, and now it's sitting in the middle of your bedroom and you're praying nightly that nothing slips off a shelf and shatters the whole thing.
How the hell are you going to store or carry this? It's a nightmare.
If you'd like to see how to store and transport your new mask, click here to read about my custom Majora's Mask box.
If you'd like to see how to make a -better- Majora's Mask that's lighter, easier to wear and -has eyeholes-, click here to read about my XPS foam Majora's Mask!


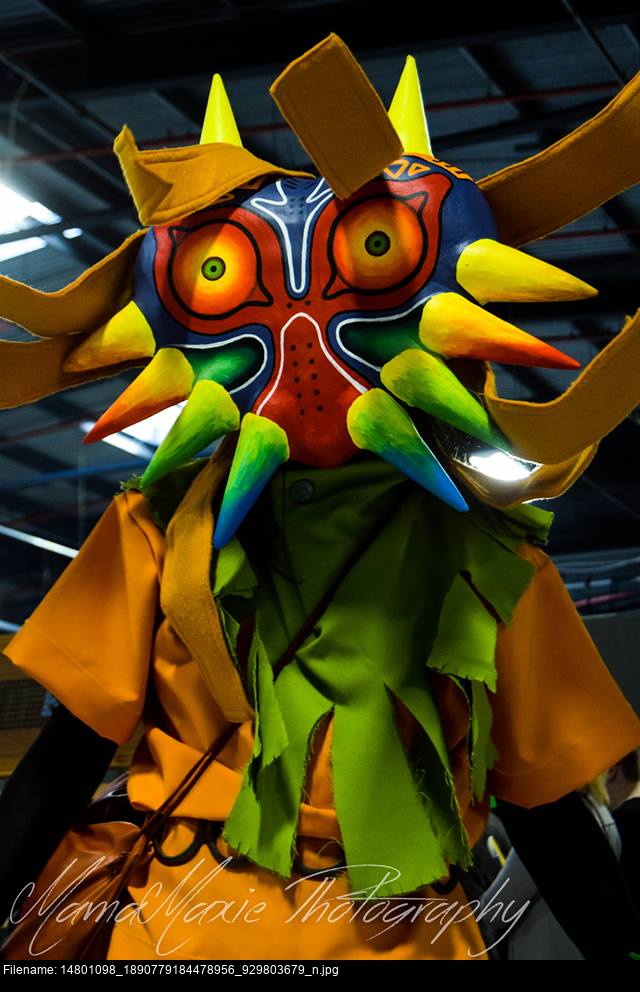
Here's the first time I wore the entire costume! Looking awesome, huh?
I can't see out of the mask, so there's no way for me to put on or adjust the hat.
The knack I settled on was:
Ask the photographer for help, saying I'll need them to put the hat on for me.
Crouch down and slip my head into the mask. I could undo-redo the velcro every time, but I've found that keeping it set to a reassuringly tight setting and just using it as a solid band works much better.
Signal the photographer to put the hat on me. It's up to them to get it right!
Wait for them to finish before getting to my feet.
The mask is thick enough and solid enough that I can carry it around under one arm at conventions, with my hat in the other hand. I had to walk two miles from EventCity to my hotel room at Play Expo, I think I used up a month's worth of luck not damaging the mask along the way.

More pics!


Damage is a fact of life. You cannot avoid getting your mask damaged, regardless of how much care you take with it. You'll put it down funny, carry it oddly, have strangers touch it, or, like I did at MCM Manchester, walk into the door frame of your hotel room at the end of the first day and chip the paint on one of the horns.
What're you going to do? Panic? I hope not!


What you're going to do is carefully, delicarely restore it to a good state and then work forwards again. Cut away anything obviously loose or smashed, file the paint back so it's all smooth. Then lightly replaster it, regesso it all, repaint it, step by step. It'll end up shorter if you don't extend the point outwards again with plaster, but that stuff is horrible to get right. Who cares? It looks right. Varnish it and forgeddabout it.
It's a coincidence that the one horn that got damaged is the same one that didn't glue correctly first time. On the plus side, when I damaged it, it stayed on! Go Gorilla Glue!
And that's the story of how I modroced the casbah and won the day. Thanks for reading.
Written by Matt Carr! mrdictionary.net nonsense.
Questions? E-mail 'em to me, skullkid@mrdictionary.net!
Twitter @SkullKidUK - Facebook facebook.com/mask.smith.cosplay