


Here's a simple one that had me really worried until I tried it. Let's do Skull Kid's gloves.
Skull Kid's gloves are green, the same colour as his shorts and tabard. They're fingerless, but the exact nature of the fingerlessness varies from image to image.
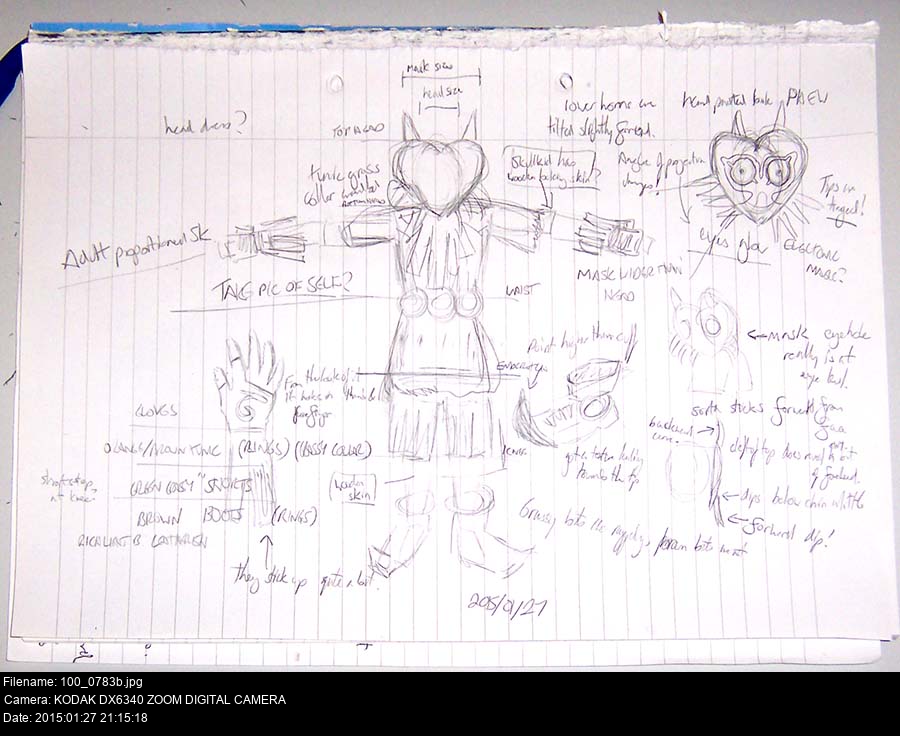
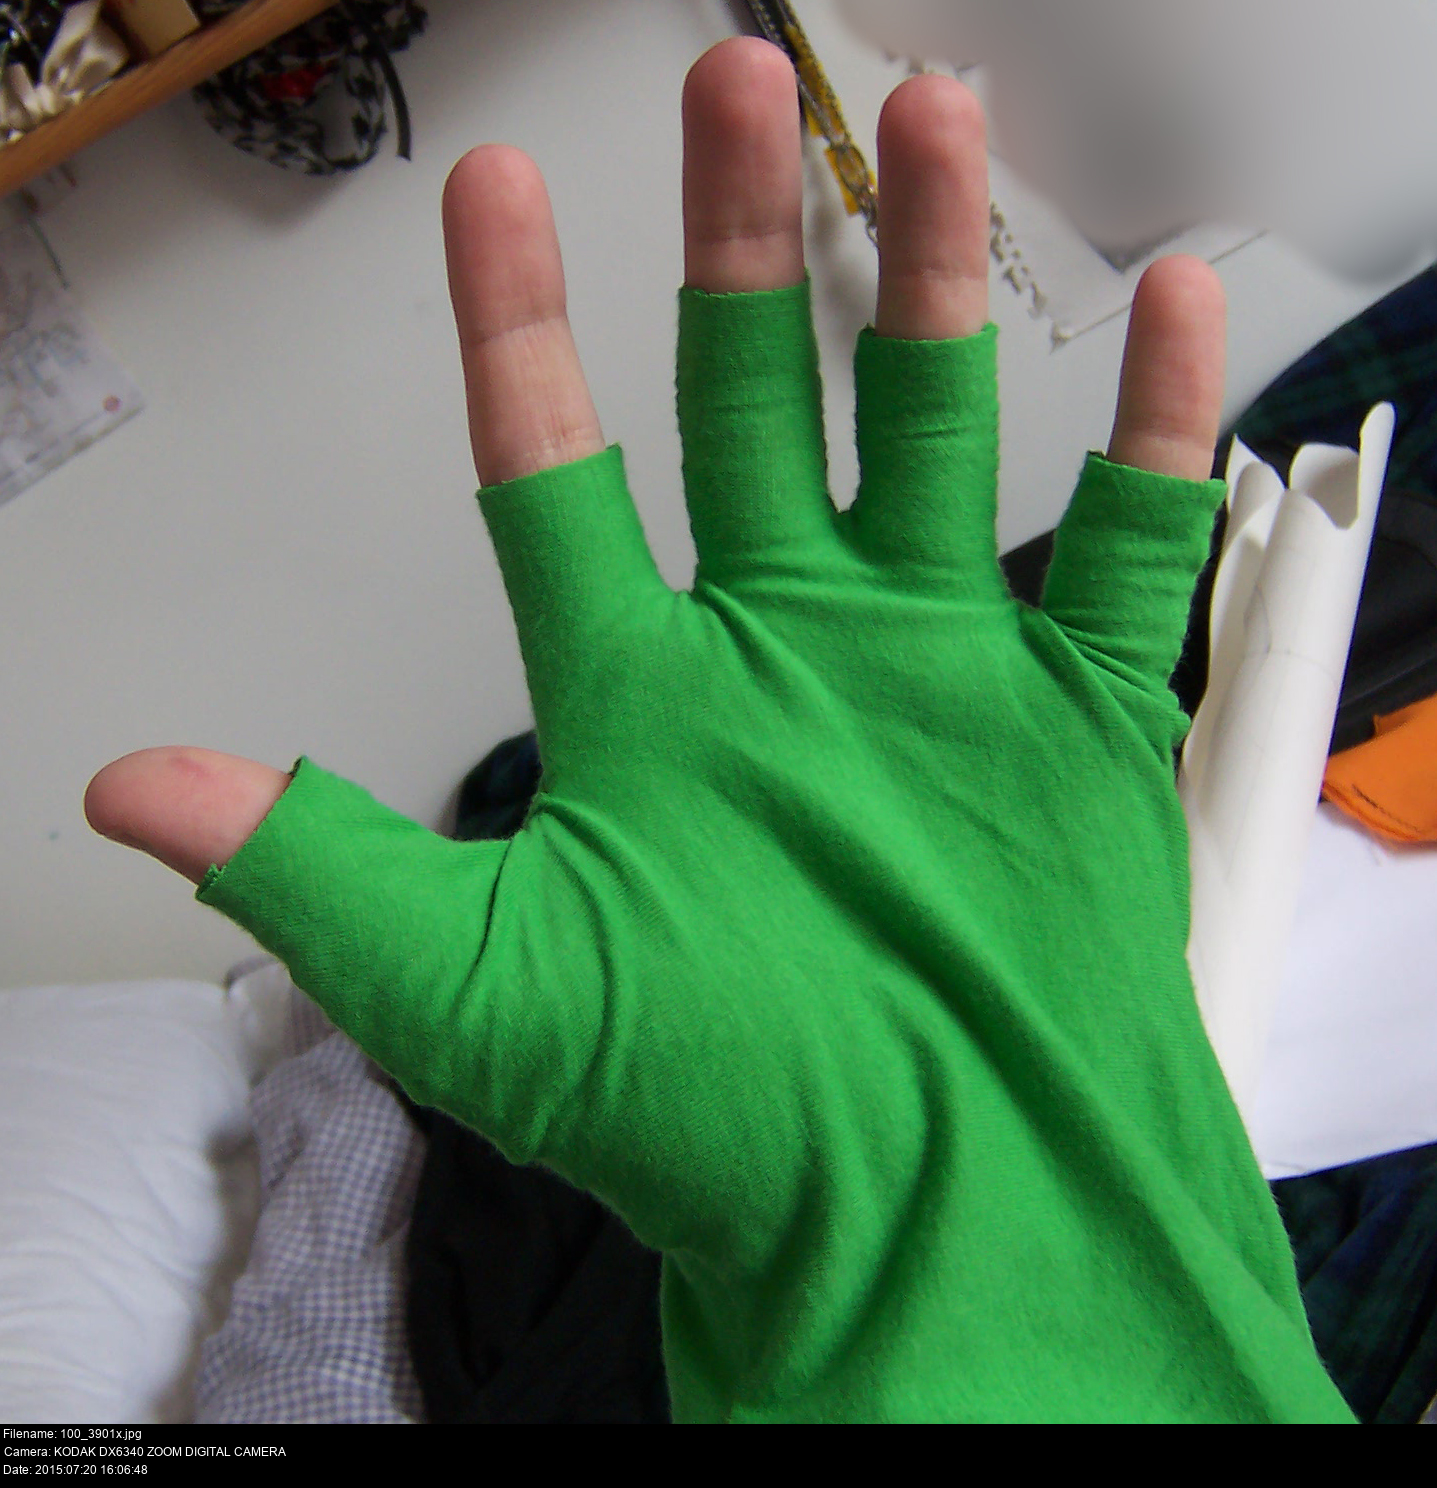
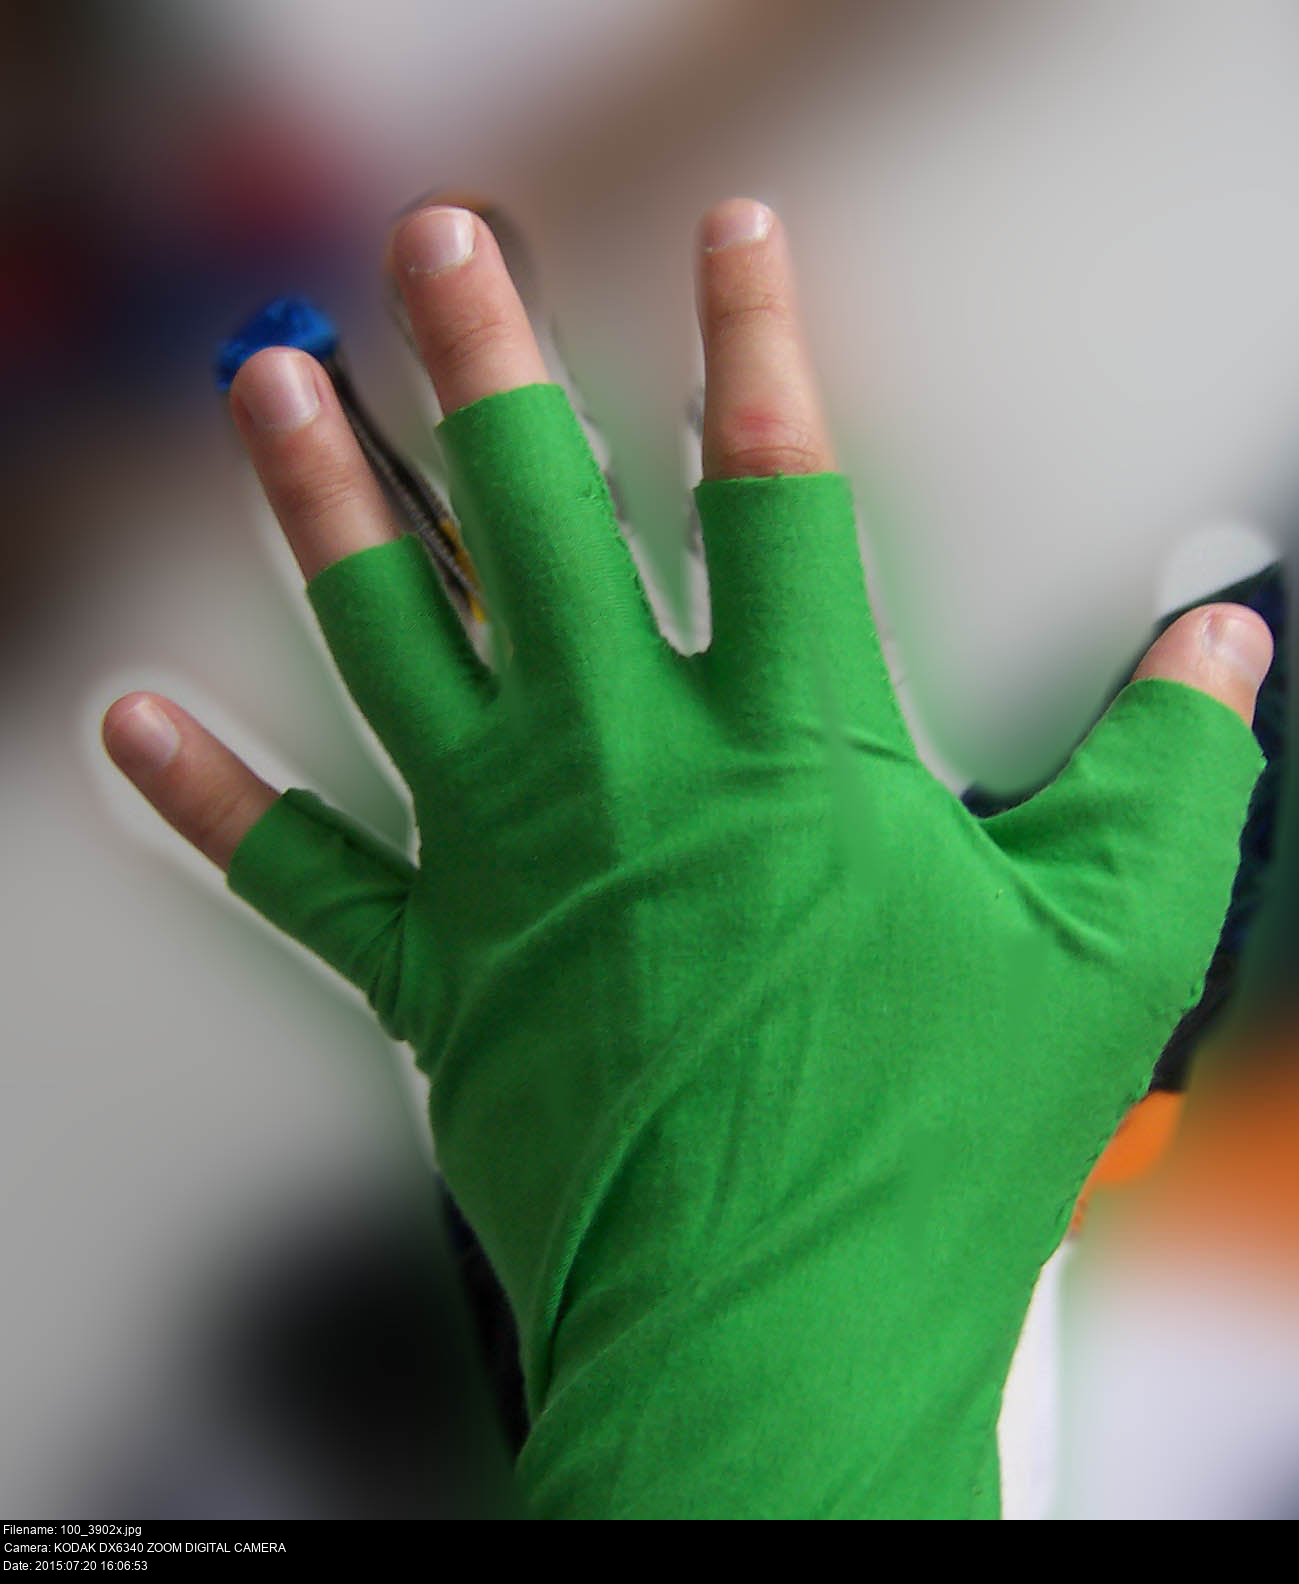
In most fan art, he's got fingerless gloves that extend barely towards the knuckle on every finger. In the original official illustration, you can see that the glove is missing the fingers for the middle, ring and pinky: it only extends down the thumb and index finger. You can see what I mean on my original notes from 2015.
In the manga (which I think was written and drawn while Majora's Mask was still in development) Skull Kid's got complete gloves like his Ocarina of Time counterpart.
Like the shorts, the gloves have a ragged edge to them. The ragged edge of the gloves is very long, reaching the elbow in most cases. One thing that all of the illustrations have in common for both the shorts and the gloves is that these ragged edges don't look to be affected by gravity! They all look as if they're made of grass strips, staying completely rigid regardless of his pose.
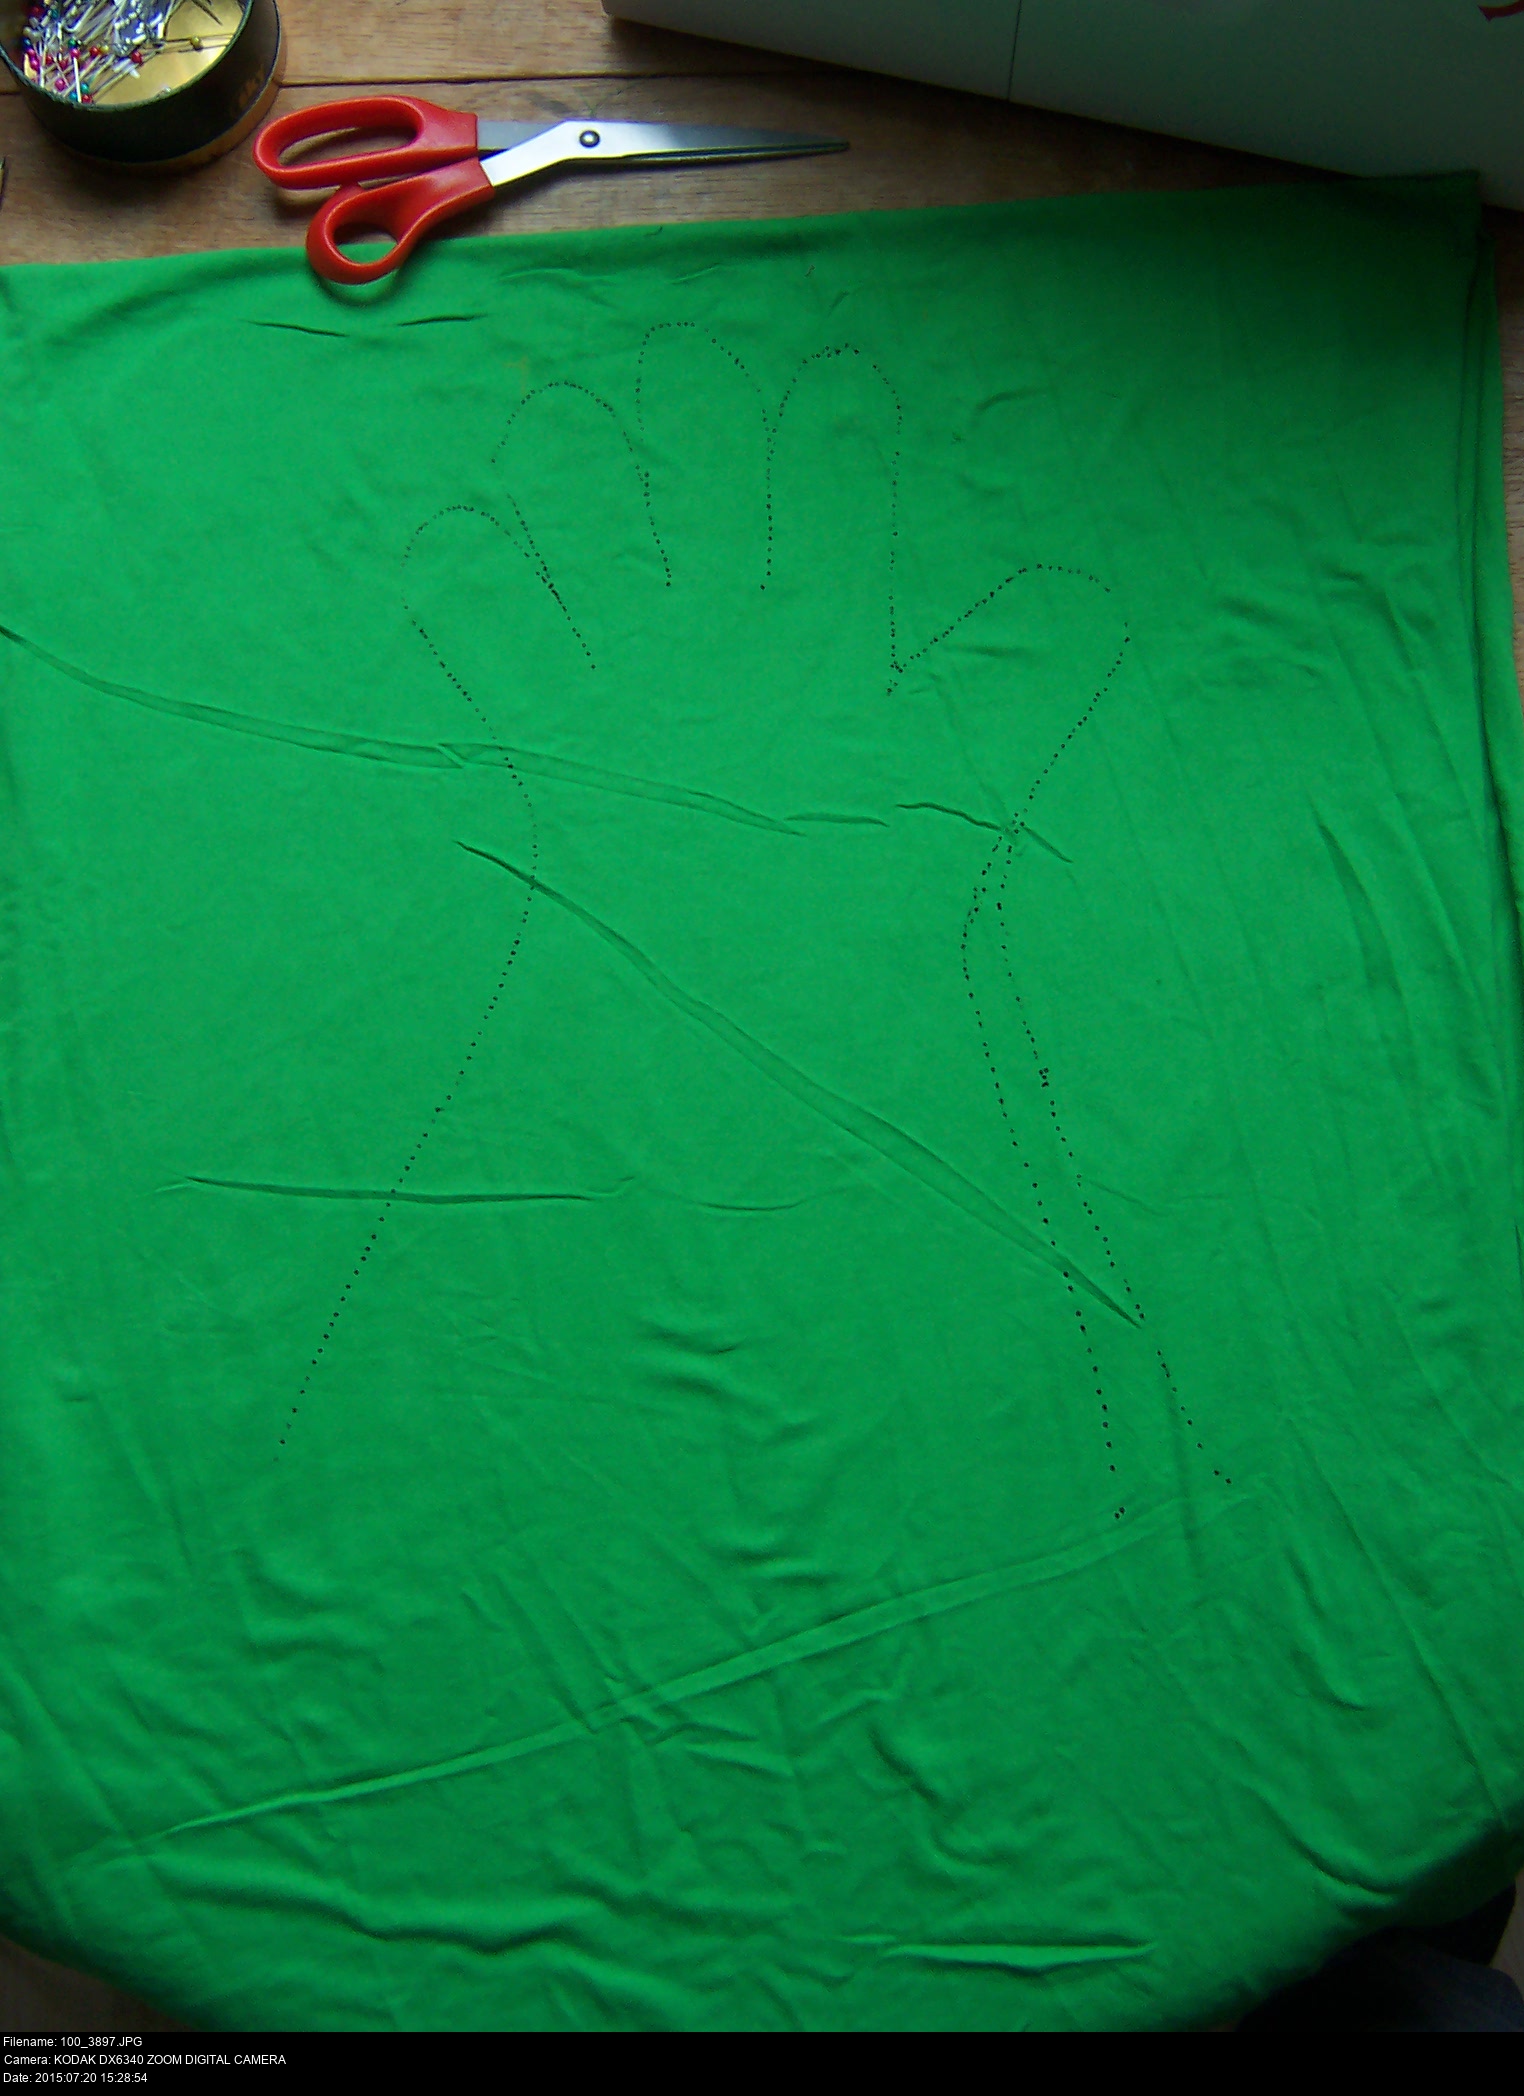
Although the gloves are the same colour as his shorts and tabard, I'm not going to use the same material. Polyester large items are alright to struggle into, but gloves are too fiddly. I need something stretchy.

How do you make gloves? There are a whole bunch of methods. Some glove patterns have a thumb that's separate from the fingers. Some glove patterns have a strip of material between the upper and lower layers (this is called a fourchette, by the way! http://thedreamstress.com/2015/05/terminology-fourchette-quirks-and-other-glove-terms/ ). I'm going to make a really simple glove that's made of two identical layers: a top and a bottom.
You can try to download a glove pattern from the internet, but it sounds like something that's destined to mess up. I decided to simply draw around my hand and add on some widths using my judgment to make sure my hand could fit inside the glove and that my fingers were snug and mobile.


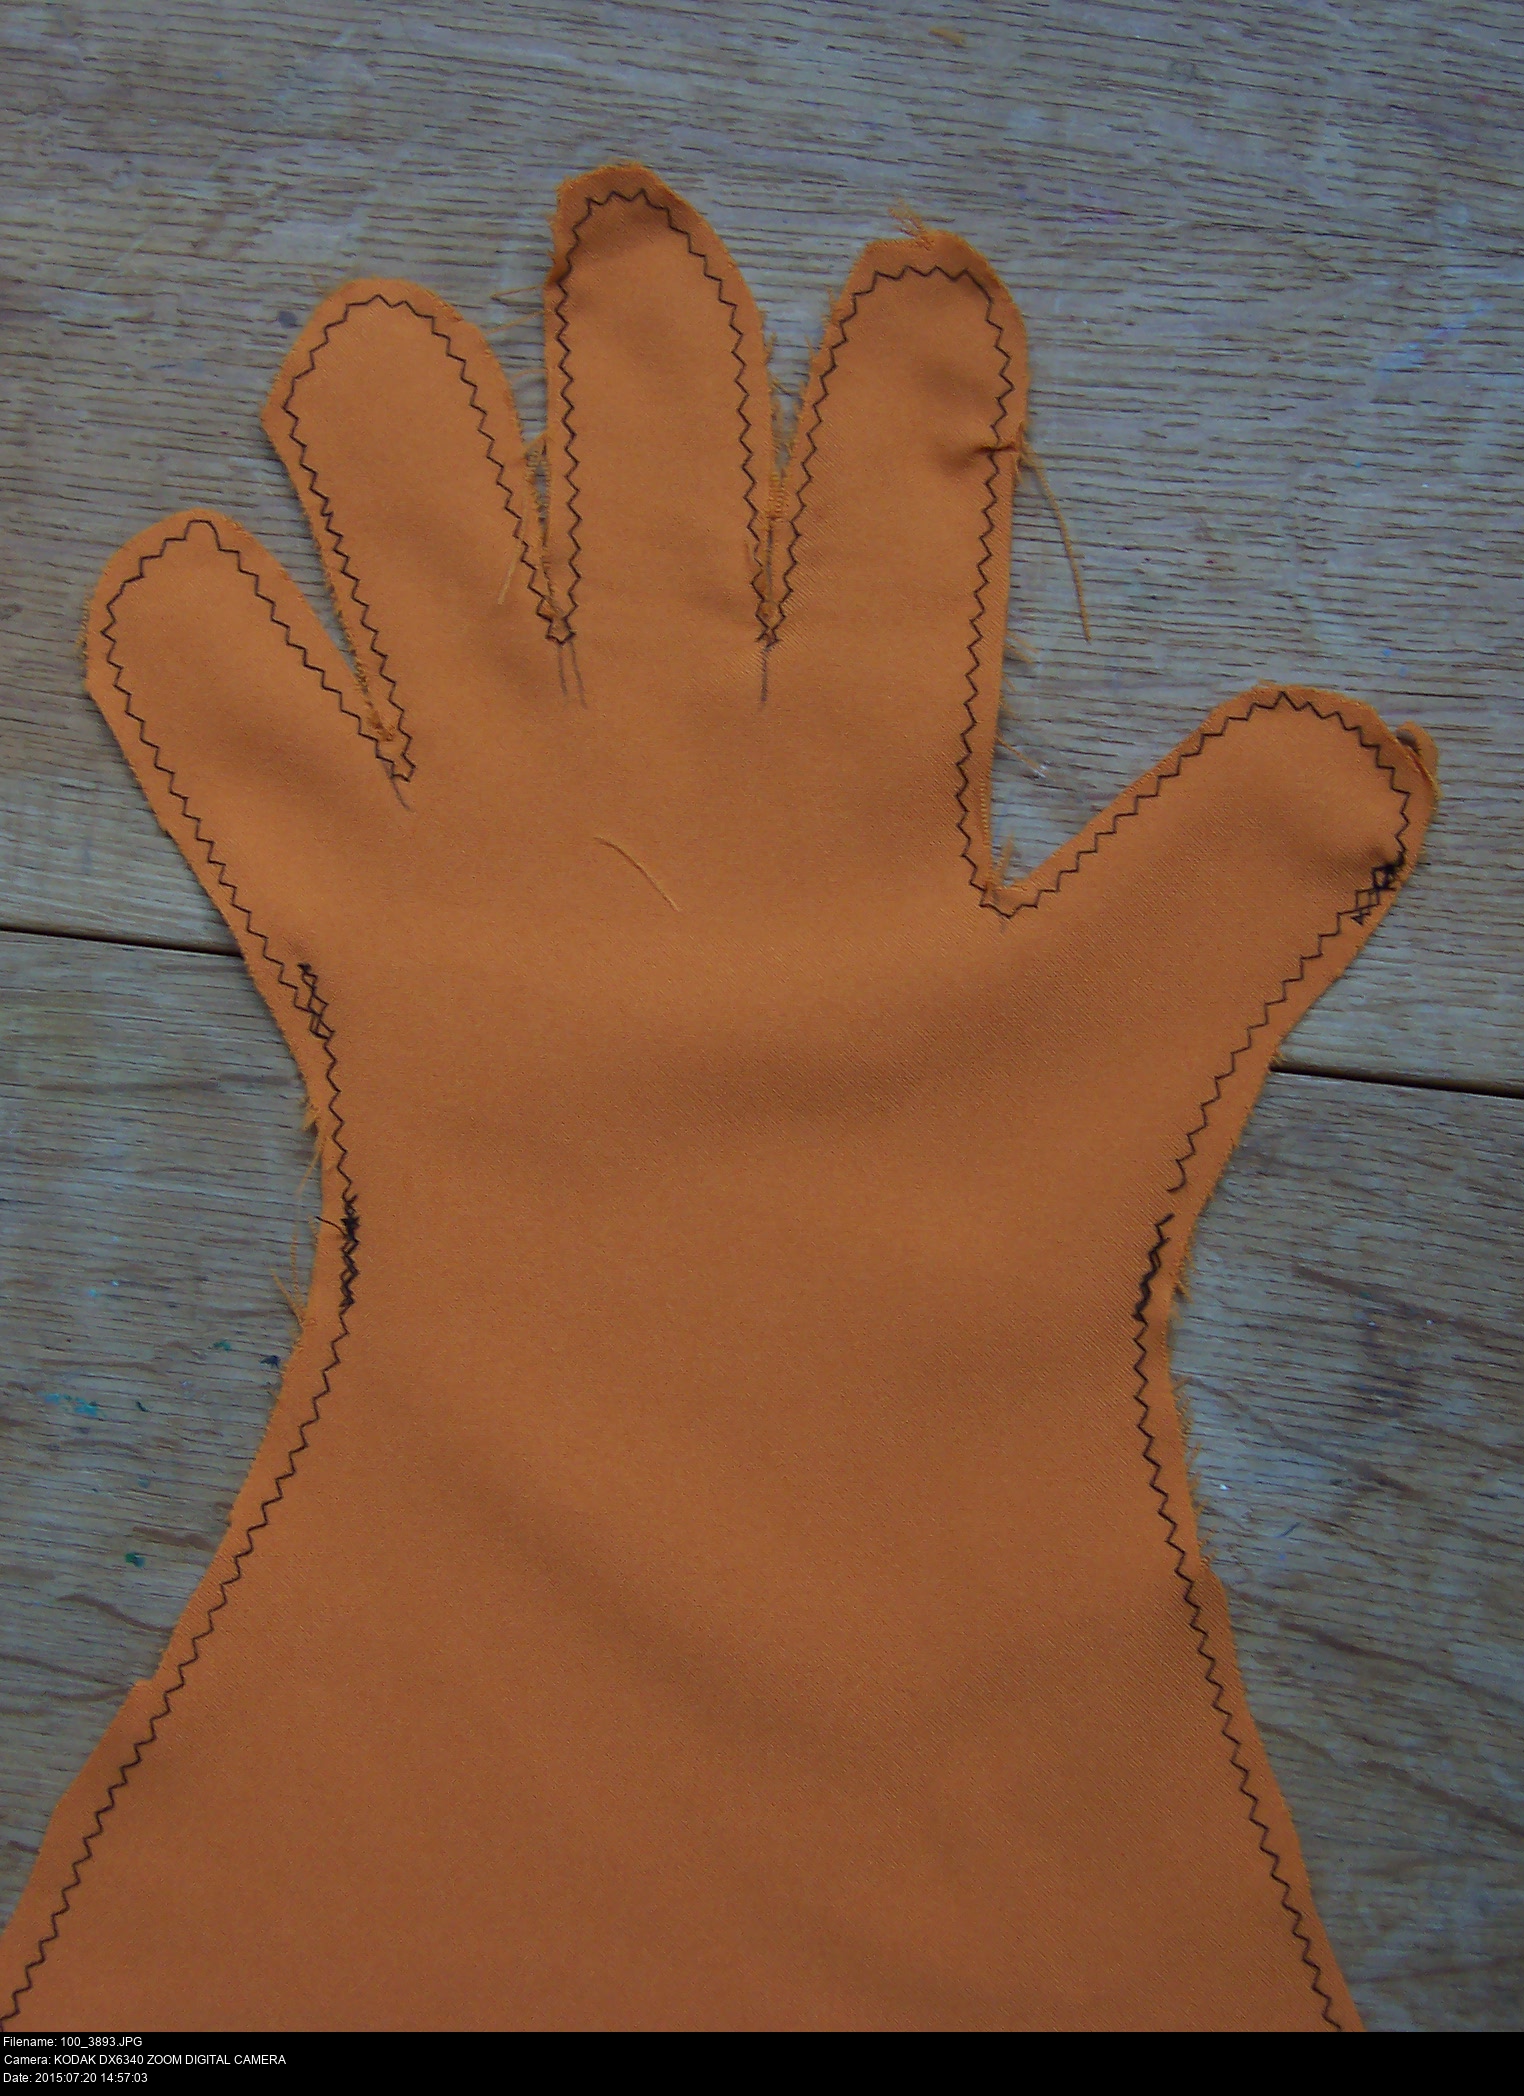
I had tons of orange polyester left over from making the tunic, so I decided to test out my method with some of that. If I can get my hand into a polyester glove, I can definitely get it into a cotton glove.
I've made a stupid rookie mistake here. And I'll make it again and again... I'll only get it right when I do my fursuit gloves a couple years later.
When you're making something intricate, not only should you leave large seam allowances, but if you're making something out of two identical layers: don't cut them out!! Sew them together while they're still part of the main material. Your material will stay strong, and you can rotate the work while the needle is inserted mid-sew without tearing the whole thing apart.
Cutting the material first before sewing will give you very poor results!

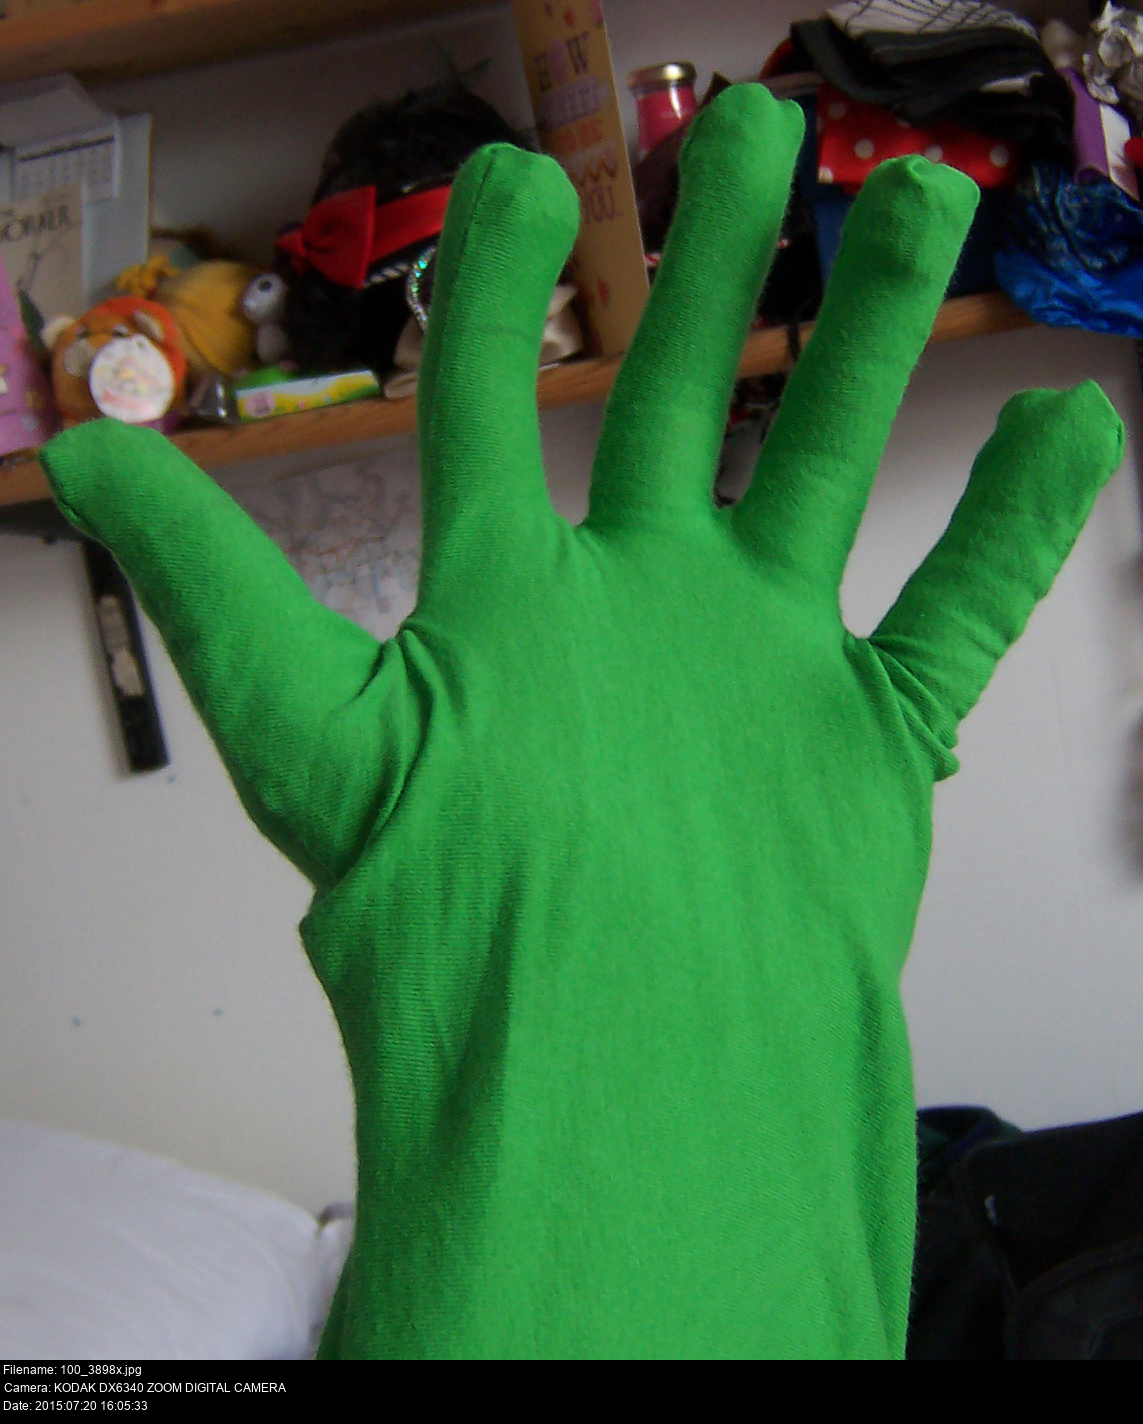

At least I had the sense to make a whole glove and then cut the fingers off later. Trying to make a fingerless glove by only sewing to the fingerless parts sounds like an incredibly fiddly task.
When making the full glove with the intent of cutting the fingers off, you'll have to remember to manually backstitch and wiggle your machine sewing at the point where you're likely to cut the fingers off so that the sewing doesn't immediately come undone when you make the cut. When deciding where to cut, wear the complete glove first and make markings with pencil. Don't just guess!
Also, be conservative and cut off small parts until you're satisfied. Don't forget you're making a pair of gloves and you probably want them to be identical, so refrain from cutting too much until both gloves are ready.
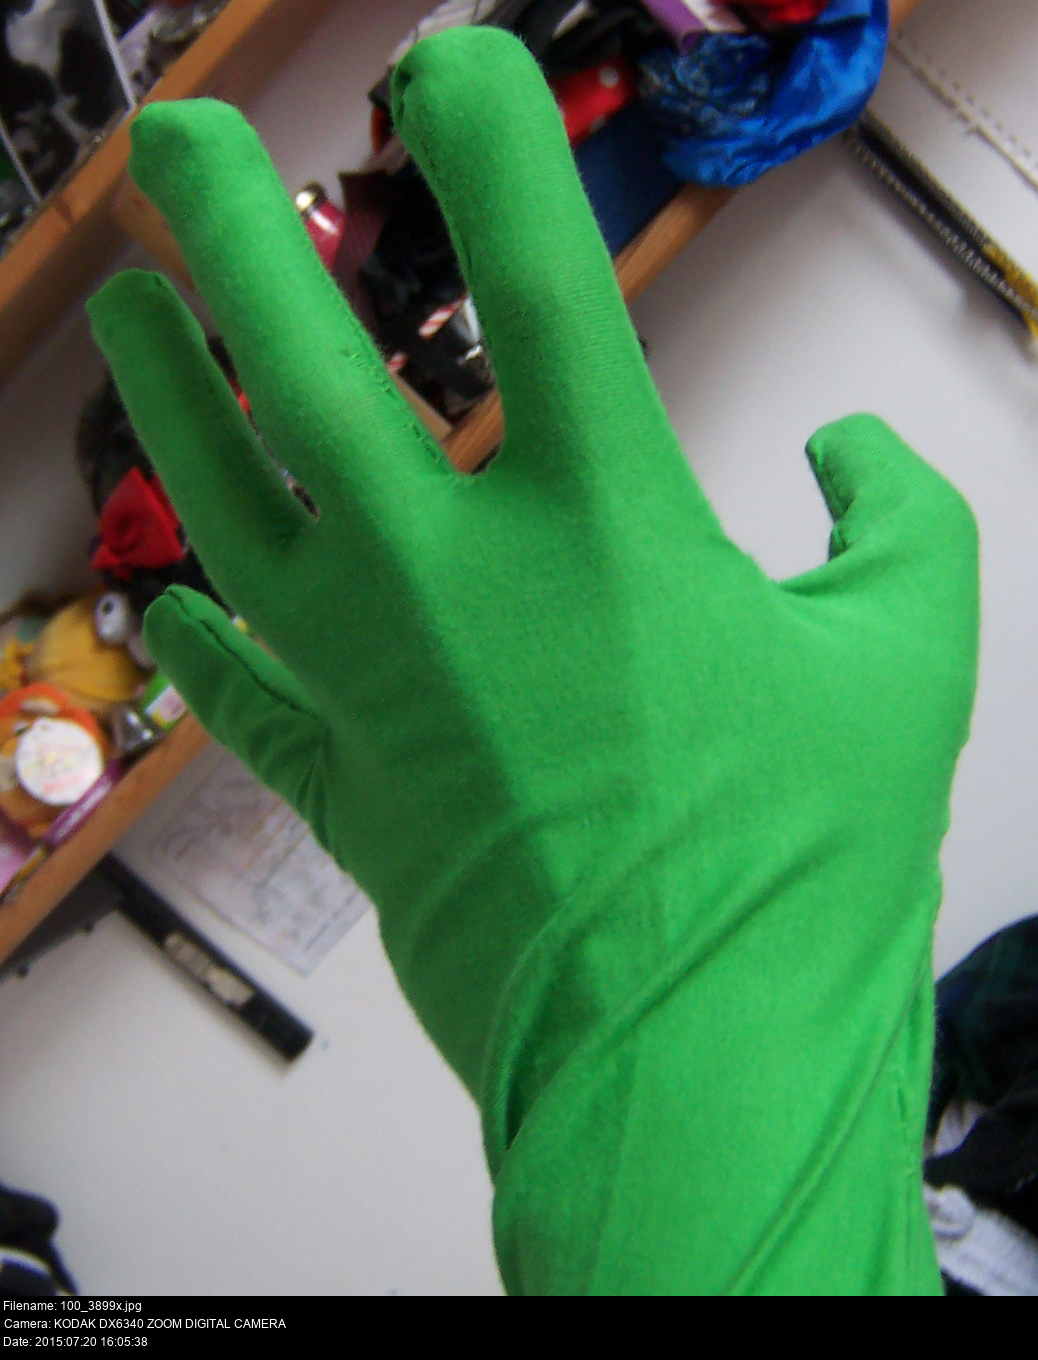
They look a bit weird, the finger-holes a little too tight. They'll do. The last thing I want is for them to fall off by themselves. I'm also planning on wearing a dark undersuit beneath this, so they'll be marginally tighter still.

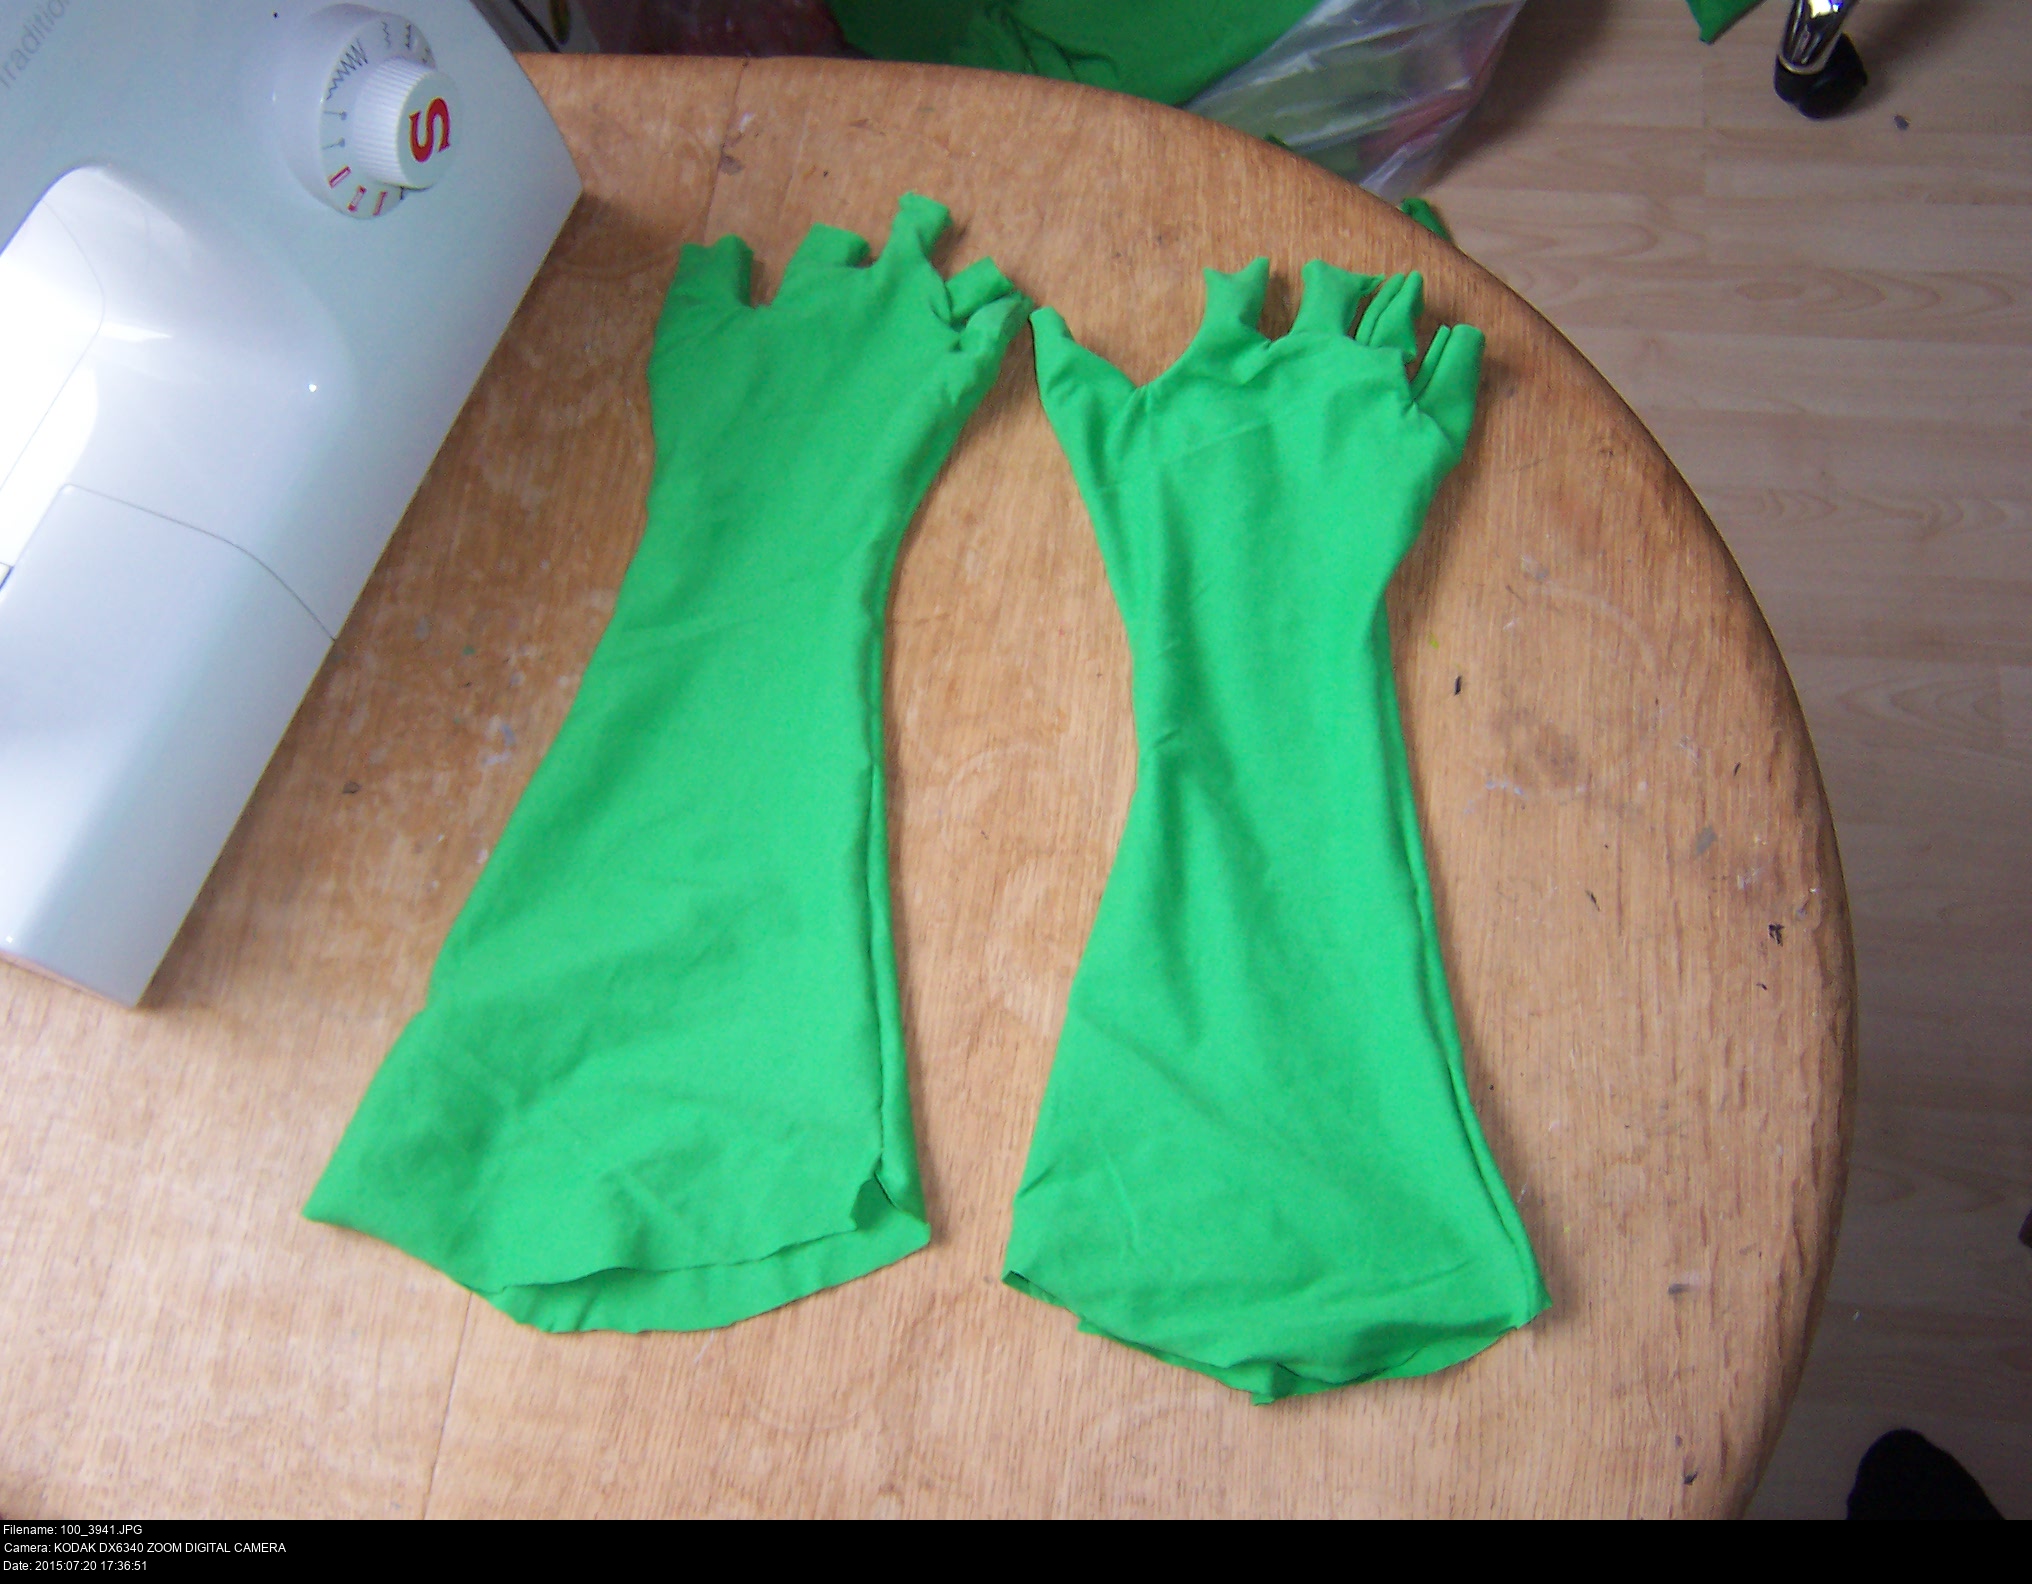
I've got no idea which are the front and the back, or which are the right and the left. They ought to be symmetrical at this point so if they're made well it doesn't matter. The distinction is only made when you paint on the symbol.
They are a little ragged between the fingers thanks to the poor sewing method I described before. They're easy to fix with some hand-sewing. If you're really dedicated, go nuts with fourchettes.

Let's have a look at the symbol!
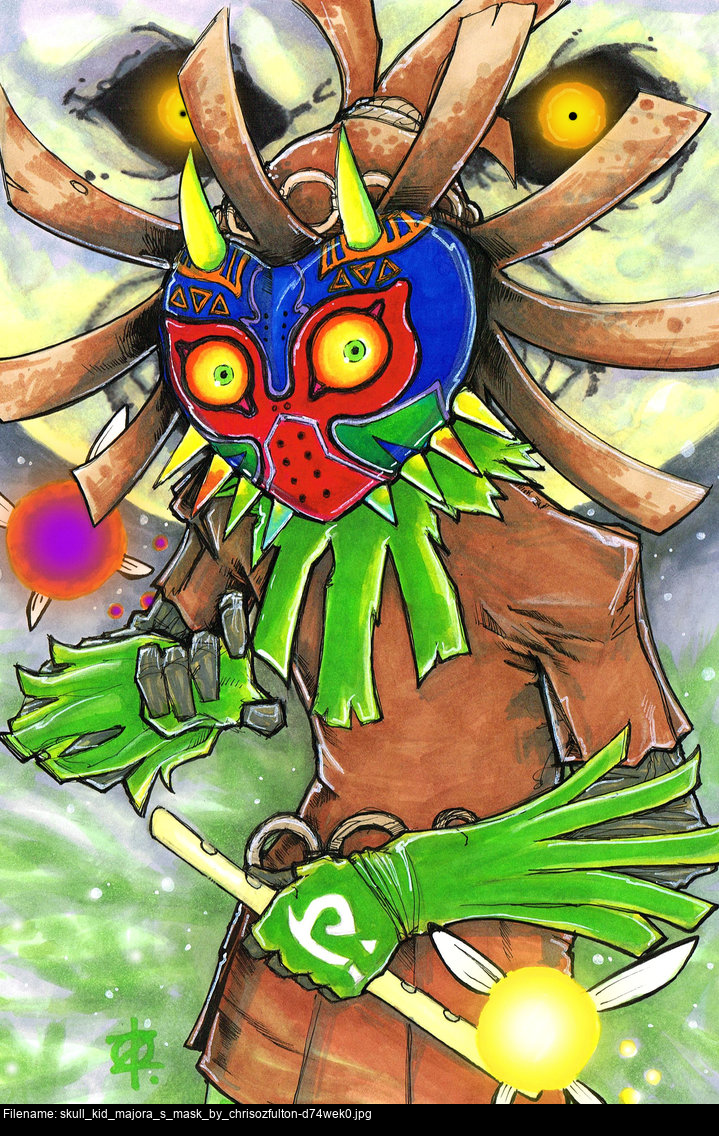
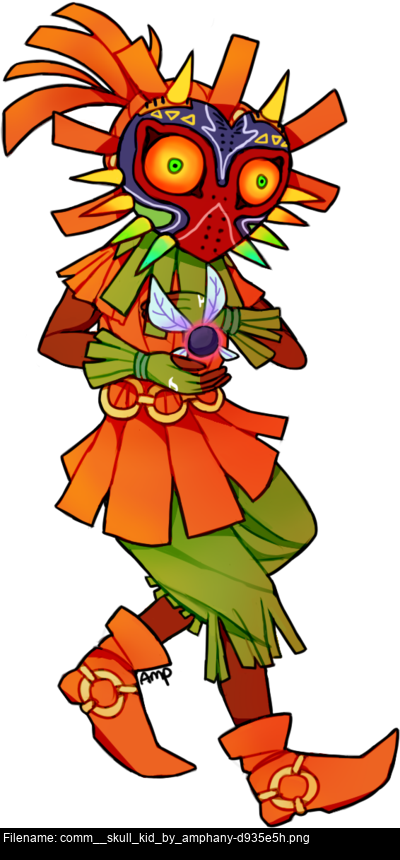
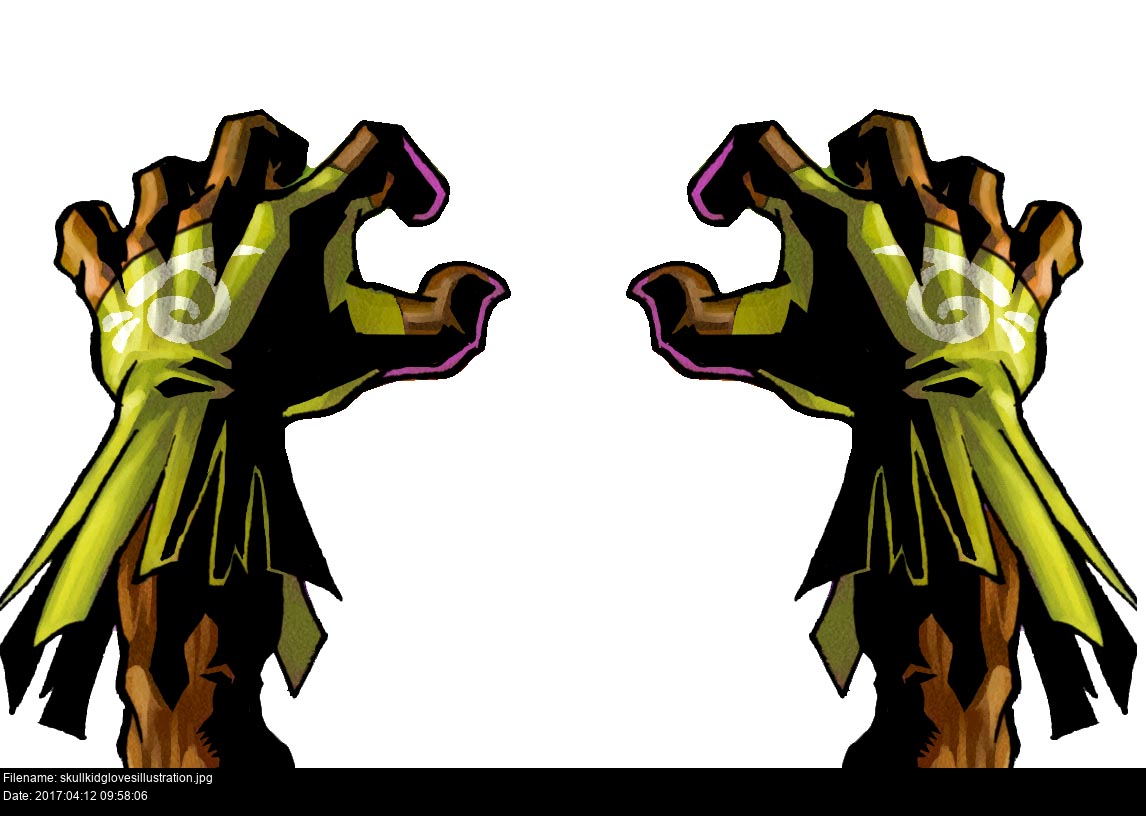
Here's some zoomed in, rotated images of how Skull Kid's gloves look like if you were to hold your hands out in front of you. You've got the official illustration, and the 3DS remake model.
You have to take care when copying the symbol onto the glove. It's very easy to end up with the symbol flipped or rotated because you didn't visualise how the pose in the illustration would look in real life. It's also possible to paint the symbol onto the glove and have it look fine, but end up twisted or distorted when your hand is inside the glove since you didn't take into account how the glove deforms when its worn.
Wear the glove frequently to see how it rests on your body, and then mark out with pencil the area where you want the symbol to lie. Get somebody to help if you have to. Once you've done that, take your reference pictures and rotate them so you can see how the symbol looks when it's oriented the same as your glove.
Use your original test glove if you need to, no reason to make it and immediately chuck it out.
Also did you notice that the model version has cords around the wrists to clinch the glove to the wrist, and the illlustration it's based off doesn't? It's up to you!


Here I'm testing various ways of painting the design onto the glove. I don't have any fabric paint so I'm having to improvise. The lower symbol is painted using a mixture of gesso and 'ready mixed seawhite' acrylic paint. The middle one is gesso alone and the top one is acrylic paint alone. They all look good enough I suppose. I decided to go with gesso in the end.
I painted the symbol slowly, giving it two coats. Leave it to dry before doing anything. Hours! No rushing! Seems flexible and bright enough to me. It won't look completely solid as if it were printed or embroidered on, but I doubt Skull Kid would have gloves like that anyway. Acyrlic paint and gesso are water based, so if you make a big mistake painting the symbol you have a chance to rescue it. But you're not going to need that, since you're going to lay the glove out flat, stretch it slightly, clamp it down against a smooth surface and work incredibly slowly with a good-quality brush.


When you've got the rest of your costume to hand, you can start adding the details. Which in this case is the raggedy edge. Get loads of pictures of yourself taken, and mark off where you want the edges to lie with pencil. Don't forget that if you're making a glove out of two layers, a straight cut perpendicular to the seams -won't- result in a nice circular edge. It'd be like trying to make a cone by joining two triangles together.
Cut conservatively.
I haven't done anything special to the gloves to make them stiff like in the illustrations. If you're planning on going to that effort, you should treat your gloves (maybe several starchy washes?) before you cut the ragged edges. With this stretchy fabric, the loose ragged edges have a tendency to curl up on themselves instead of staying straight. I'm just going to rely on the sleeves being slightly snug. If I lower my hands, the cuff will roll down, but it's a loose cotton glove, so it'll happen.

abellabella's Skull Kid gloves look almost papery. Maybe they are paper? Or canvas? If you find something suitable and green, think it over!

And there we have it! The symbol is lovely and clear, the gloves are the right shape, and everybody's super happy. I was putting these off since the thought of sewing the shape and painting the symbol filled me with dread. Did these in a couple of hours (not counting the time it took for the first layer of gesso to dry).
I have no idea how to wash these. The gesso I'm using is acrylic based, so it's effectively really concentrated acrylic paint. I believe this means the paintwork should survive a wash (the sewing probably won't!), but I'm never going to stick these in the washing machine.
I keep my gloves apart from one another in my luggage so they don't accidentally stick together. I also keep a rectangle of card inside them to keep their shape, or else they have a tendency to scrunch up into little balls.
If you're not going for the undersuit, you'll still be able to get your hand stamped at conventions and use a phone and all the rest. If you use a suit like me, then you're going to have to master the subtle art of pressing your phone with the side of your thumb, or whatever tiny area you find that activates the screen.
Written by Matt Carr! mrdictionary.net nonsense.
Questions? E-mail 'em to me, skullkid@mrdictionary.net!
Twitter @SkullKidUK - Facebook facebook.com/mask.smith.cosplay