In an attempt to get myself away from a computer screen, three years ago I made a promise to get myself doing more interesting things with my life than debugging hideous code interactions on websites. I ended up making a big modroc mask, a crazy costume, silly shoes, a ridiculous hat, and a fuzzy, bright orange lynx head.
But now I have another new hobby!
While I was walking to the next town over in the absolutely freezing horrible rain just to buy a single sheet of plastic, I stopped in at a strange second-hand shop that I didn't expect to be open. (Most places like that shut at 4pm, this was almost 5pm.)
They have the usual stack of car-boot things that make me puke by looking at them and that I'd rather saw my hands off than be forced to touch, and a whole stack of rotten-paged Tom Clancy novels and Peter James' famous Dead You Super Dead Very Dead Like The Dead Who Are DEAD series.
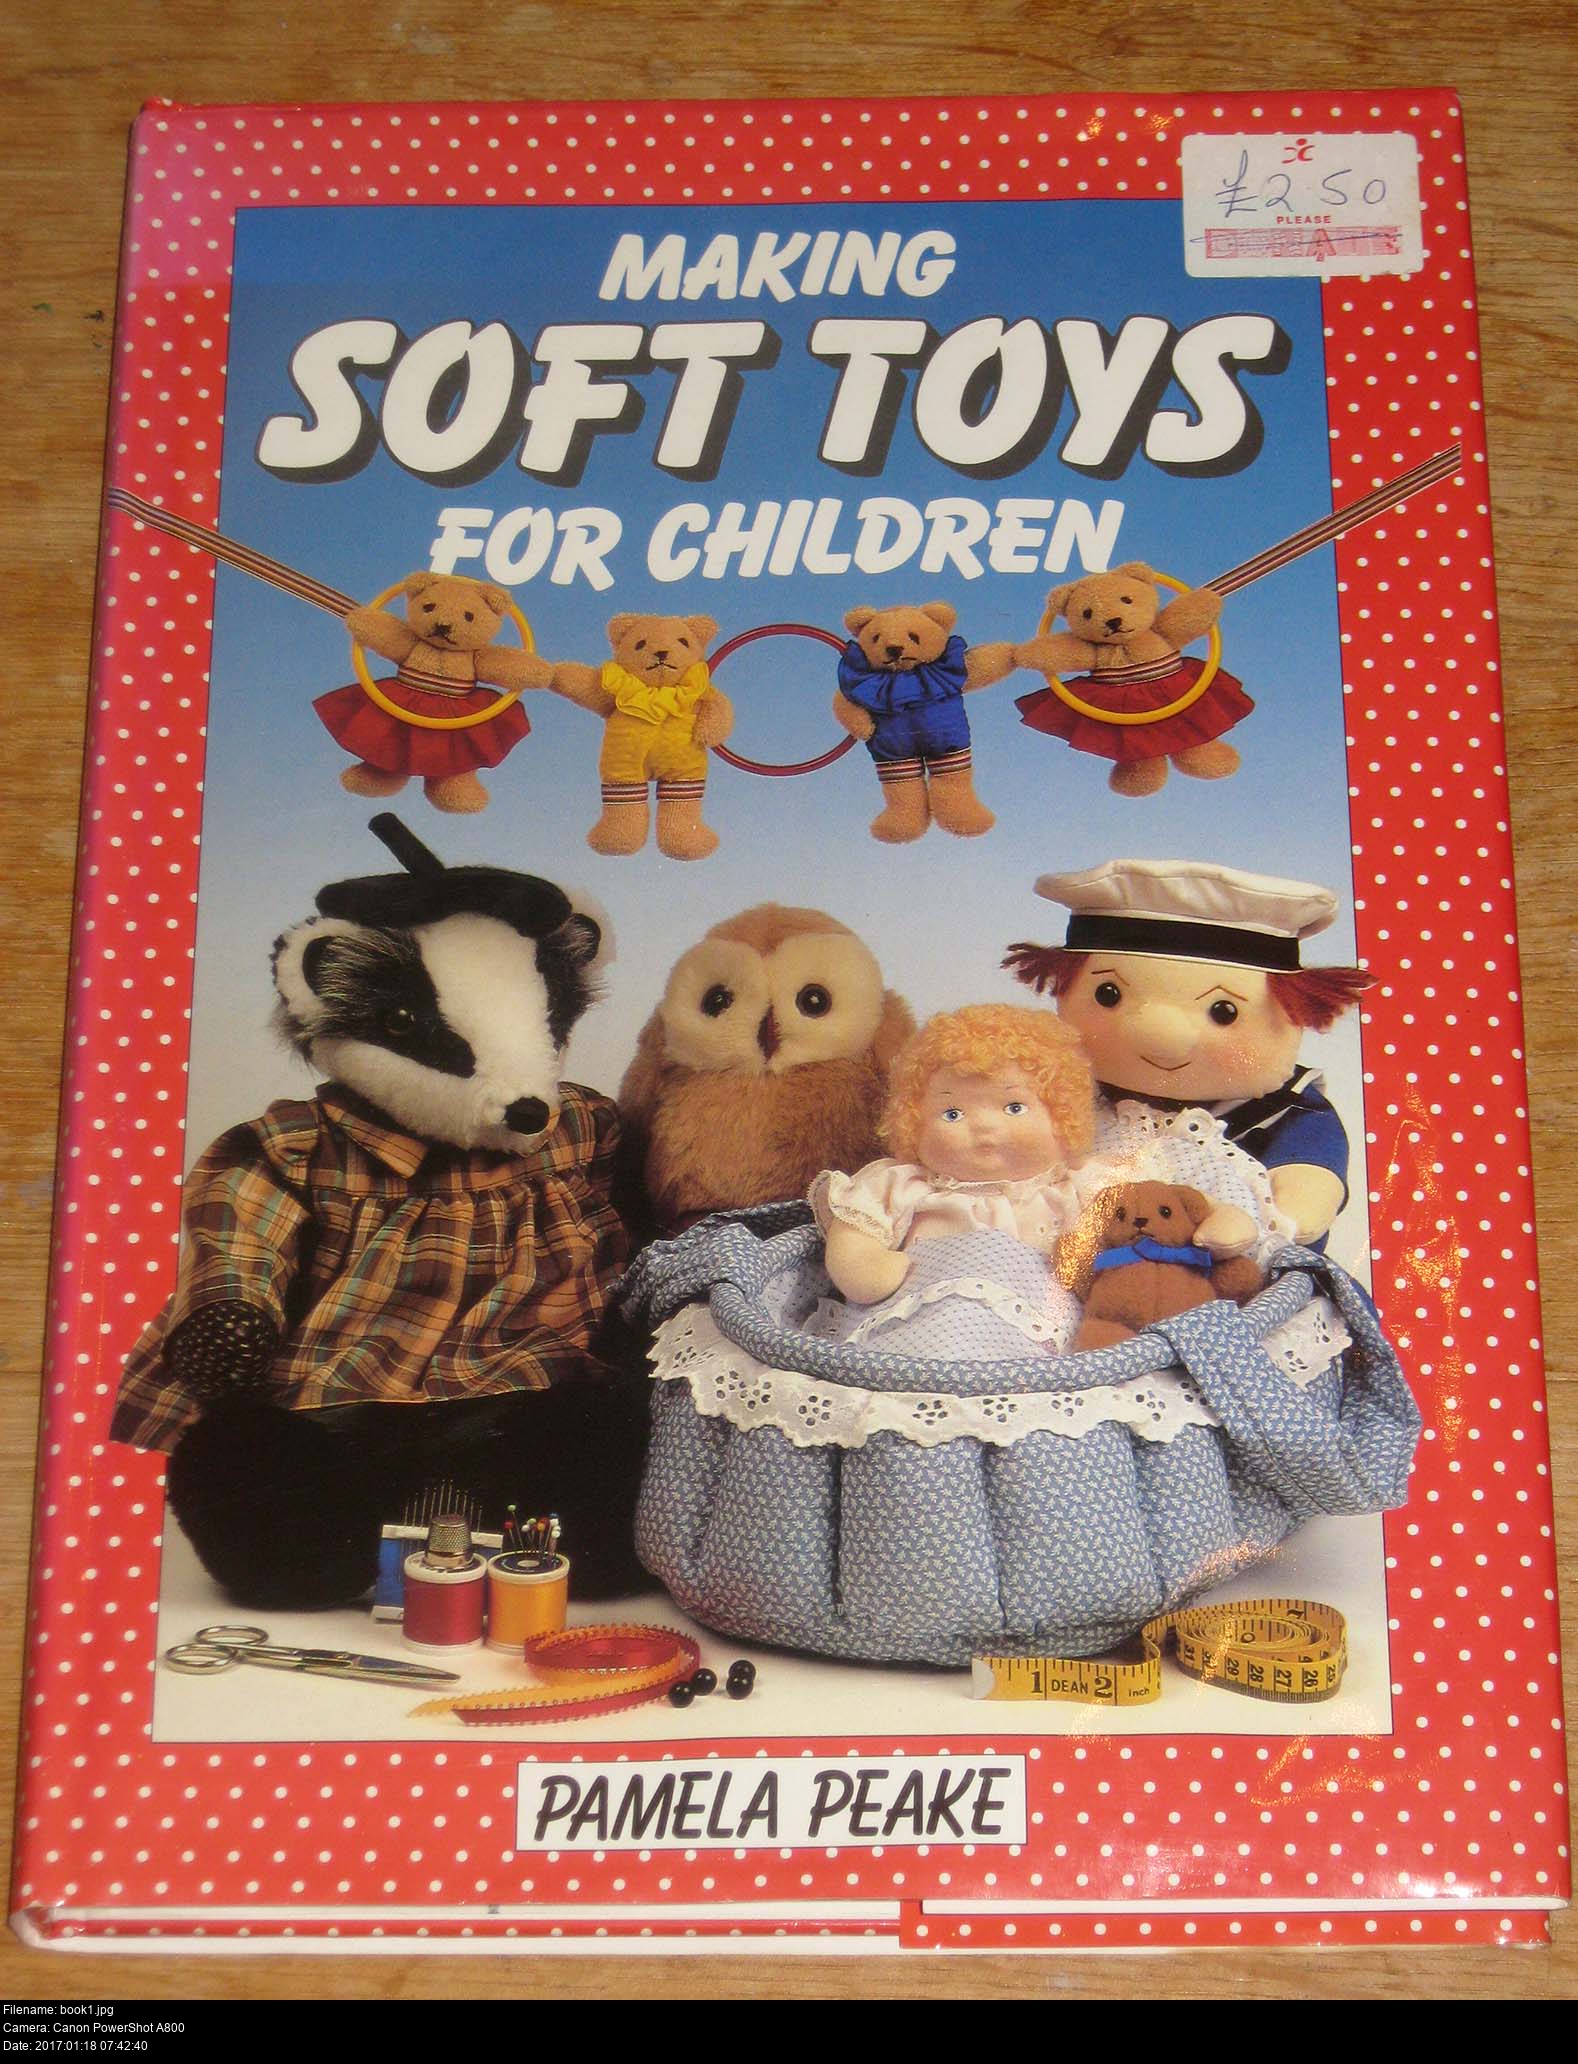
And beside all those, a very large hardbound book with a curiously intact dustjacket:
It's Making Soft Toys For Children by Pamela Peake! I say that as if I know who that is or I'm familiar with the book, I'm not! But it looks pretty good. These folks on the cover remind me of a bunch of really old animal toys my mum has. She was going to chuck 'em out but I went 'noooo wayyyy'.
It's a reassuringly old and expensive feeling book (it's from 1988), chunky as hell. Full colour printing, and very nice individual photographs of all the stuff you can make. There's four categories of toy: nursery items + floppy toys, dolls, animals, and animals in clothes!
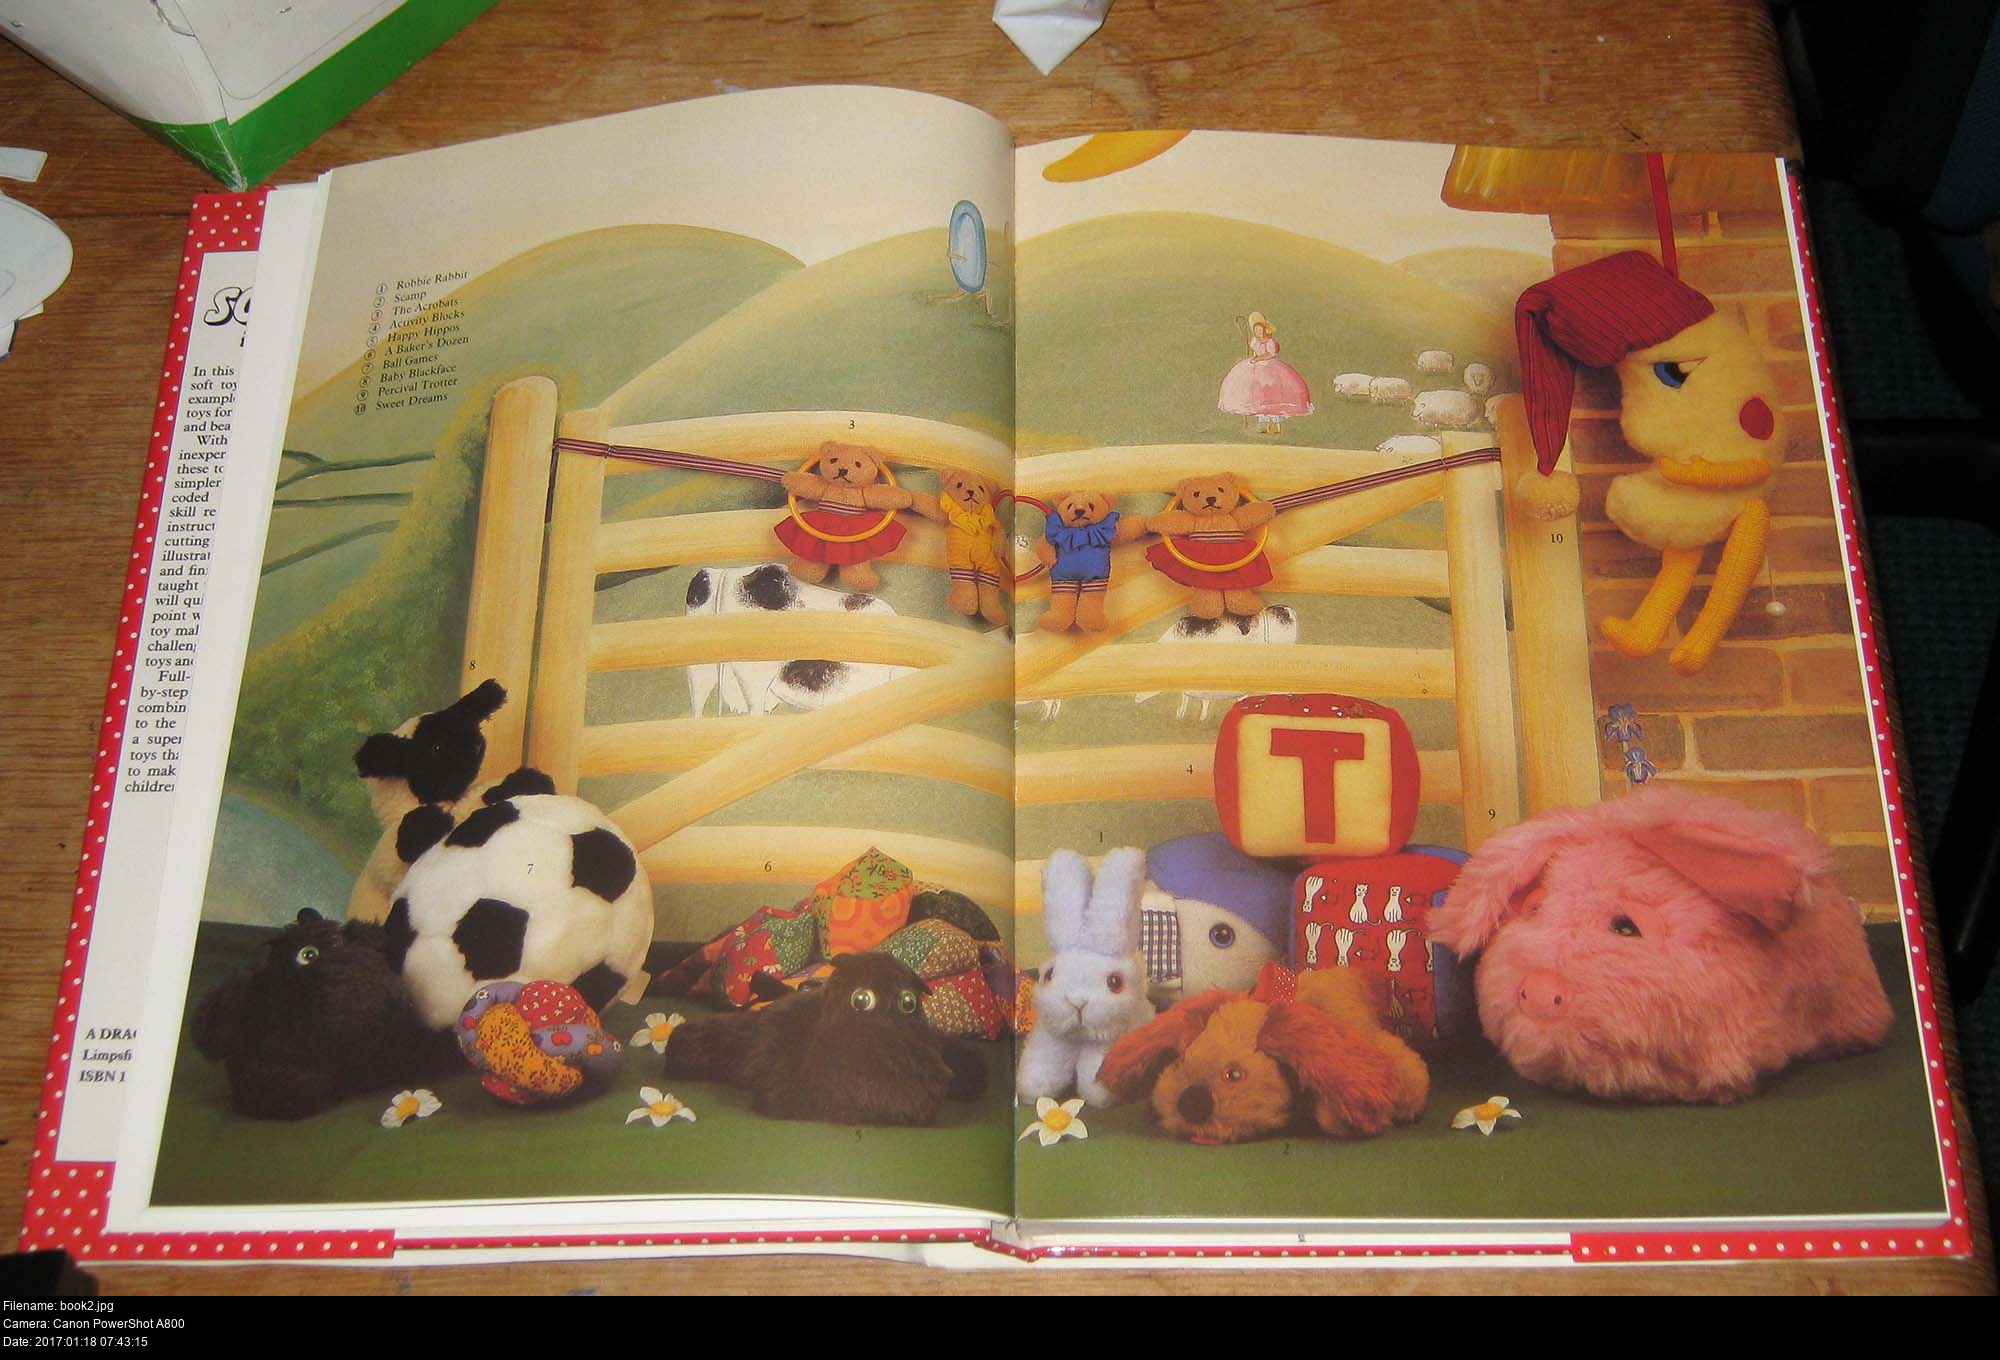
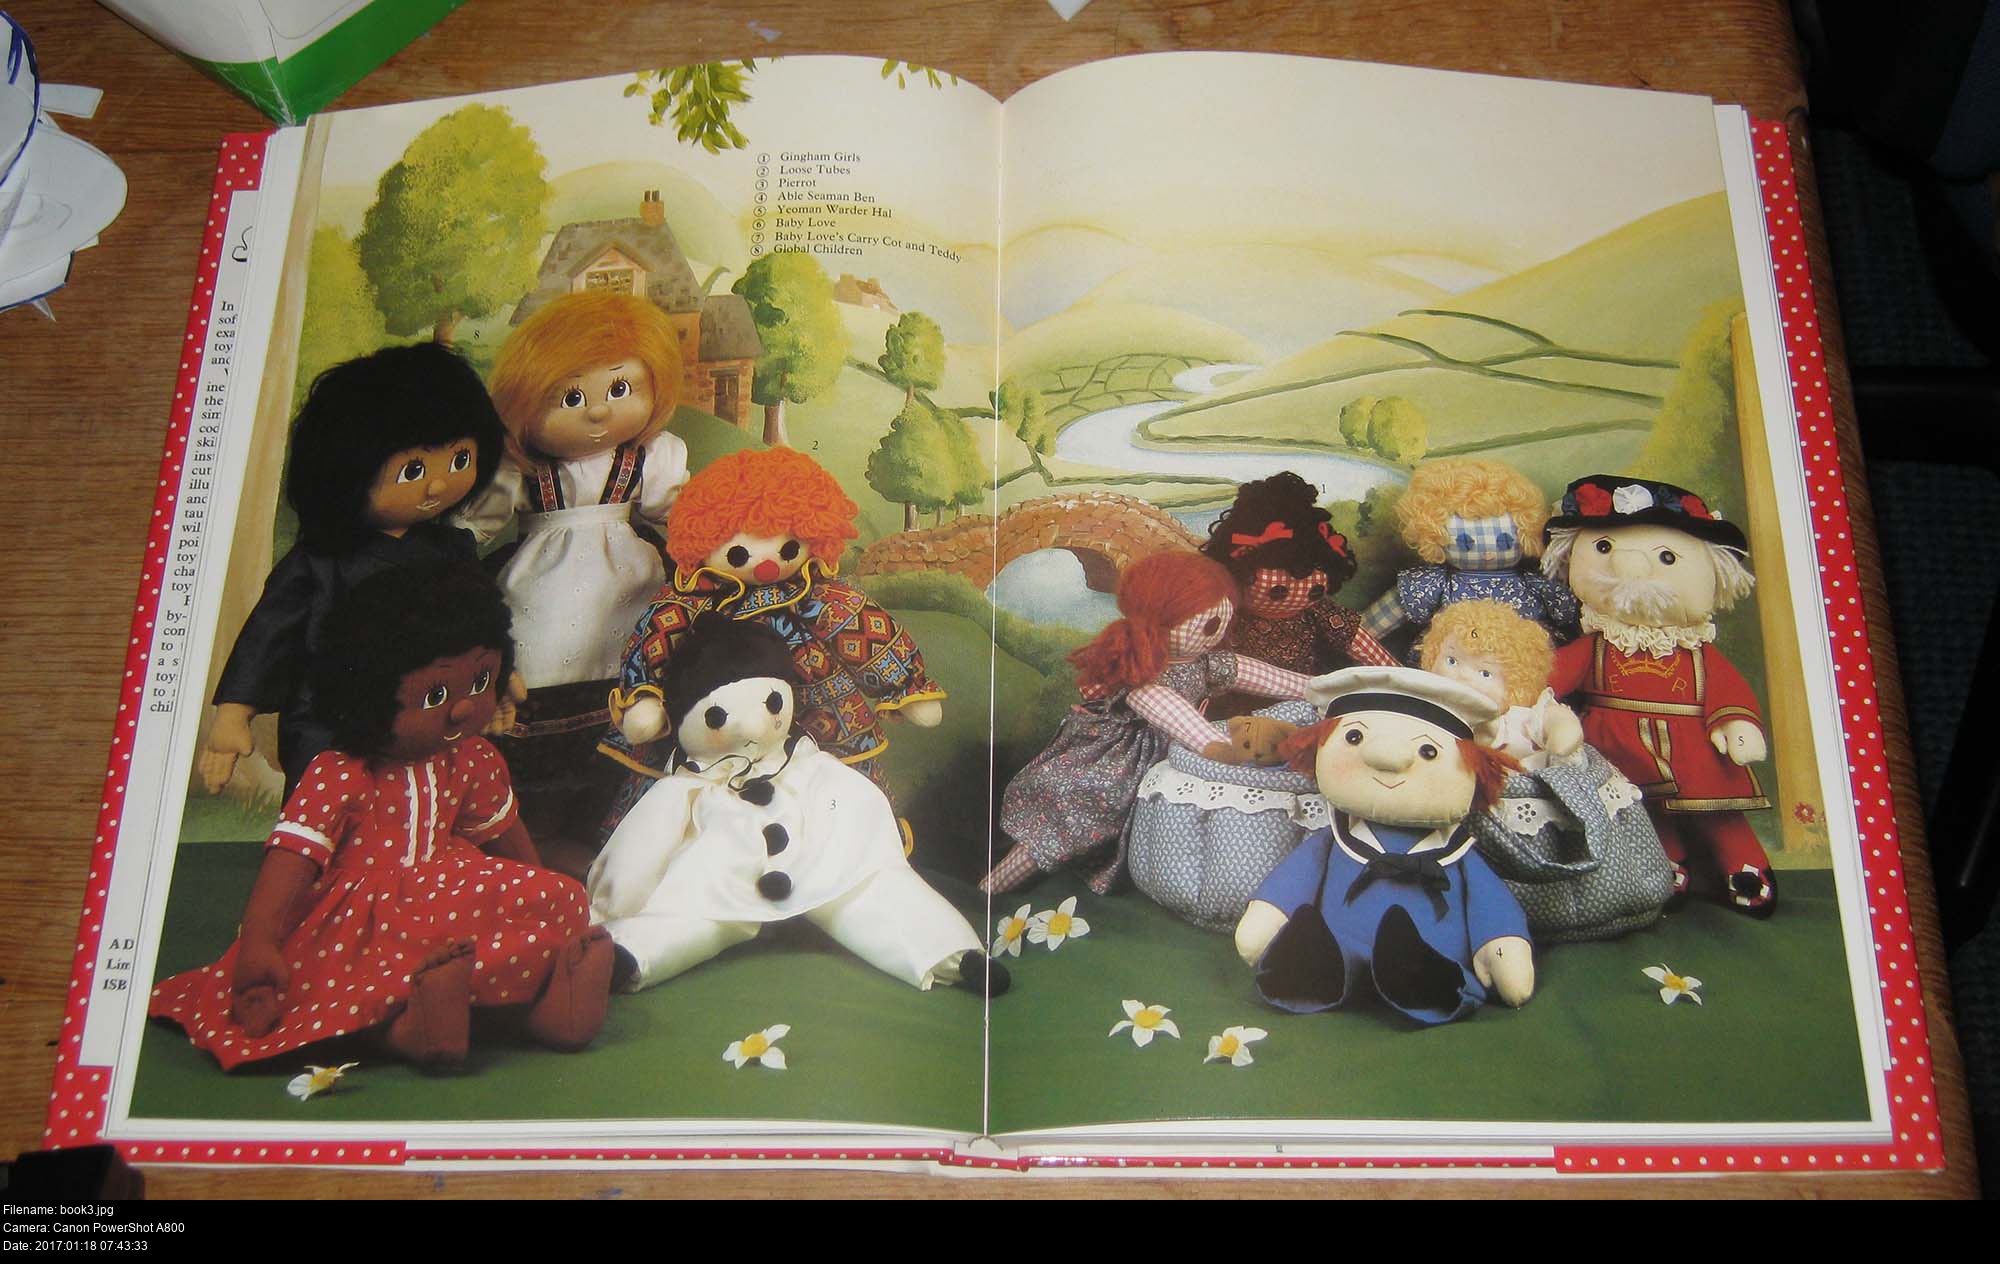
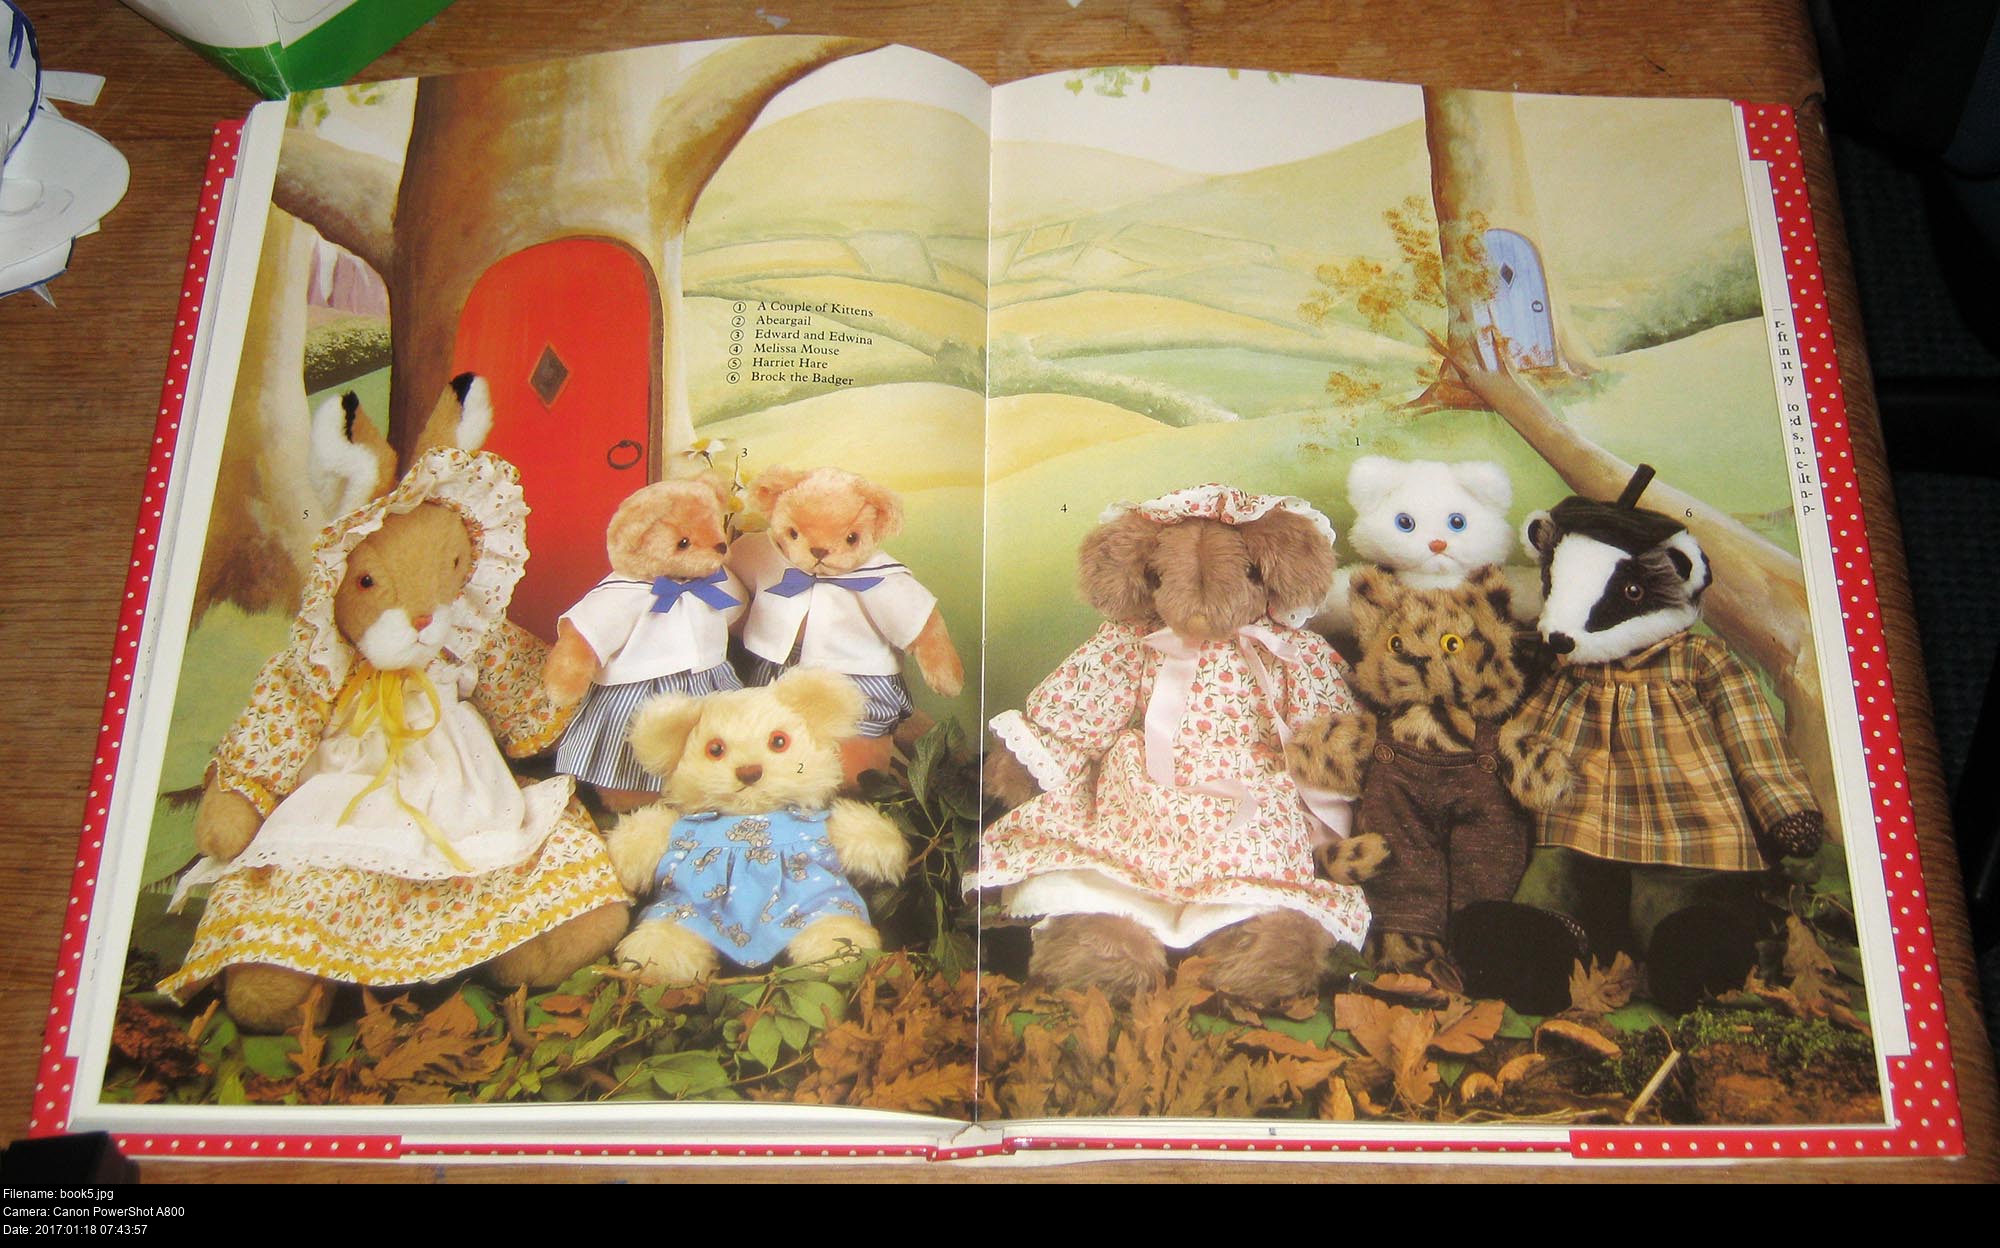
I really like these double page photographs with all the characters lined up together. How could you not want to make all of these things? Like... the cubes! Or the football! Or the grotesque Man In The Moon? I'm not a fan of these dolls, but purchasers of this book are spoiled for choice as to the kind of doll-that-I-don't-like that they can make!
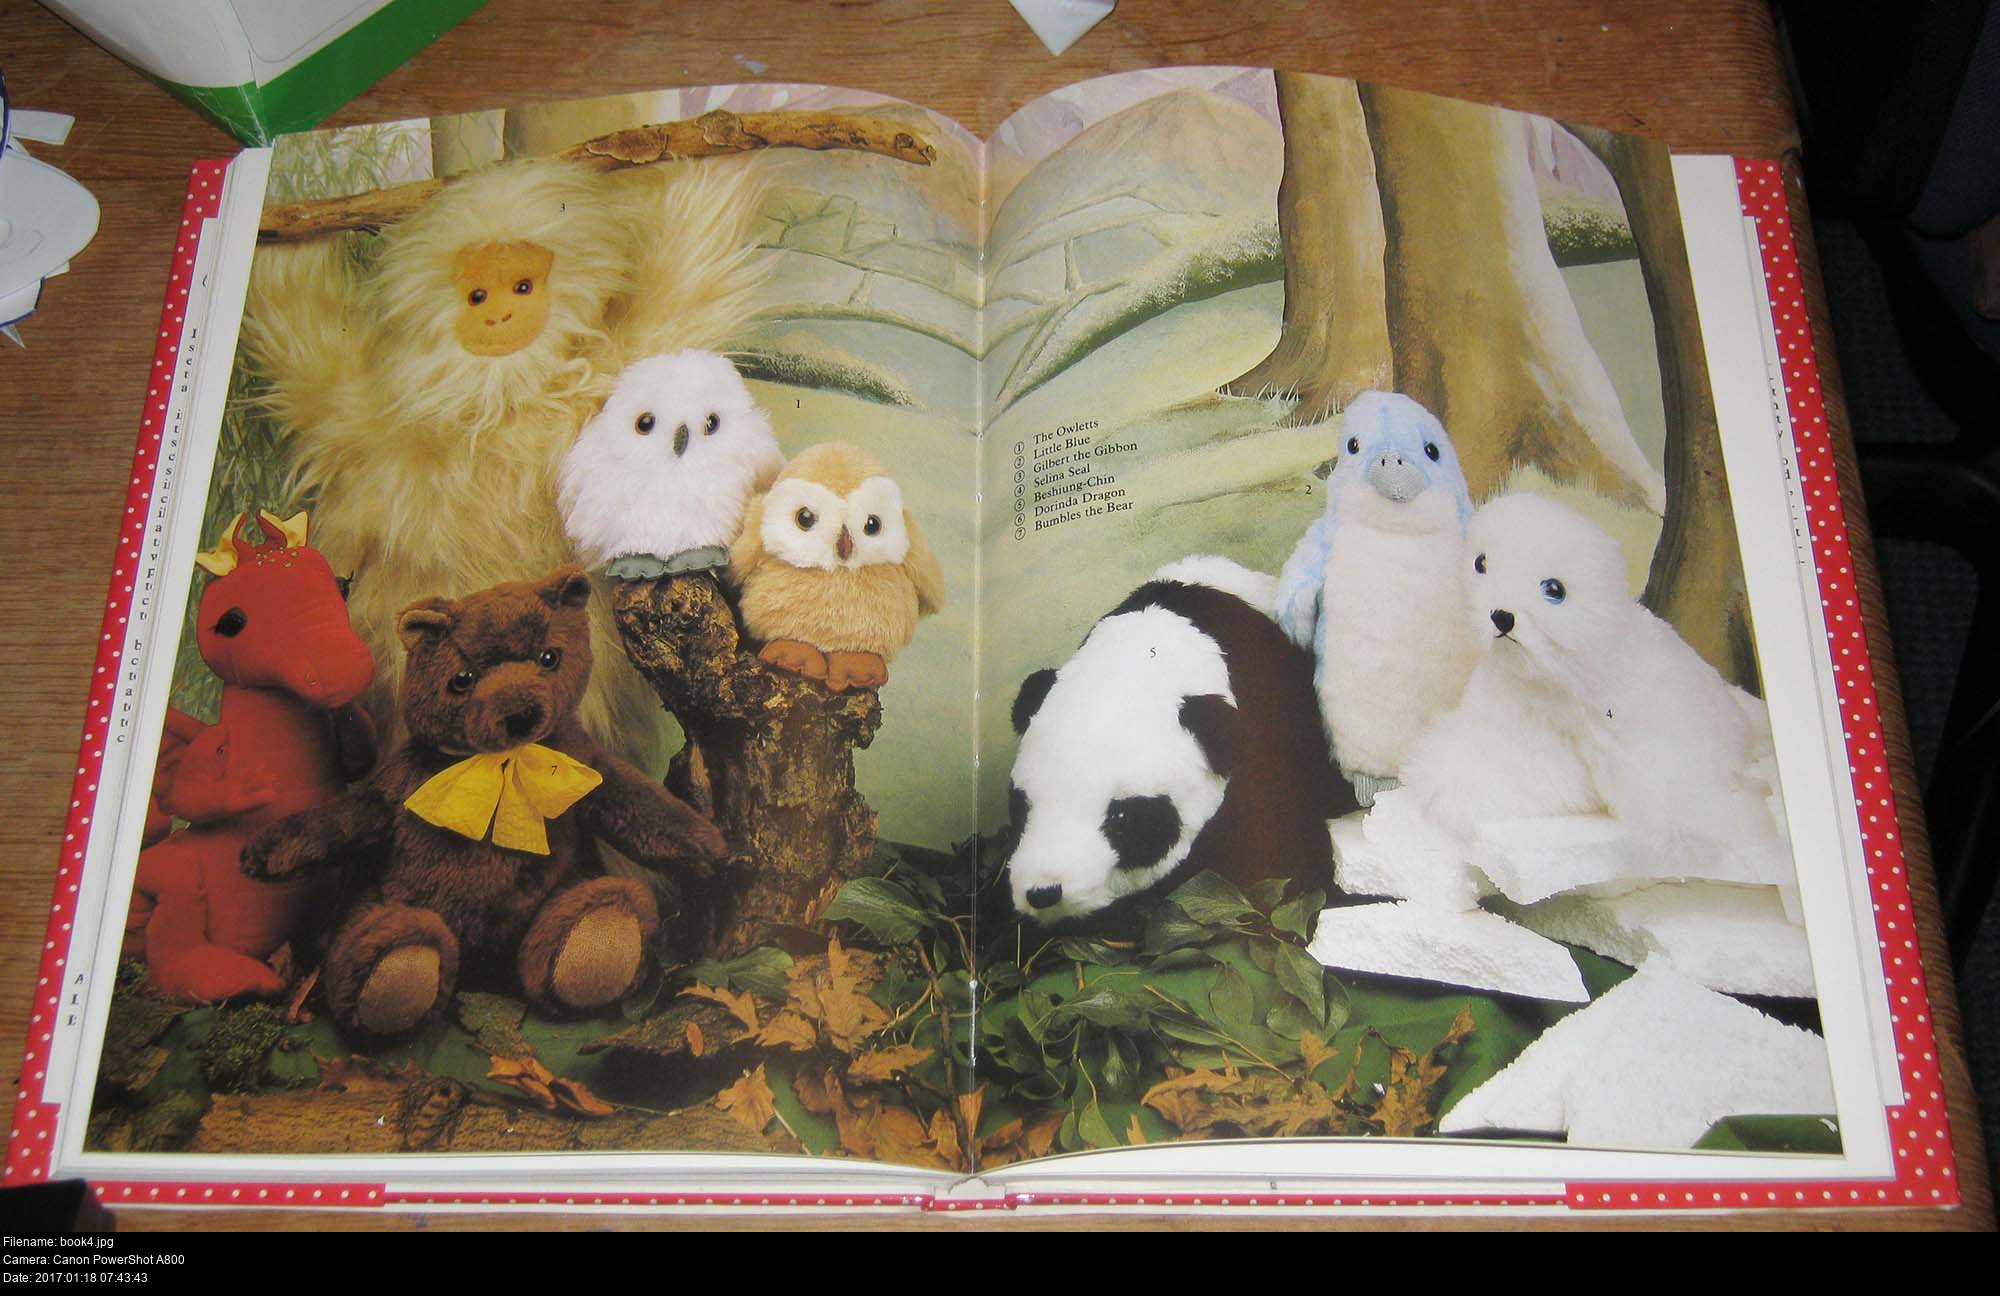
I've not made a soft toy before, though Hotshot is close to a soft toy I suppose. (Coming to an MCM Comic Con near you soon!) I was mostly curious if they had any dragons in there, and they did! But it was 'Oliver Ocelot' on the final spread that made me buy the book instantly 'cause he's simply too cute.
The wonderful folks at the shop were kind enough to give me a few extra bags so I could get my book and my plastic home without them getting completely drenched. It was raining enough to wash all the black out of my socks and make my jeans feel like cardboard afterwards.
When I'd finally gotten home, I settled down with a cup of tea and flicked through the book to see if there was anything else other than dragons and lots 'n' lots of ocelots.
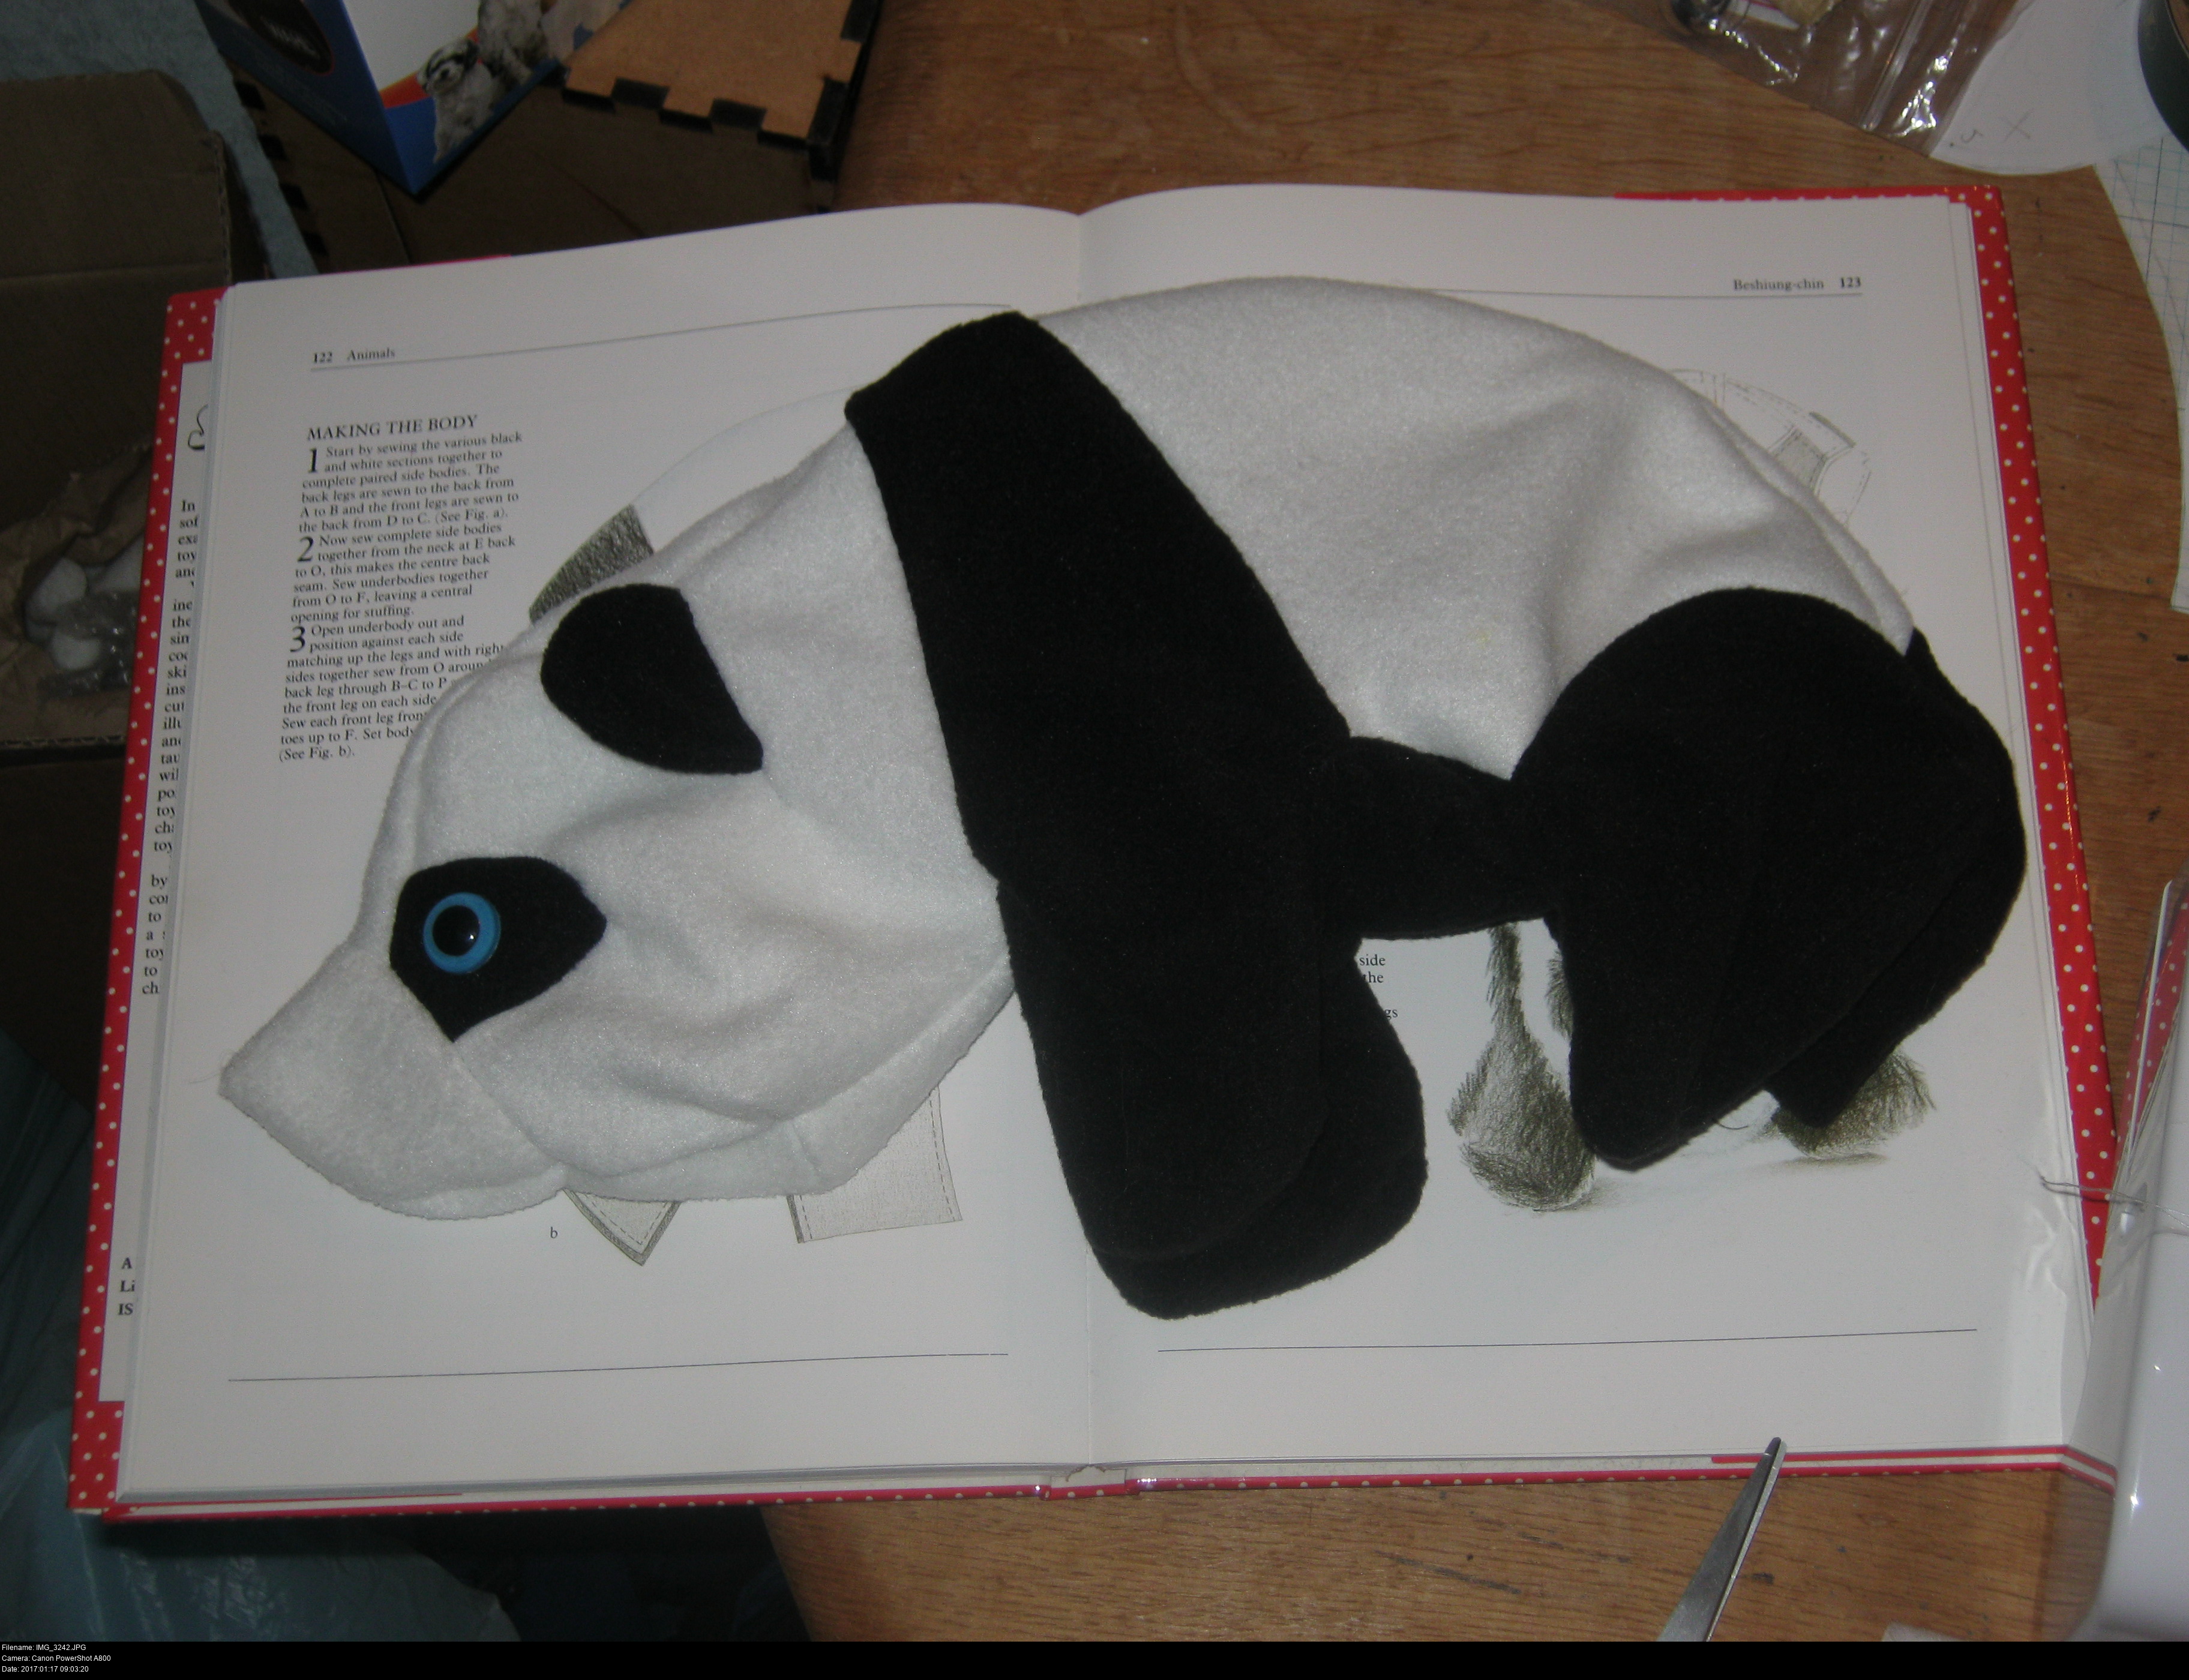
Hey, look, an Awesome Panda!
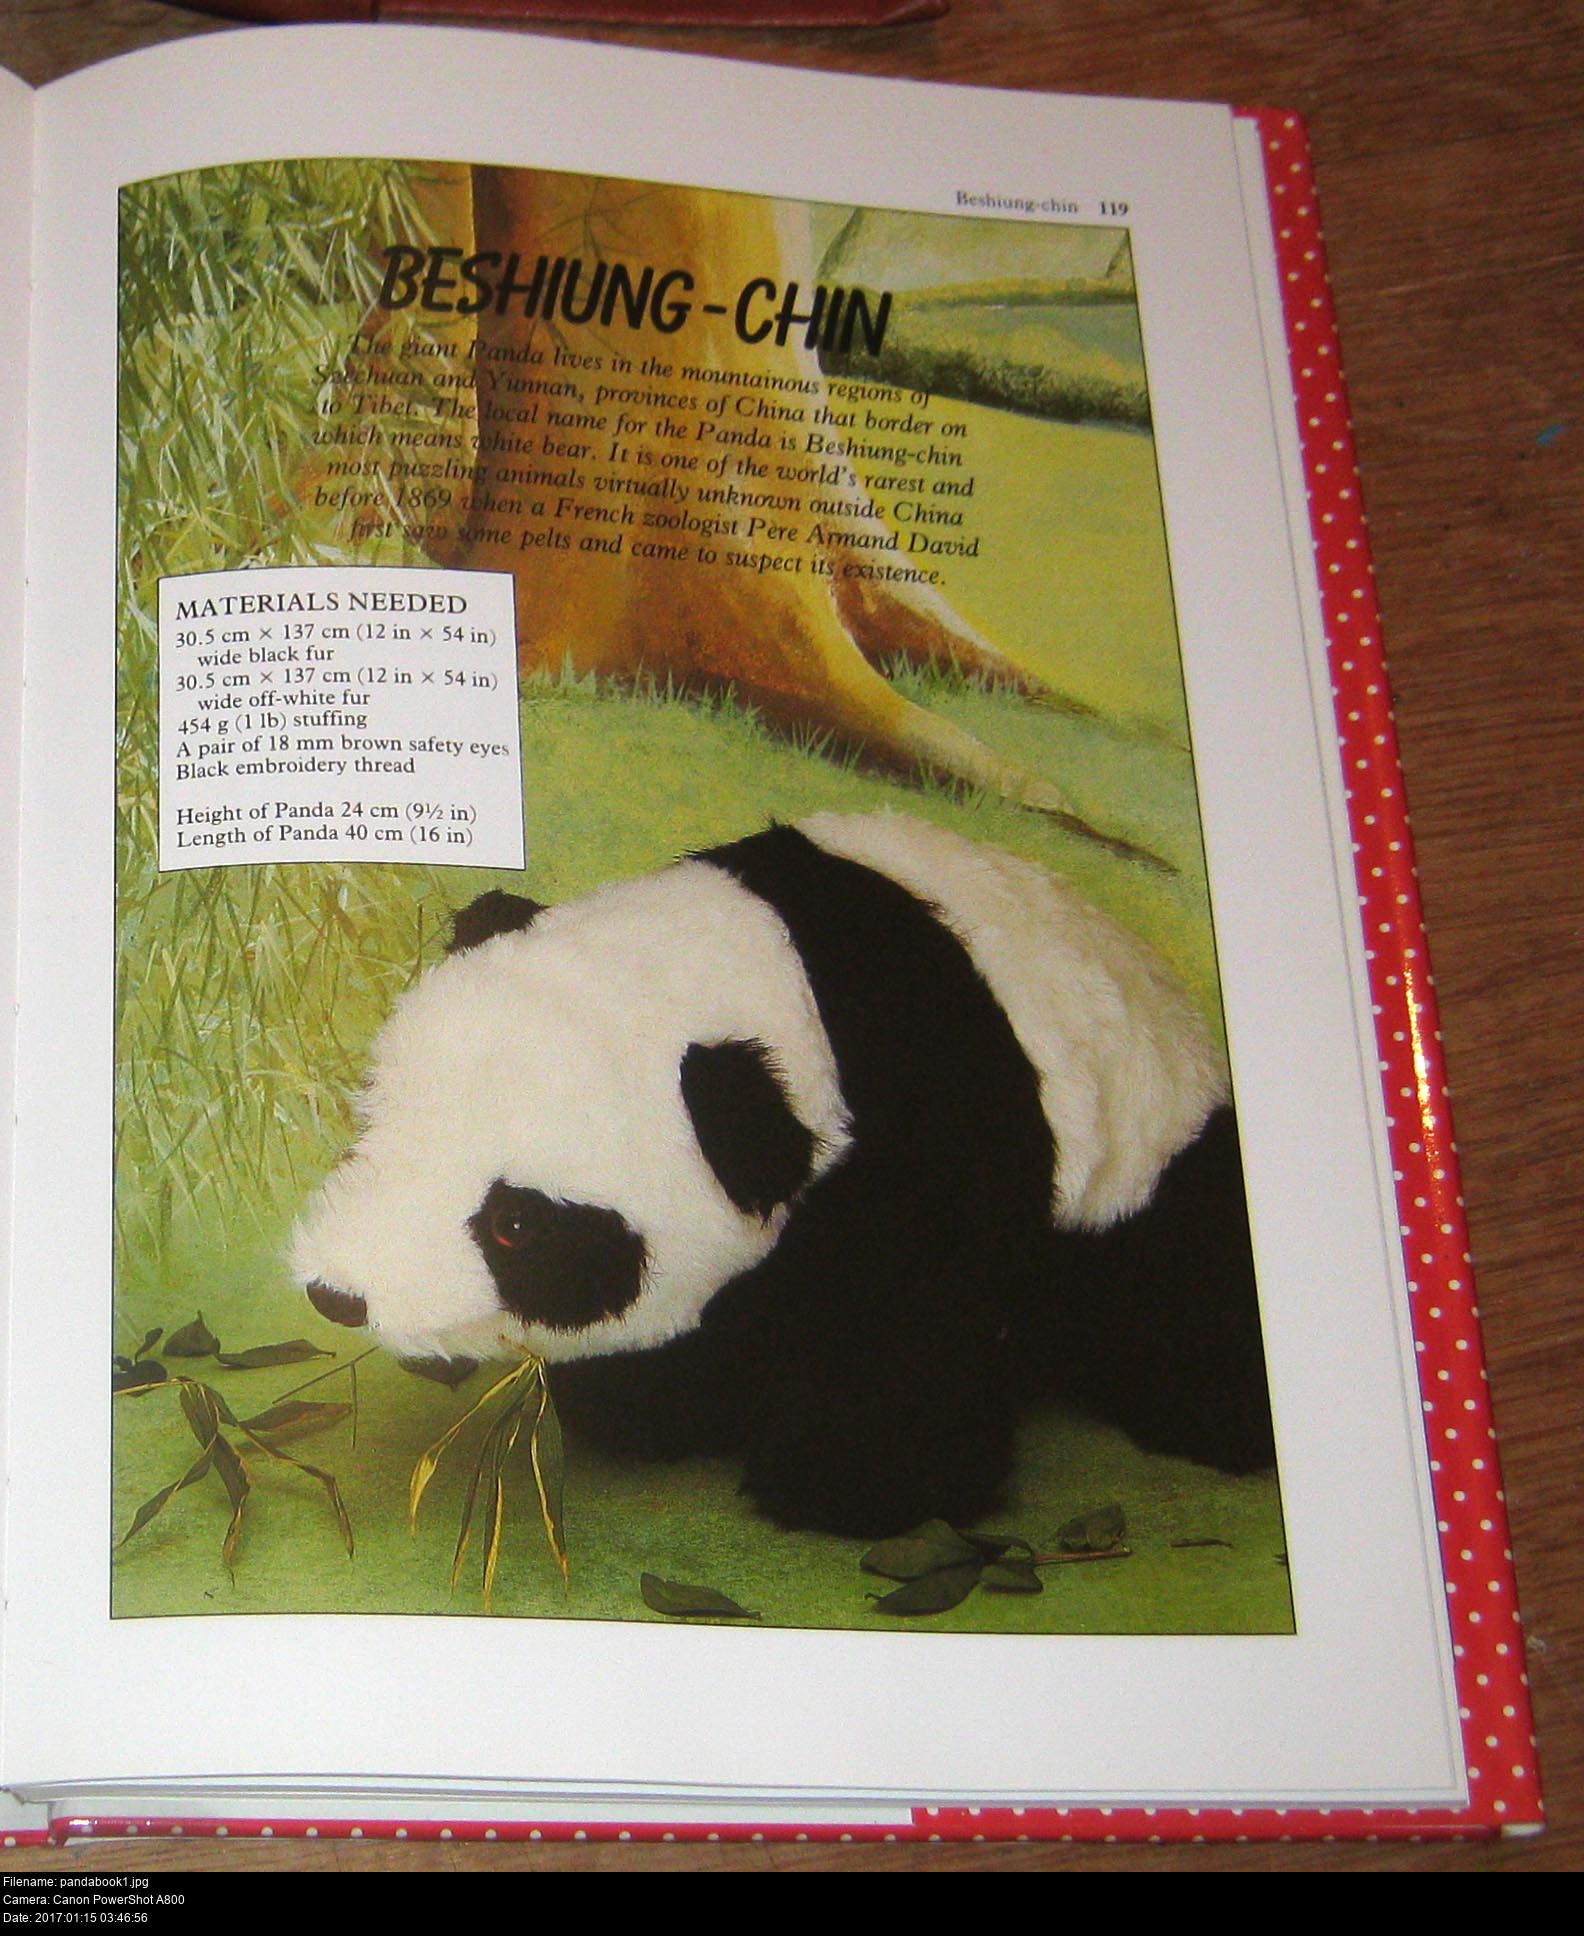
I've never heard of a panda referred to as a 'beshiung-chin' before. Today I learned that 'panda' is commonly written in China using the characters for 'big bear cat' 大熊猫 'Dà xióngmāo', and that the kanji for cat is the same 猫 in China and Japan except in China it's pronounced 'maow' and in Japan it's pronounced 'neko'.
'White bear' is 白熊 'Báixióng', which is pronounced 'bai-shiung' which now refers to polar bears as far as I can tell. Though Google does list a Van Nostrand’s Scientific Encyclopedia which calls them 'beshiung-chin'. I don't know what chinese character is 'Chin' (it might be a transliteration of 'chen', but there are EIGHTY-FOUR 'chen's that my searches have found and I have no idea which one they mean.). All of the animals in the book have names, so maybe Chin is just a name and this guy is called 'White-bear Chin'? A fine name!
I'm really enjoying looking through this book. There's instructions for assembling each project, material pattern layouts (drawn on a grid for you to copy at a magnification of your choosing) and full colour, meaningless and complex illustrations throughout! I think sewing instructions are written in a secret code known only to the witchiest witches because sometimes they just make no sense. Also they seem to assume all kinds of things that aren't readily apparent (and would have been if they'd taken the time to label each point on the diagrams instead of leaving me to assume!).
As it happens, I recently met somebody at a con that's a big fan of pandas and has a birthday coming up... and I've got a big mangled cardboard box of unused black and white fleece fabric I was going to make a dragon's head out of but never got round to...
It's panda time!
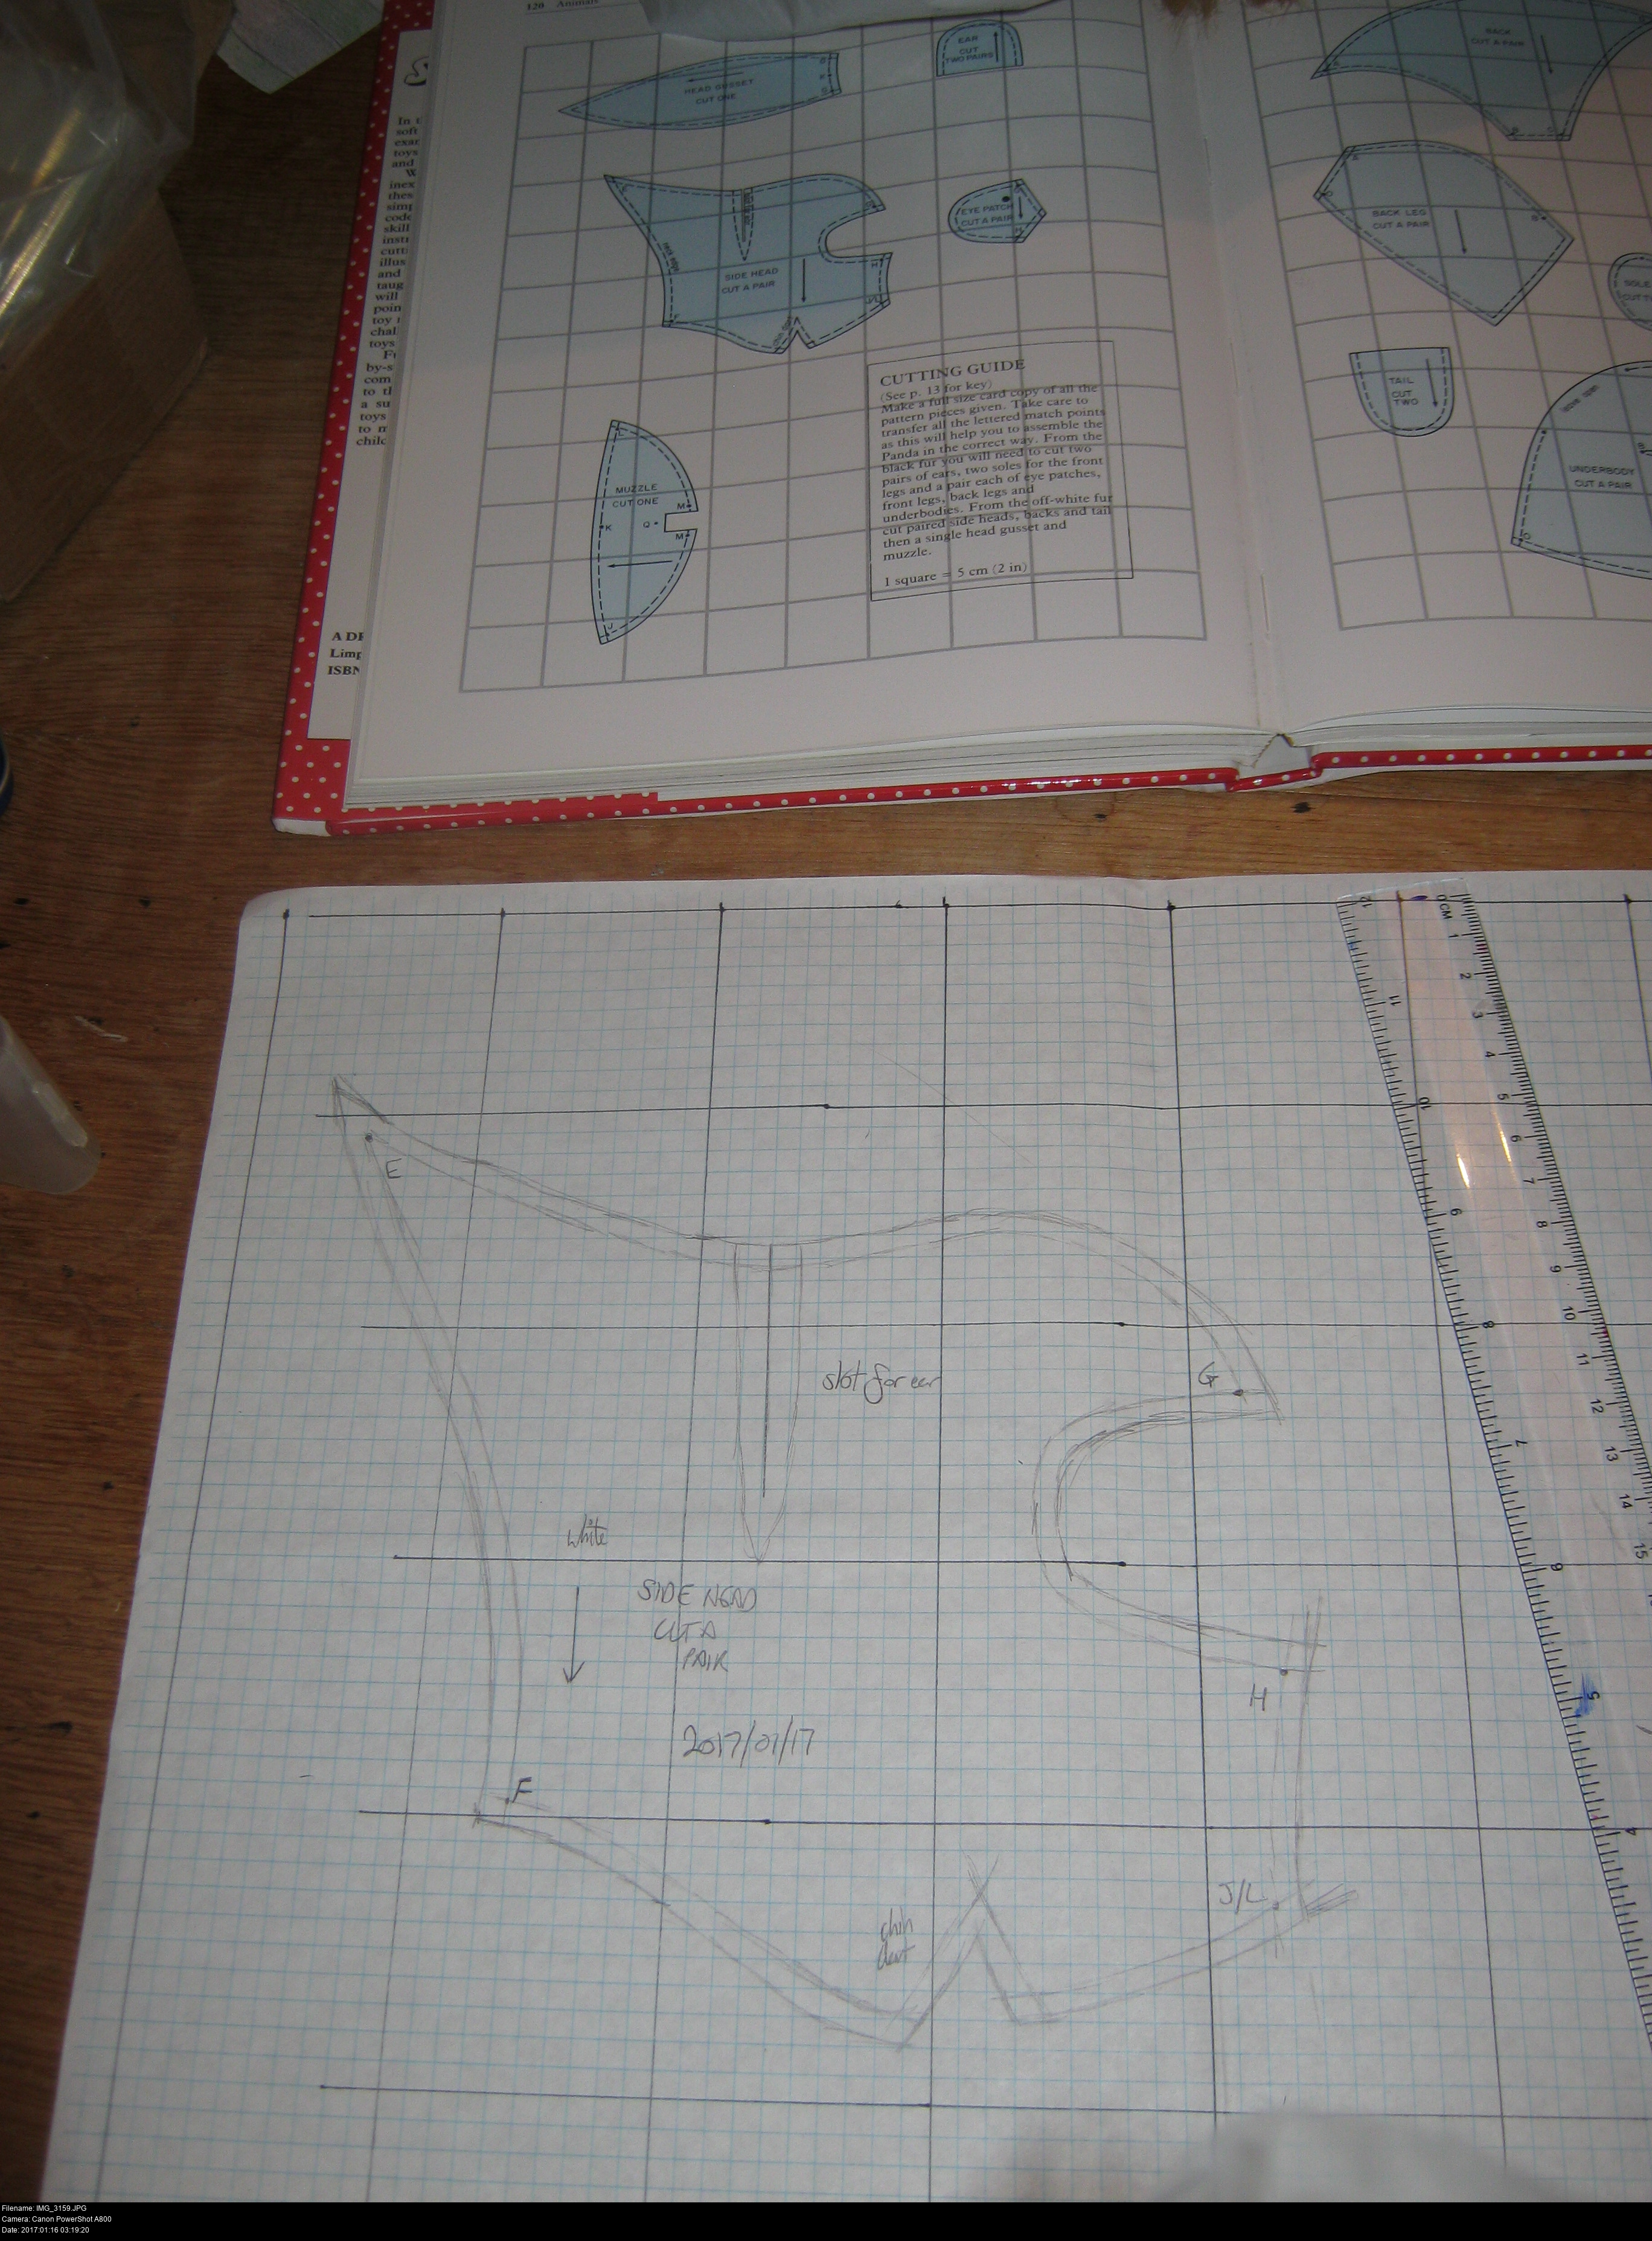

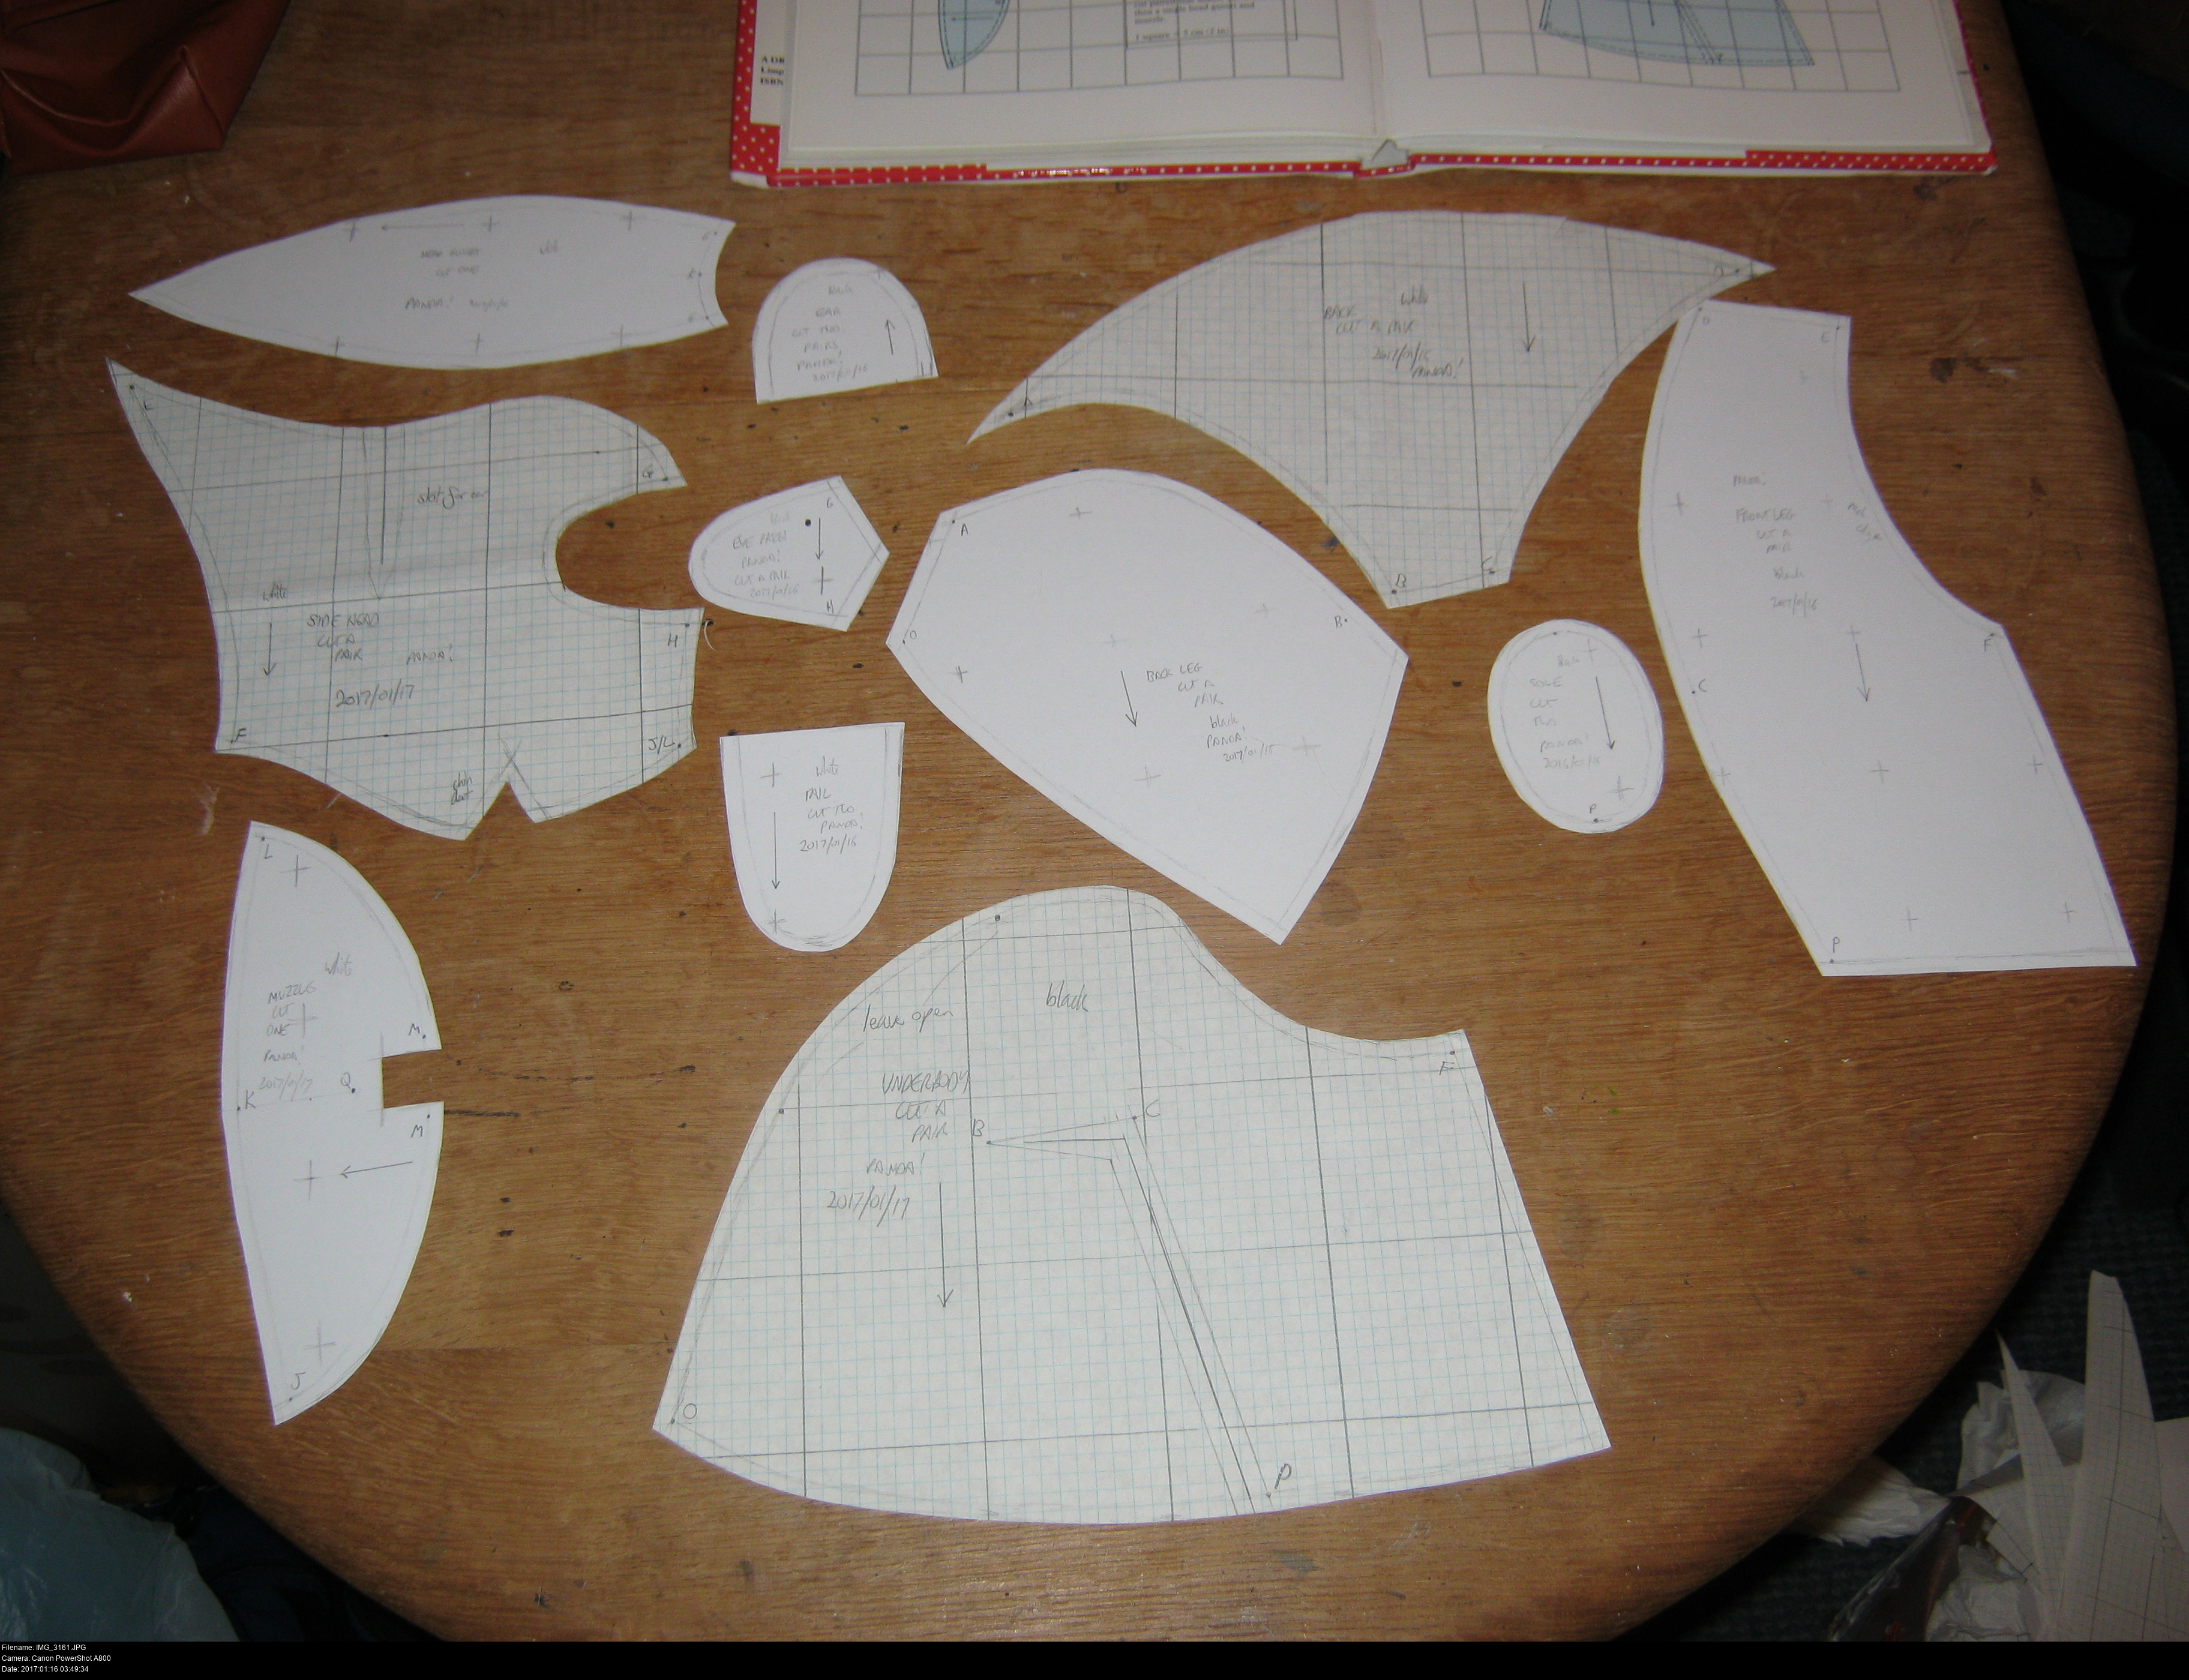
Step one: copy all the pieces, magnifying them all to the appropriate size.
The best way to do that is to use some squared paper. Mark out your large large divisions on it, then look closely at your source pattern and mark out where the lines cross the edges of the squares, then draw in the missing contours.
If you don't want to use up so much squared paper, consider marking out the large divisions with permanent marker on a single piece squared paper, and then using it underneath some plain paper so the dark lines are visible through it. Then you can either mark the divisions on your blank paper or draw on the blank paper as it is. Either way I suggest using masking tape to hold the blank paper to the grid template temporarily.
Don't try tracing directly from the pages of the book! And you'd have to be an absolute monster to consider removing the pages from the original book. If the pages were detachable and bound in a ring file (paging DeAgostini!), you could scan them and print them at a higher resolution, but most pieces will be bigger than A4 in some way. Most folks don't have access to an A3 printer, and even then some pieces of larger items might not fit.
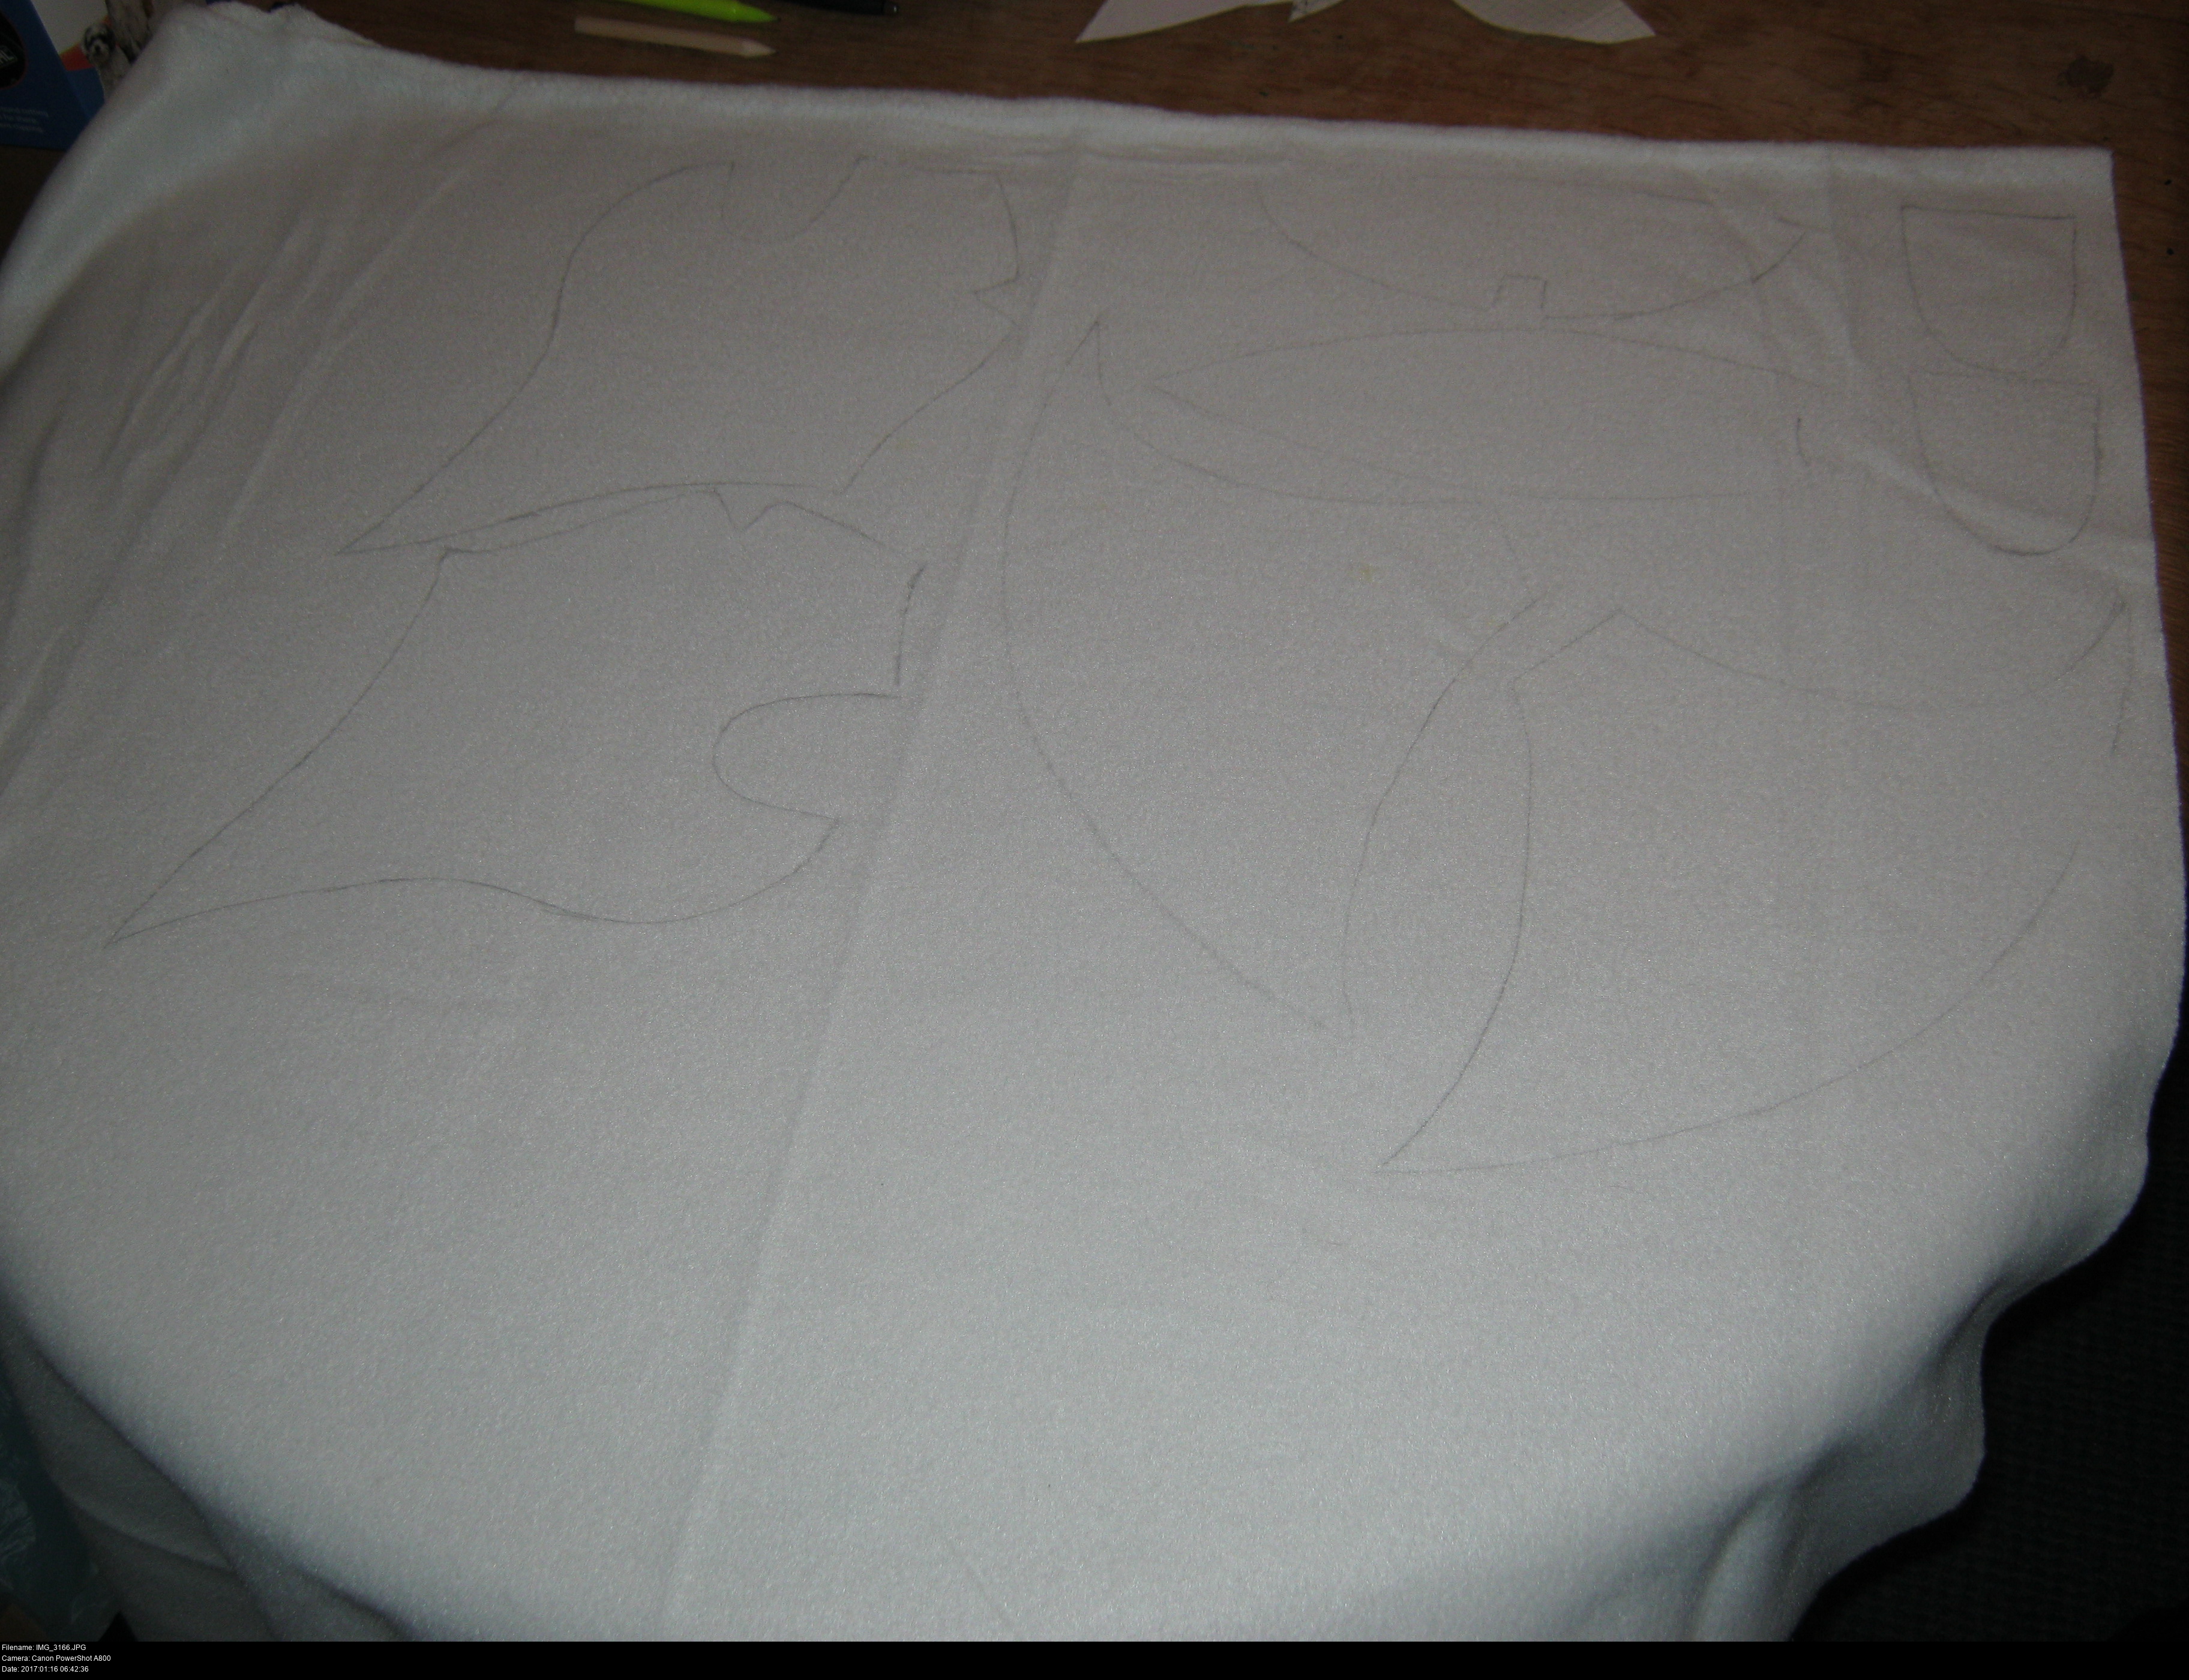
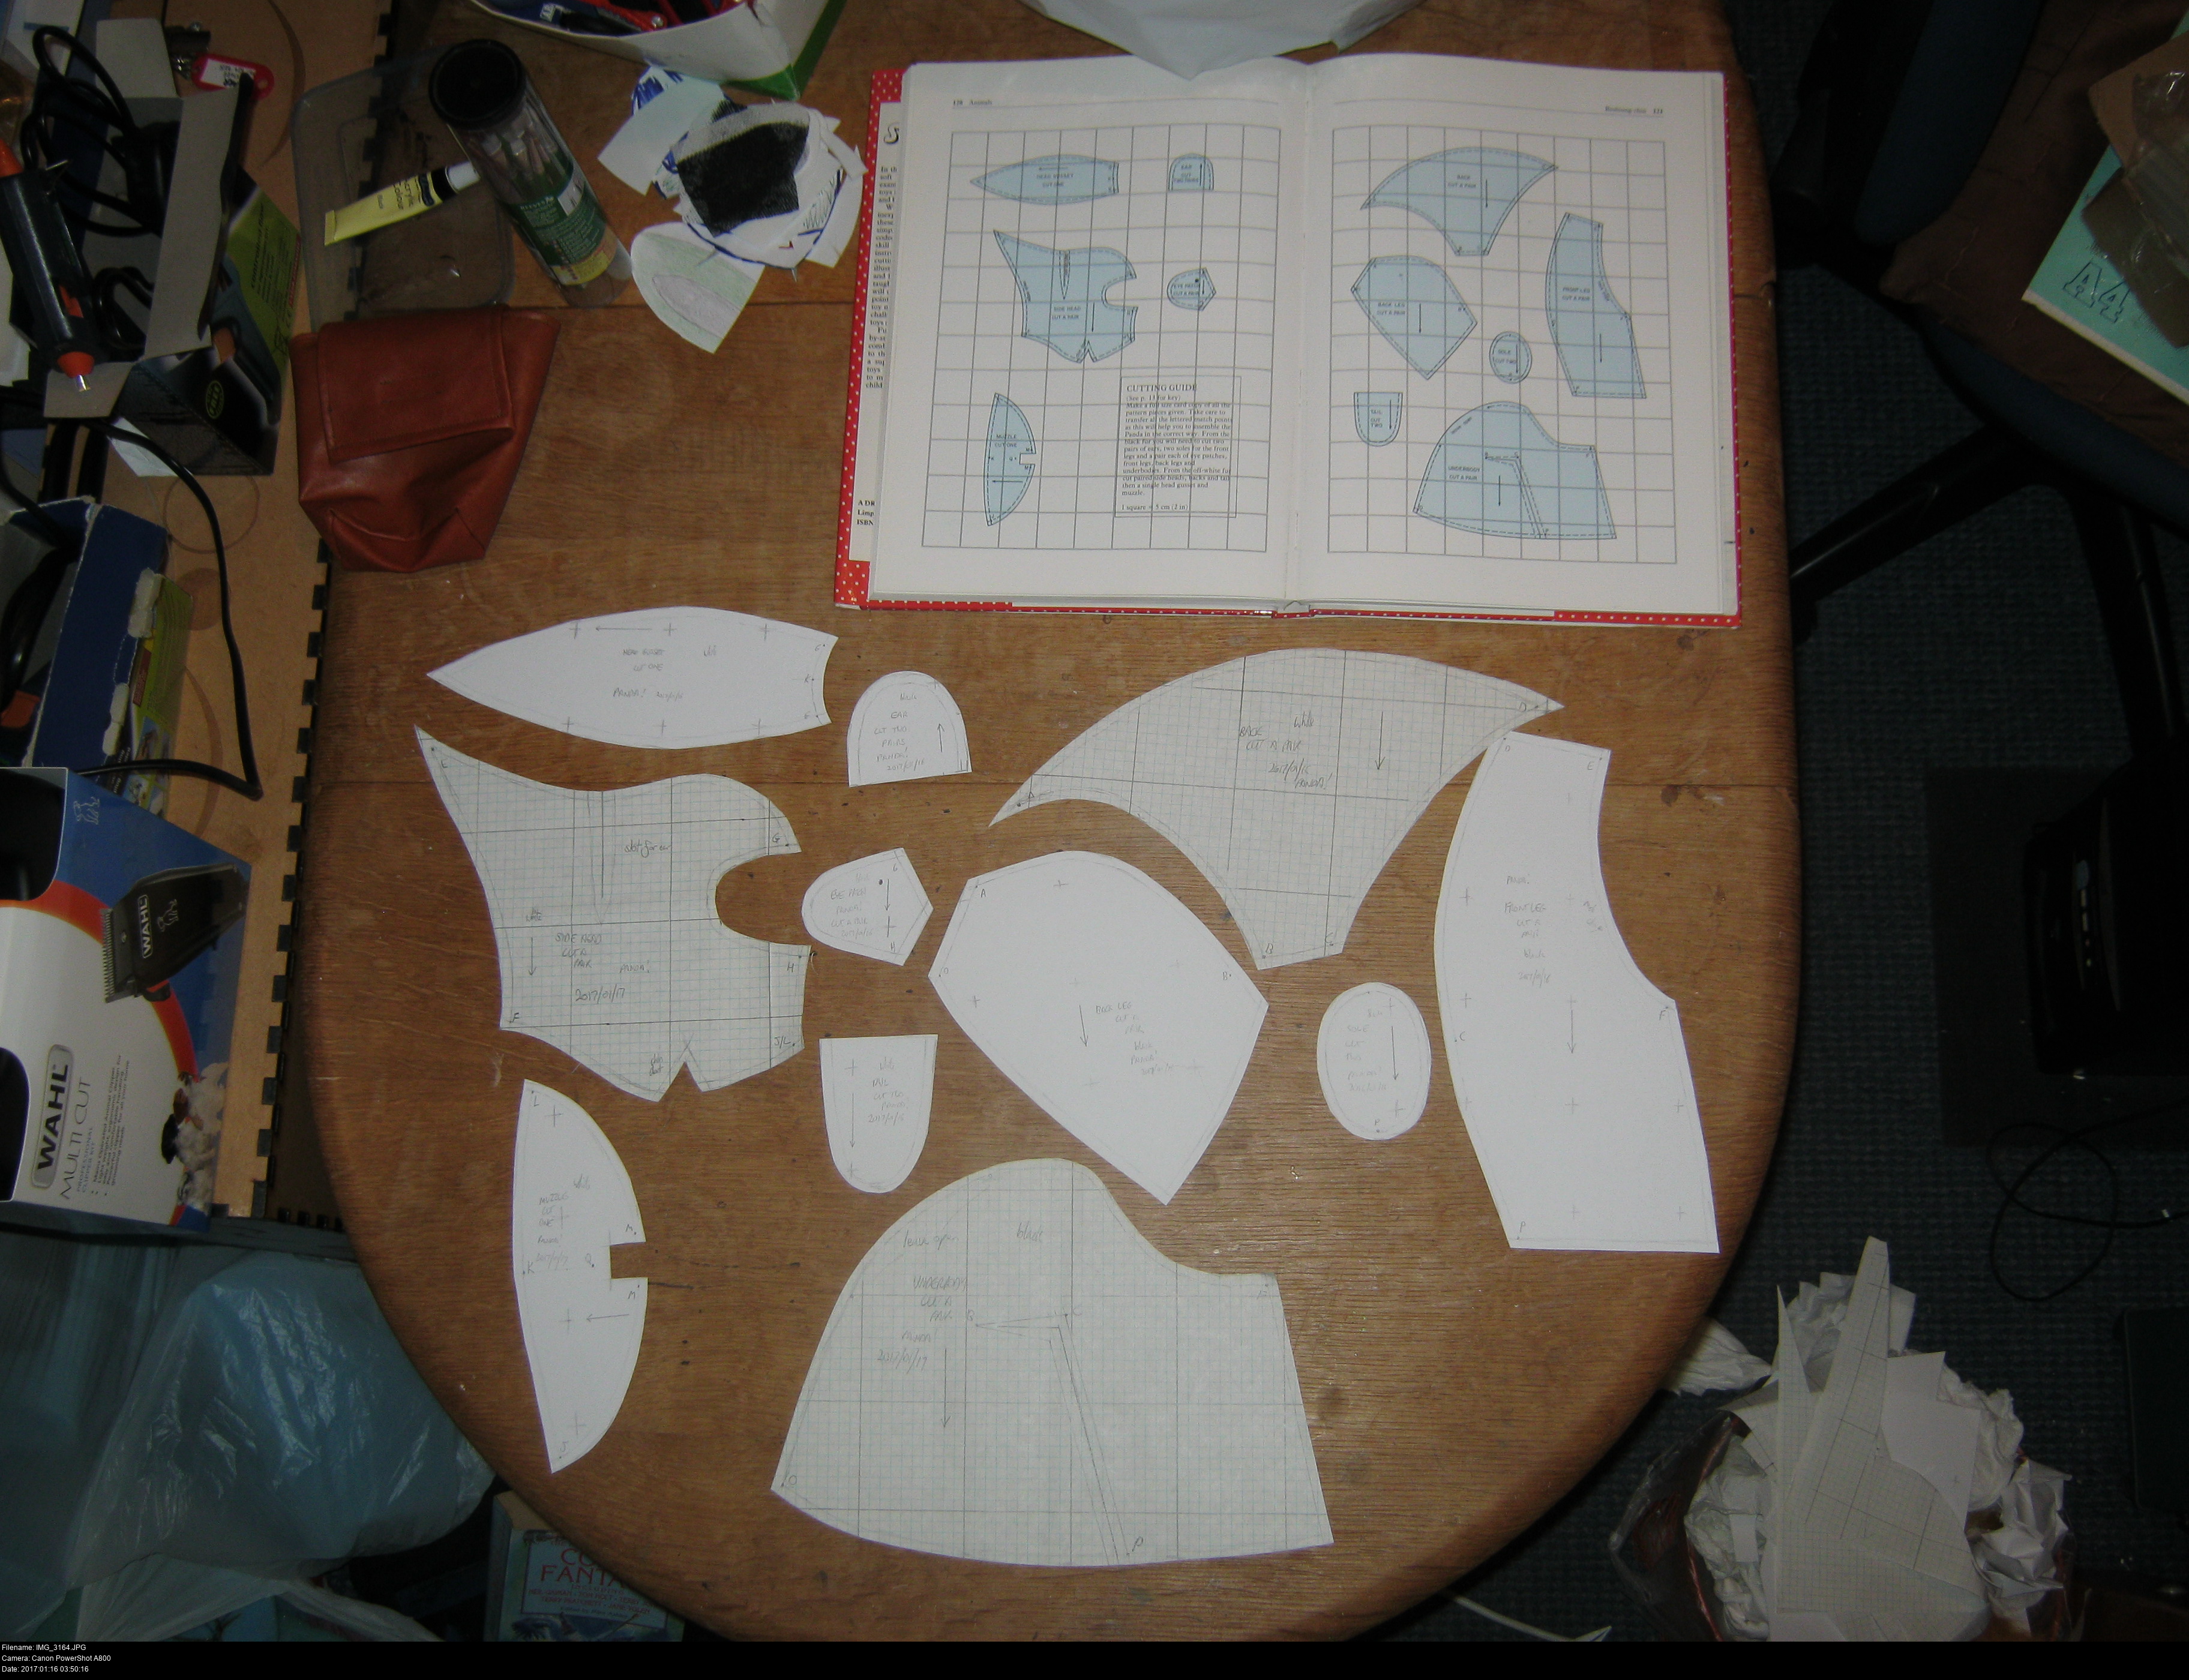
For marking on white fleece, I used a fineliner marker (all the edges will be hidden on the interior of the toy), but soft pencil would work too. Coloured chalk would probably be too light for this. Don't forget to cut pairs of pieces when you need them. Mark which pieces are which with symbols or numbers.
This piece of fabric has been left folded up in a both for a few months so there's some pretty baked-in creases. You ought to wash and press/iron your fabrics before you use them if you're making anything serious! Your work will look miles better and the fabric will be easier to work with. I've just marked around the creases for now. Fleece stretches, and this panda is going to be pretty generously stuffed, so little creases won't alter the final look. I don't honestly expect my first ever toy to look that great anyway.
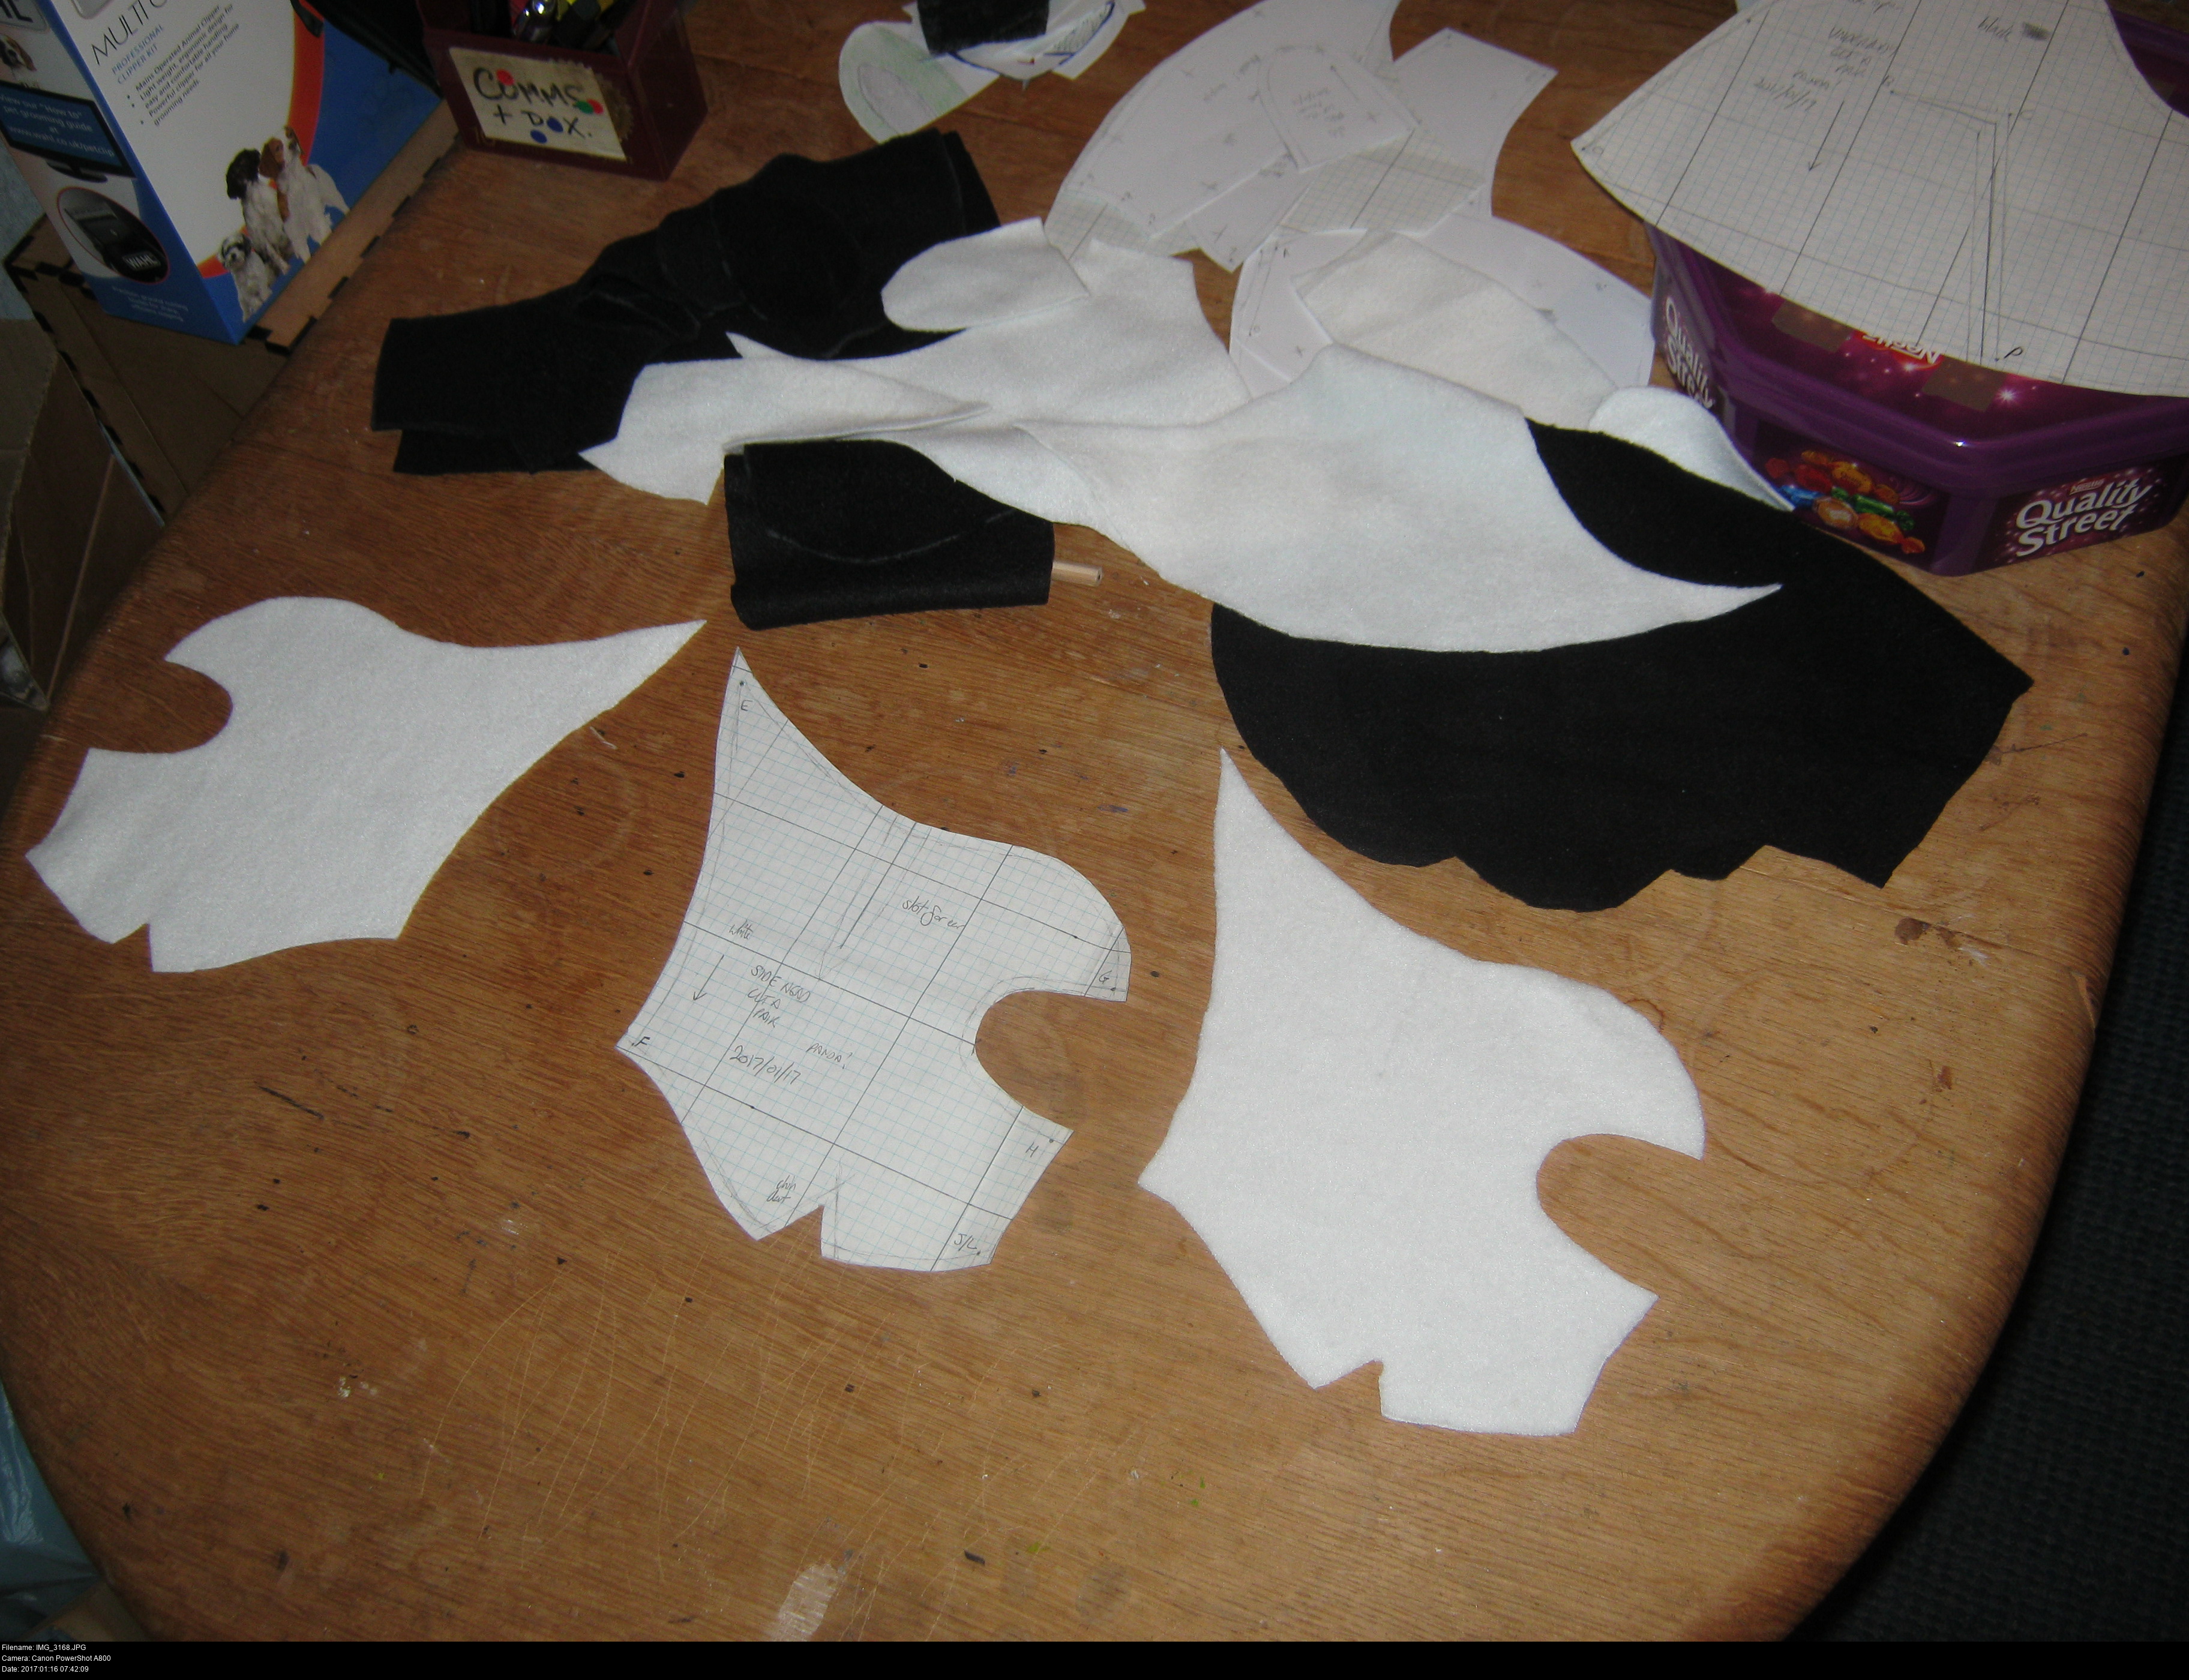

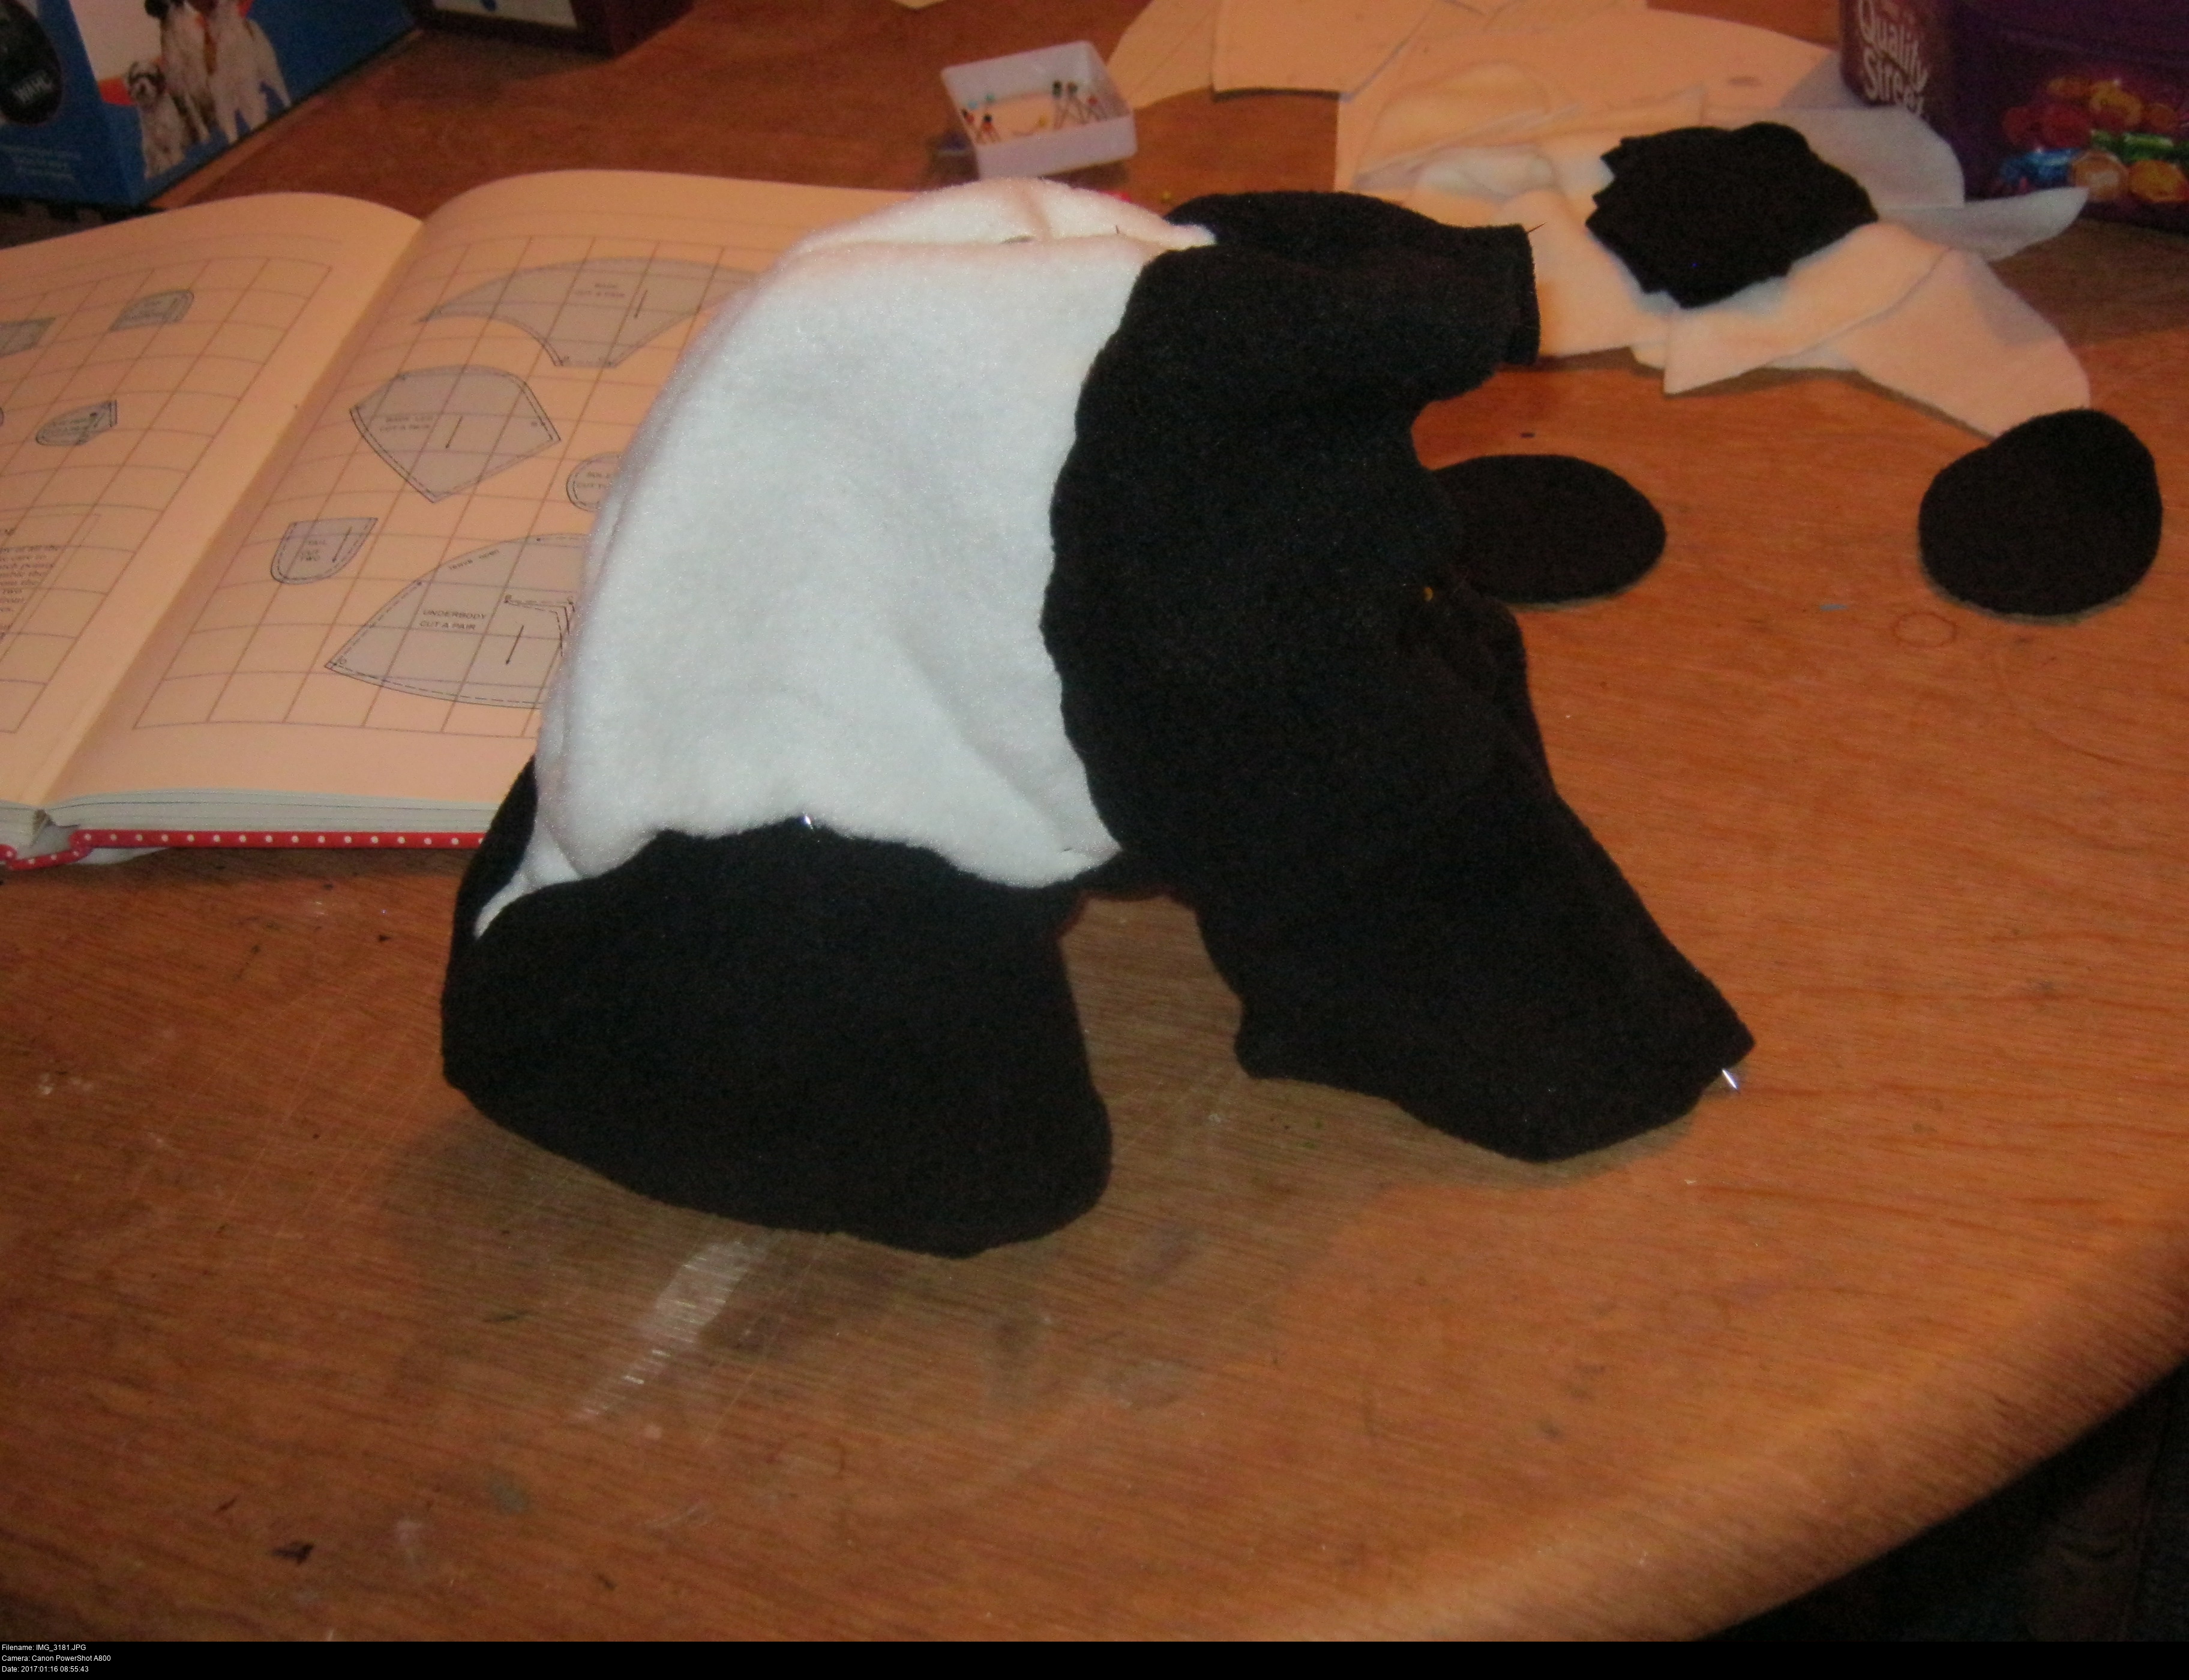
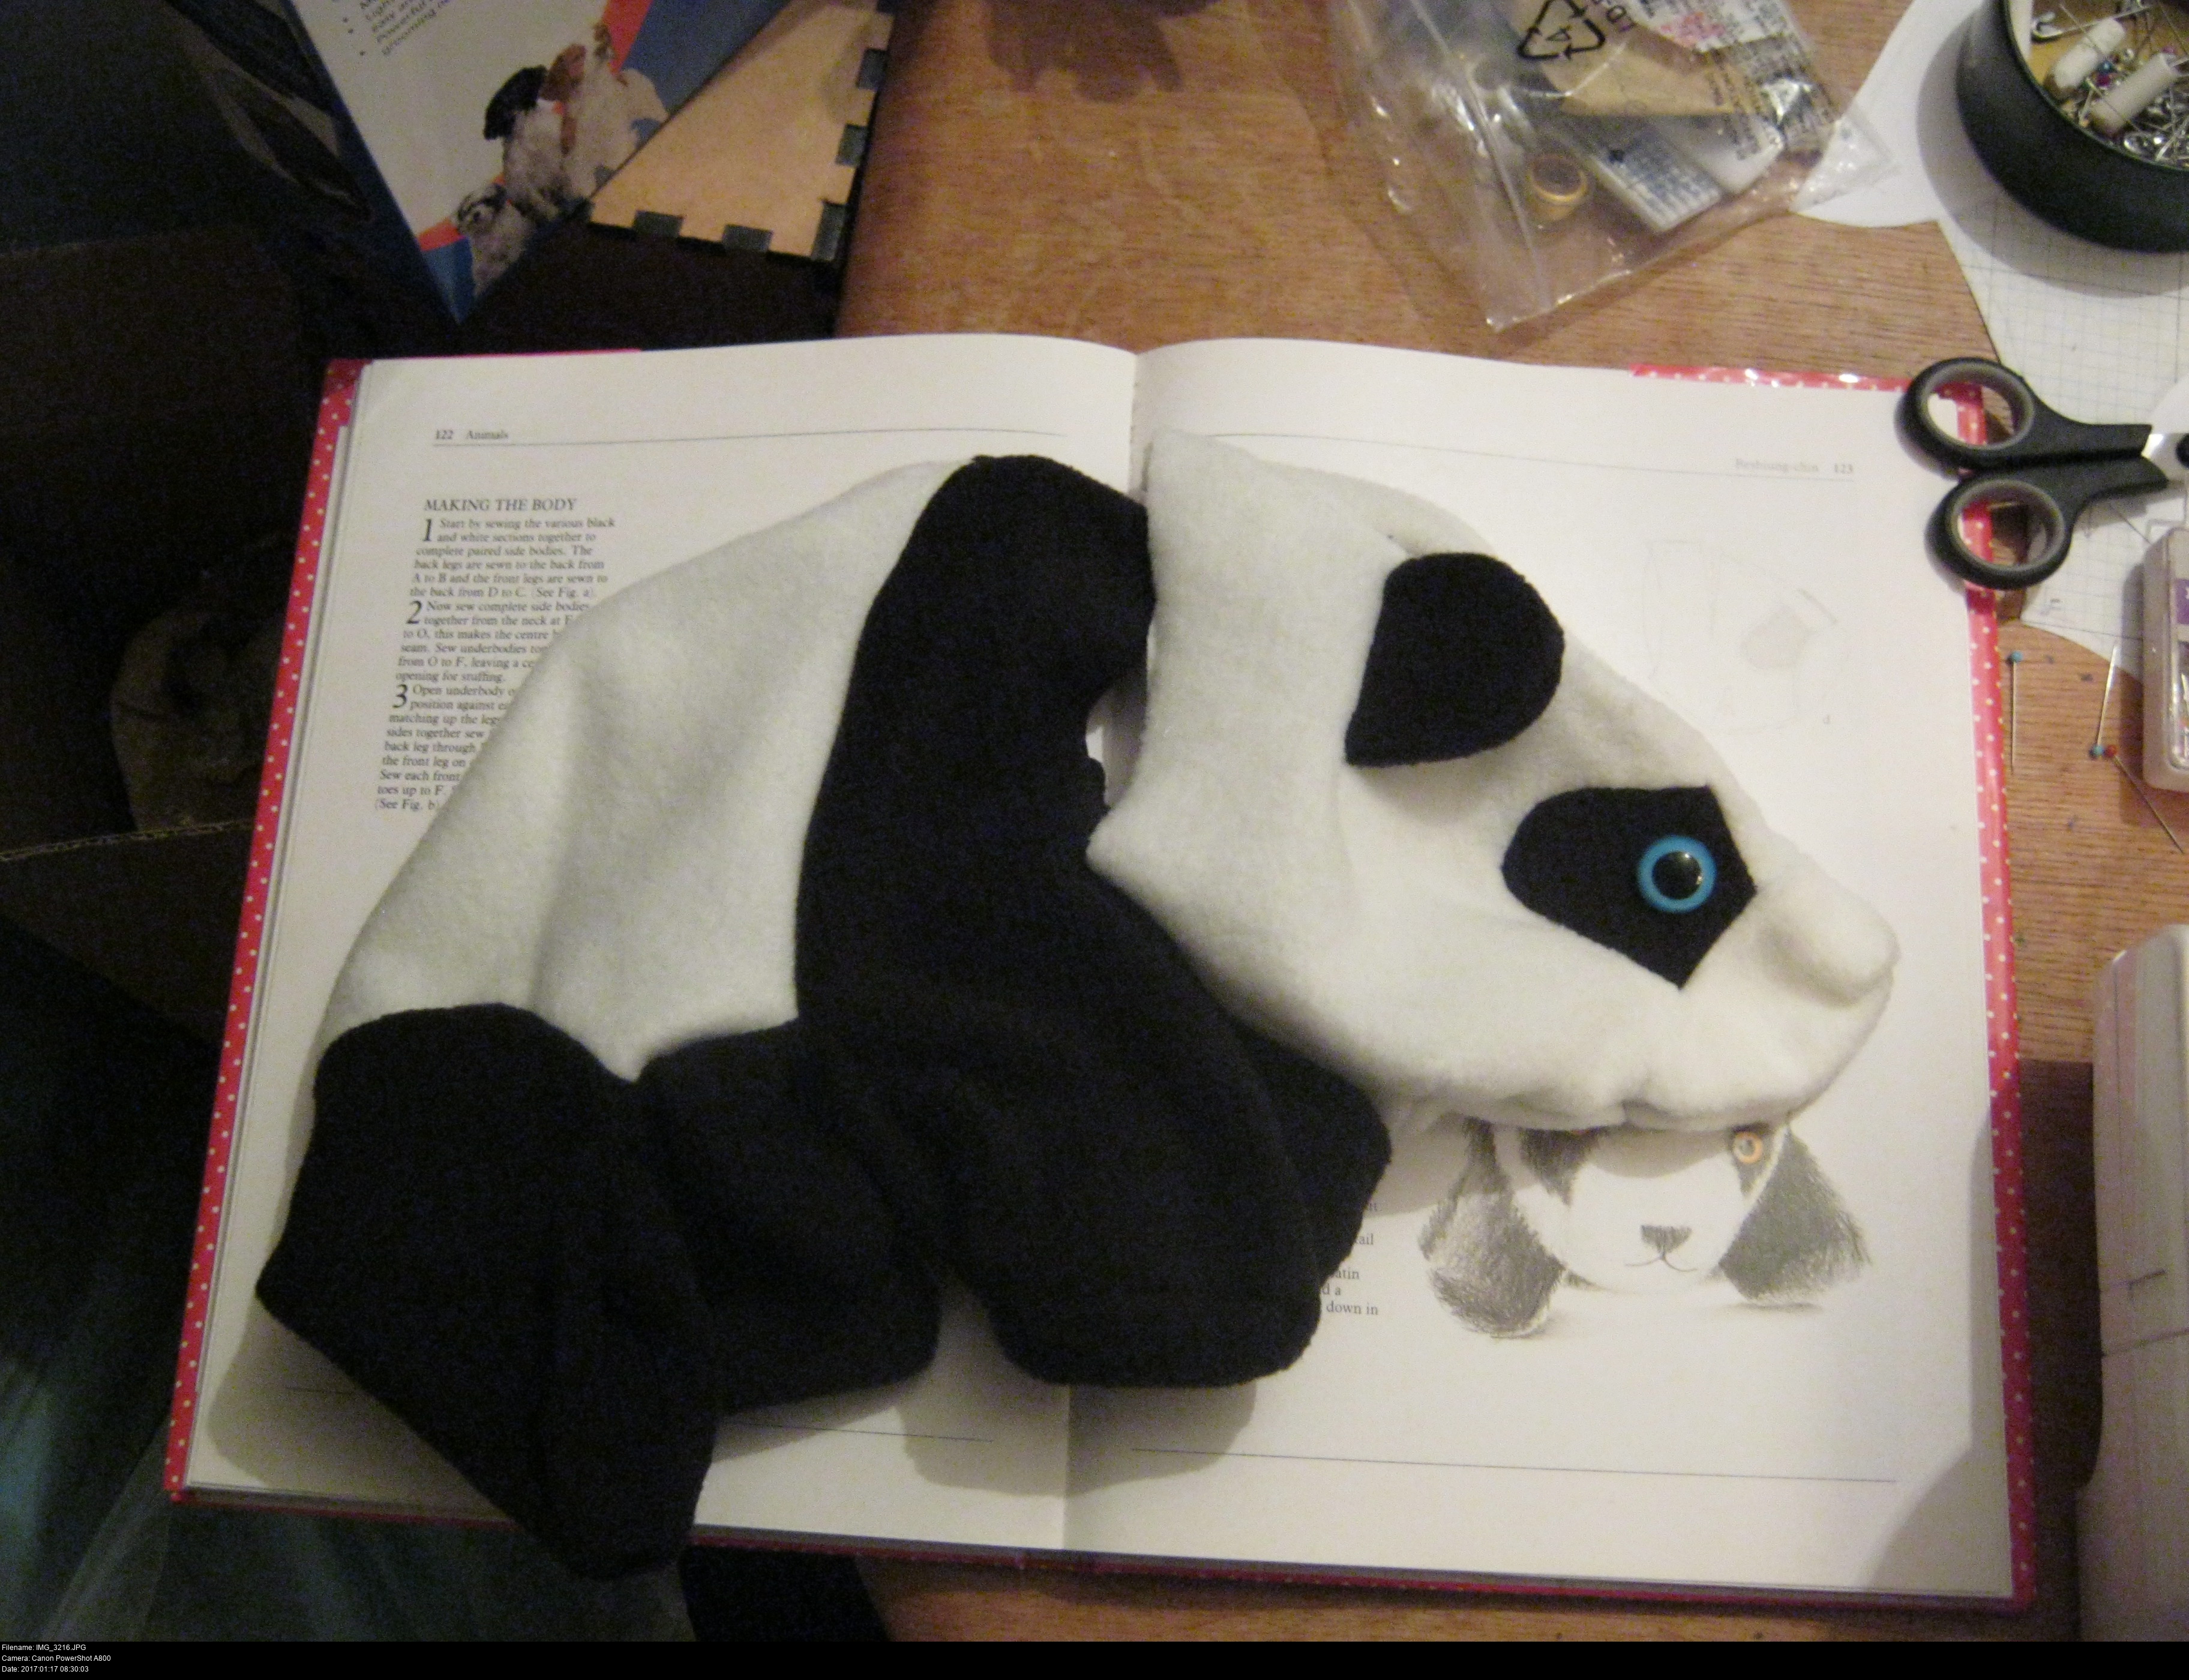
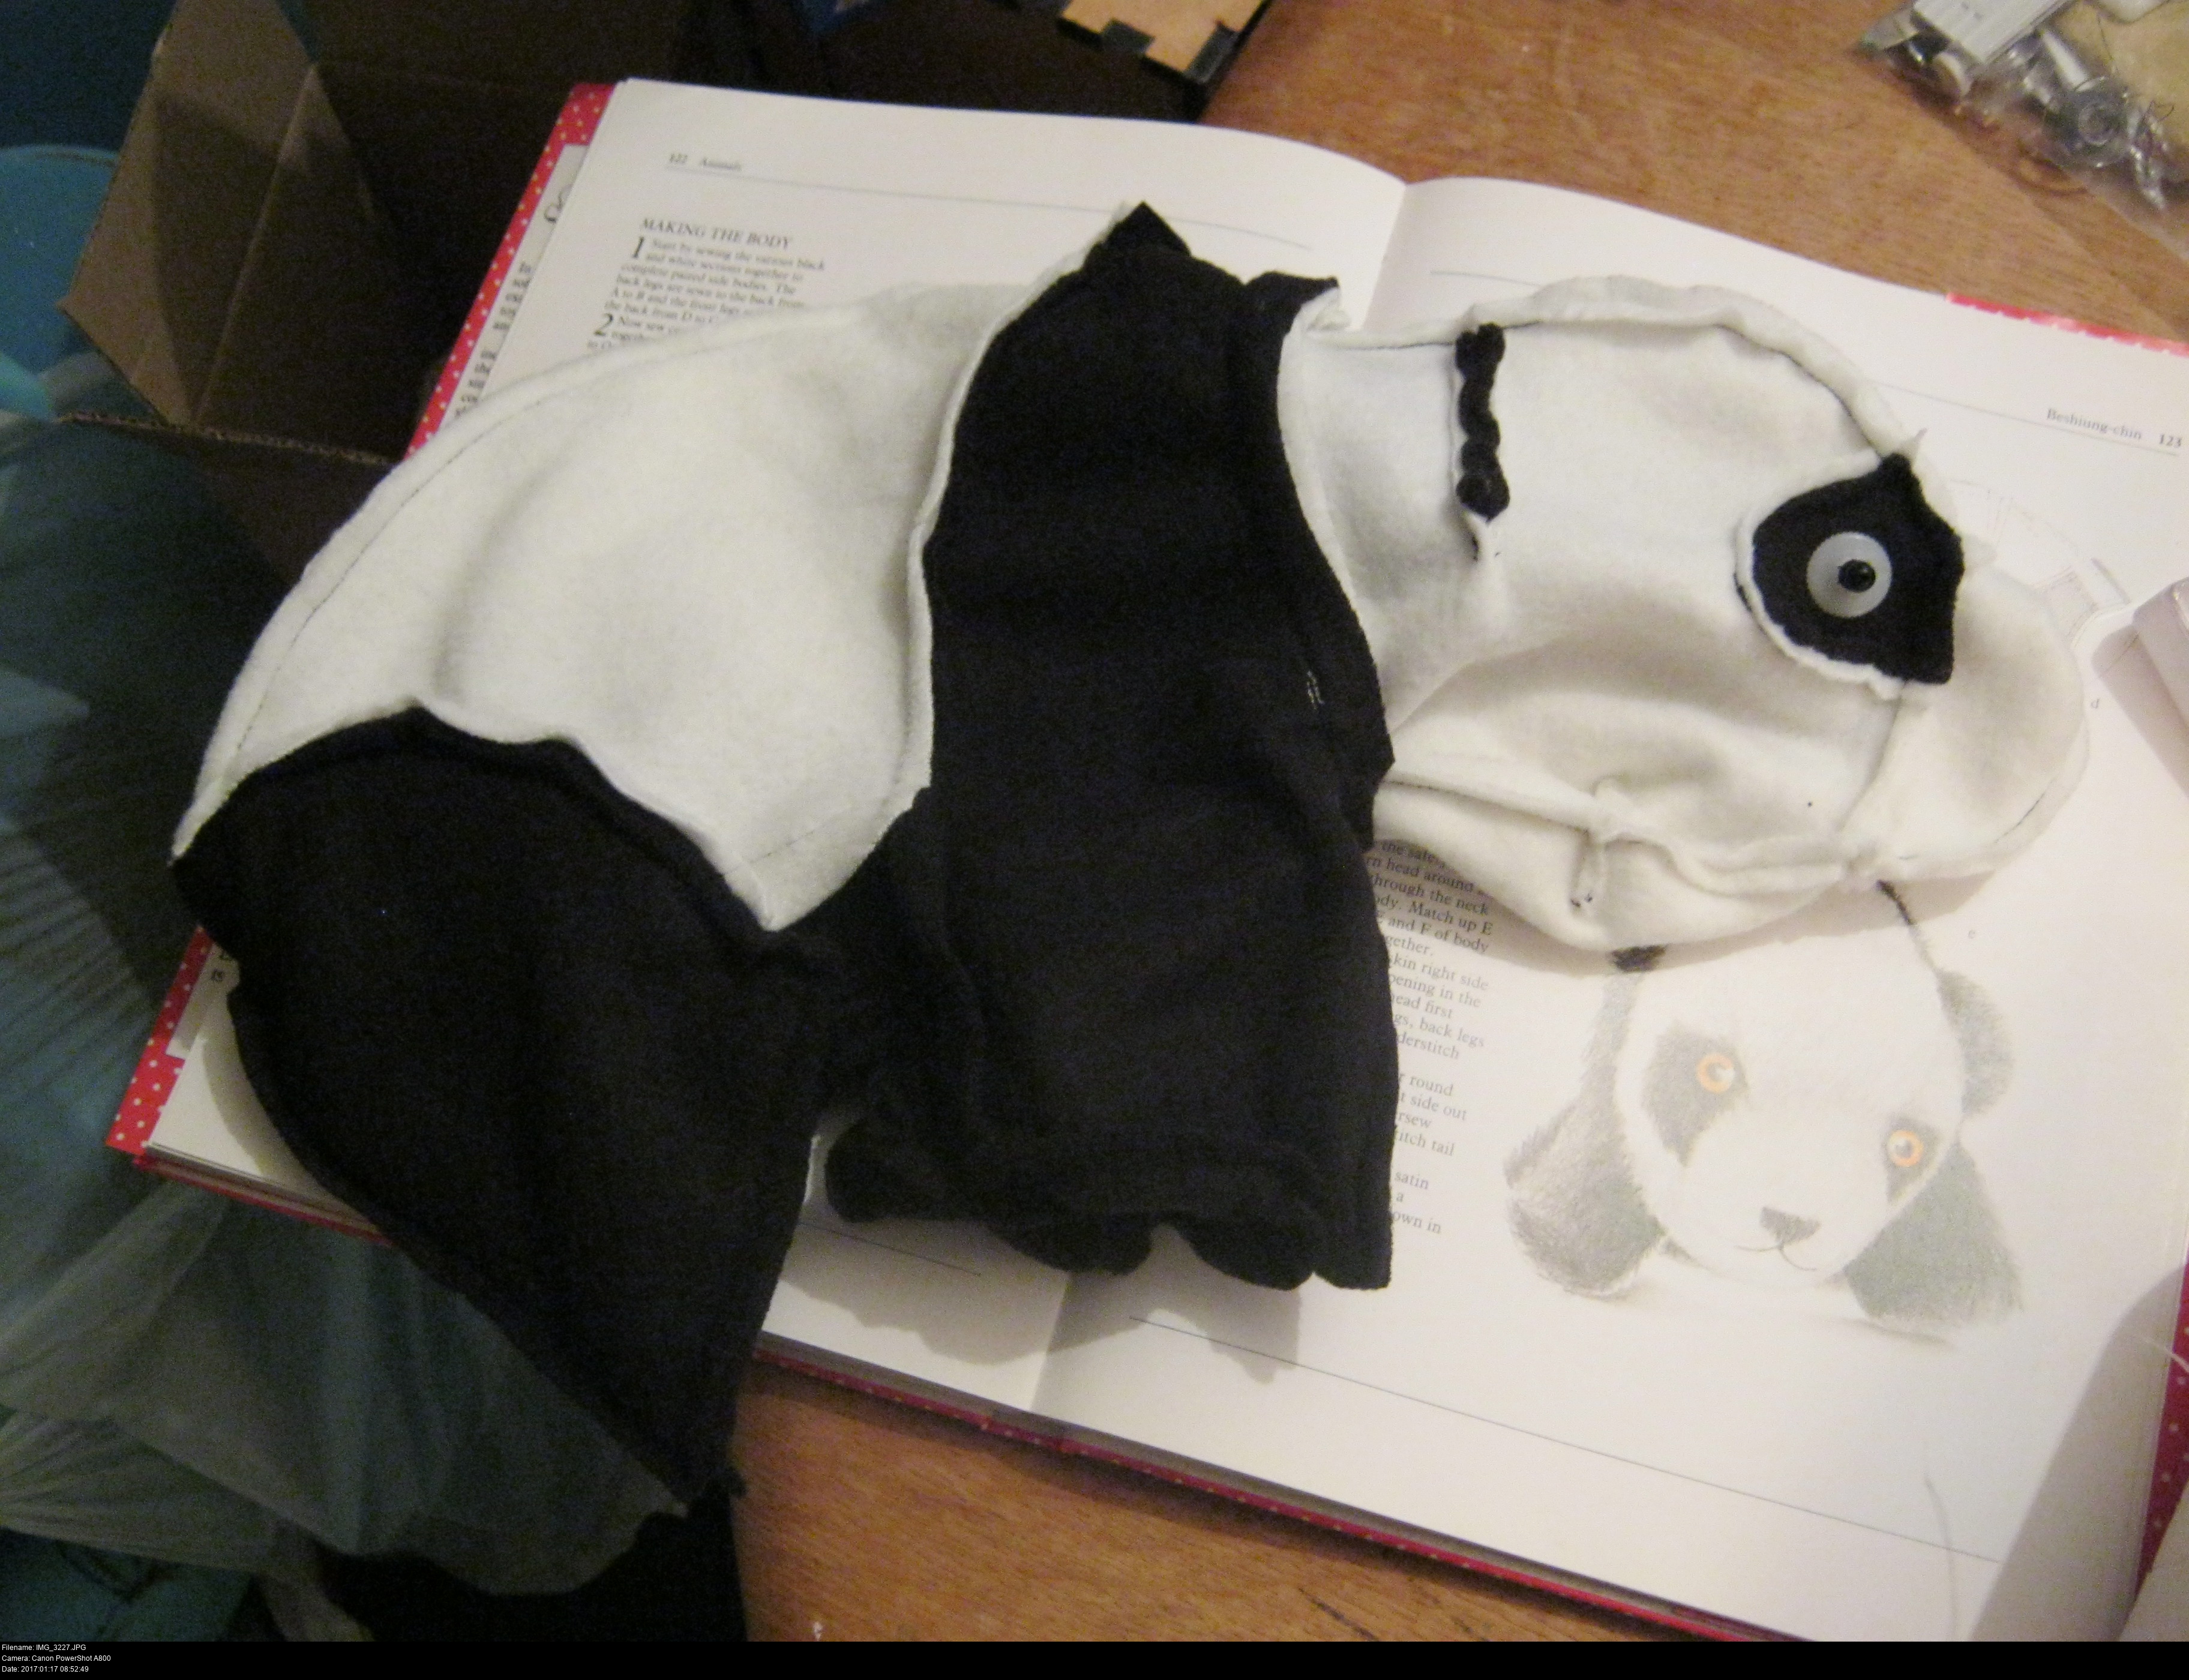
It's looking kind of panda-ish, but I'm not certain. I can see which pieces are the head and which are the body, but I don't know how to make these pieces into the body. And the instructions don't say when to attach the tail.
"Start by sewing the various black and white sections together to complete paired side bodies."
Hmm... that's a little vague to me.
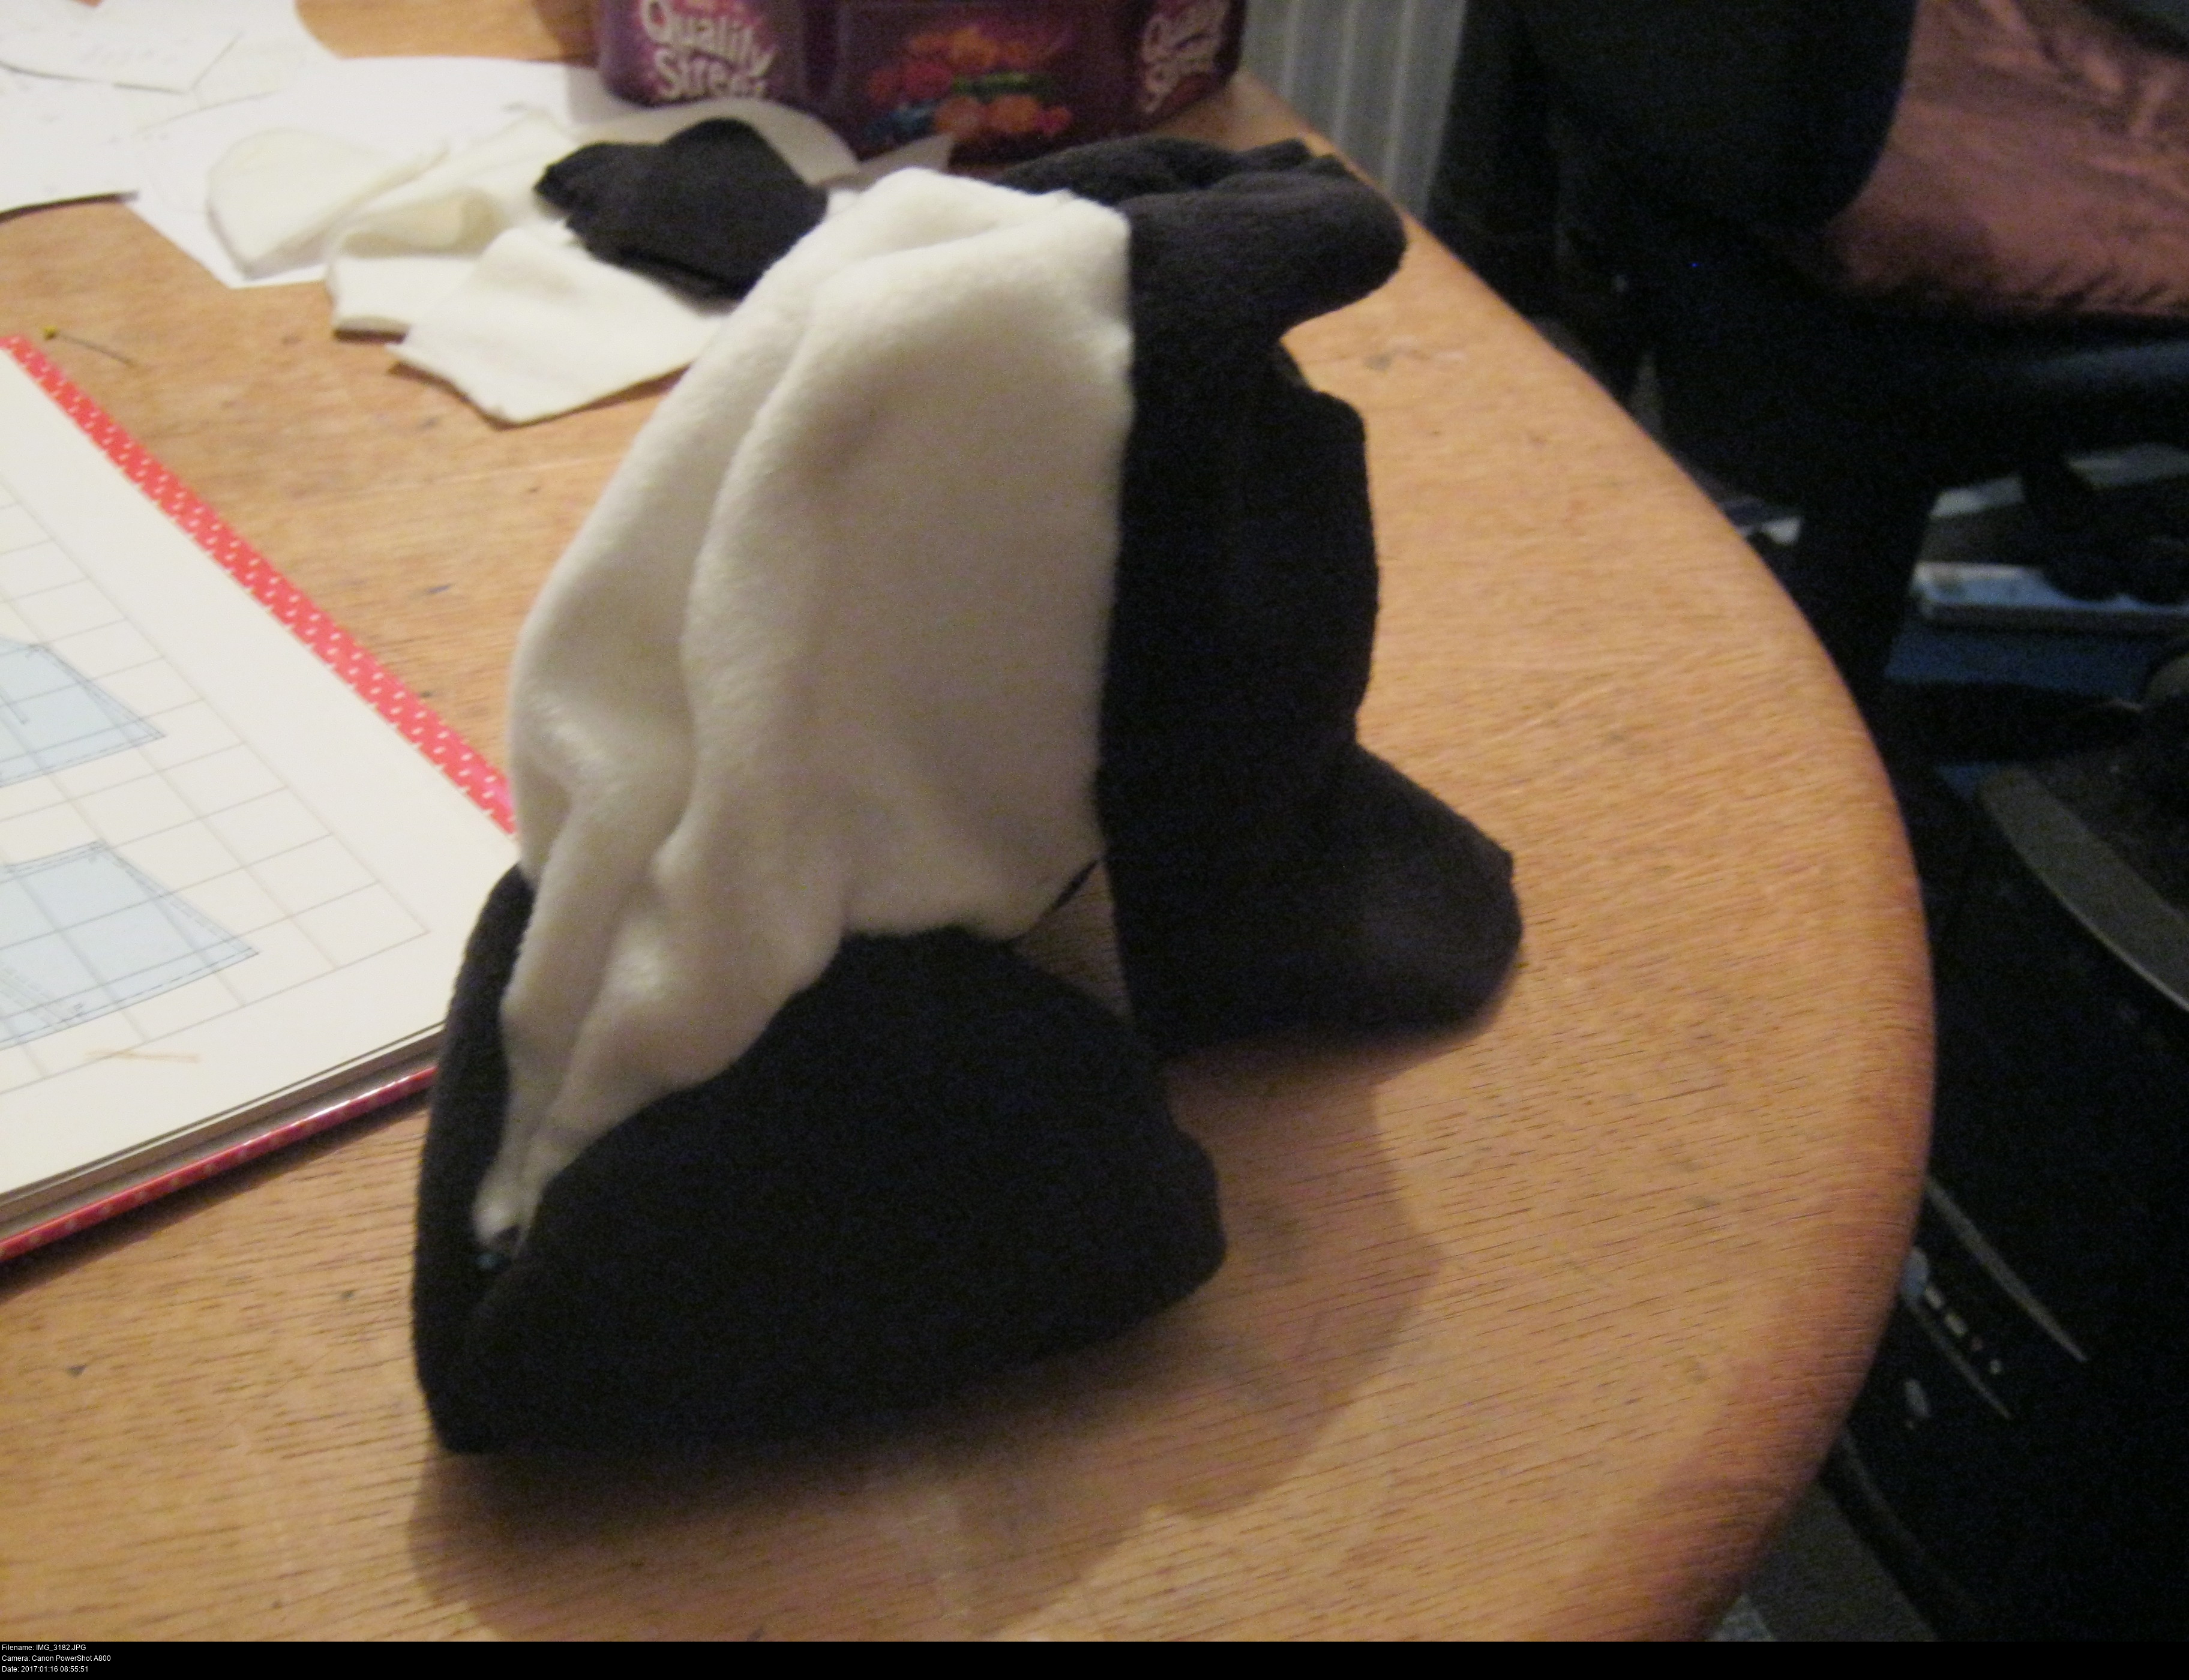
I think I have it! A little odd though. I couldn't tell you which was the front and which was the back.
Another fine reason to pin stuff thoroughly instead of just having at it!
It looks like the photograph though. There's a confidence boost!
Let's try it.
All sewn and neat! What's next?
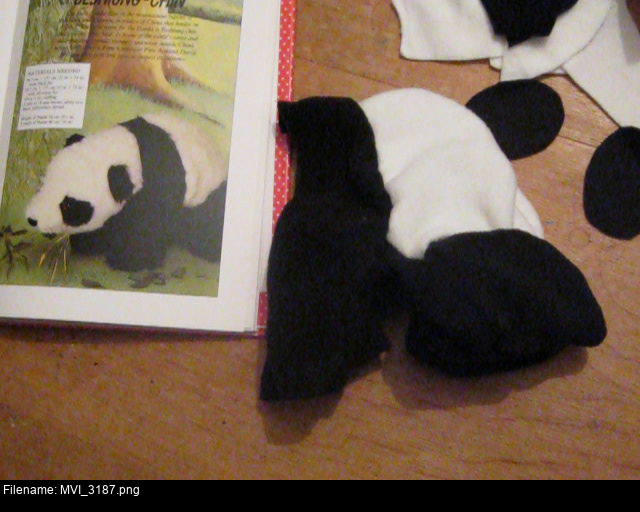
The underbody pieces have a weird 7 shaped line cut through them. I think the horizontal part of the 7 matches up to the small exposed area of white between the legs.
I've got to sew on the ovals for the feet now. This guy is going to be so wrinkled from the number of times I've had to turn him inside out.
Doing little areas like the feet is a struggle with the machine: nothing lines up and things magically become different sizes when they're not supposed to be at the worst possible moment. Luckily they don't have to be perfect, and there's no details like claws or pawpads to worry about. I just need to cap the legs at all.

This image probably makes things even more confusing!
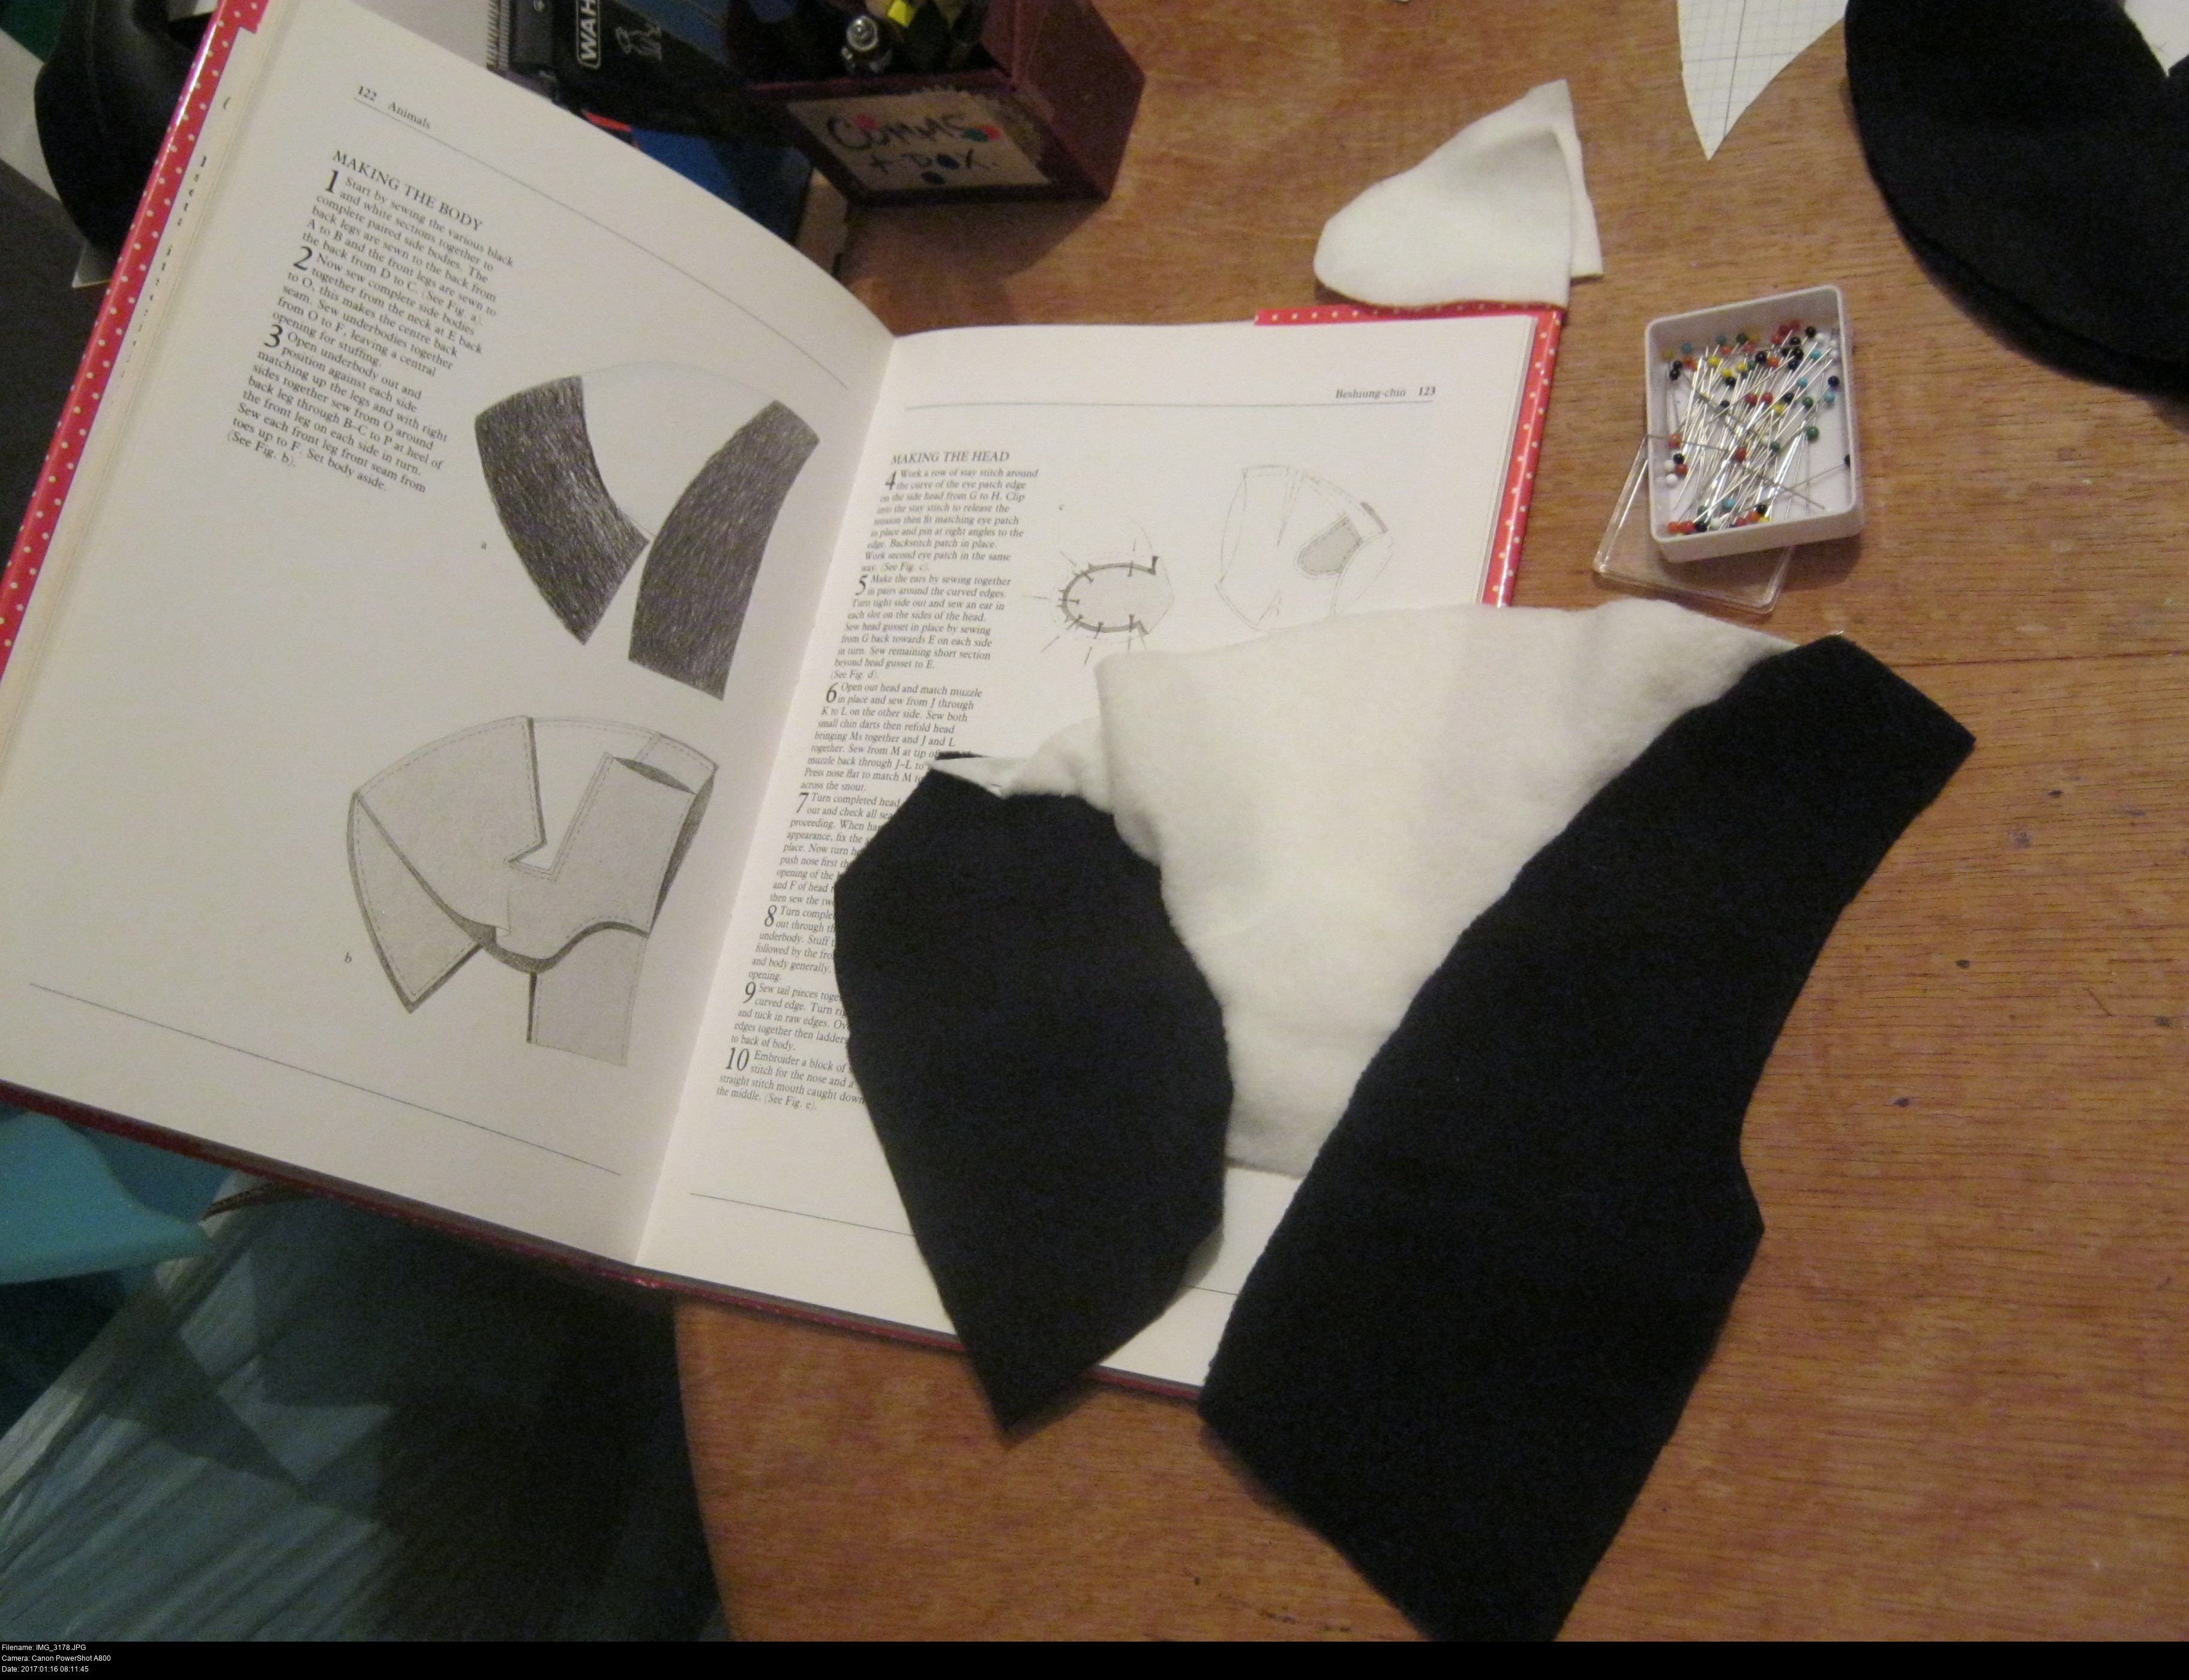
Let's leave this here for now and focus on the head.
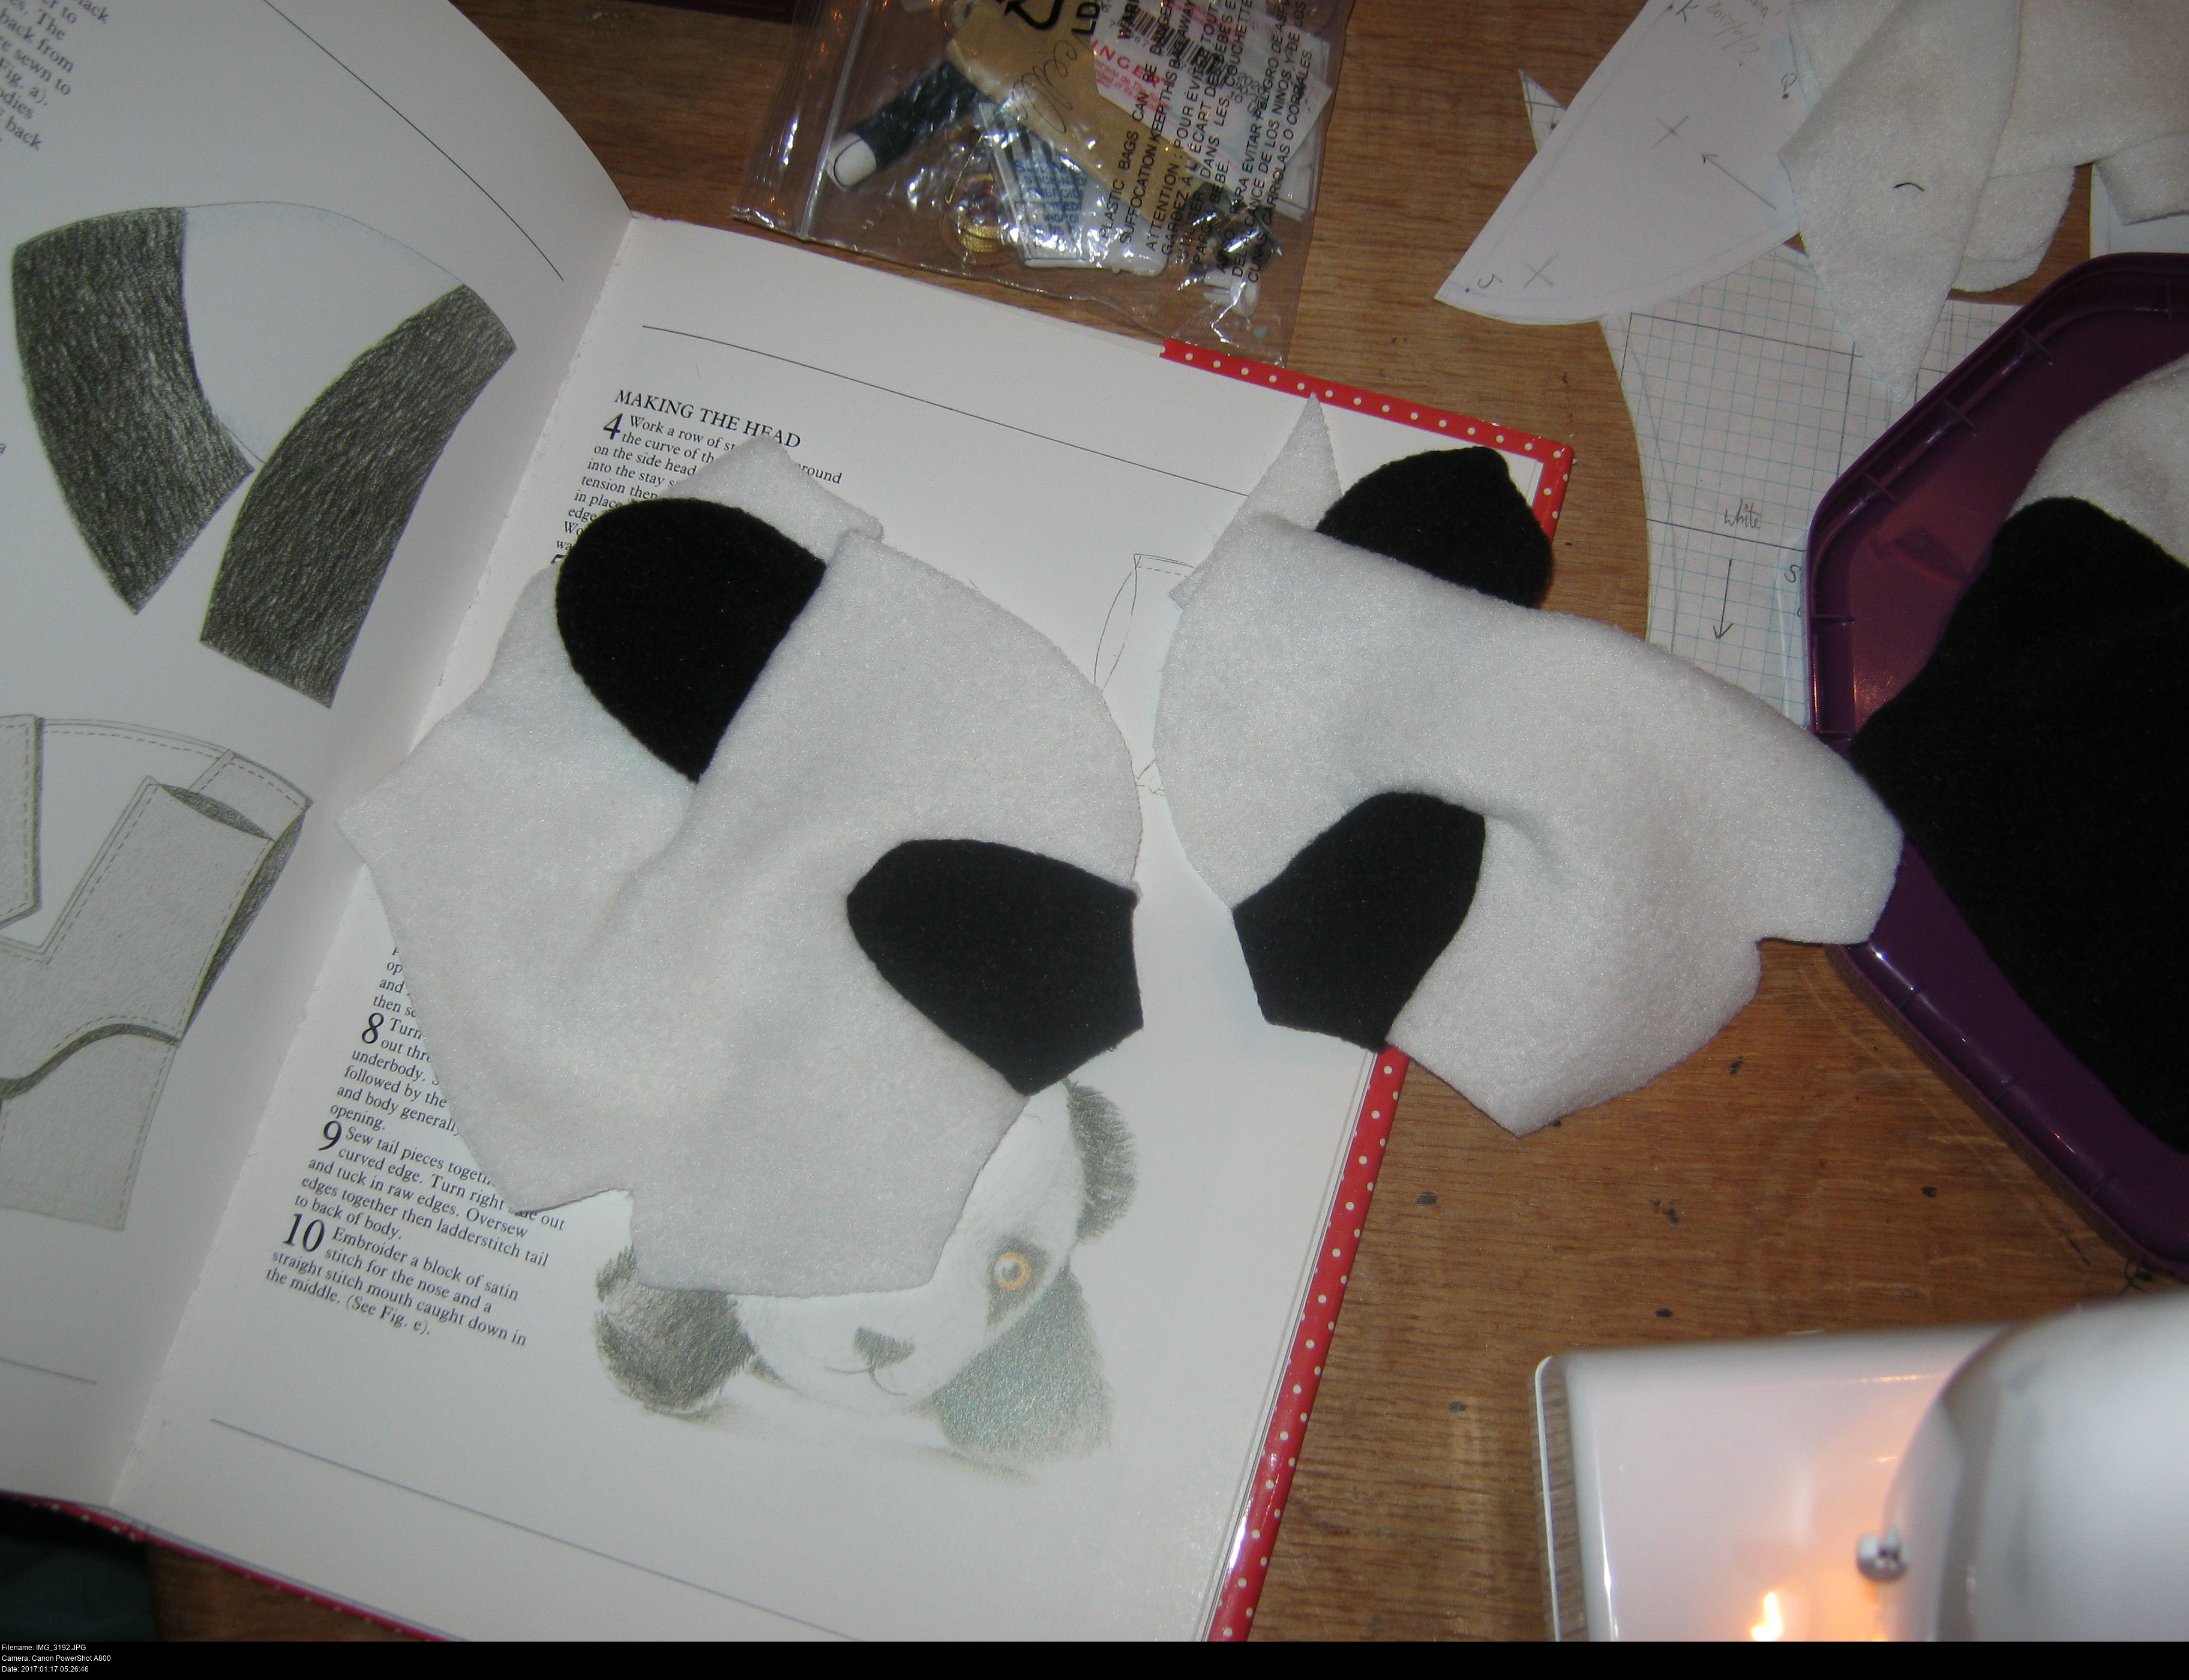
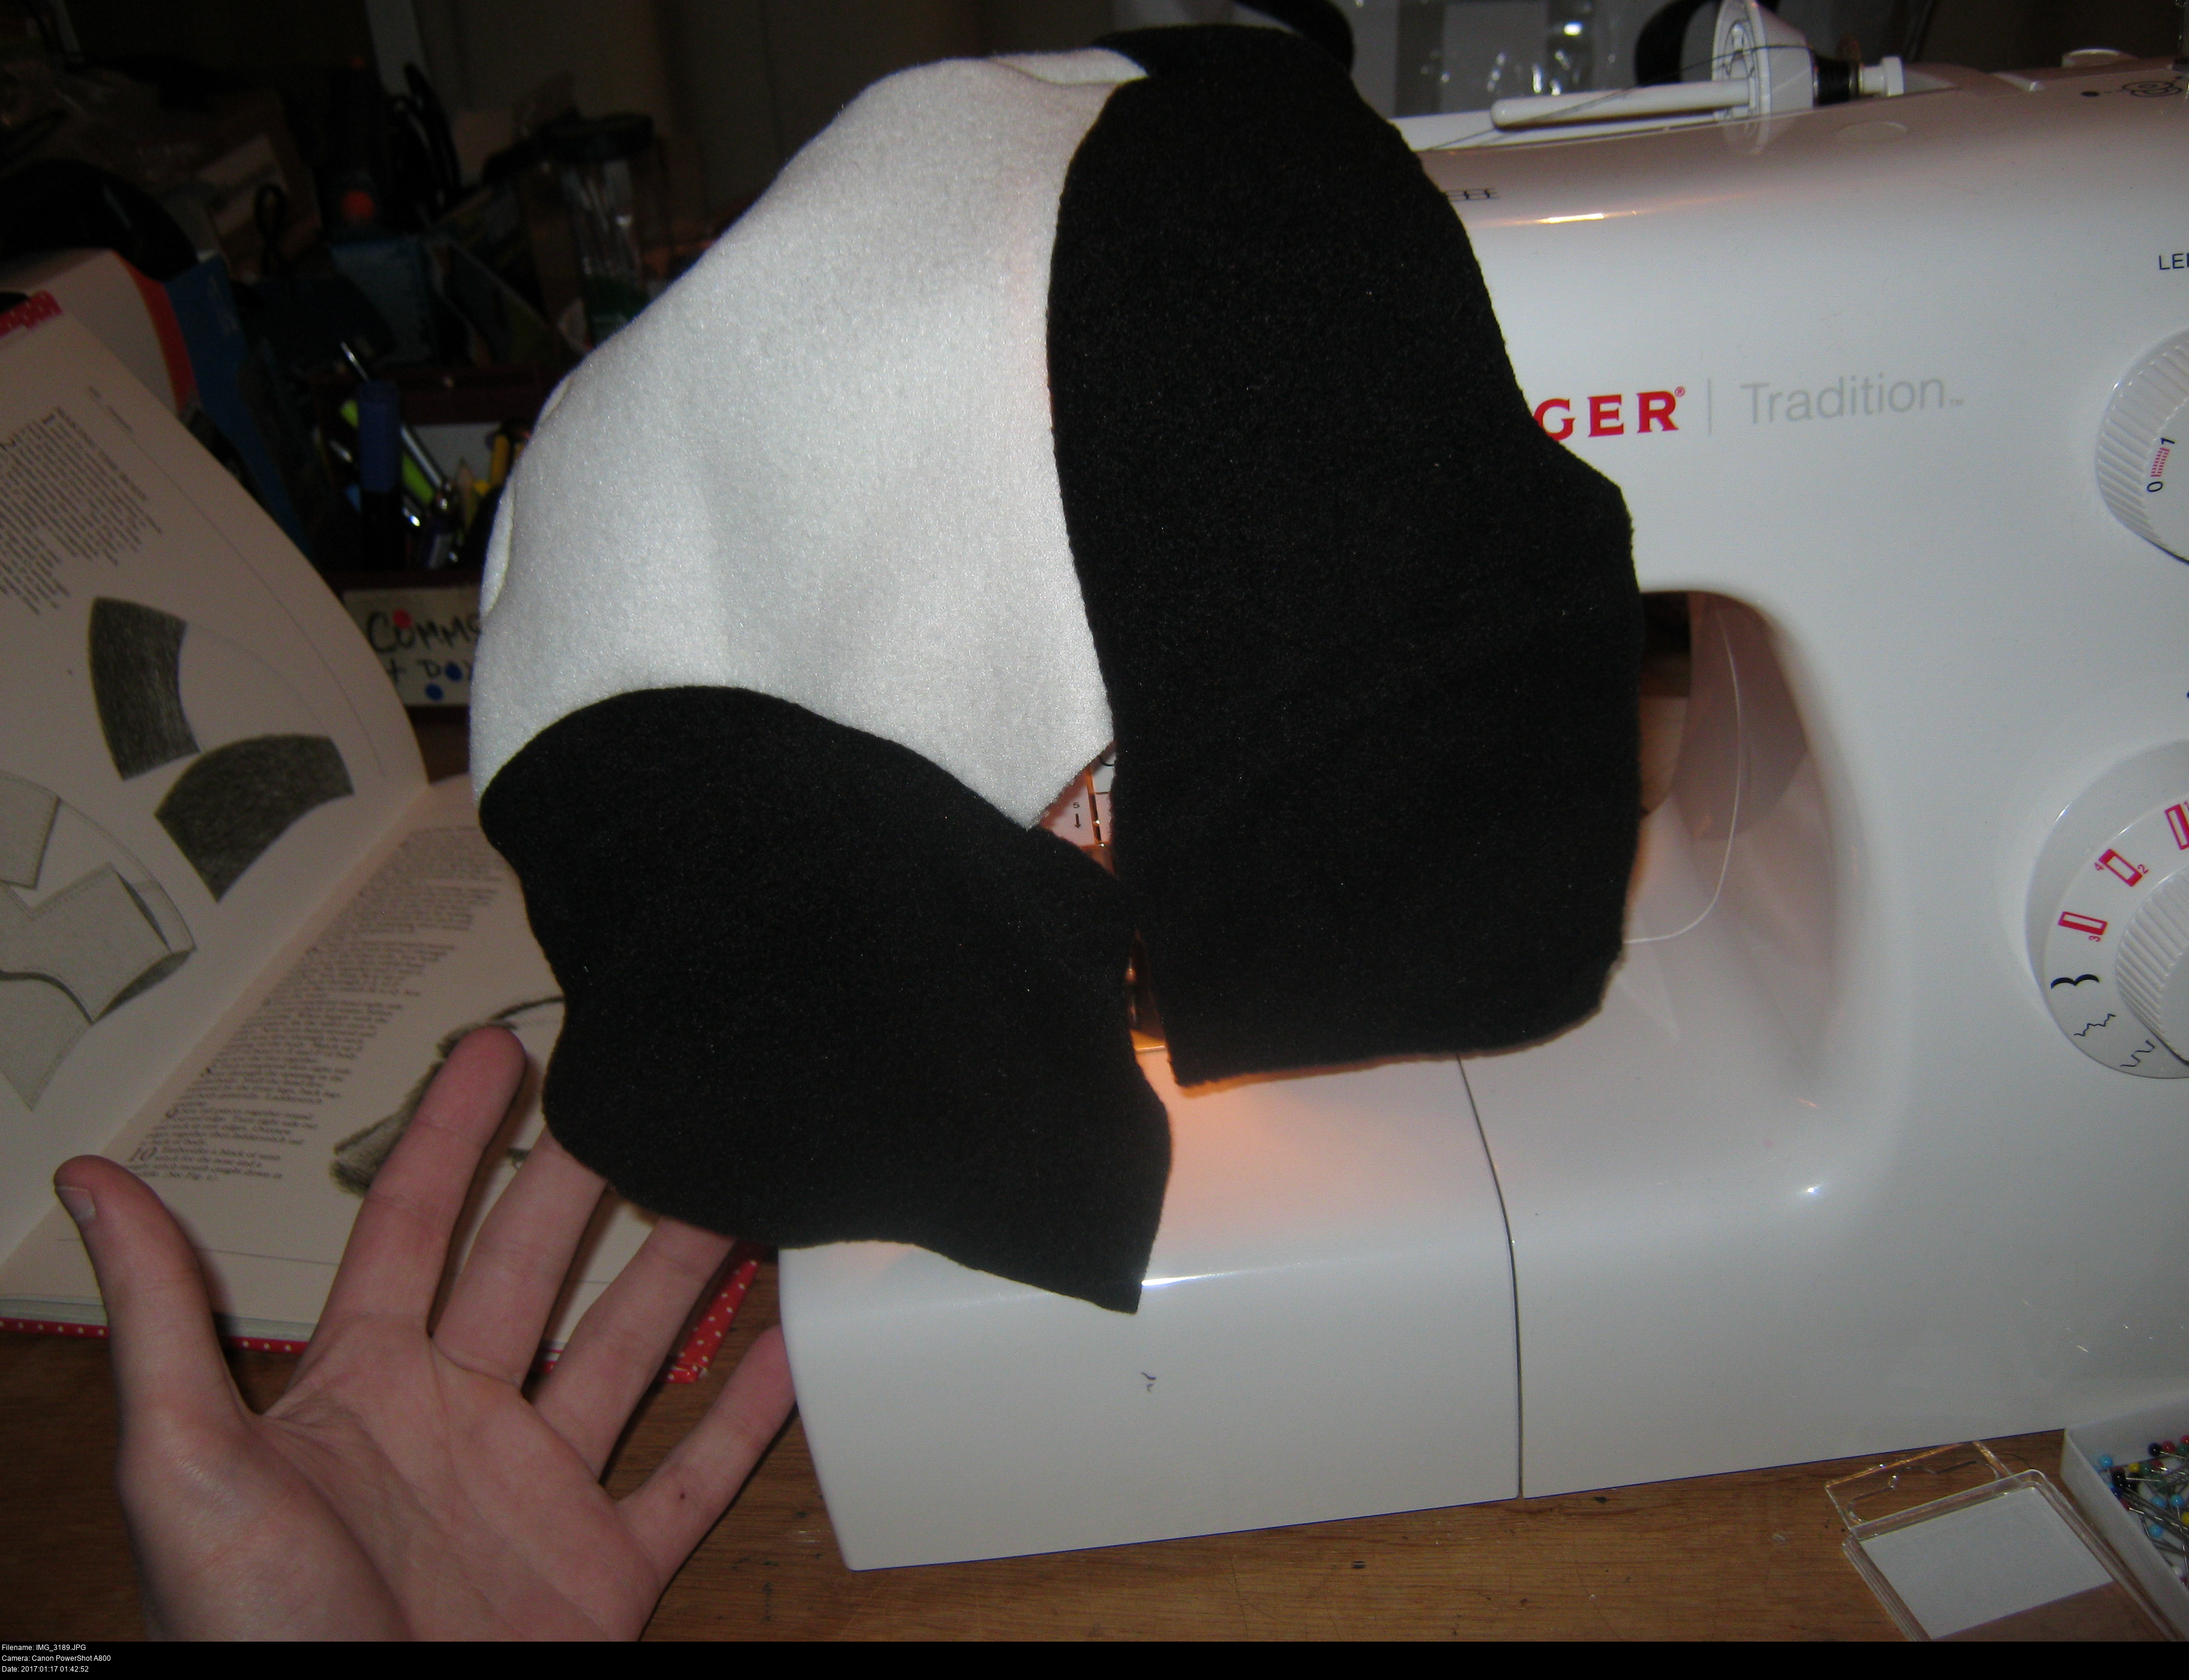
This part is a lot more straightforward, just as long as you have a sewing machine that doesn't mind going through four layers or more of fleece.
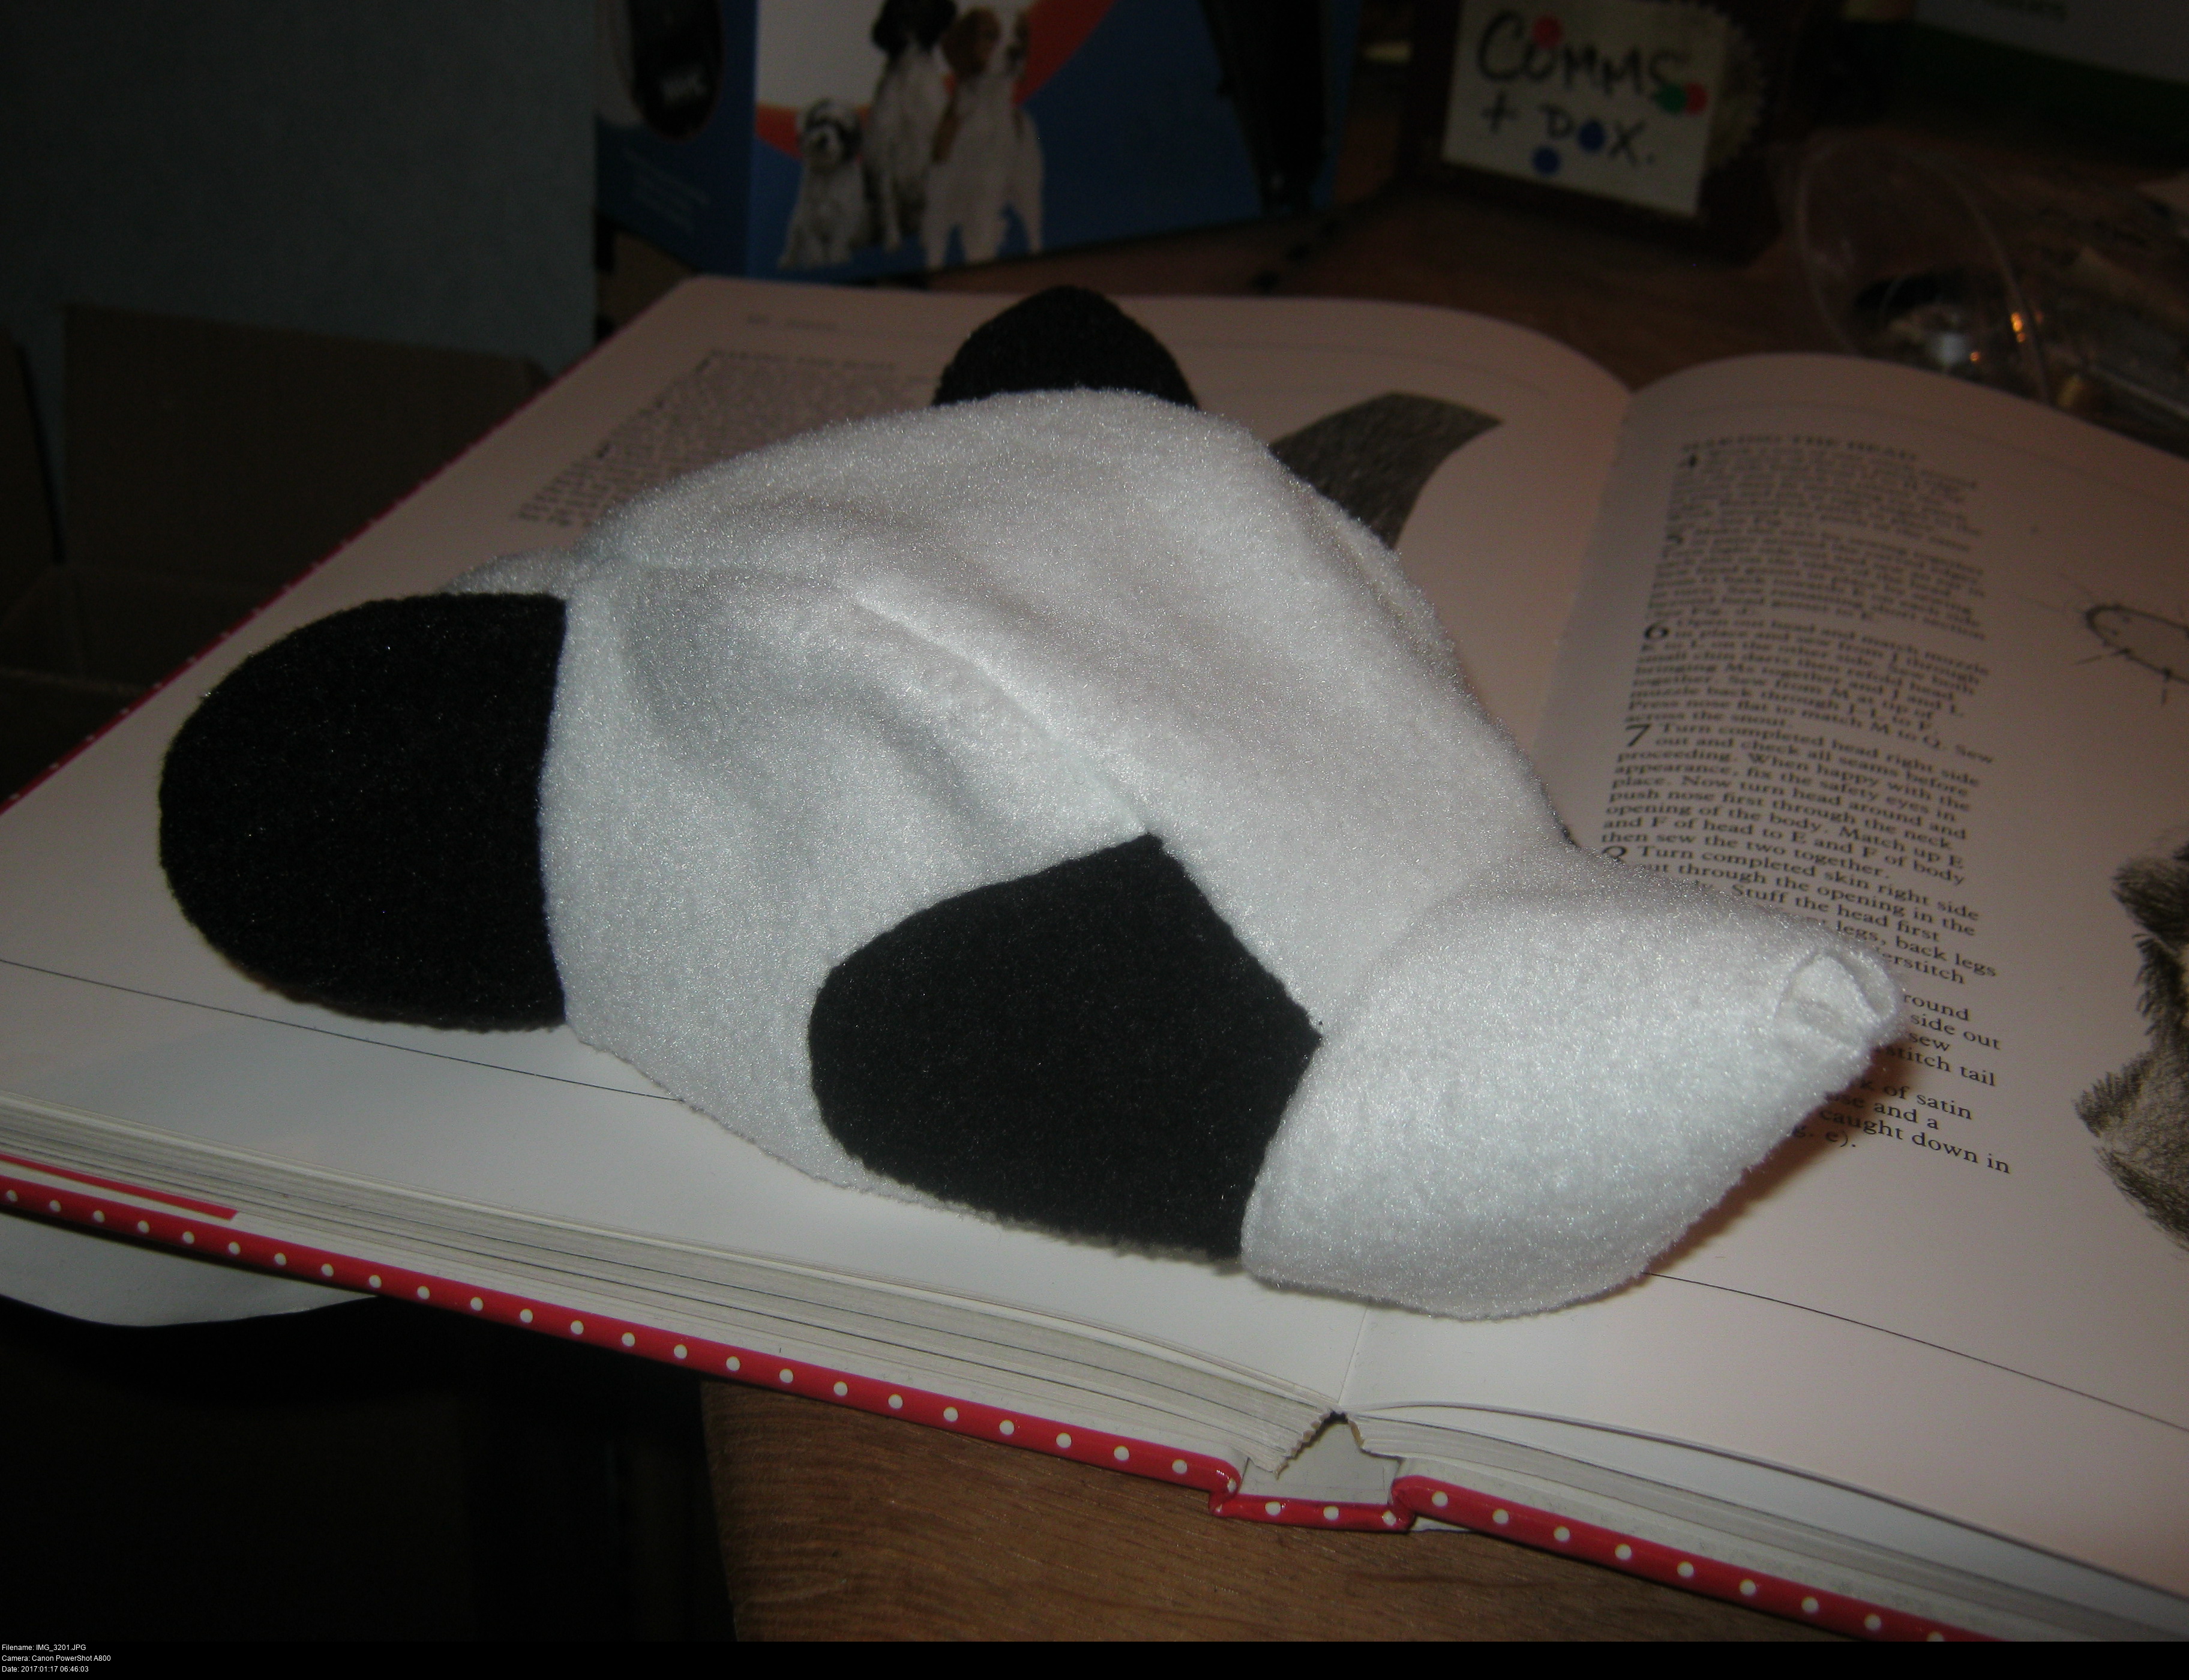
And now I know what a 'gusset' is! It's a piece of fabric added to a pattern down its center to make the final item wider.
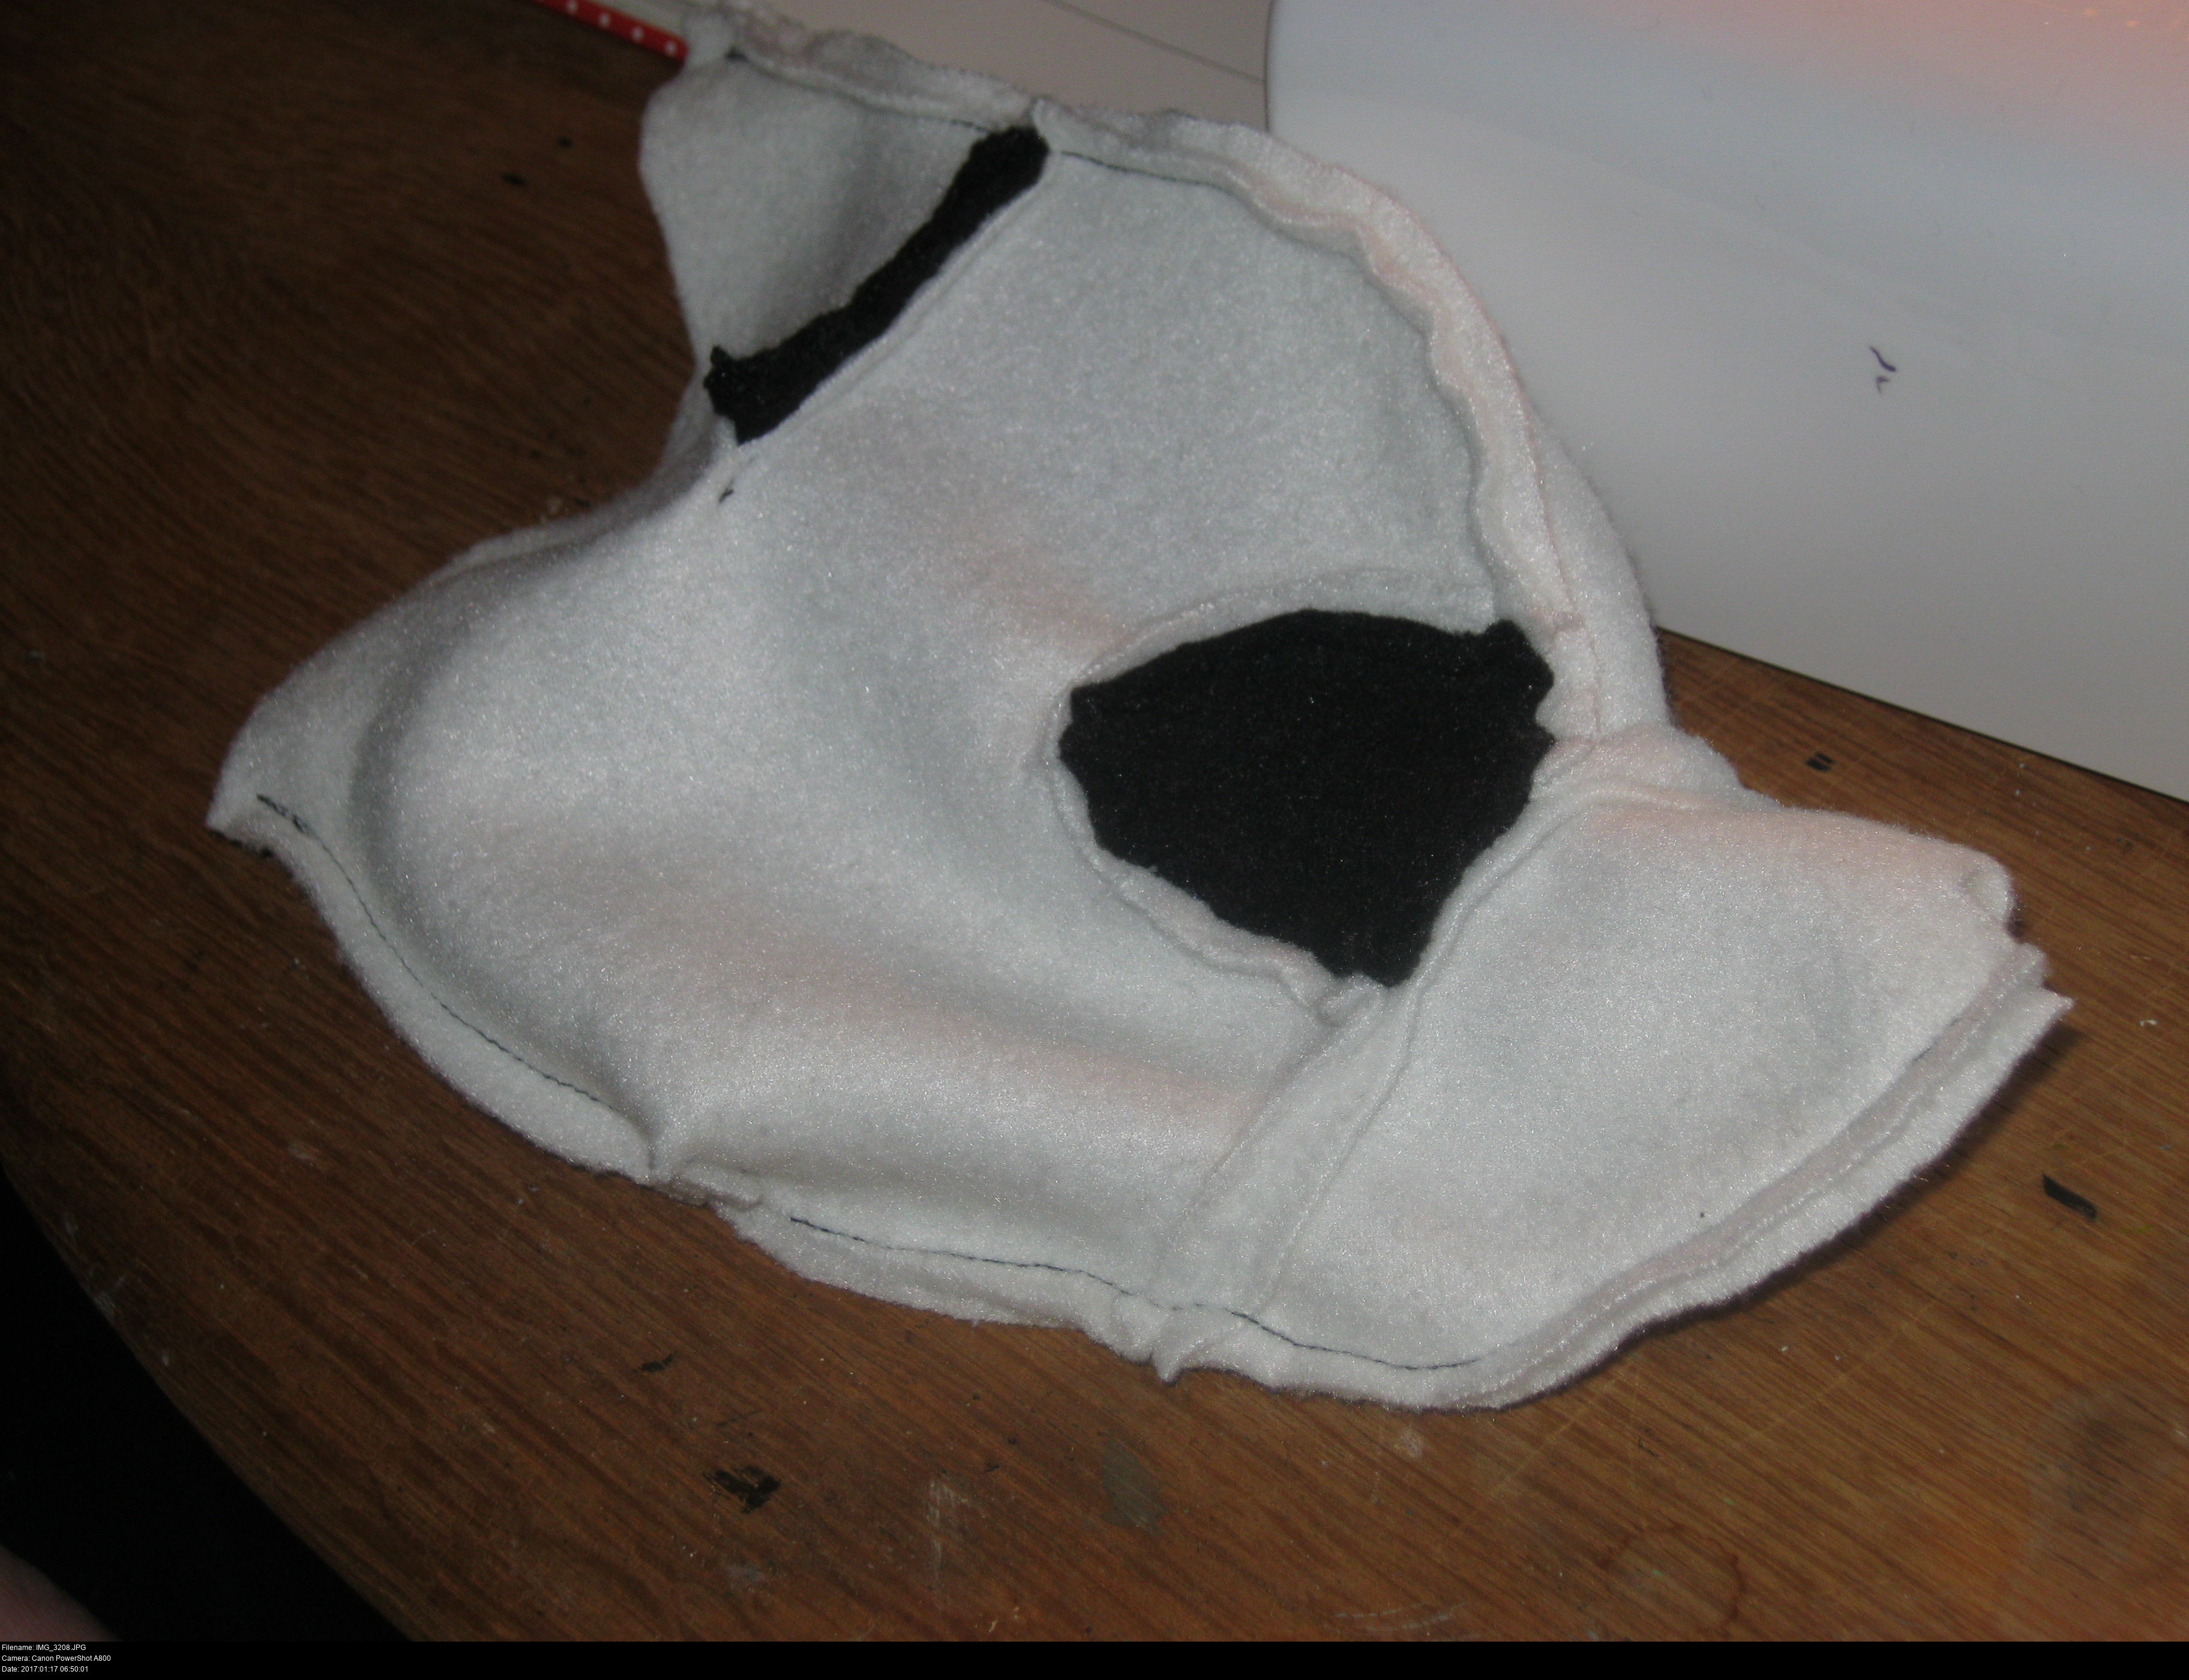
It's all squiggly inside.
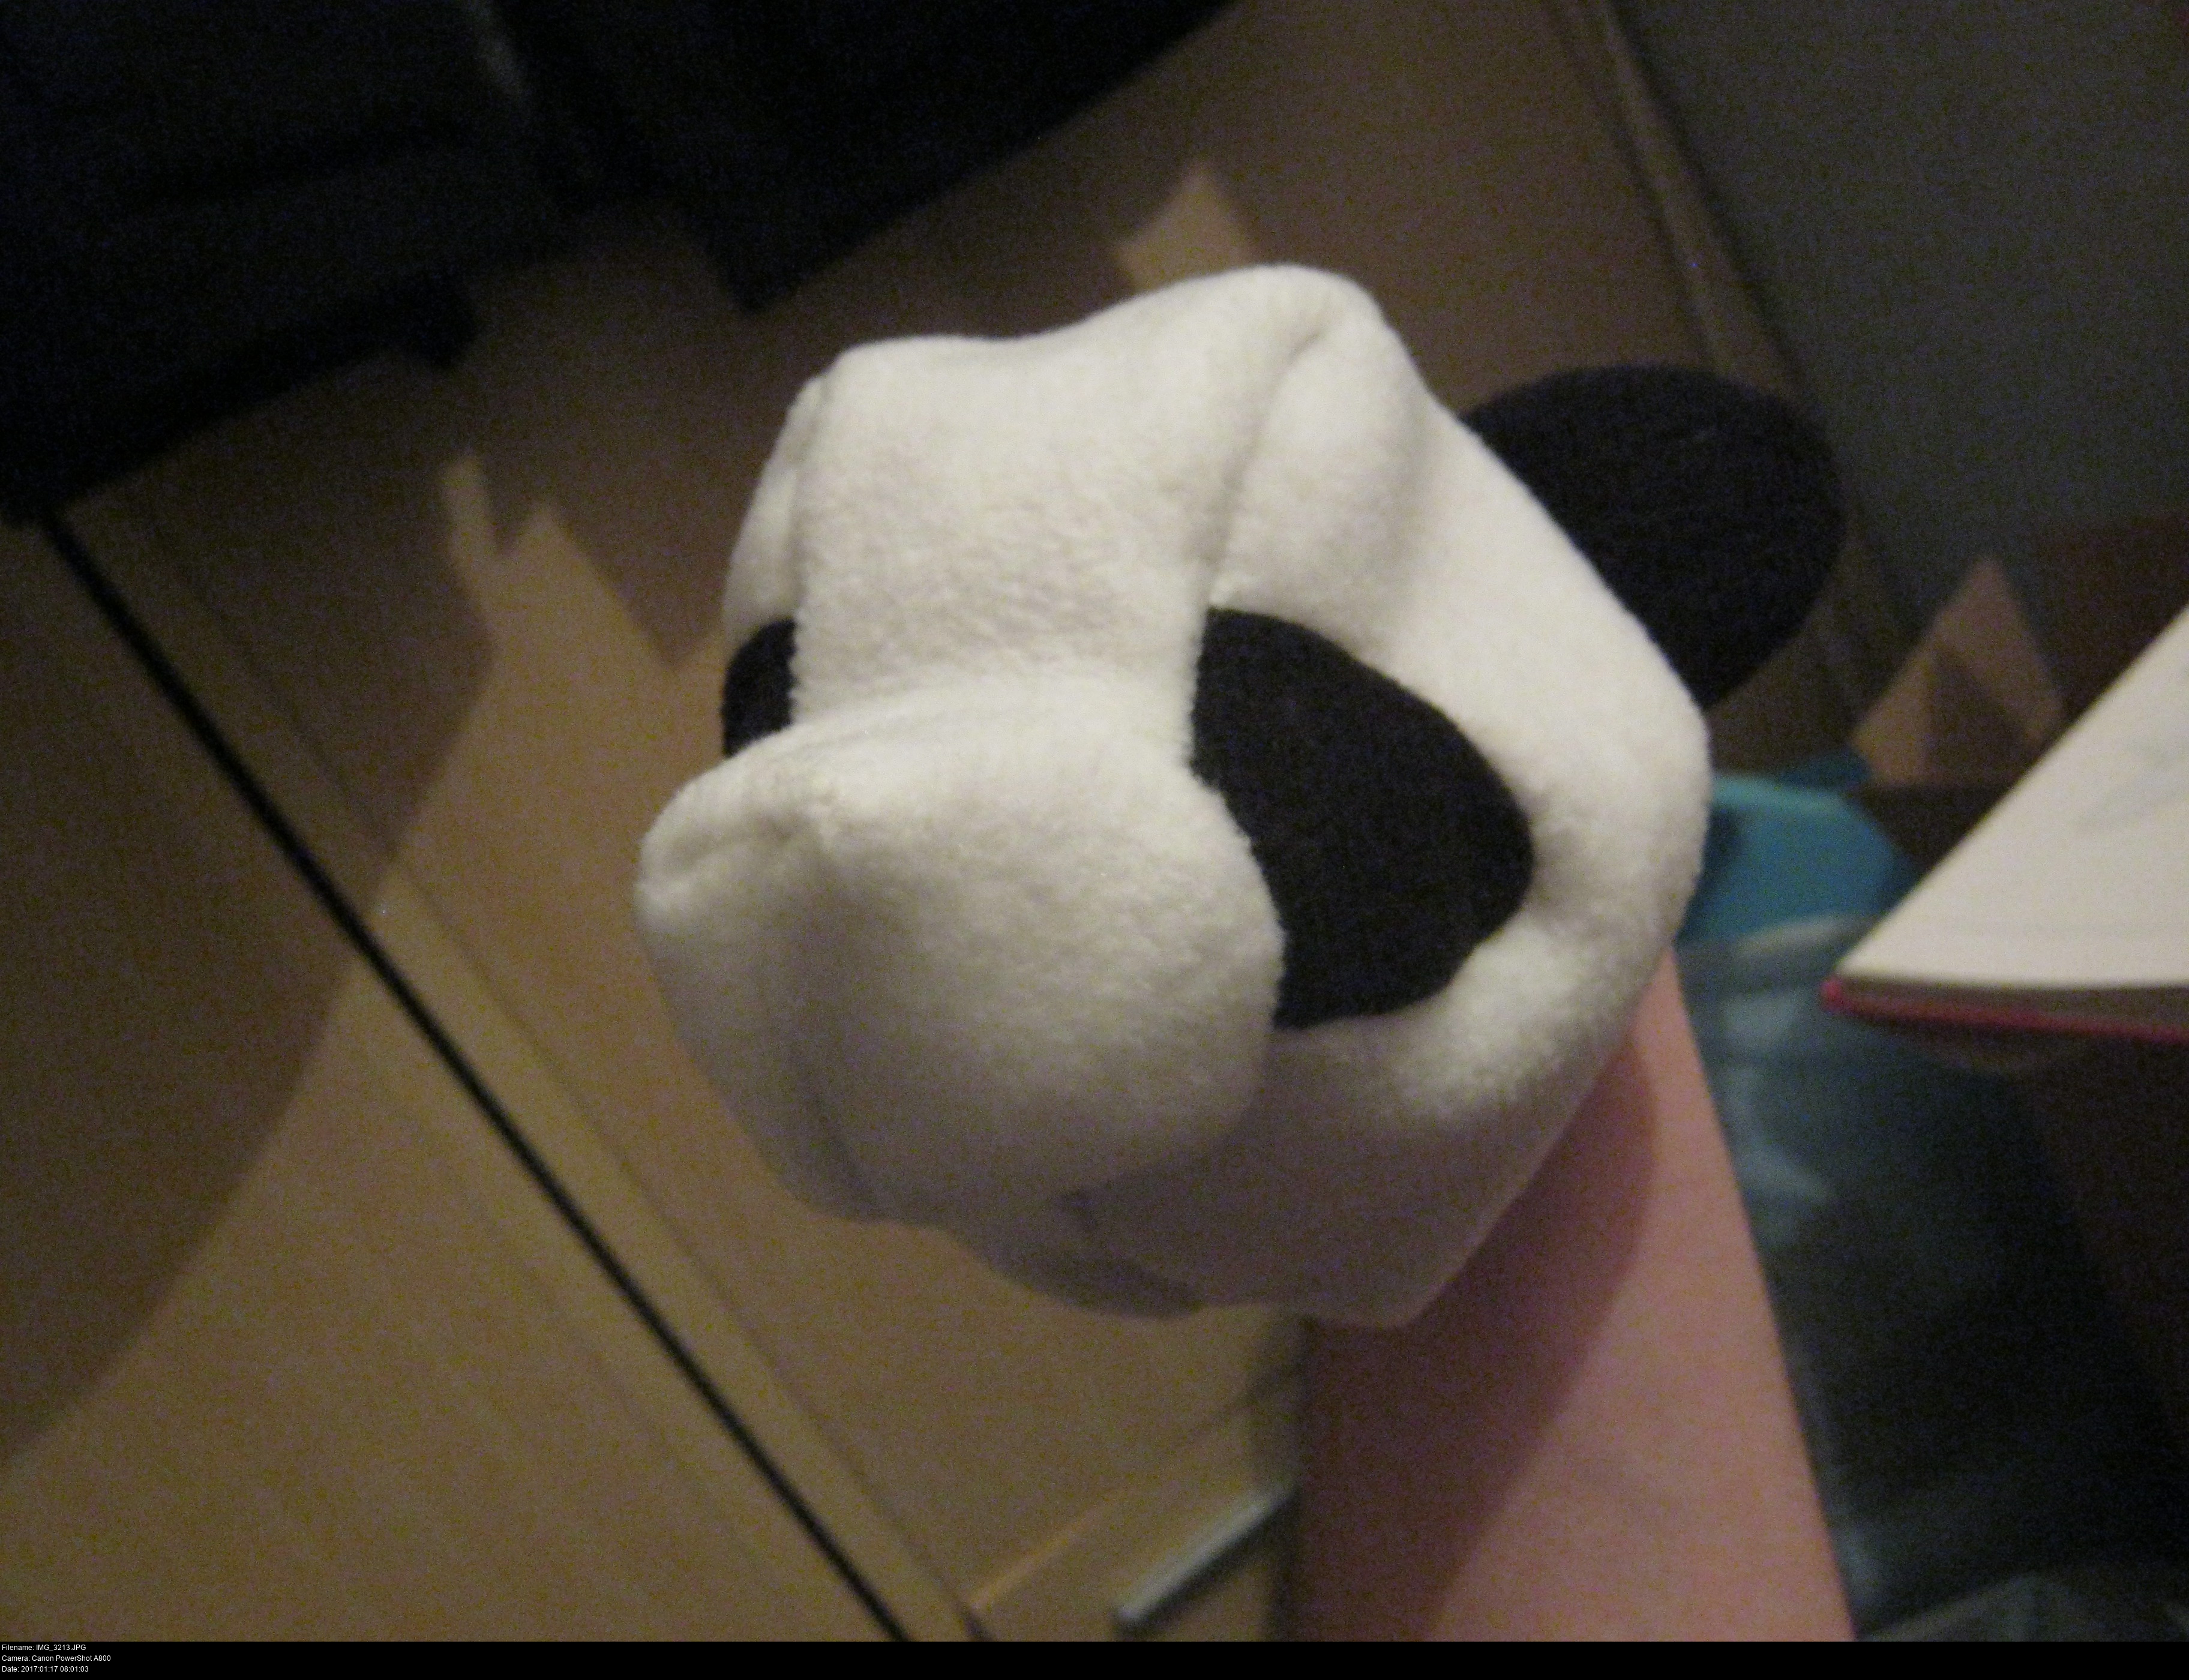
The ears were really easy to add. There's a cut into the fabric along the top edge that the ears slot into. You sew them into that edge to make the top edge whole again, and then sew that completed edge against the gusset.
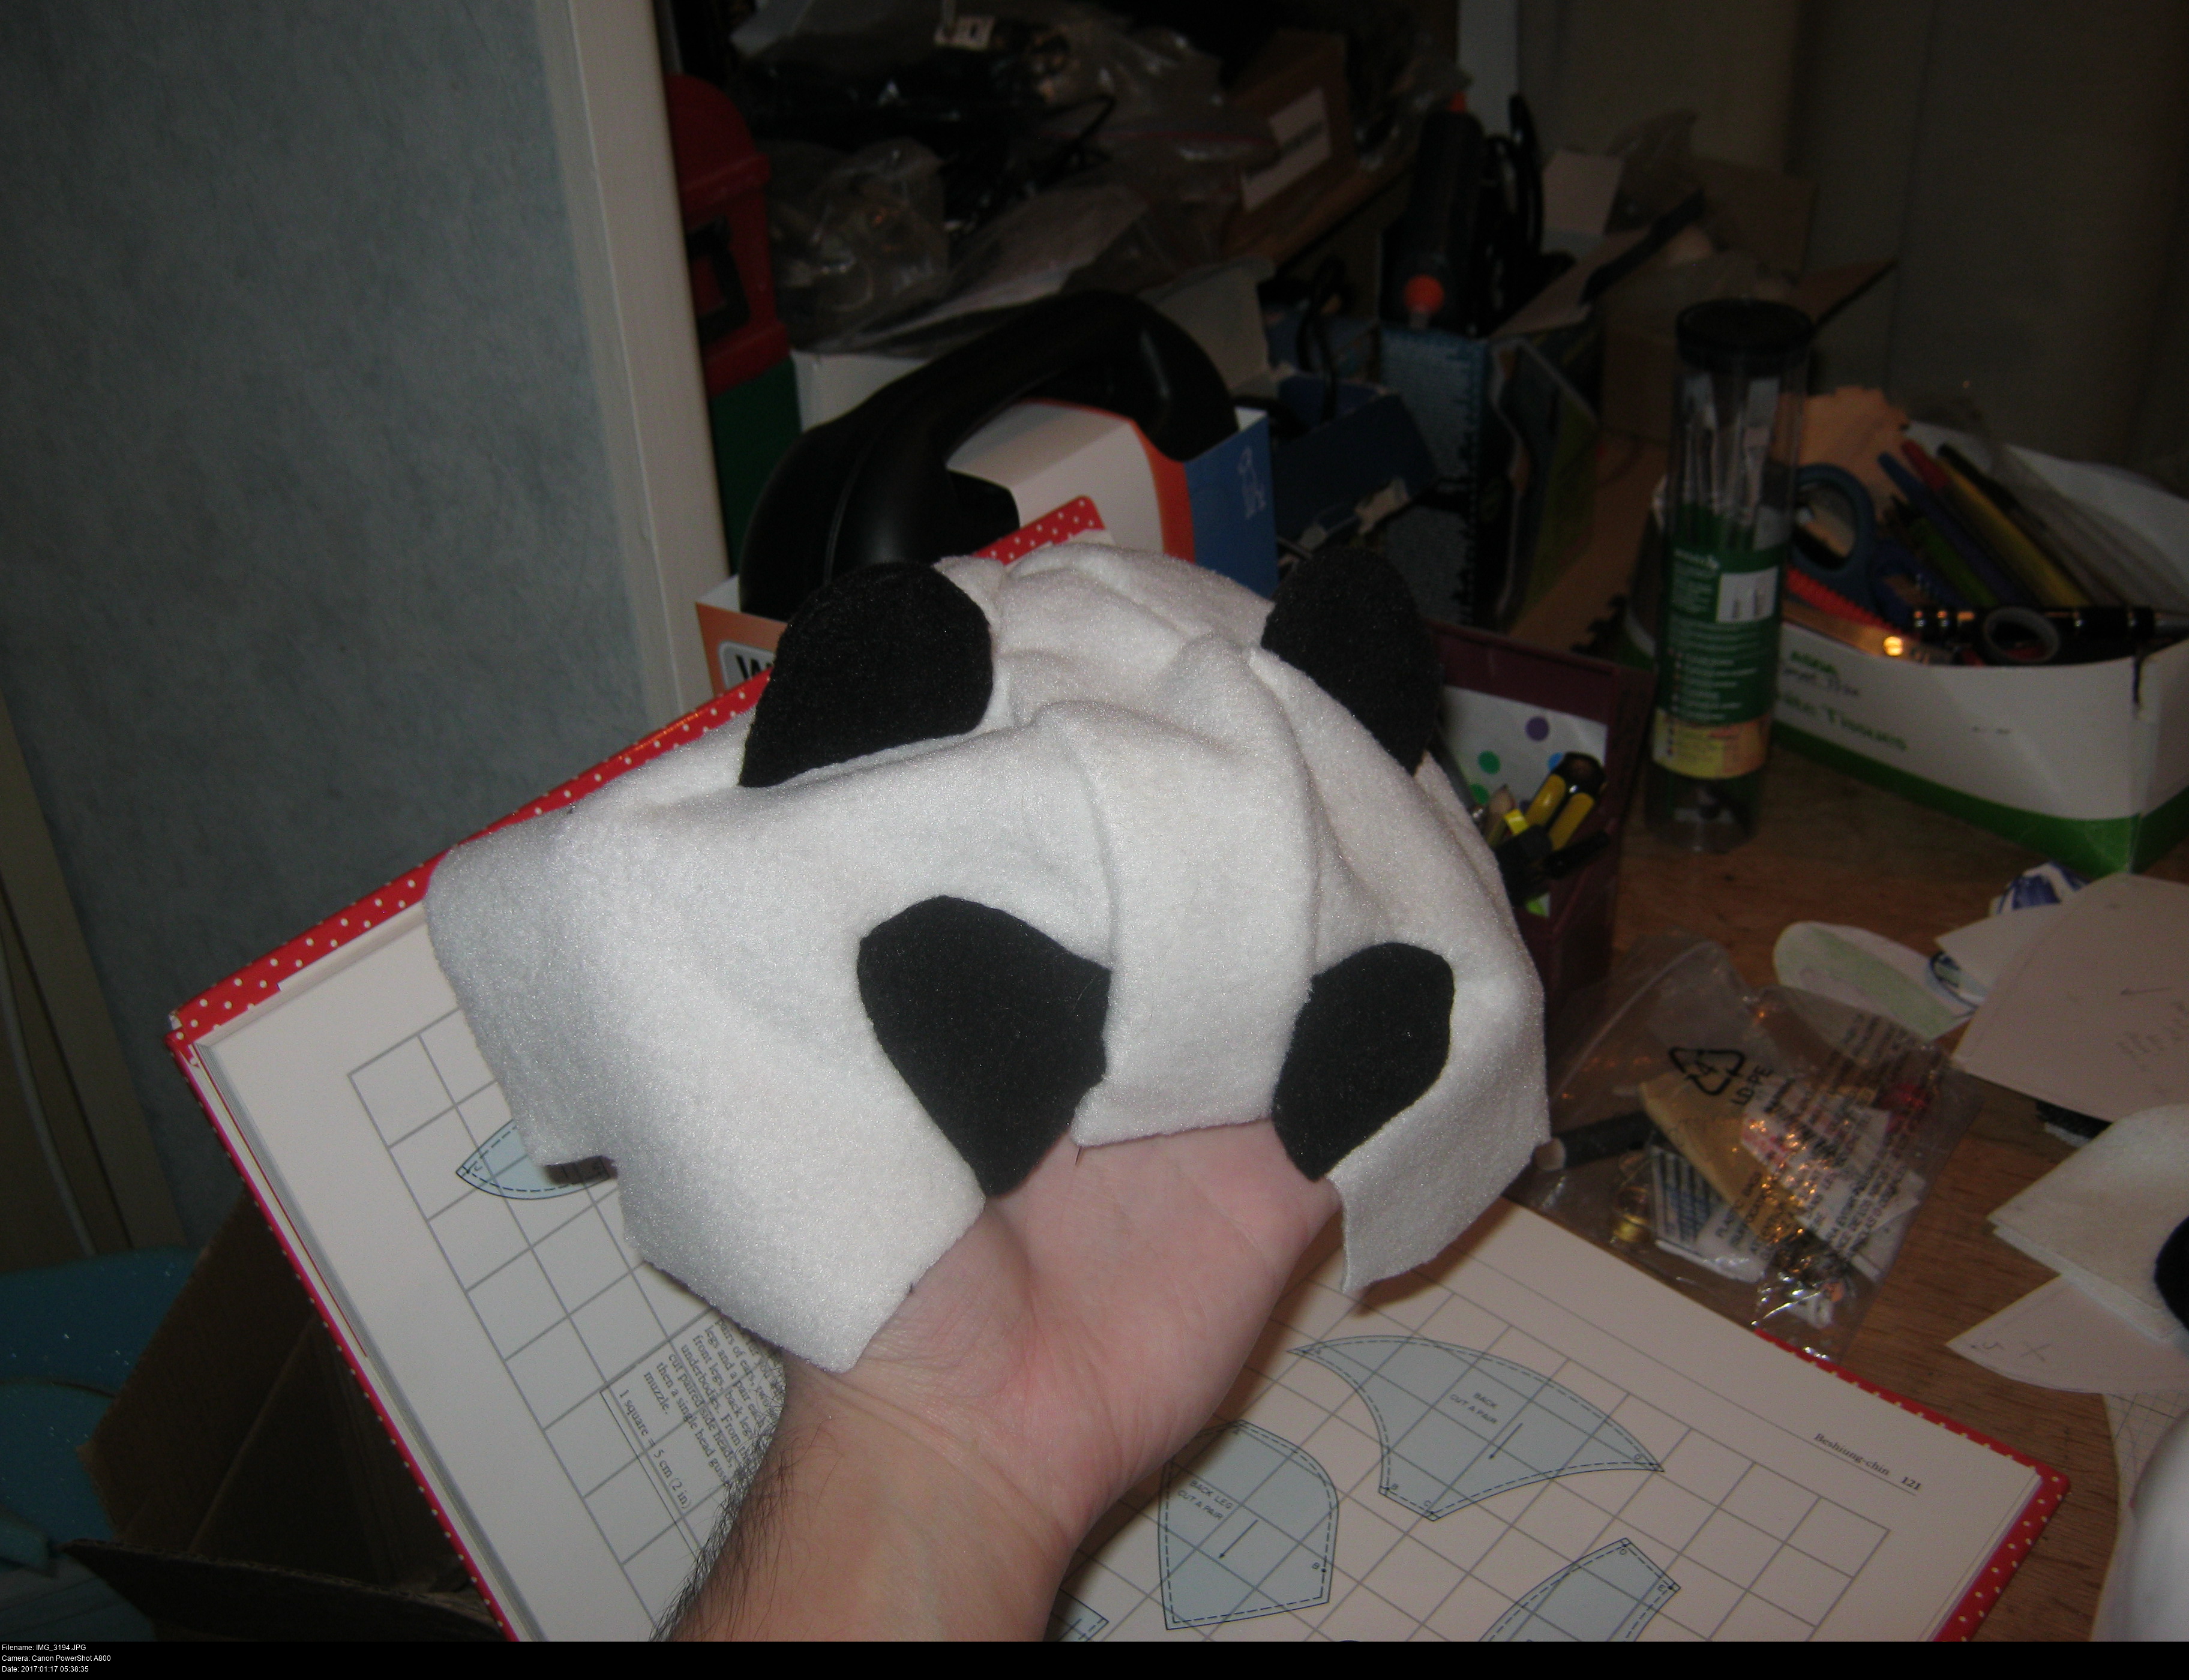
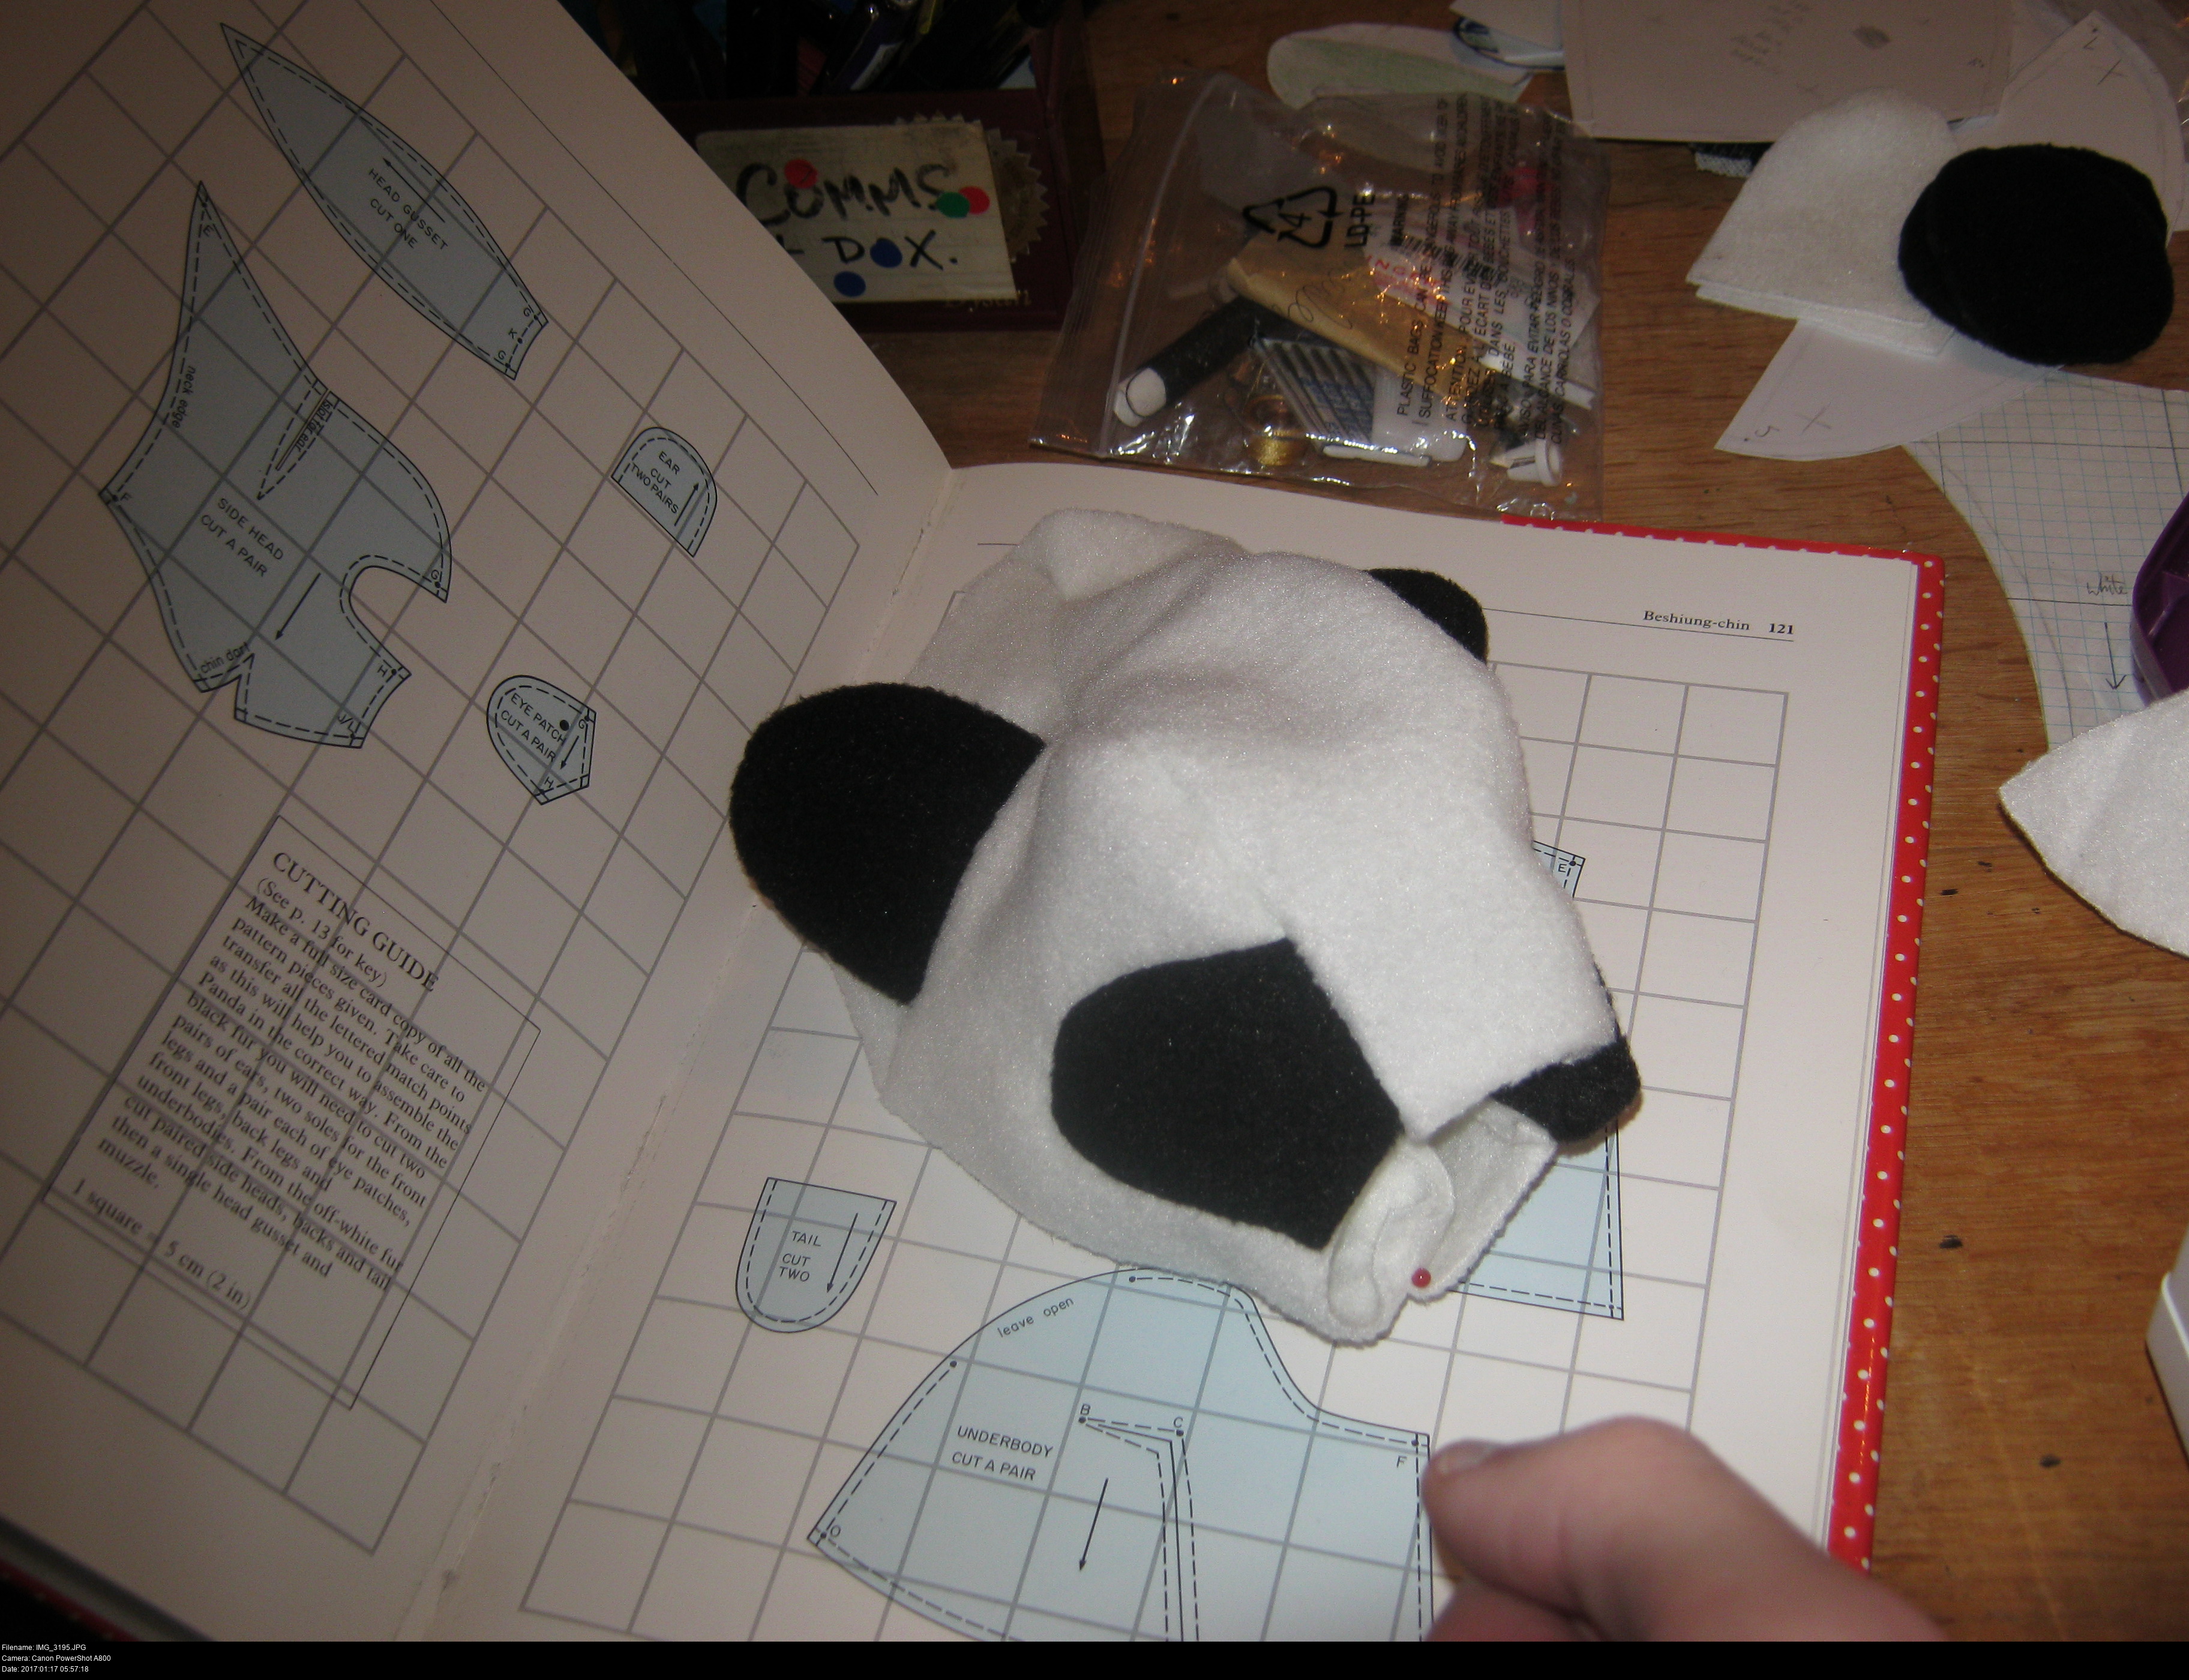
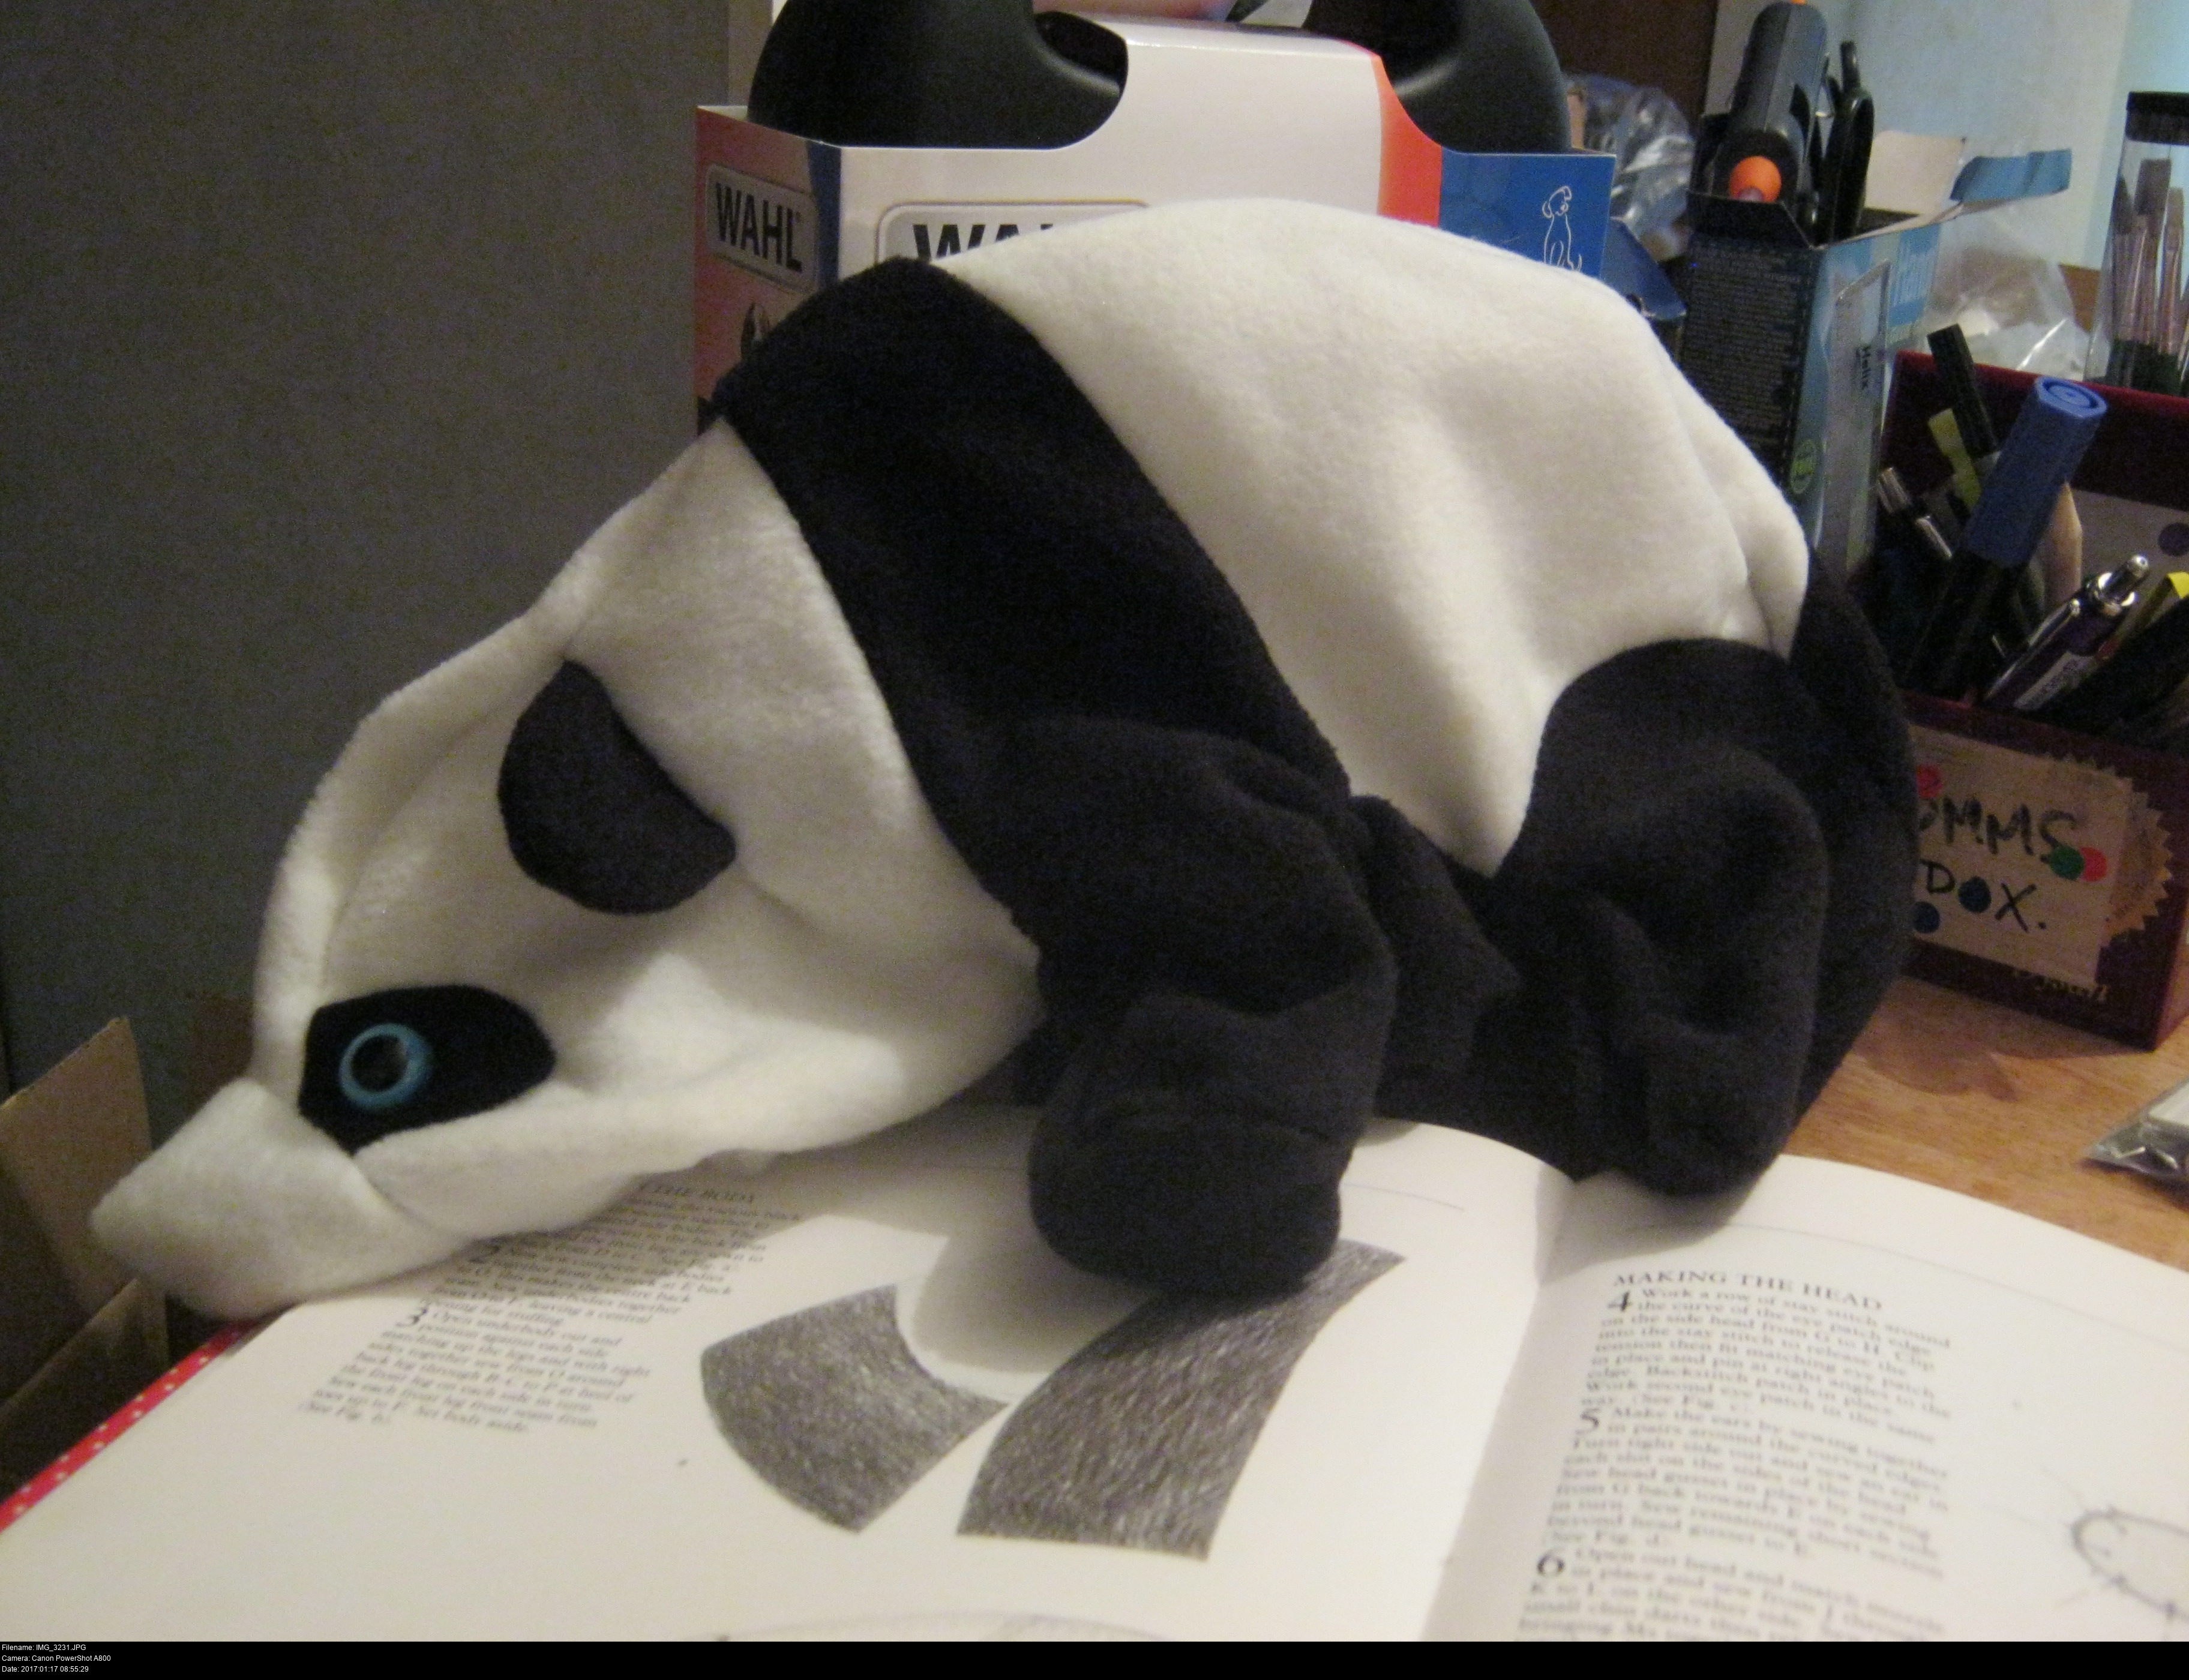
She's definitely looking like a panda now!
But let's not forget something very important...
She needs eyes! You could put them in after sewing the head to the body (after she's stuffed even), but it'd be a little bit more inconvenient.
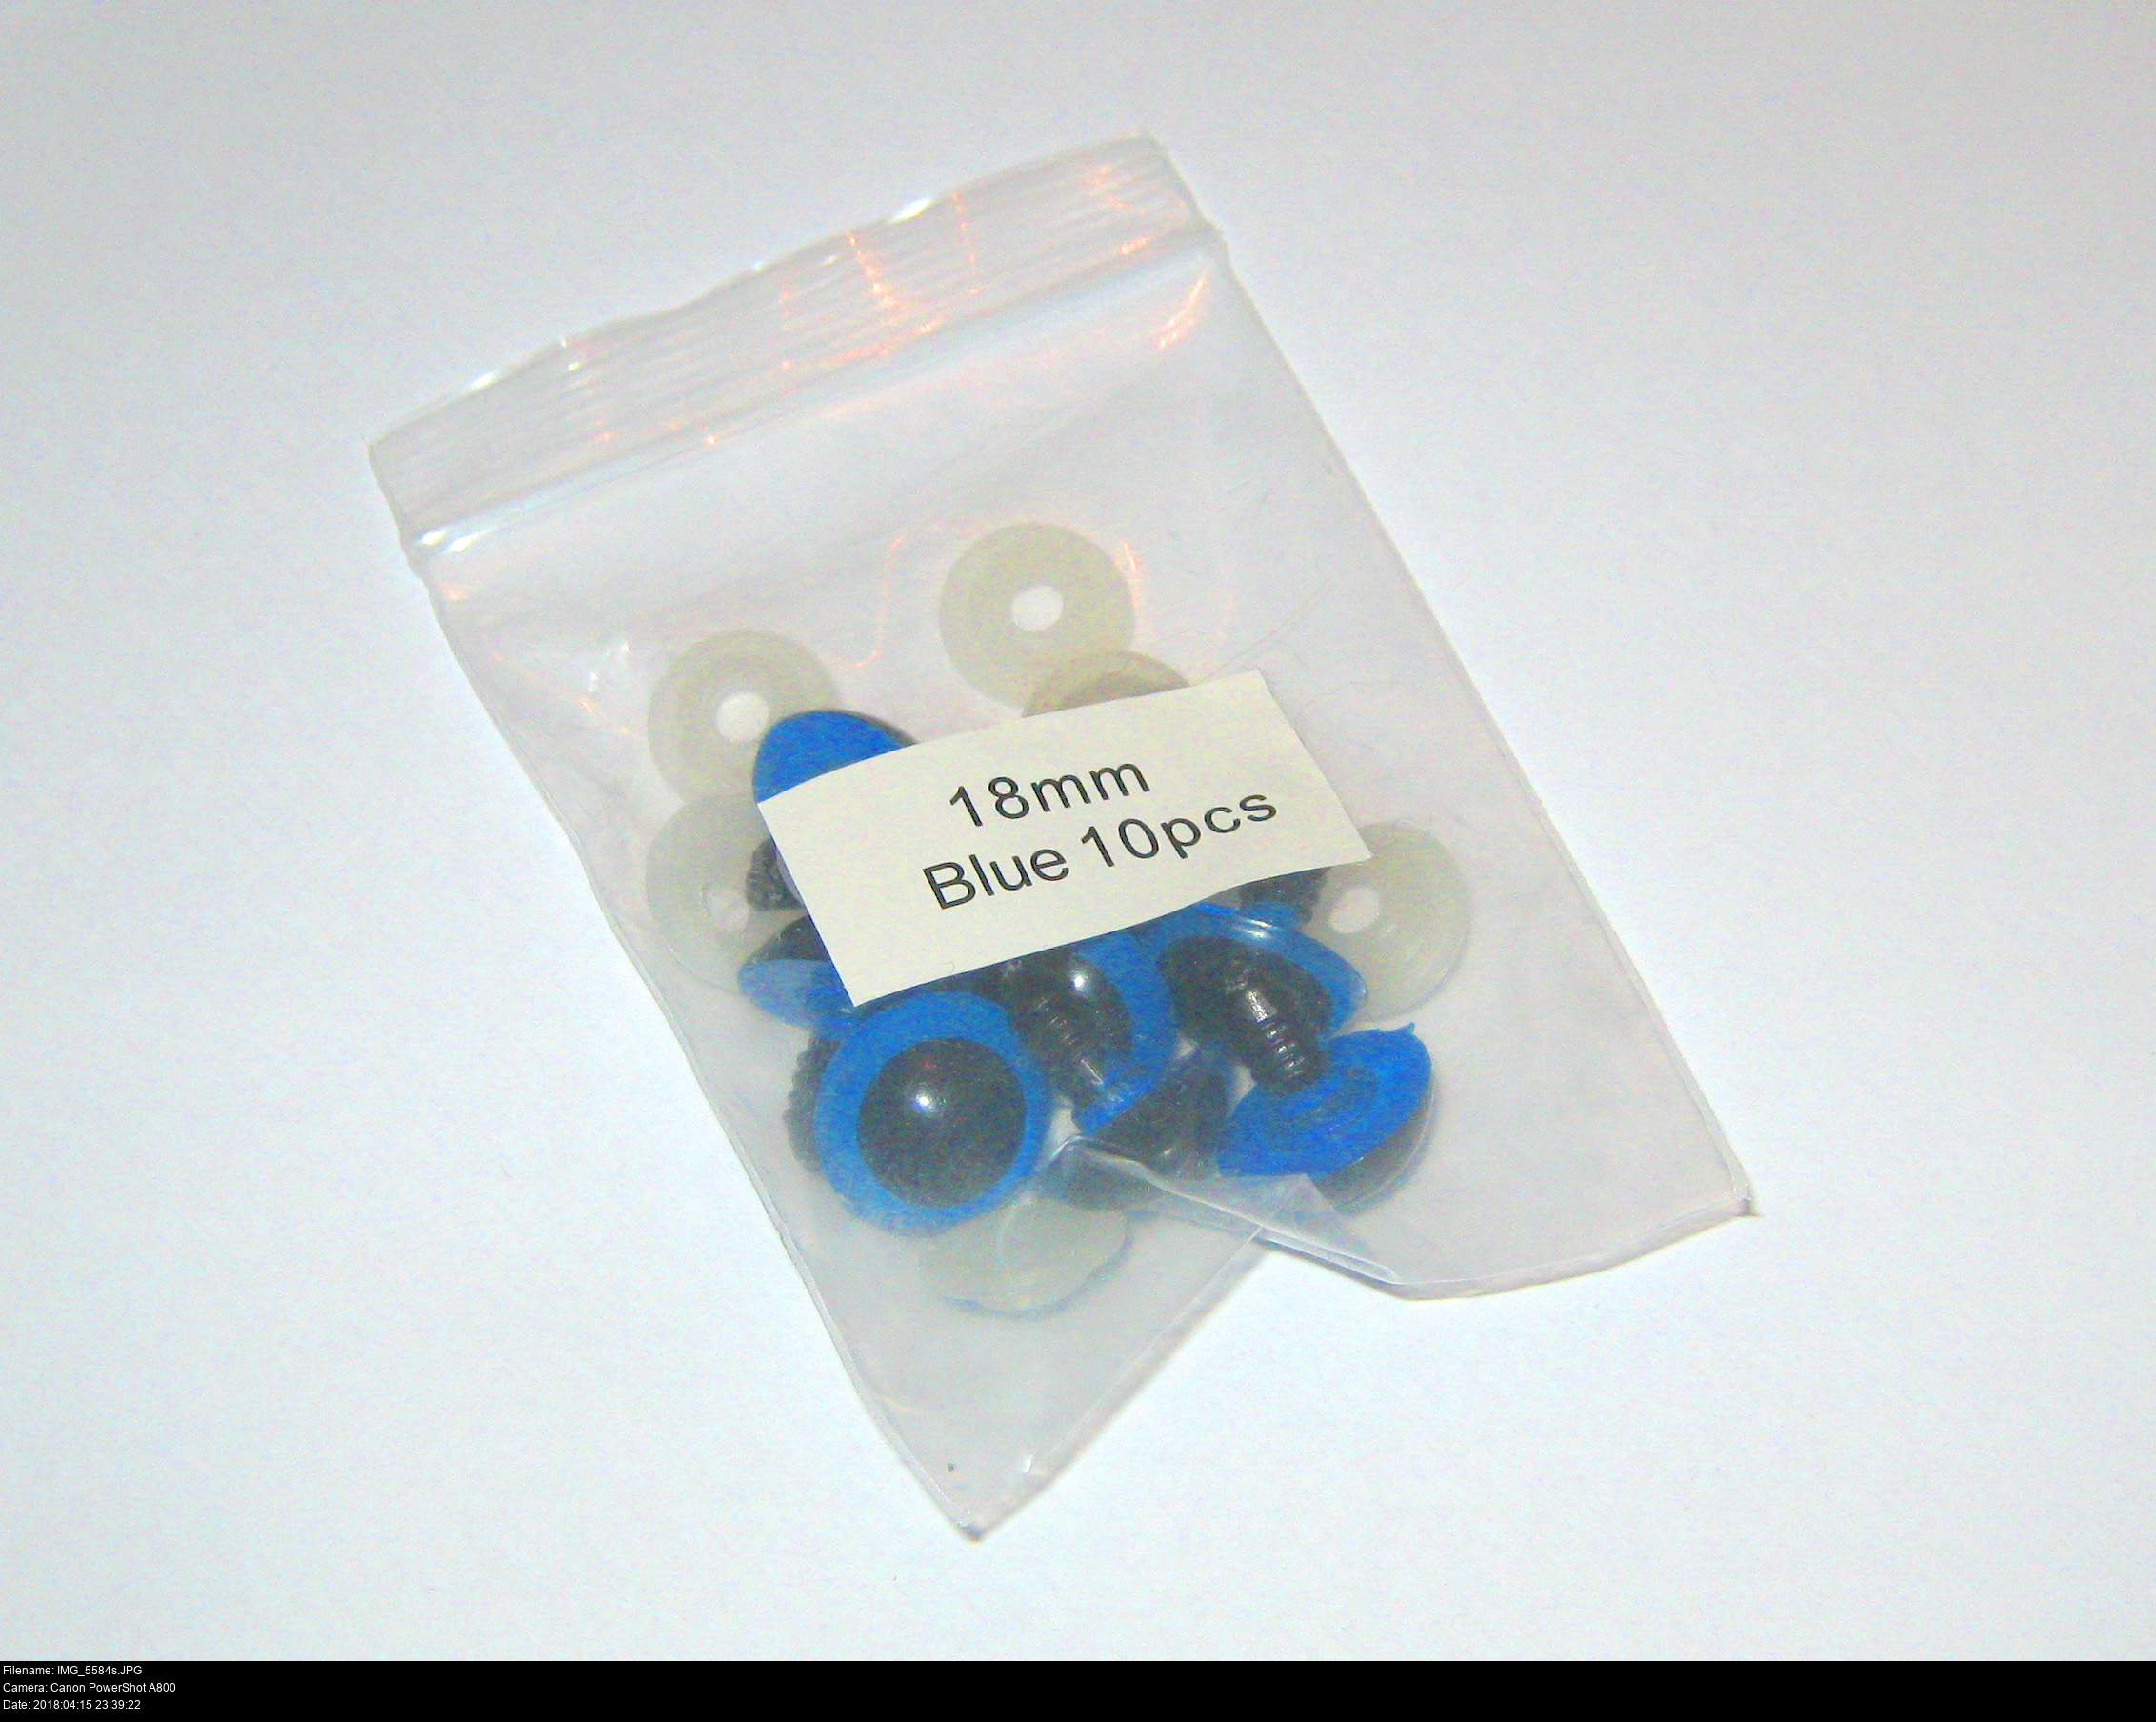
Fortunately I live near a local fabric and crafts shop, but unfortunately their selection is incredibly limited. I don't think I've ever bought fabric from them before and their display of teddy eyes is awful. I had to order these blue eyes from an eBay seller, but they had to be blue because it was the new owner's favourite colour. ^_^

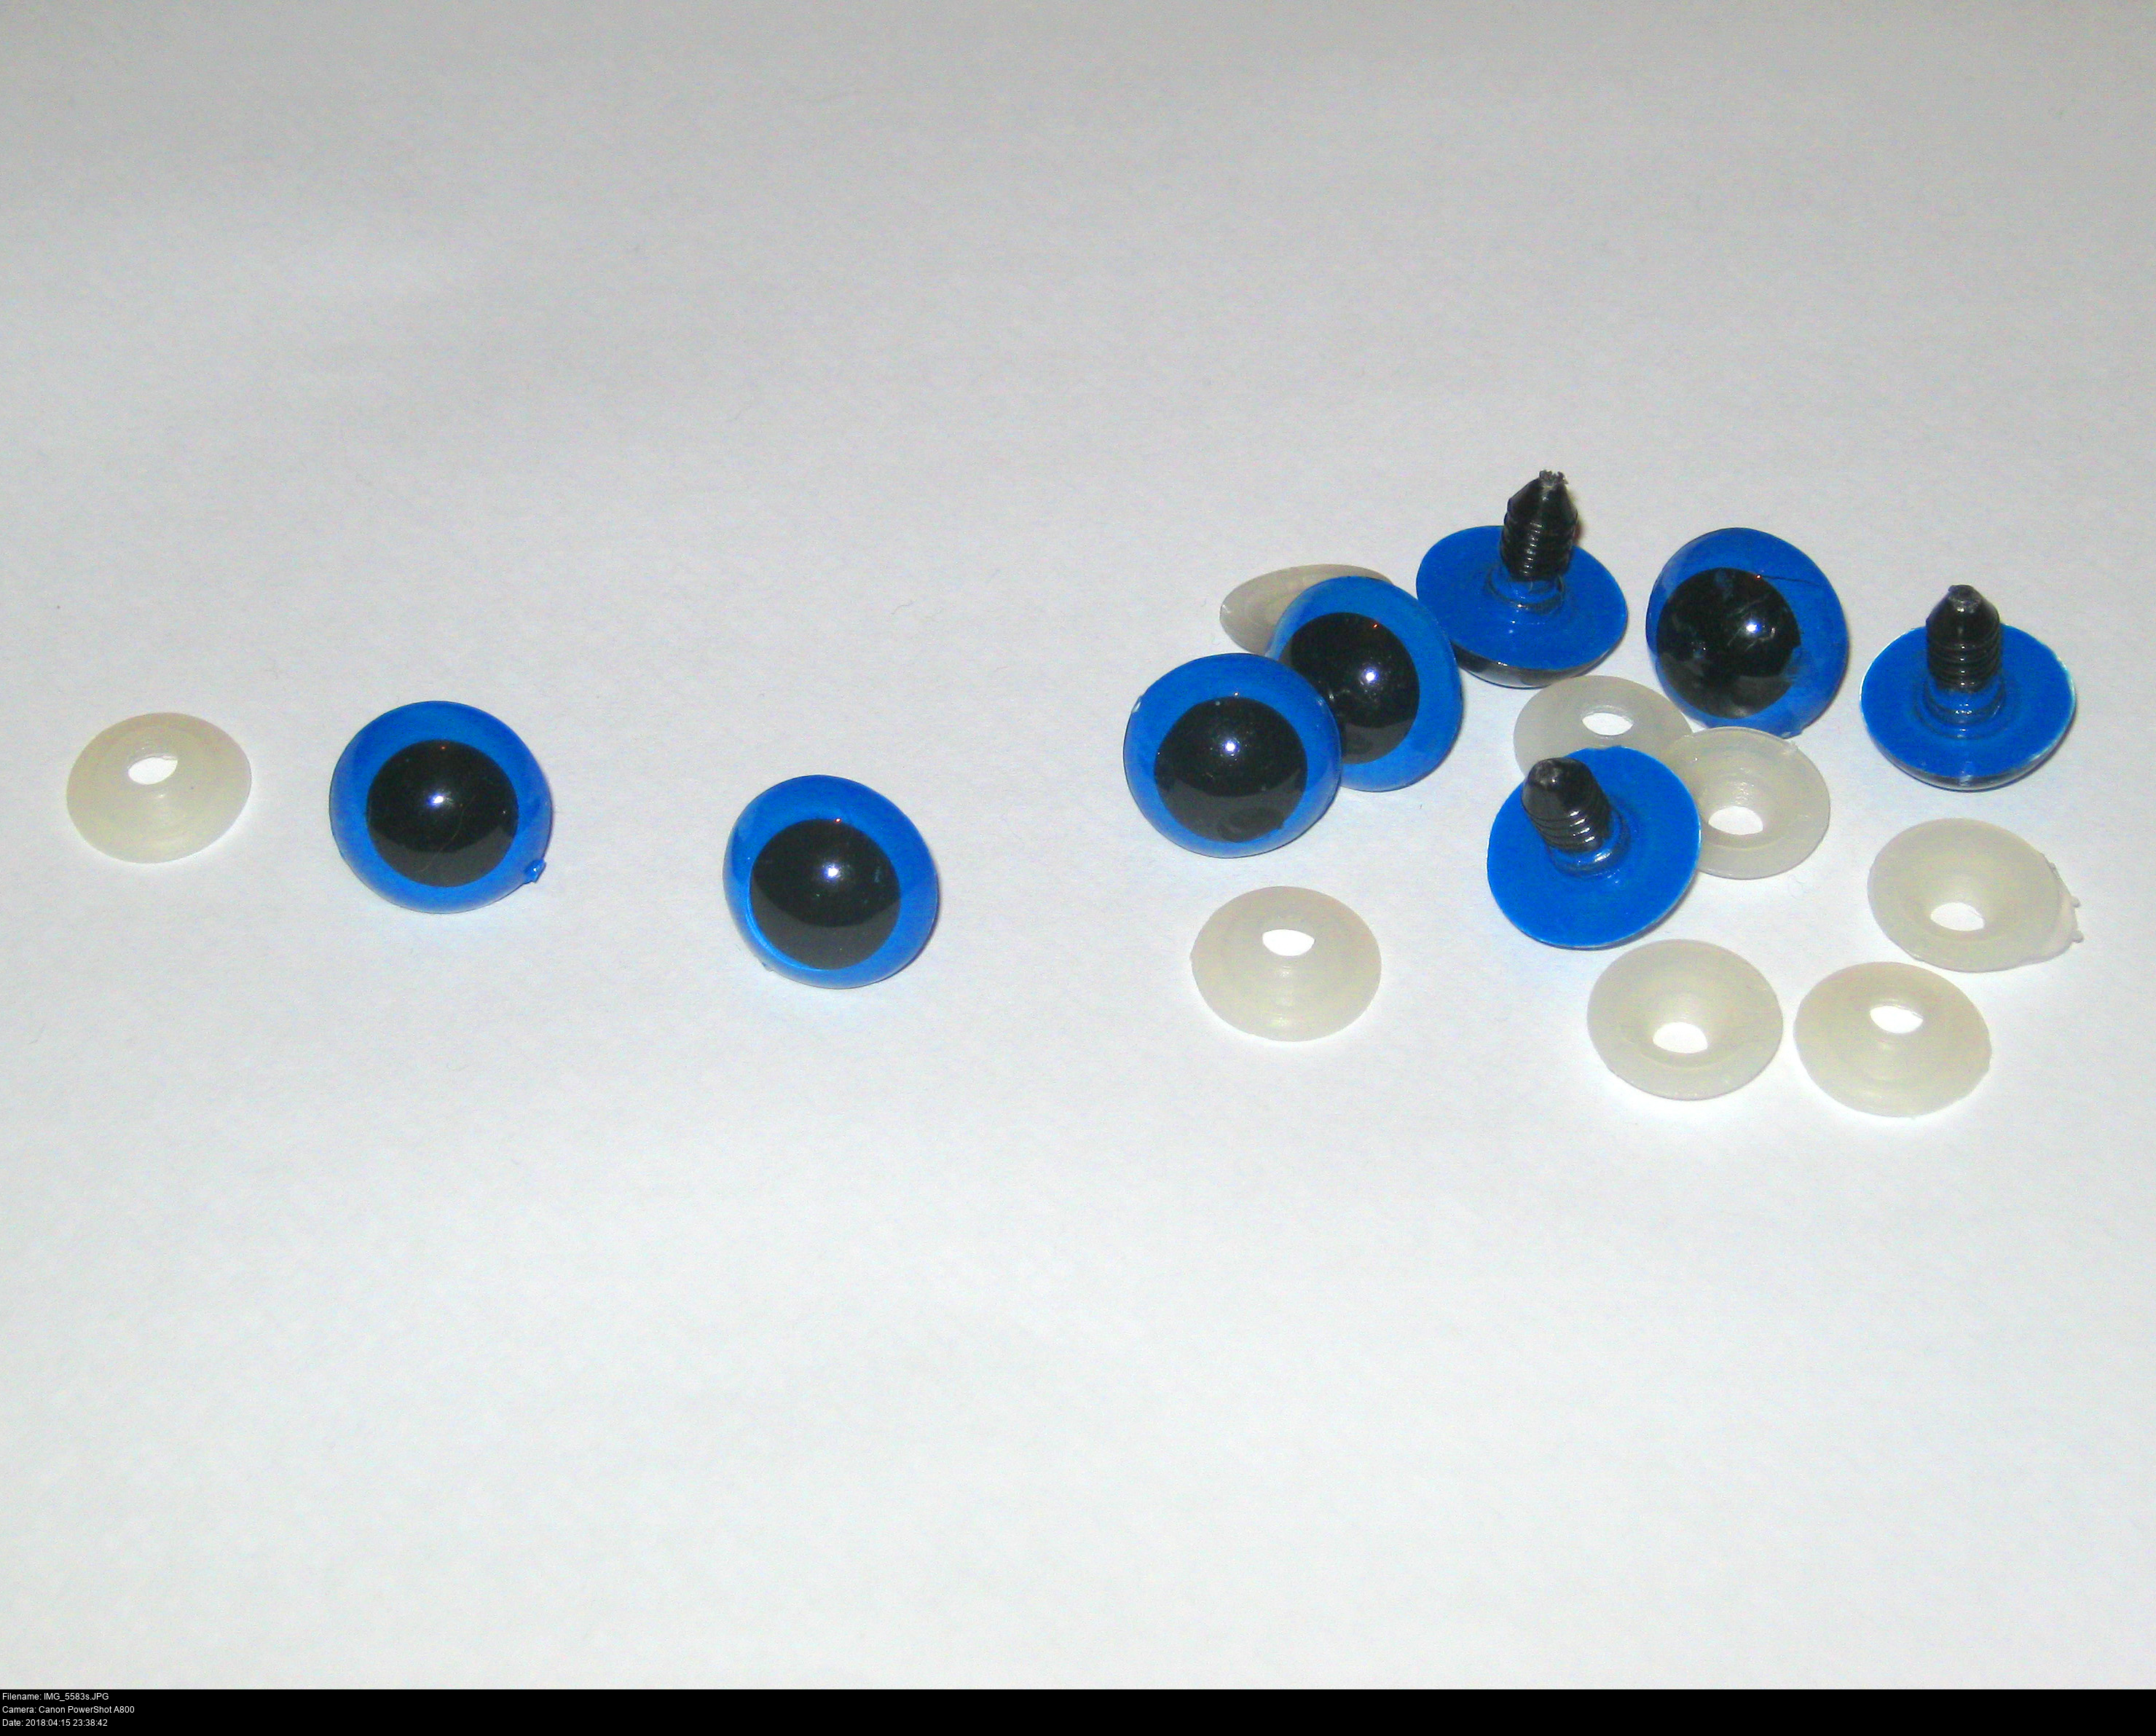
The book names this kind of eye a 'safety eye'.
Each eye comes in two parts: a coloured eye part with a ridged shaft, and a metal or plastic base.
You hold the plastic base in place on the inside of the fabric and press the eye piece down into it from the outside. As you apply pressure, the ridges click into place into the base. When the two halves are flush, the eye will be secure.
And after fussing for a week or so trying to get the correct eyes (since my local shops doesn't have the right eyes or the right noses, in any of their many branches) I finally got 'em.
The poor panda had to endure some serious stabbing to get these eyes in. To make the hole, start with a pin and then move up to a narrow screwdriver. Don't go any thicker than a millimetre or two otherwise the eye will just fall right out again.
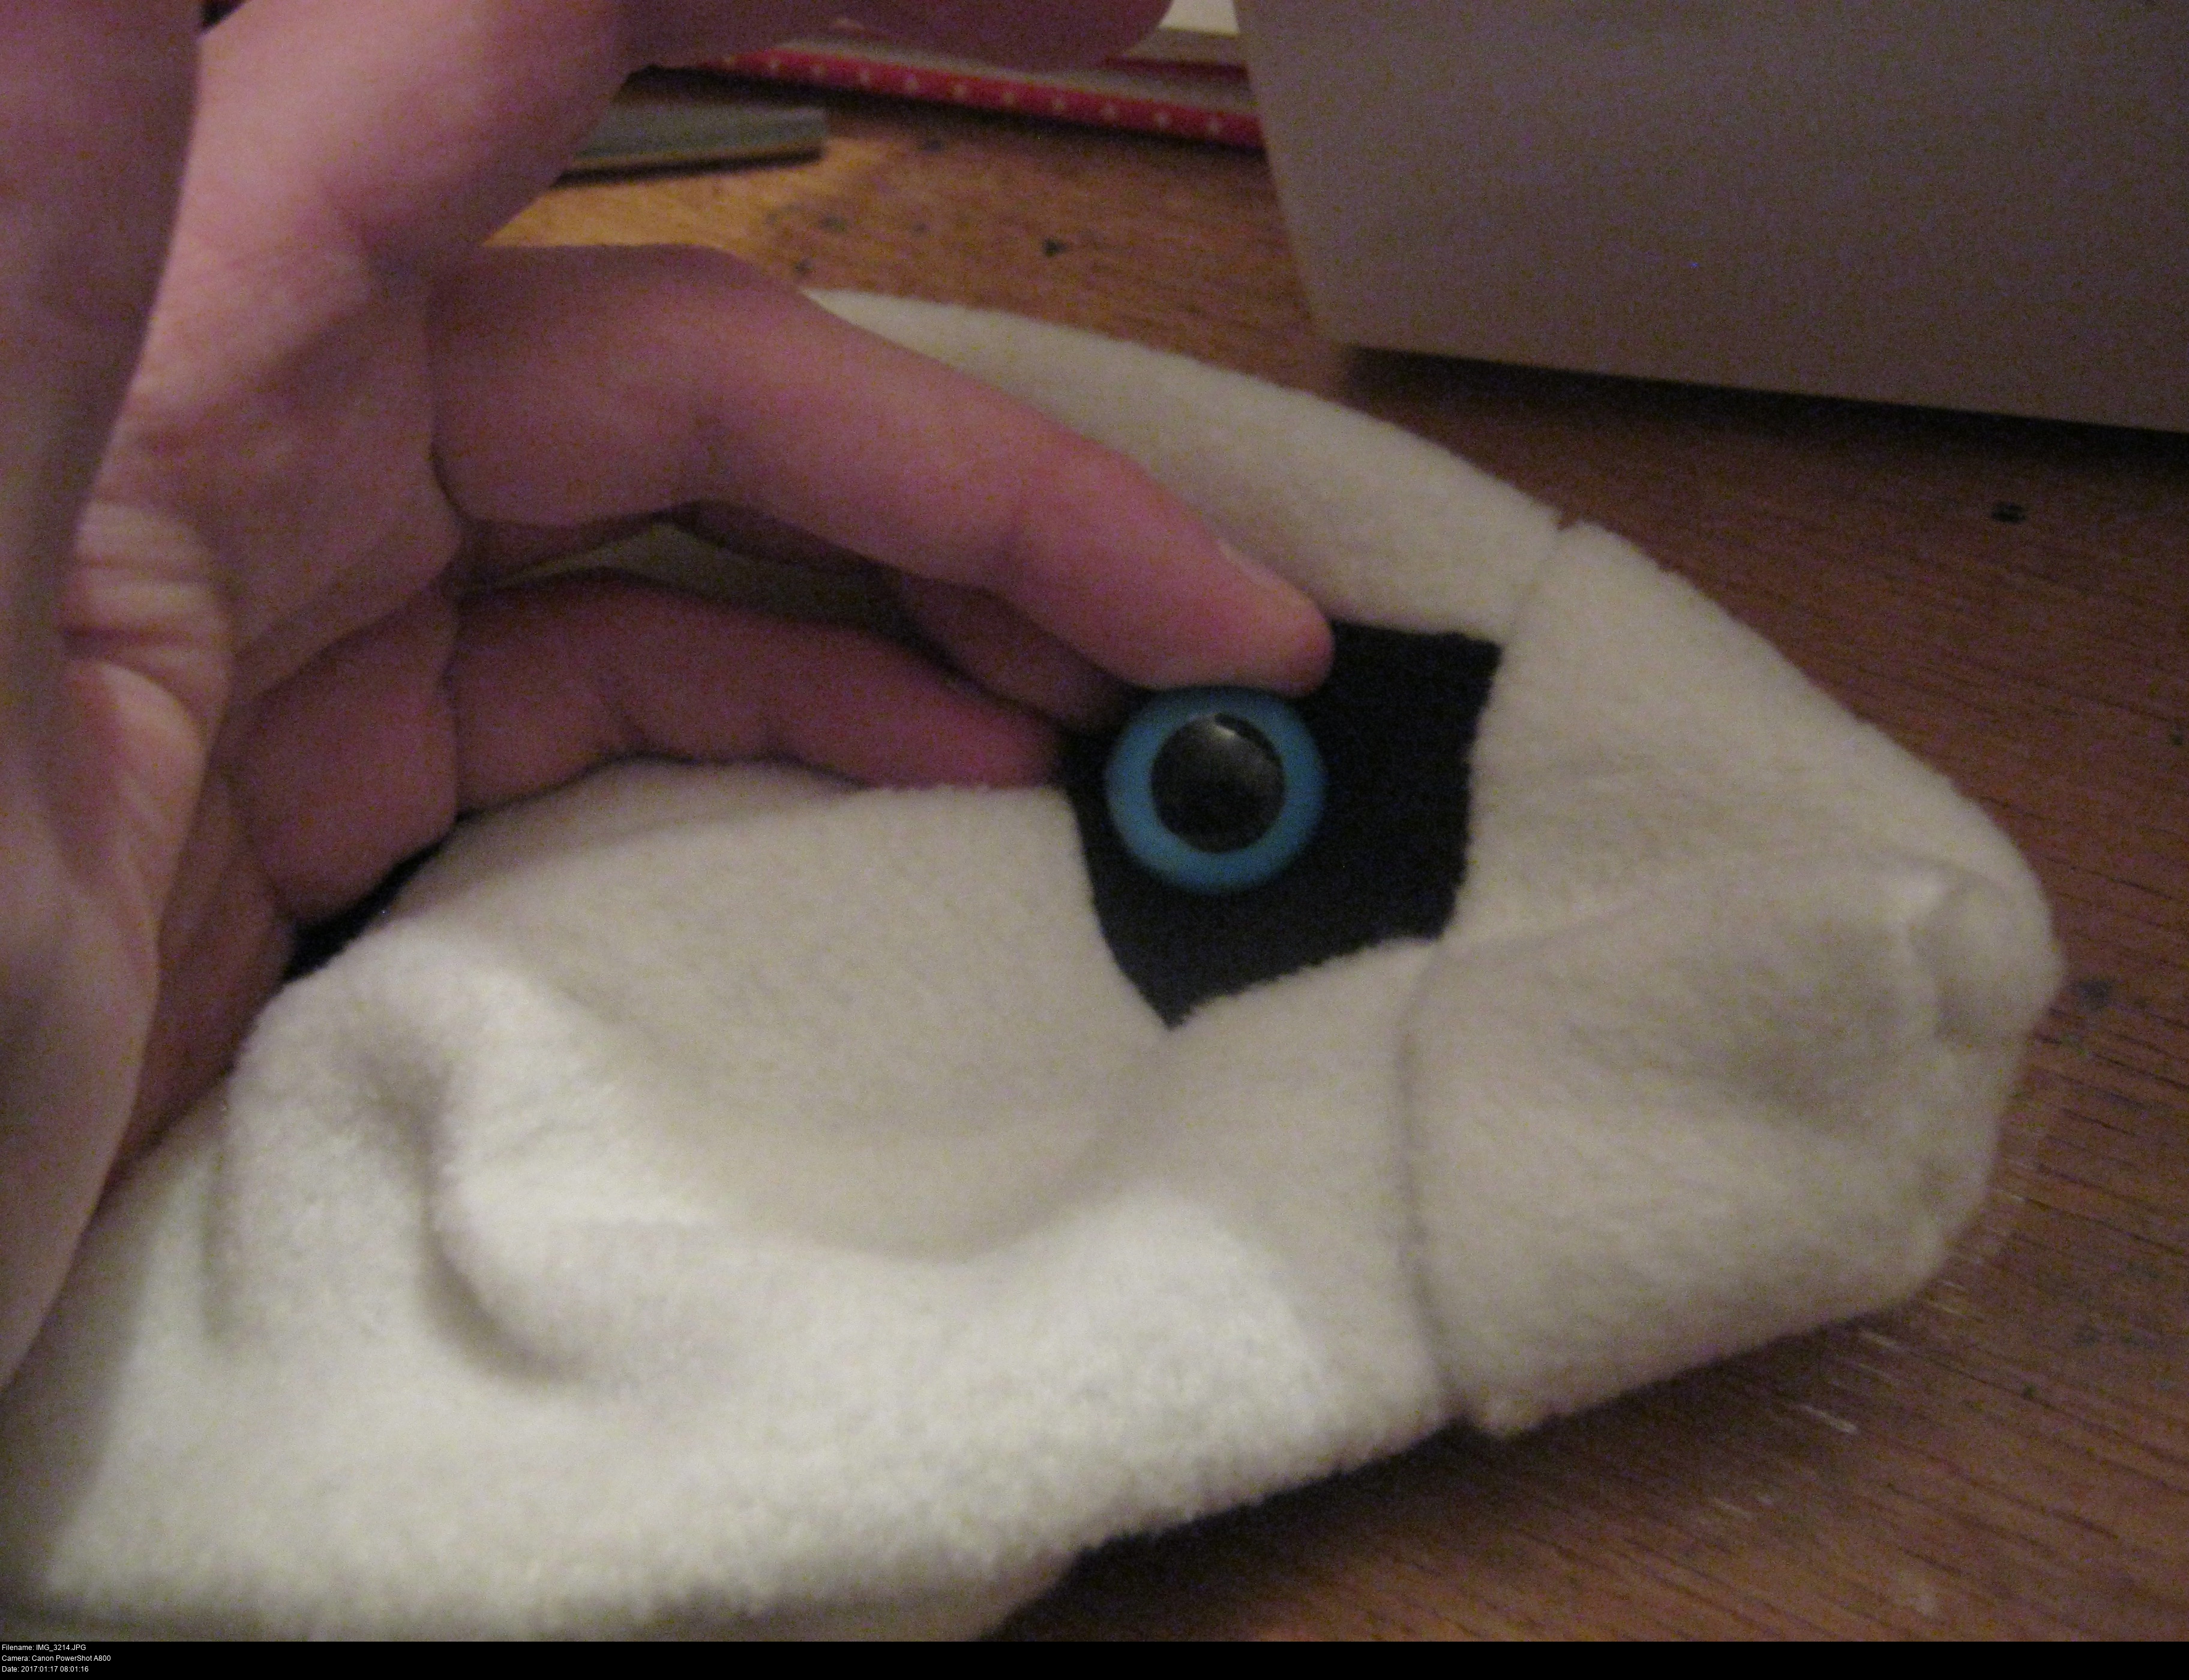
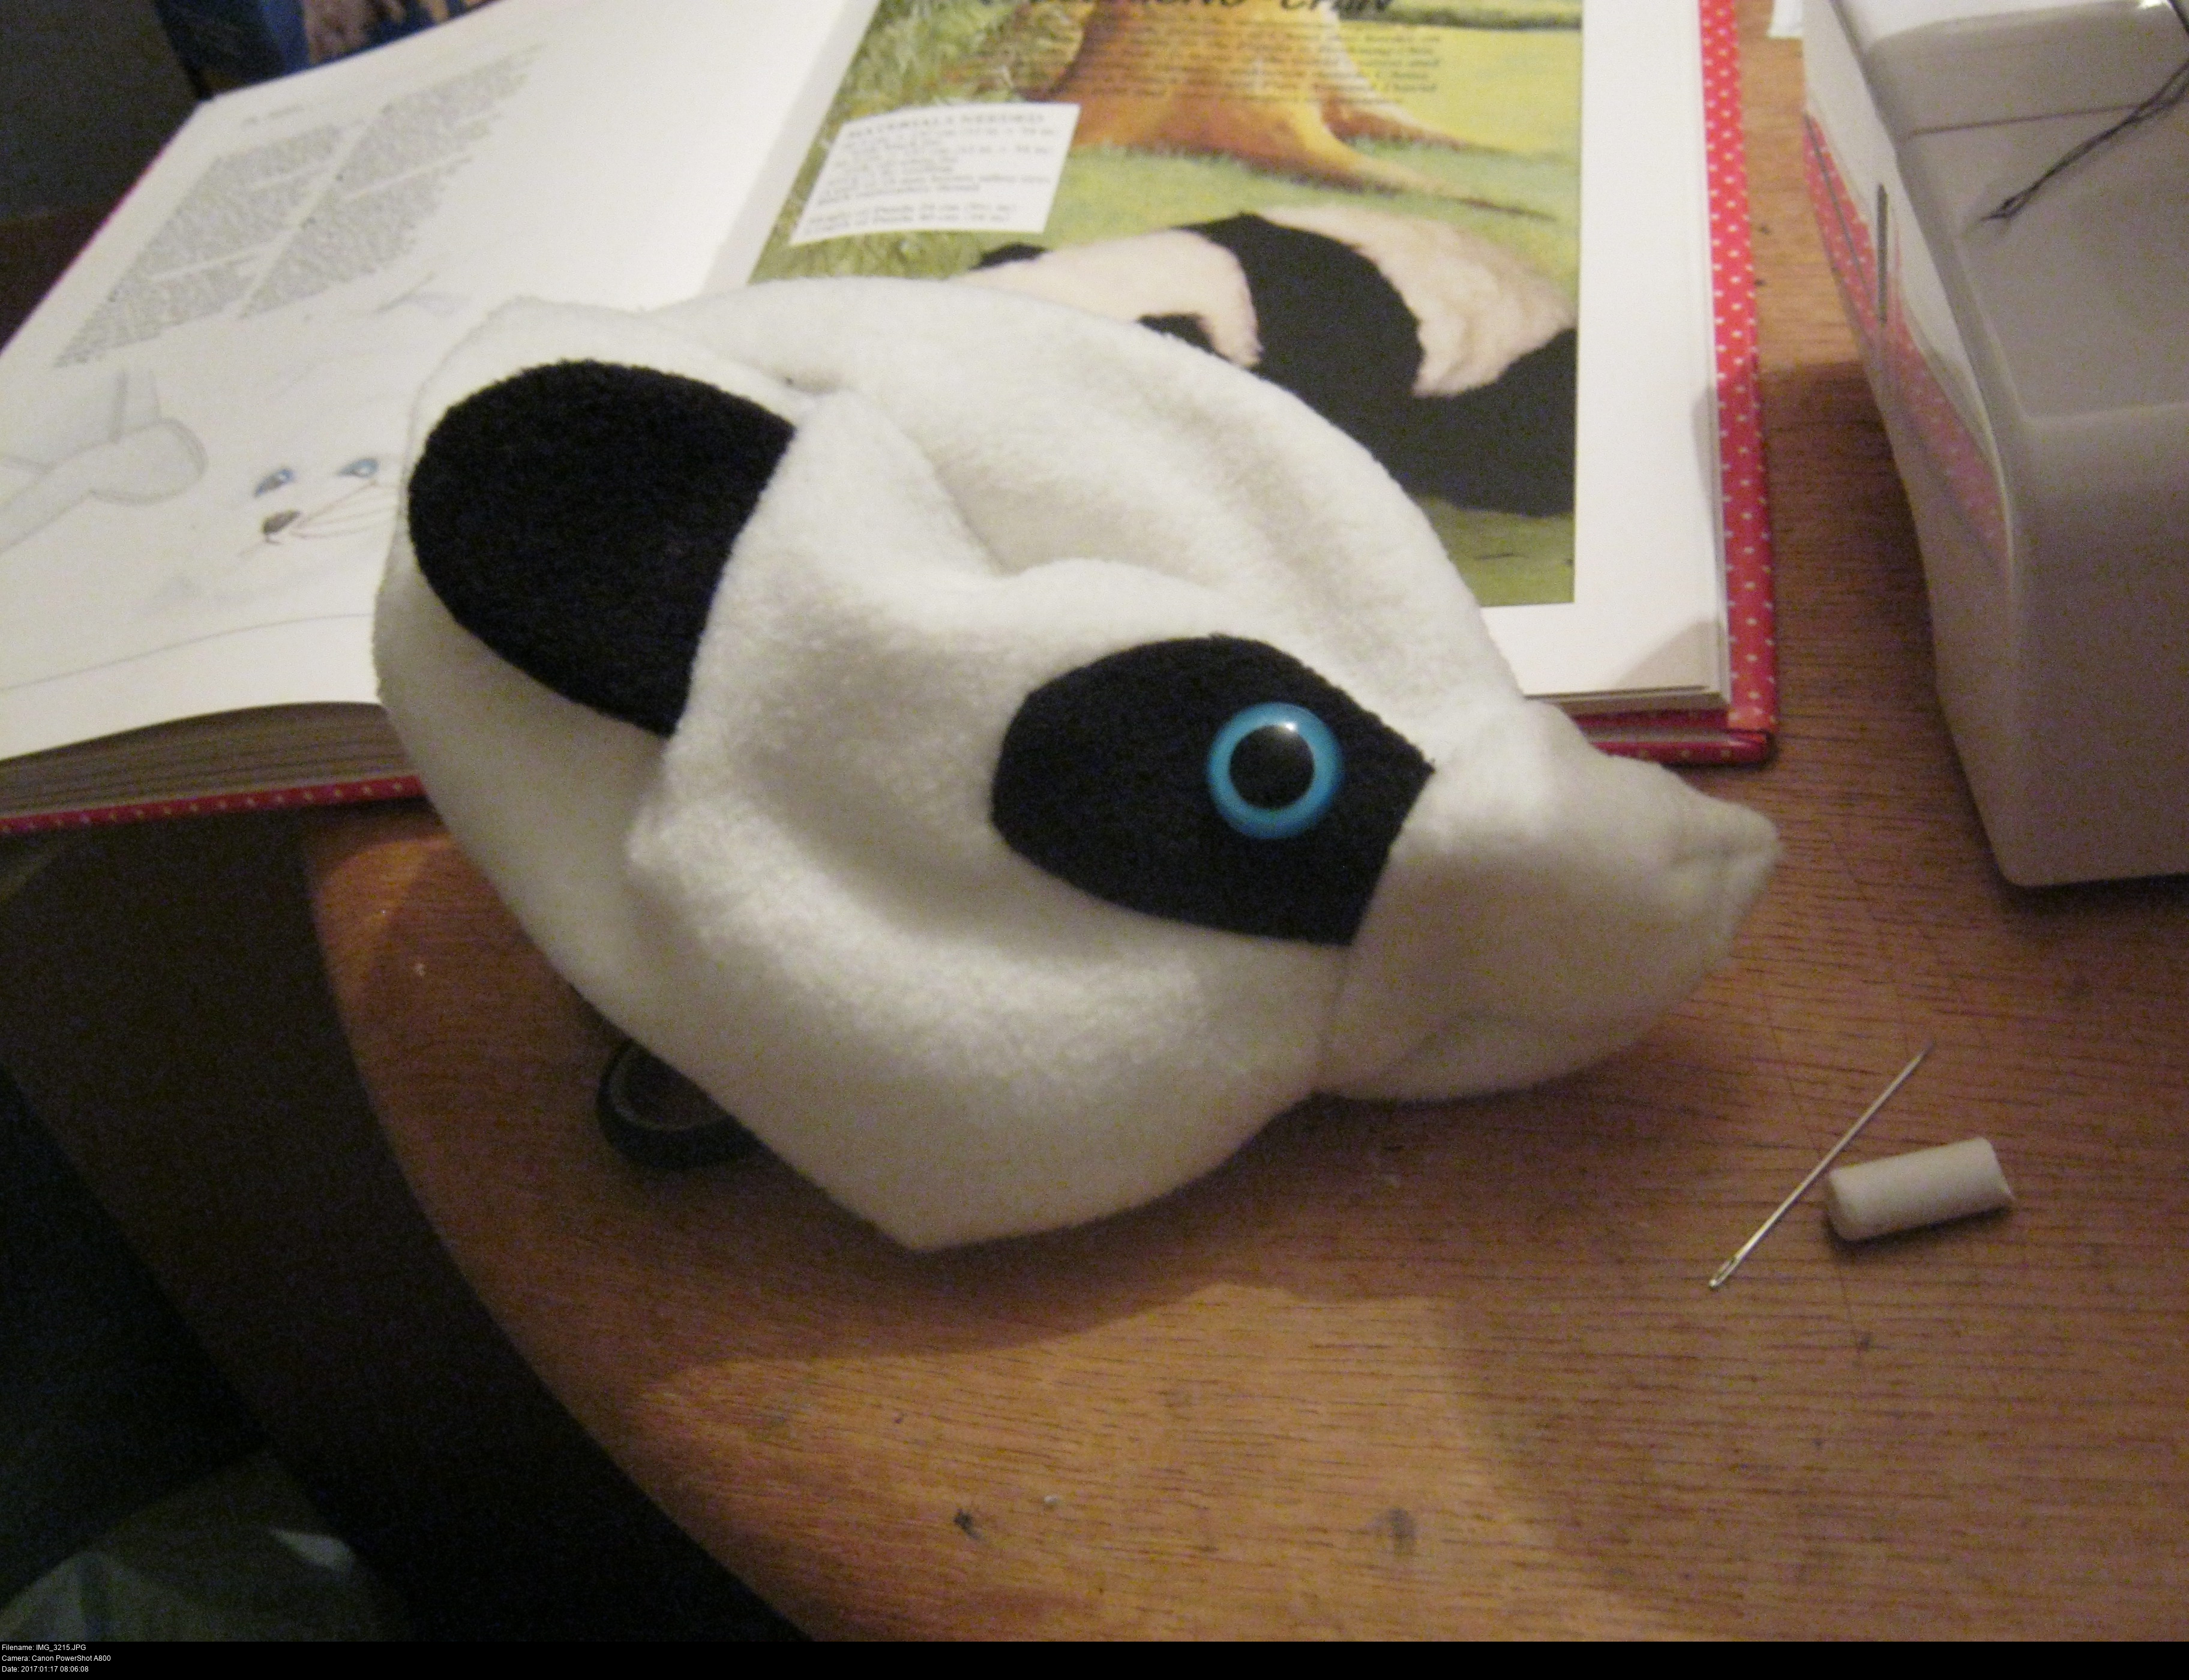
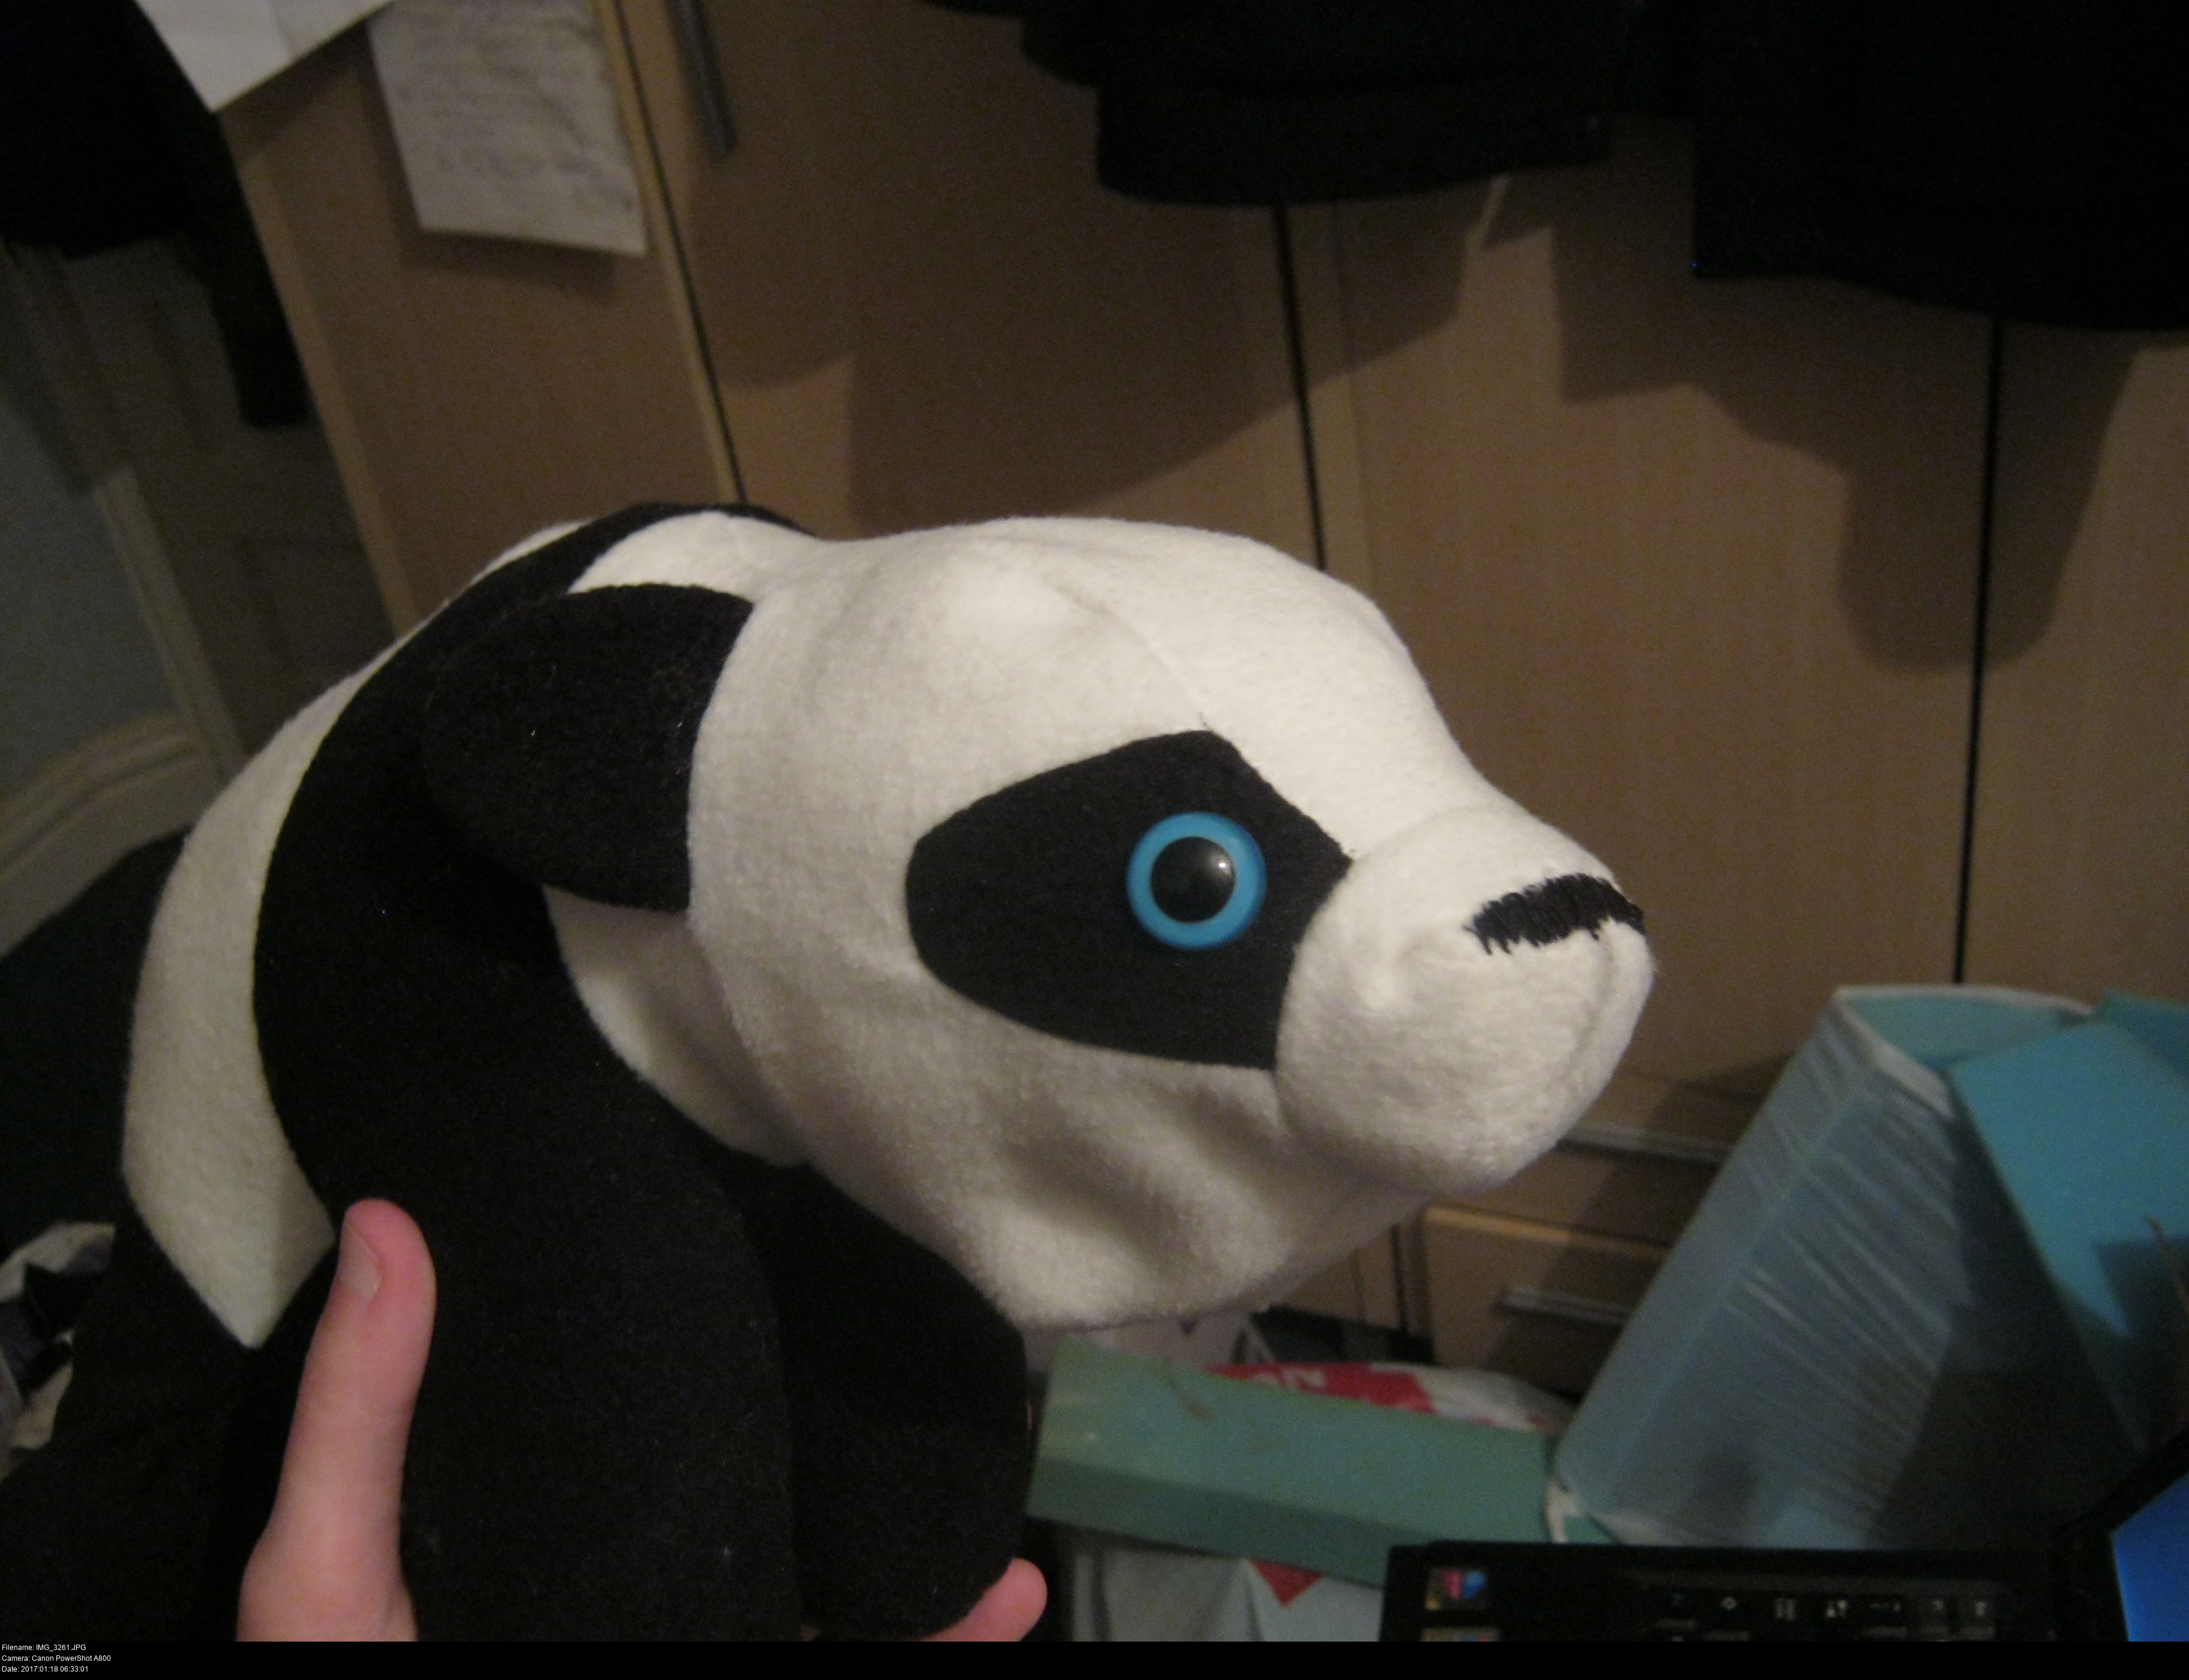
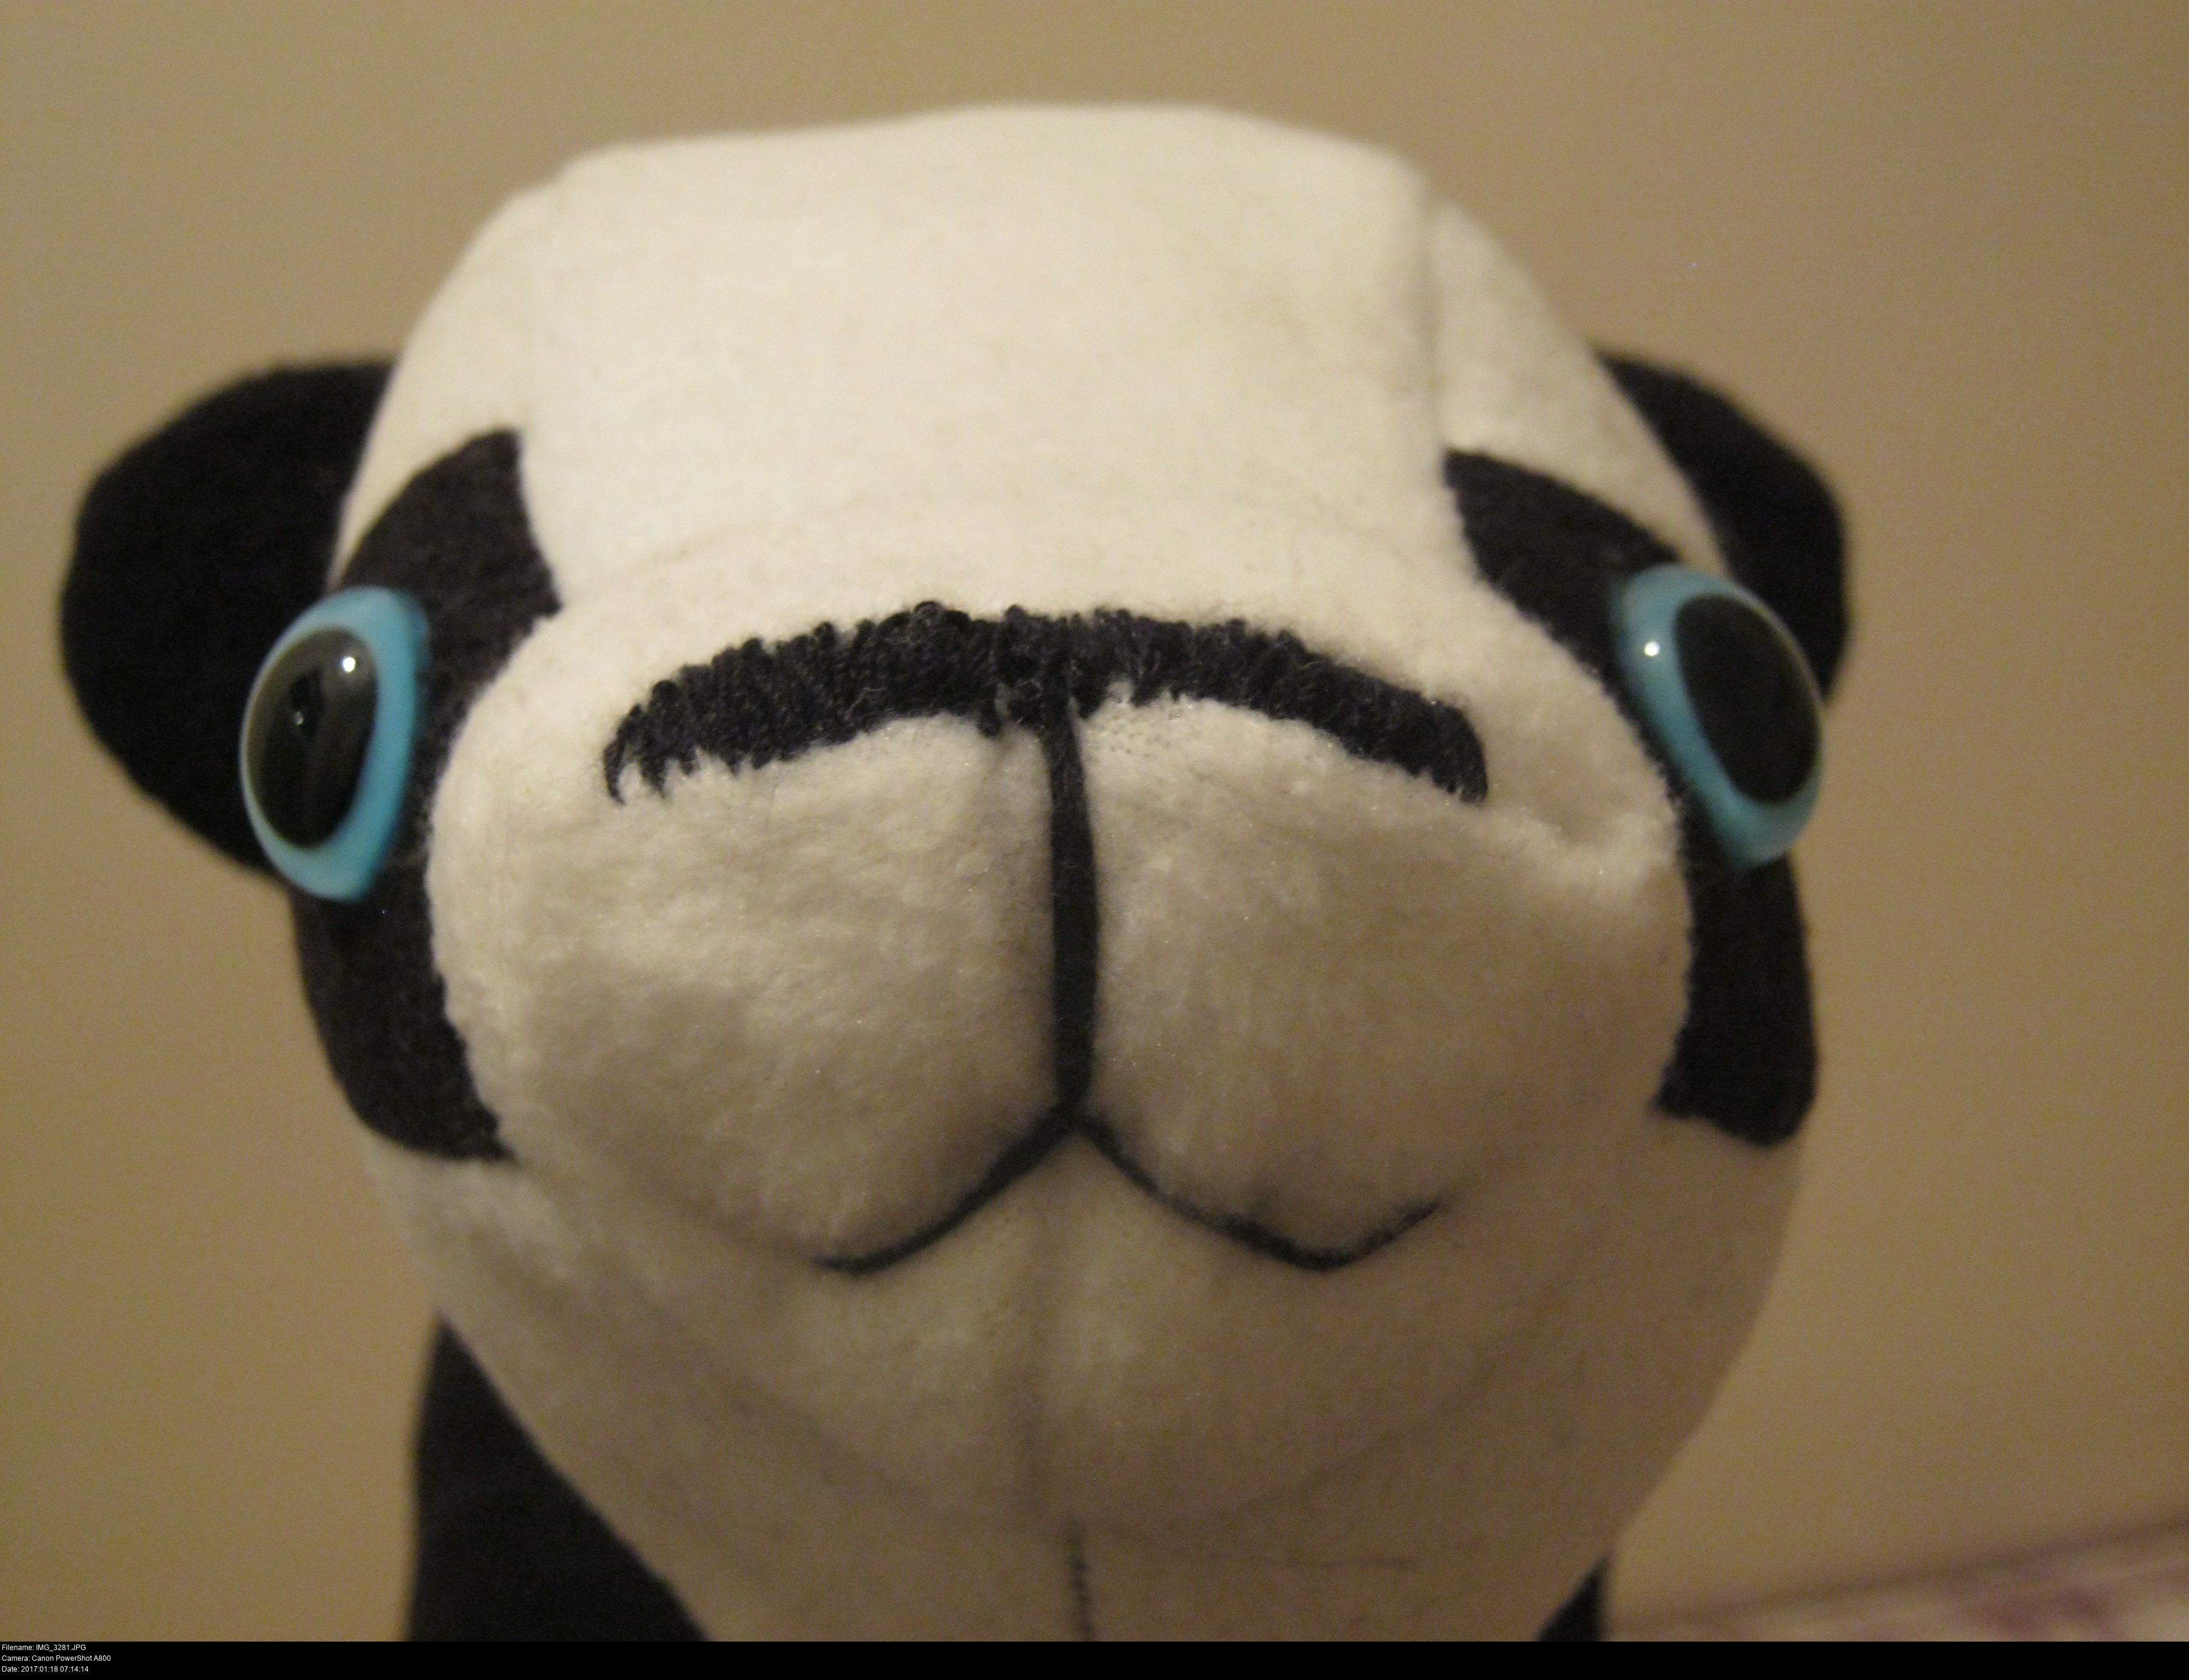
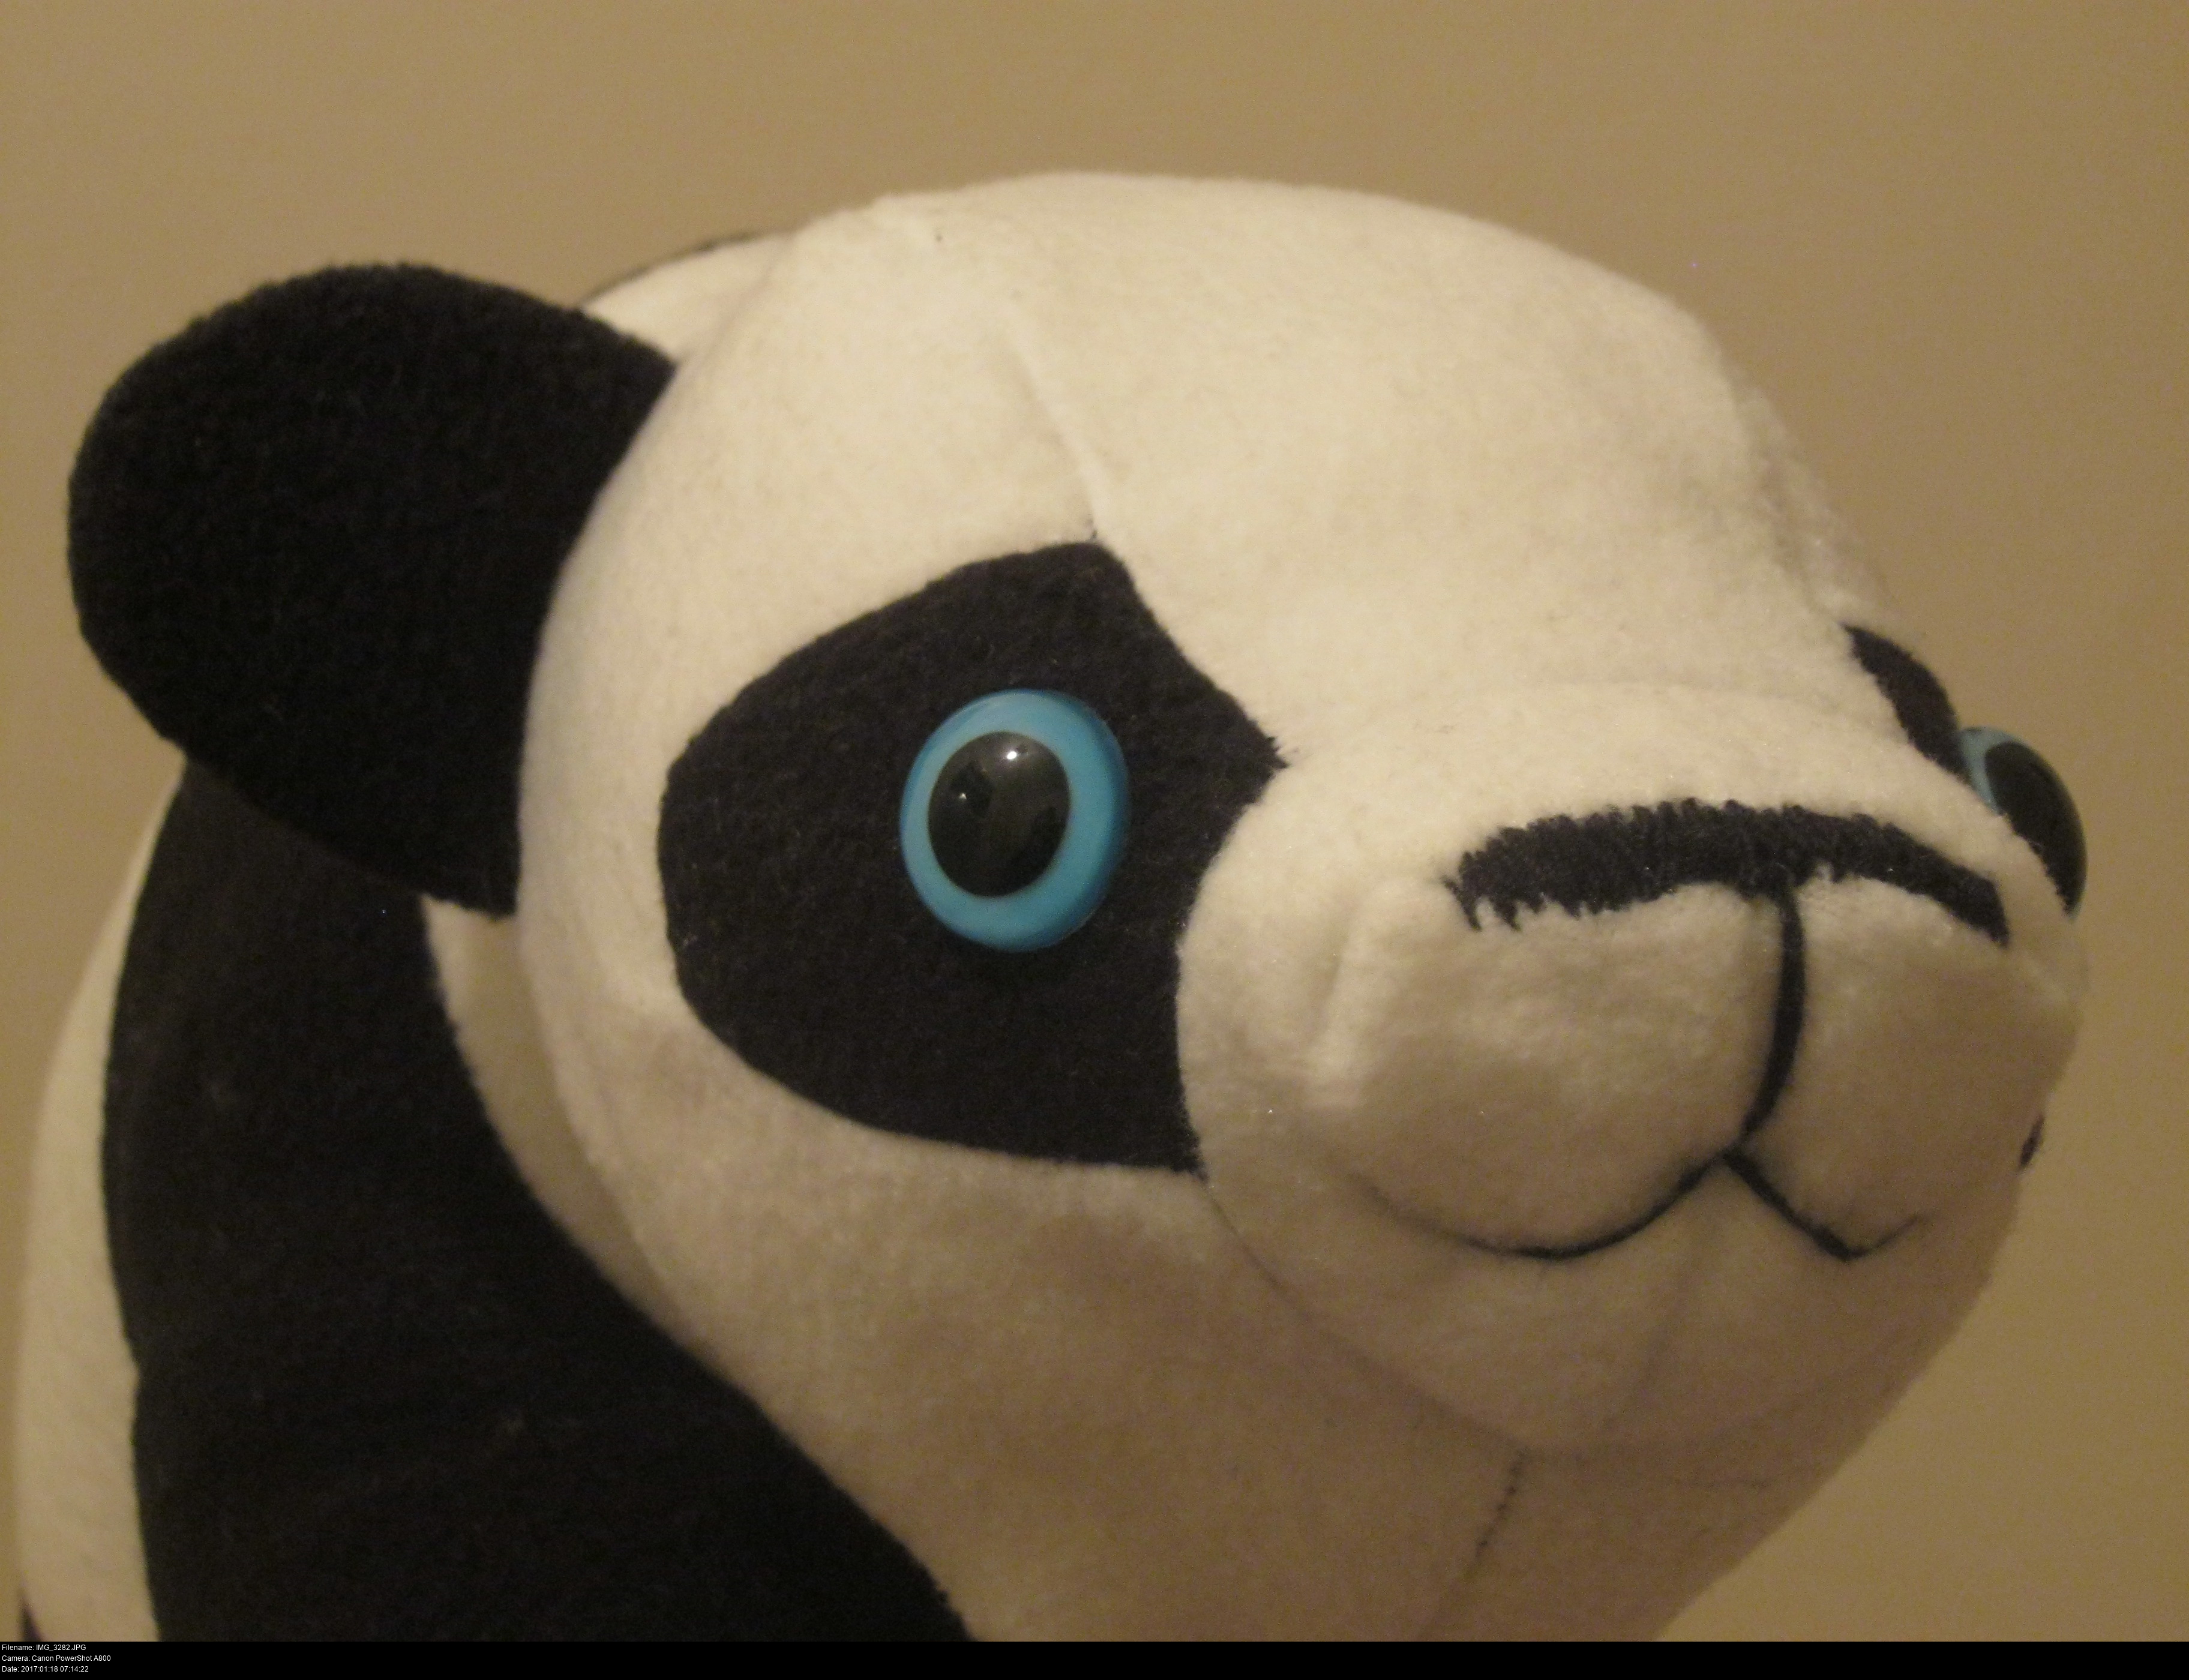
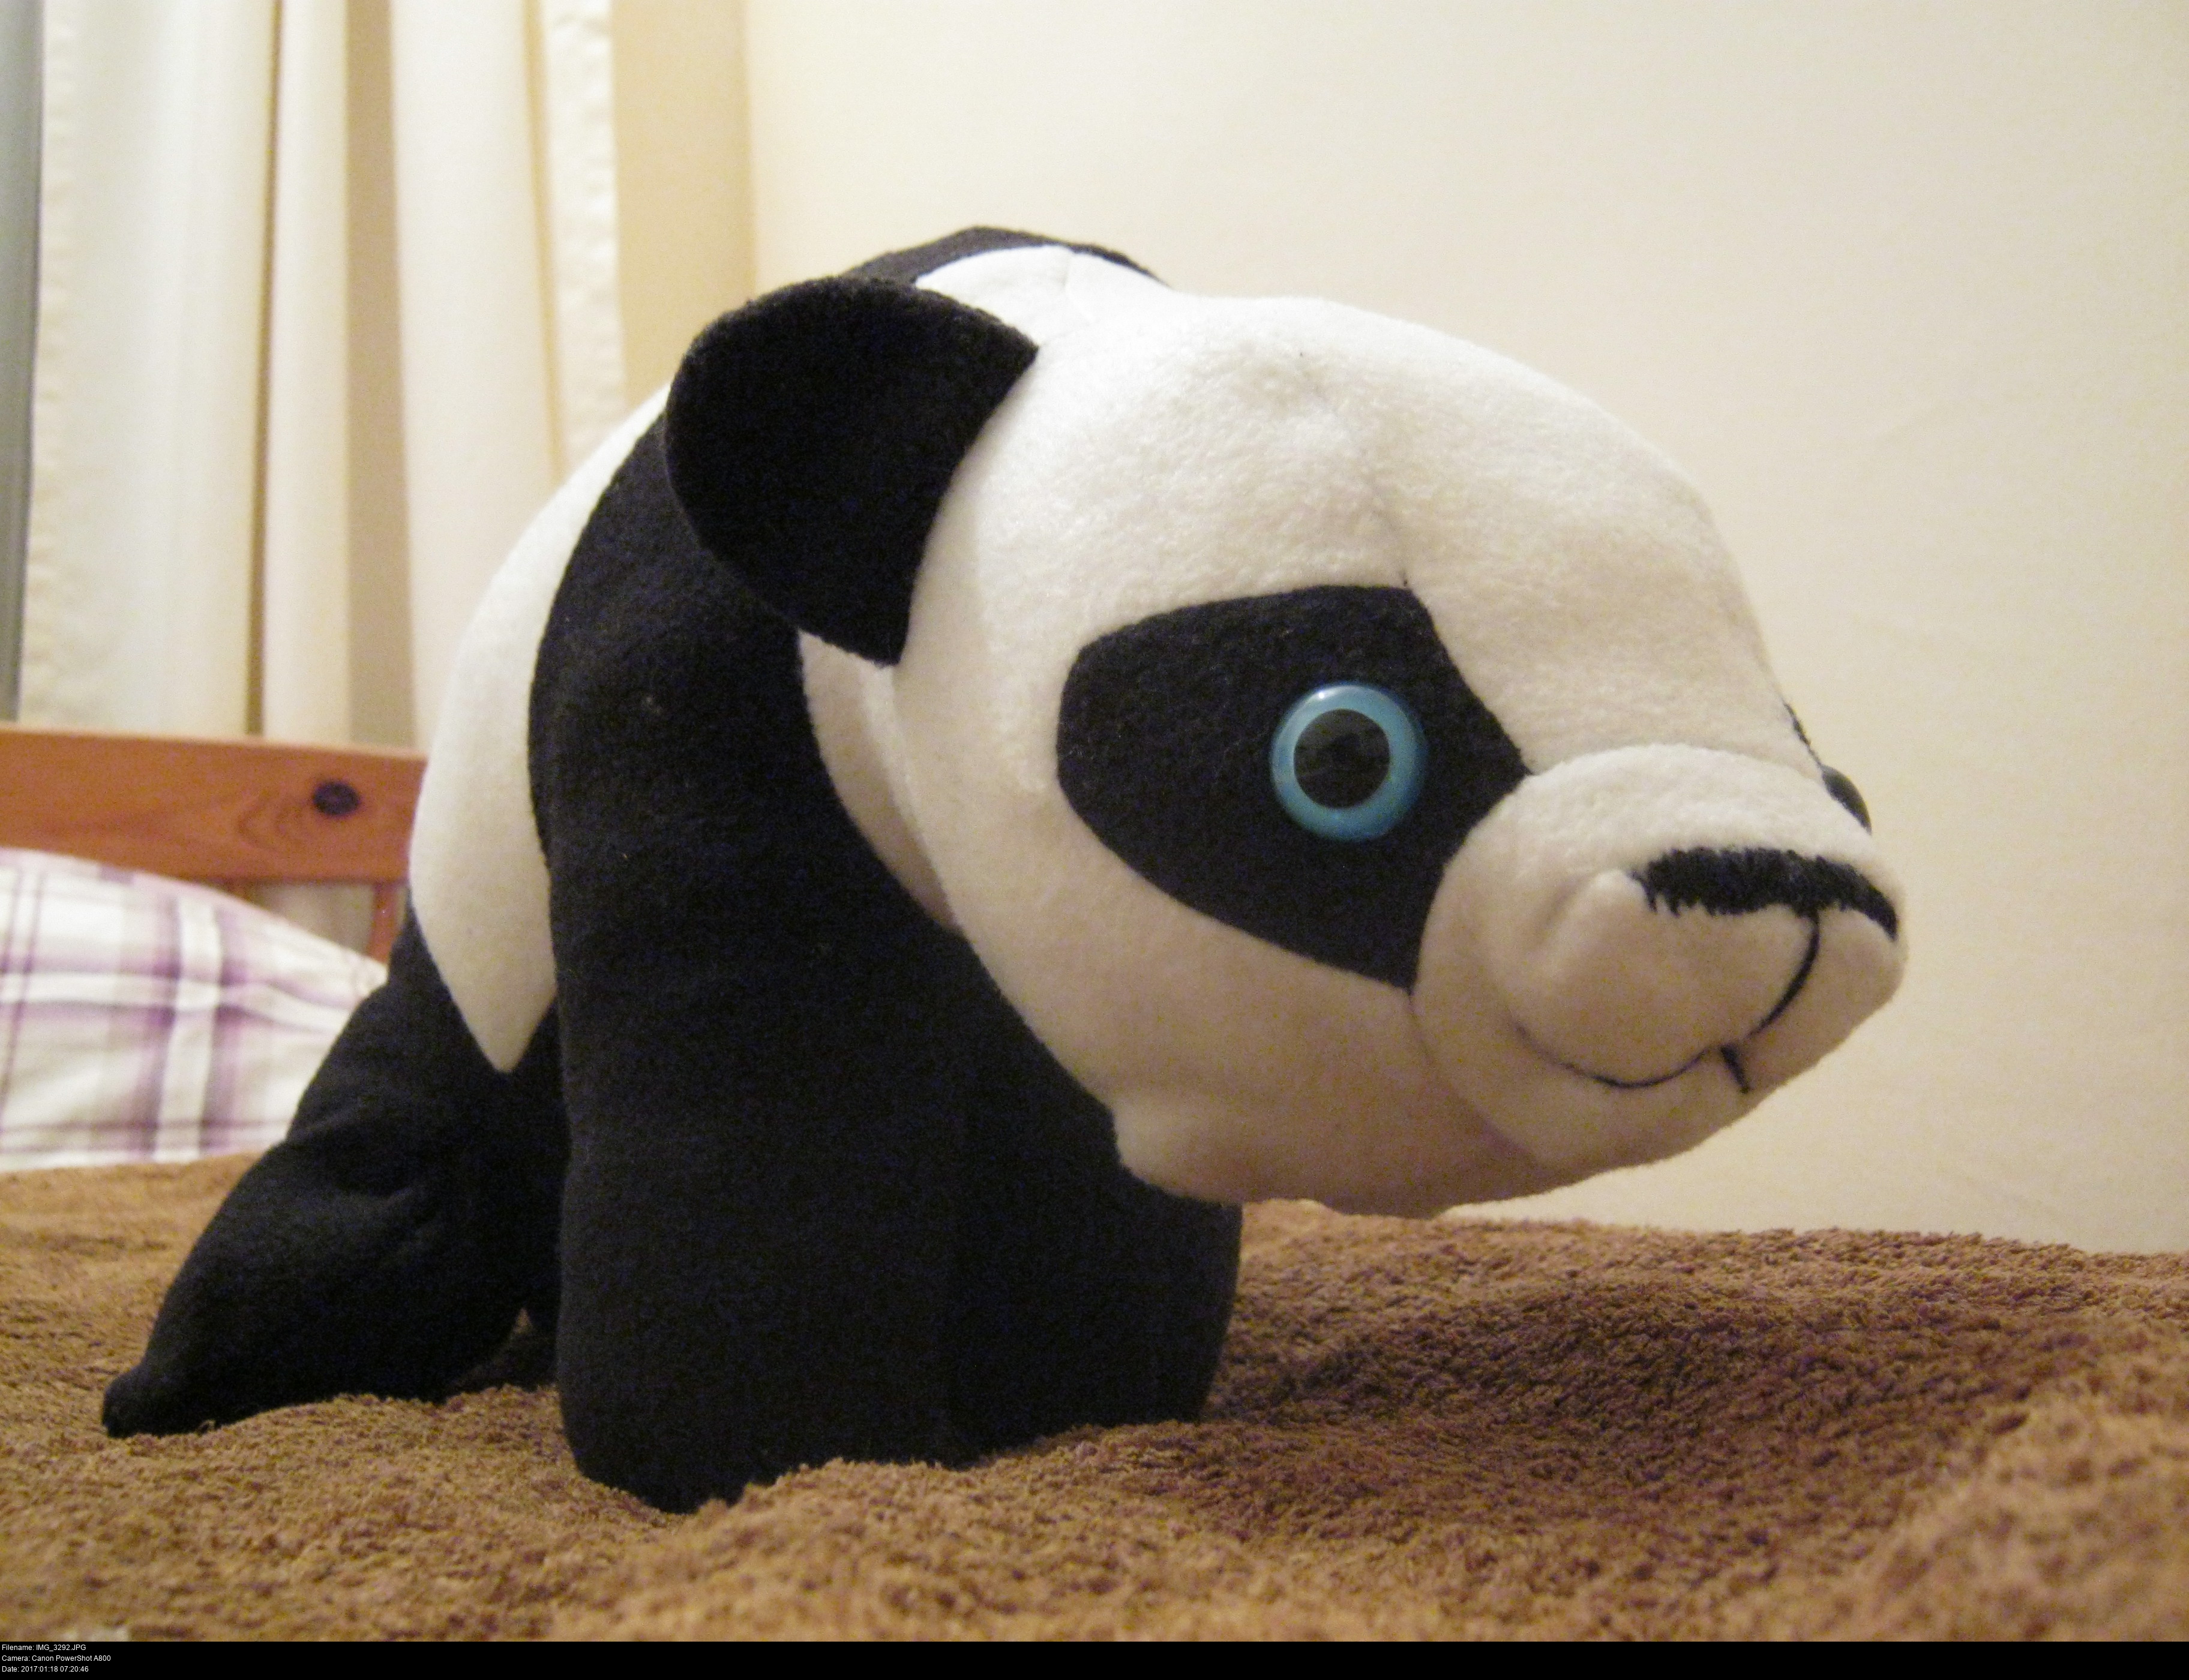
There we go. Lovely.
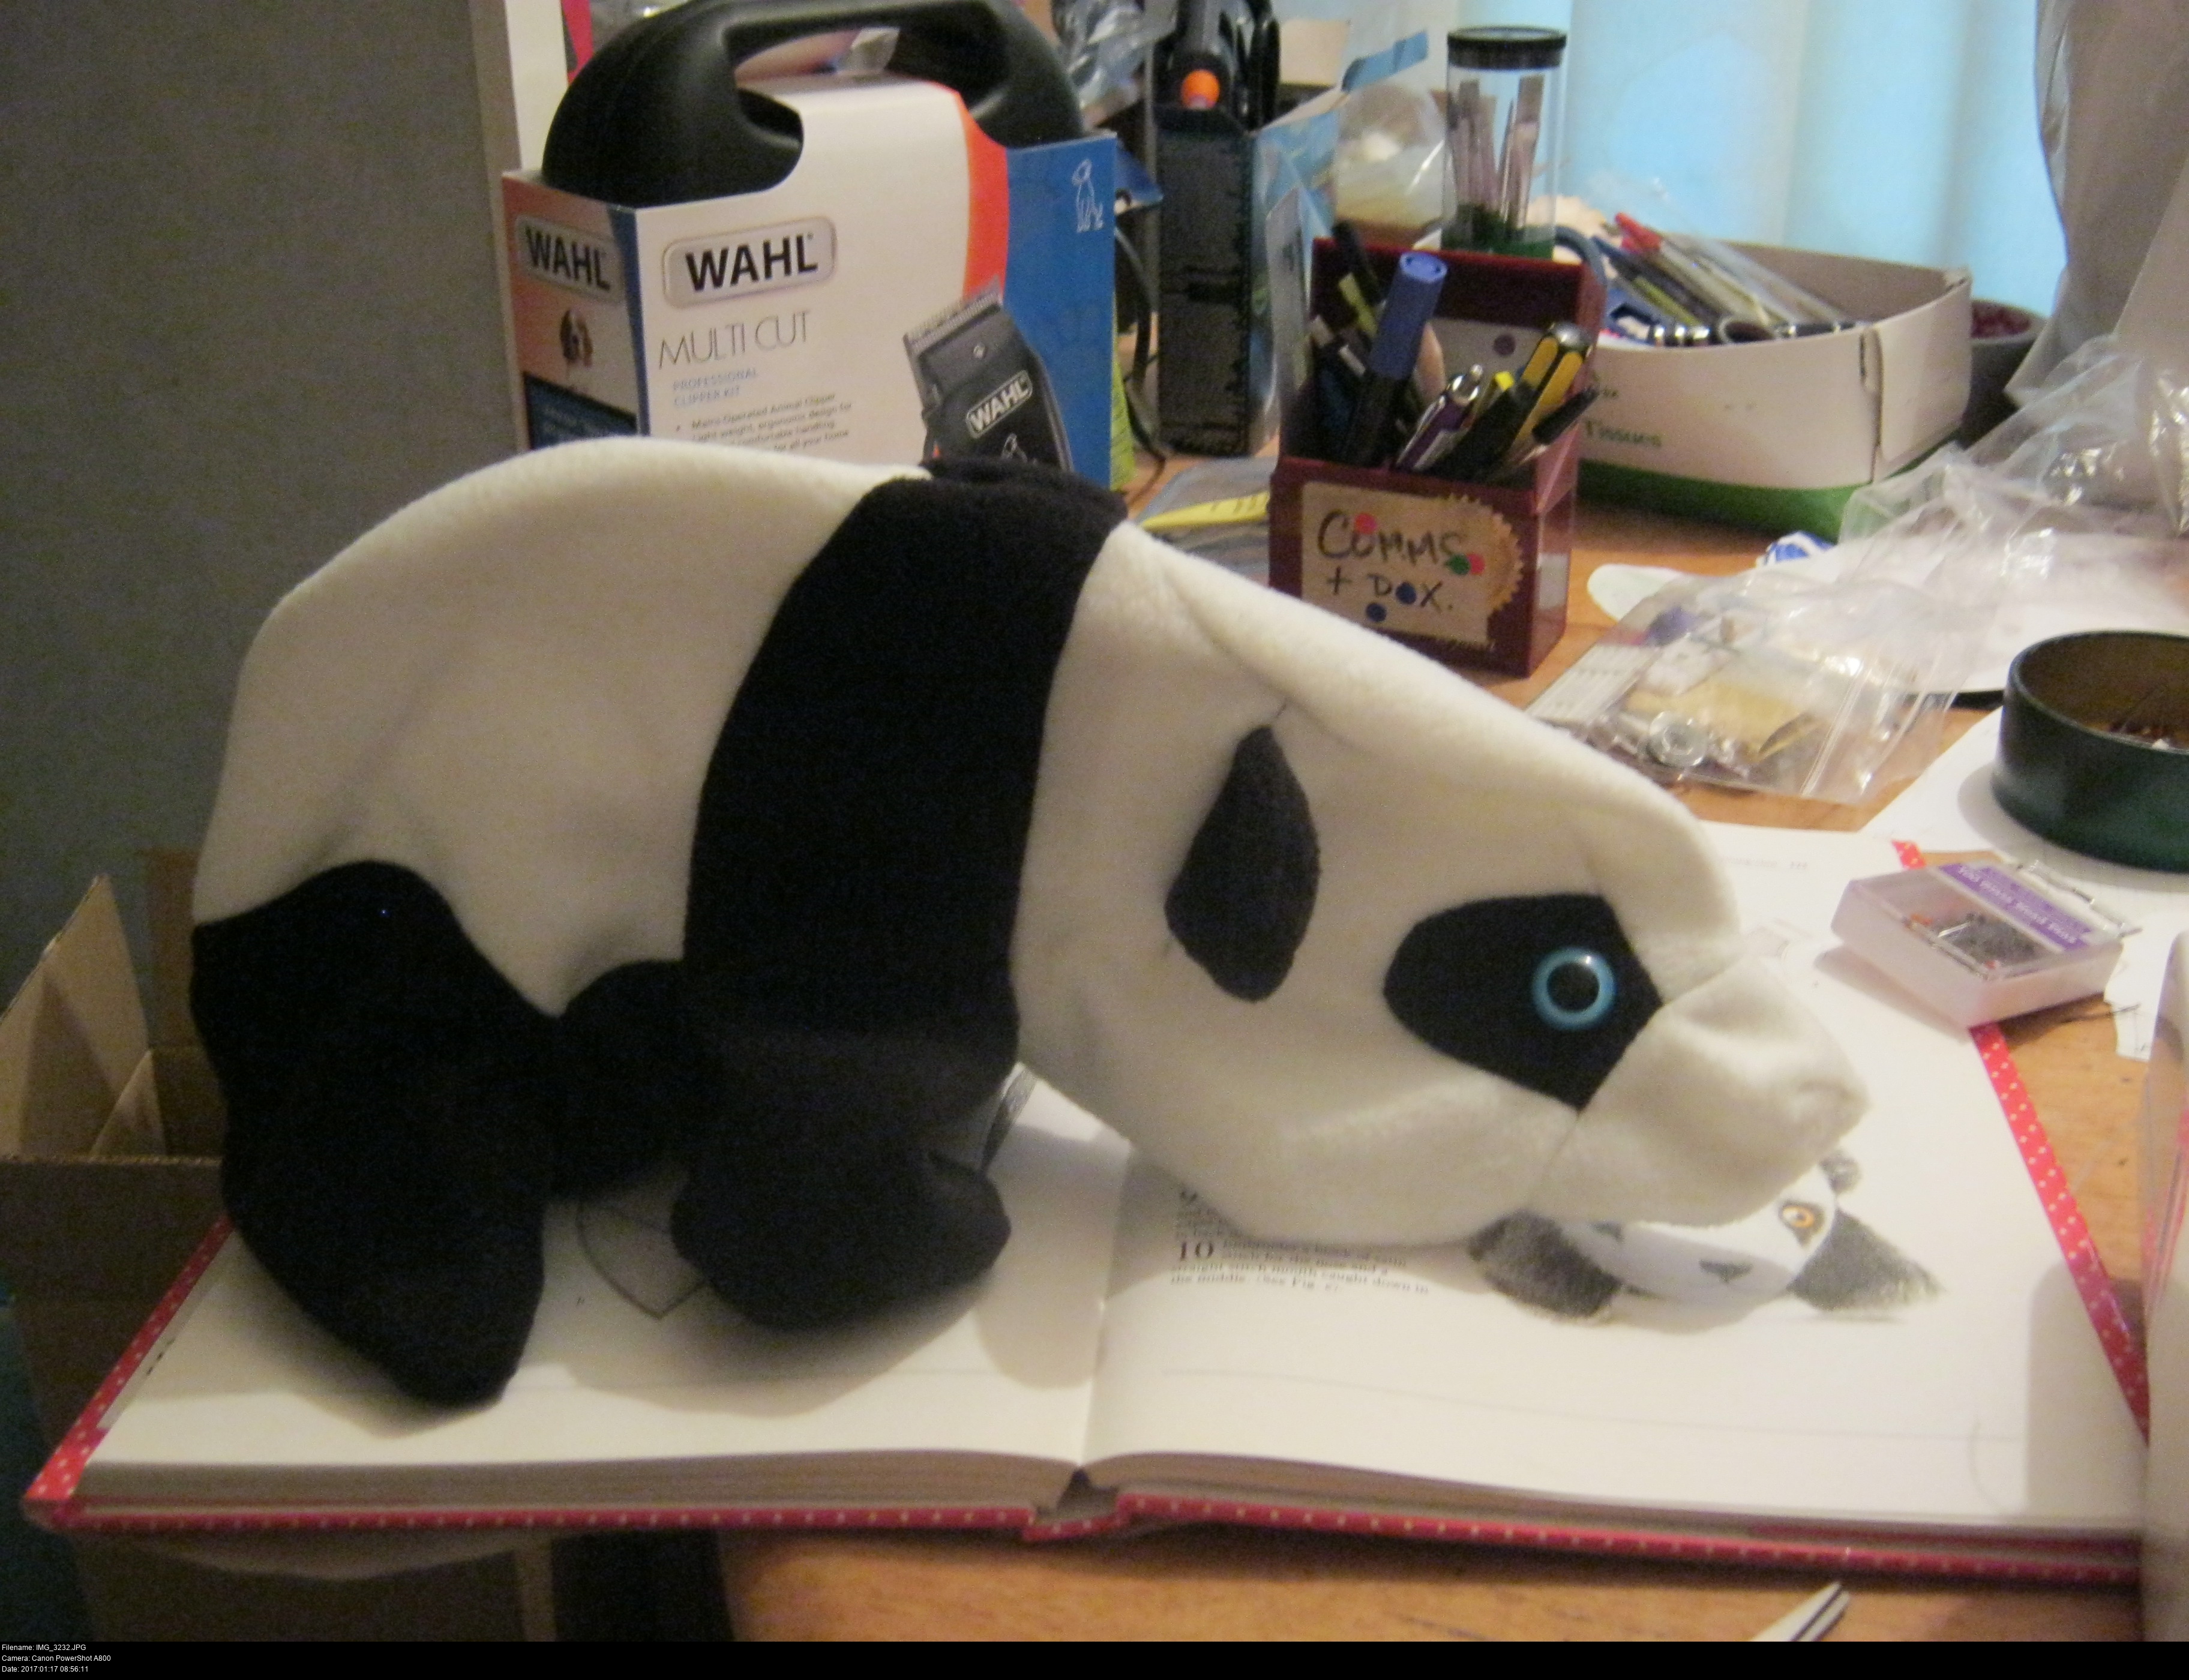
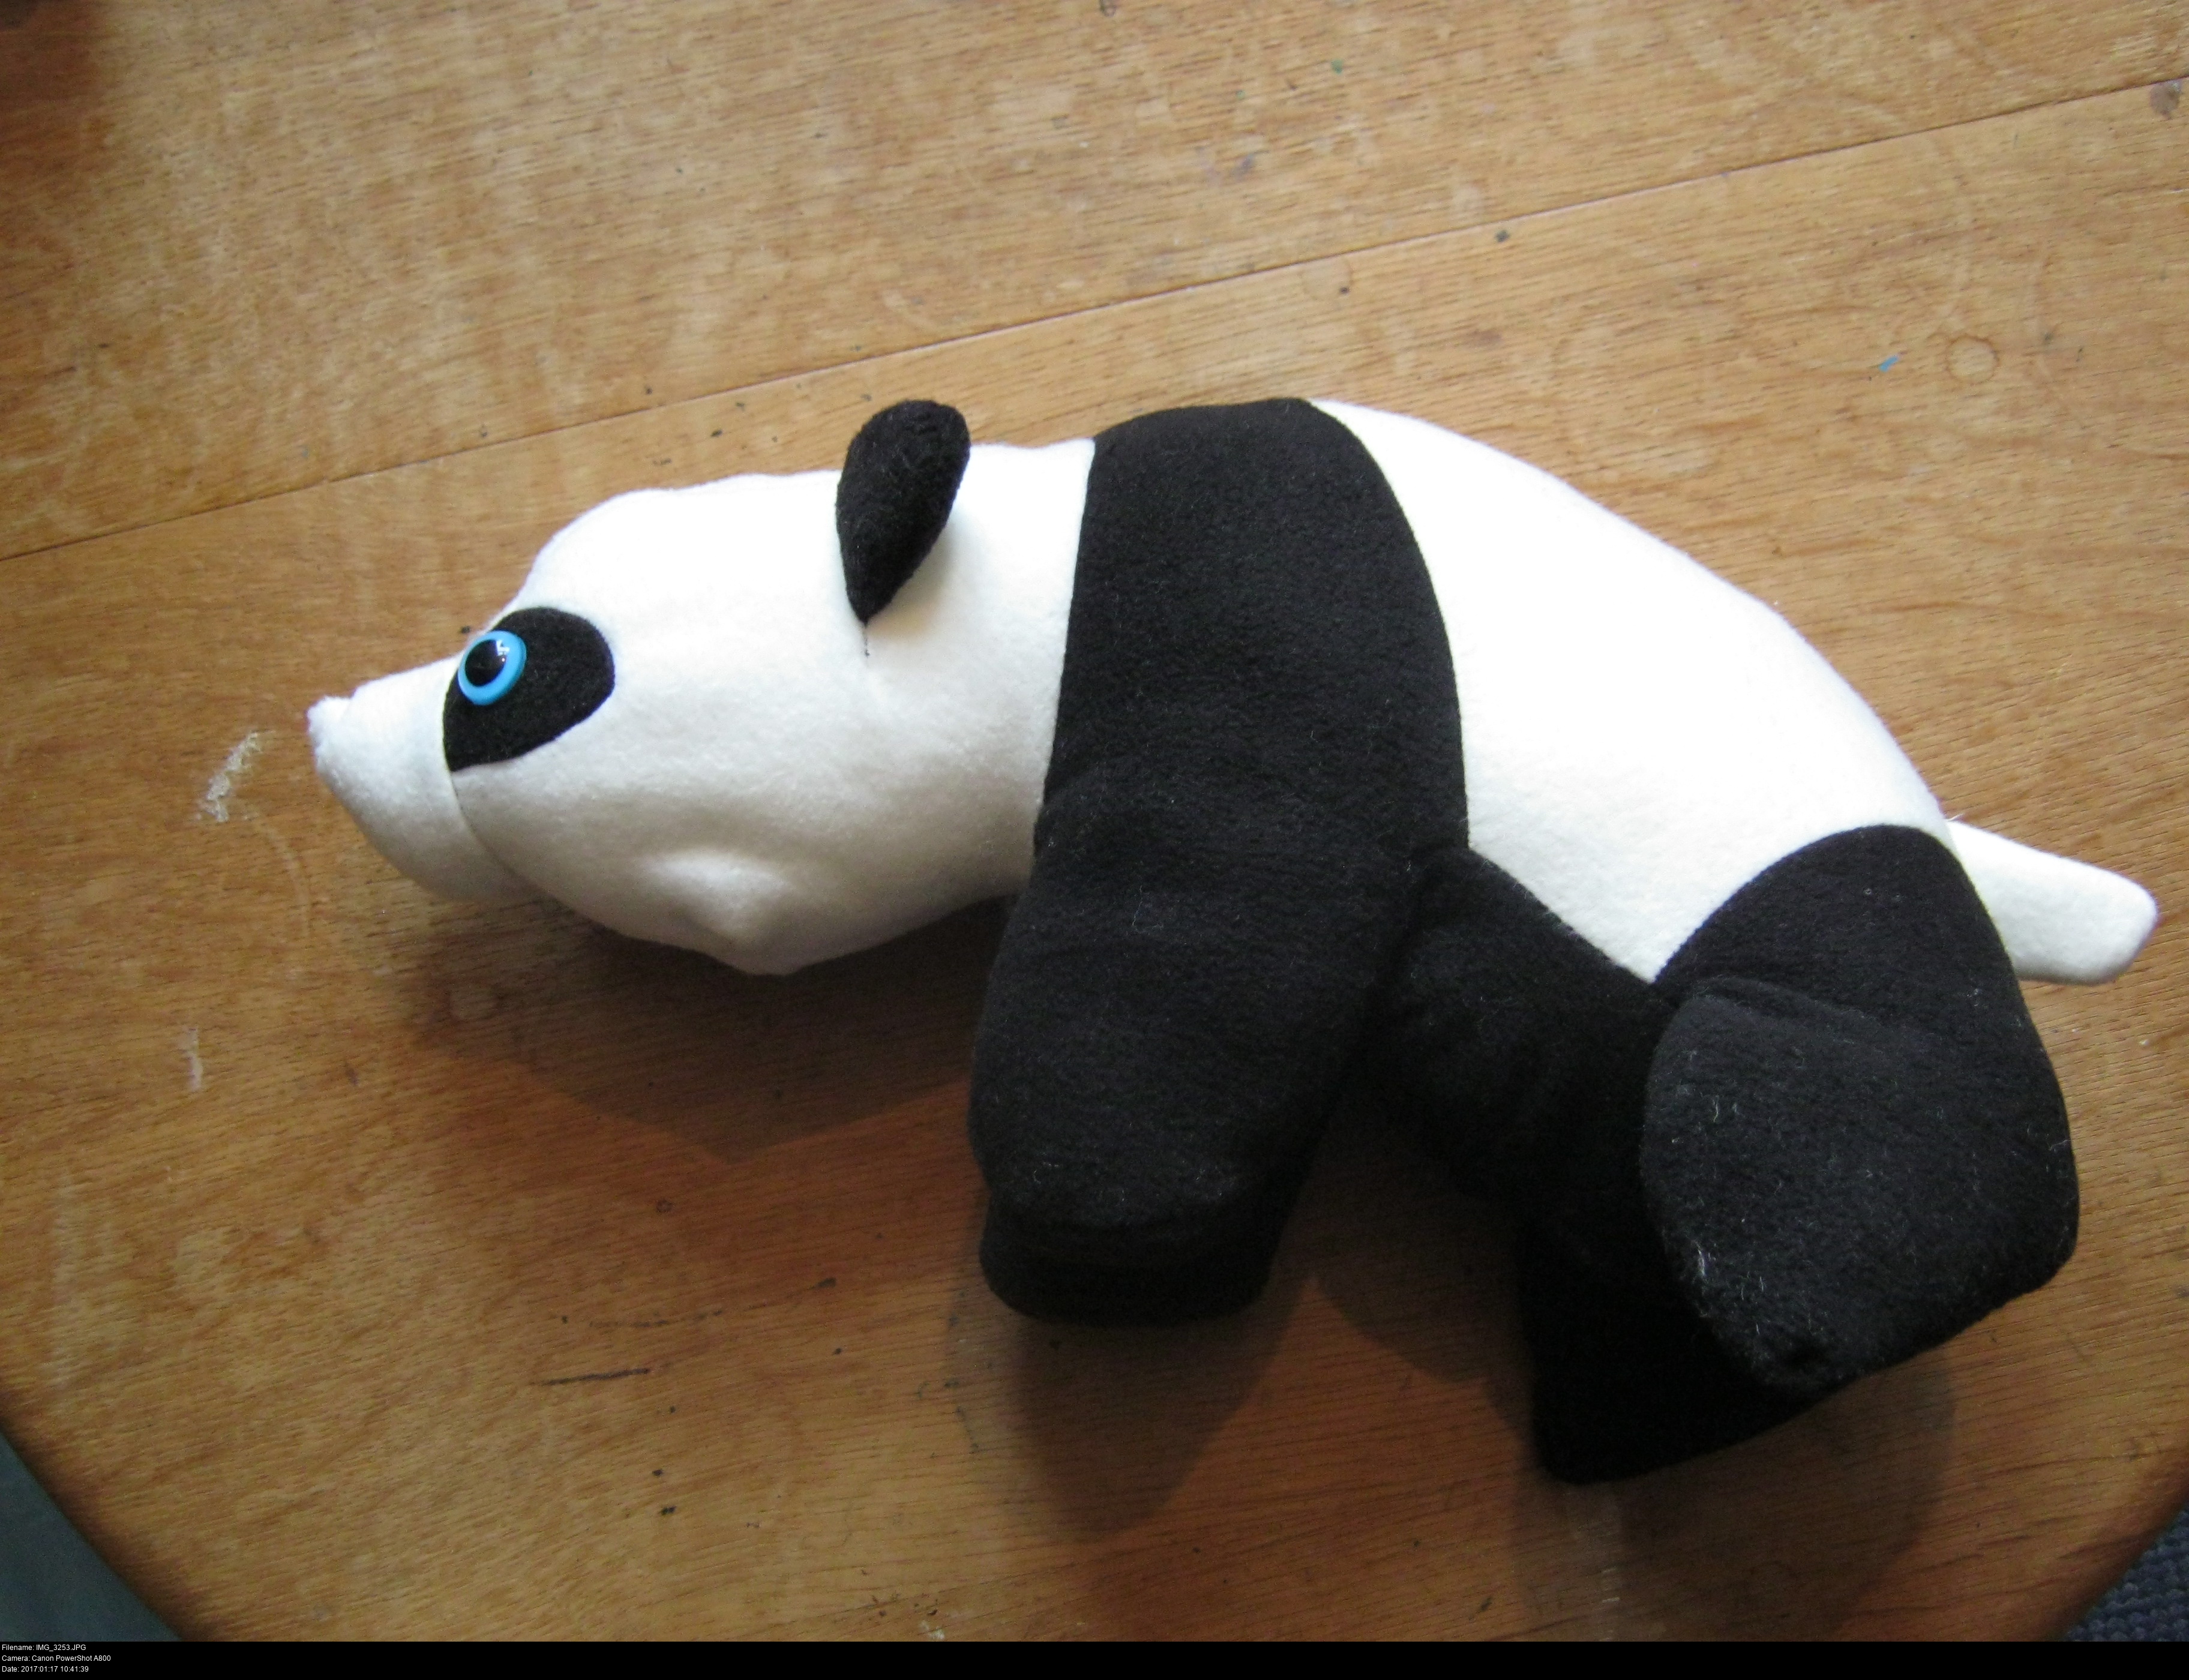
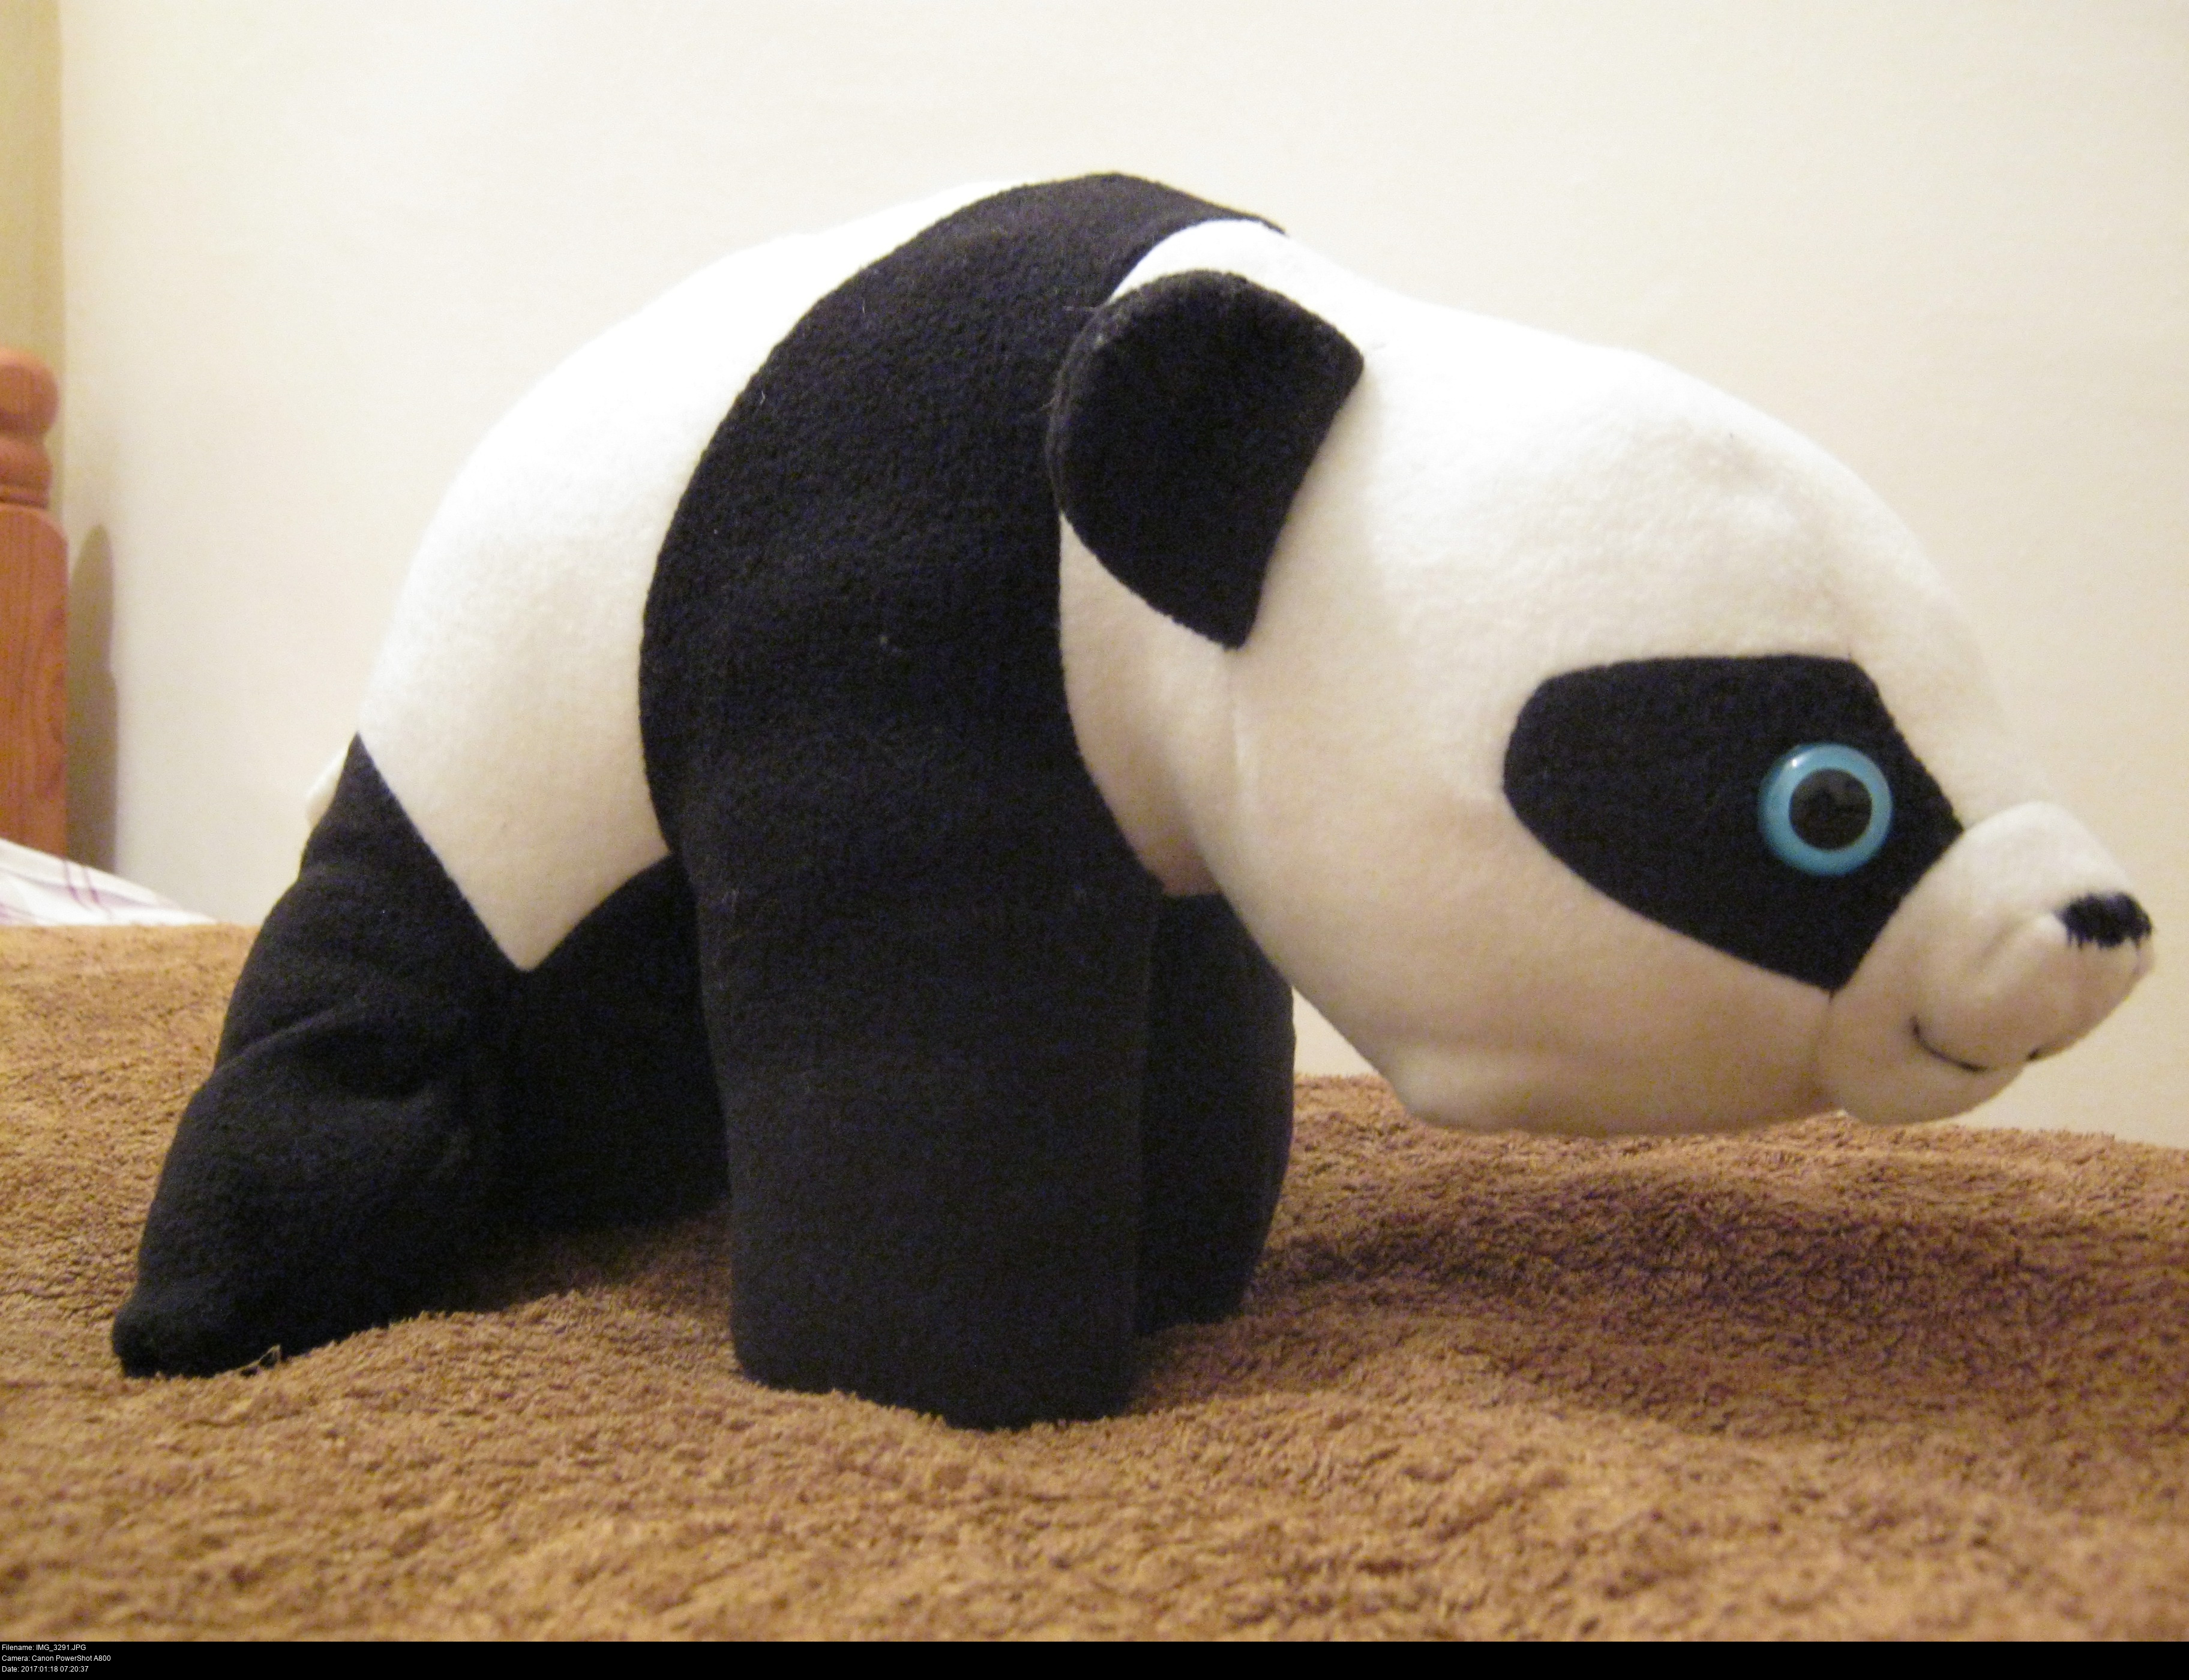
Both eyes are in place, and he's definitely very panda shaped.
I just have to sew the head to the body now. It's not an easy bit of fiddling to get the layers into the sewing machine, but that's what the pins are for.
A more experienced sewer of pandas would use a ladder stitch for this, but I'd not learned how, why or when to do that yet.
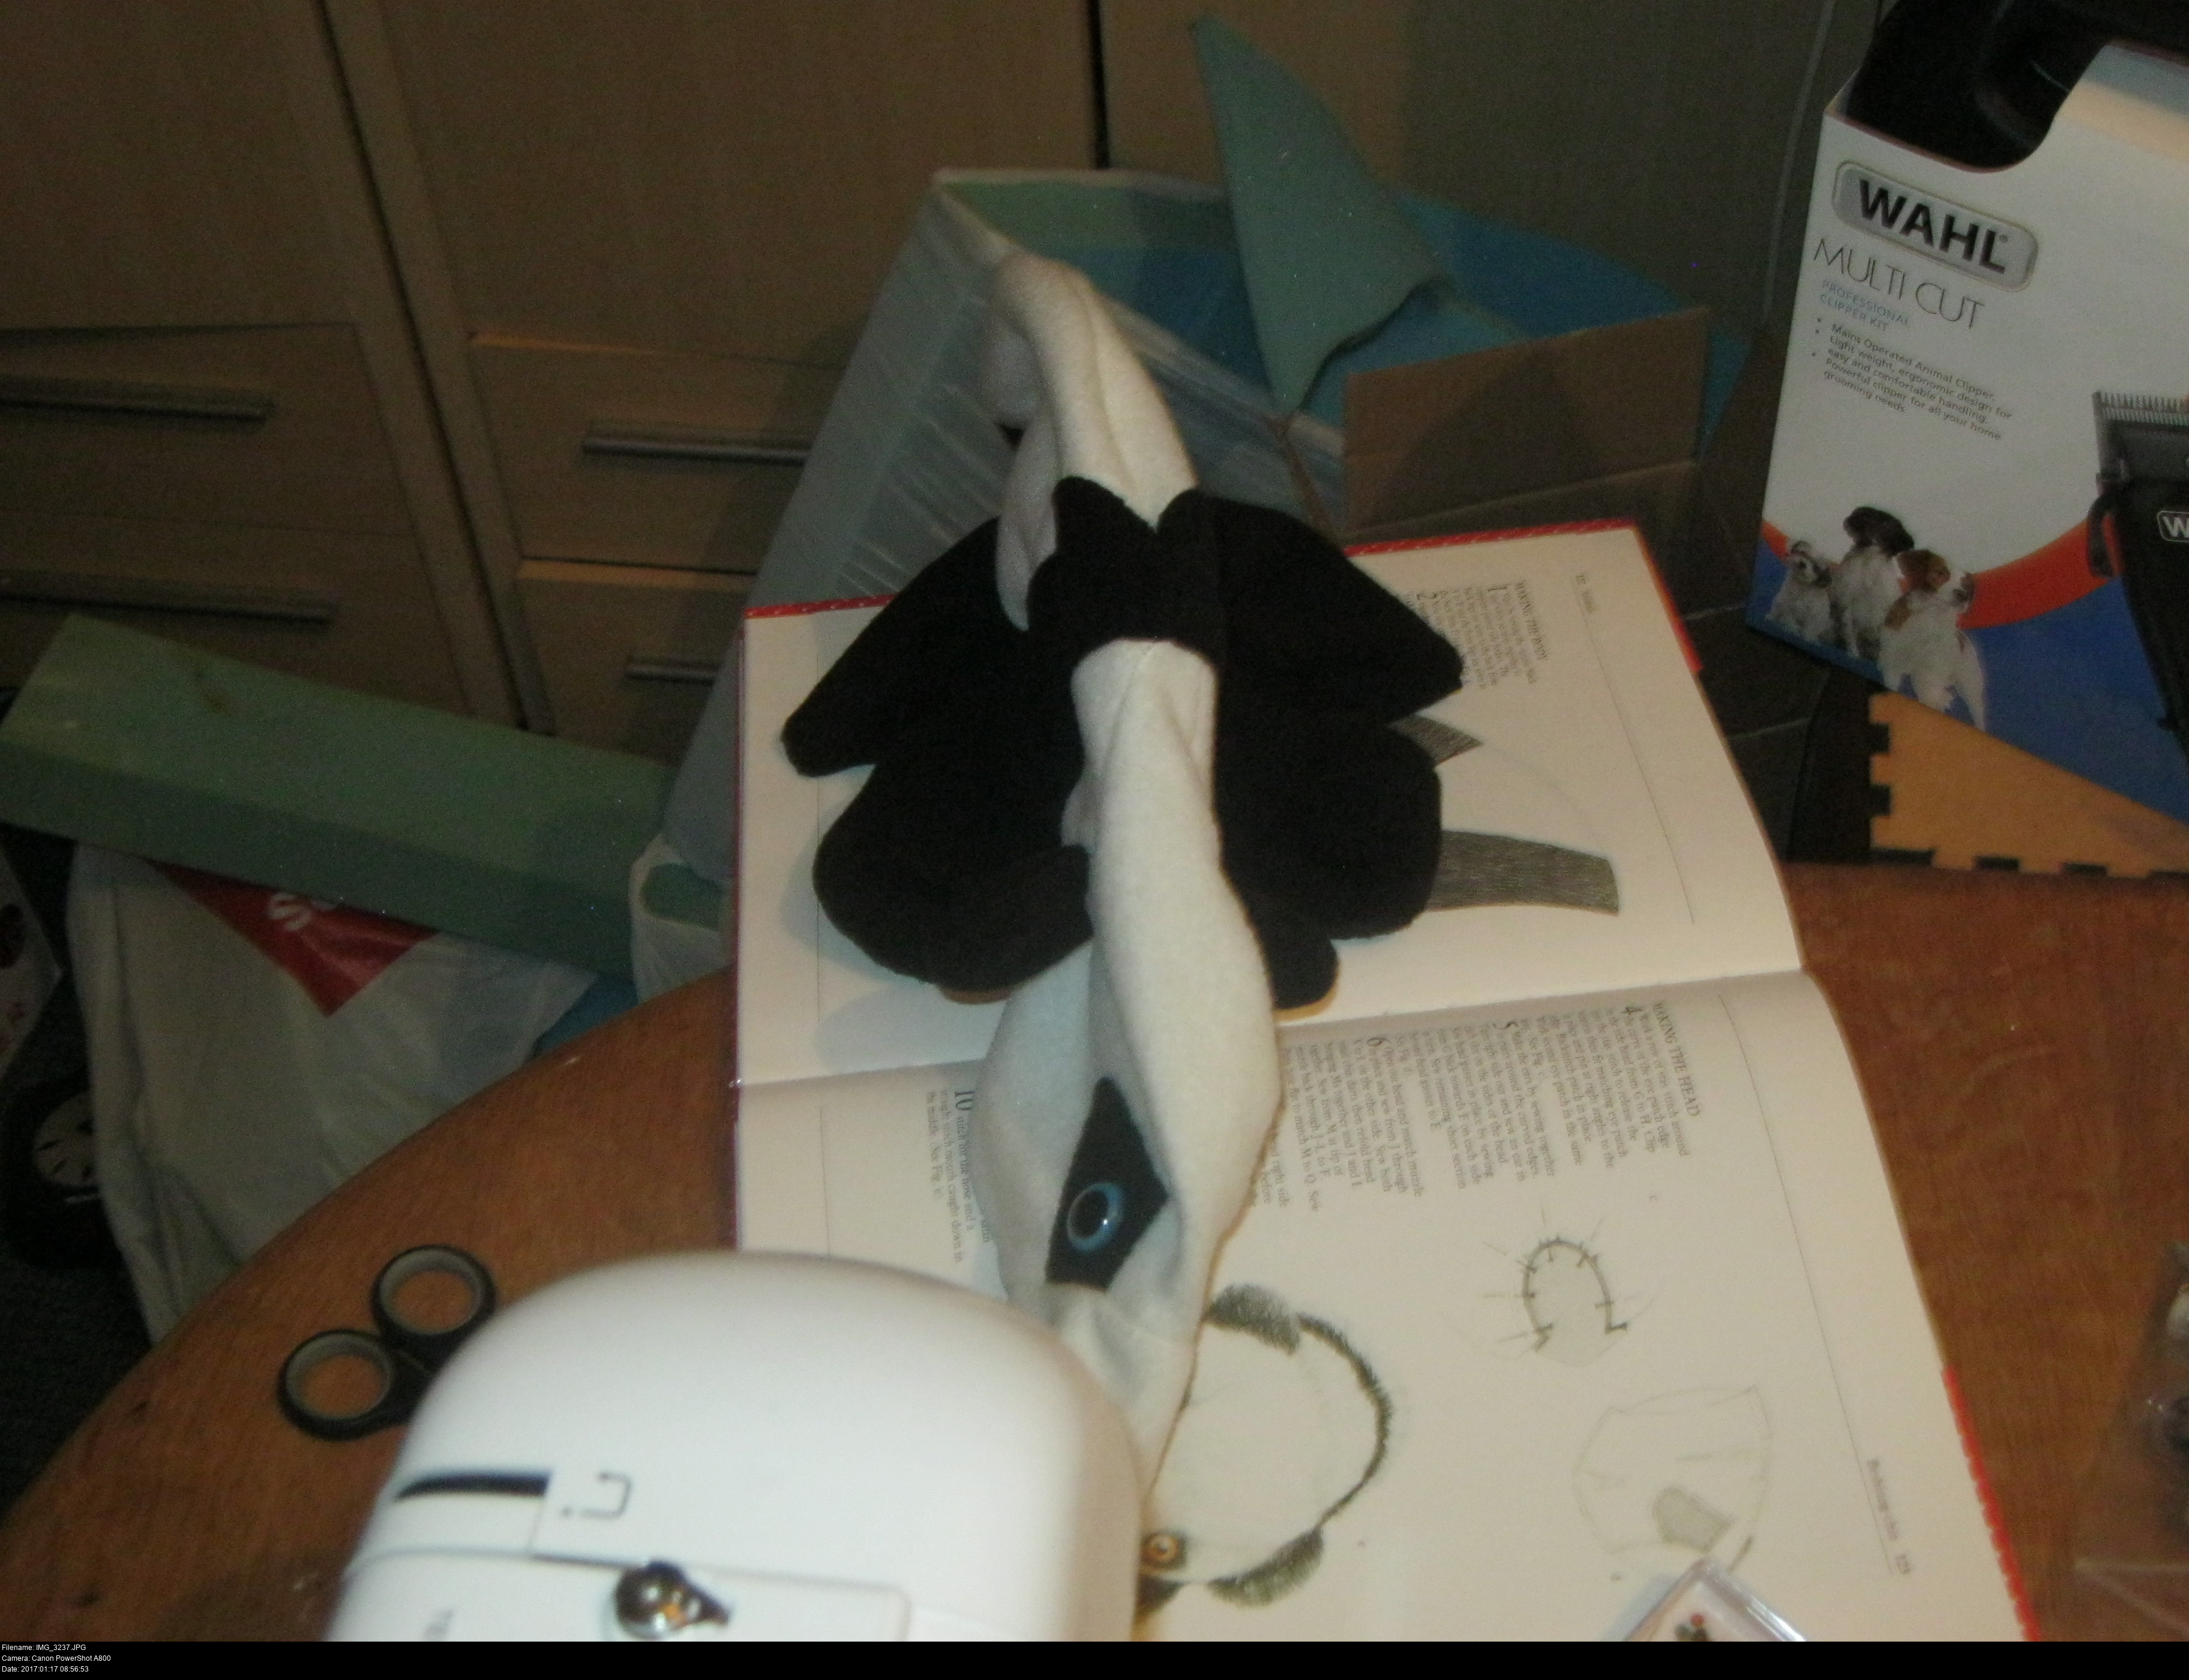
I've got to turn both head and body inside out, put the head inside the body and match up the edge of the neck and collar so they're flush and also that the panda's head is rotated around the collar correctly. It would be horrible if I re-everted the panda and his head curled upwards instead of being hunched forwards.
It's a topological puzzle. Take it slow, keep pinning and testing. Use chalk marks to align the pieces and make whatever notes you need.

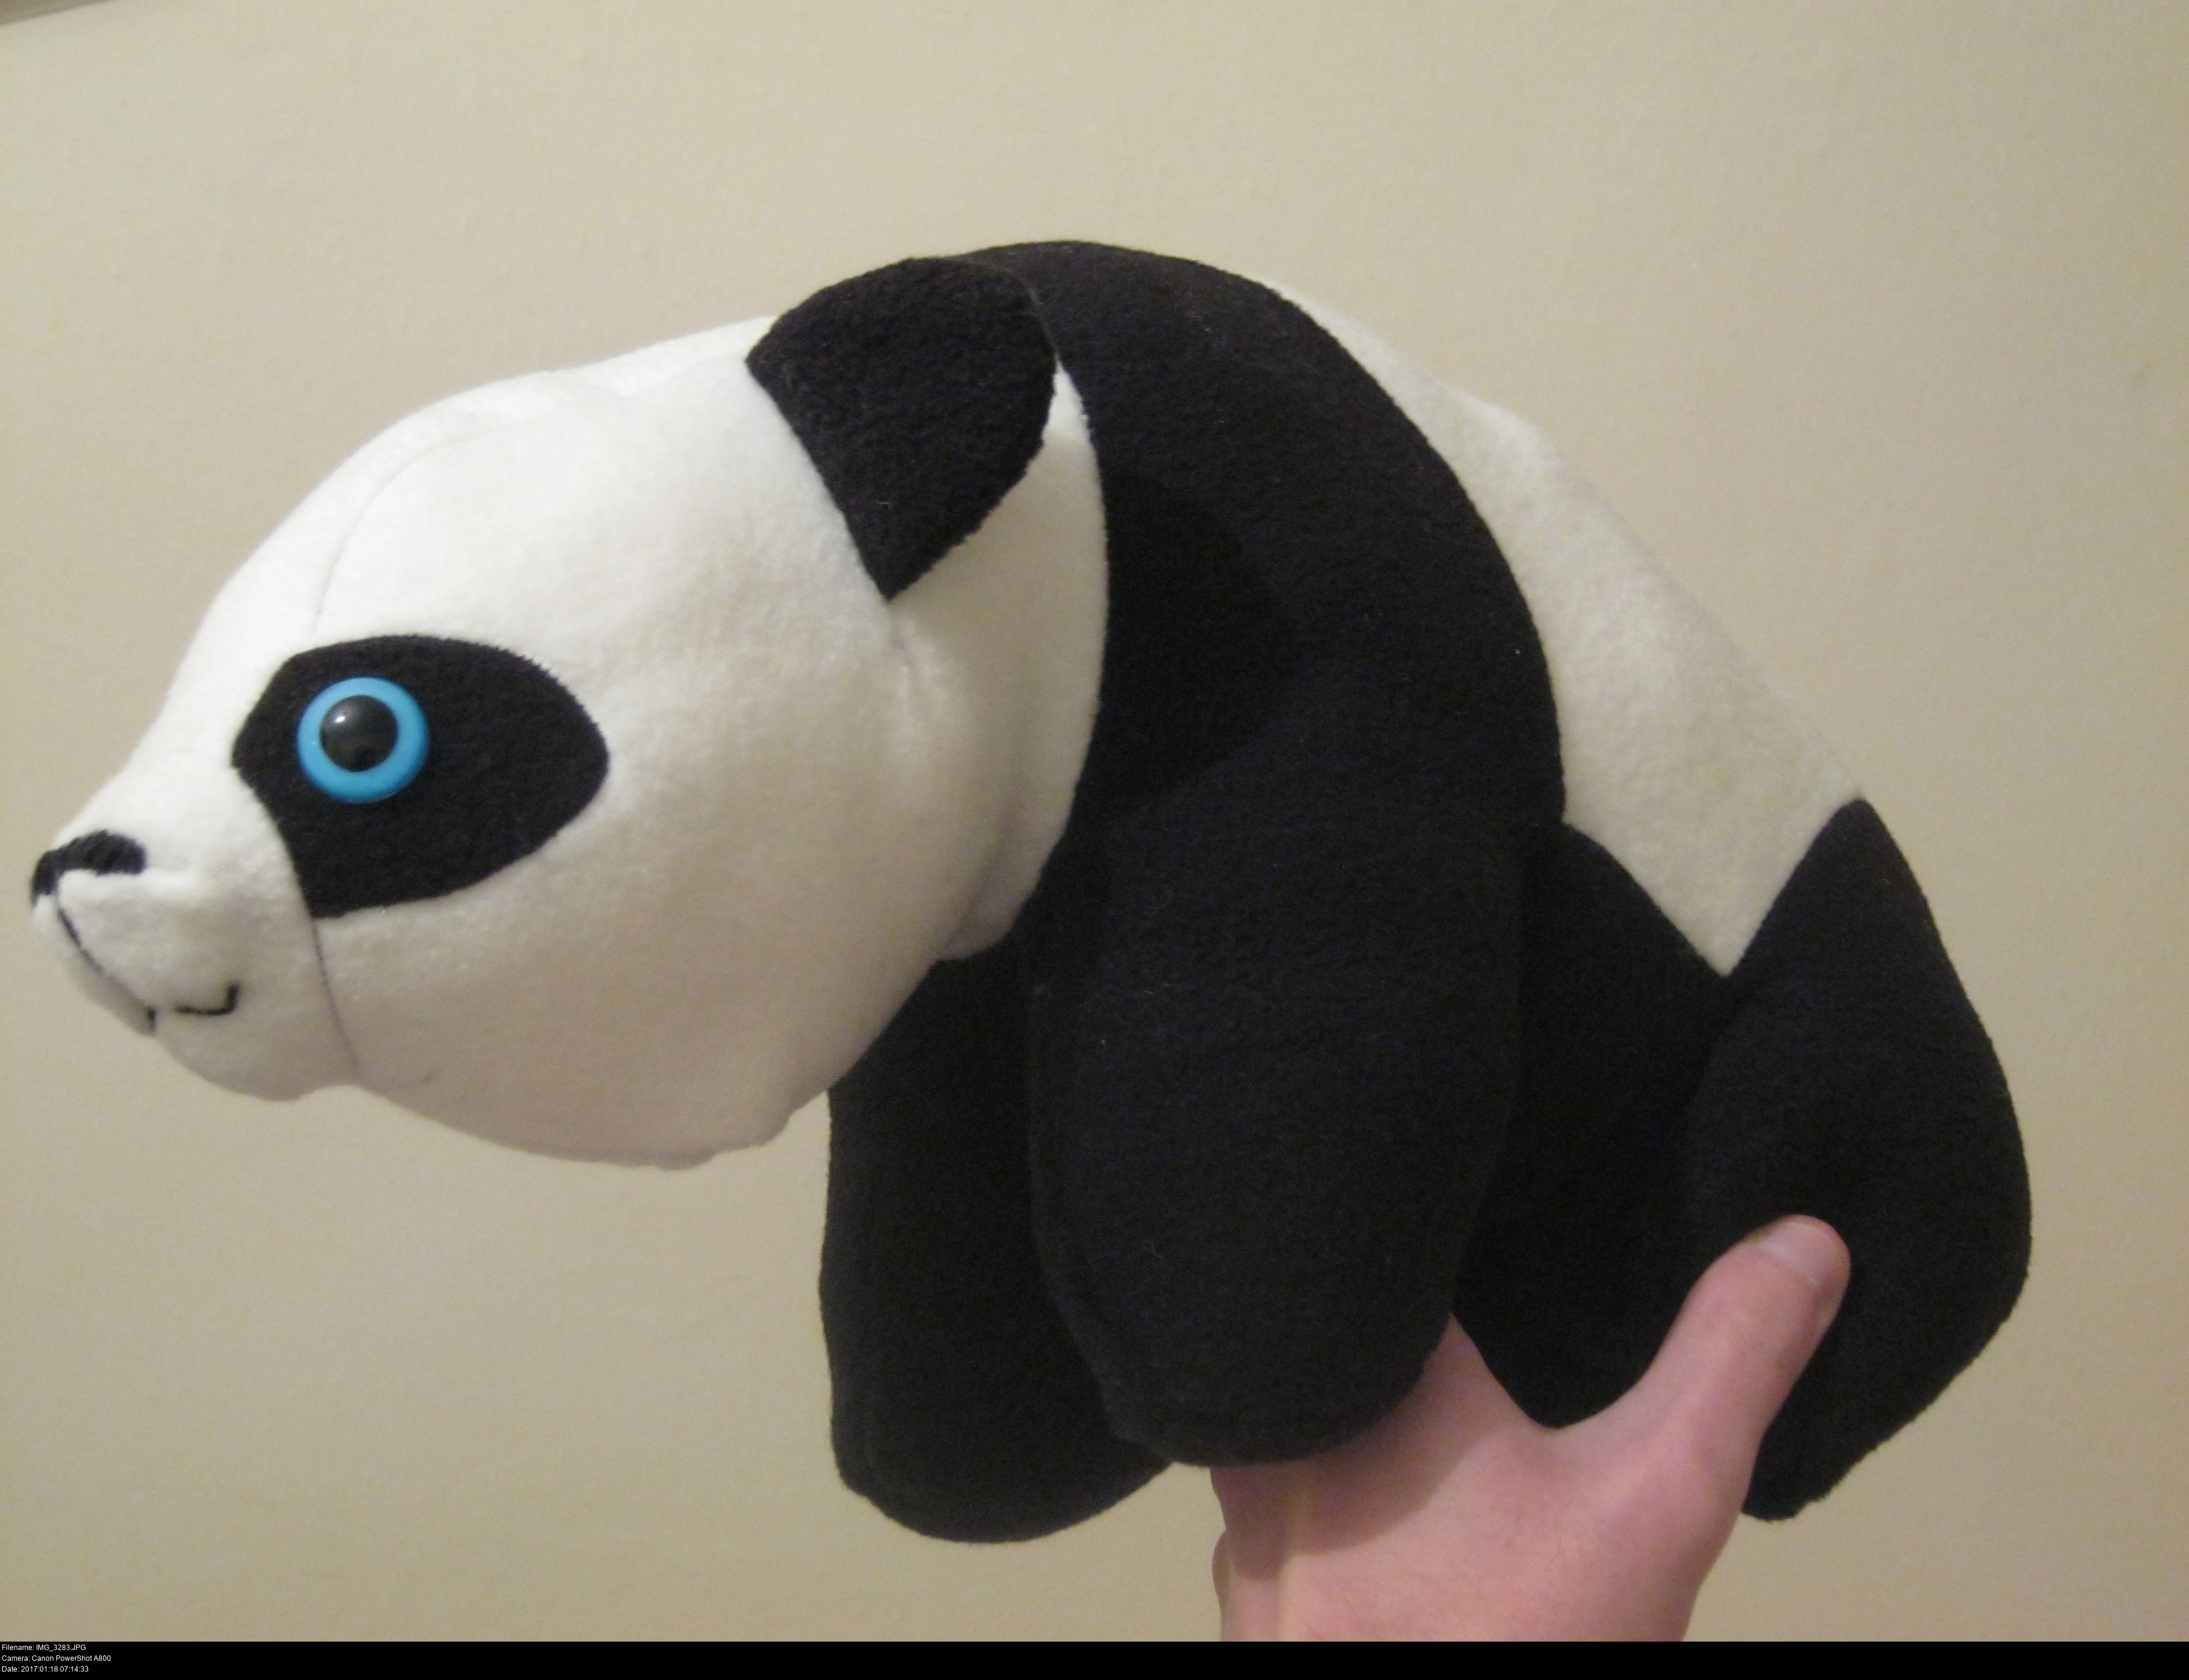
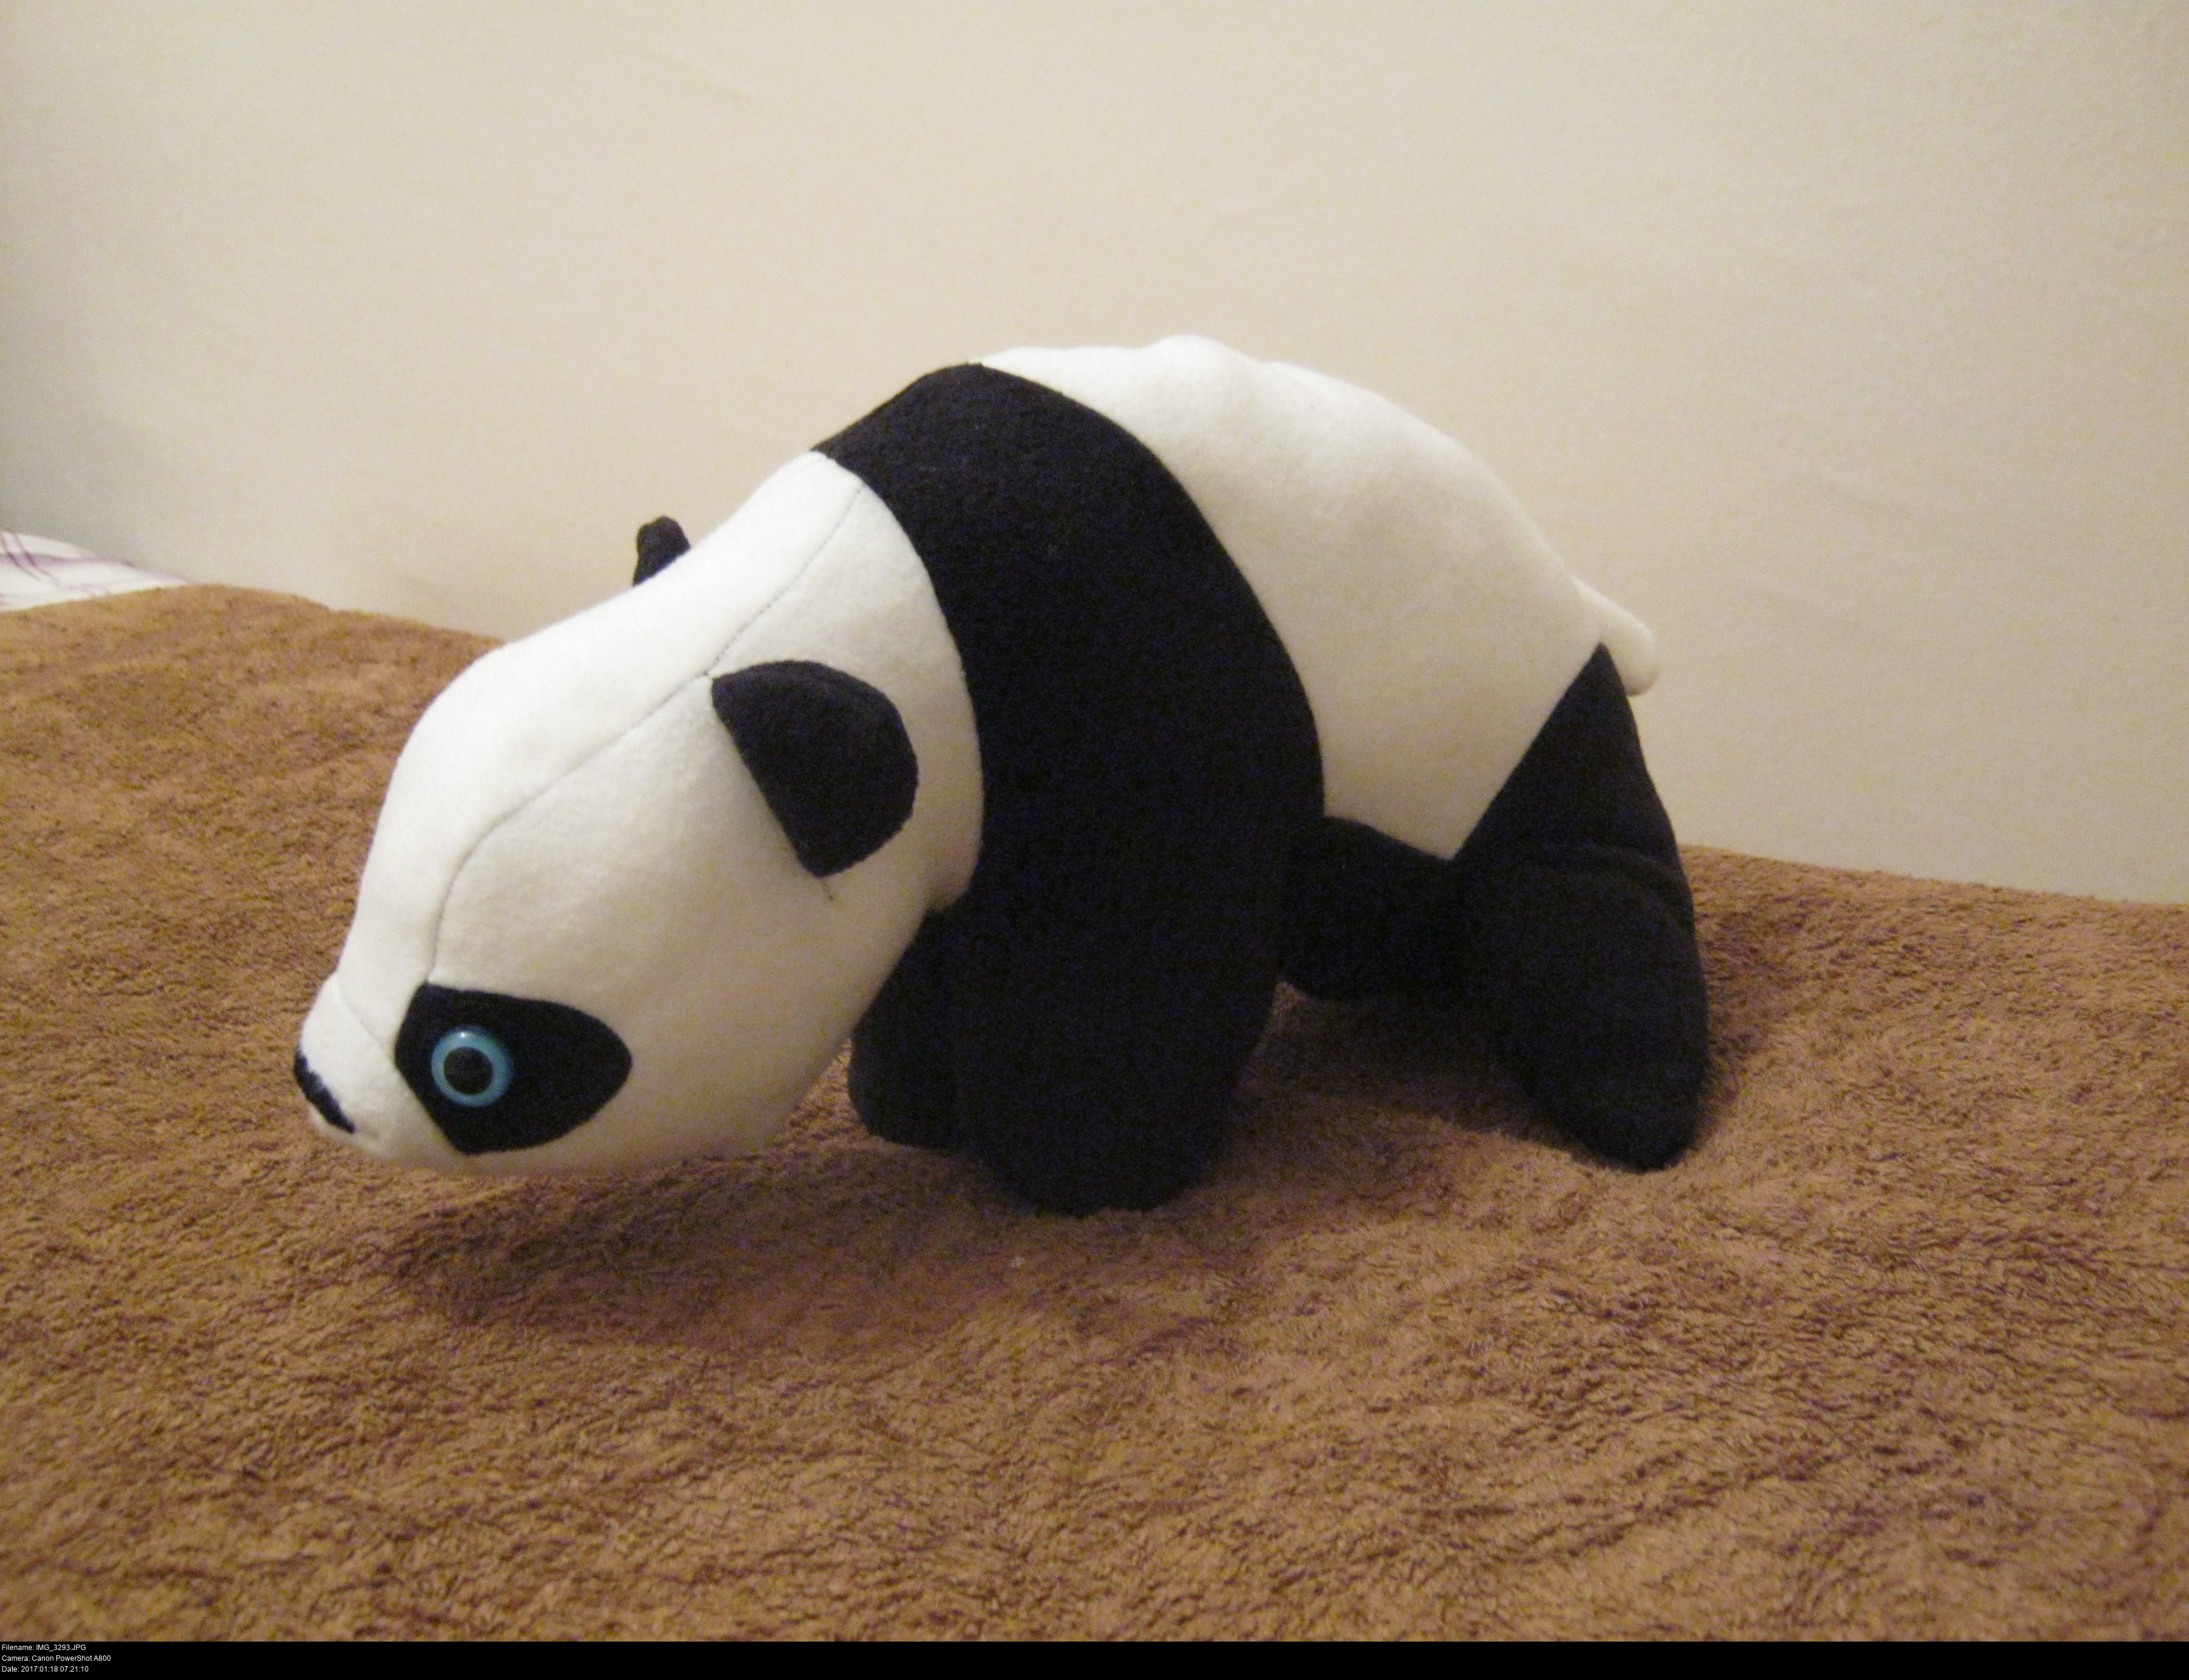
There we go! One panda!
She just has a little bit of a two-dimensional problem. She needs stuffing!
The instructions left a small area of the back unsewn, and one thing my local fabric shop has is proper stuffing, so all is well. Though it takes an awful lot to stuff this gal, I had to use two quite heavy bags. (In future, I'm buying uncovered cushions from Wilkinson, they're the same thing, but much bigger and cheaper.)

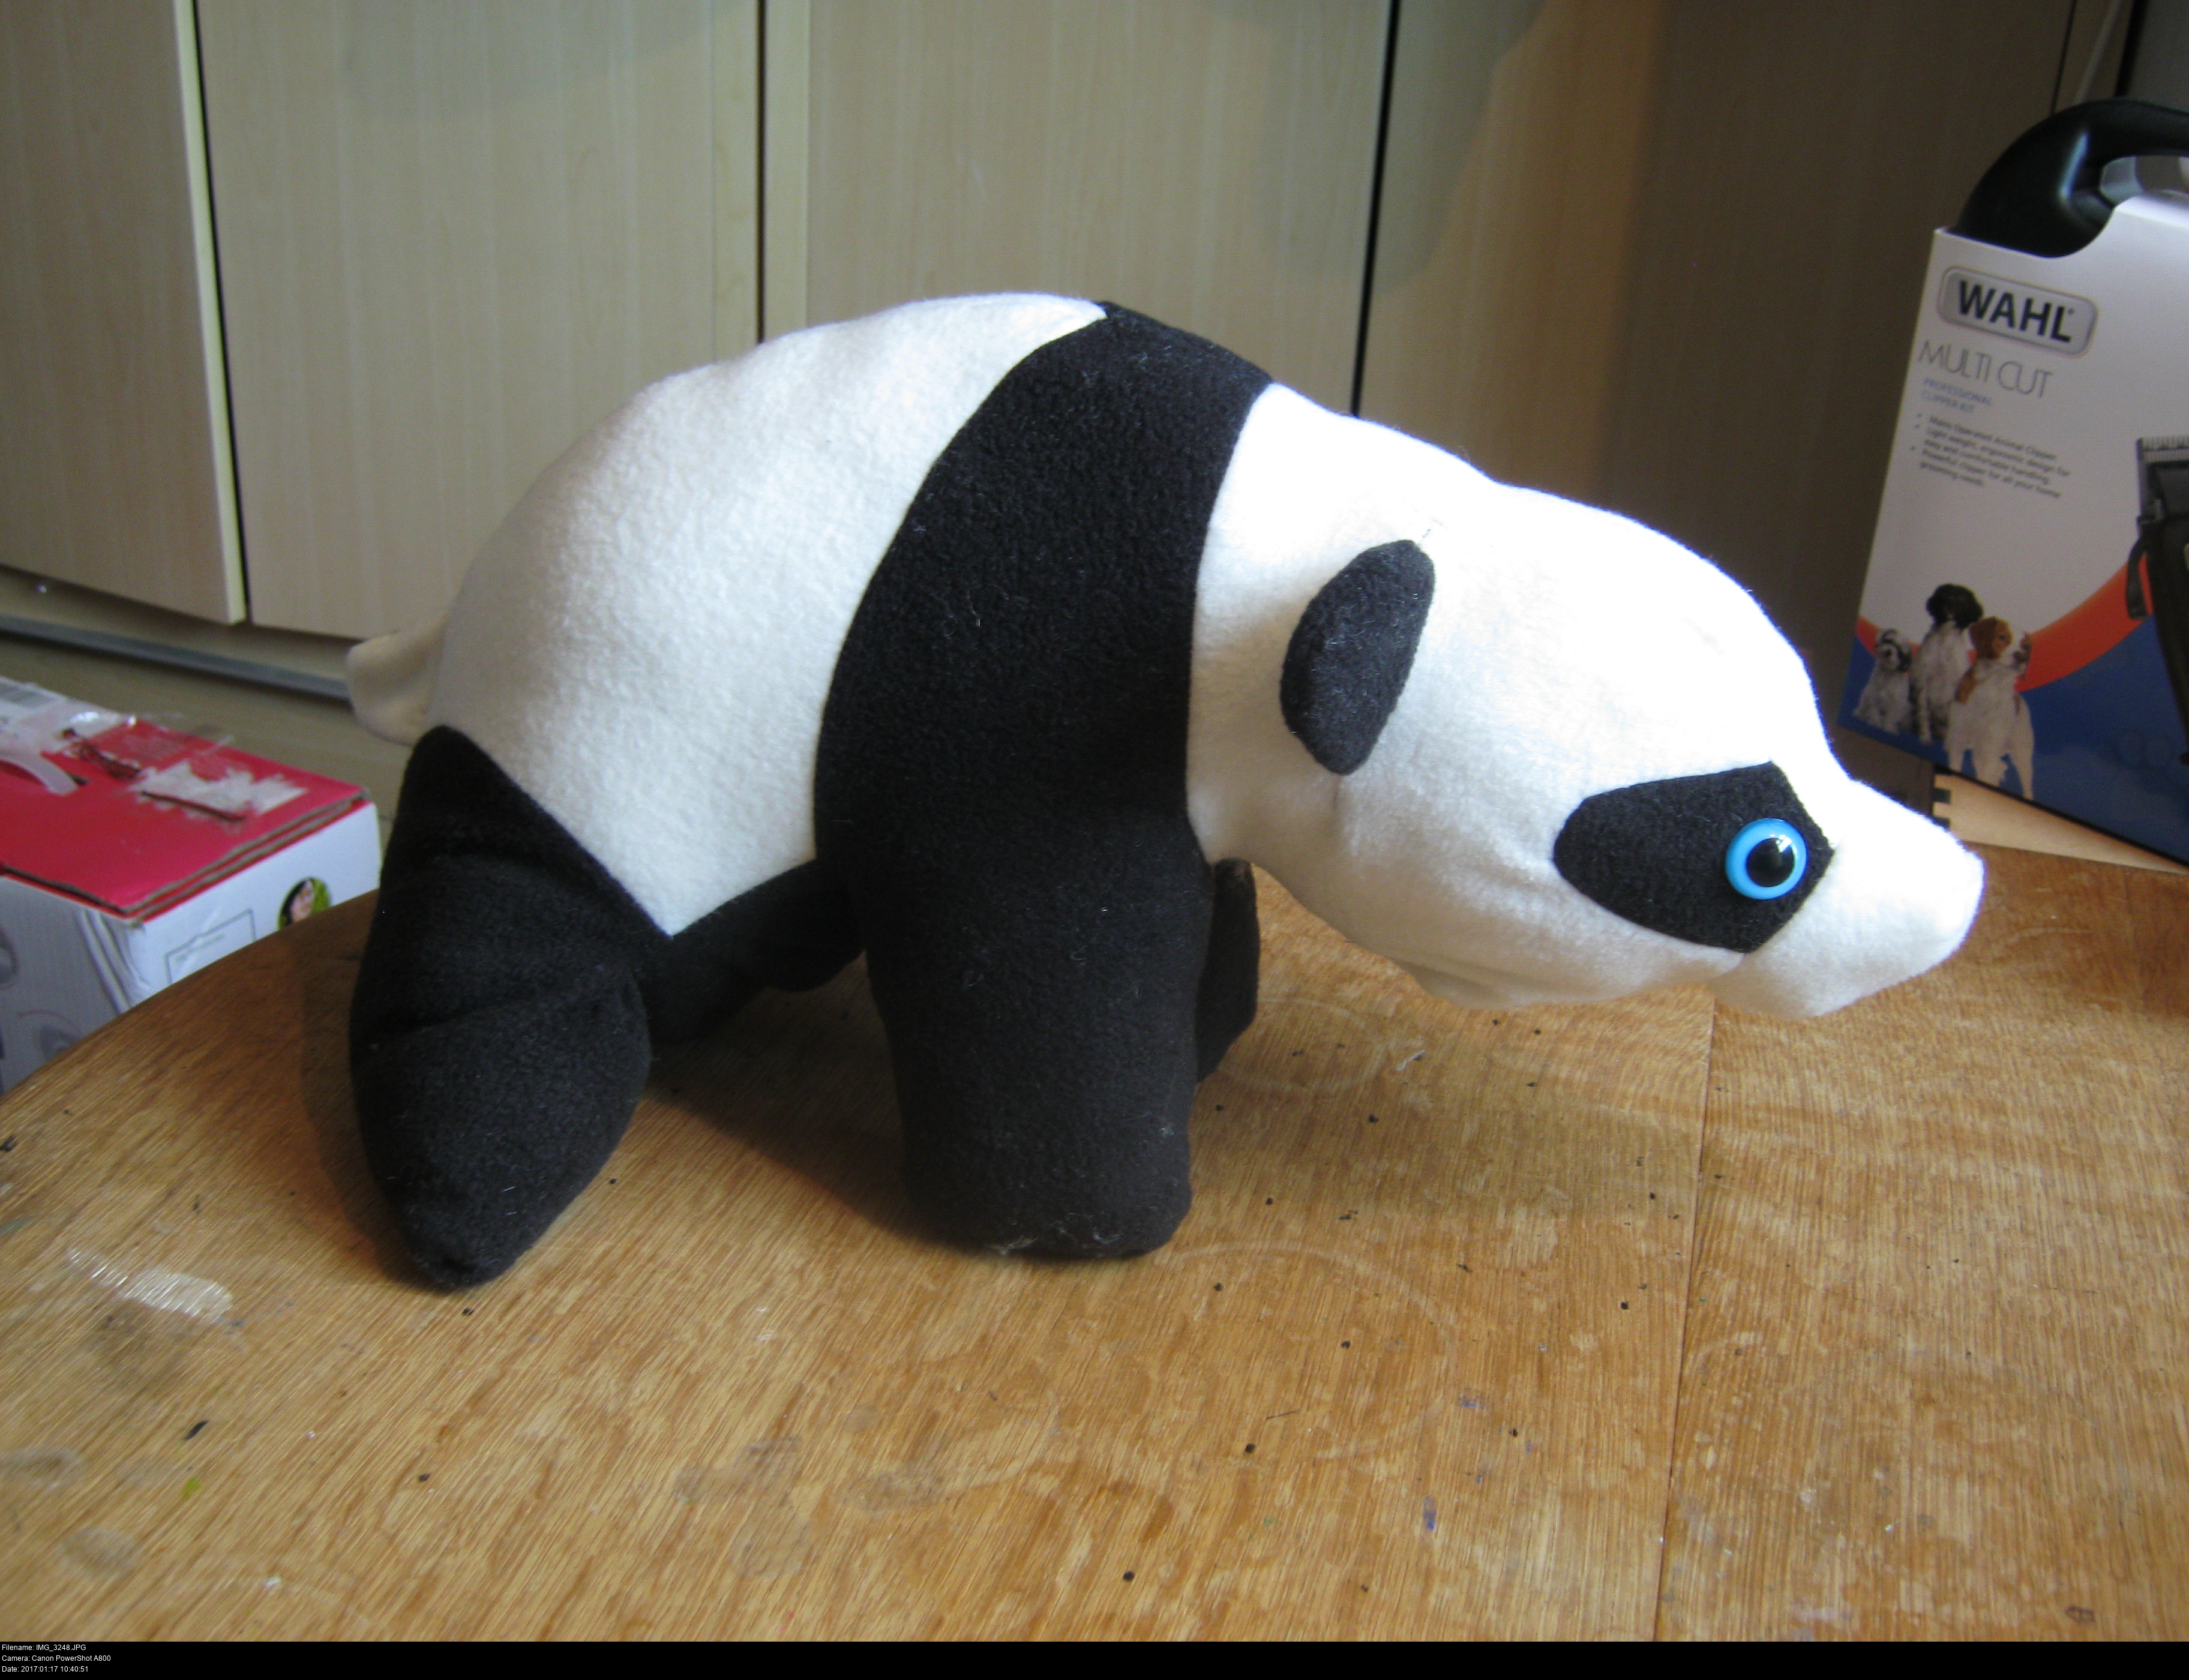
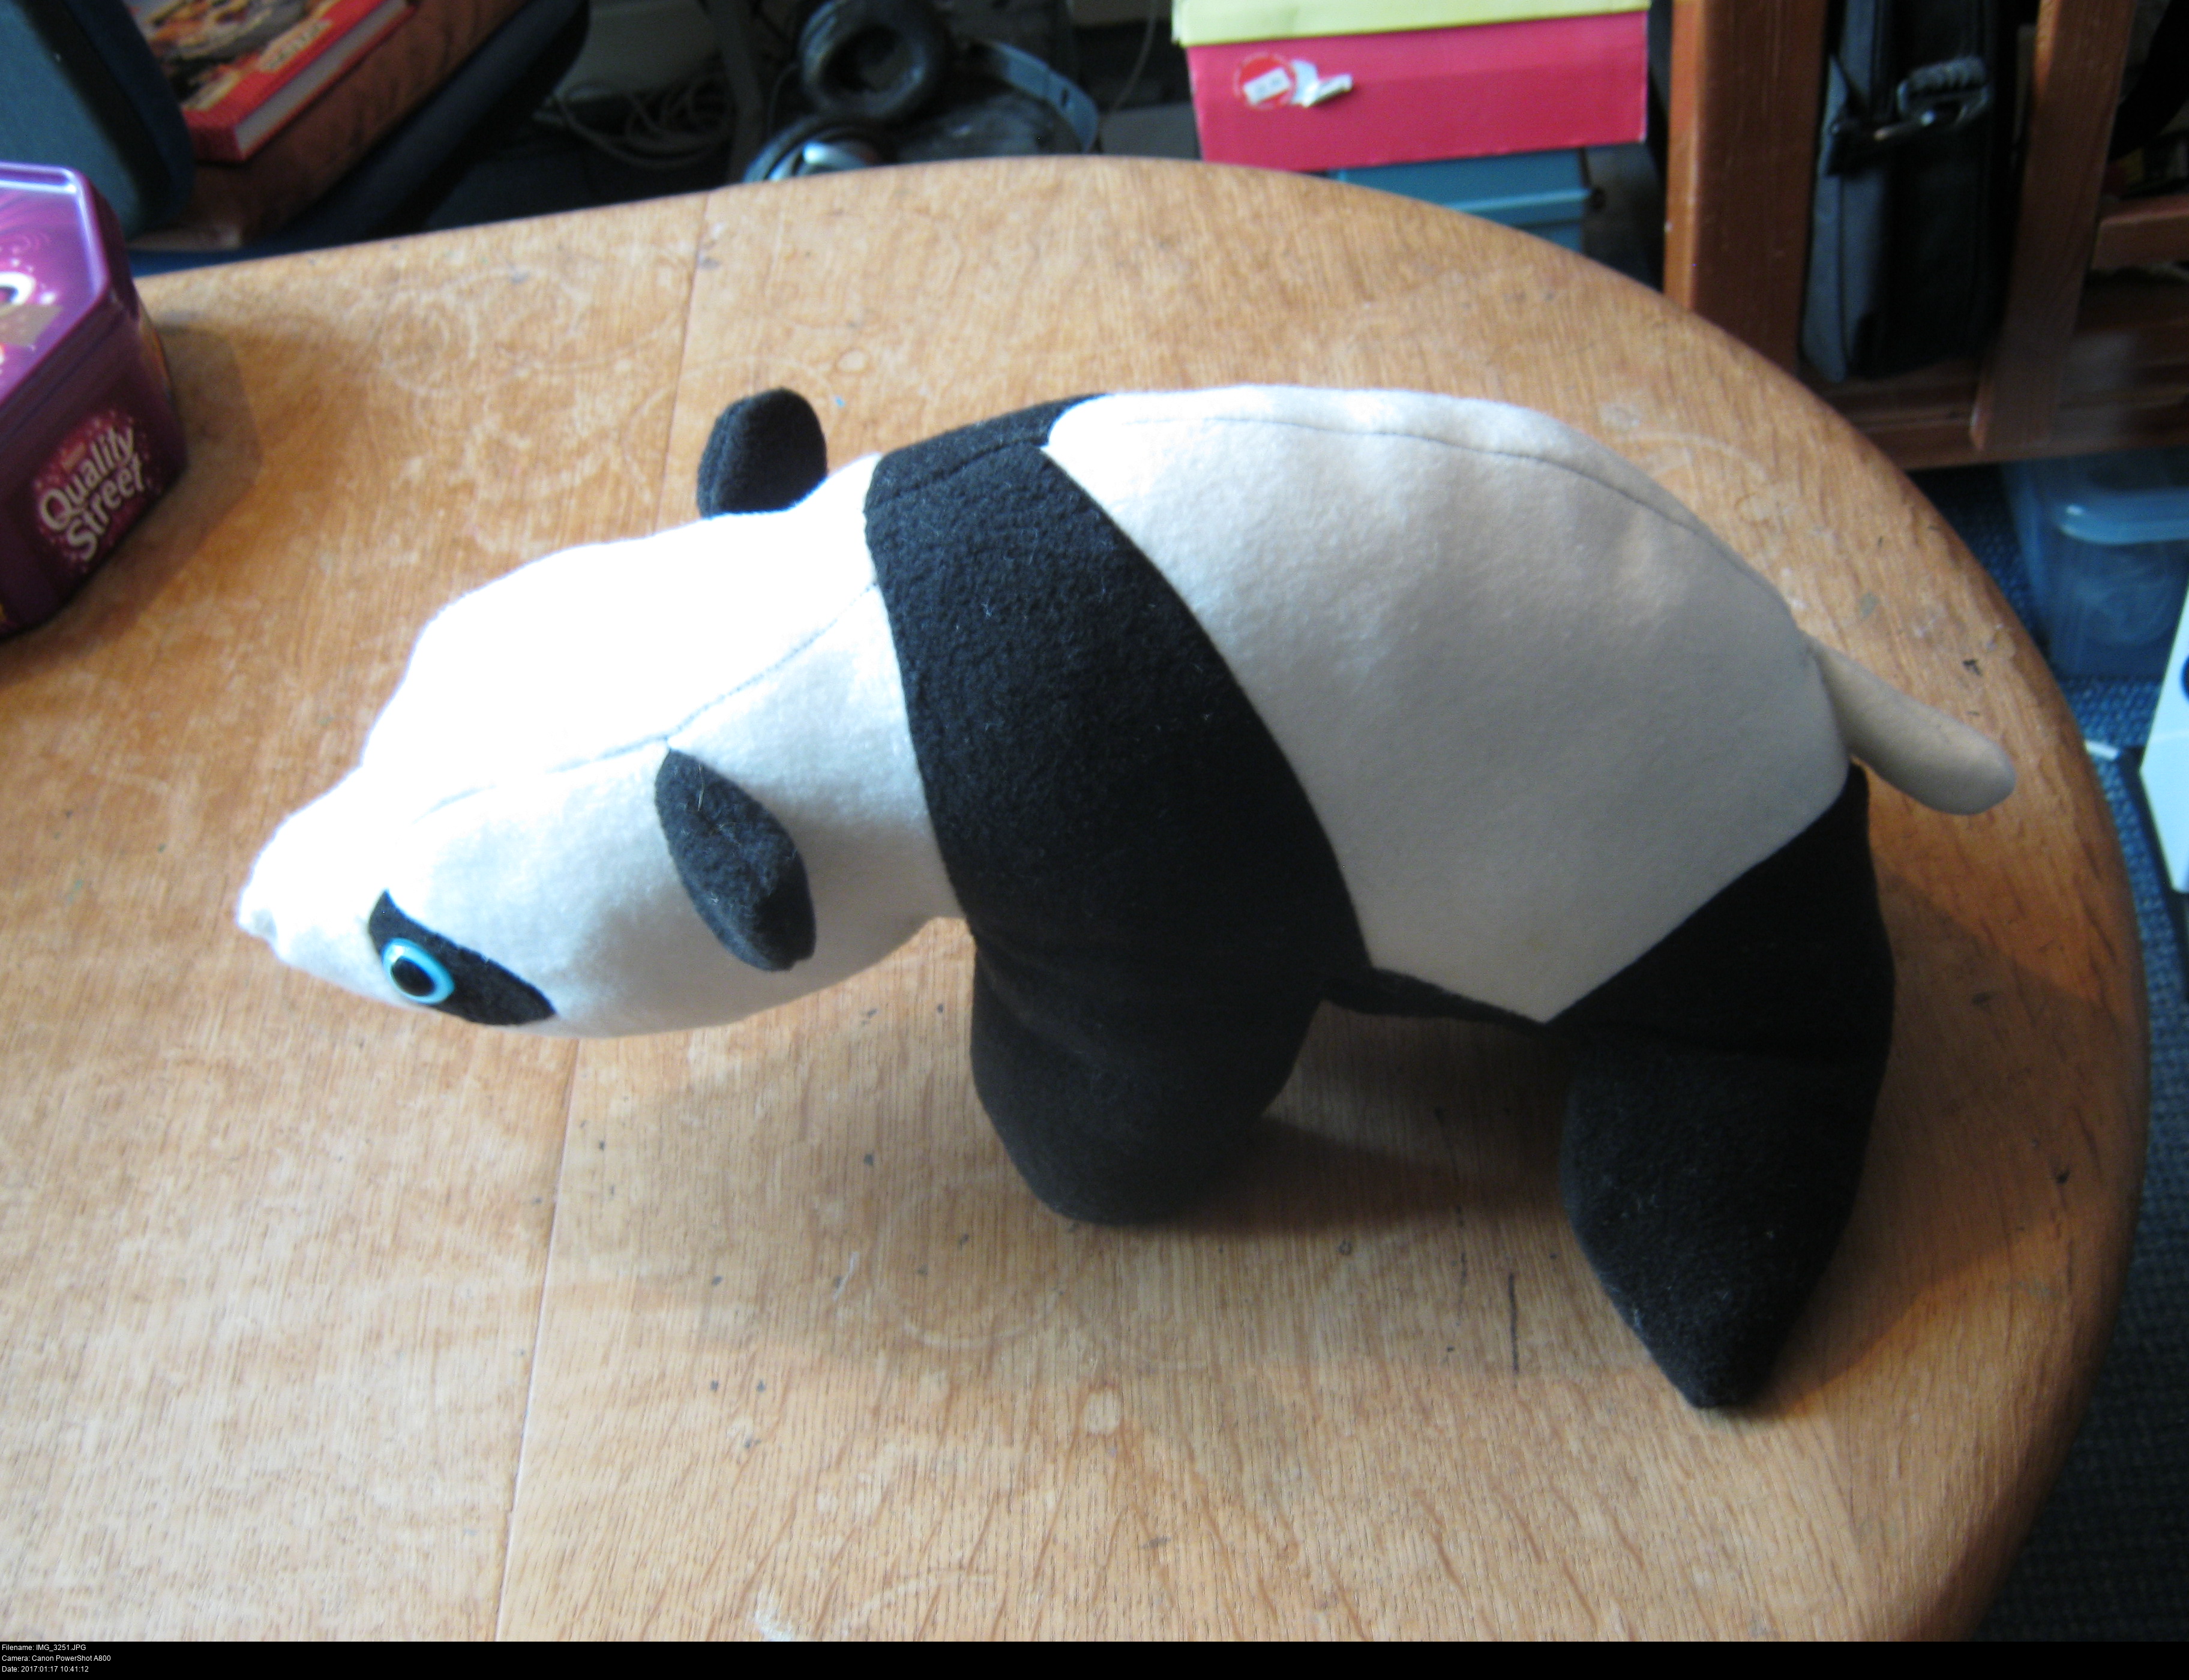
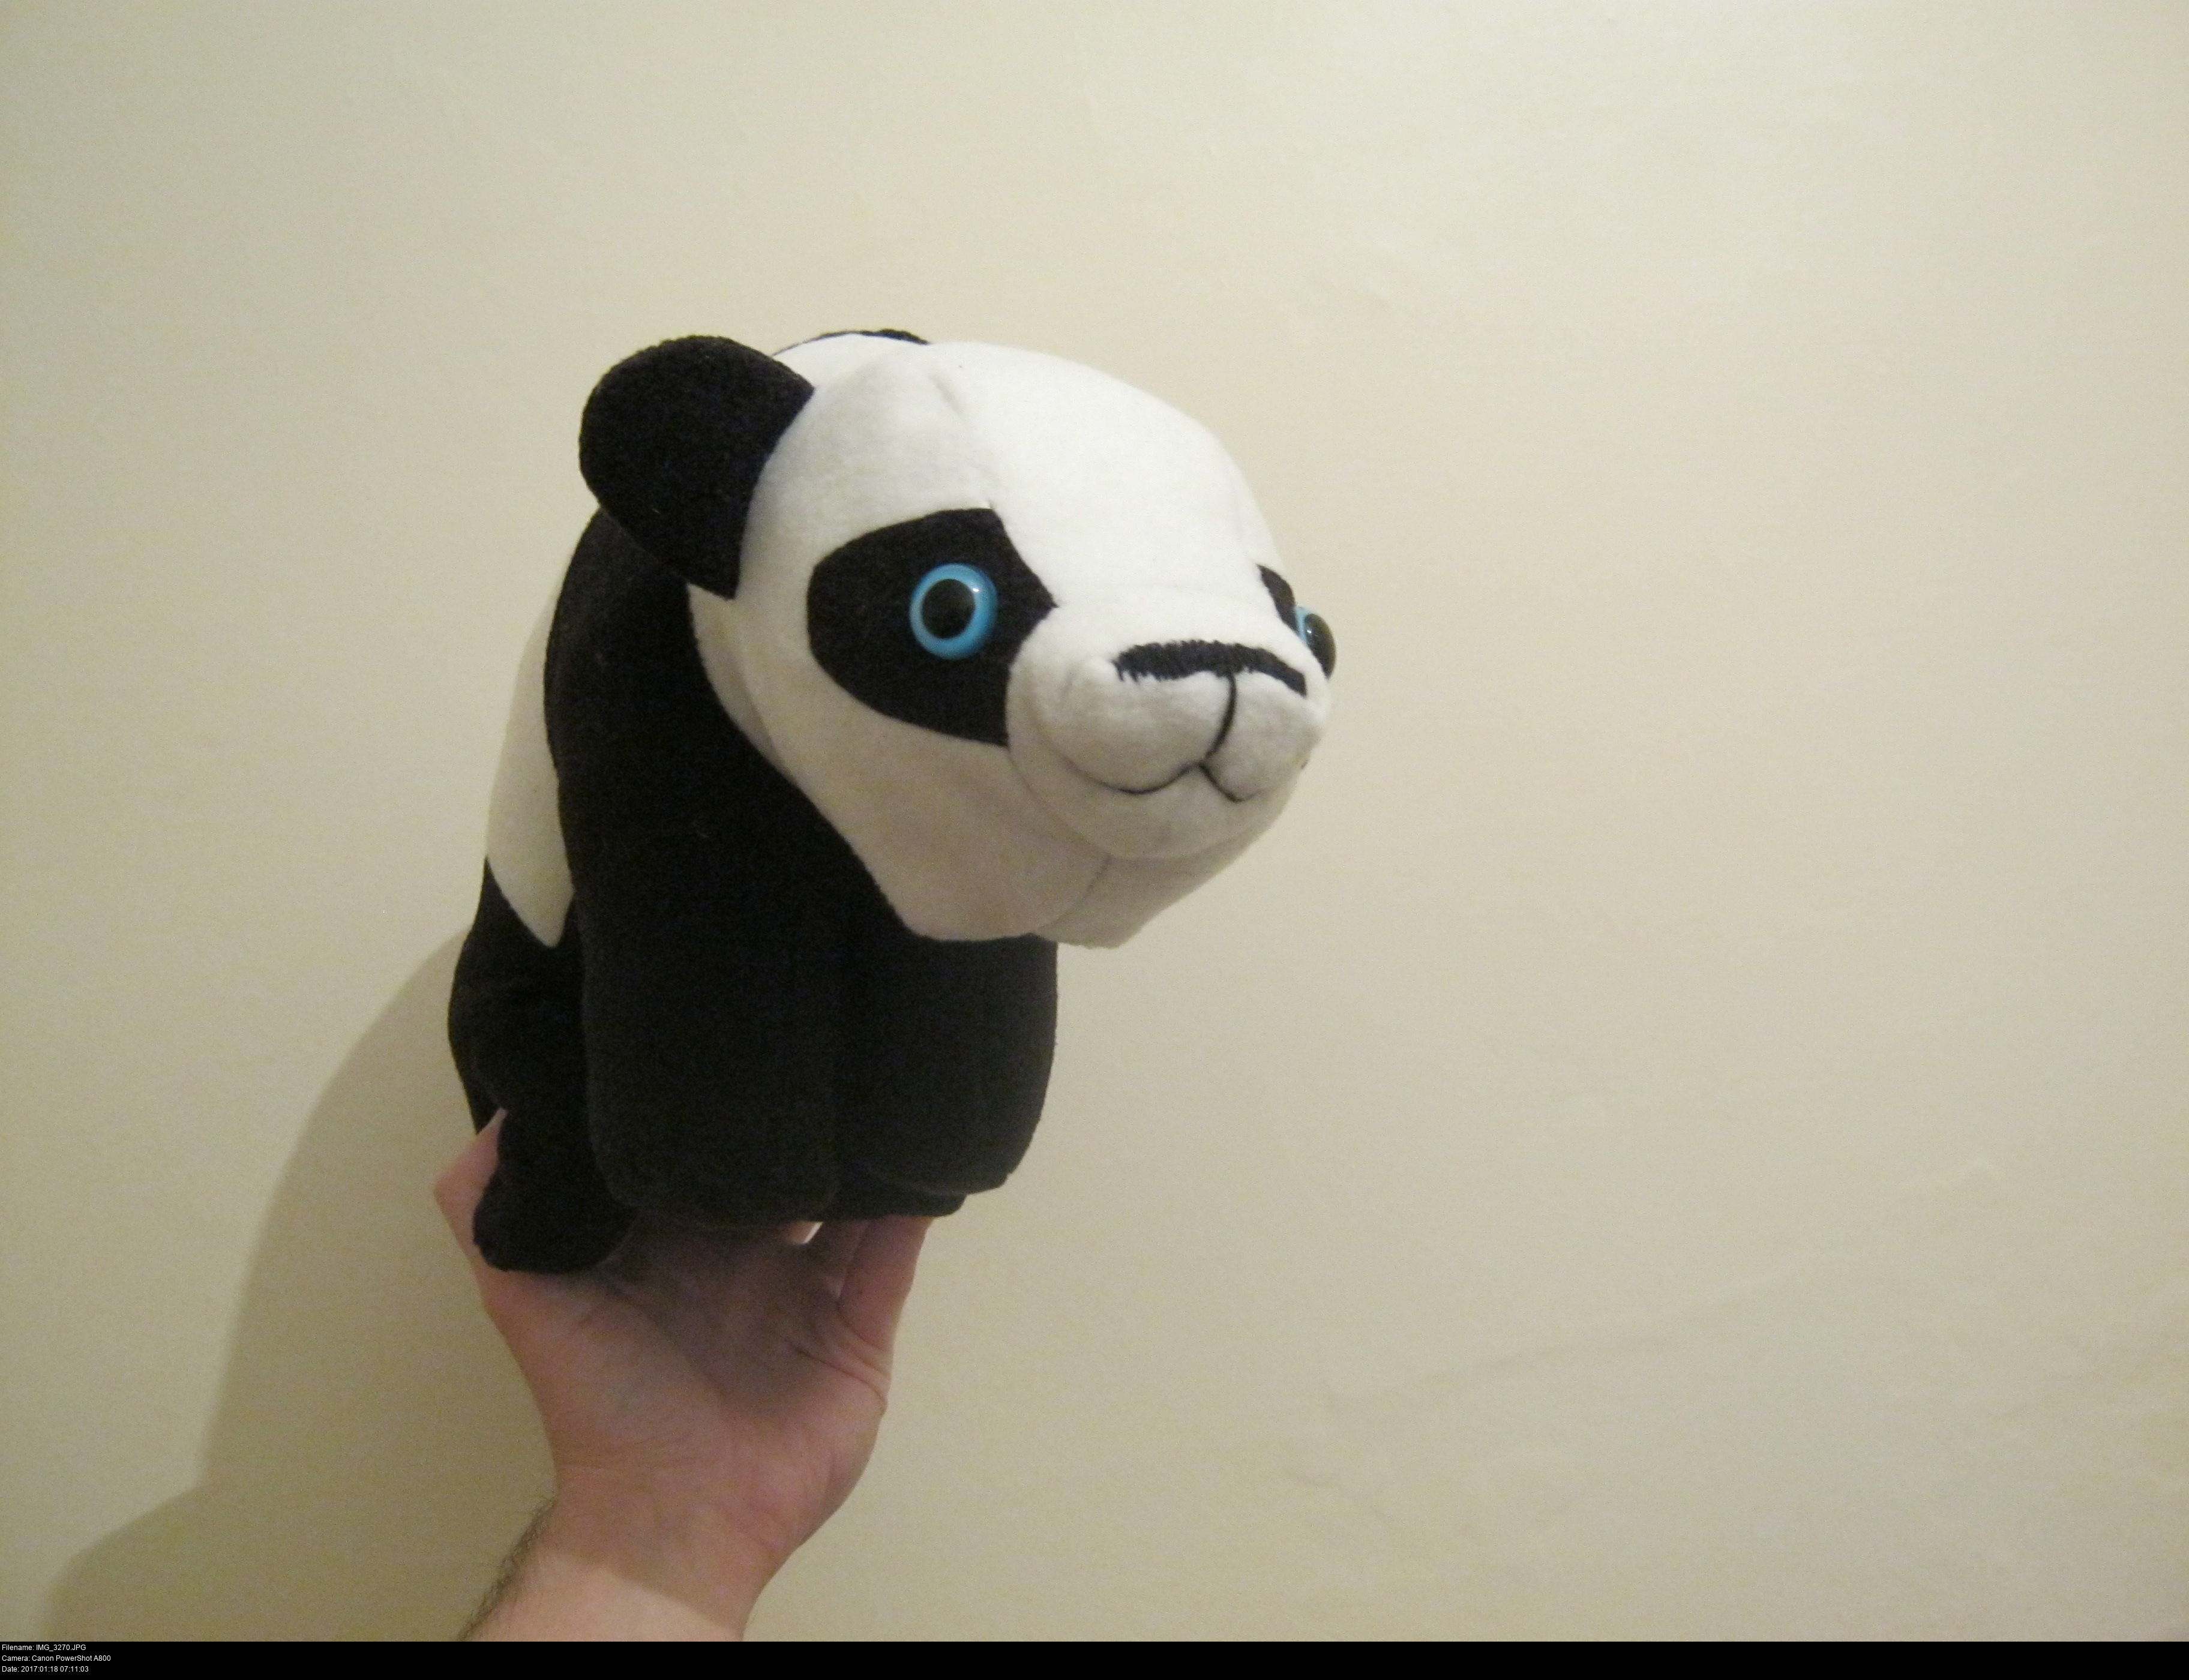
Yaaaaay! Hello, Amanda!
She's stuffed, and I managed to ladder stitch her belly seam, more or less. It was my first time performing a ladder stitch and I wasn't sure how to lock it in place. I had to do the same for the tail as well. I'm not very impressed at the way it's just lopped on as an afterthought when it could very easily have been included in the back seam joining the left and right side white pieces together.
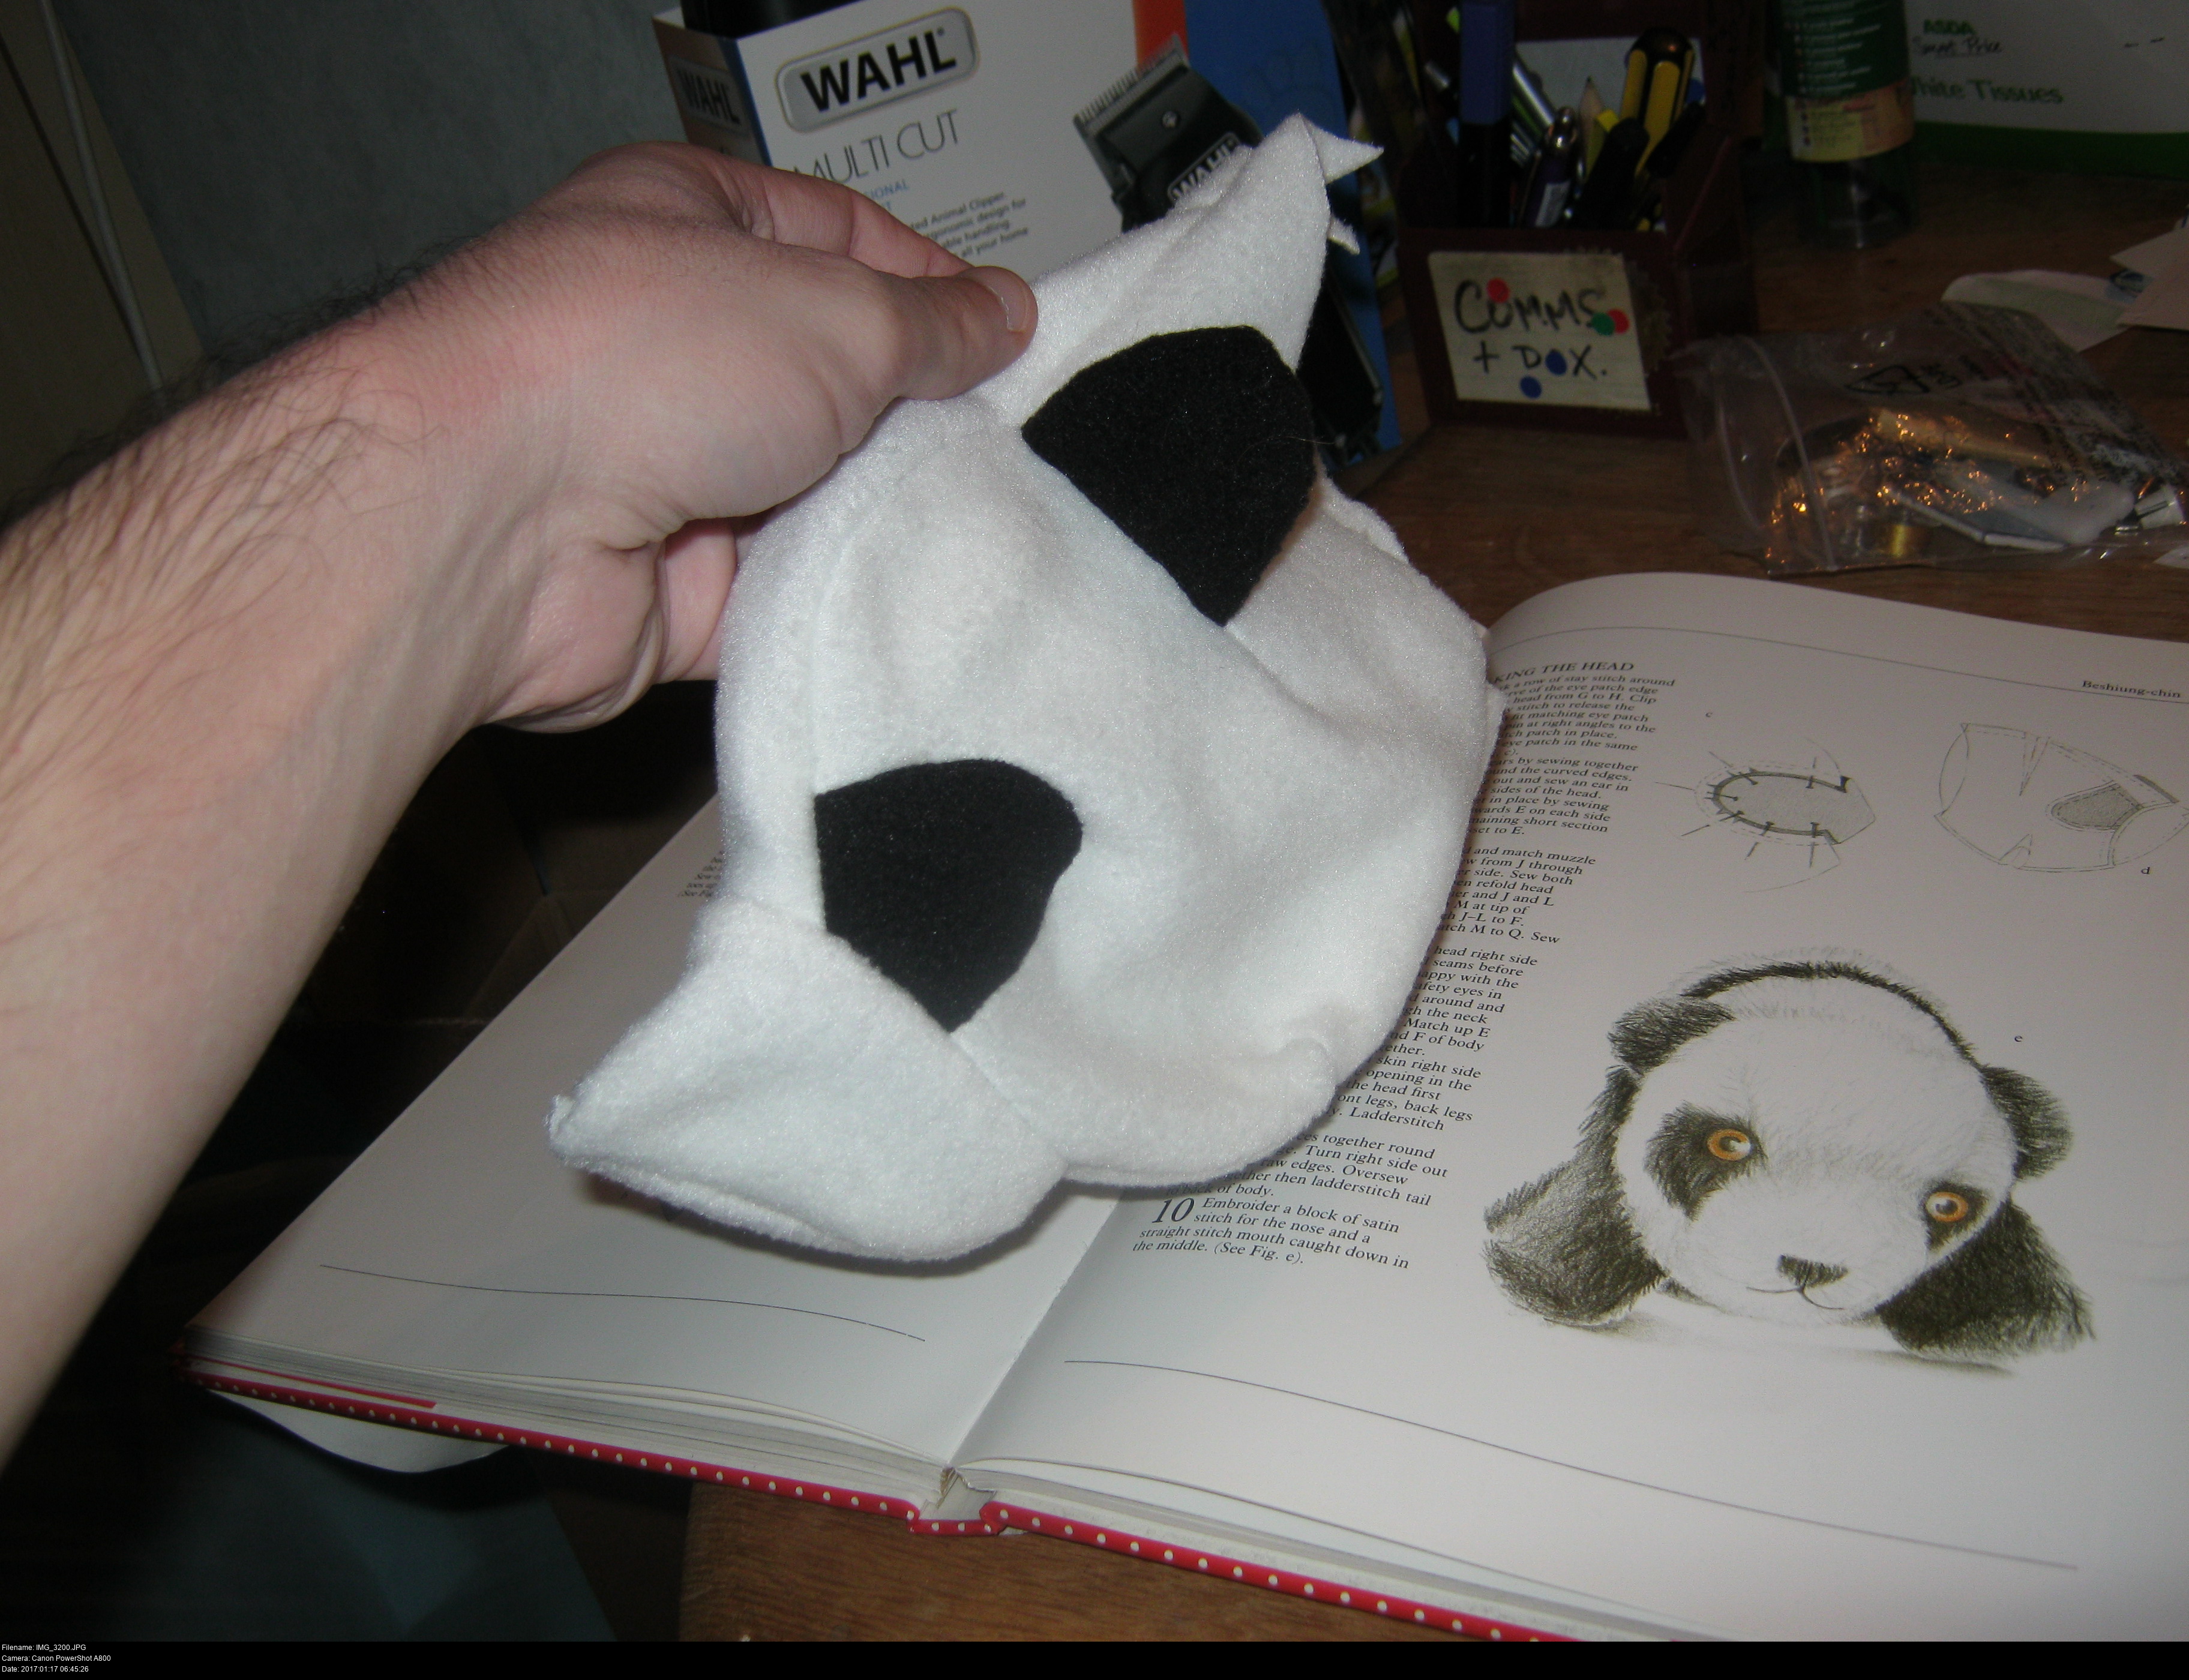
But I can't forget the finishing touch. She doesn't yet have a proper face! It seems to be a recurring theme with my creations: no noses!
How am I going to do it? You can buy safety noses, but the book simply asks me to "Embroider a block of satin stitch for the nose and a straight stitch mouth caught down in the middle." as if it were the easiest thing in the world.
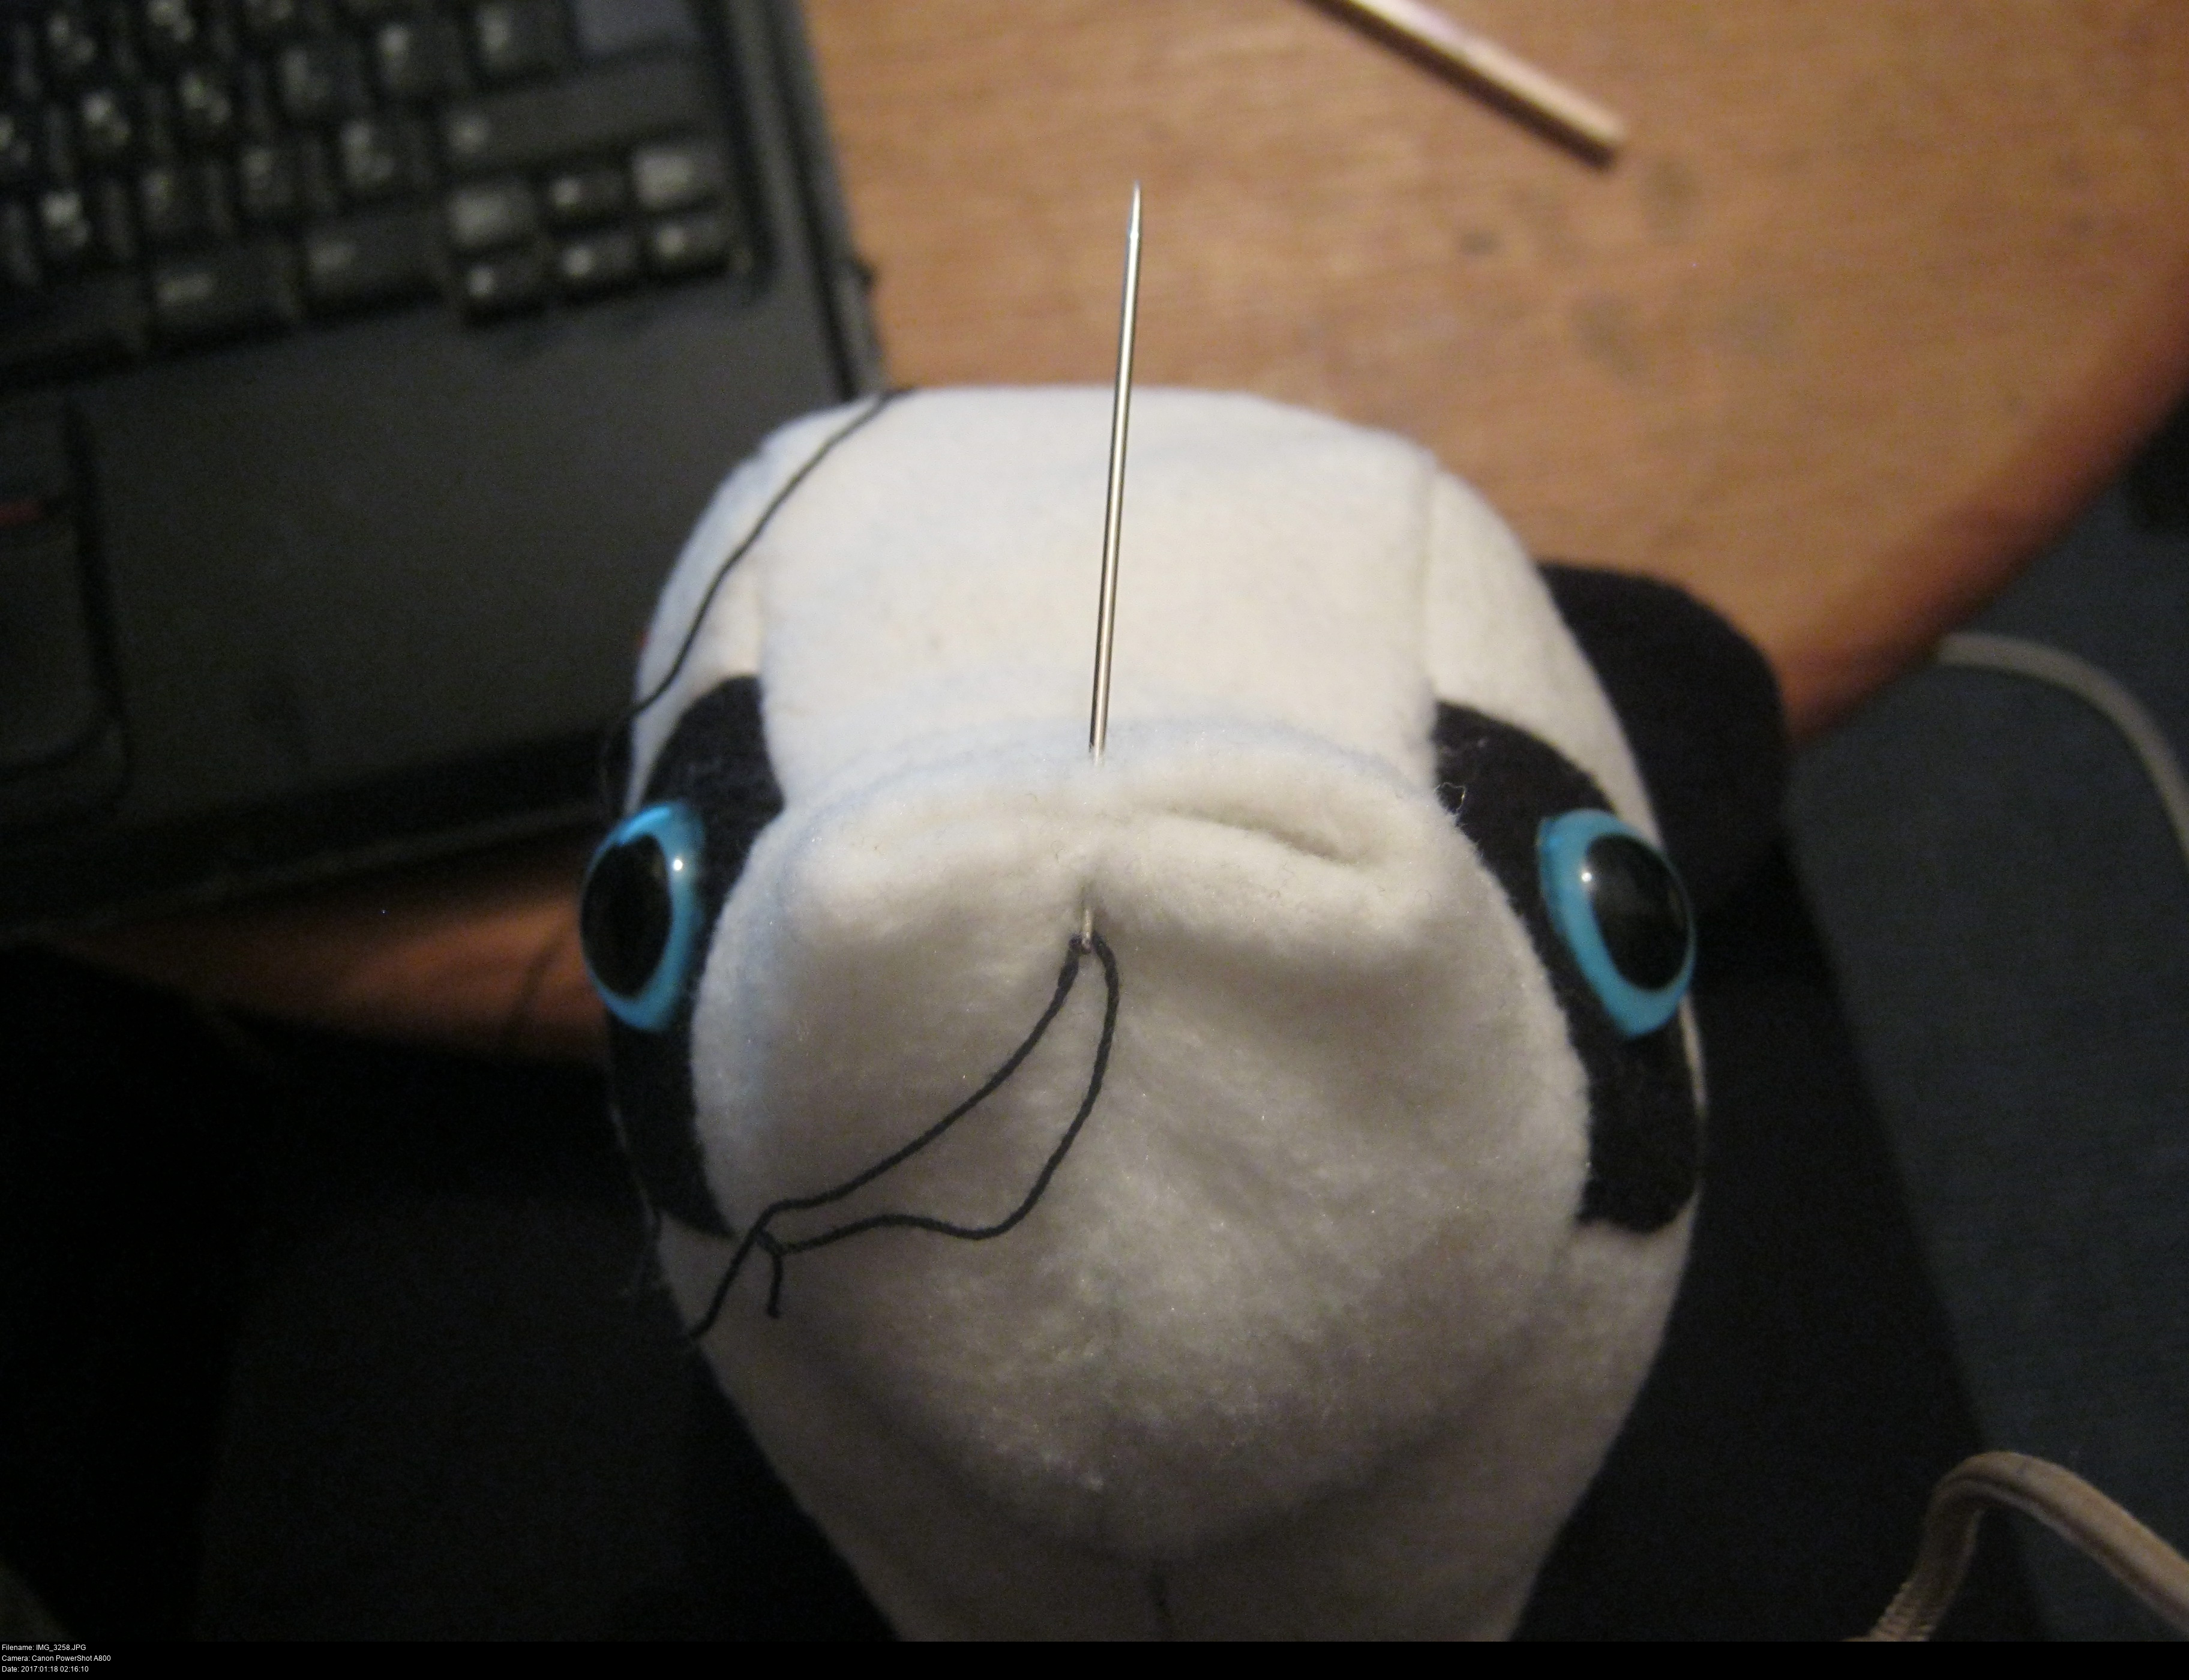
Sorry, Amanda. This isn't going to be very pleasant for either of us.
There's a number of skills I need to exercise here and I'm not certain I've got any of them:
Starting a stitch and locking it in place.
Making consecutive adjacent stitches without tearing the fleece fabric by applying too much pressure to a single thread.
Stopping a stitch discreetly and securely.

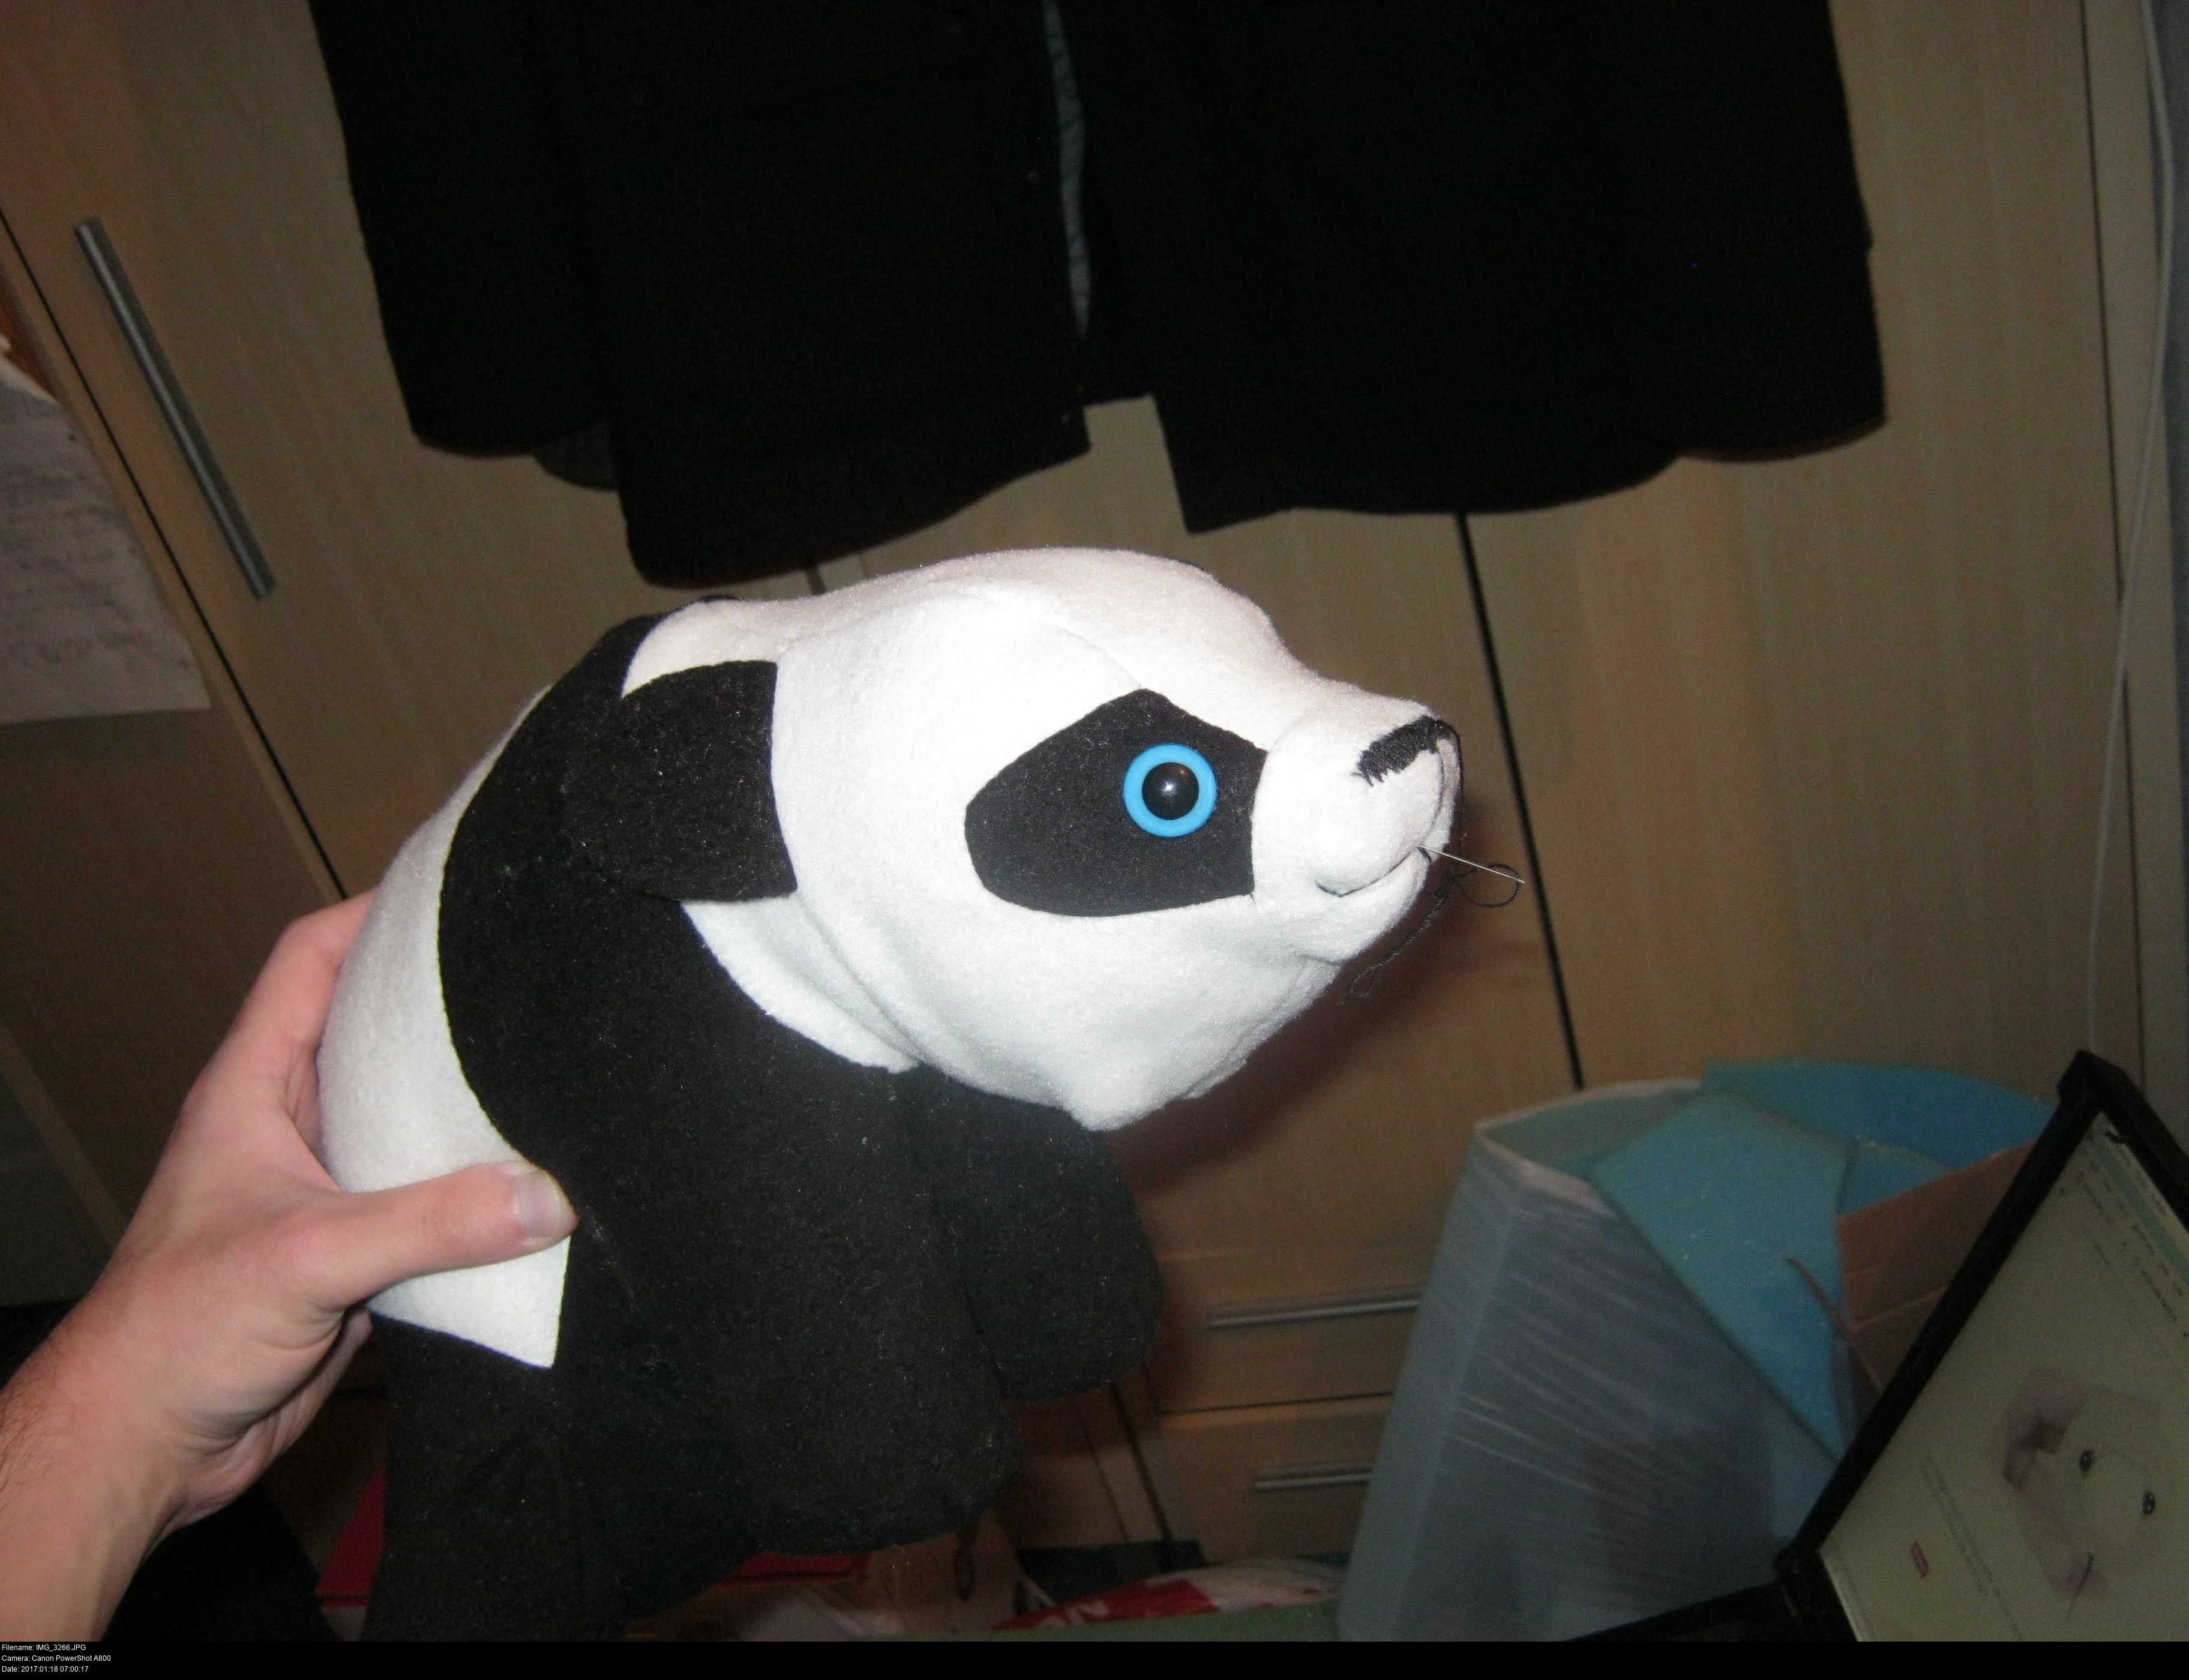
Phew! It's not perfect, and it doesn't look like the little triangular satin stitched nose in the illustrations but it's definitely a nose and it's reasonable enough for my first time! It only took me three hours to get it like this.
And she doesn't have a mouth yet. I've marked it out with pencil but I'm looking up a million teddy bear tutorials before I begin.
Here's a lesson: don't try to do everything at once! If you have the opportunity to lock your stitch and start a new one at some point during a difficult task, take it!
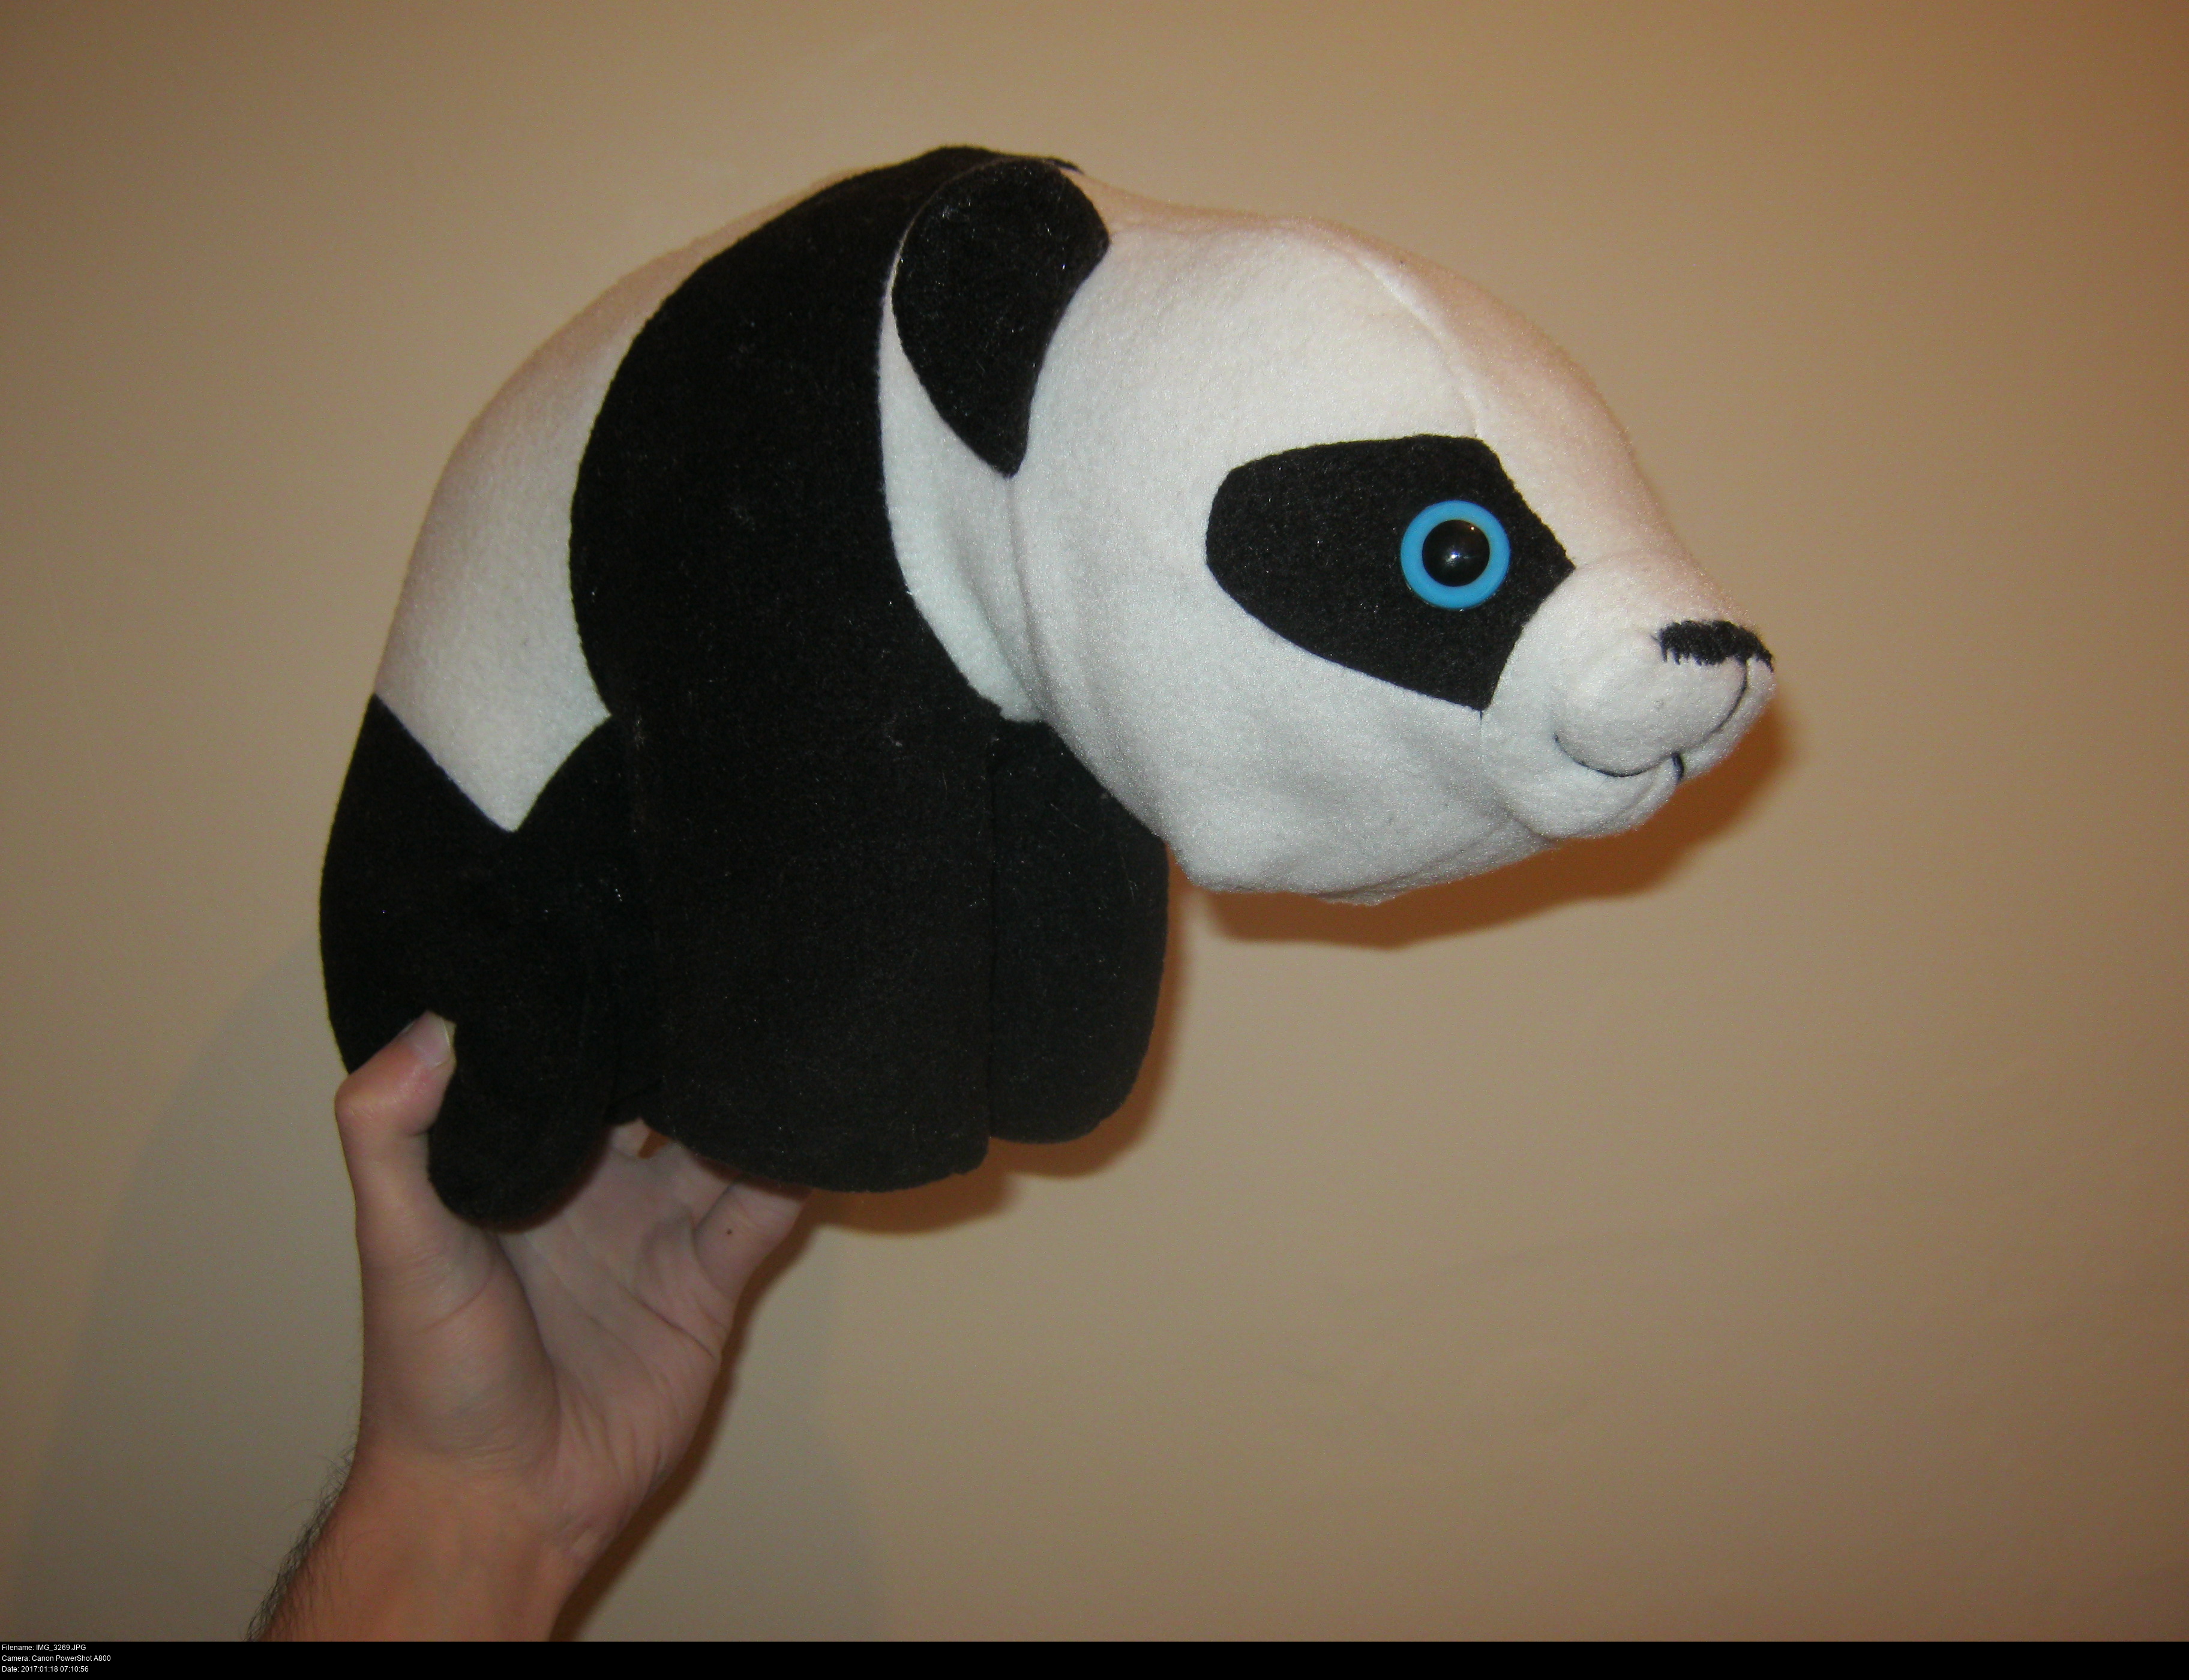

Wonderful!
You can see in the closeups where my relentless sewing around the nose has worn away the fleece so it's more barren and less fluffy than usual.
This mouth is constructed using a complex series of stitches that leaps around the face freely:
It starts and ends within the nose with backstitches. I suppose ideally you'd make these horizontal and then cover them up with the satin stitch of the nose later.
Perform a vertical stitch descending from the nose, entering the centre of the muzzle.
Emerge the needle at the lower part of the mouth on one side, draw a line extending outwards towards the edge of the mouth.
Emerge the needle at the lower part of the mouth again and redraw the line to reinforce it.
Emerge the needle at the lower part of the mouth again and draw the diagonal line to the lower part of the muzzle.
Redraw the main vertical line.
Repeat the steps for the left side of the mouth.
Repeat and alternate until it's time to finish and lock.
Lock within the nose after drawing a vertical line.
I am happy again!
I've never embroidered anything before and I seriously hope to never have to again! My large needles were too big to go through the layers and my small needles were too small to take the thread or to go through the nose. My stitching is all uneven, and the squishy nose was changing shape as I stitched against it. It's a miracle the nose looks as good as it does! The mouth on the other hand* looks absolutely fantastic and I'm so happy that it turned out straight and taut and lovely. I don't know how long it'll last (I'm incredible surprised my ladder stitch on her belly to keep the fluff in held overnight without spontaneously popping.) I didn't know what thread to use either so I used some chunky 'star thread' from a set my sister bought me for christmas. I think it was the right stuff...? No idea.
(*I don't have a mouth on either hand that would be gross)
Any and all embroidery advice gratefully received!
At least with these stitches in place for the nose, the structure of the snout is going to be a lot firmer so I could just do a second layer of stitching over the top of this to make it superneat... but for my first go I'm totally giving this gal an A-. Even if she does look weird and skinny because her eyes are huge and bulgy and her stuffing didn't want to stay inside her head and I only had fleece instead of fur...
I totally recommend this book to anyone who is willing to put up with the general obtuseness of sewing patterns in order to make some fluffy little ocelot kitten teddies (and send them to me)!
Written by Matt Carr! mrdictionary.net nonsense.
Questions? E-mail 'em to me, toys@mrdictionary.net!
Twitter @SkullKidUK - Facebook facebook.com/mask.smith.cosplay