After I posted pictures of my panda online, somebody asked me if I could make a toy based on Pabu from the cartoon The Legend of Korra.
I've never seen the cartoon and don't know jack about Pabu or how to design my own toys (the only toy I've ever made is the panda and she was just copied from a book). But y'know, why the heck not?
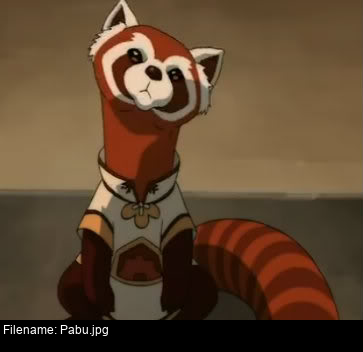
First up: You've got to find some pictures. Pabu's the chunky tall guy with the big rectangular head, right?
Ah, right! That fellow! But one picture isn't going to do it. You need lots. Lots and lots and lots.
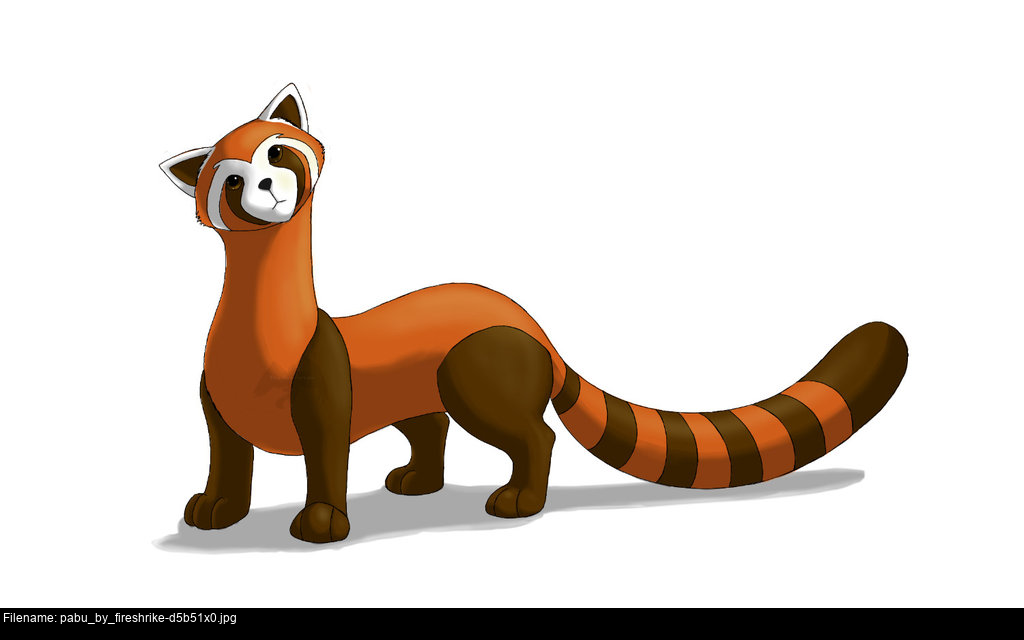

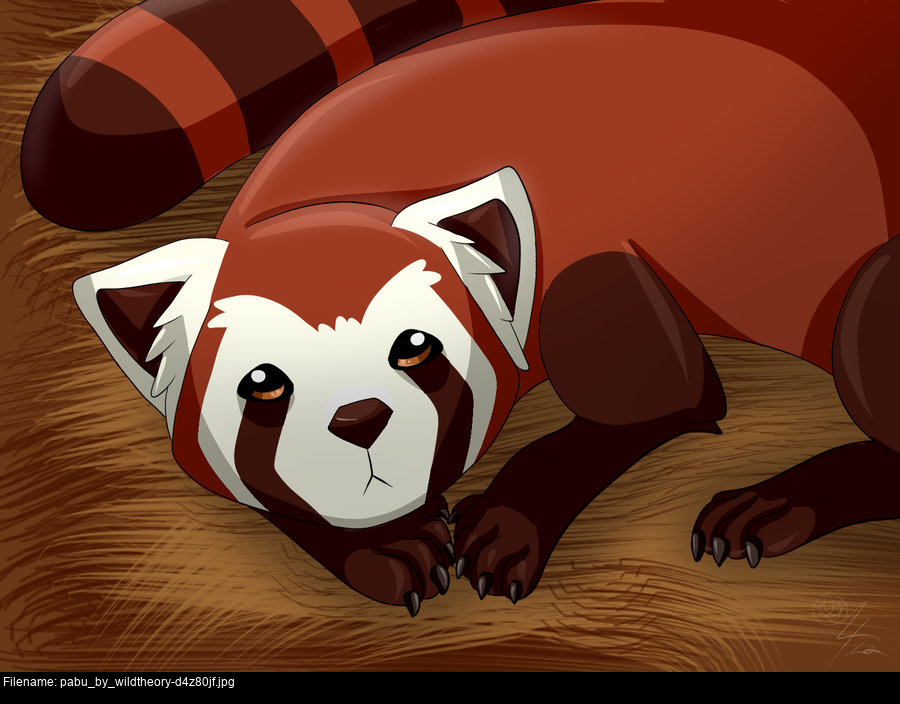
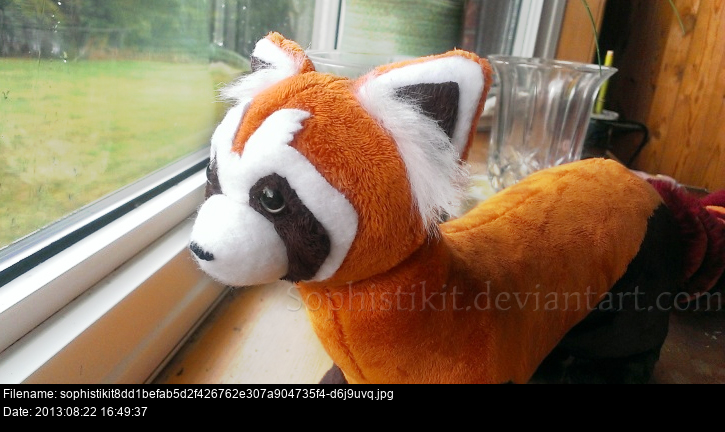
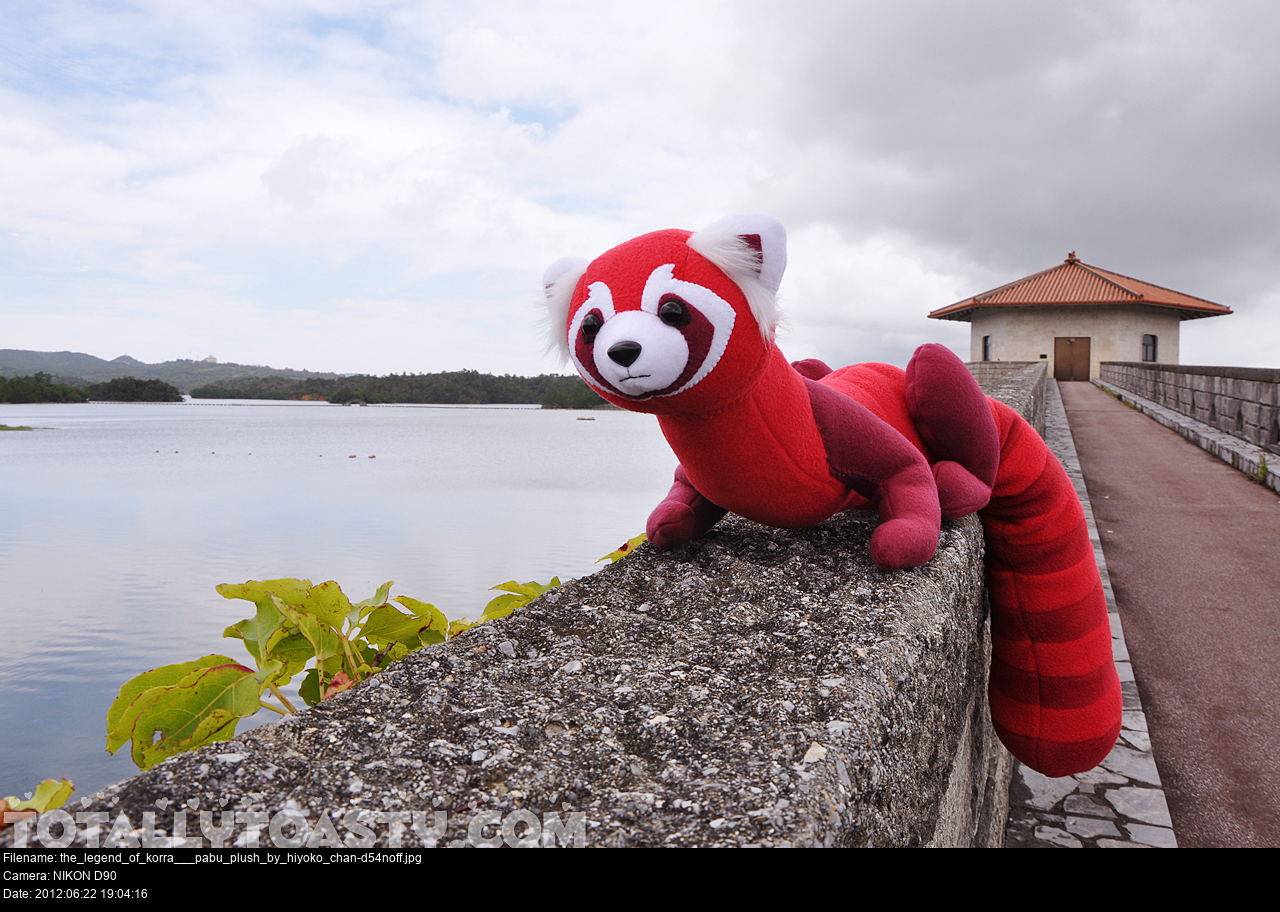
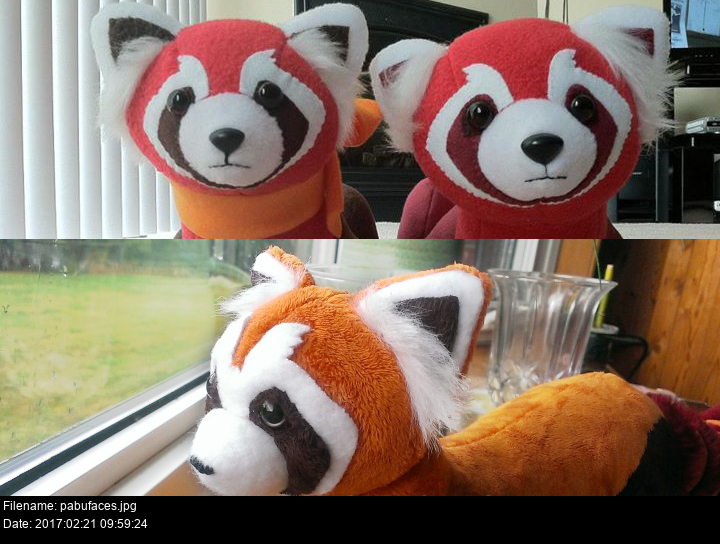
Surprisingly, there isn't that many high quality, high resolution full body images of Pabu on the internet. (At least not that I could find.) These are the best I could get. And amongst all of these I can't find any of the back of his ears!
The salient features of Mr. Pabu (or is it Mrs. Pabu?) are:
Long noodly body. He's almost snakelike. Or a sock. He's got a body like a long, droopy water balloon. Around his midsection and rear he chubs up a little. There's not a lot of distinction between his head and his body, except for a little chunkiness from his cheeks.
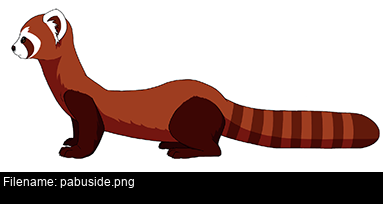
His tail is as long as the length of his body between the front of his front paws and rear of his rear paws. It alternates between light and dark stripes forming rings down its length. There are six dark stripes, six light stripes and a dark hemispherical cap.
He has four paws, the front pair are narrow and long and join up to 'shoulders' on the body a little further than one head-size down from the top of the body. The rear paws are shorter and chunky and rounded at the top and longer at the base. He has little black claws on the tips of his paws.
He has an oval shaped head with a smaller snout which is angled to a point at the nose.
Although he's a furry critter, his fur texture is very short and sleek all over his body and paws with the exception of the interior of his ears (or more specifically the lower surface of his head where it enters the ear). (Having the two different fur textures in the same image provides a very useful sense of scale and proves that he's not drawn as a smooth sausage just for expediency.)
There are four main body colours in Pabu:
The white of the border of his ears, the interior fluff from the ears, and the mask of his face.
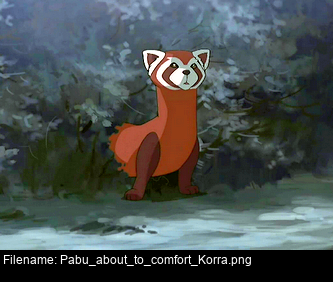
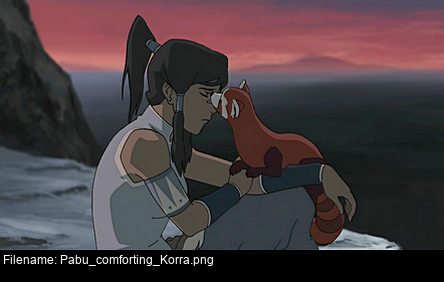
The light brown of his body, head and light tail stripes. This is also the colour of the back of his ears which you can see in the with Korra.
The mid-brown of his dark tail stripes and face stripes, and
The dark brown of his feet face stripes and ear interiors. The dark tail stripes and the feet are sometimes drawn the same colour by artists, but the art book says otherwise:
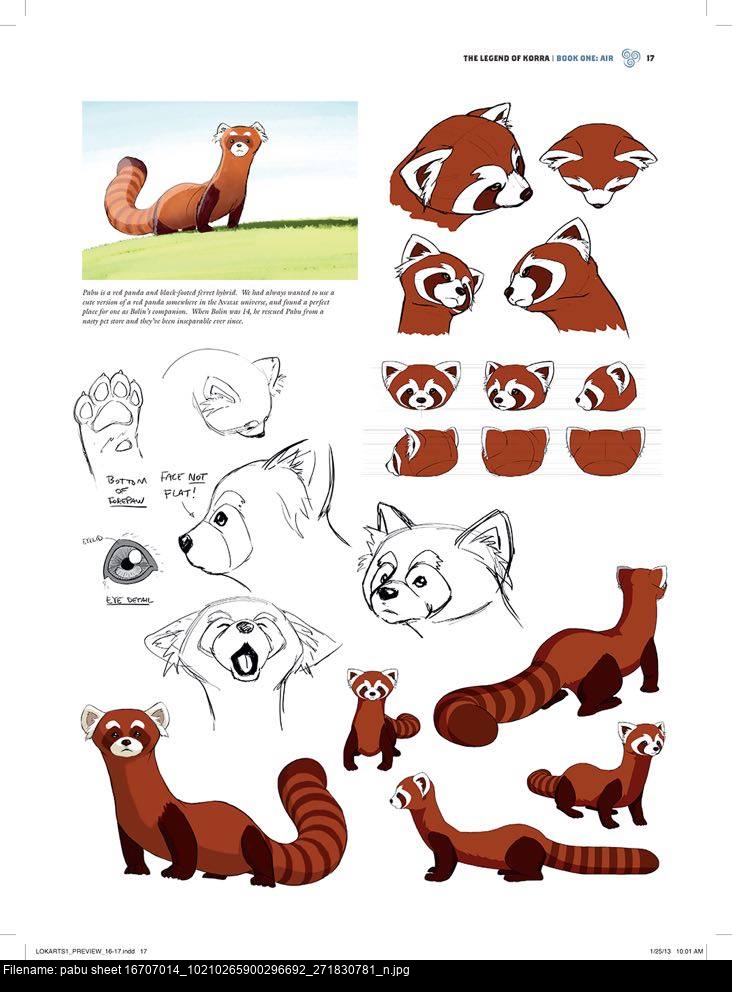
Useful stuff! But make sure you're working from the correct final version of the character unless you want to confuse everybody by making a proto-Pabu.
And to show that you really understand what you're doing, you've got to draw some pictures of your own.
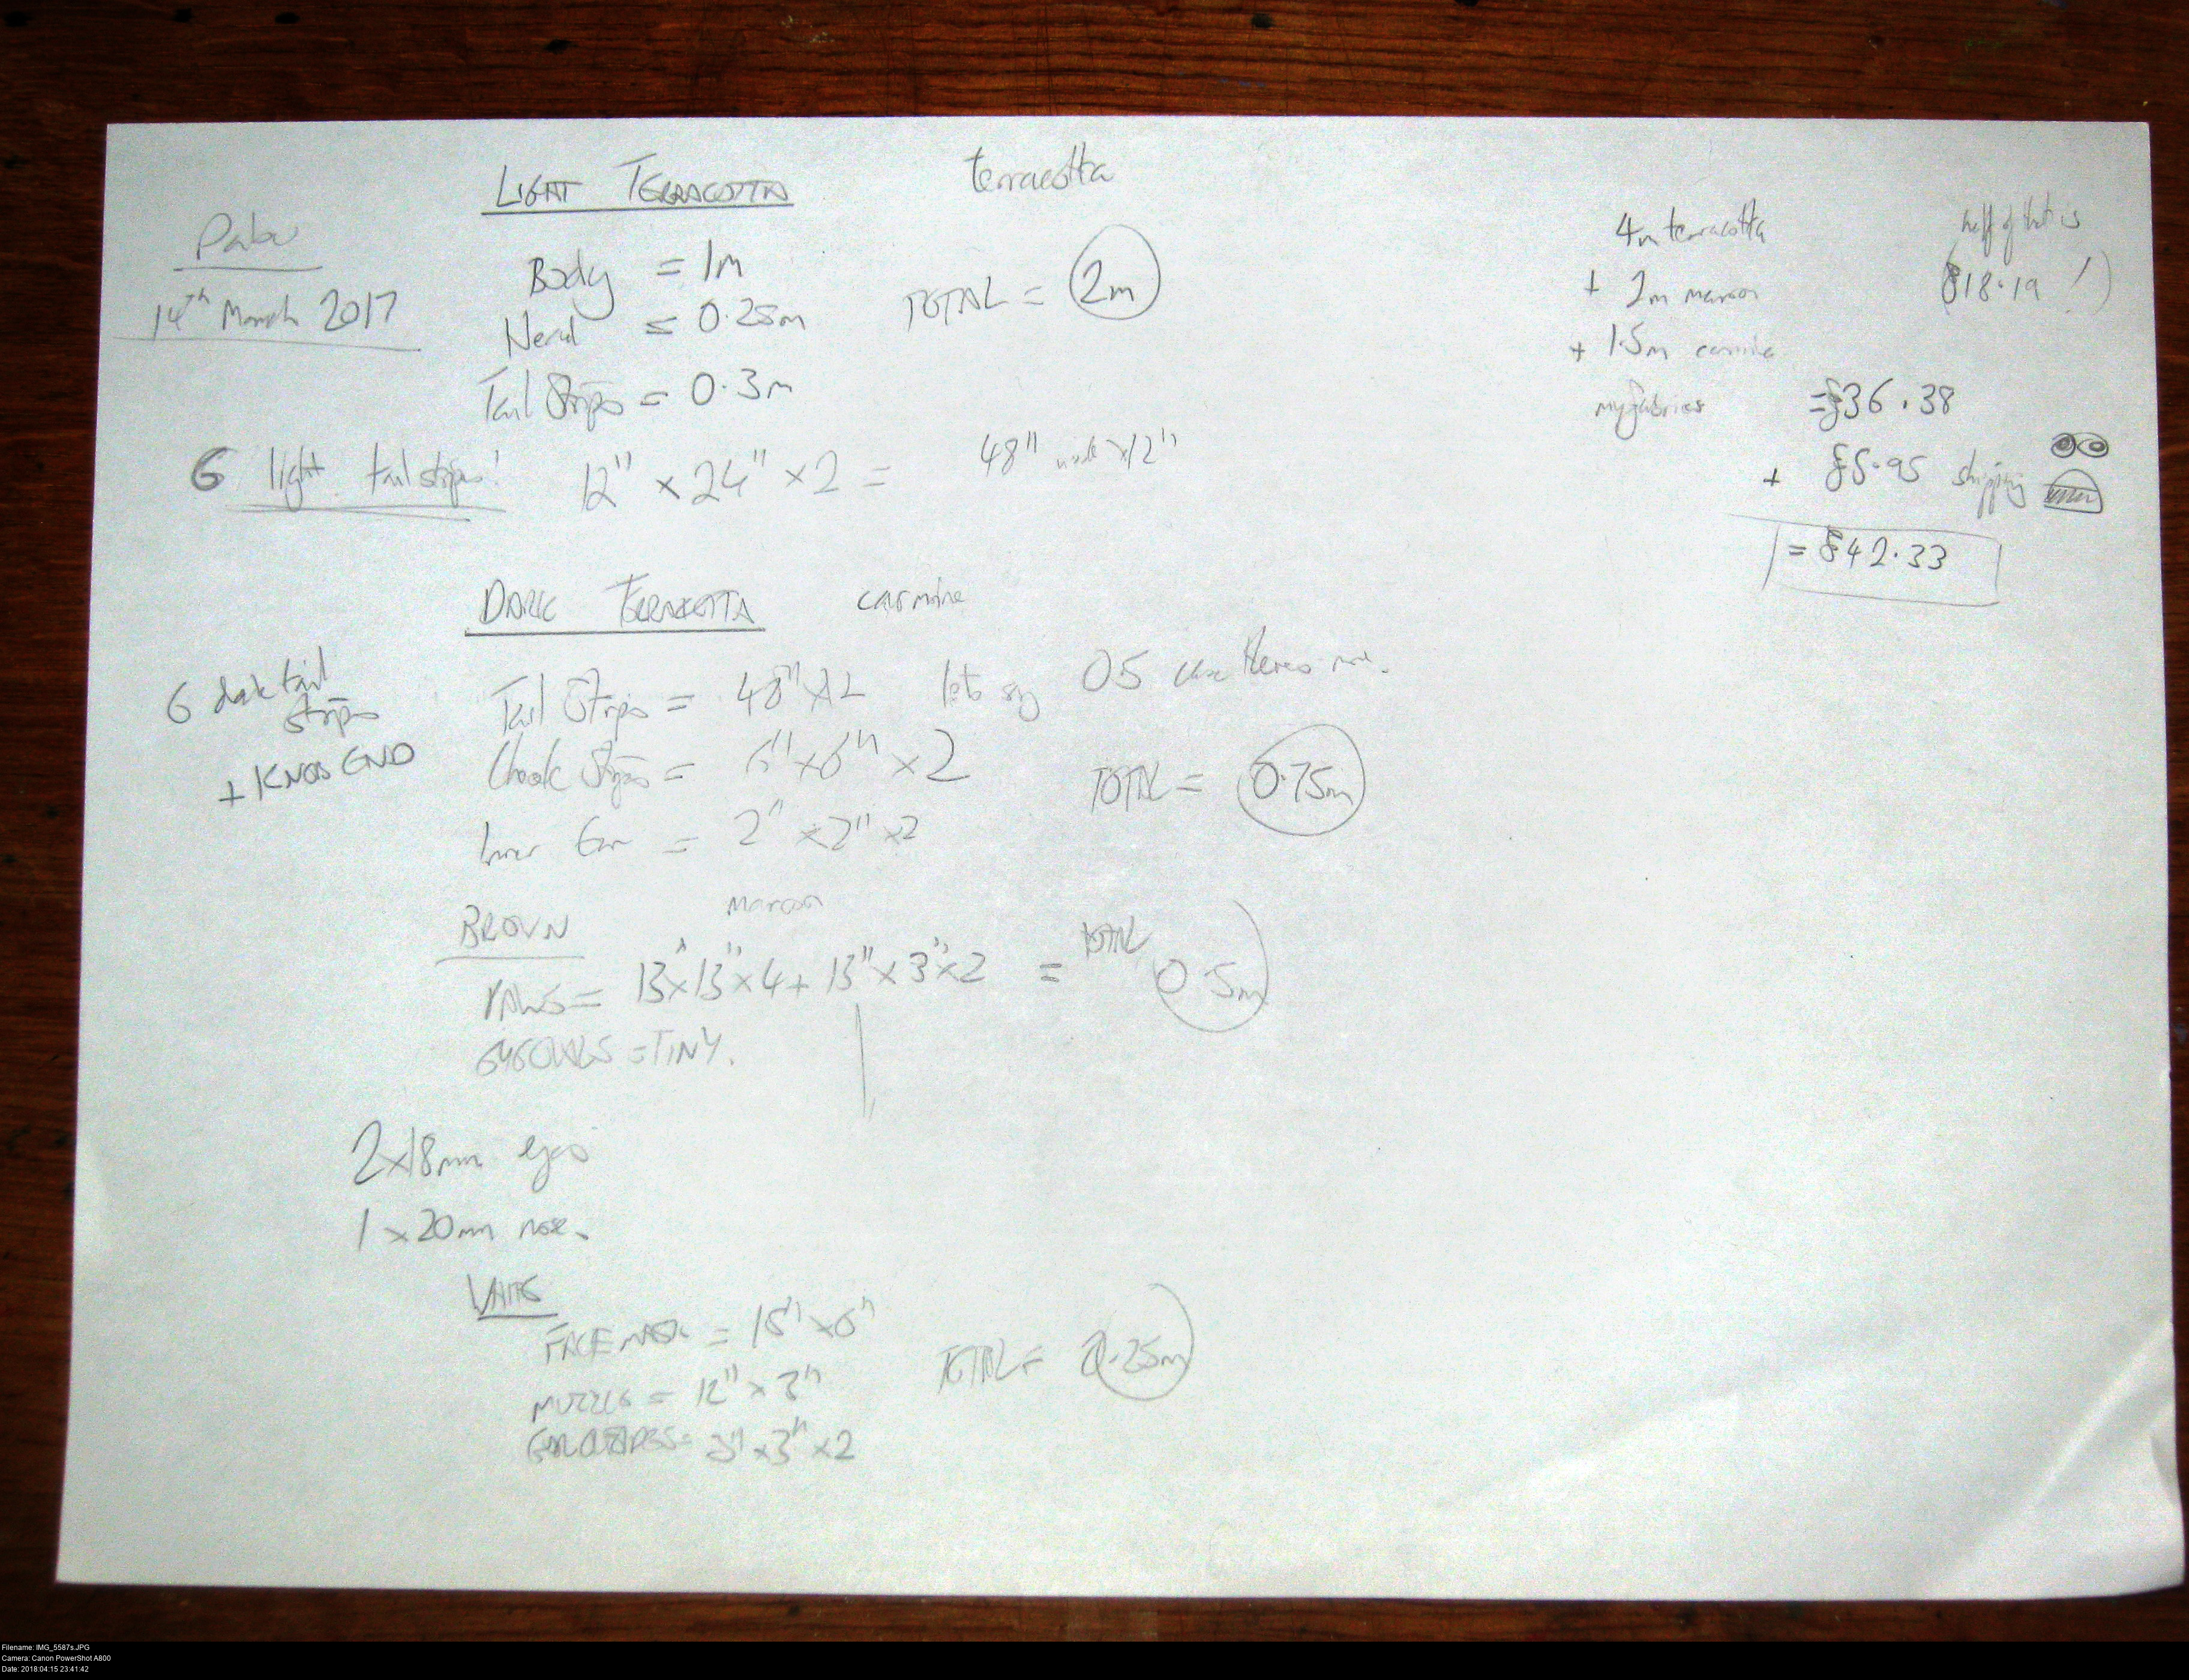
It's time to Make A Plan.
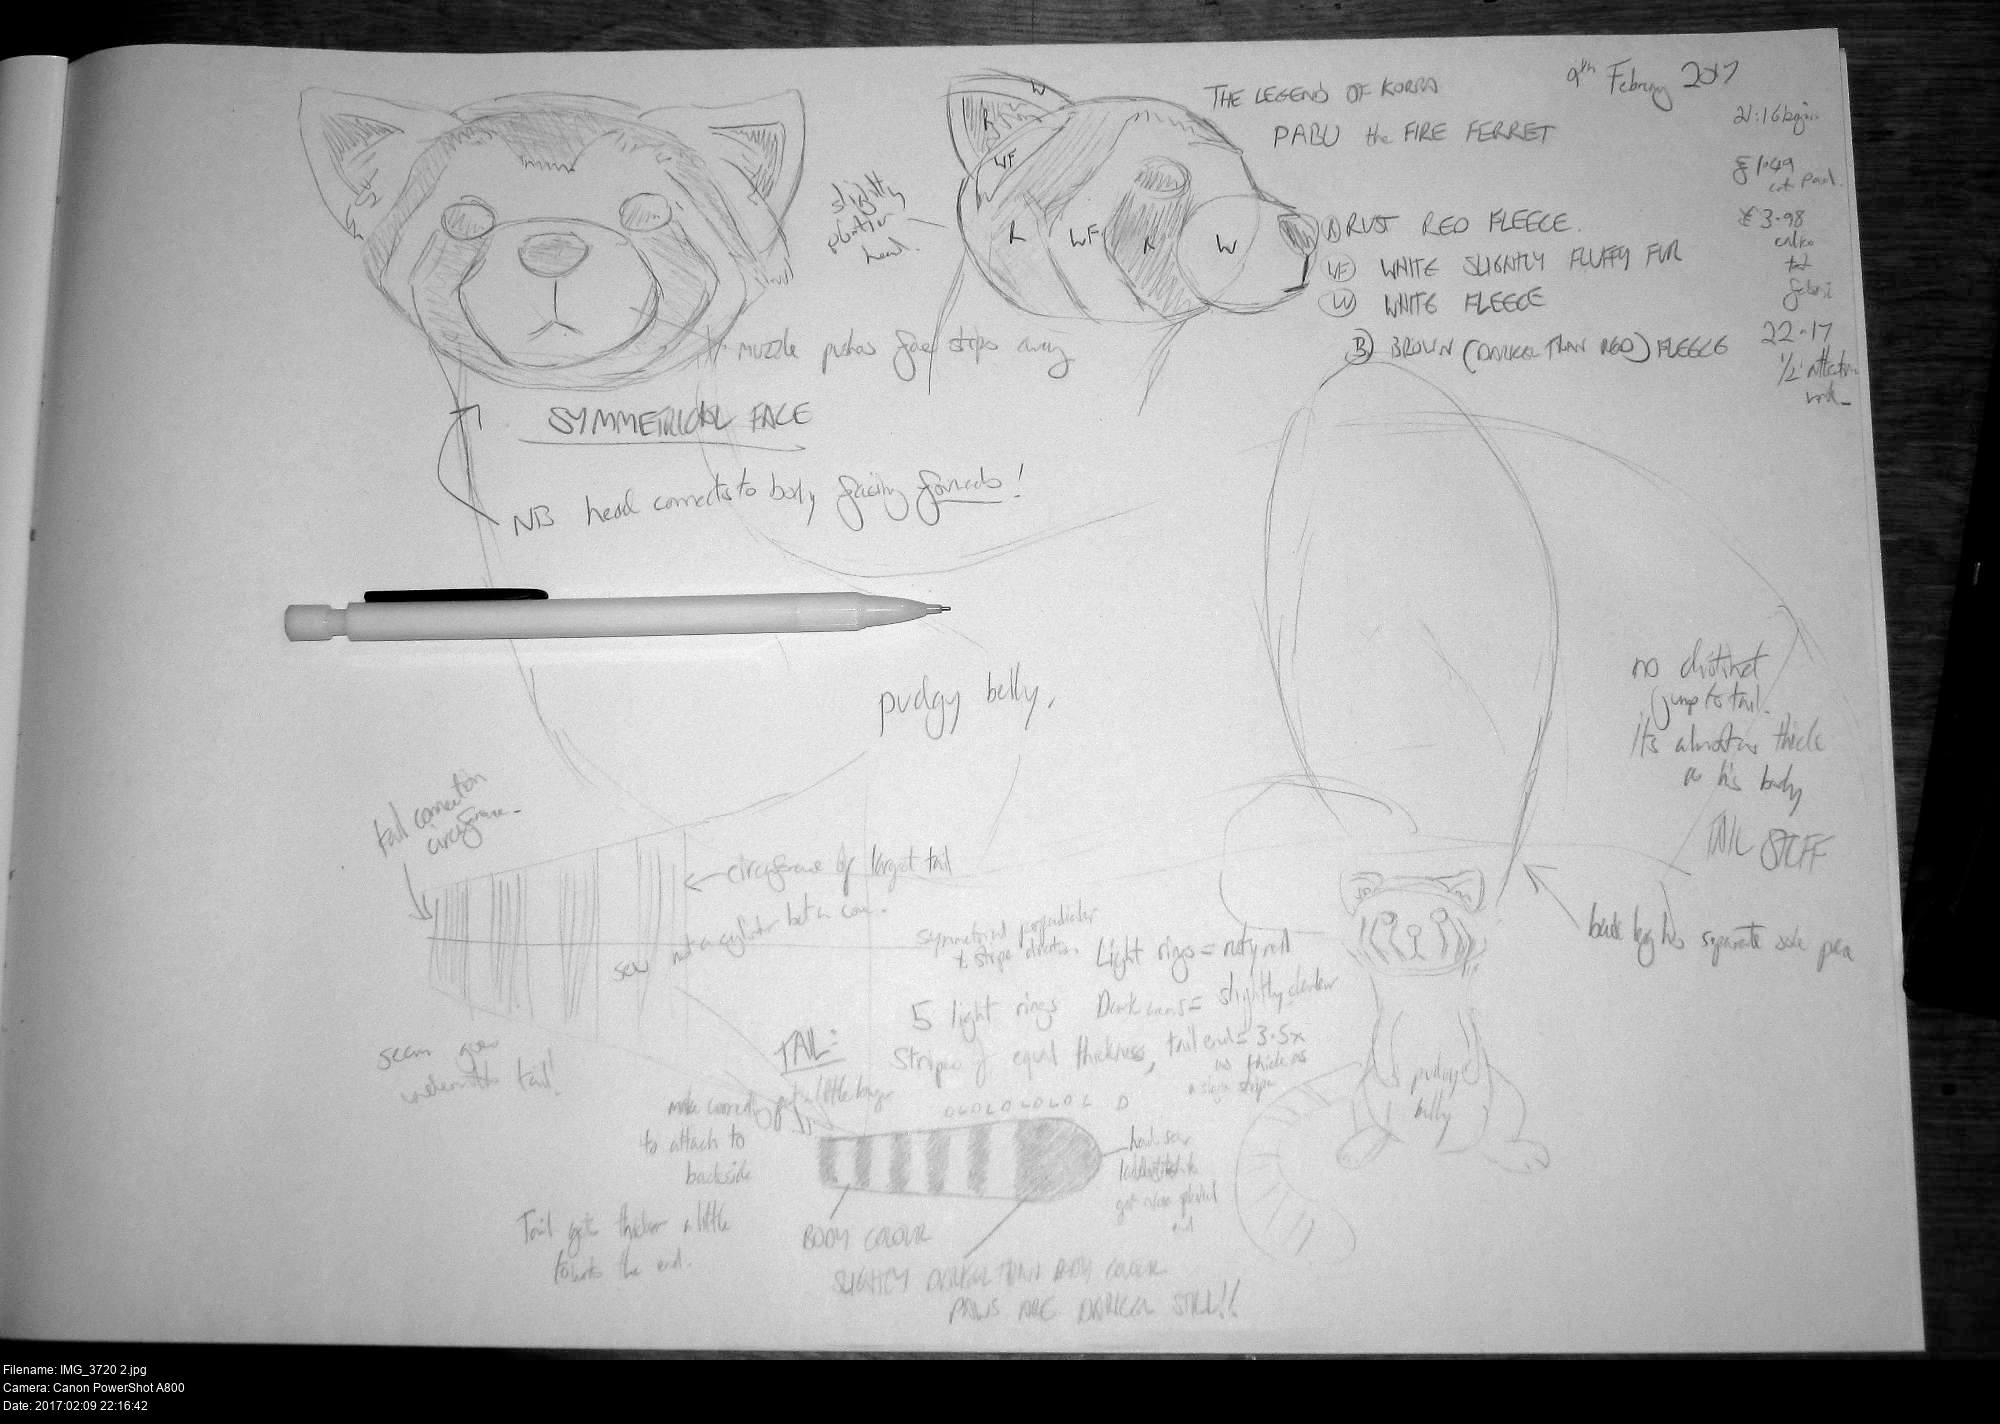

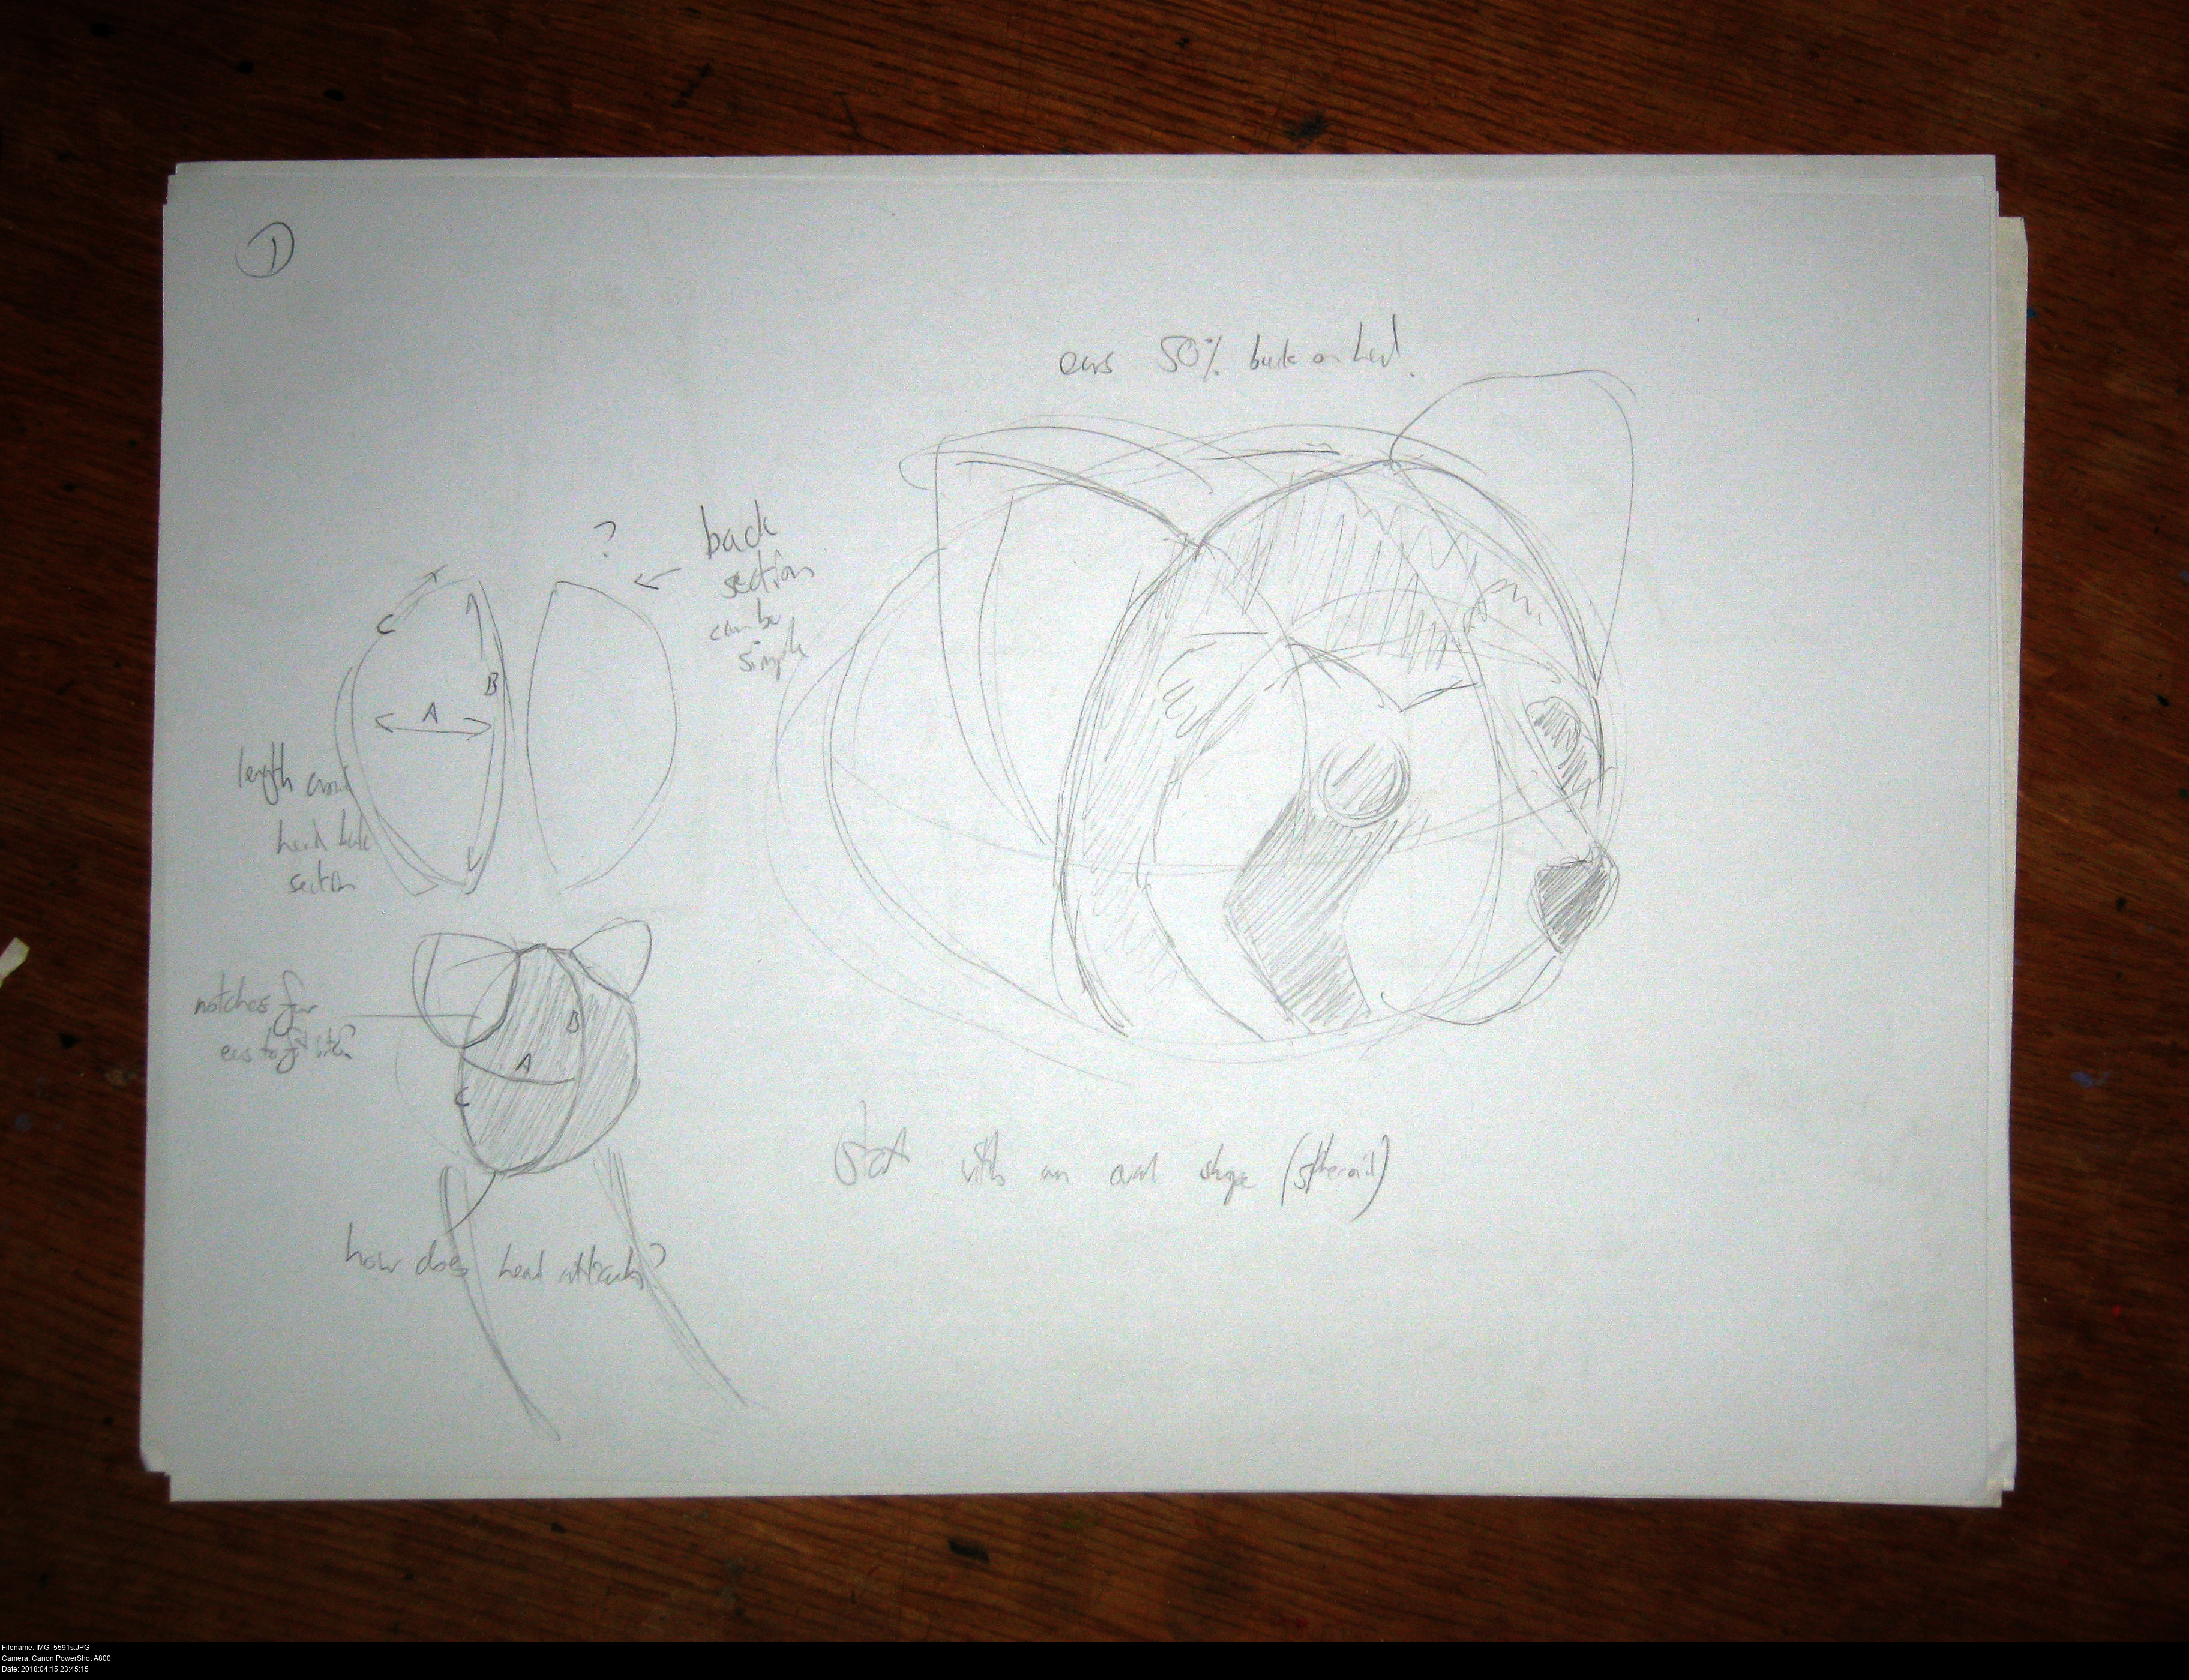
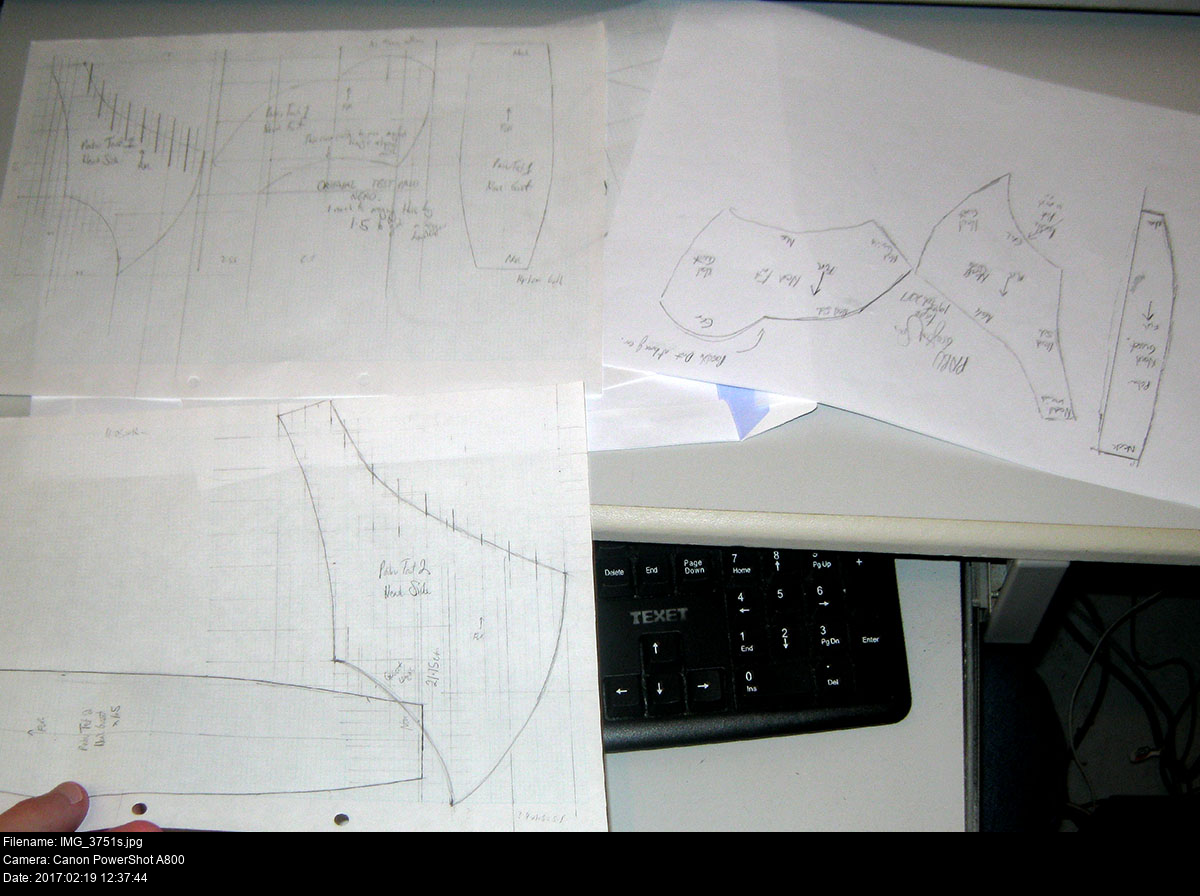
I got myself some A3 paper and drew whatever came to mind, and made a note of all the things I typed above as I discovered them. Drawing everything over and over again from both the front and the side helps you innately understand their relative proportions.
There's an obvious source of information that I've not mentioned yet. Observation! Observation isn't cheating. But you can call it cheating if you like if it makes you feel cooler. So let's get down to some serious cheating.
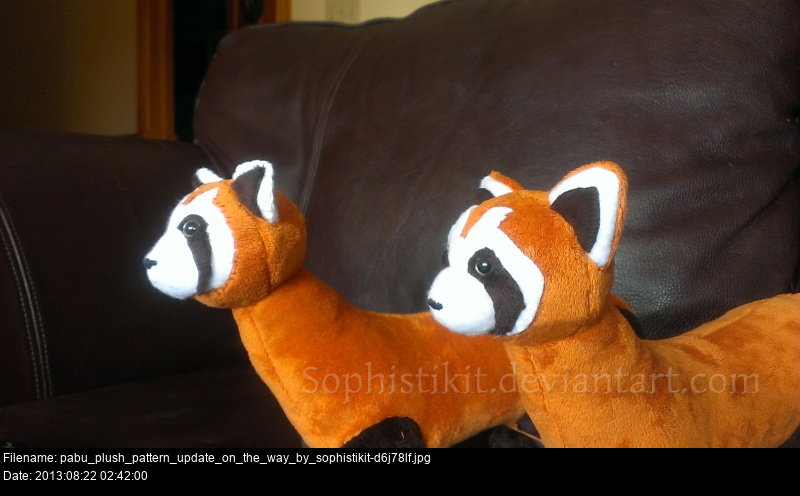
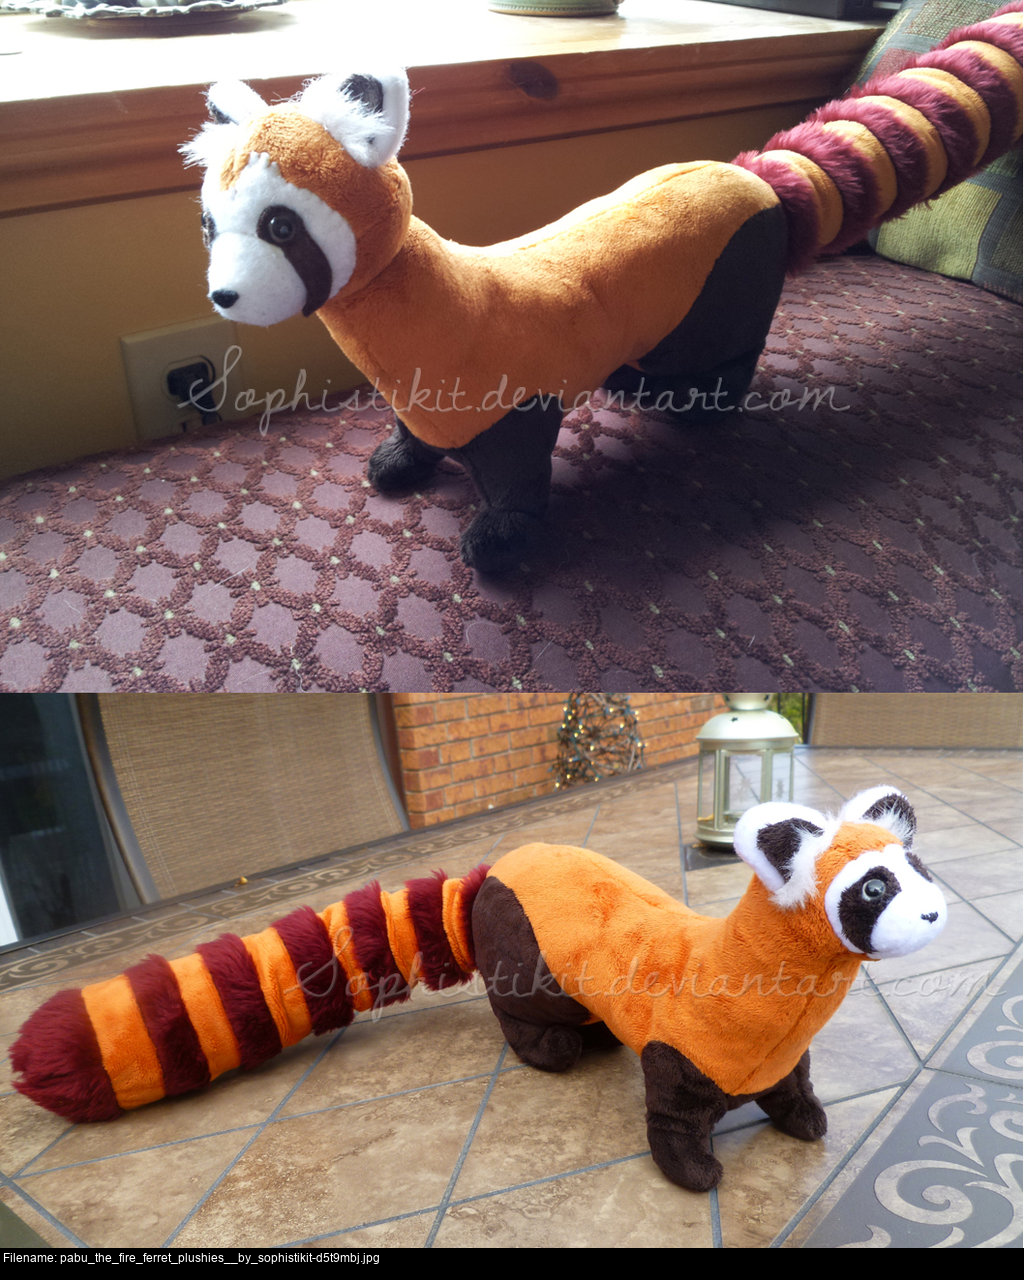
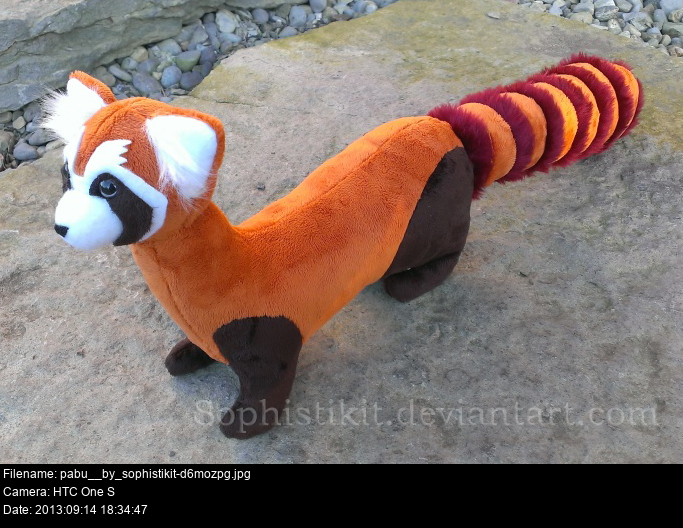

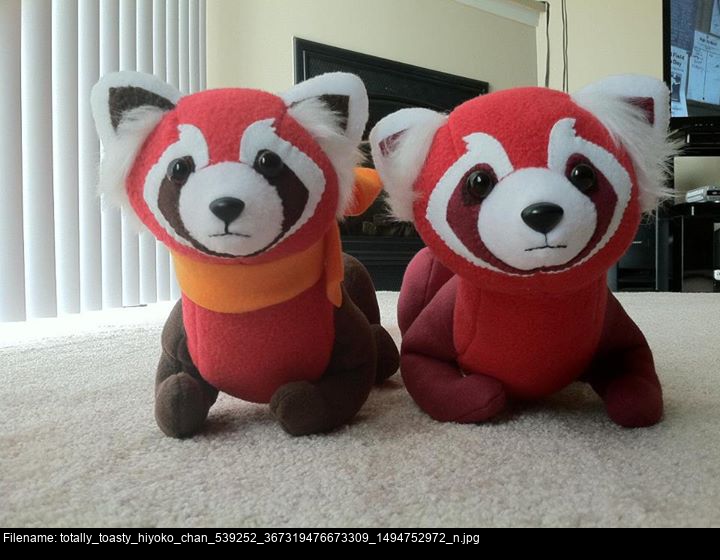
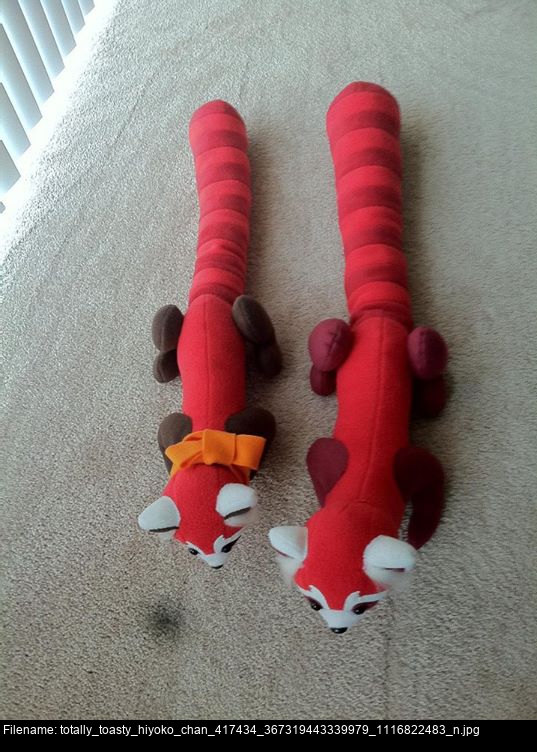
There's two different styles of foot attachment here. The browner Pabu has the contour of the top of the feet blend snugly into the body. The red Pabu has the feet sticking out chunkily from the body. My instinct says that the underside of the browner Pabu's body was designed to have the legs sew into it directly as part of the full body construction (like how Amanda's feet are part of the body). The red Pabu's legs look like they've been constructed separately as little pudgy cushions and ladder stitched onto the body. This is easier, but isn't as sleek looking.
Notice that the two Pabus have different head patterns. The brown one has a seam running through the vertical centre of his head, and seams leading from it left and right at the interior edge of the ears. The red one has a thick curved gusset like Amanda the Panda. I don't know how either of the Pabus has their face attached. Glue? But that would become hard and awkward to work with. Sewing? Sounds like a lot of fuss to me.
Both Pabus look like they have a body tube made of three pieces: a flat base, a left side and a right side.
There's many ways to create a pattern from nothing. (You could adapting an existing pattern! It's not exactly making something from nothing, but I won't tell if you won't.)
You can wing it: drawing whatever you like on paper, transferring it to fabric, putting it together and seeing what happens. If you're extraordinarily wealthy and gutsy you could just go straight to the fabric, but then you'd have no paper patterns to use to create more toys later or improve upon if the result is almost but not quite acceptable. I'm not going to do this.
You can use maths, engineering and iteration. Reduce the form of the intended product to simpler solids and use calculator, ruler and compass to make accurate patterns for a slightly simplified prototype with independent components that you can improve upon individually. You might not intend for your brand-new, regular old teddy to have a completely spherical head and a tubular body, but as a starting point it's a lot better than nothing. You'd have to be a fool to not draft your seams mathematically.
Let's be methodical.
He's got three bits. A head, a body, and a tail. And four legs. Four bits.
Let's start with the body! It's basically just a tube, and I can create a tube by sewing together two side pieces with upper and lower gussets to form a hollow tube with a square cross-section. I'm going to go with sewn-on pillow feet for my Pabu, since it's a lot easier than attempting to build them into the pattern for now.
I'm going to sketch out the profile of the body on some large paper and then come up with some appropriate gusset pieces. The only constraint here is that the pair of lengths that come together to form a seam have to be the same length: the top edge of the profile has to be the same length as the corresponding edge on the gusset piece. That means the gusset might turn out seeming a lot longer it ought to be since Pabu's sock-shaped body means that the profile is curved while the same edge on the gusset pattern will be straight. The thickness of the gusset controls the shape and chunkiness of his body.
You can use A3 paper, baking paper or wallpaper lining paper for this. Preferably whatever's cheap and on a roll.
This prototype body is made out of muslin, a chunky cheap cotton fabric I could get from Calico for £2 per metre. It's not as cheap as I'd like but it's better than nothing. What would be better than better than nothing is something with a similar stretch to the fleece: this stuff has no stretch whatsoever, so the real toy is going to look a lot different.

I'll make his tail out of two long pieces that gently taper inwards towards where they attach to the body, with a simple semicircular tip on the opposite side. When sewn together they'll form a simple linear sock shape. Hopefully the stretch of the fleece will overcome the tendency of the semicircular seam to wrinkle up as the tail is stuffed.
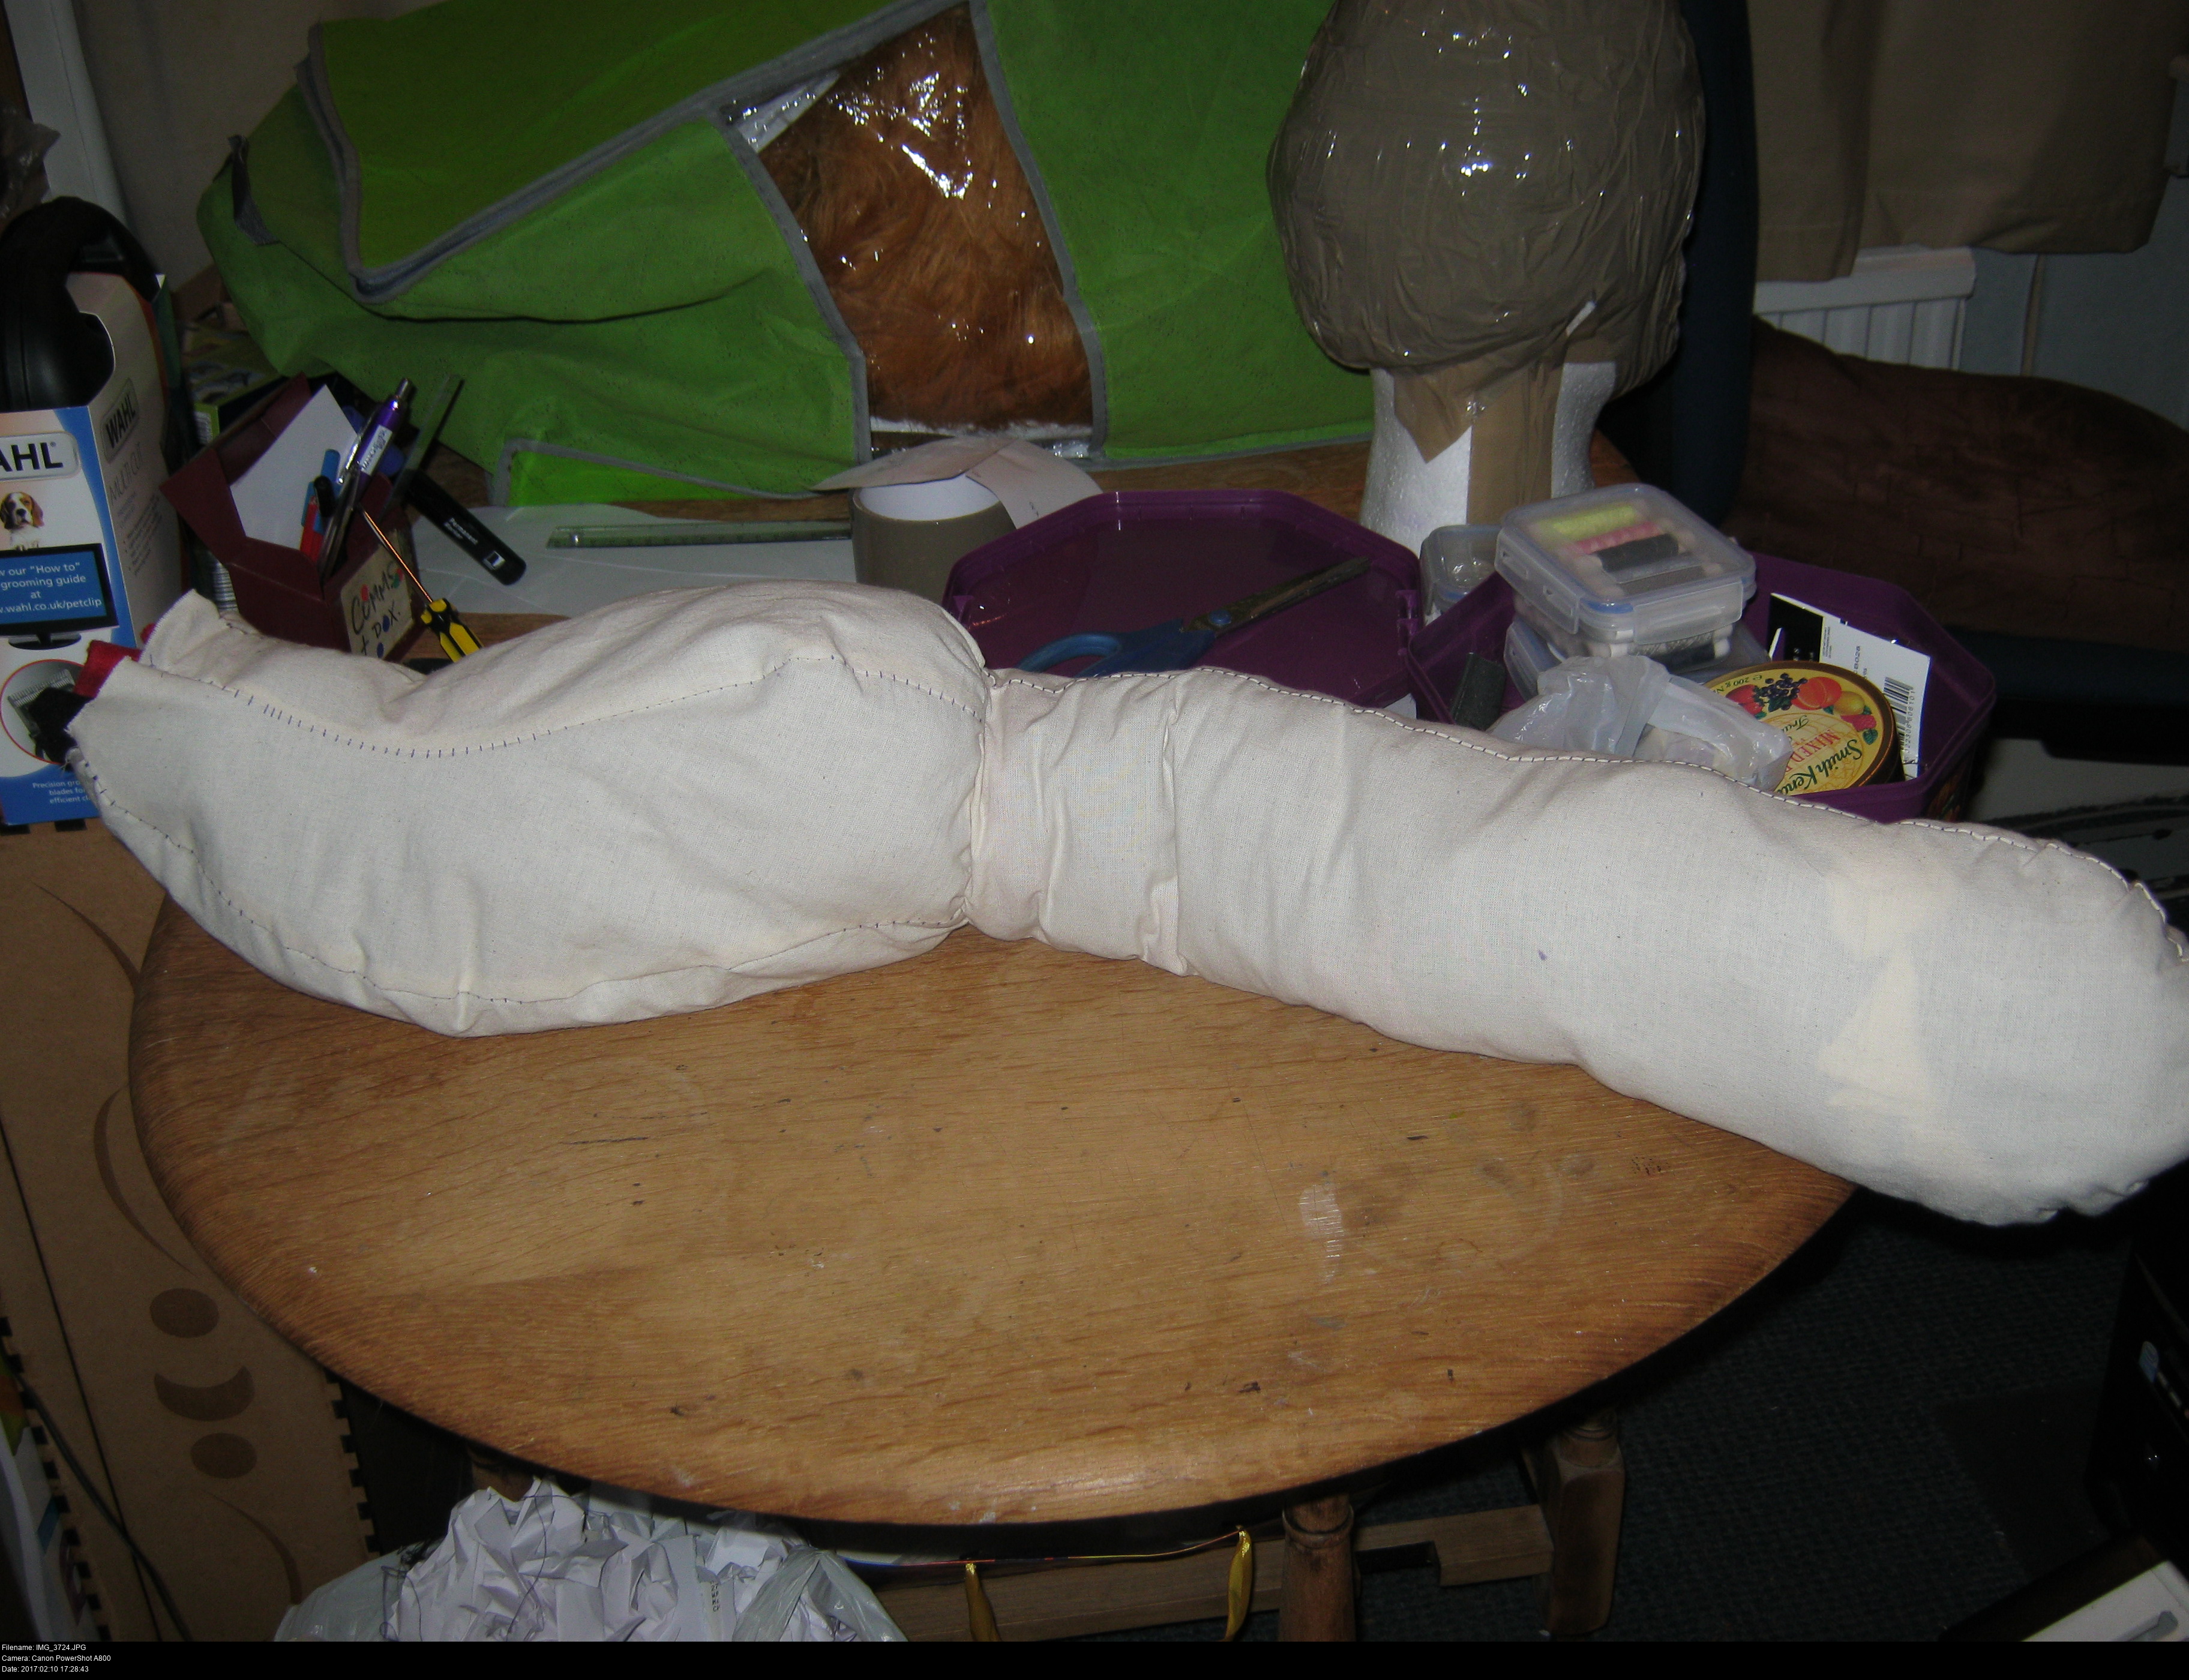
Making prototypes of each piece after you've designed them is very important to ensure they all have the correct relative proportions. Right here, with the prototype stuffed with offcuts of fleece, the tail is looking a lot larger than it ought to be. However, you've got to think a few dozen steps ahead: The toy is going to be made out of fleece, which is very stretchy, but it can only stretch where there aren't any seams. This is important because tail pieces aren't going to be made out of one continuous flat piece of fleece. They have to be striped, which means that the tapered pieces that form the tail are going to be composite pieces constructed from many narrow strips that form the stripes. This means that the tail pieces are going to be full of seams where each coloured ring meets the next, so apart from the tail tip there's going to be no stretch in the tail whatsoever, whereas in the body the large flat pieces will allow for a lot of stretch.
Phew!


Feet! The front pair are just two halves sewn together. The back pair have a gusset running along the sole and back of the foot to chunk them up. I'm making a couple of prototypes in different sizes to see how they look. They'll look different yet again in fleece and after ladder stitching to the main body.
How can I do the head? I don't know how to make a sphere shape or a snout shape.
But this is the 21st century! I'm a savvy guy, full of numbers. Isn't there some way I can use this fancy new technology to make my toy for me? Is such a thing even possible?
Yes it is.
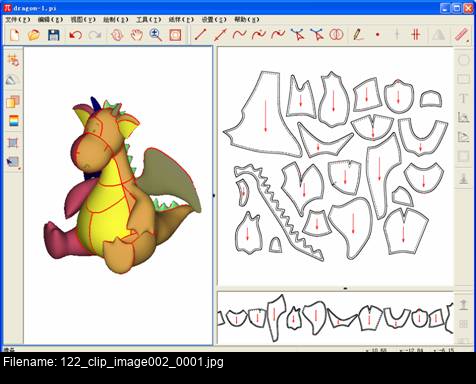
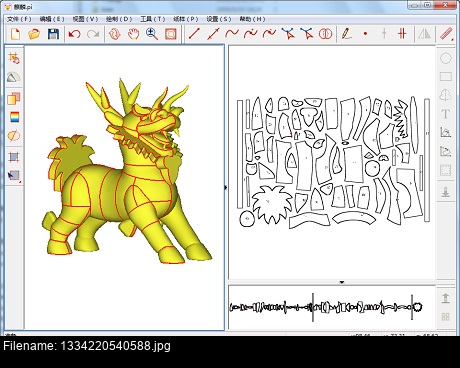
These are screenshots of Liveeforce PatternImage (http://www.livesforce.com/Easytoy_eng.html) from Livesforce Co. Ltd, a Chinese company located in Hangzhou, Zhejiang, China. Their suite consists of three pieces of software:
EasyToy, an application for drawing the 3D model of your toy. You can work with 3D primitives like spheres and cuboids, or you can draw in arbitrary shapes and have the program extrapolate them out into full 3D objects for you.
PatternImage, an application that allows you to develop sewing patterns based on the 3D models produced by EasyToy (or any .obj file). You draw seams across the various surfaces and it identifies all the necessary pieces and flattens them out into a complete pattern for you.
Presto, an application for estimating the cost of a stuffed toy from the patterns you've generated.
EasyToy and PatternImage require a bit of patience and finesse to use...
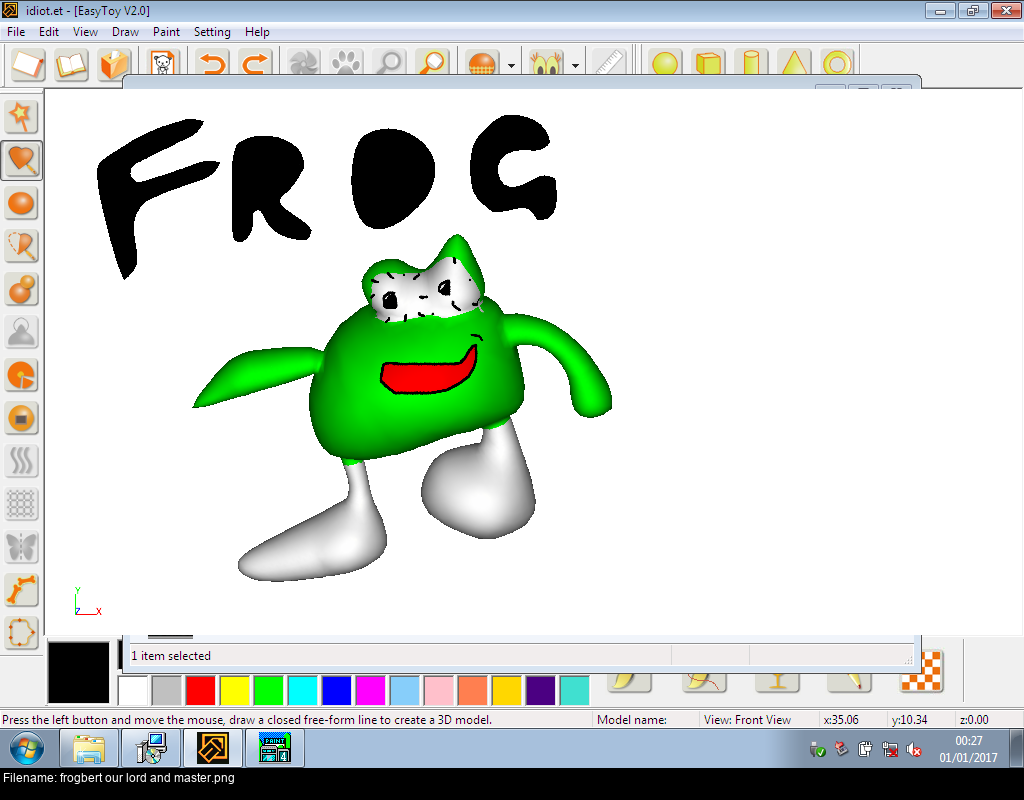
The results are often unpleasant.
Livesforce also have their own soft toy patterning business service called Crefun that uses the same suite behind the scenes, so it's rather nice of them to offer their secret weapon for sale. They'll create 3D models from your images, create sewing patterns from your 3D models, or create both a pattern and a model from your sketches. I'm not sure if they're still in business either selling the software or performing the Crefun service. Their PayPal checkout is all messed up, and at $199 they can keep the software.
The time-limited trial versions of both EasyToy and PatternImage are exceptionally difficult to come by, and they do Creepy Stuff to your hard drive to prevent you from uninstalling and reinstalling them to outsmart the trial. And they detect virtual machines too! You'll have to find another way if you desperately want to use them. Leave these things alone unless you already have a 3D model and aren't able to unwrap it as a pattern by any other means.
So regrettably I need to rely on skill and ingenuity to create Pabu's head pattern rather than trickery.
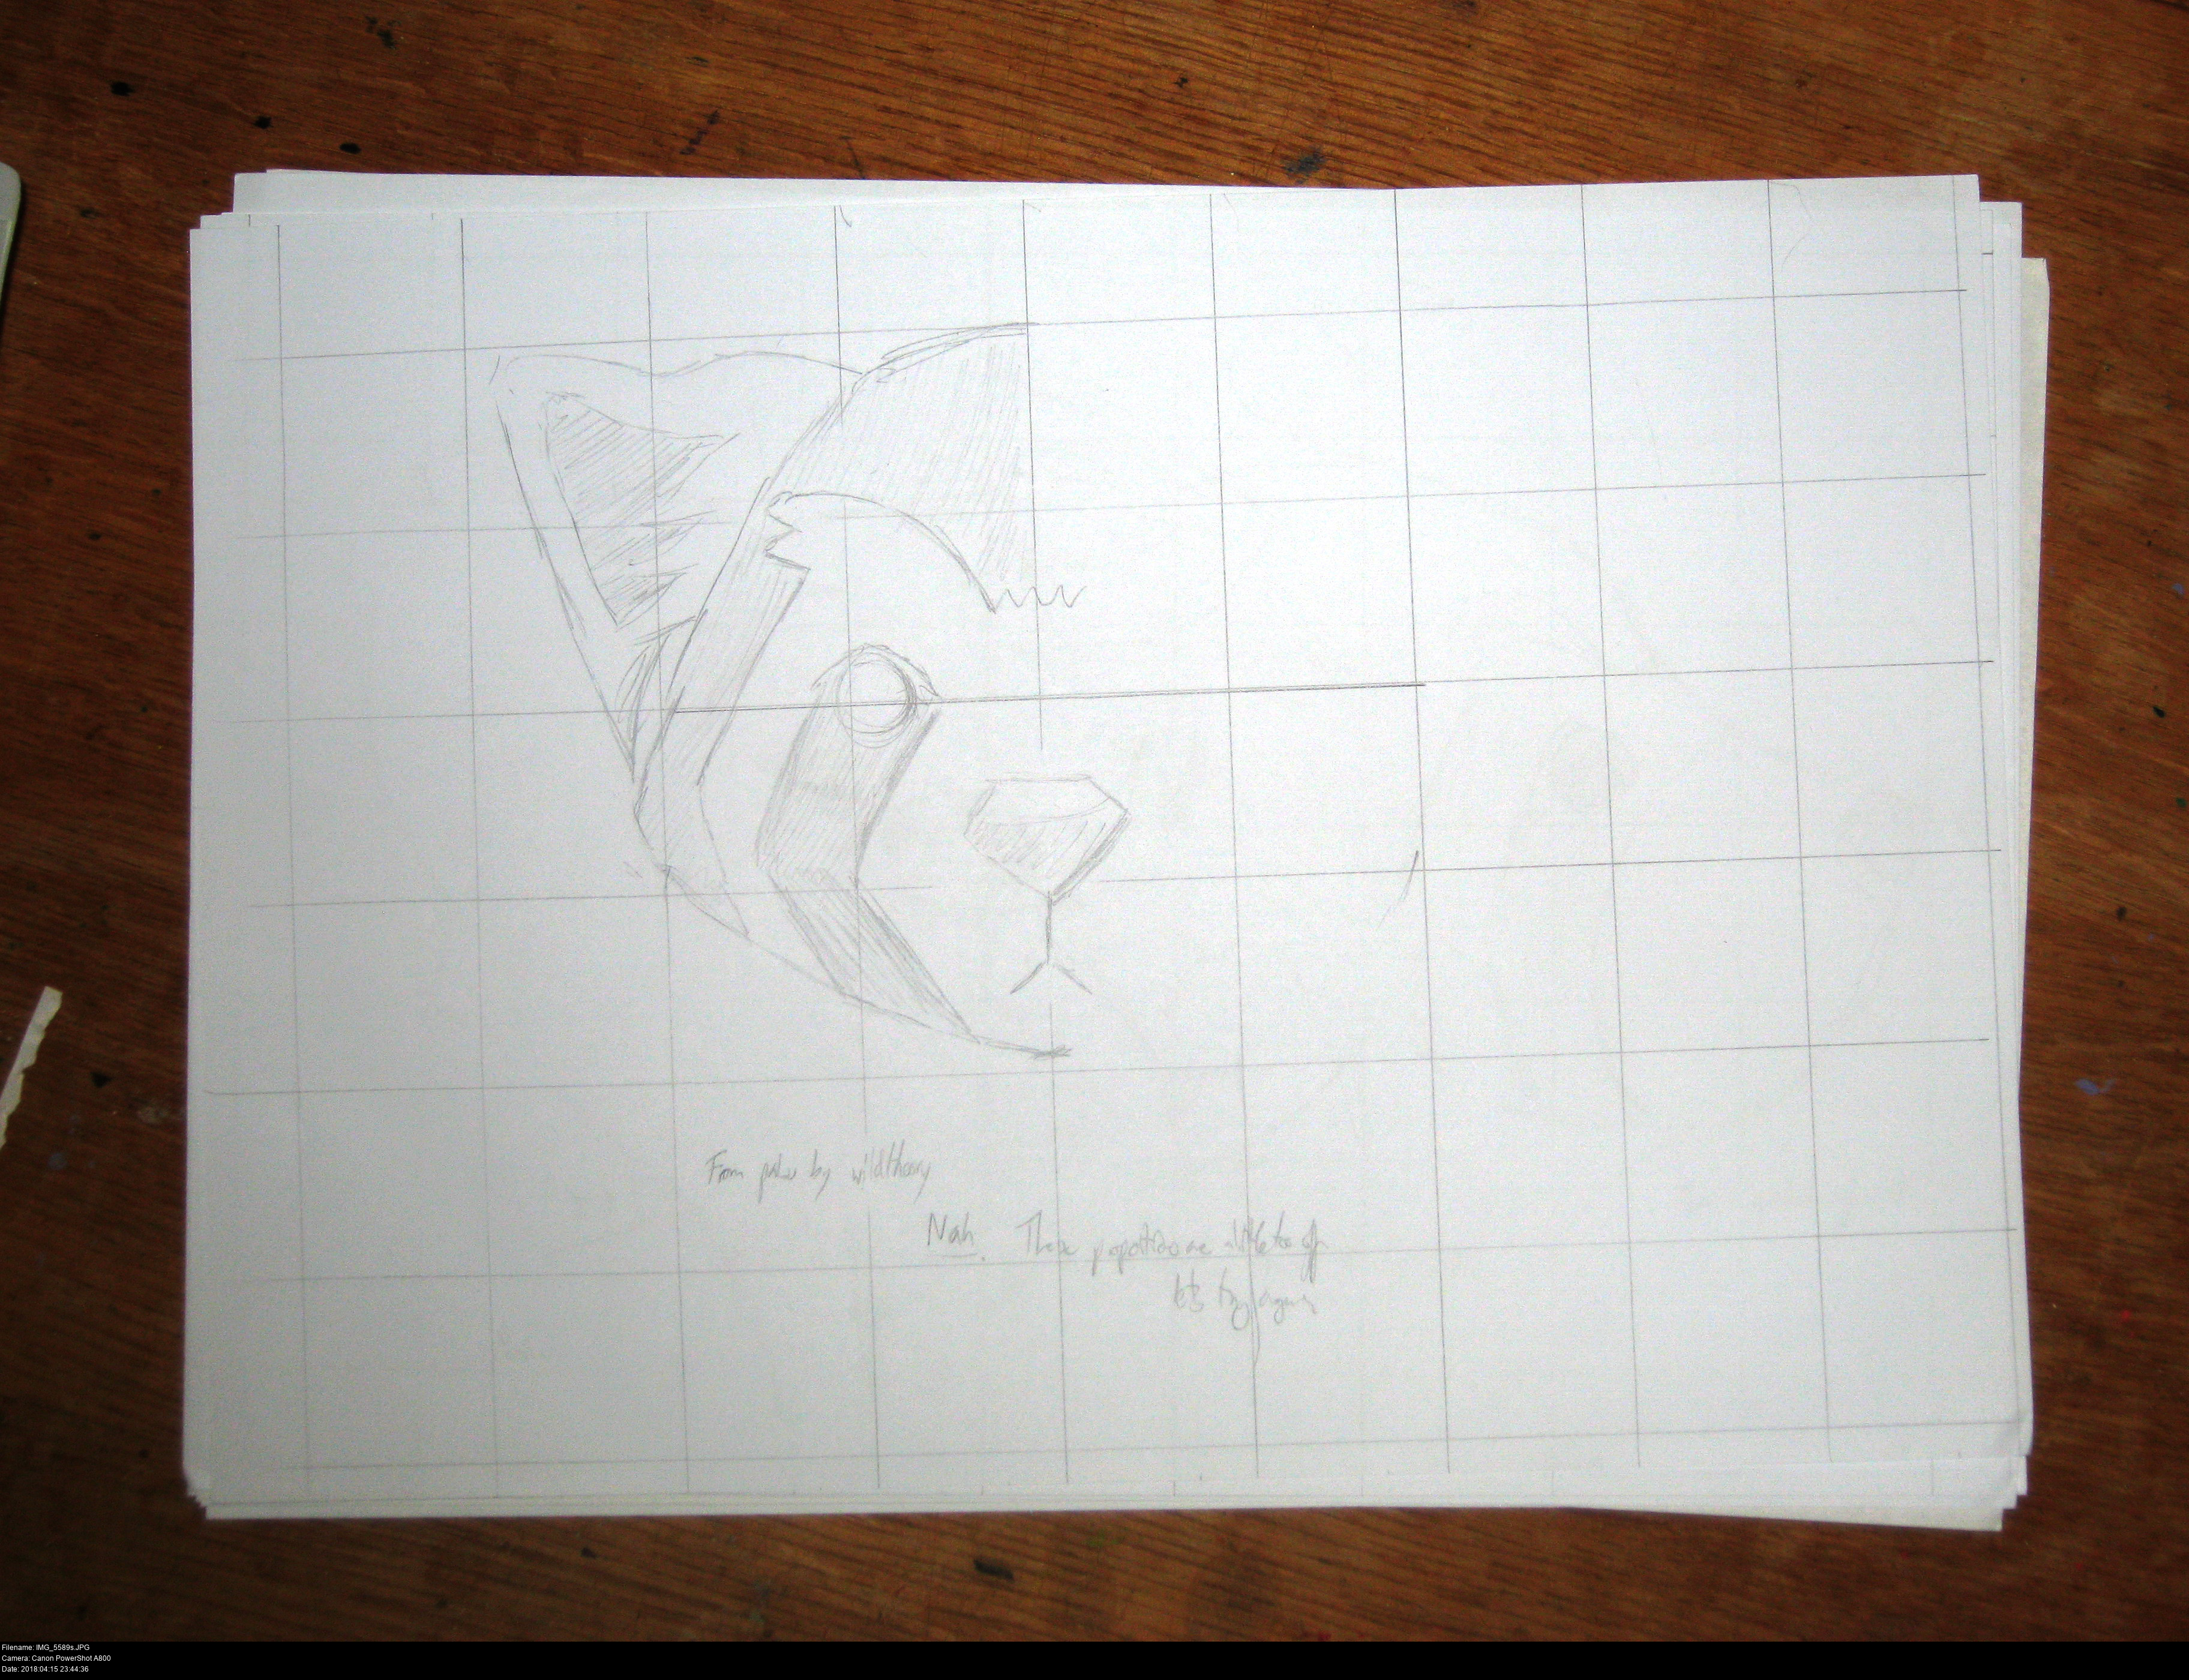
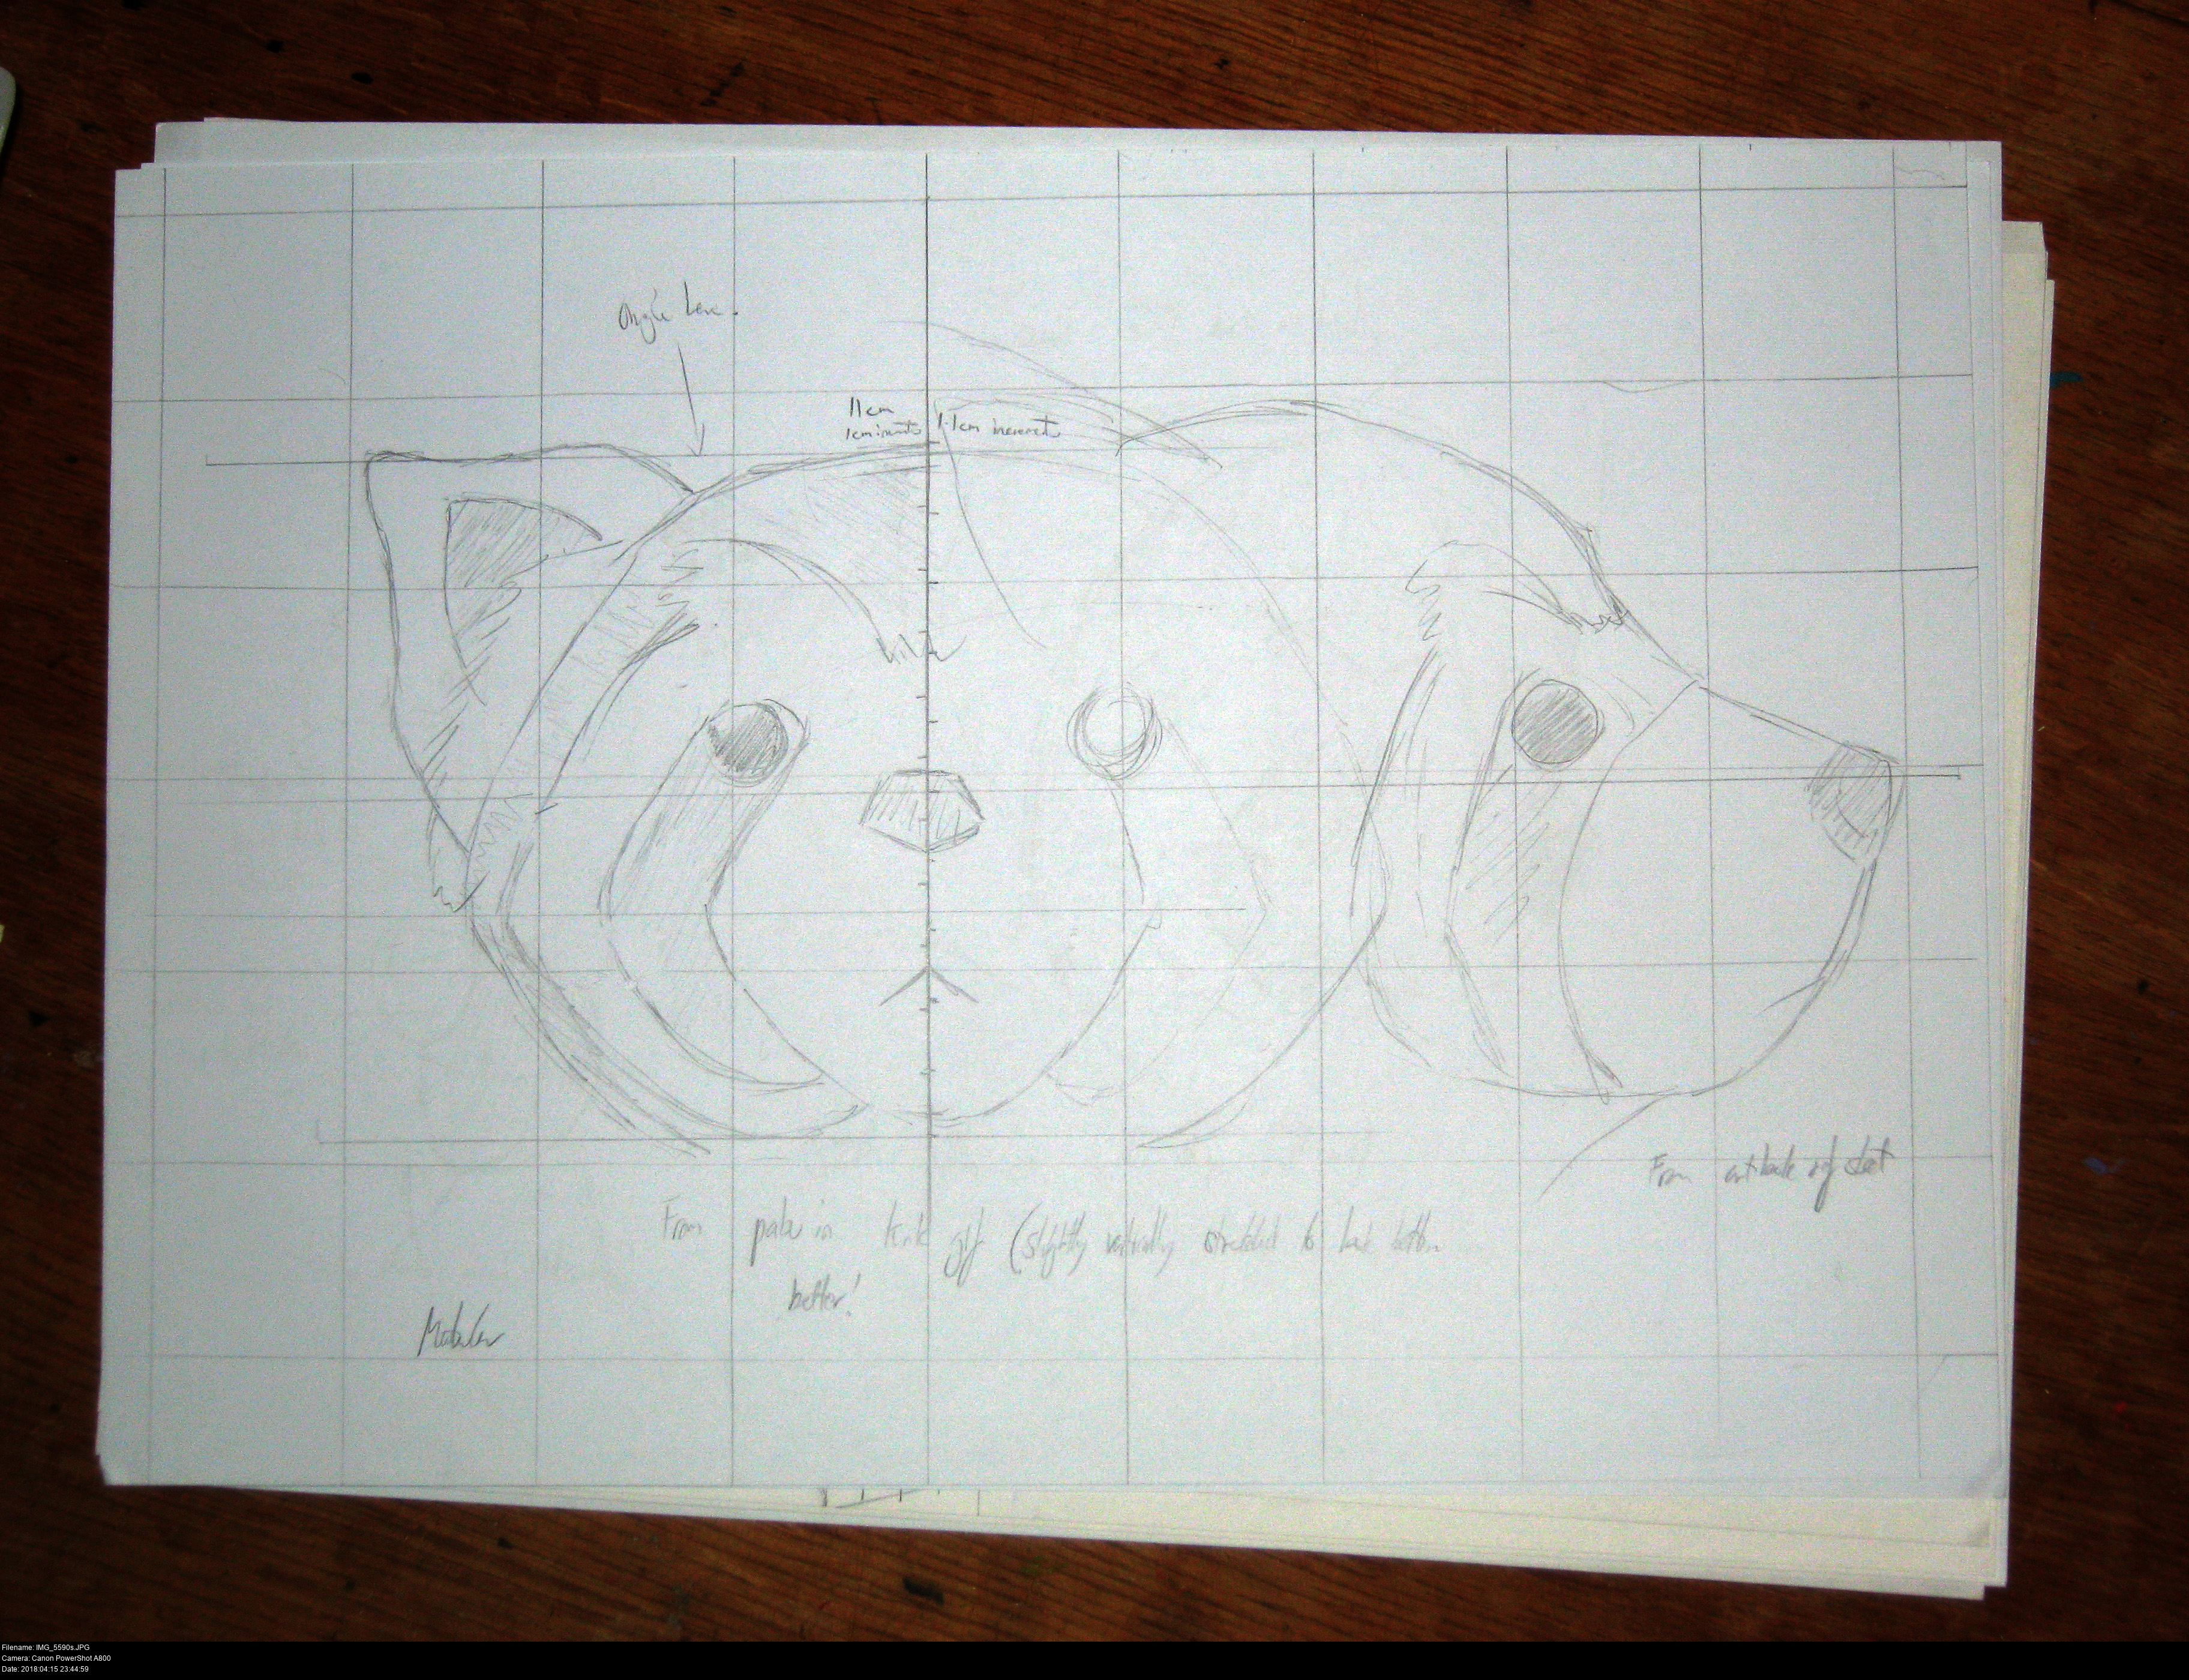
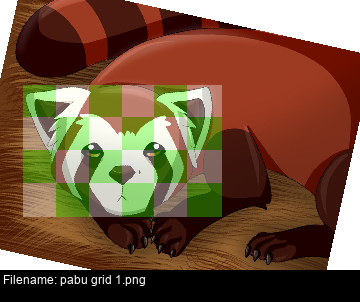
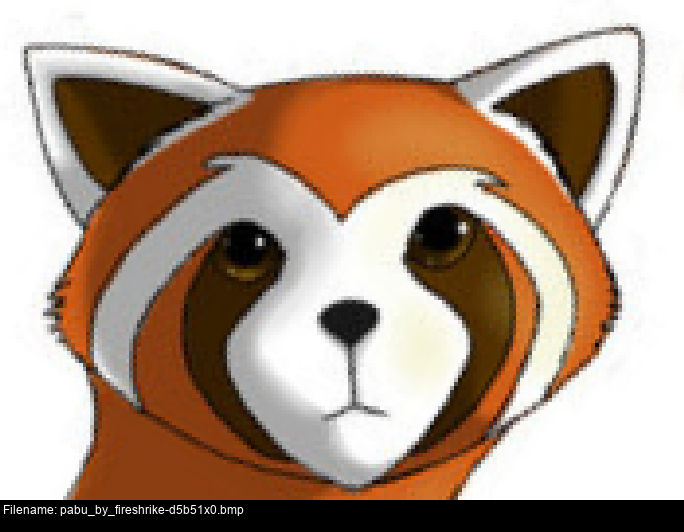
Let's take a good look at Pabu's face. Having plain, straight-on illustrations of the character is very useful. The closest I have is the one on the left. I've added a grid to help me determine the proportions - though I think perhaps this image is a little too stretched vertically.
The shape of Pabu's head is not spherical but with a slightly pudgier lower half and pointed cheeks. He's got a little snouto too.
I decided to do what I did for Hotshot's fursuit head: I made a form out of upholstery foam in the shape that I wanted the head to be, wrapped it snugly in duct tape, drew on where I wanted the seams to lie, then cut along the seams to produce pattern pieces.
And having said that, I think I based this ball off that image I said was stretched vertically, so I've got a slightly-too-tall ball to match. I've drawn on his features roughly, though his eyes might be too close together. I also don't really have the correct jaw shape, but I'm intending to cut out the snout section and have it as its own separate piece like Amanda's snout. What's most important is that I end up with the correct shapes and proportions for the volume of his head, and the location of his ears and his mask.
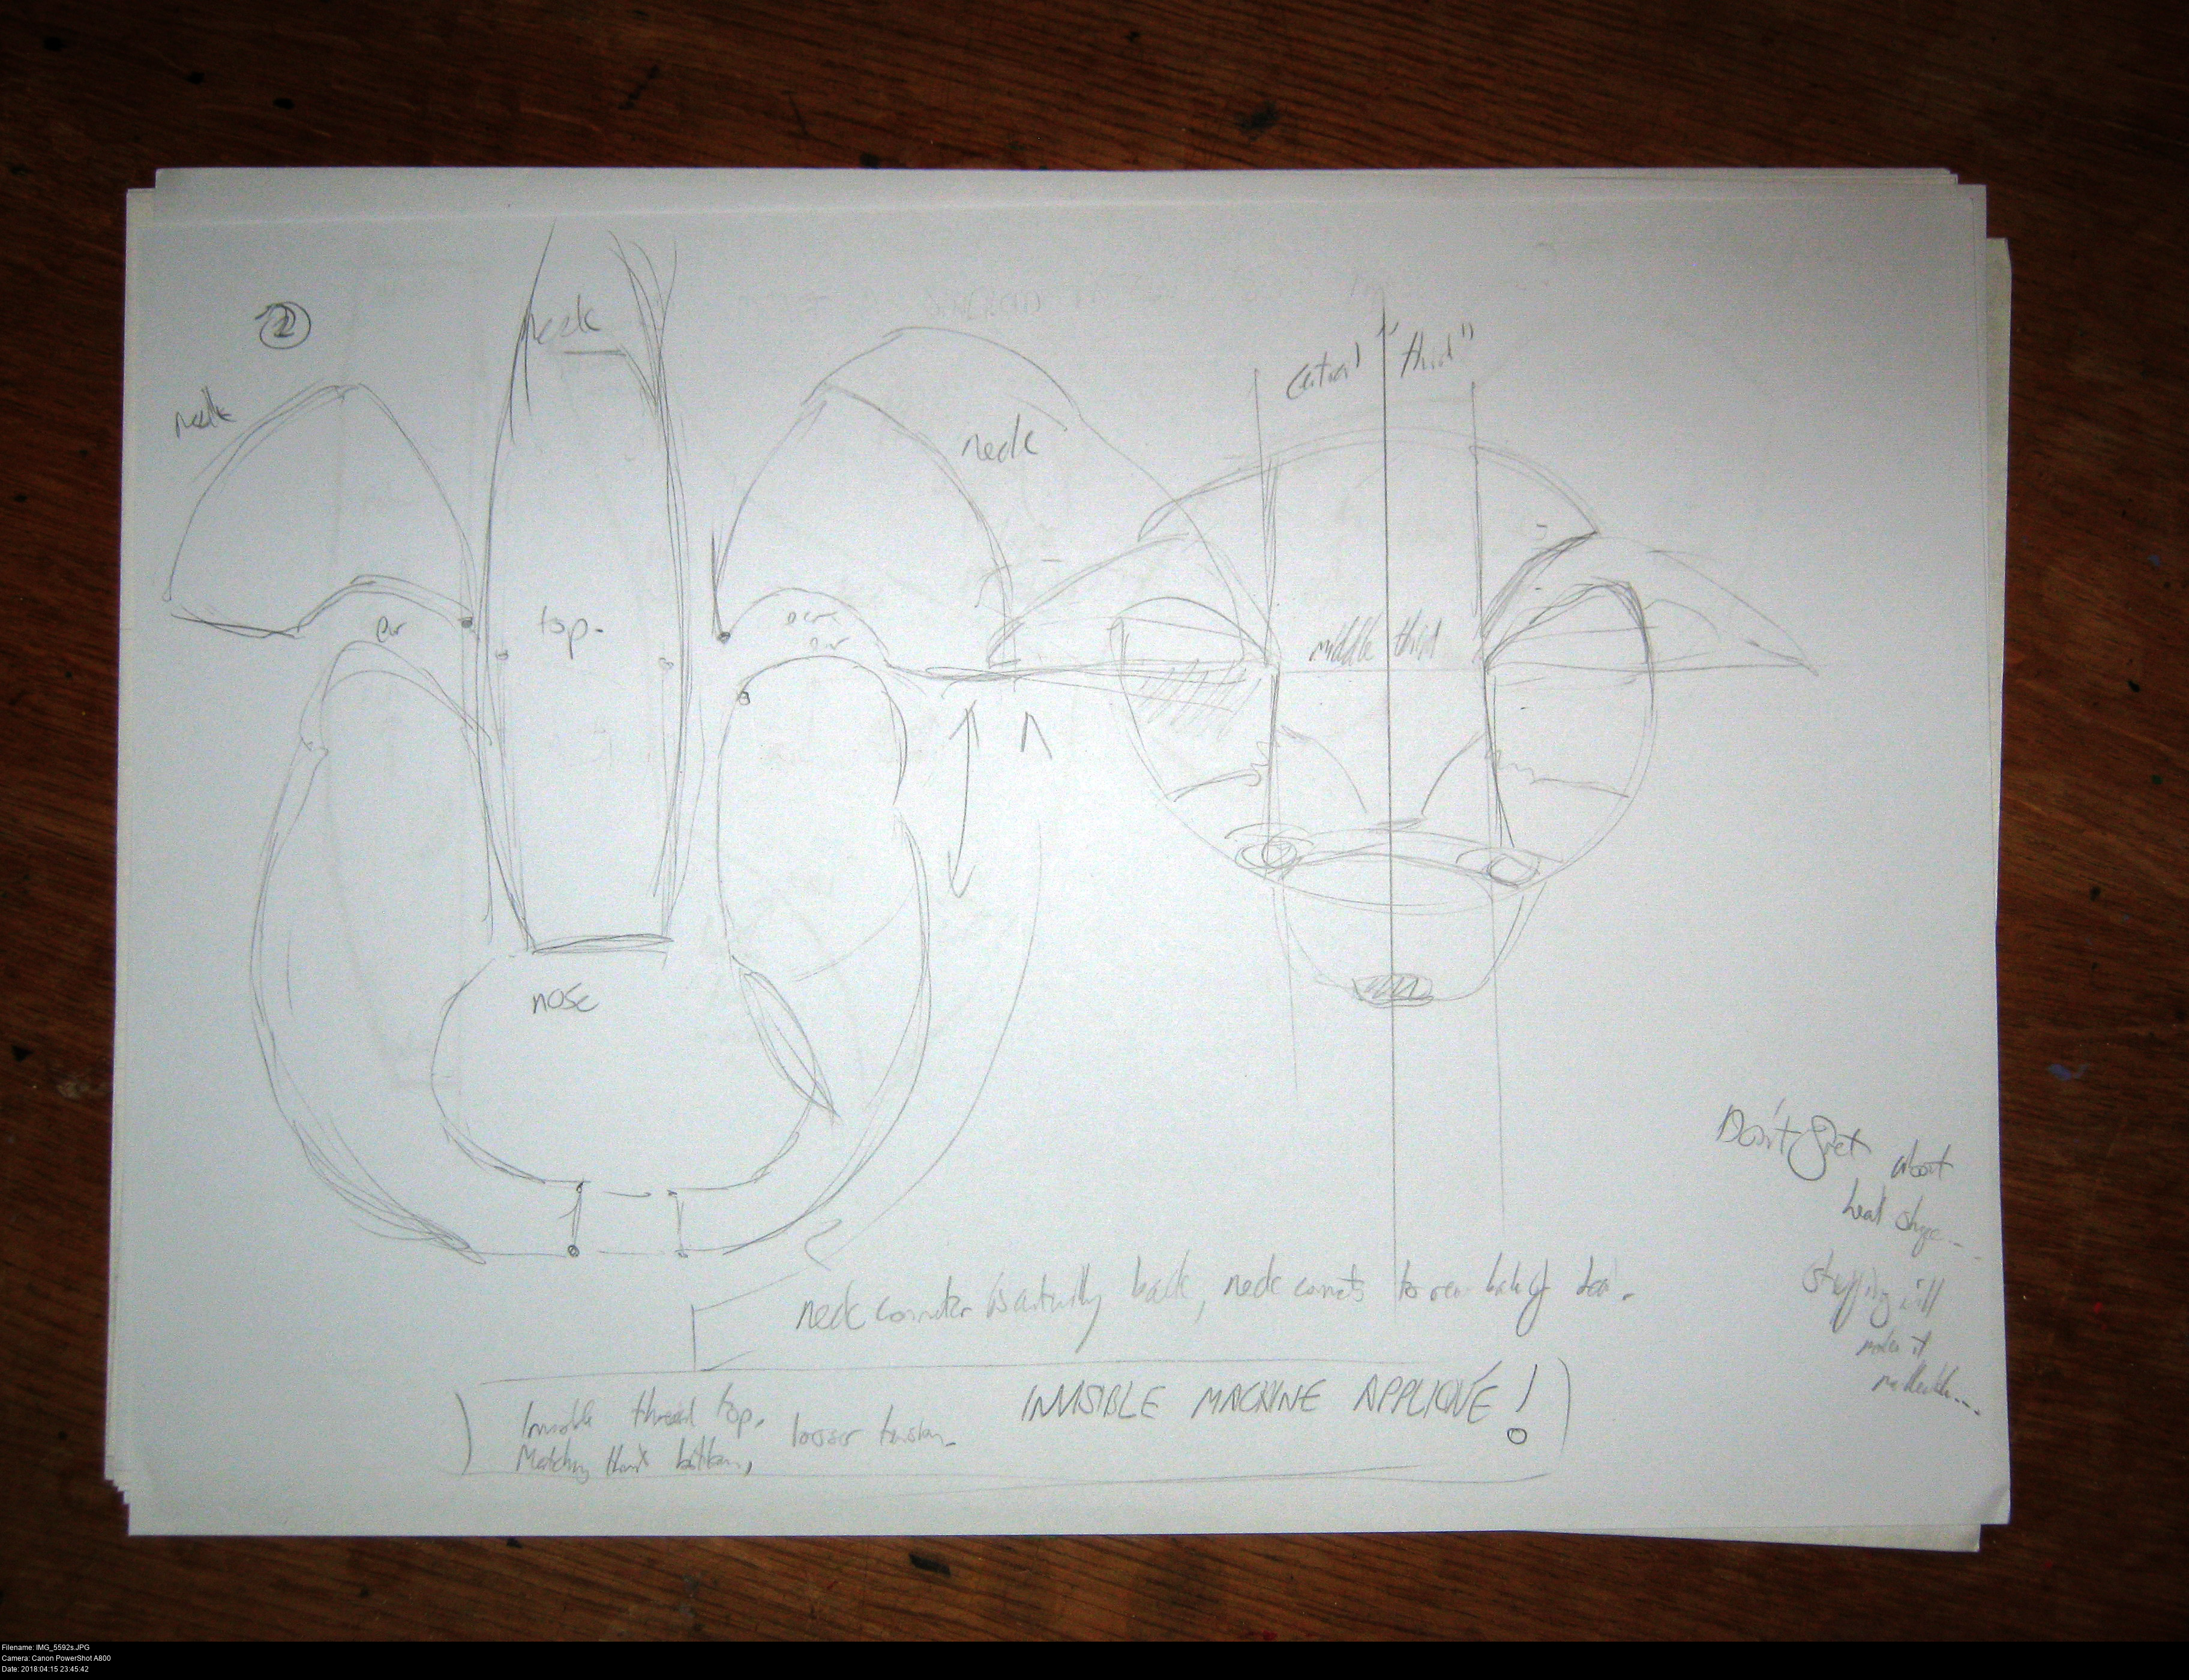
To make the ball of the head, I've got: a central gusset, left and right back sides, left and right front sides and finally a snout cone that I've yet to make.
After cutting the pieces away from the form ball, I'm tracing them onto some paper, and then redrawing them neatly on paper. My first attempt at making the head in muslin resulted in it being too small so I had to trace out all the shapes onto dense graph paper and blow them up to get them the right size. *
(* I saw 'Honey I Blew Up The Kid' at the cinema when I was really young. Can you imagine my disappointment when they used the phrase 'Blew Up' to refer to something getting bigger? What kind of absolute square uses that phrase in common conversation.)
I'm using a bit of intuition to clean up the lines of the pattern pieces, and discarding anything I don't like the look of - this means that I'm taking the cleanest copy of a side and using it as a template for both the left and right sides.
Don't forget that the pieces you remove from the form won't have any seam allowance. You need to add it yourself.
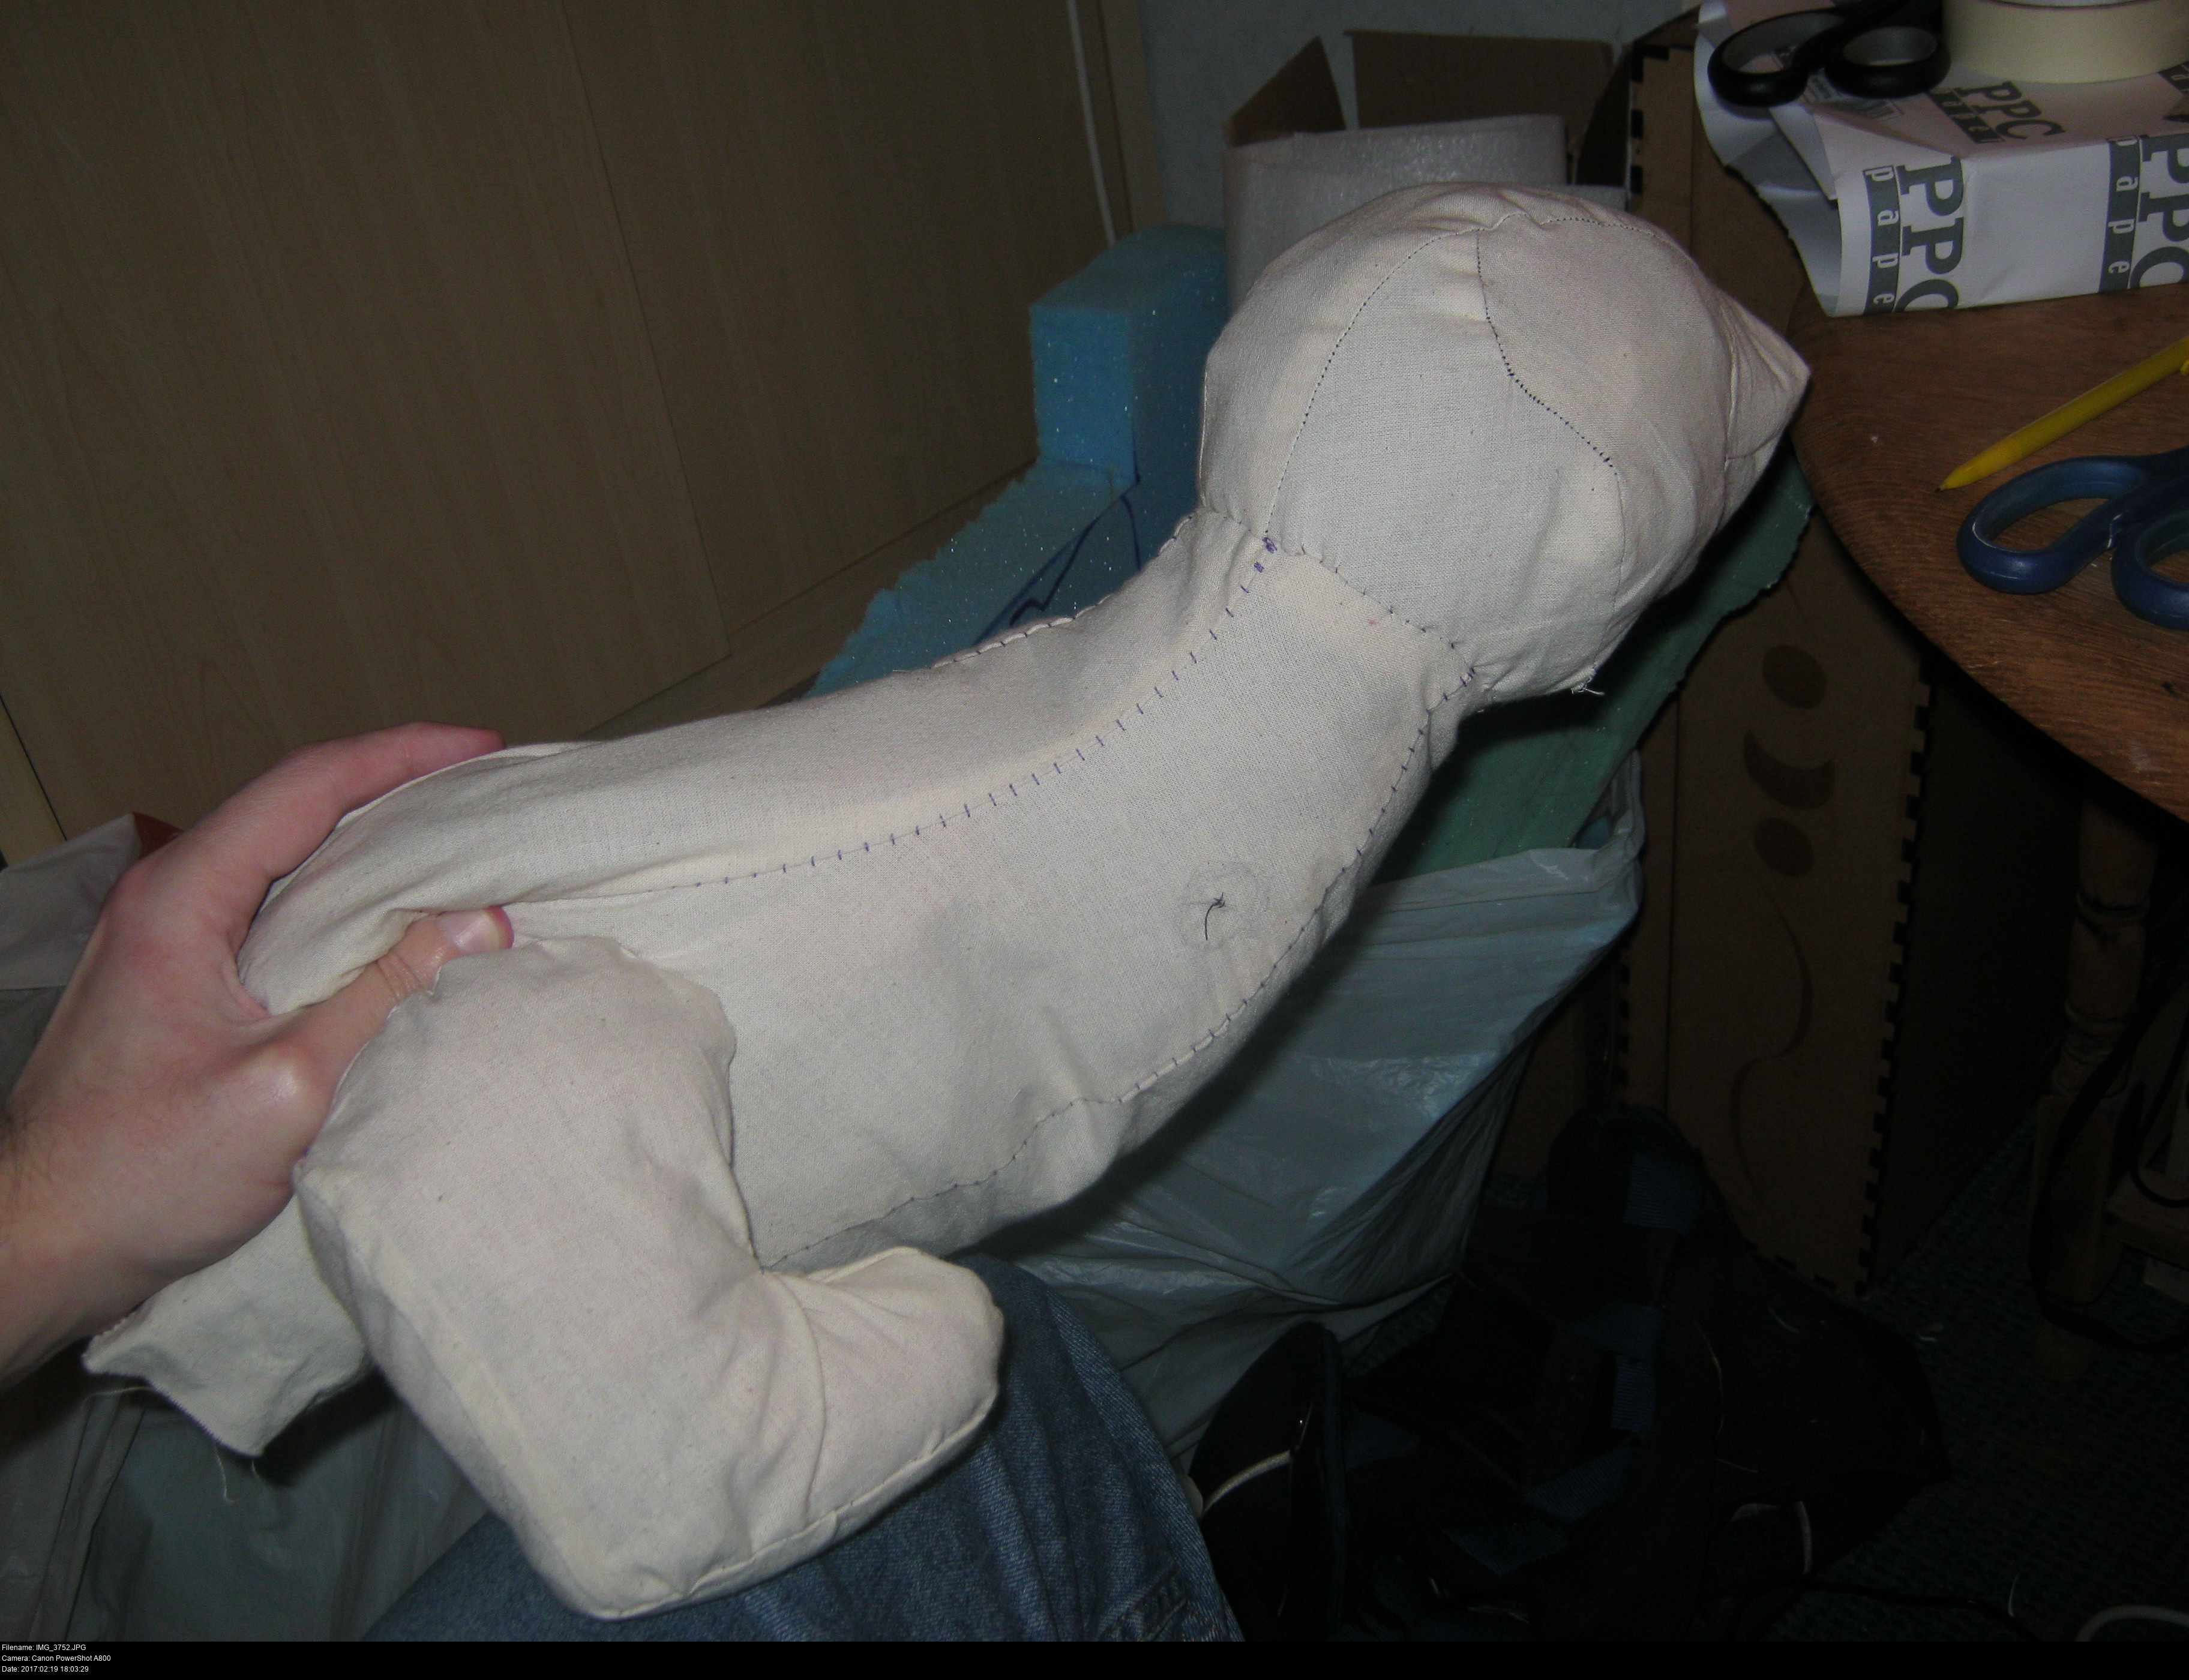
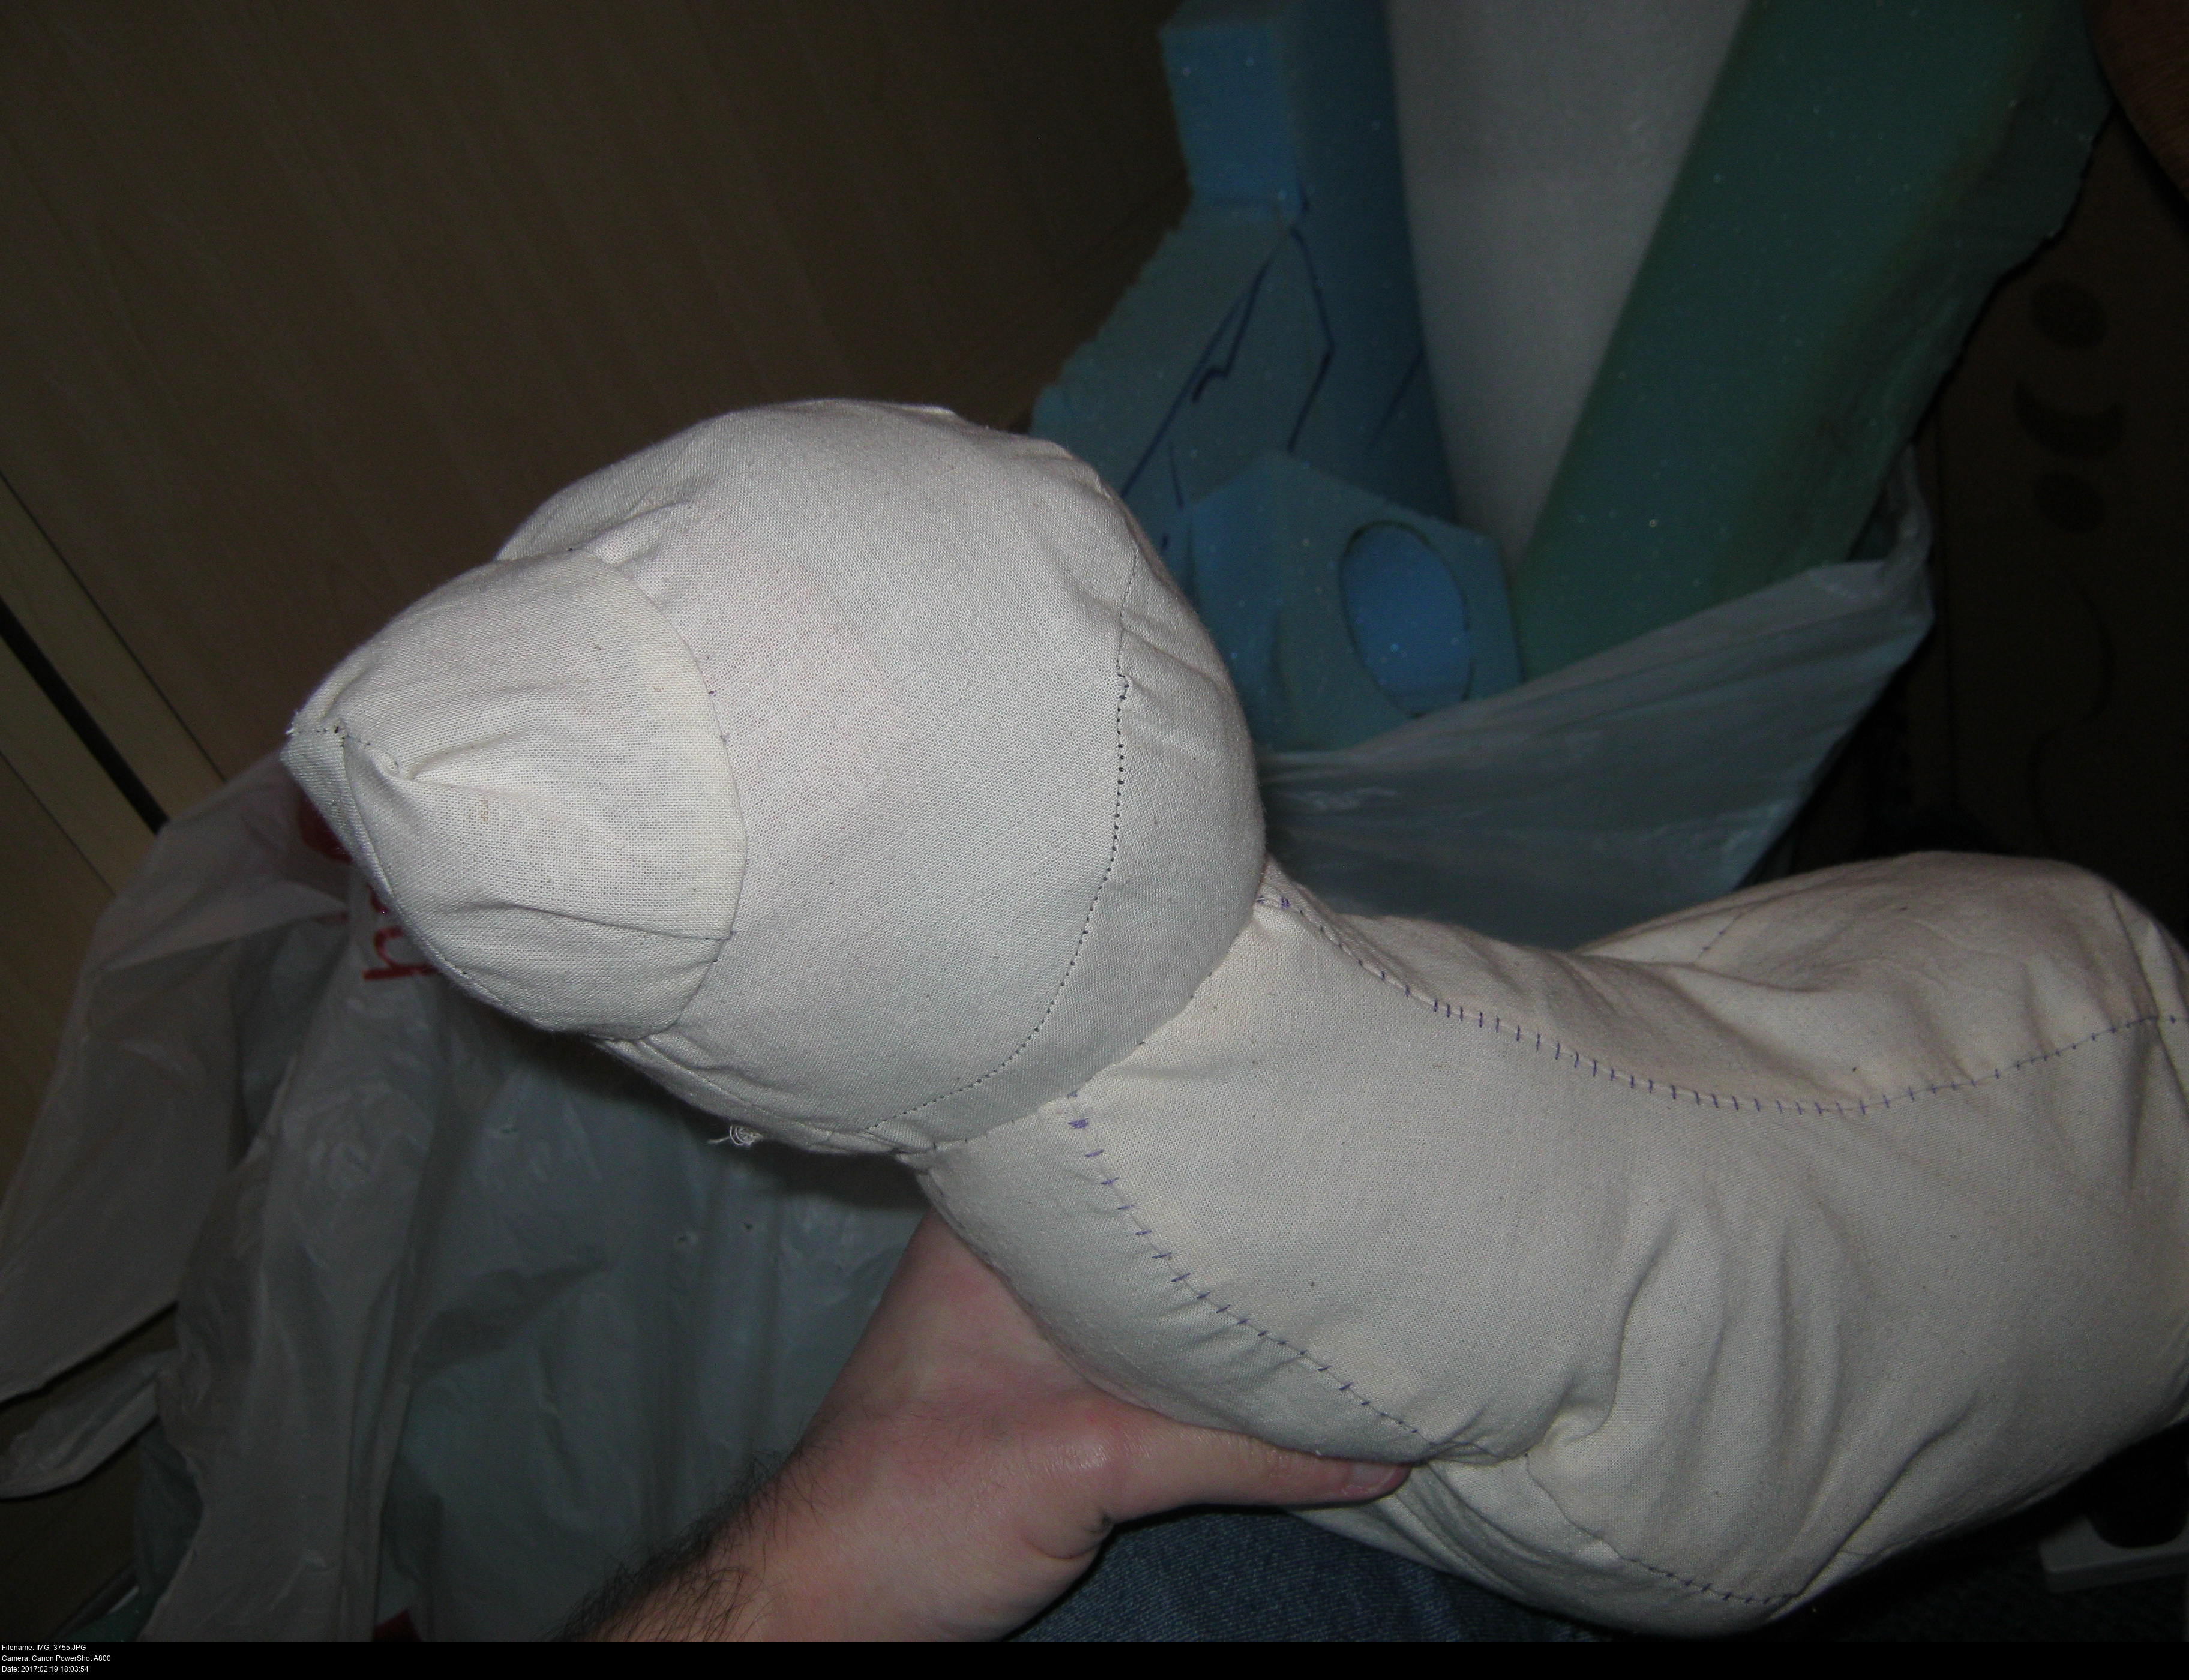
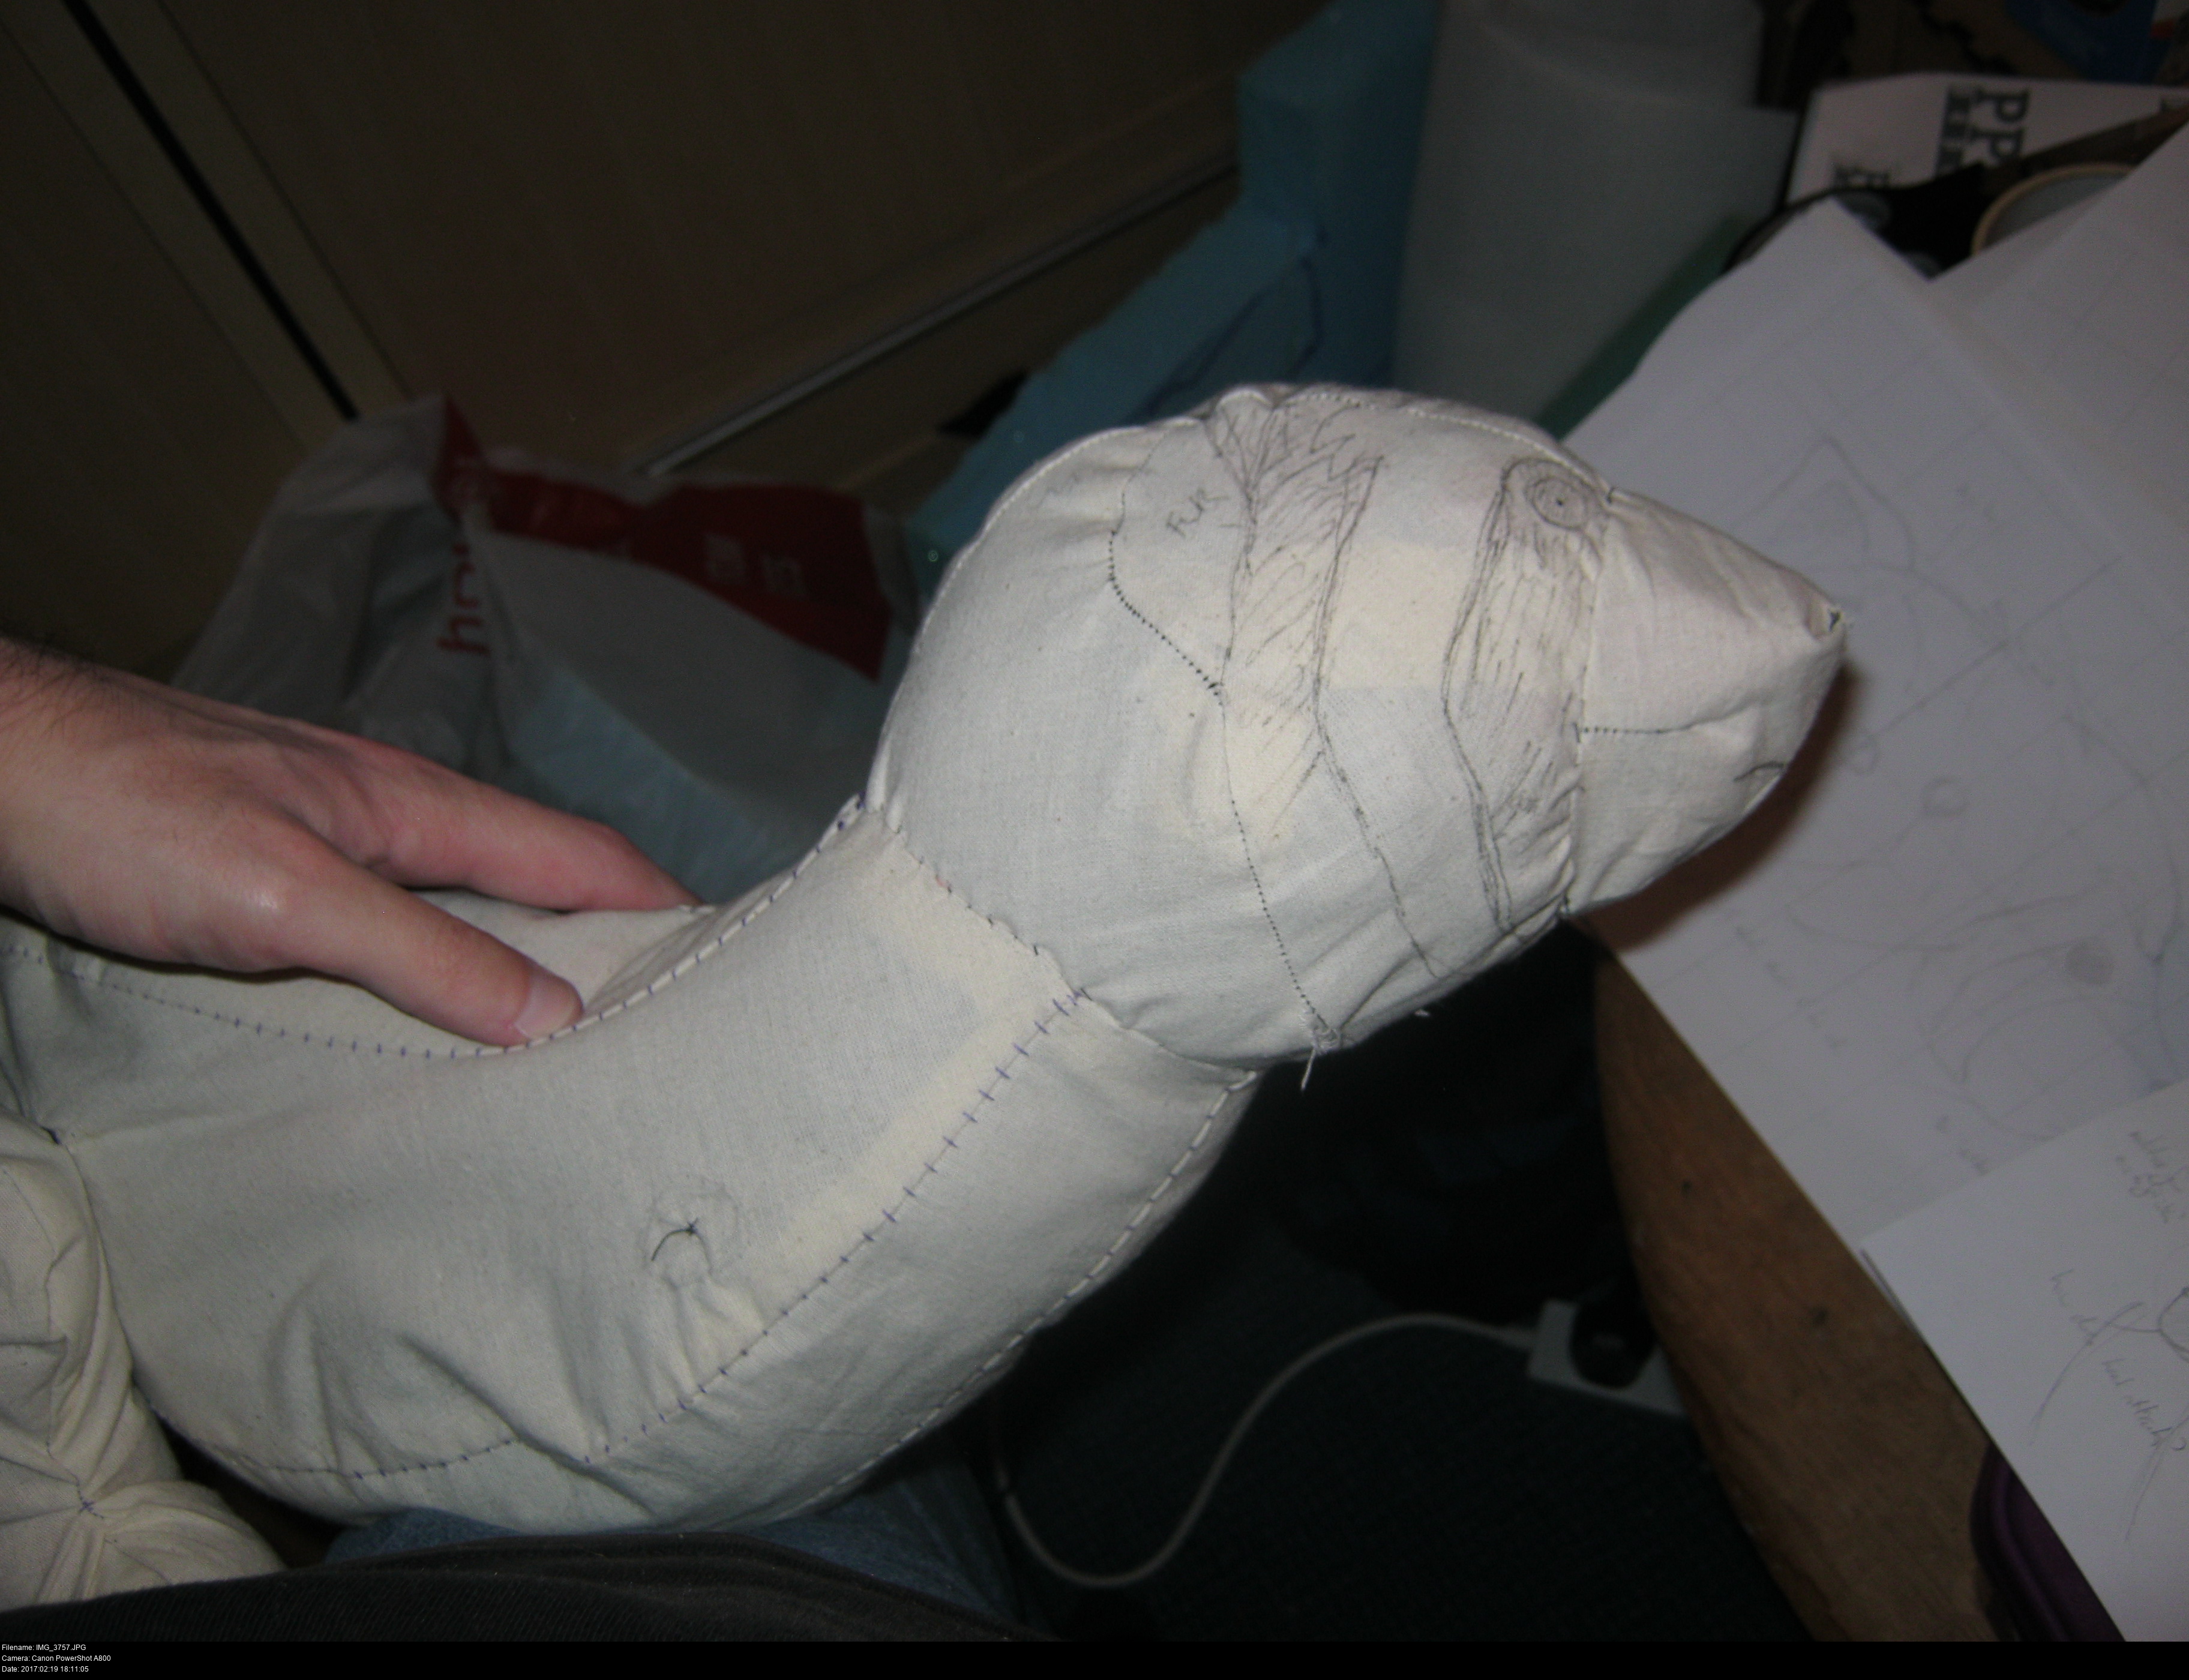
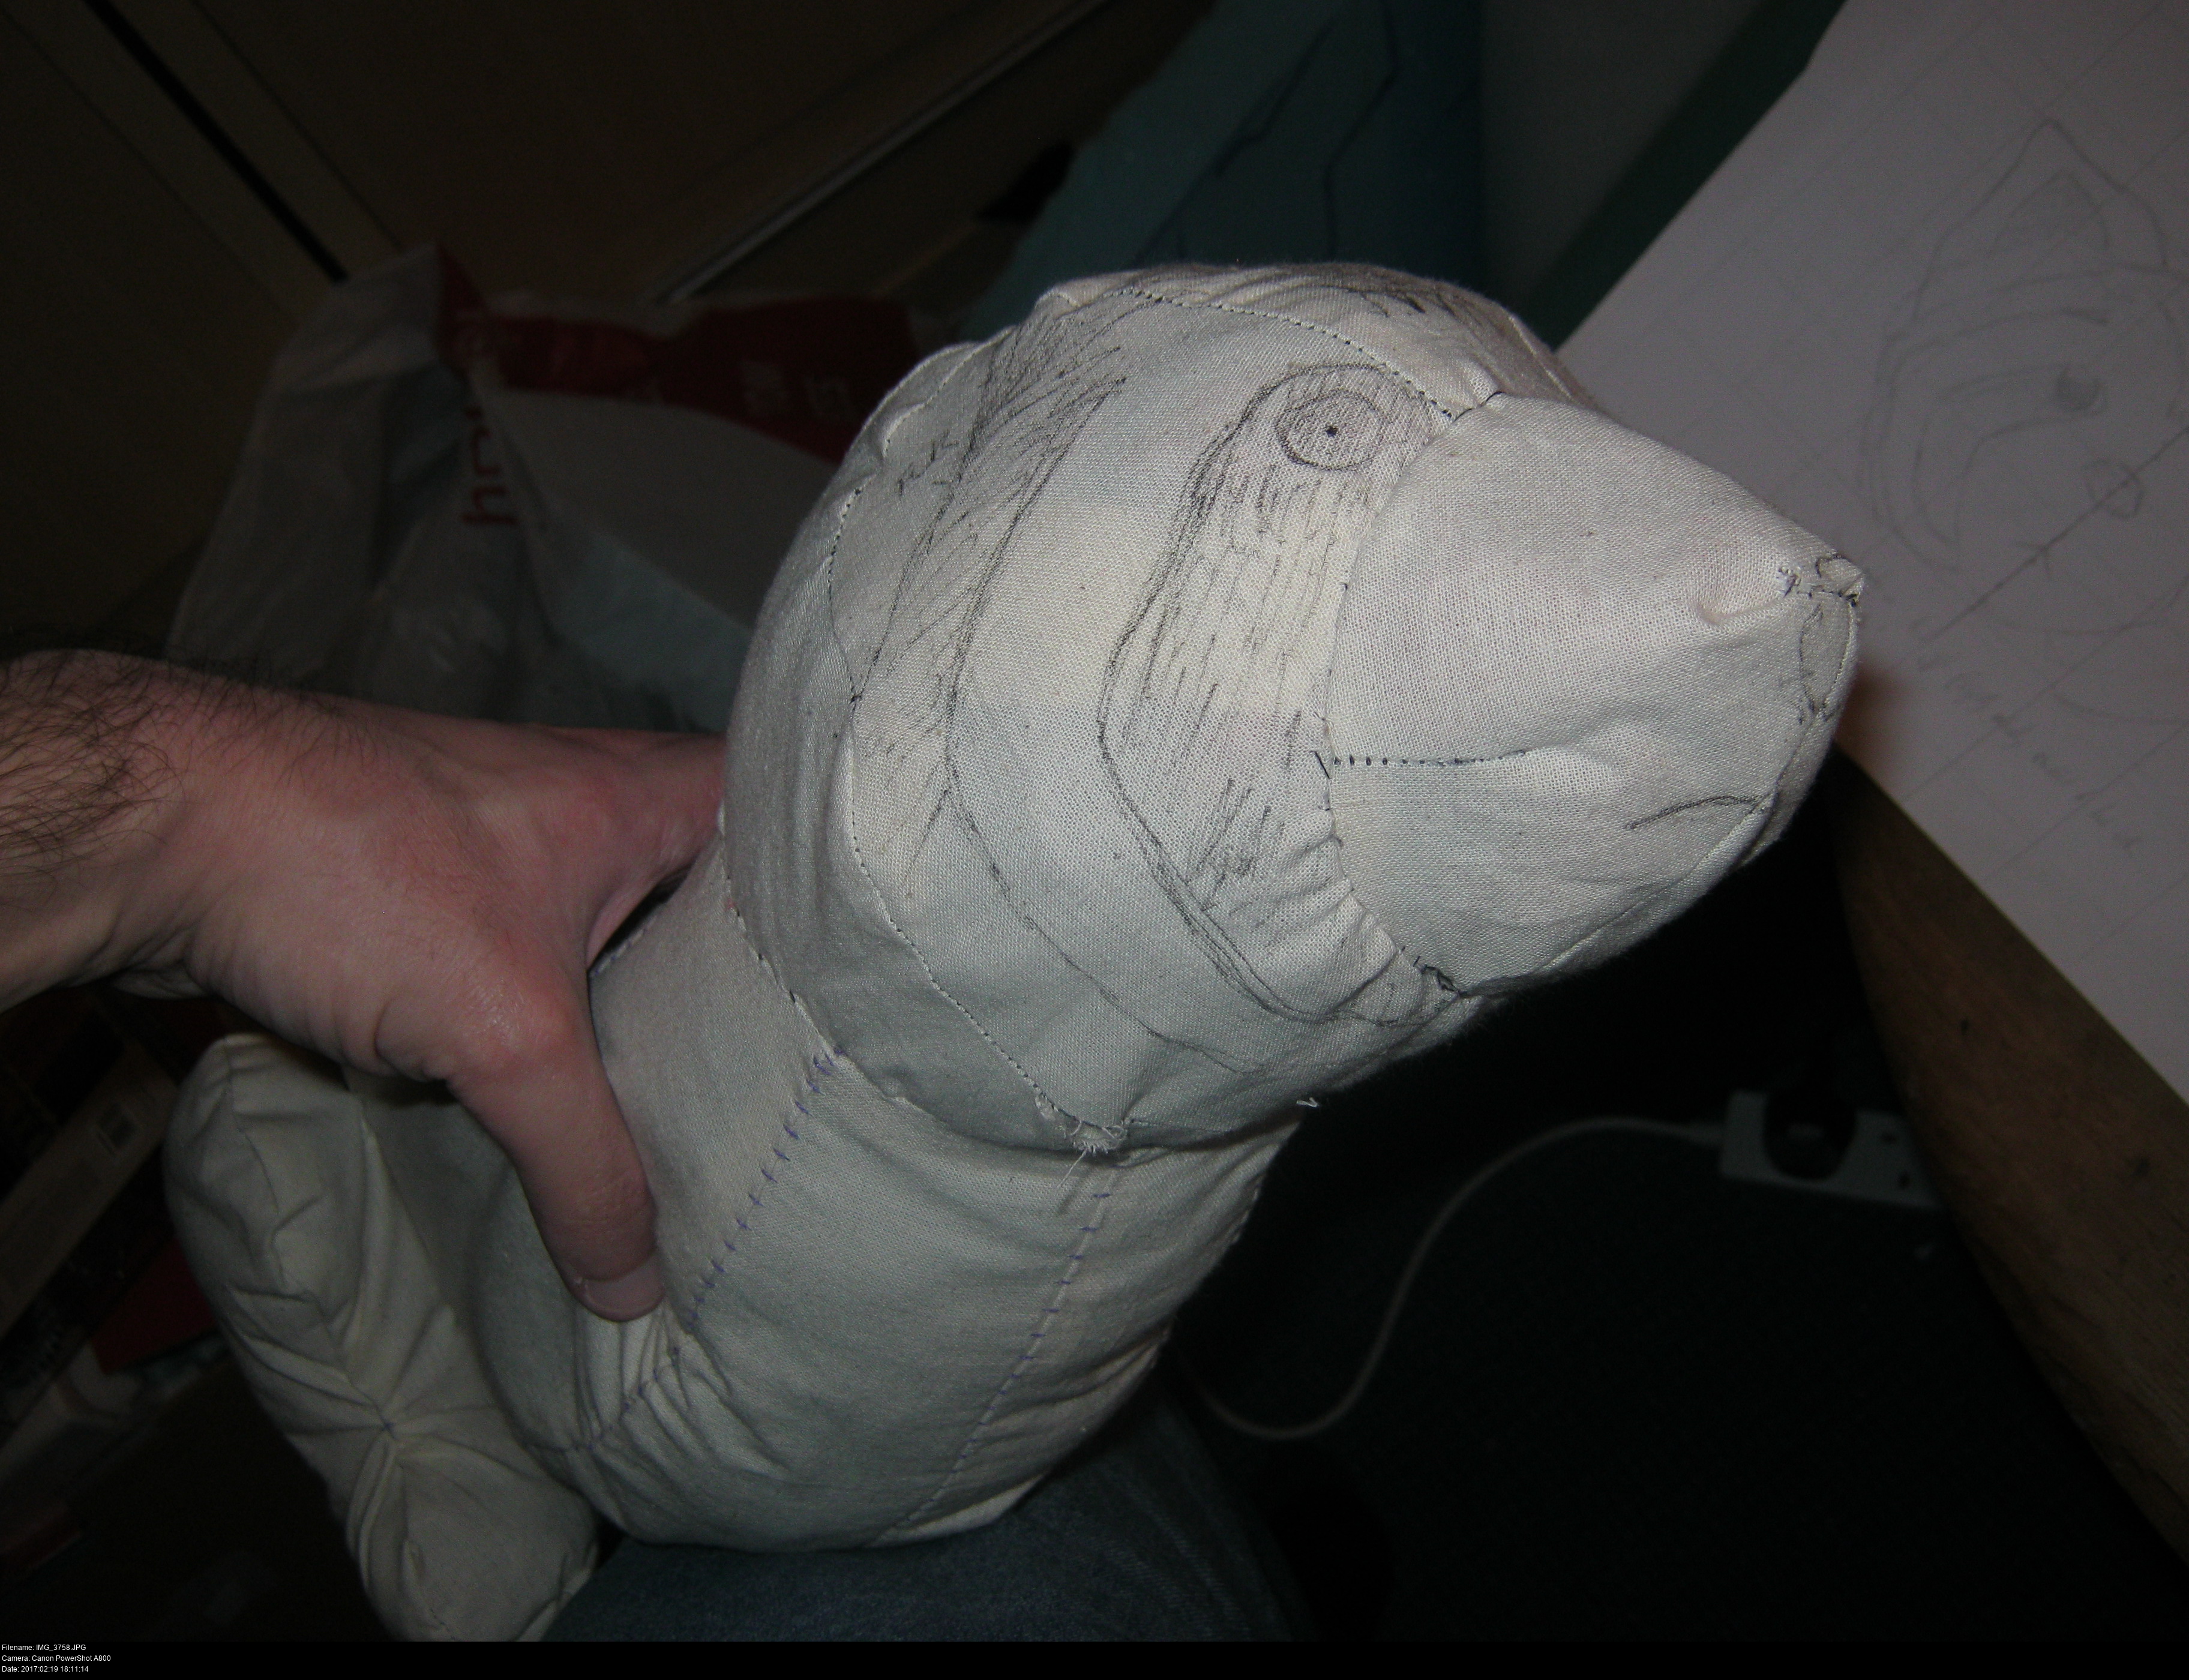
And here we go!
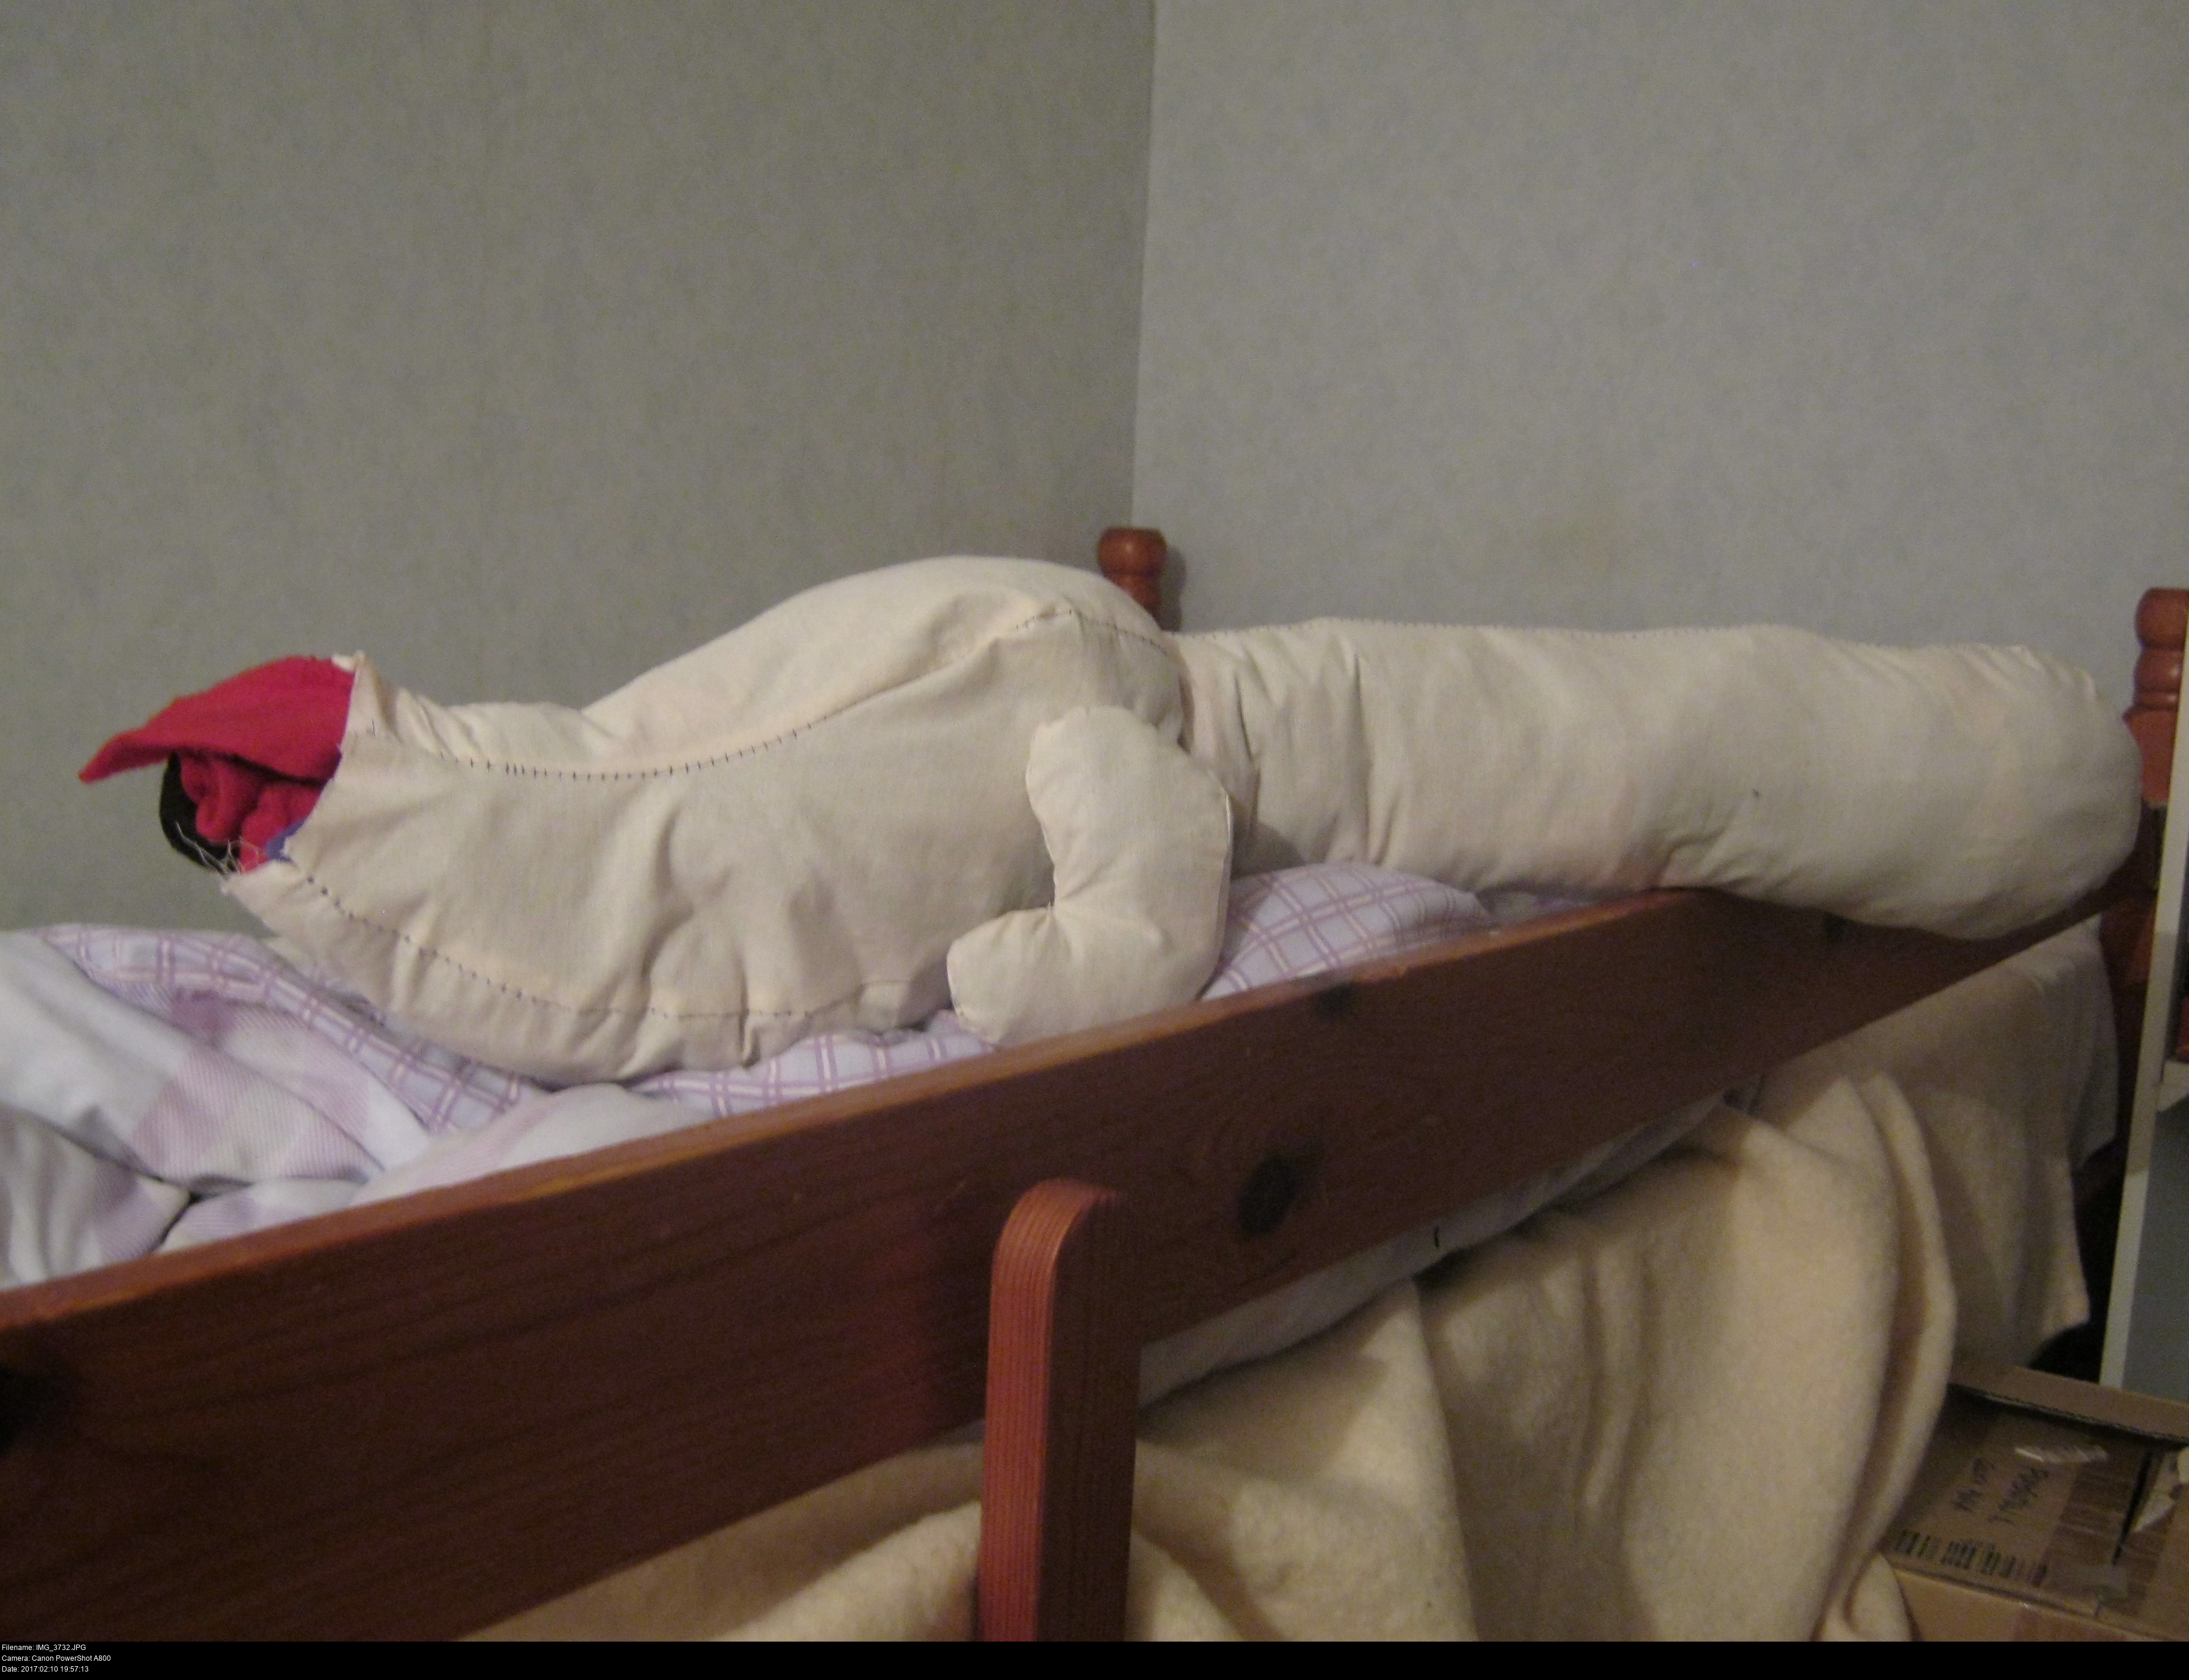
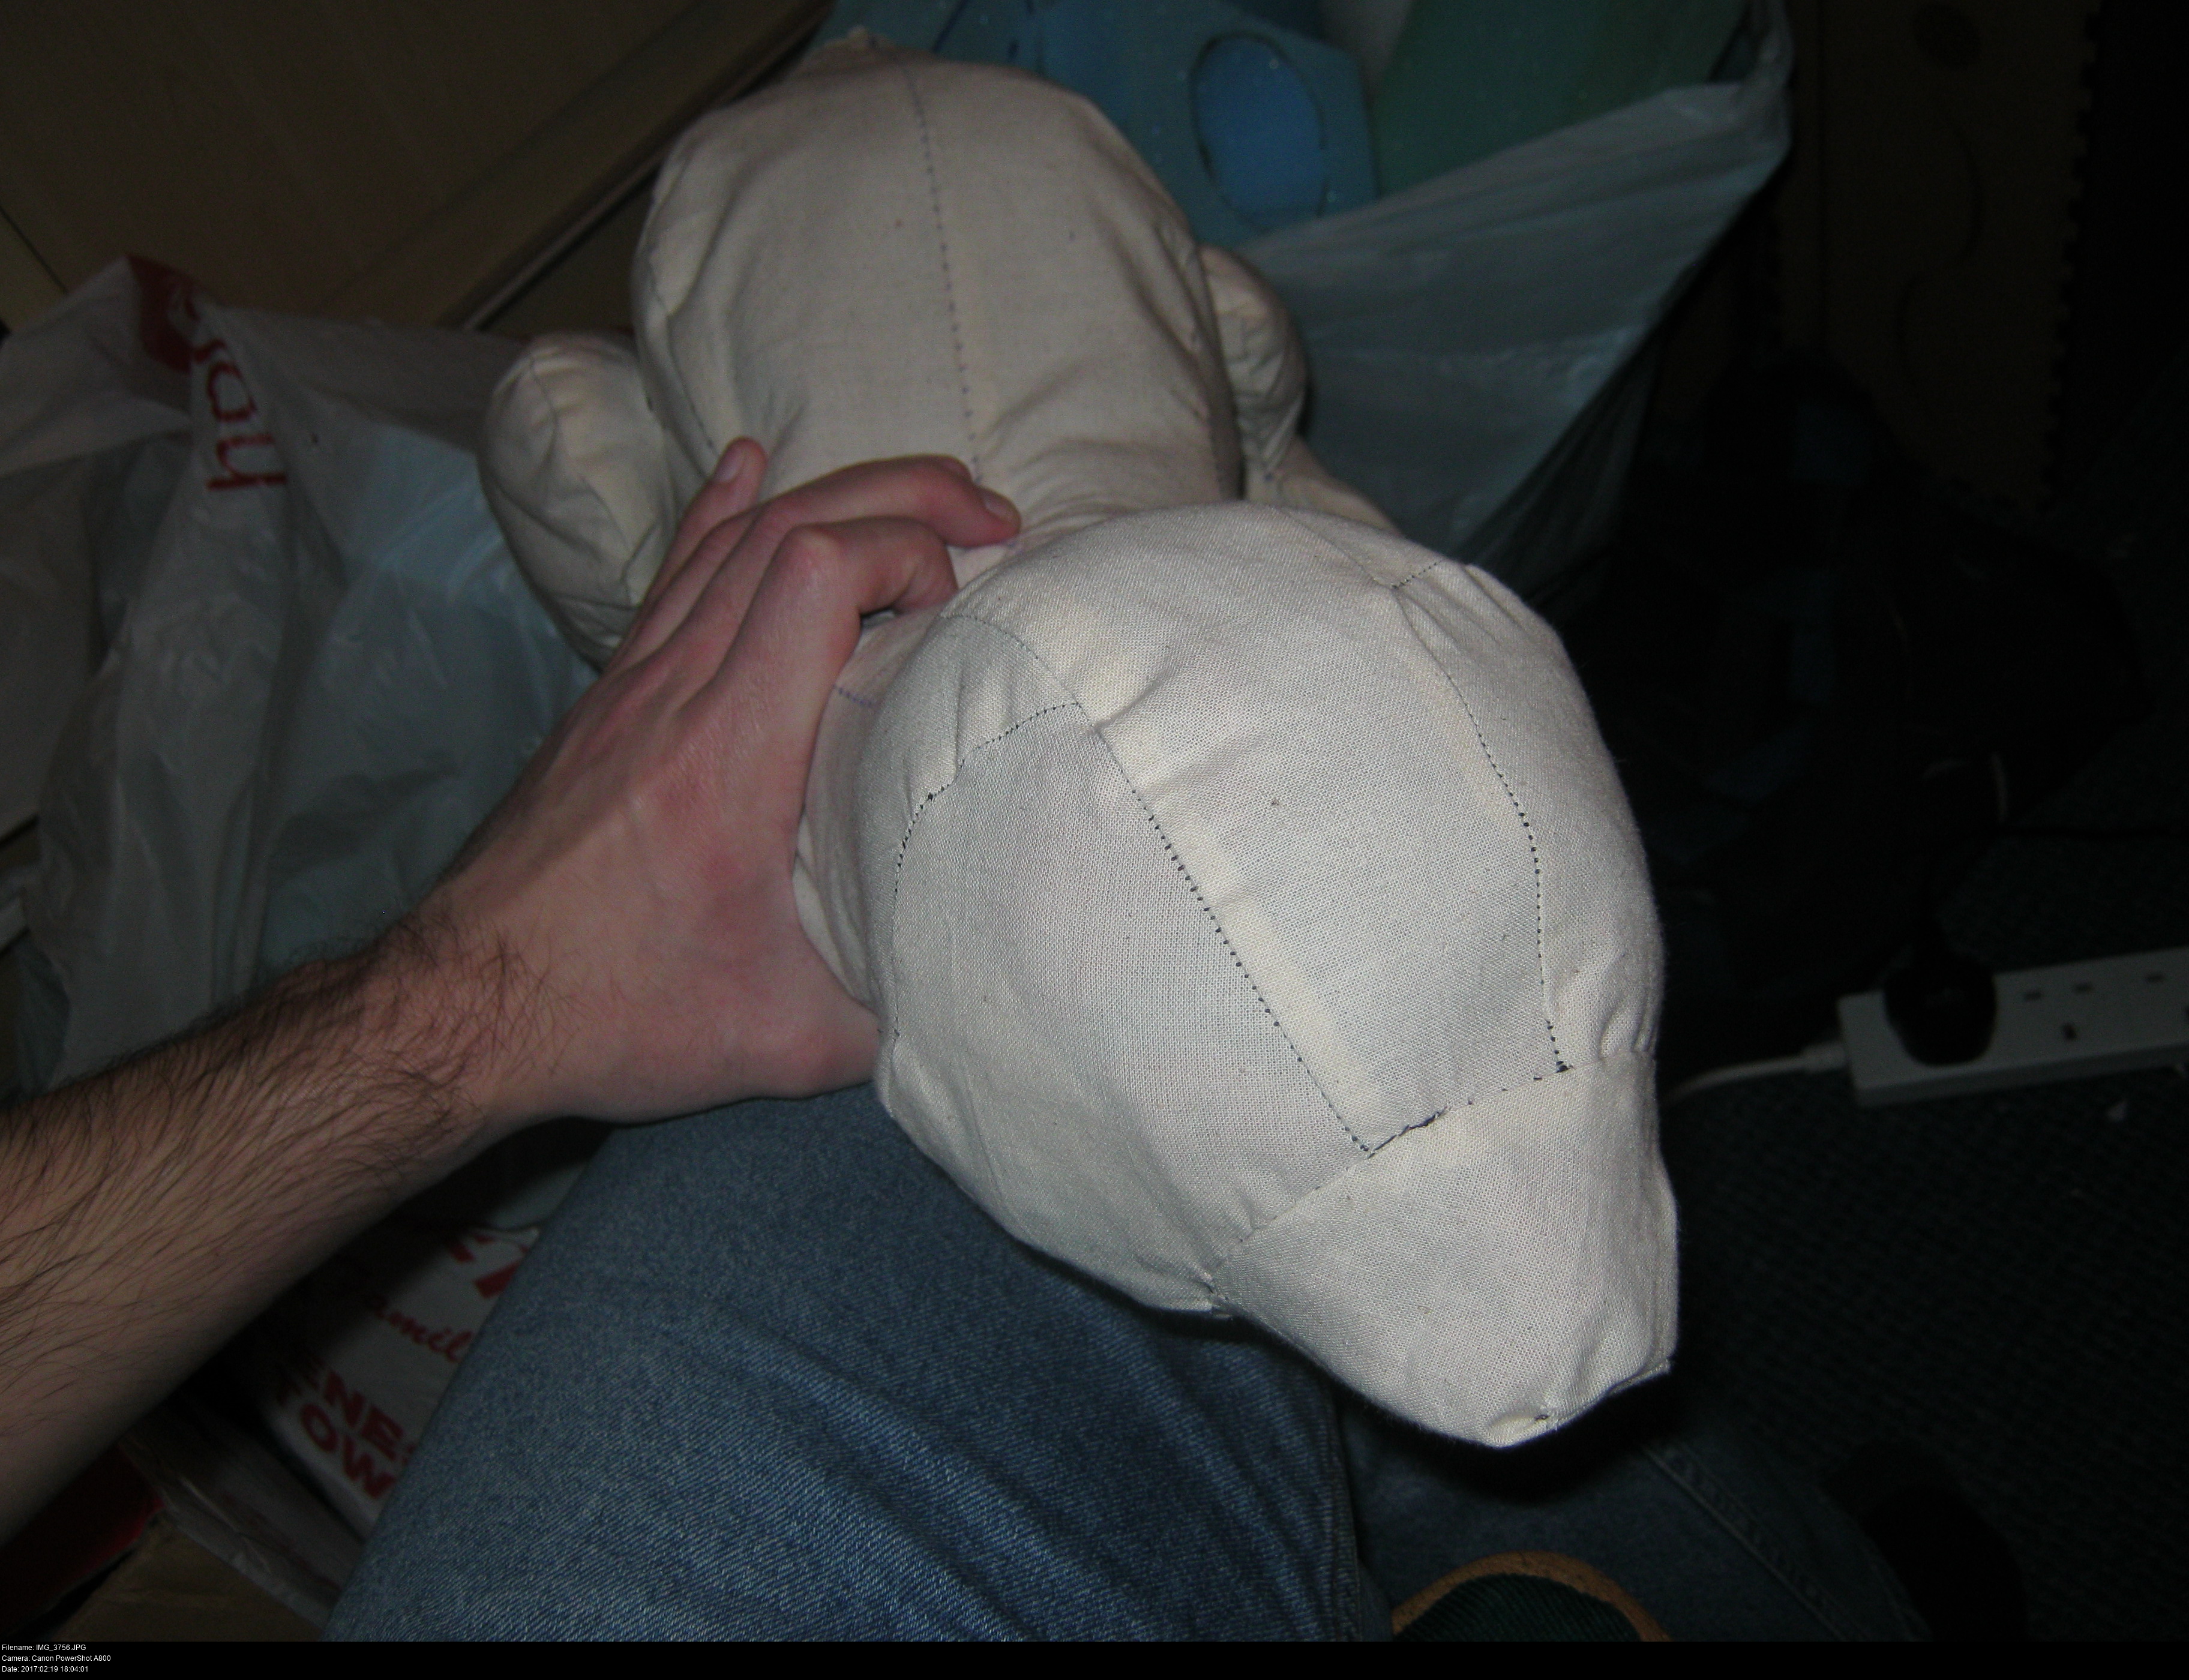
One magnificent, earless, spooky ghost Pabu! I think his resized head turned out wonderfully, especially for a first attempt. It's the right size and the right shape.
Now I have to dismantle it again!
Notice how I've drawn on Pabu's featured in fineliner directly onto my prototype. If I cut the prototype back into its pieces, I can trace the pattern of his face details from it. How am I going to do his face? I can't incorporate it into the pattern since it'll be way too fiddly. I'm going to have to applique it on... but I don't know how to do that! Aaahhhh....!
Making the ear patterns is a case of trying to imitate the upper shape of the ear while ensuring the lower edge has the correct length to fit into the slot produced by the curves I've drawn splitting the front and back halves of the head. Use paper test templates. Draw 'em, cut 'em out, and put them on top of the prototype to see how they look.
Hmm, that might be it. I've got a body pattern, a tail pattern, feet patterns, and a face pattern. Everything a growing Fire Ferret needs.
Before I start making Pabu, let's take a moment to talk about materials, colours, and making things for other people.
When making a toy for somebody based of an existing character or off illustrations, accuracy in texture and colour through material choice is key.
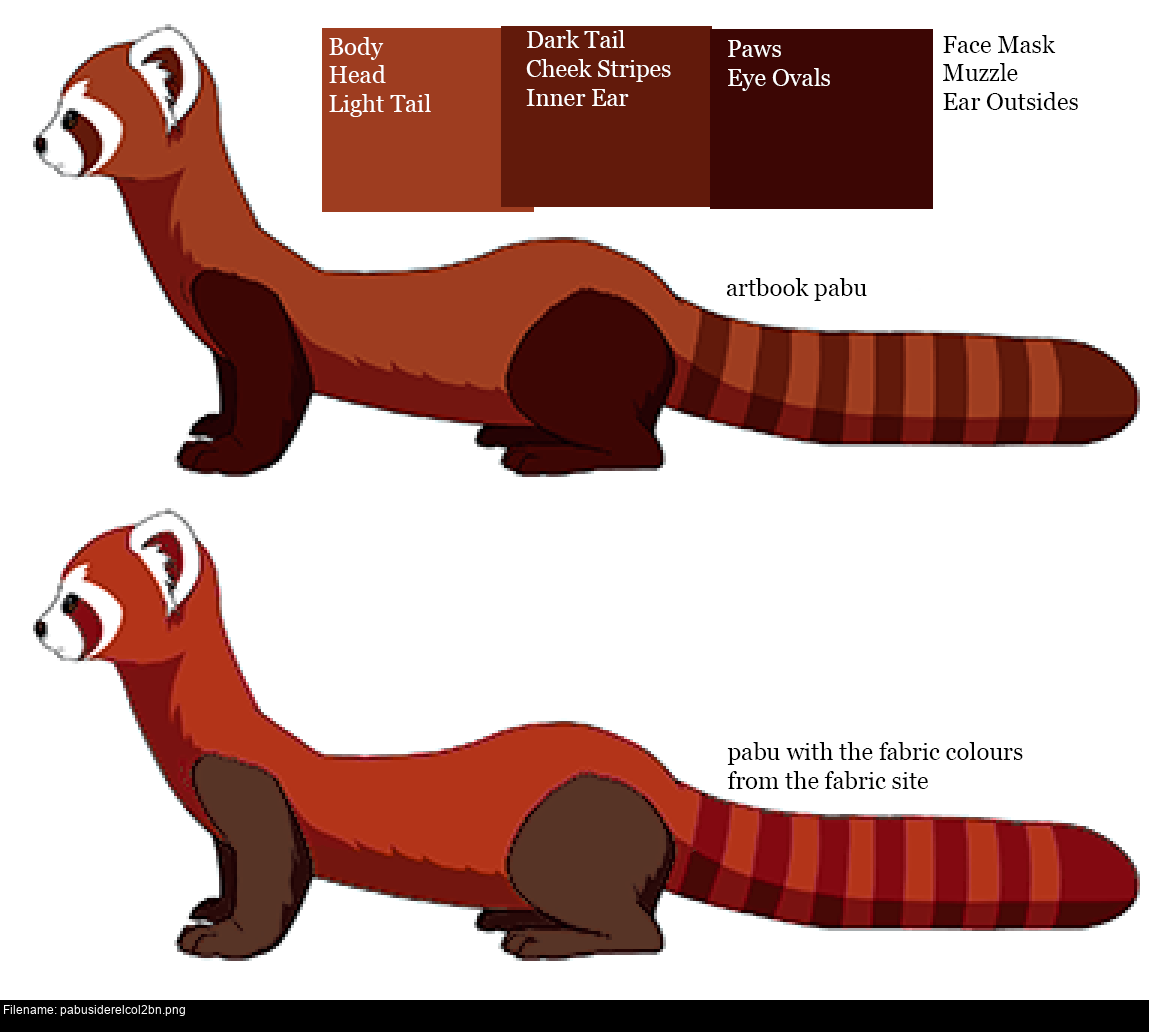
Here's the side view of Pabu from the art book again. The top image is from the book, the bottom image has been recoloured to match the fleece colours available from myfabrics.co.uk, based on their swatch preview images.
https://www.myfabrics.co.uk/81-9111-157_anti-pill-fleece-terracotta.html
https://www.myfabrics.co.uk/81-9111-016_anti-pill-fleece-carmine.html
https://www.myfabrics.co.uk/81-9111-055_anti-pill-fleece-brown.html
https://www.myfabrics.co.uk/81-9111-050_anti-pill-fleece-white.html
It is absolutely crucial that you maintain regular, informative contact with anybody who wants to commission you to make something for them. You need to be completely transparent about the colours that you would be able to use if they choose to go ahead with the project. Don't make assumptions and don't just make do with whatever leftovers you have. Show them what the project might look like in the colours you have or can acquire. Anything else is lazy, lazy, lazy and you're just going to leave yourself open to awkward fussiness.
The image refers to 'eye ovals' which in my original plan were dark patches sewn on top of the cheek stripes and placed underneath the safety eyes to exaggerate their shape. I decided against doing that in the end.
Now, with all that in mind, you might wonder what the heck I'm doing with all this lush midnight blue fabric!
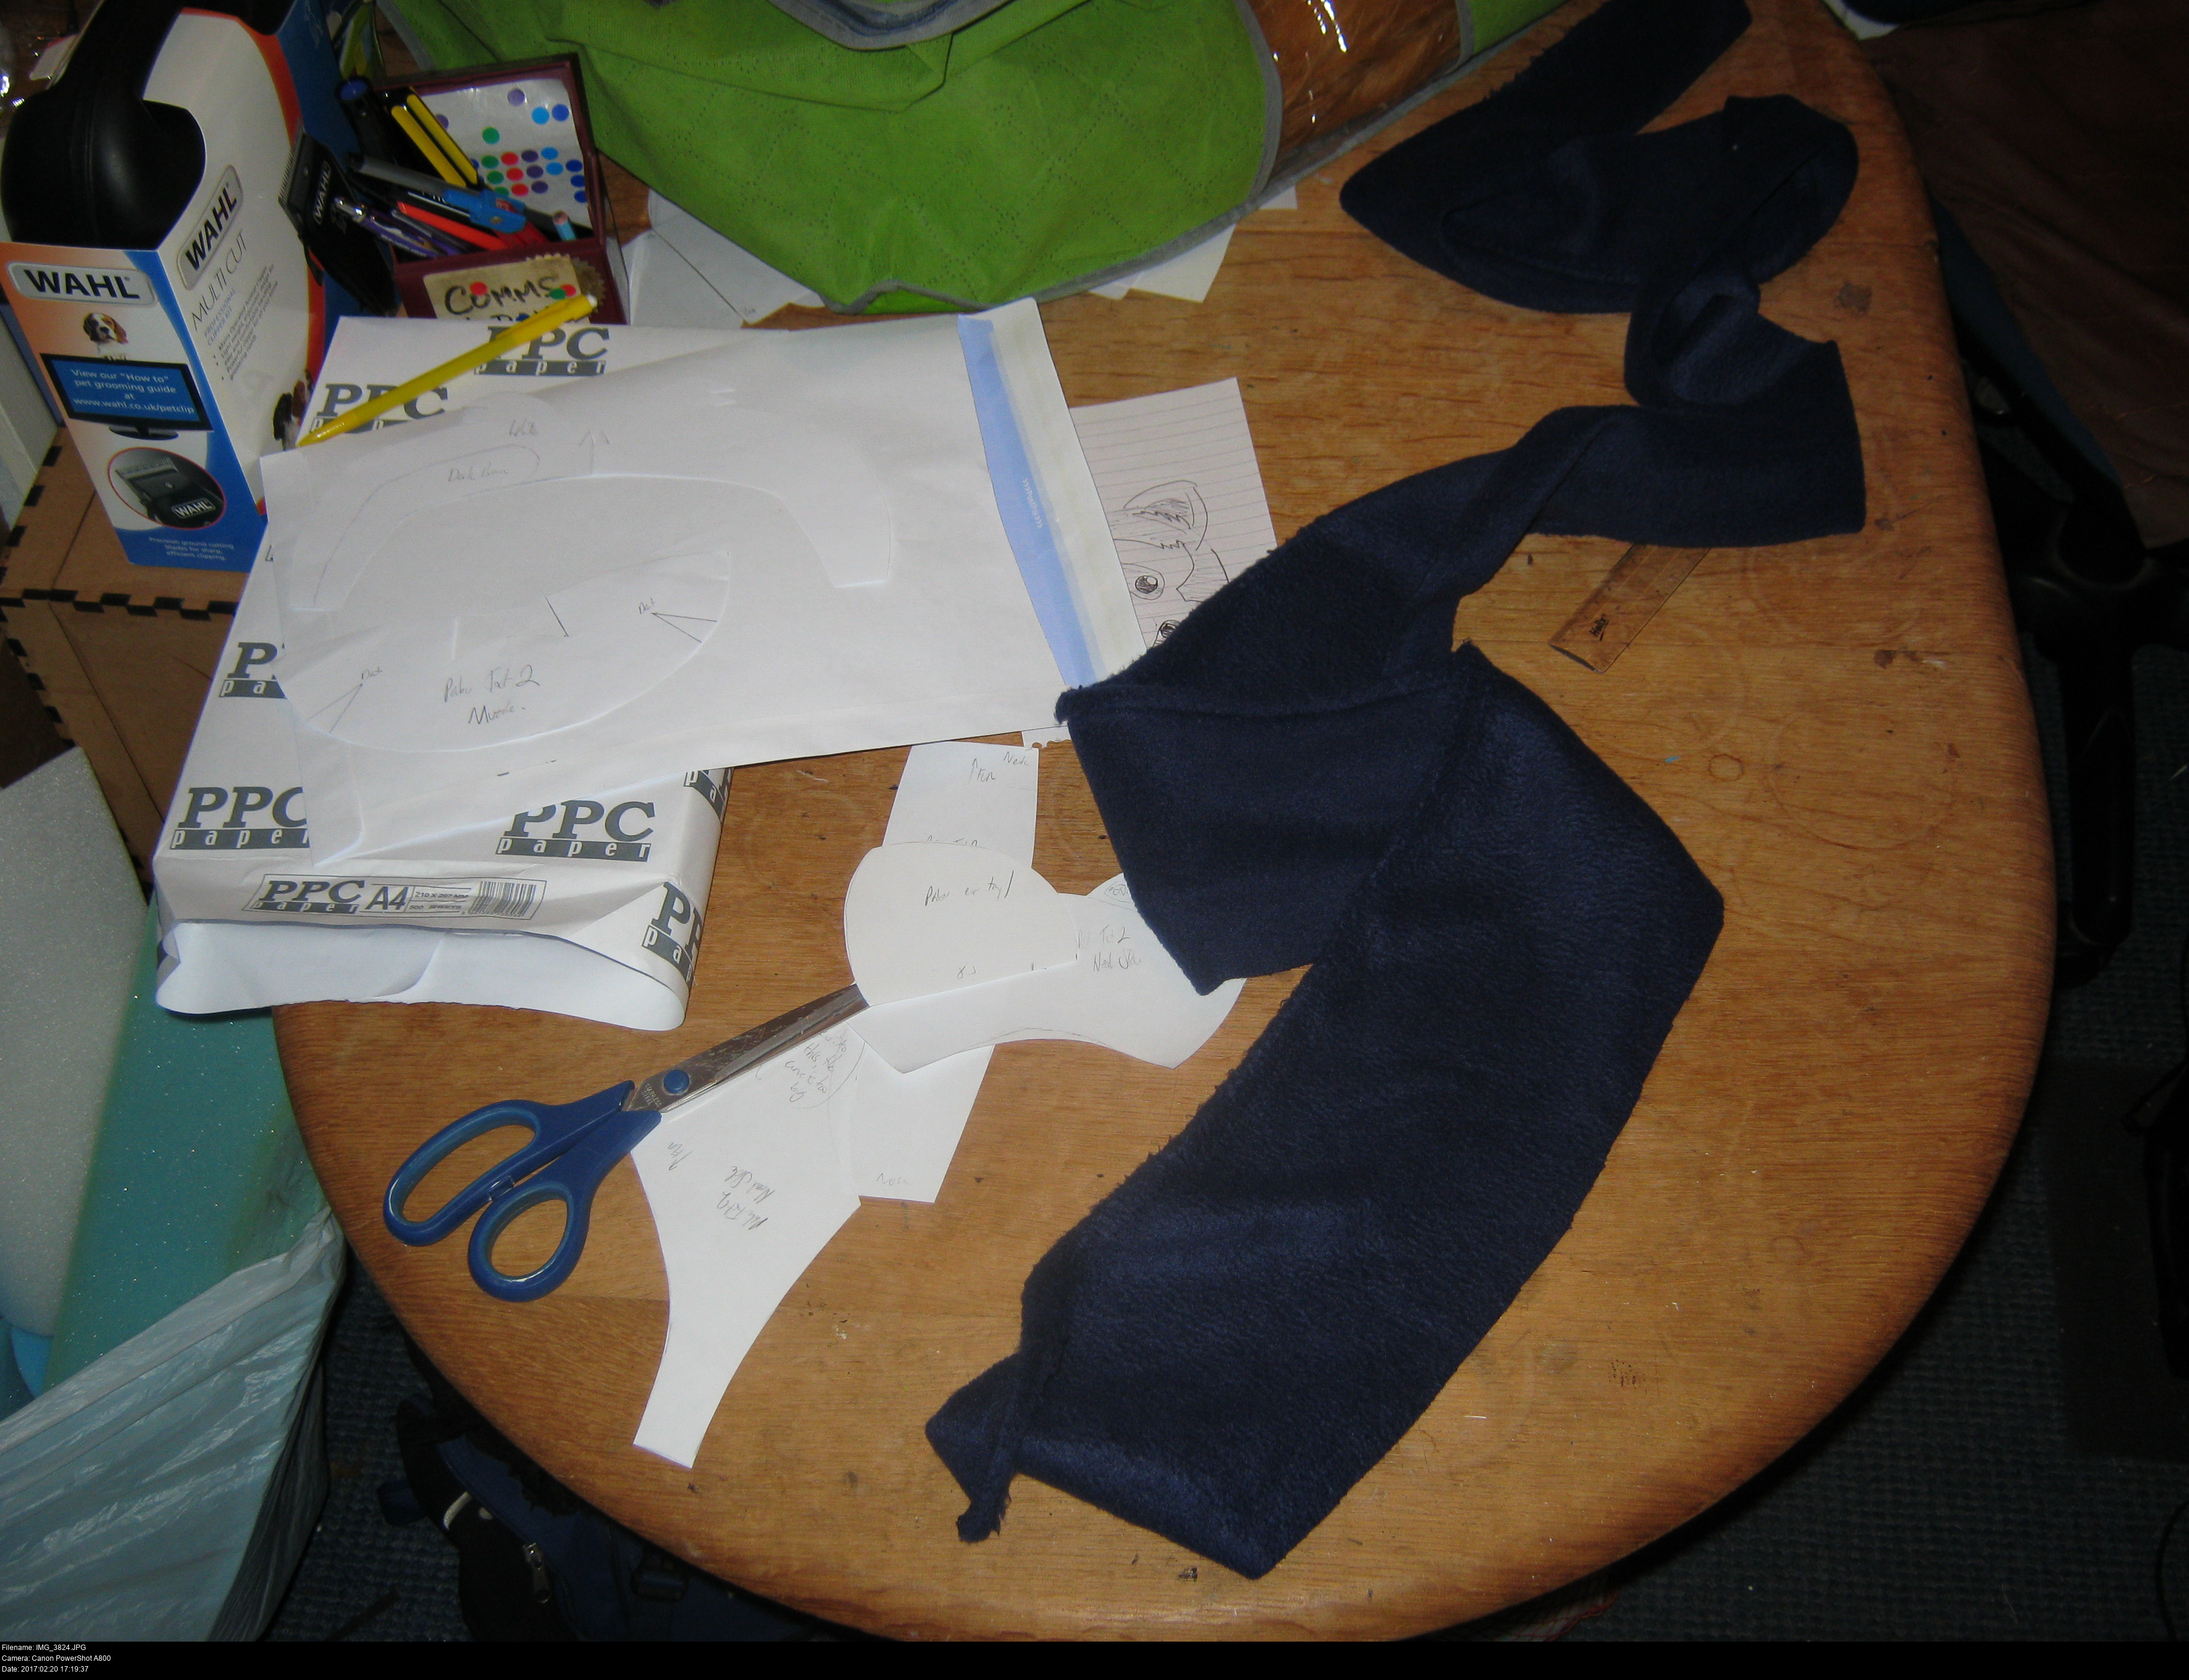
Before agreeing to make something for somebody, it's prudent but most of all polite to ensure that you can actually do it !
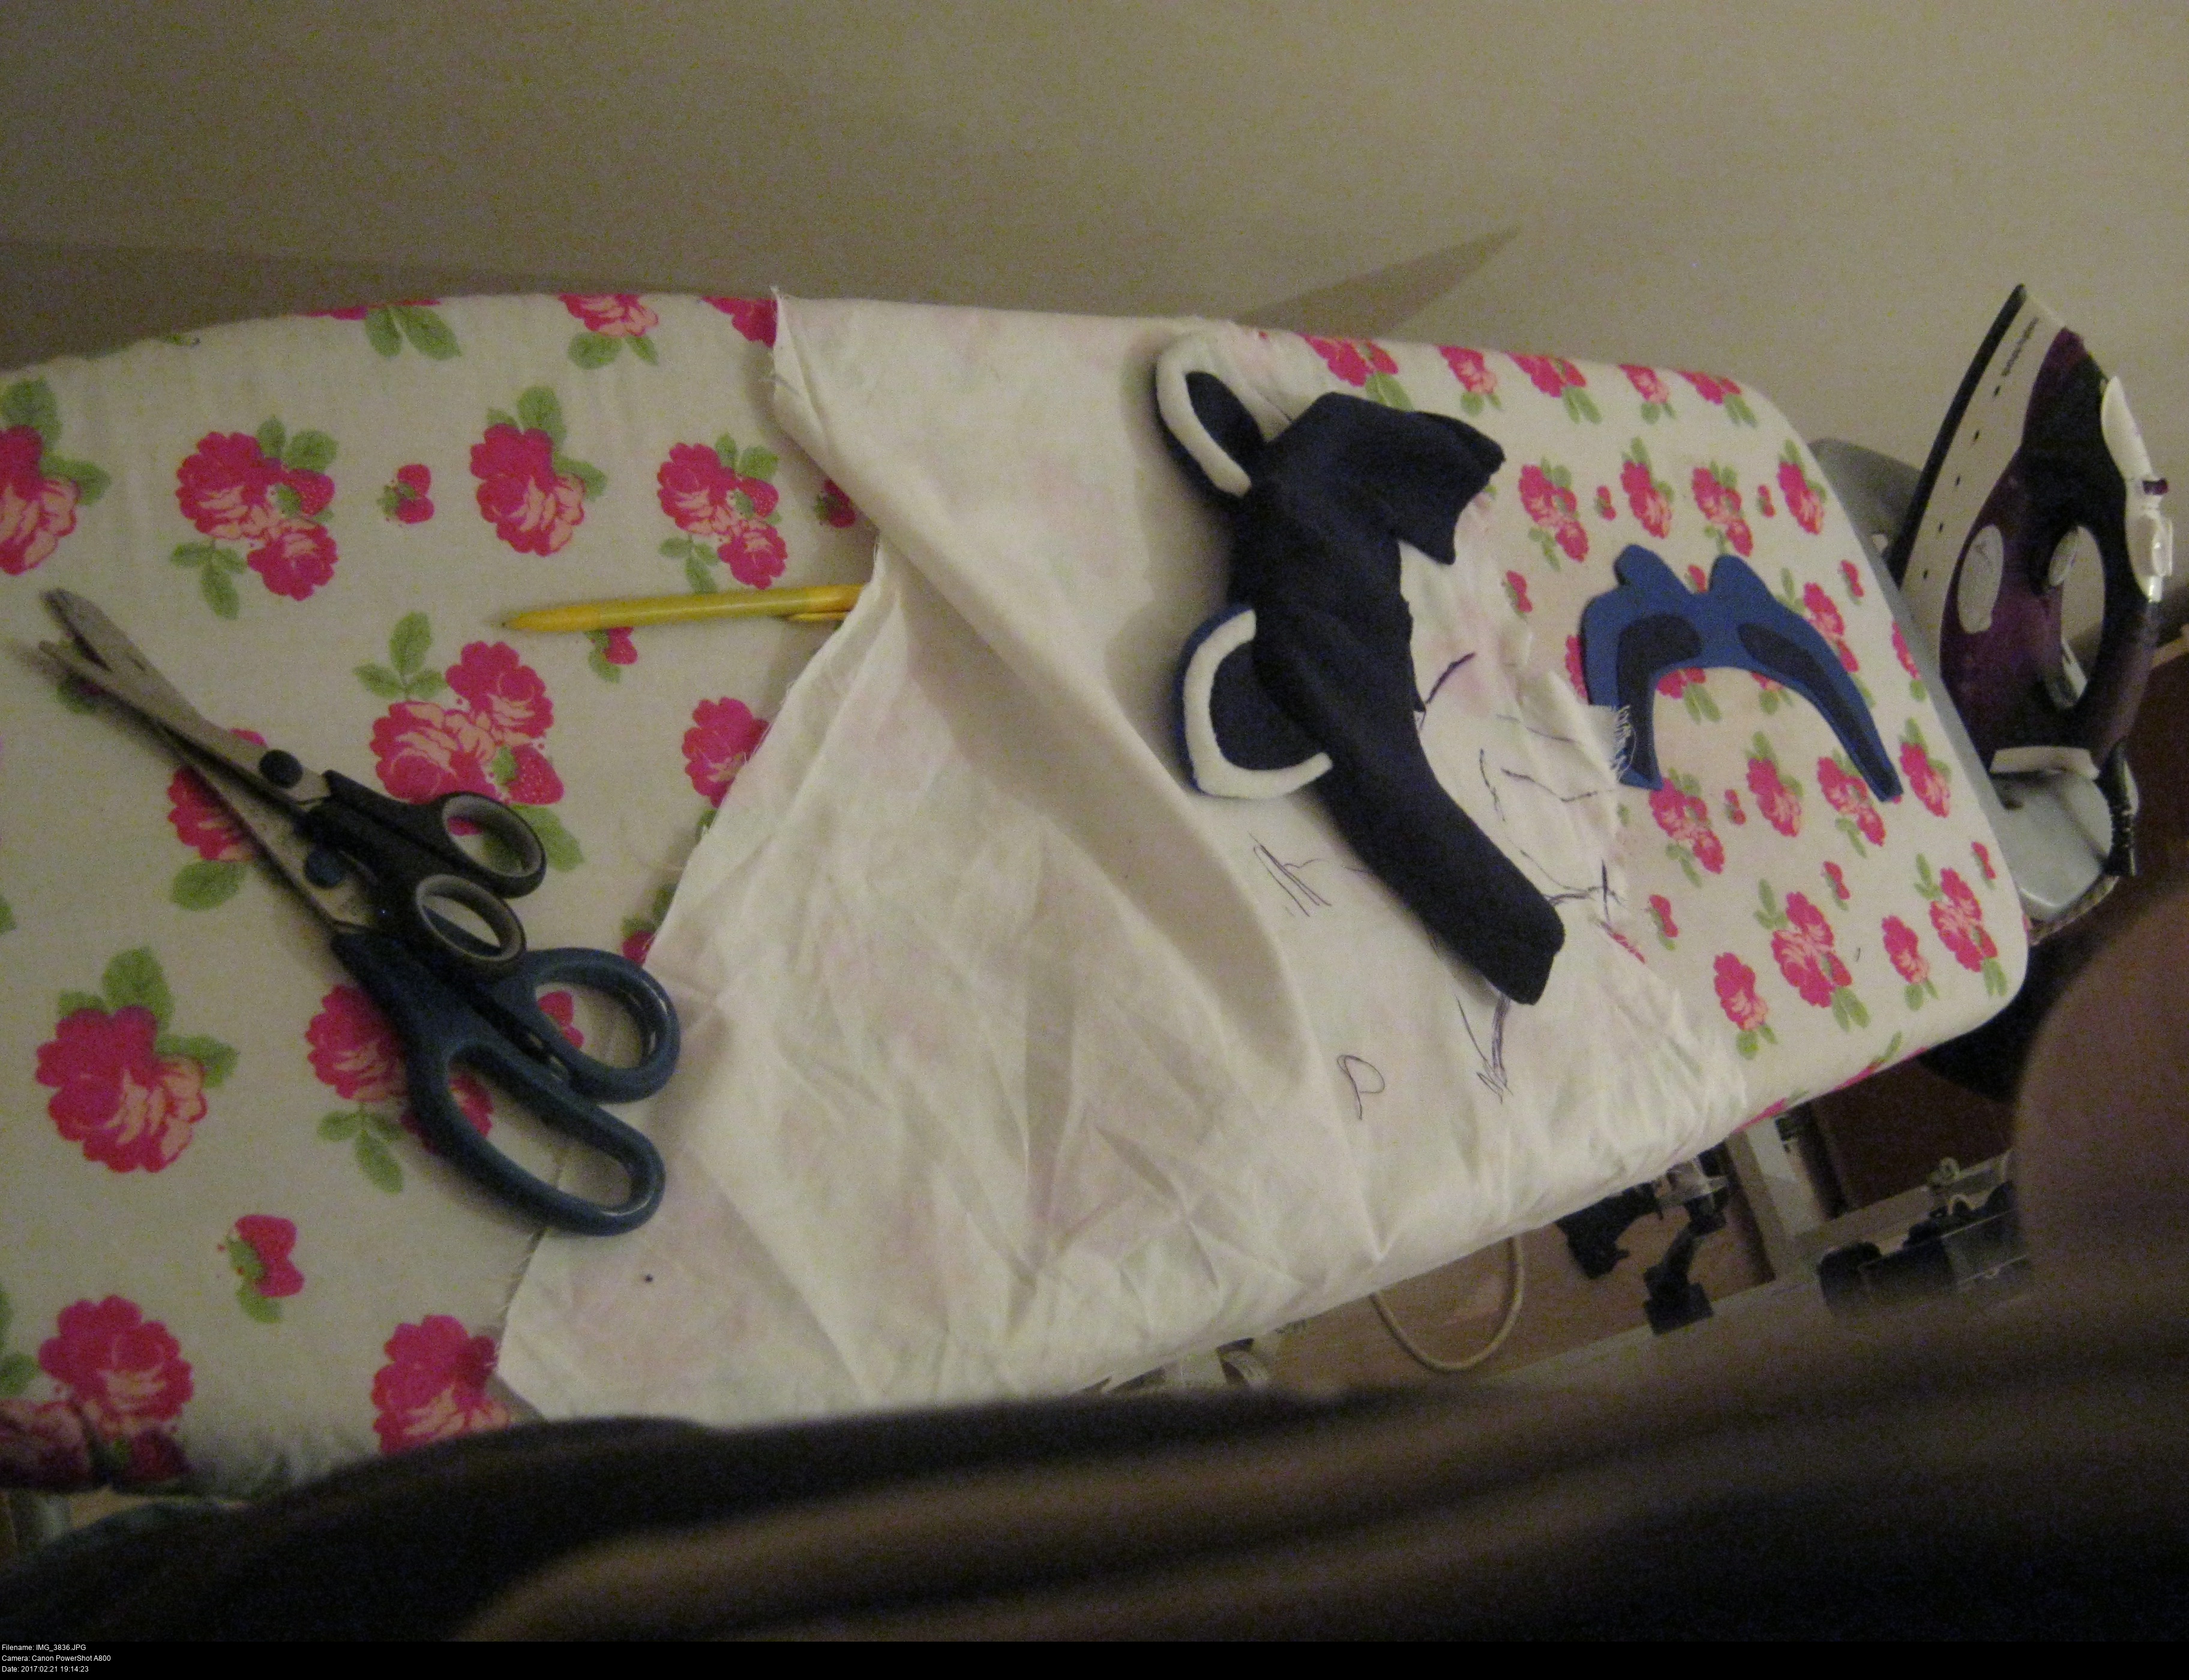
So here is a bunch of fabric remnants from Calico Laine that were lovely and cheap, random strips and sheets of blue, dark blue and black fleece that I'm going to try to make a proper material test of Pabu's head out of.
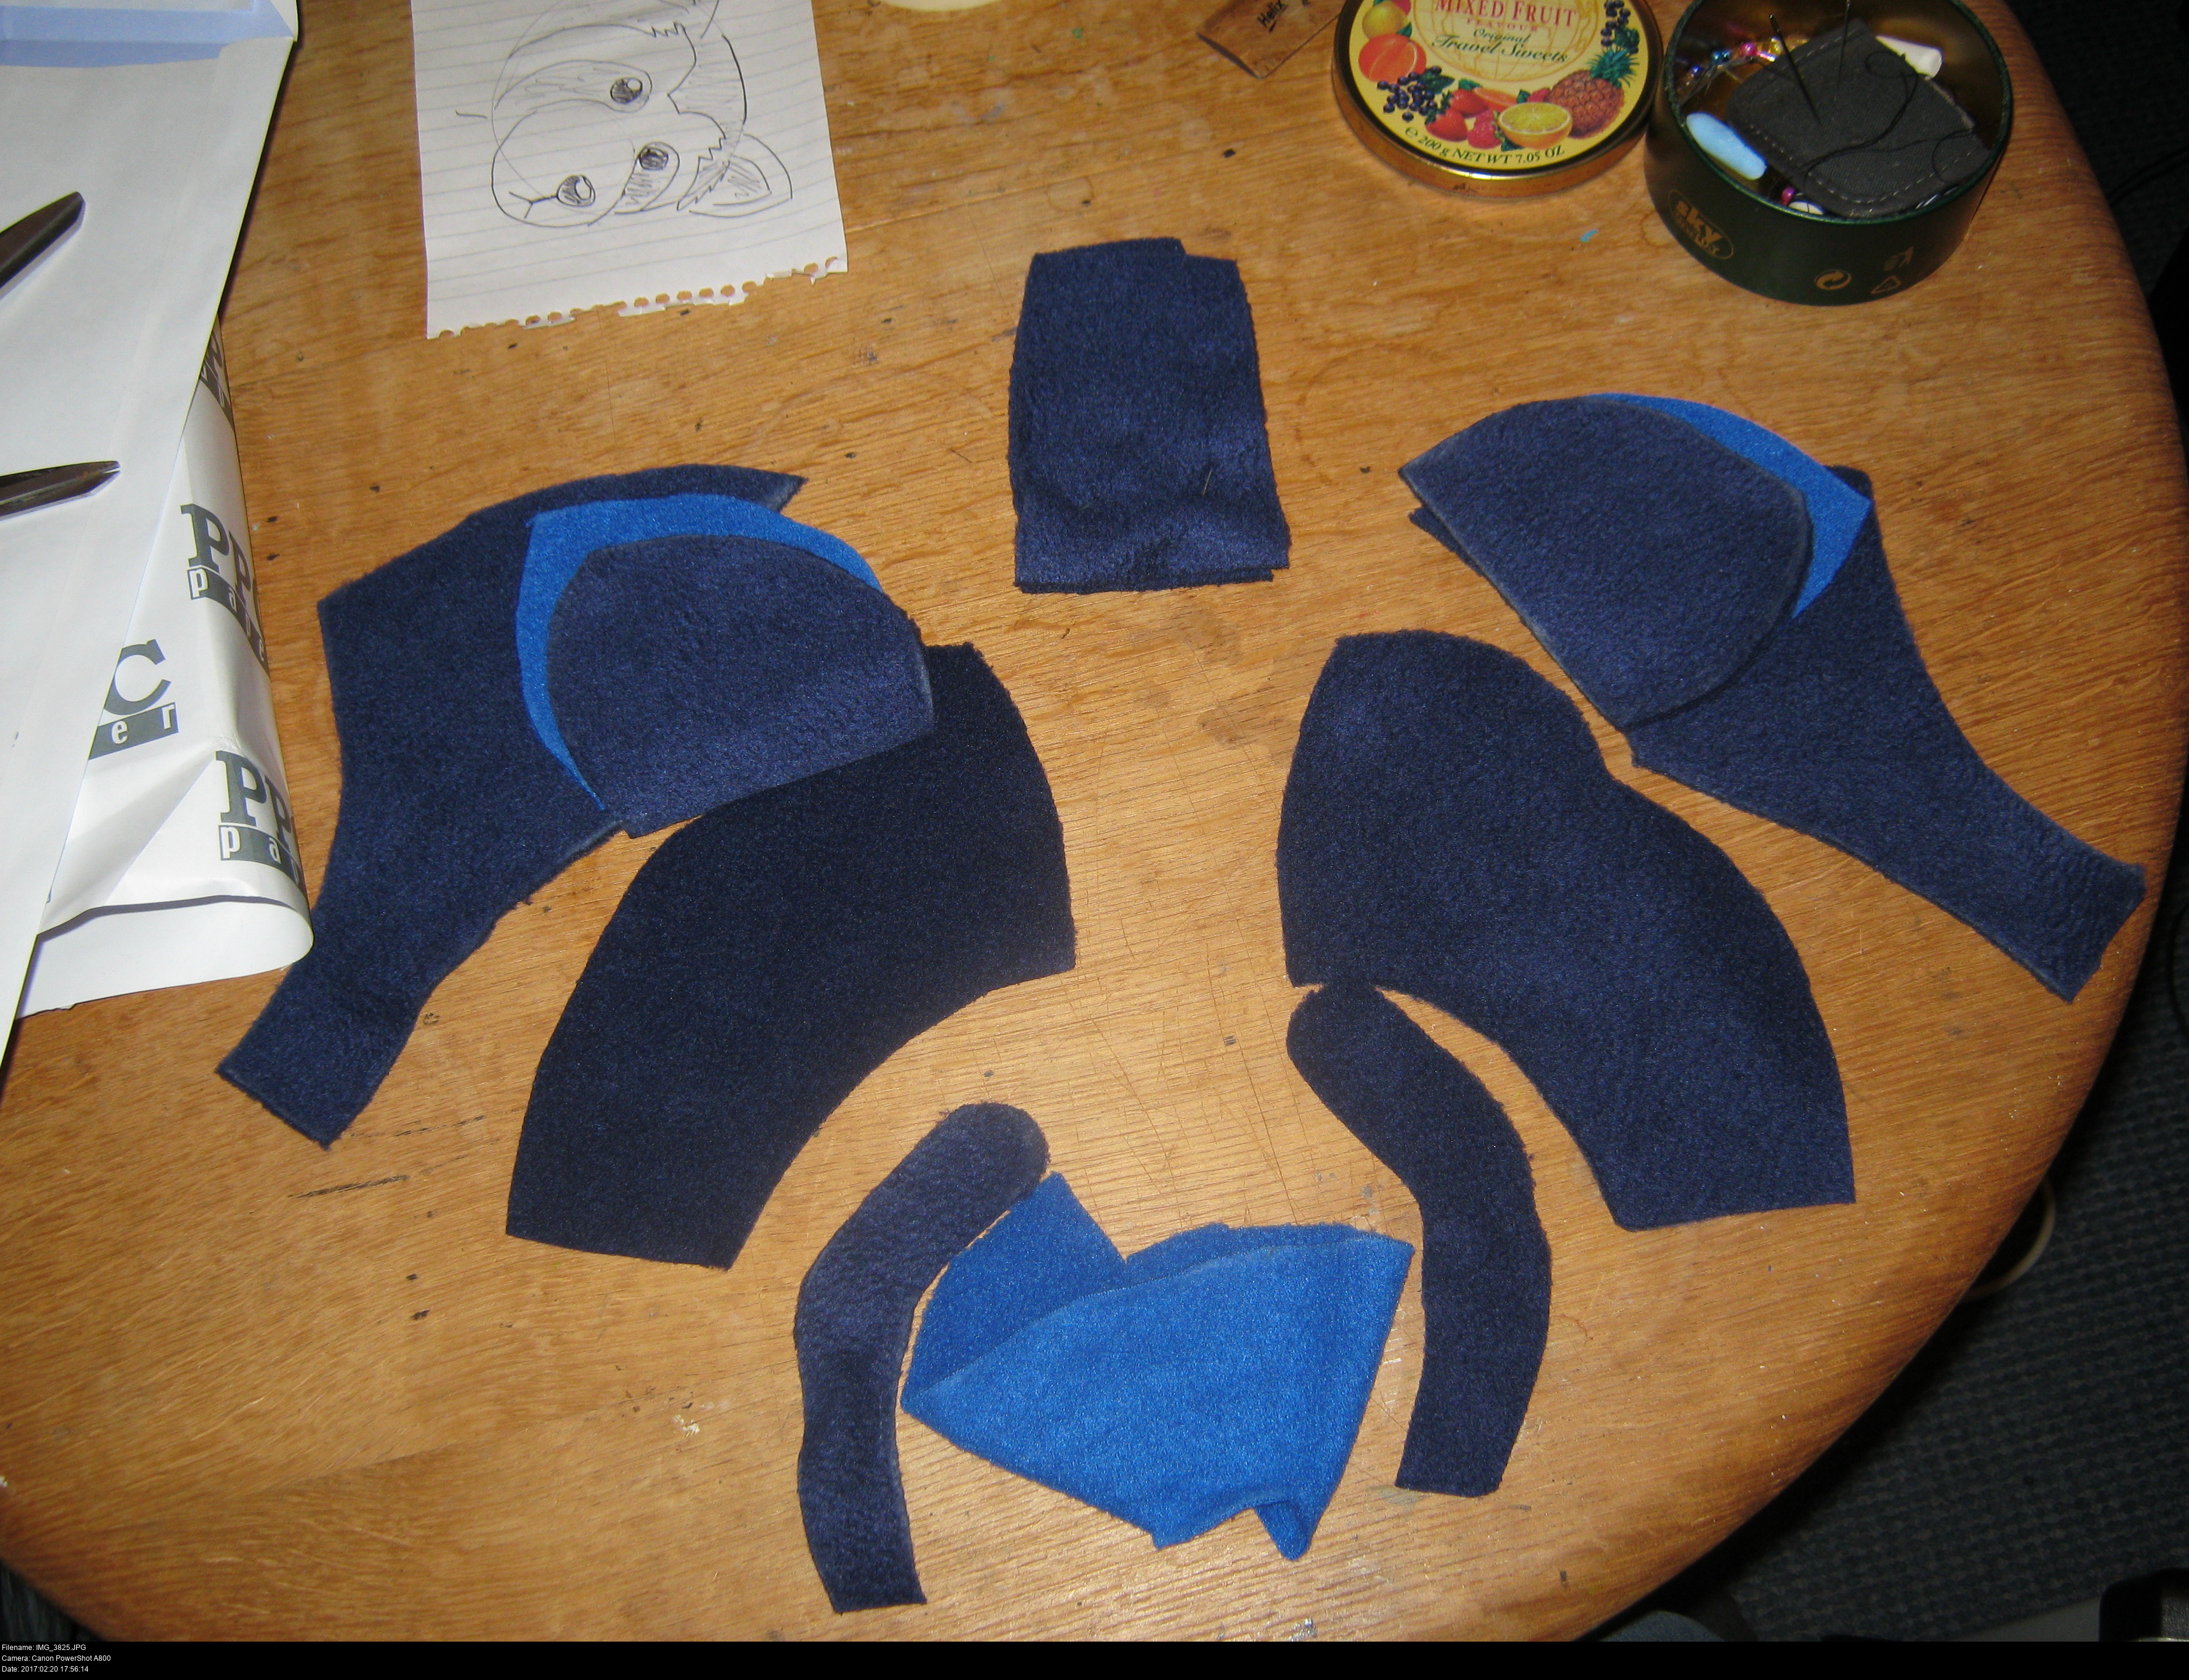
Front and back pieces, ear interior and exterior, mask stripes, snout and central head gusset. One piece that isn't shown here is the large bracket-shaped piece that forms the light area of Pabu's face.


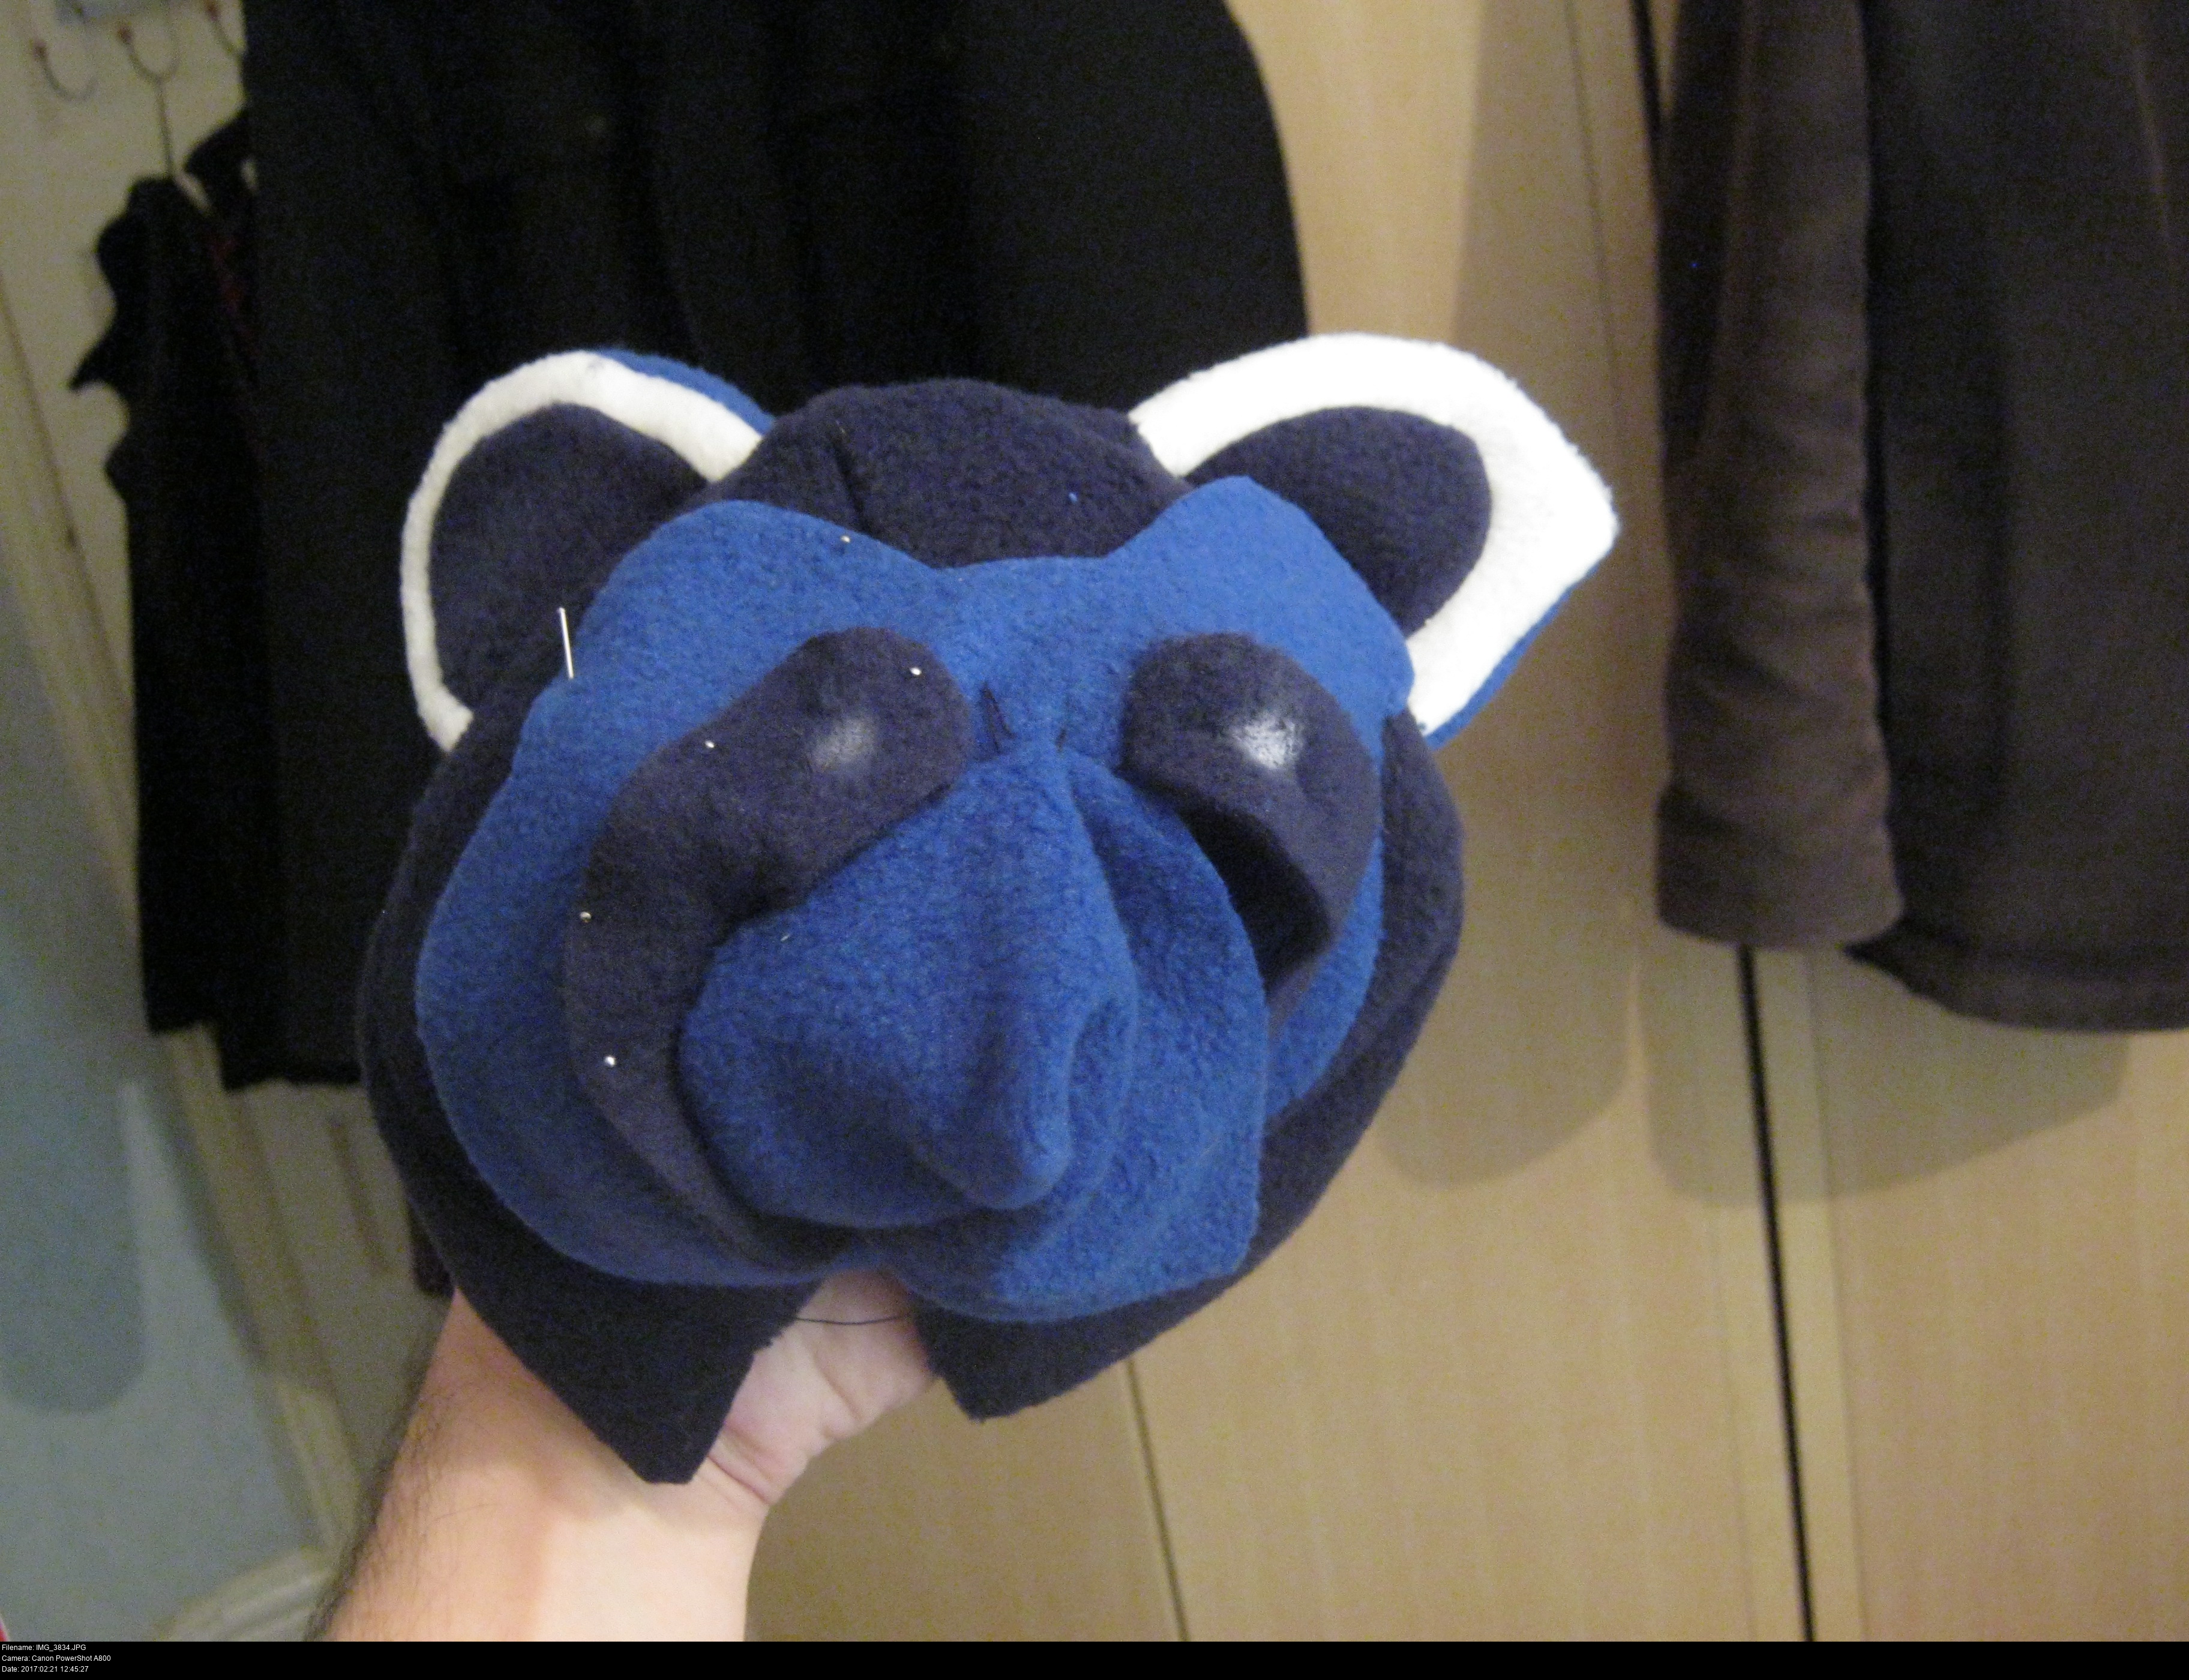
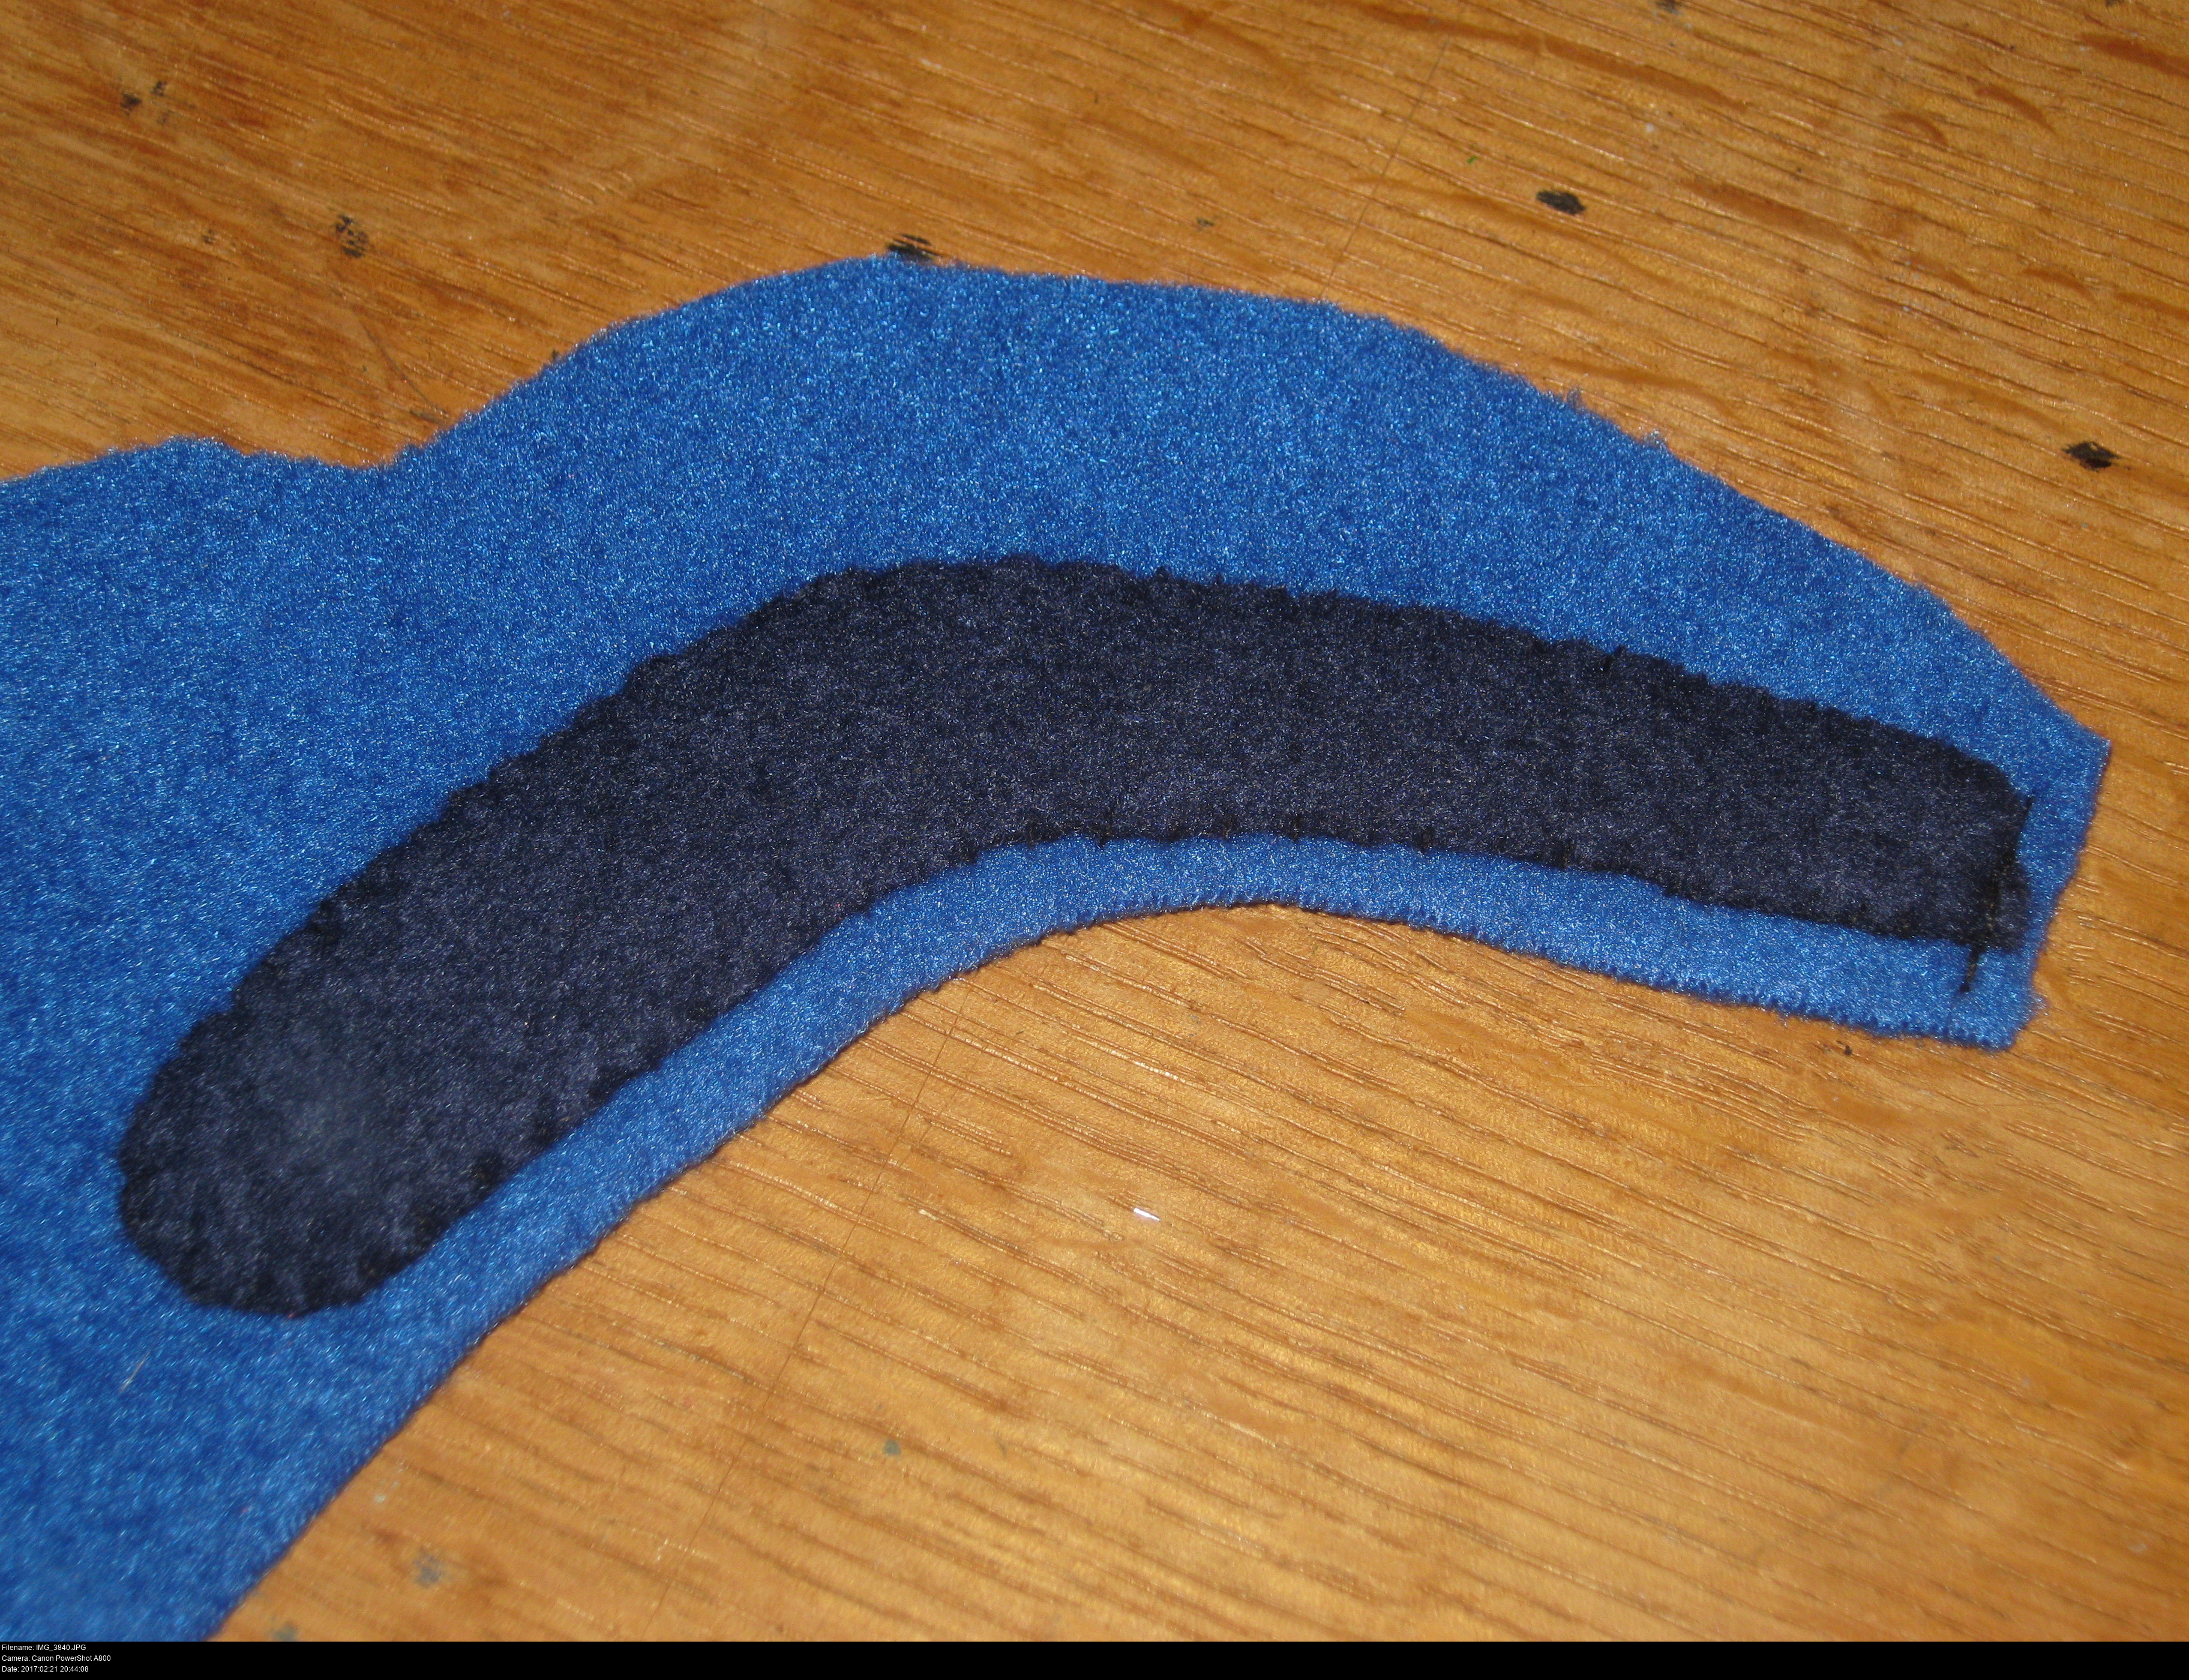
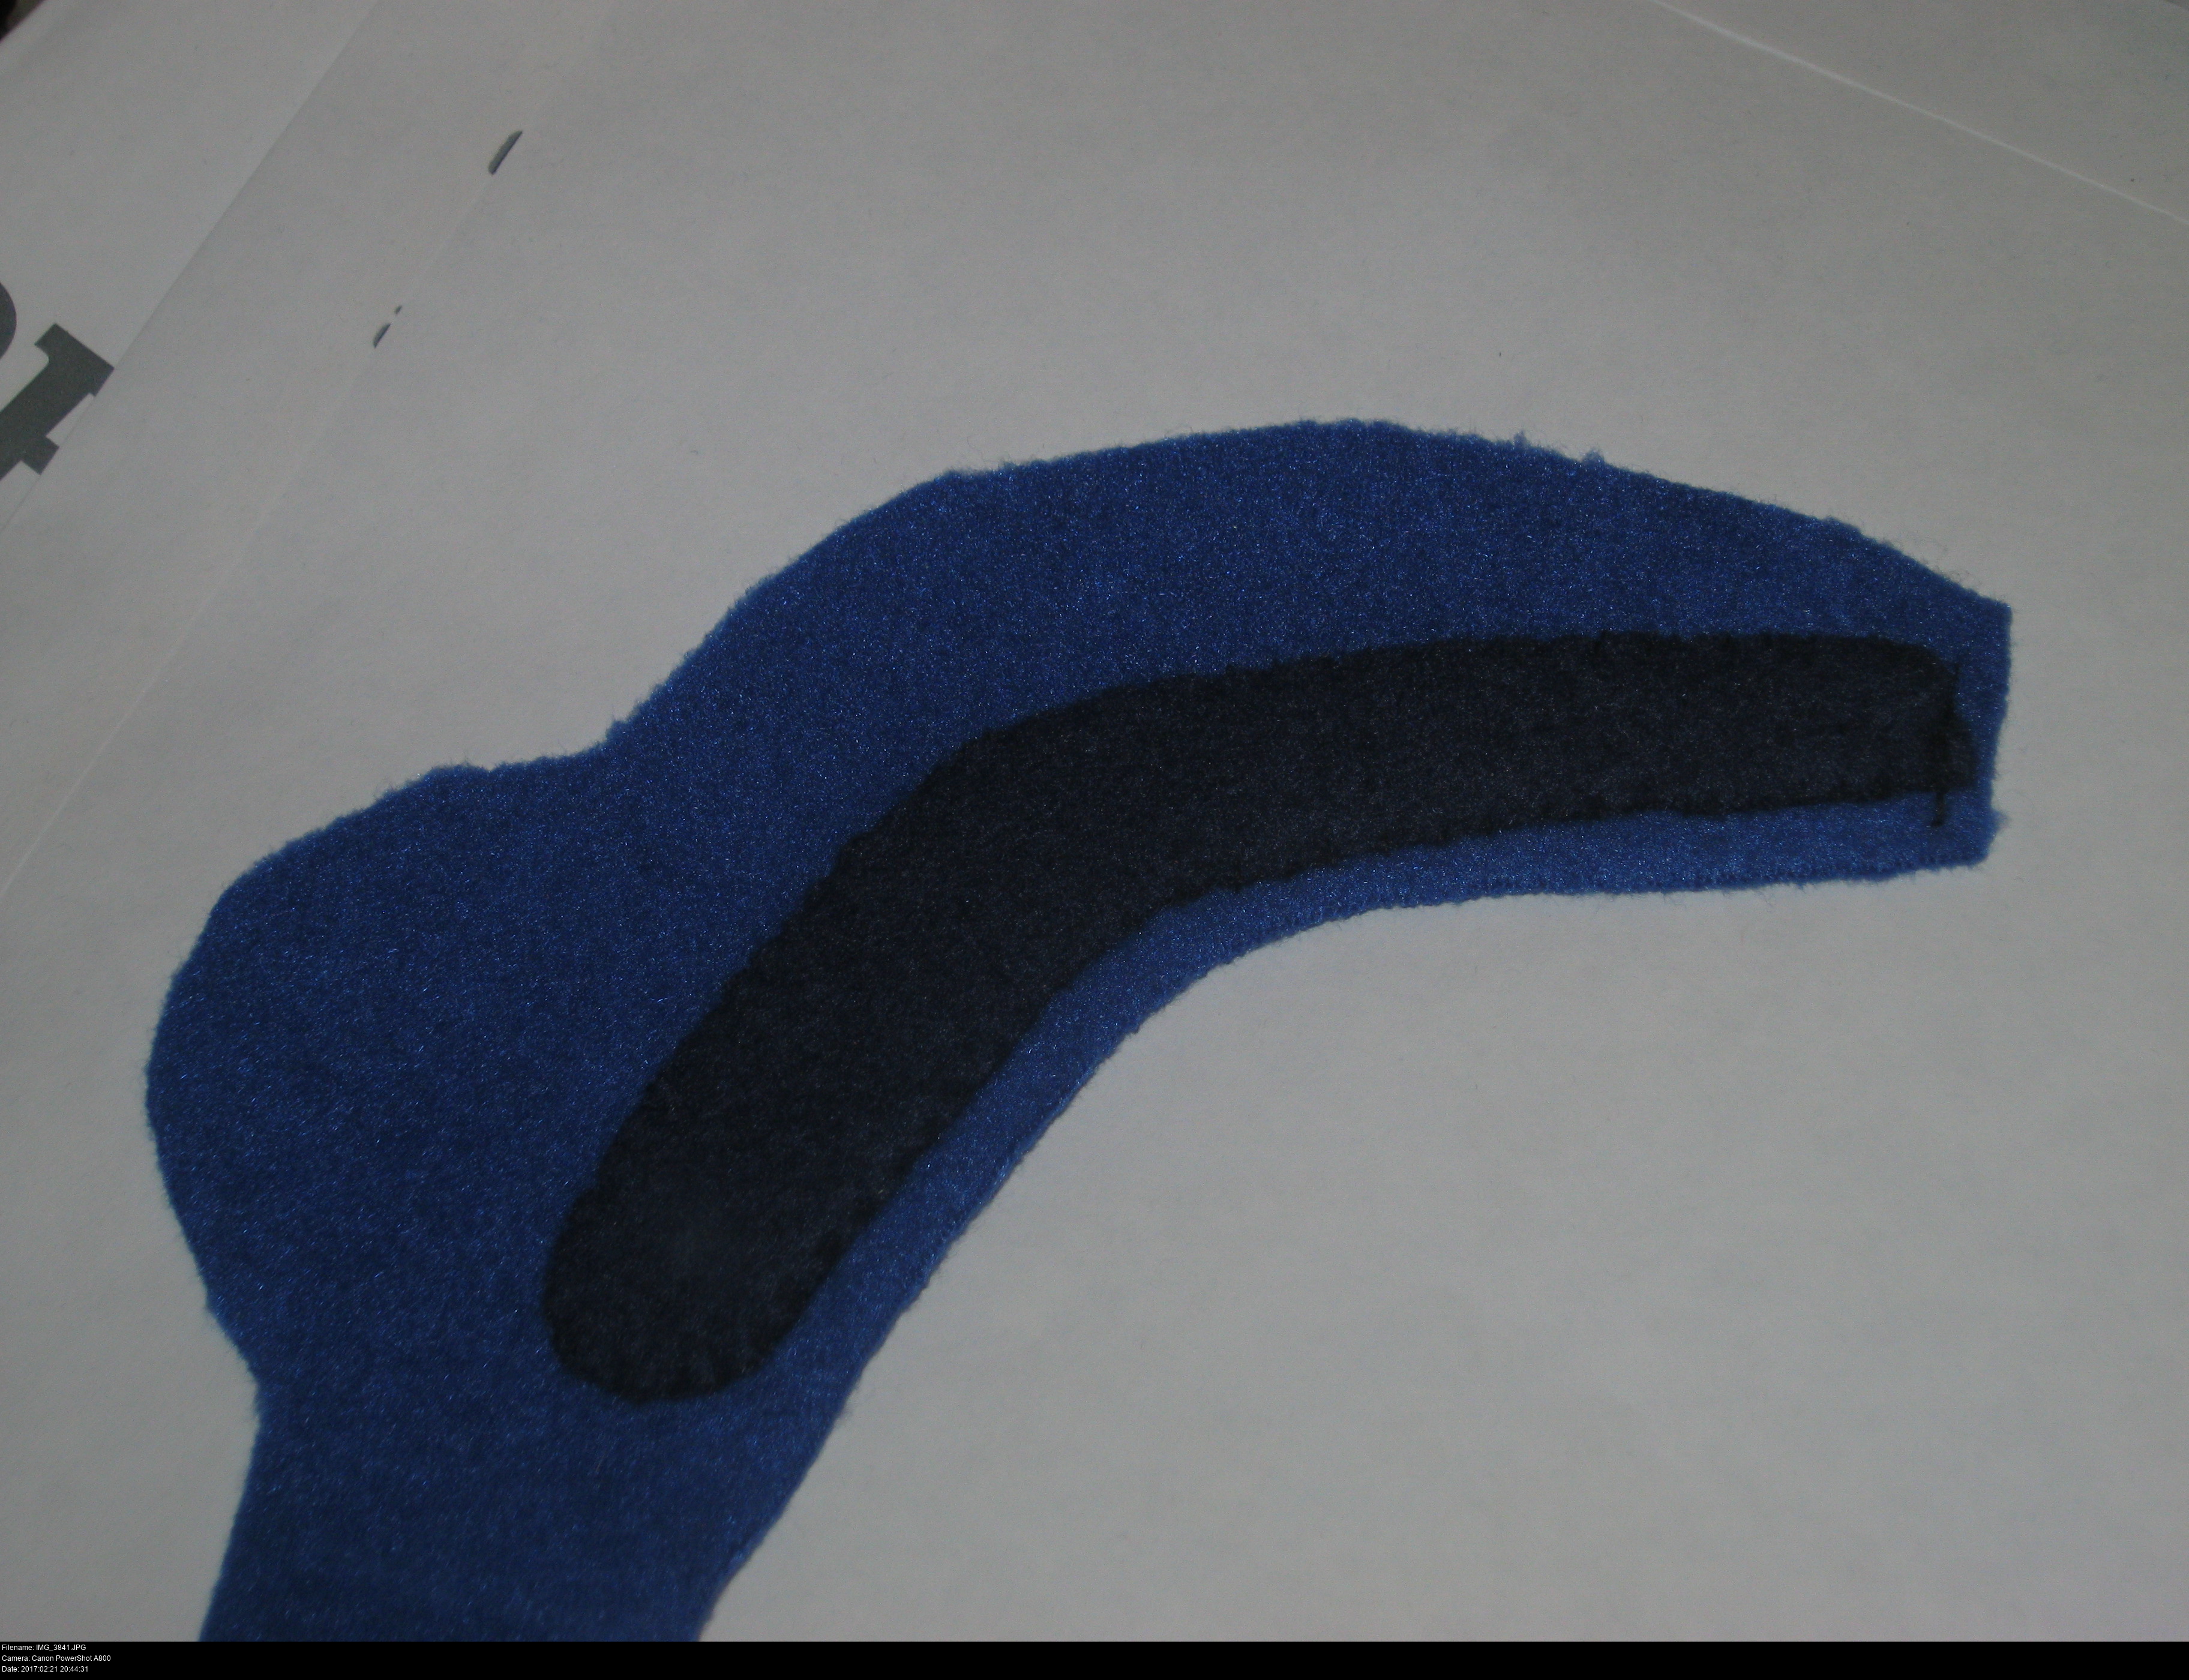
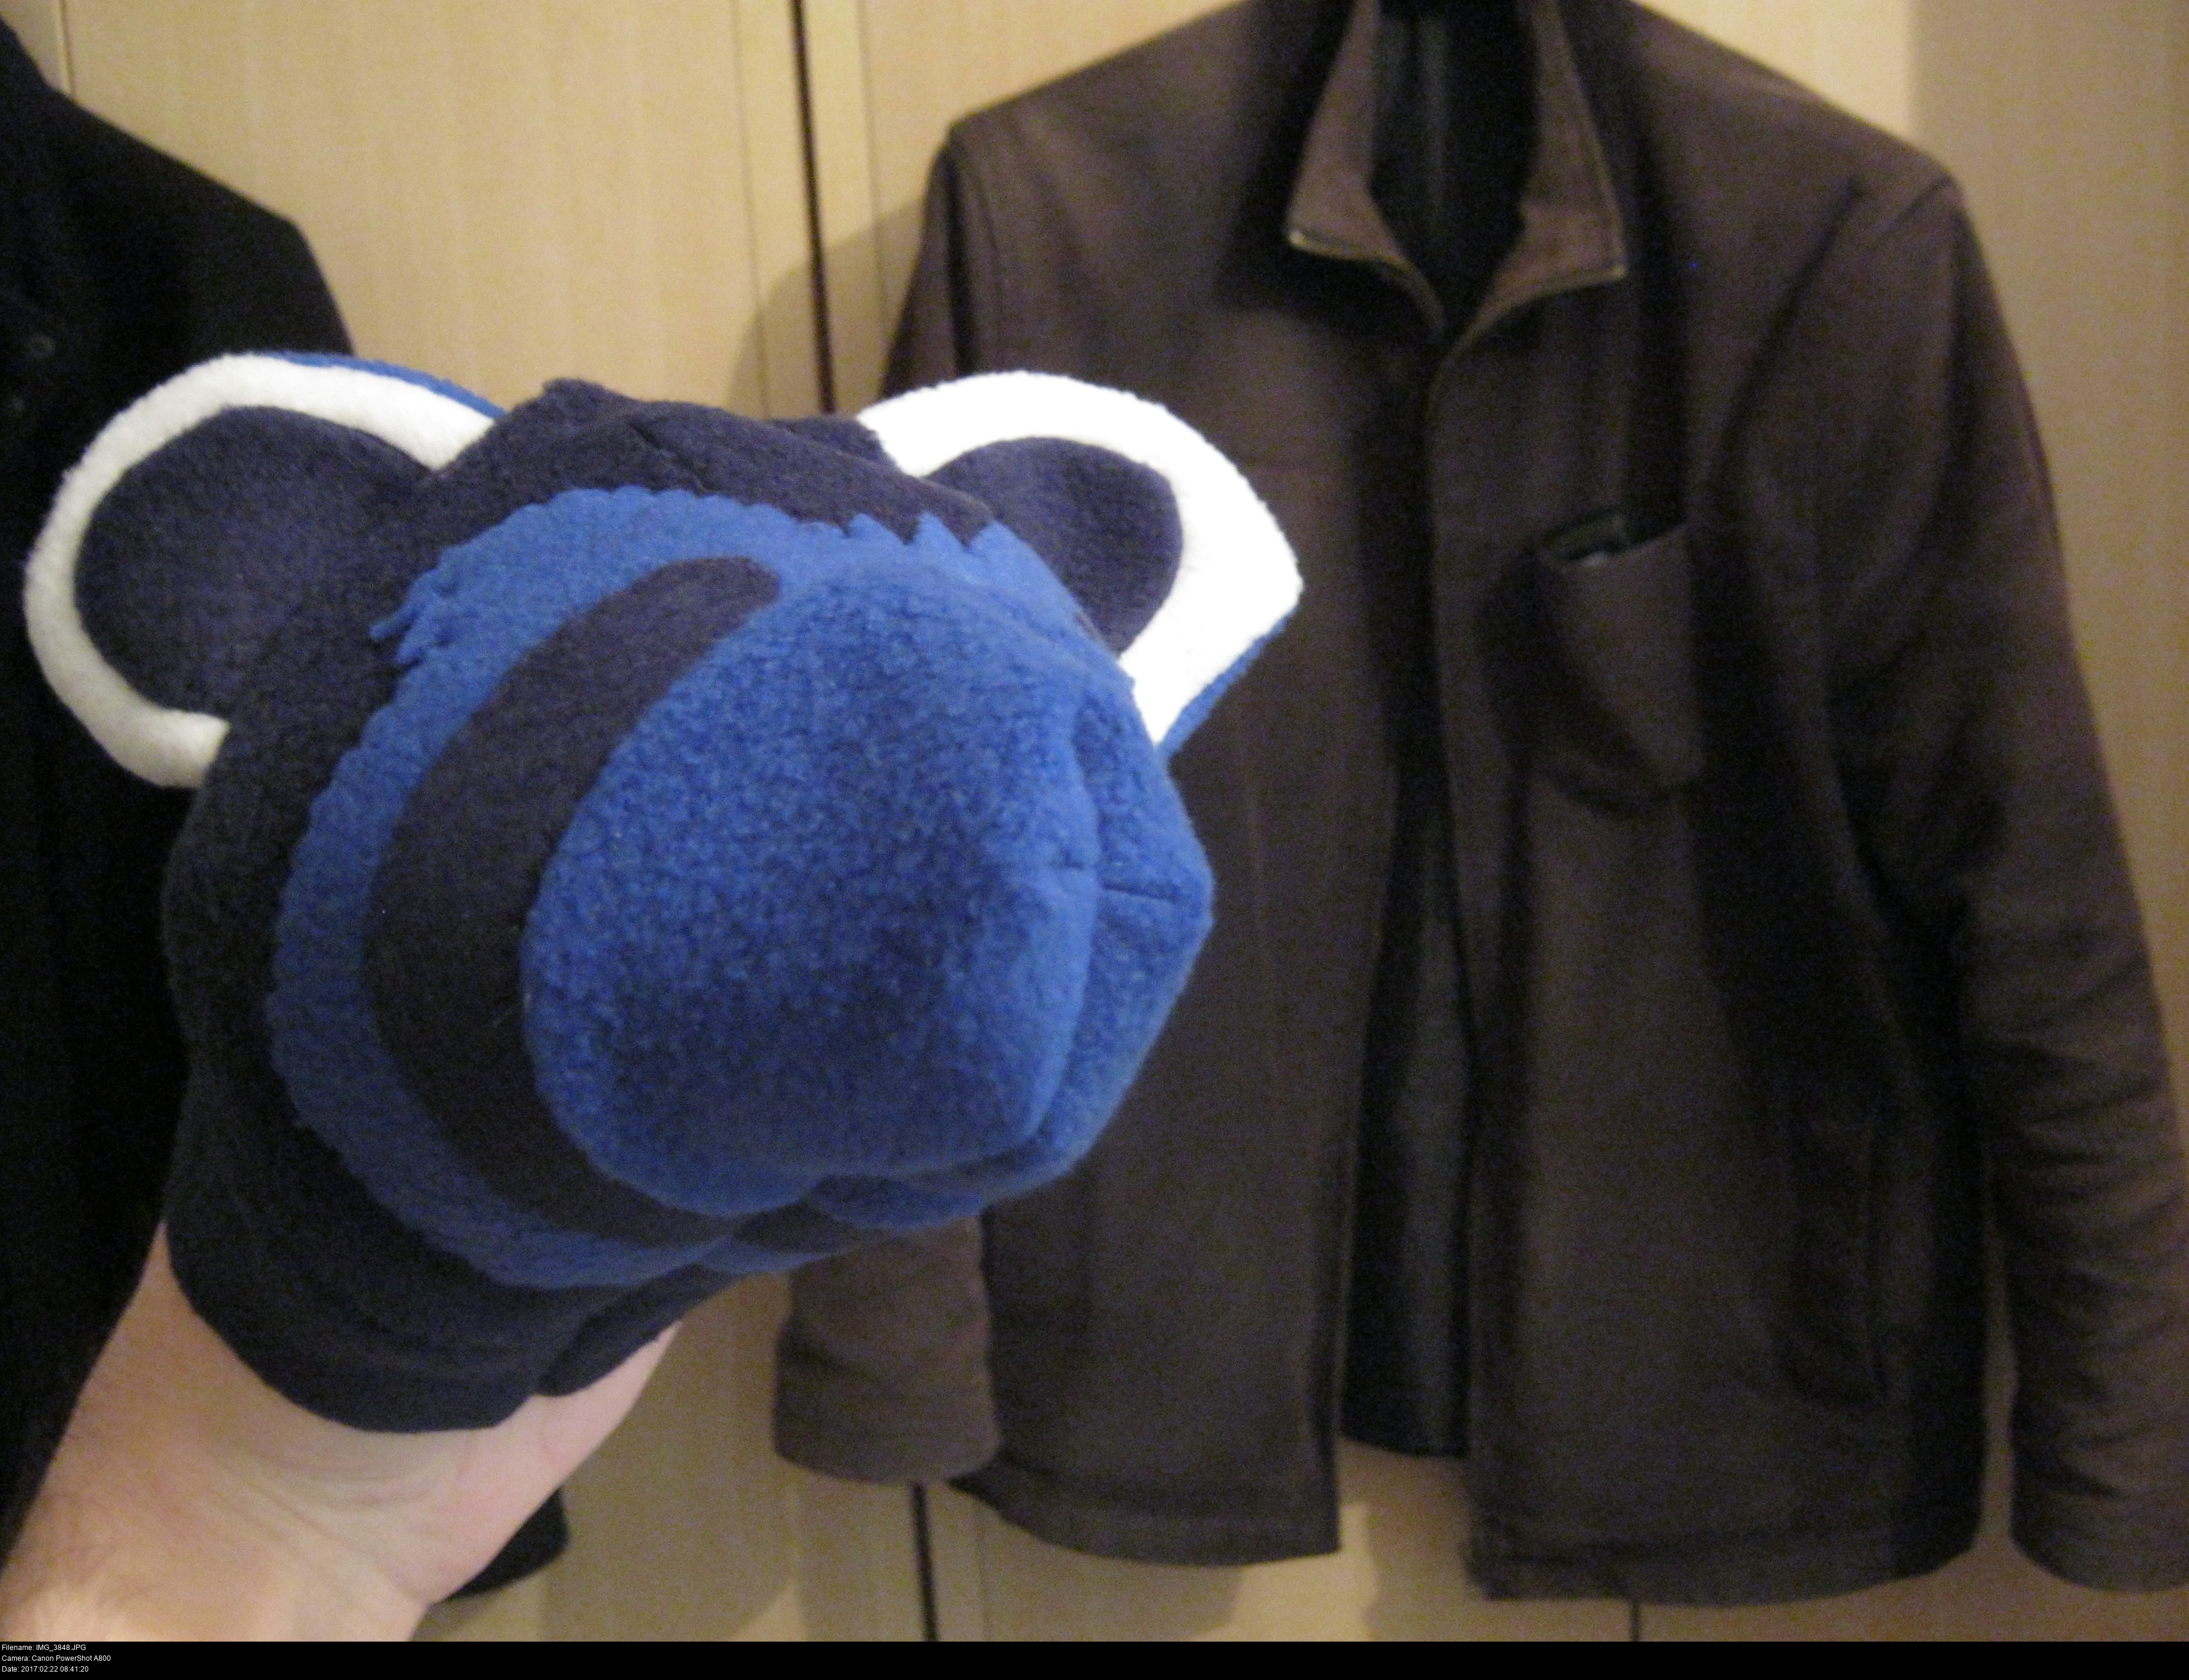
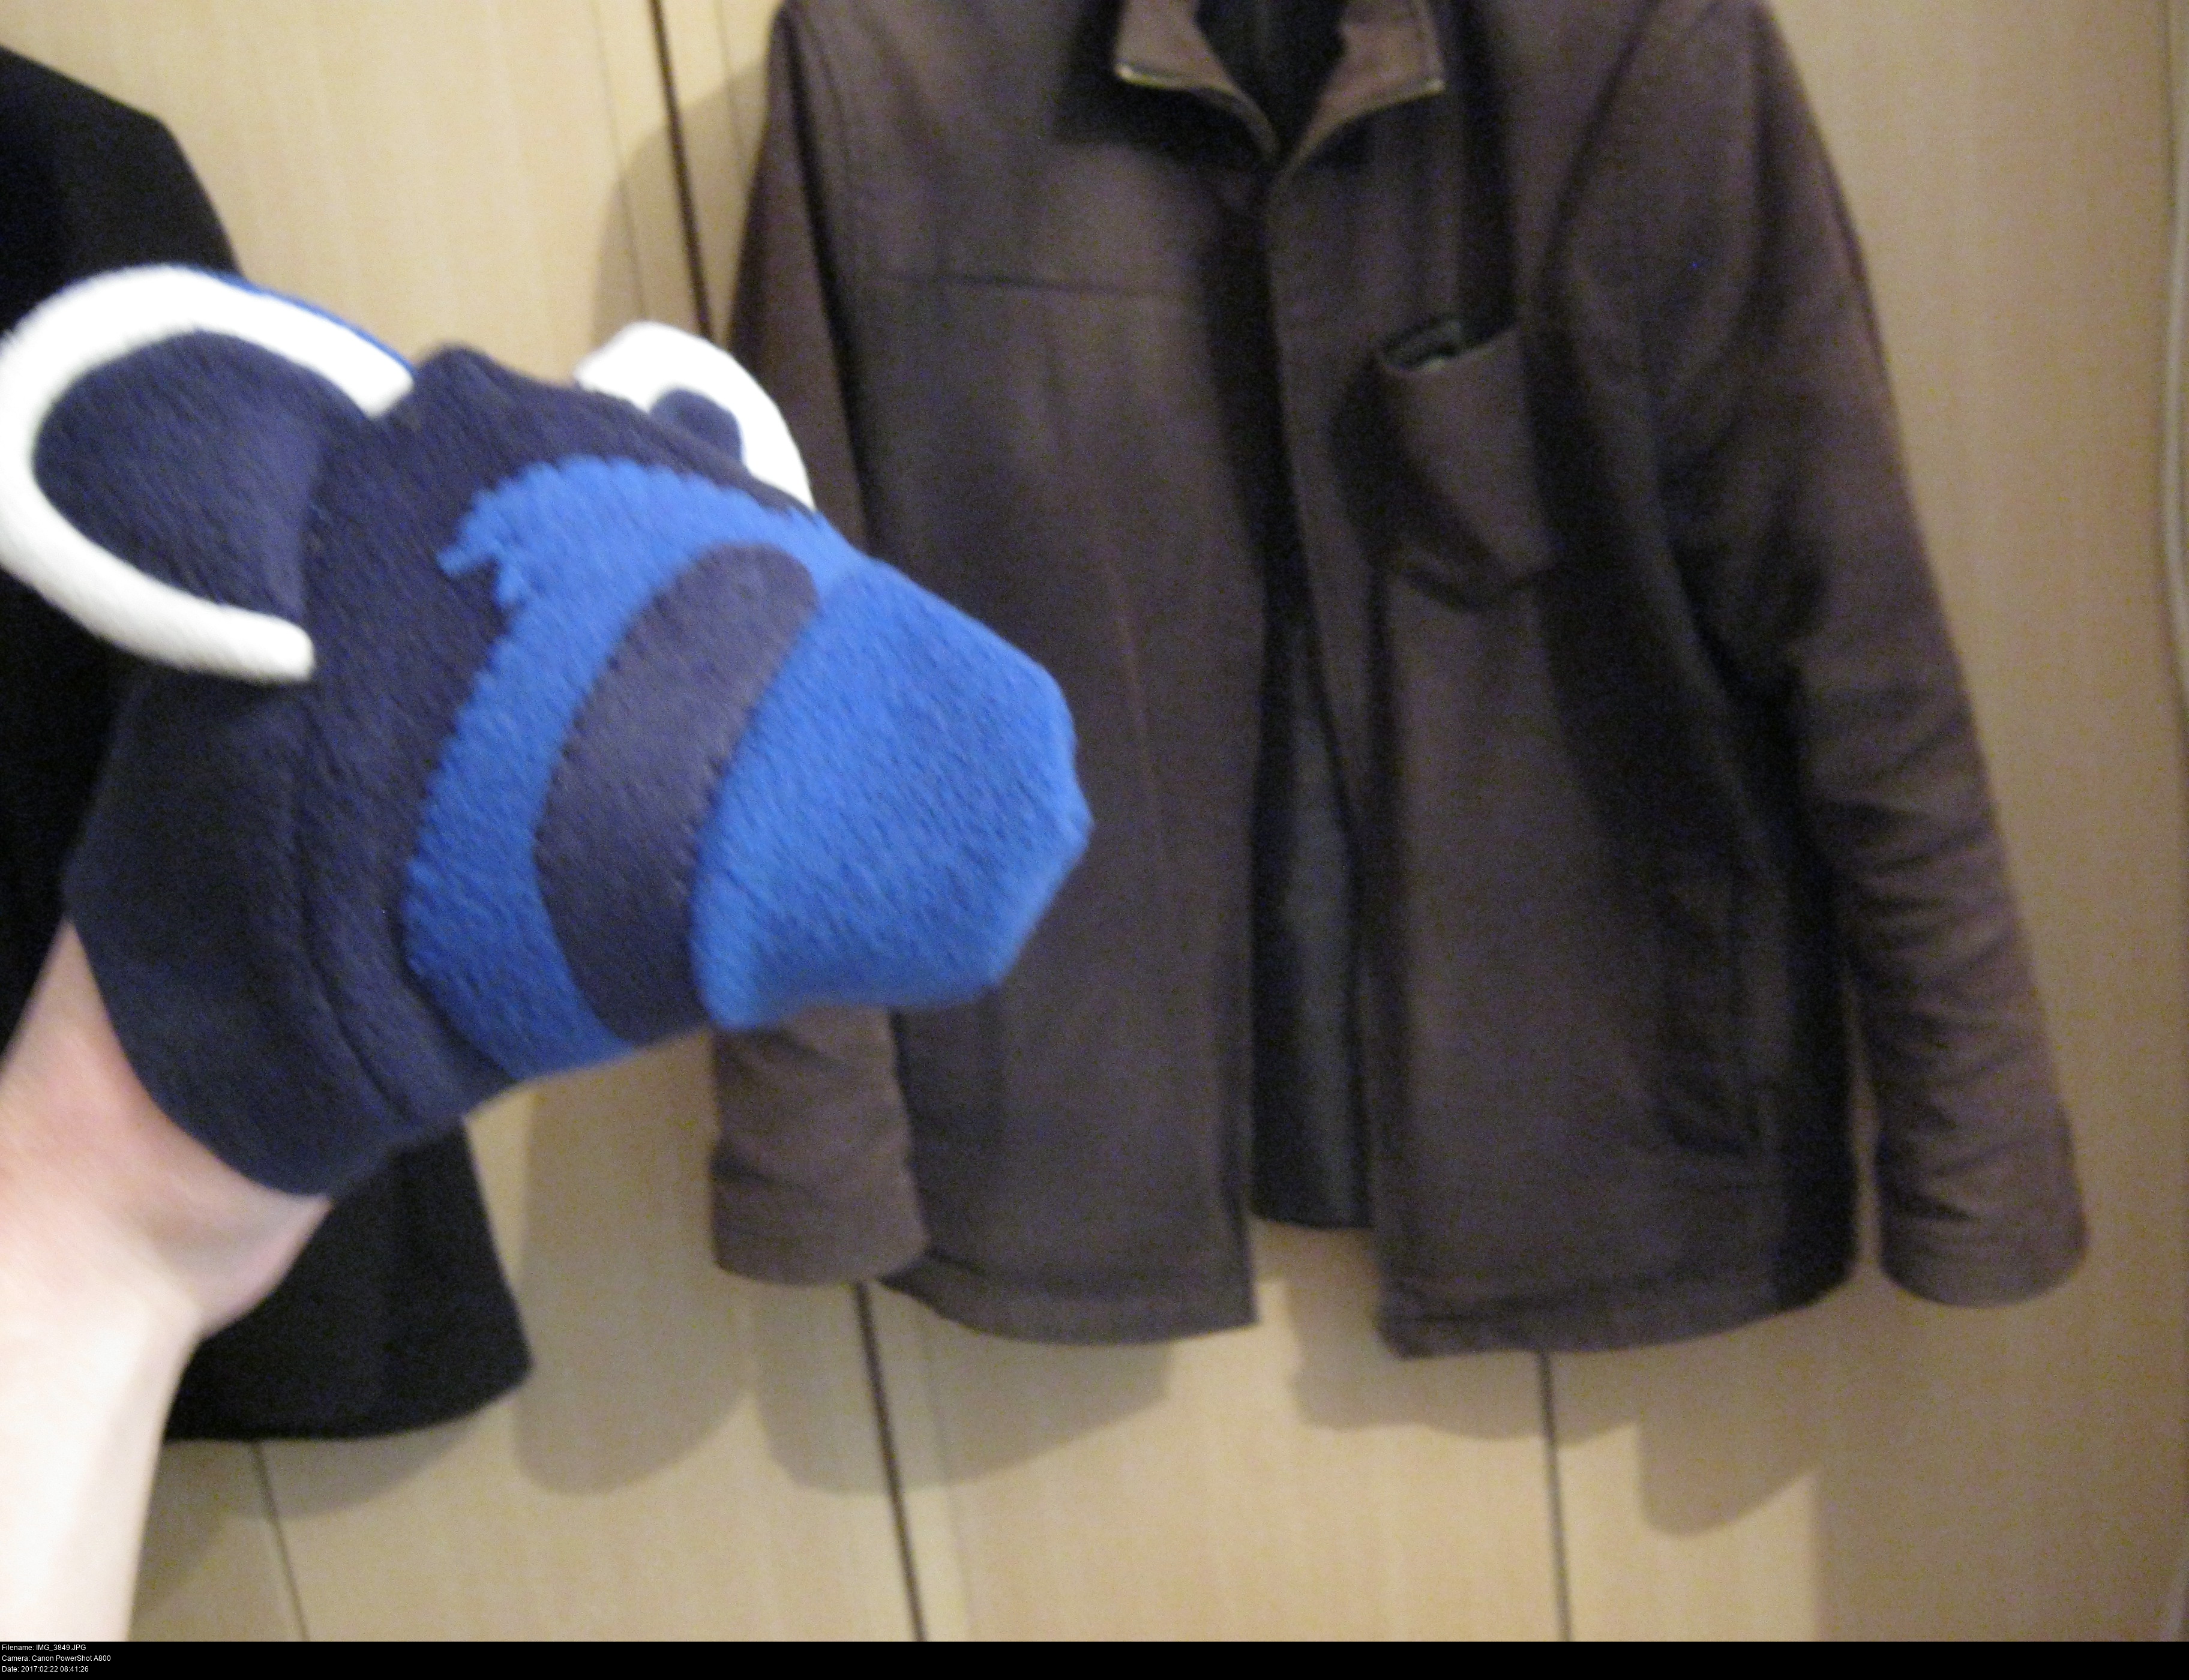
Here's how the head looks with the ears constructed, and the dark pieces all sewn together to form the outer shell of the head, with the exception of the central seam running under the chin. It's a floppy mess, but it's definitely recognisable as a Fire Ferret... albeit a blue one!

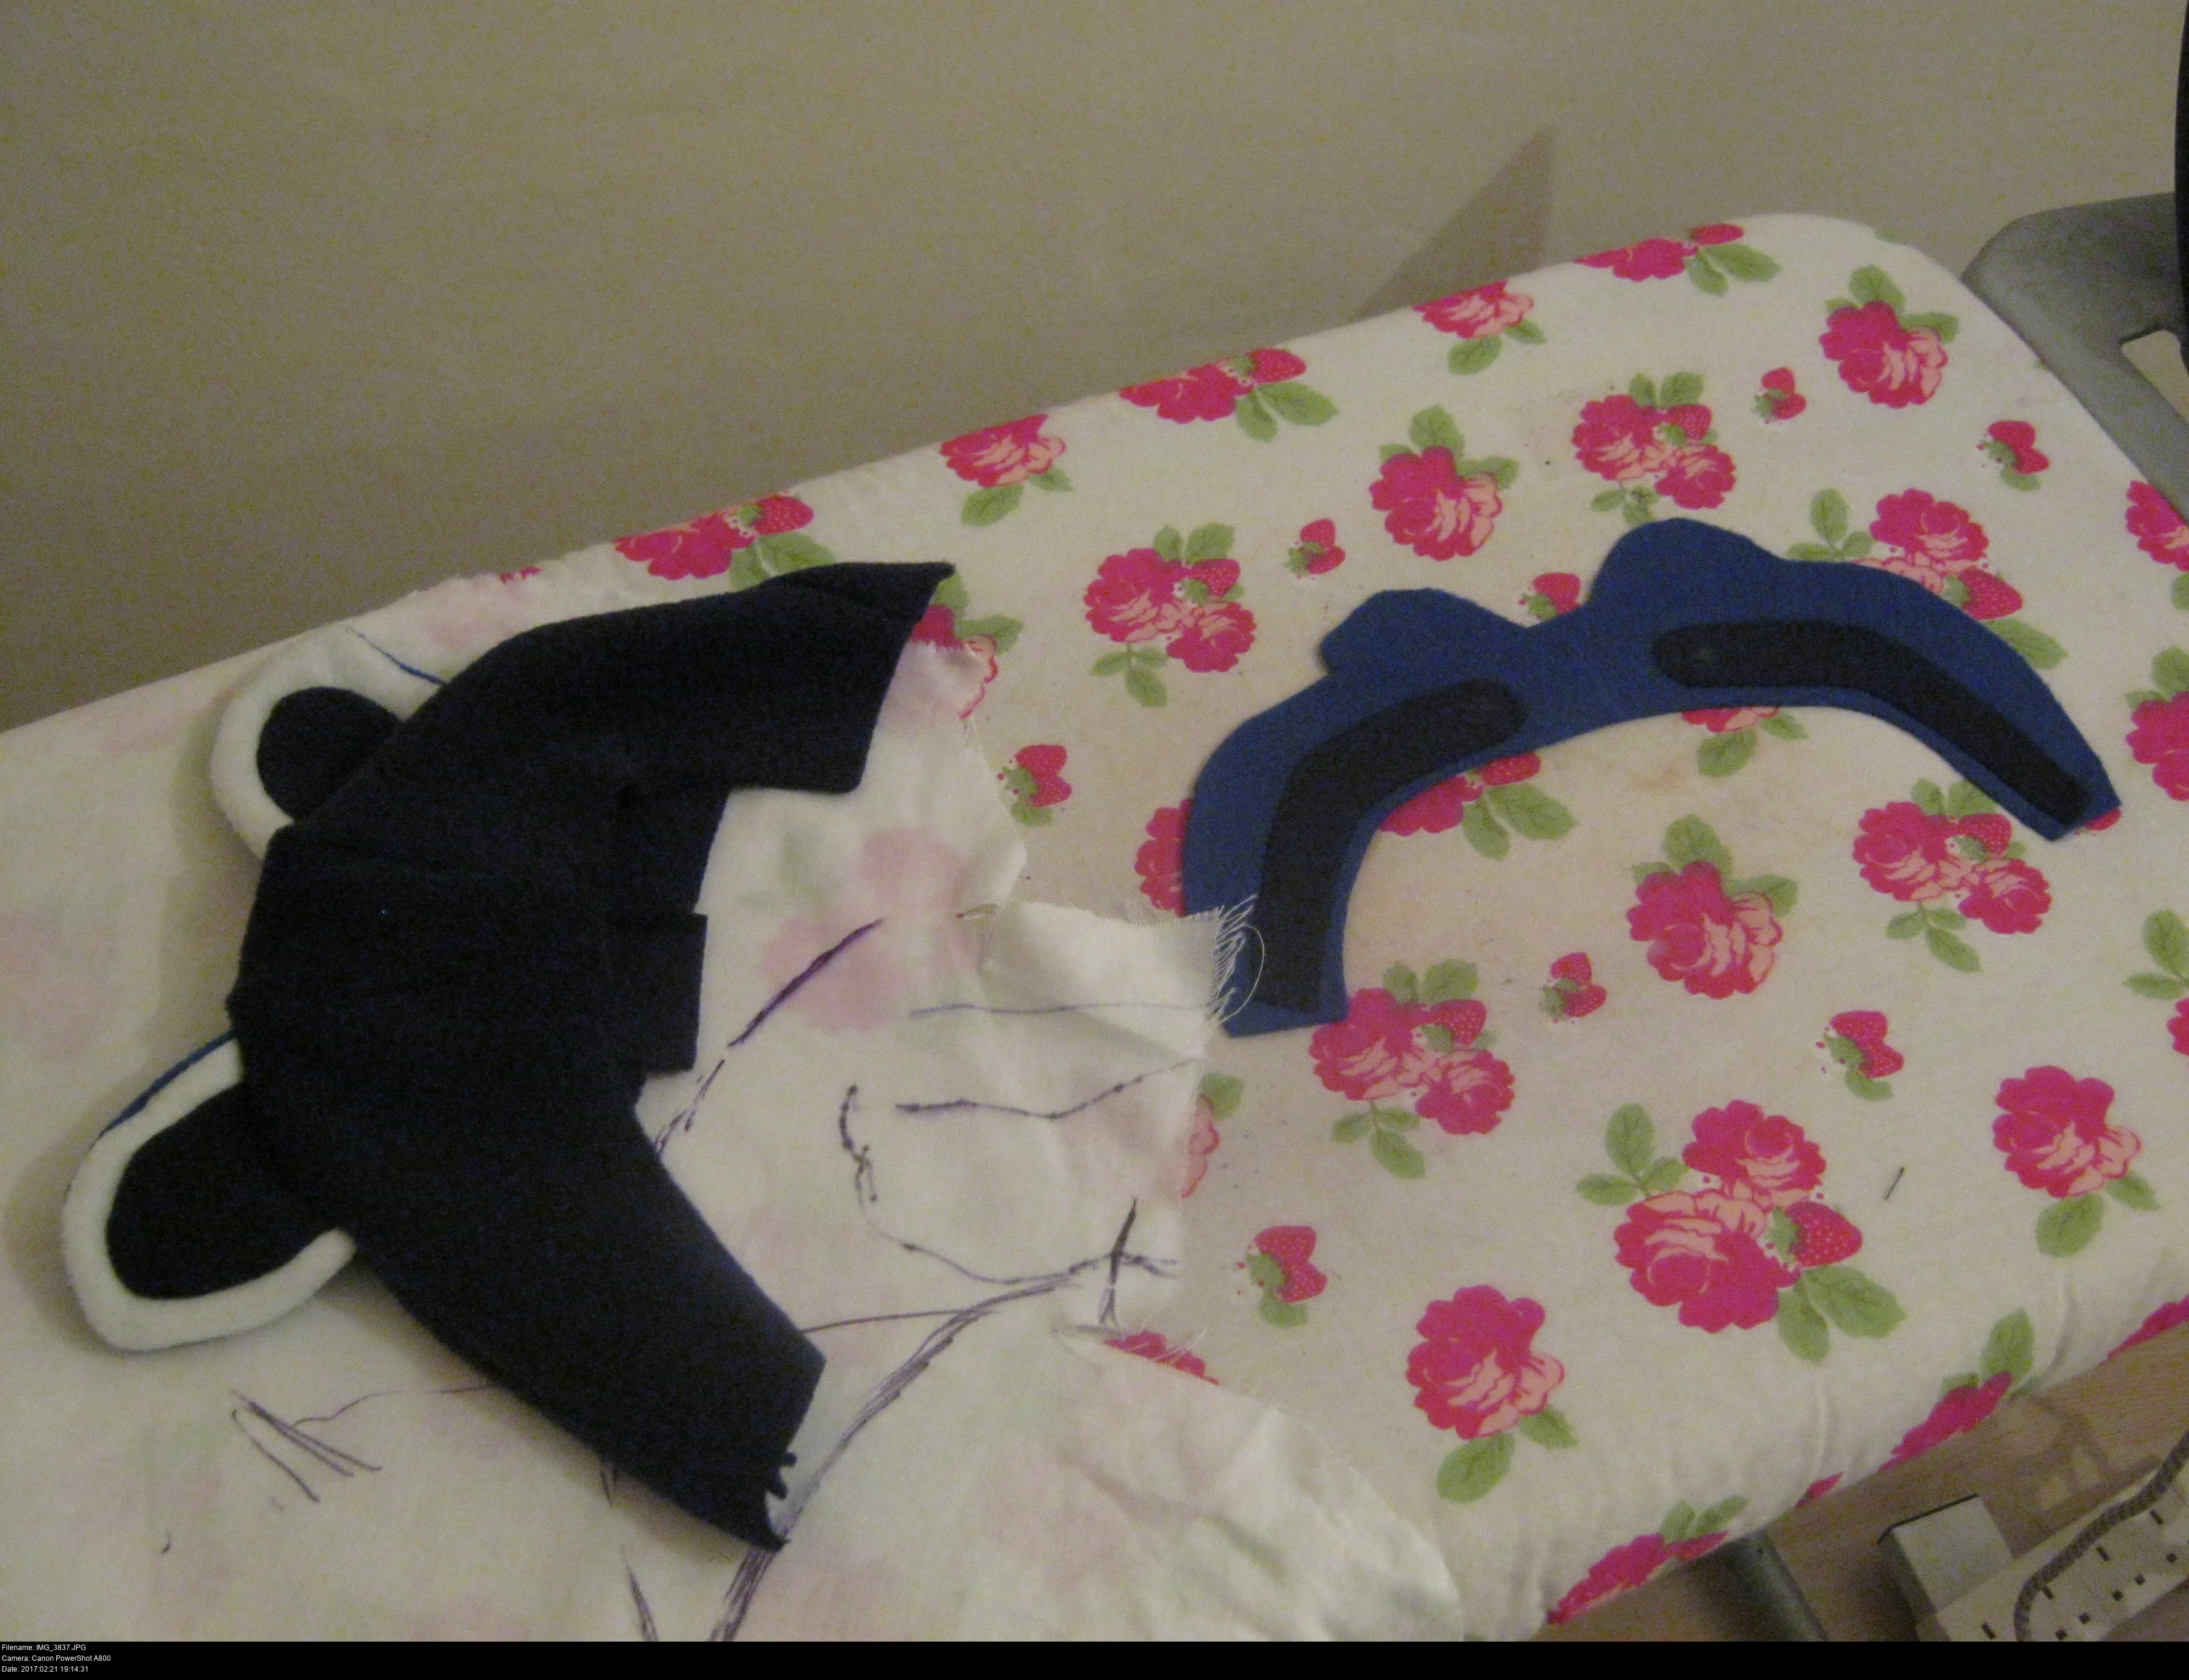
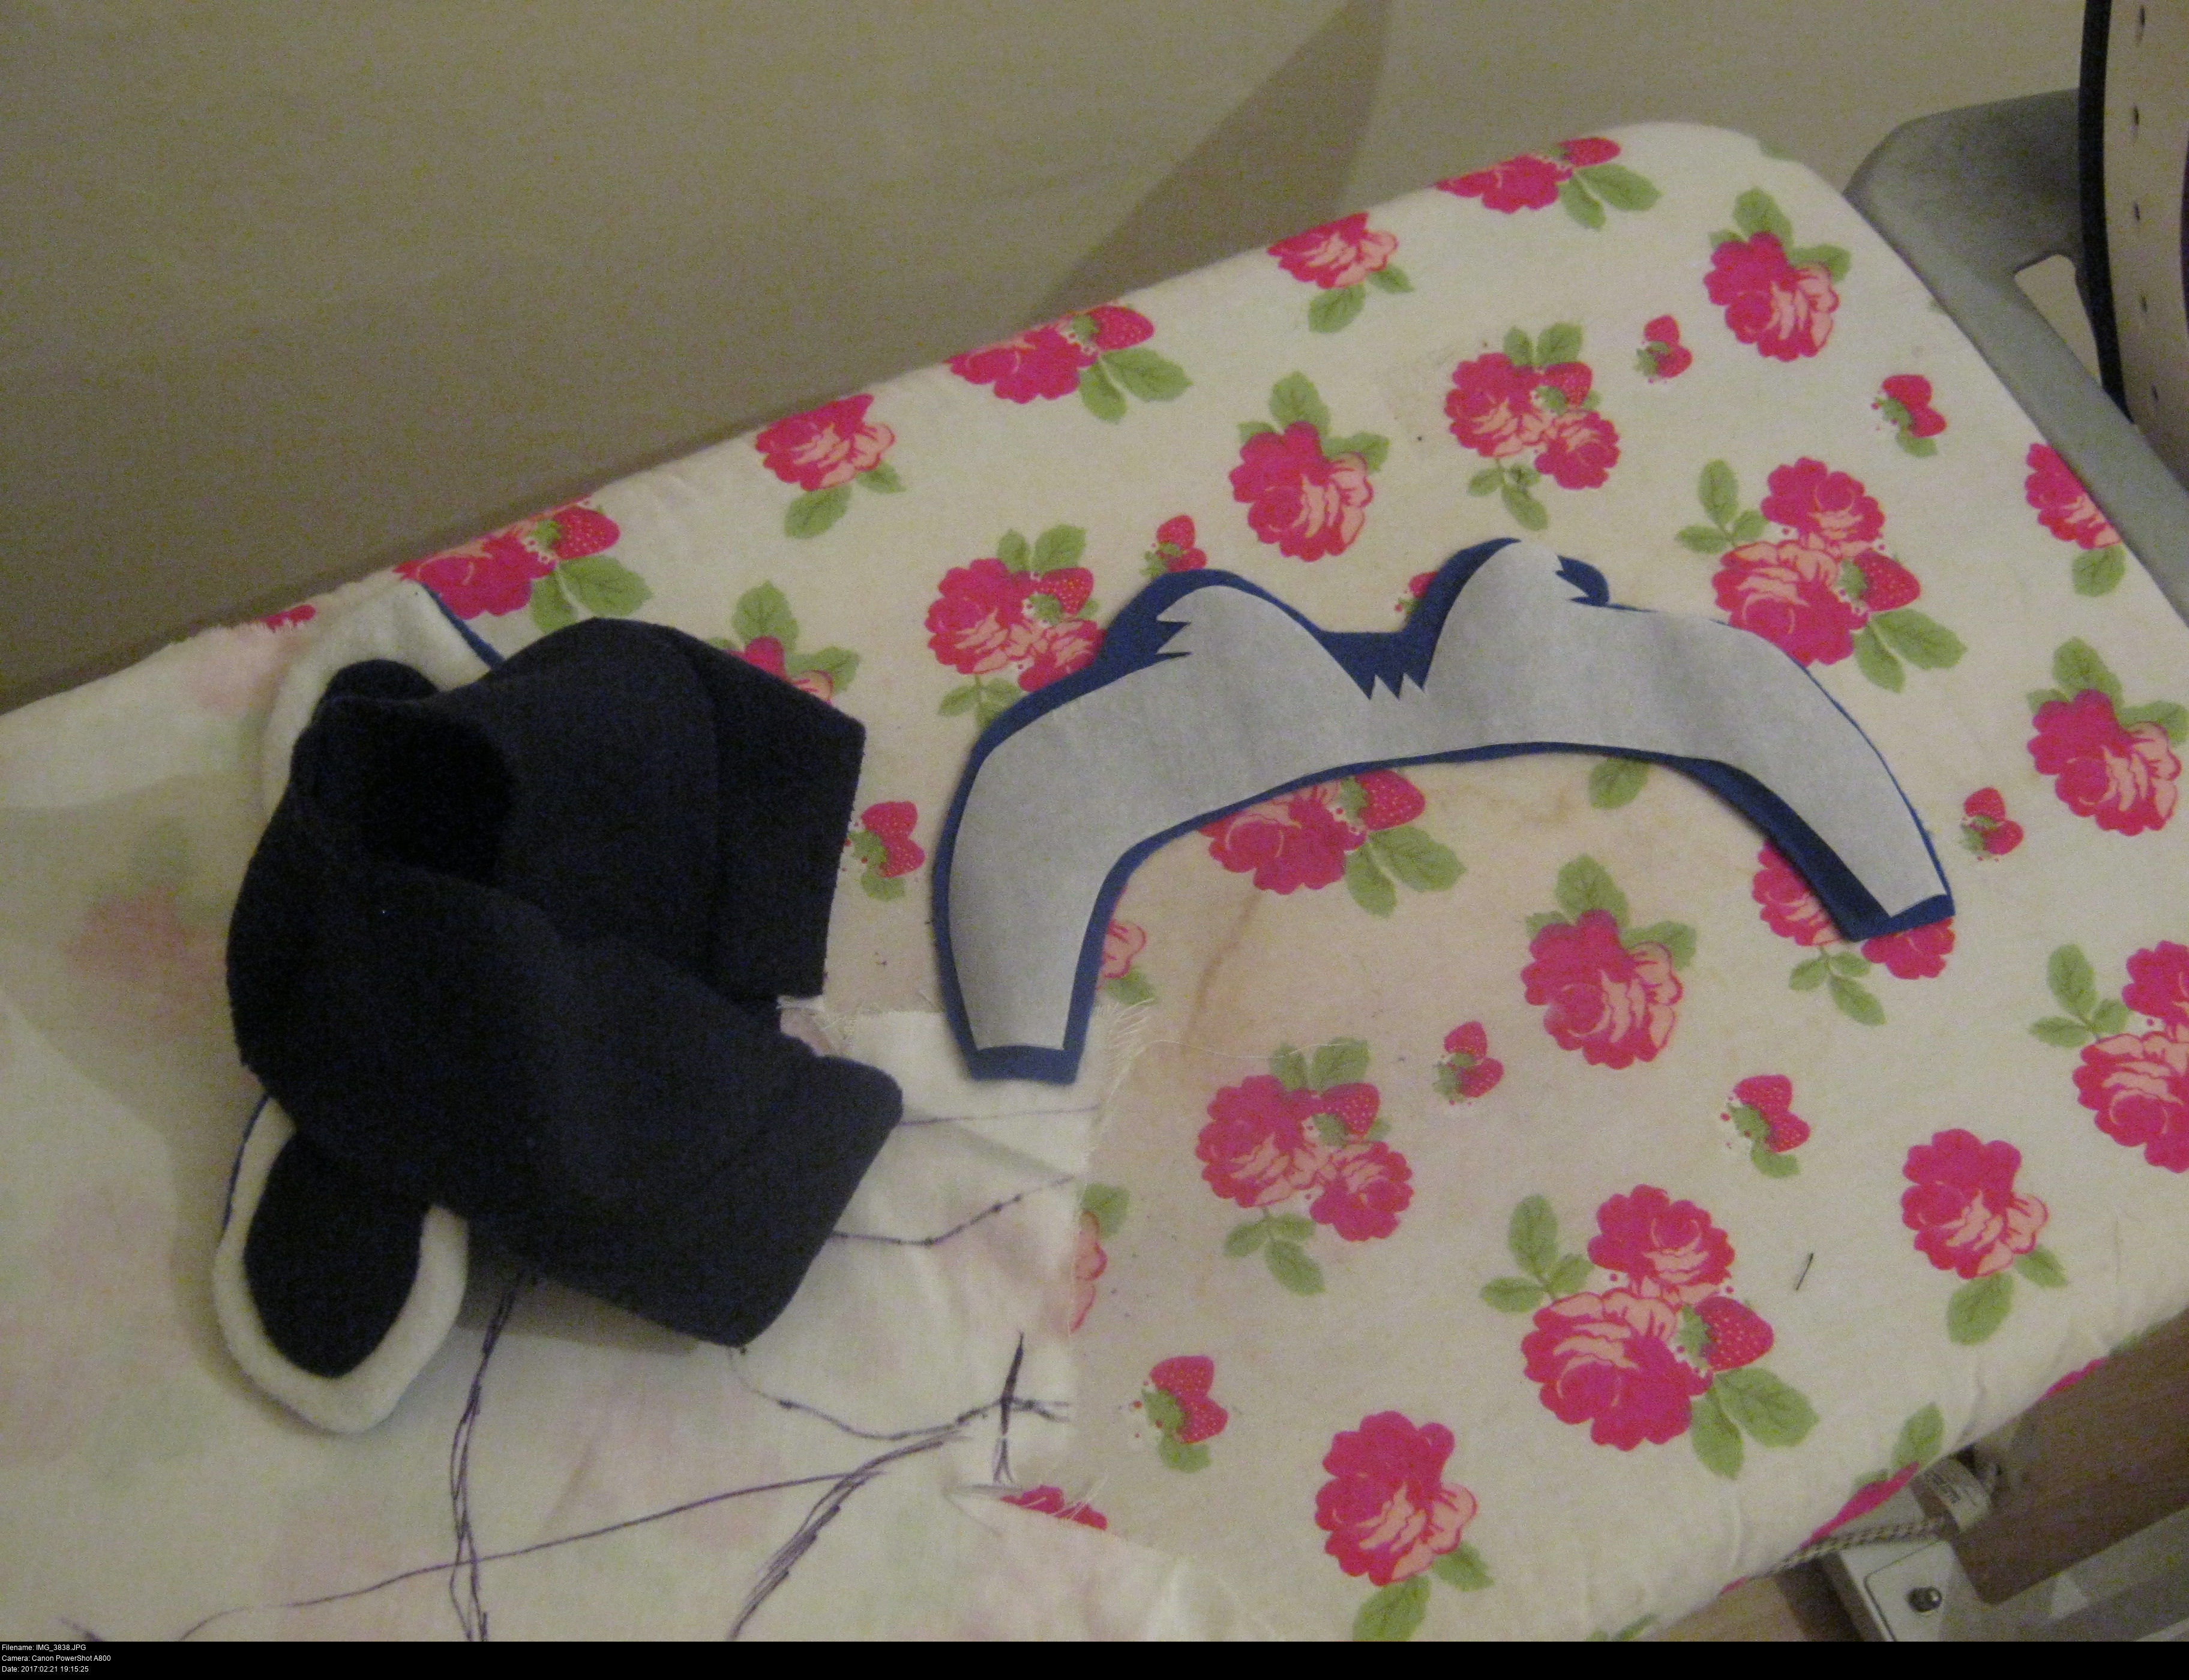
Before the seam running down the center of the chin is sewn, the head opens out into a wide flat crescent shape. This large bracket-shaped piece is Pabu's white mask, and the smaller chevron-shaped pieces are the dark face stripes.
I need to sew the dark stripes onto the large piece, then sew that combined piece onto the open head shell. I was stuck for a long while until a heroic Mimi saved the day by telling me exactly what I ought to do to make it look nice like other folks' Pabus. The mysterious overcast stitch! Looks absolutely terrible in diagrams, but when you do it for applique you get a slightly notched-looking finish which lasts!
To keep the pieces in place before sewing, I used a sheet of Bondaweb iron-on web. It's a thin sheet of plastic or paper coated with heat and moisture activated adhesive for fabric work. Easy enough to use, and almost certainly just as easy to mess up.
Follow the instructions! If you're working on one side at a time, make sure you're laying the exposed adhesive side (and not the peel-off-paper covered side) against the fabric you want to attach it to. Use lots of layers of smooth clean cloth surrounding the area you want to work on. Test it on off-cuts of material first, allow the indicated time for everything to cool down before handling it.
When you're cutting out the pieces of Bondaweb, cut them slightly smaller than the pieces they're attaching to, otherwise they might stick out accidentally after the project's received some manhandling.
My order was to glue the Bondaweb to the small pieces first, then glue these to the large mask piece. Then glue the web to the back of the large mask piece, then glue the mask piece to the head piece. Take it slow.
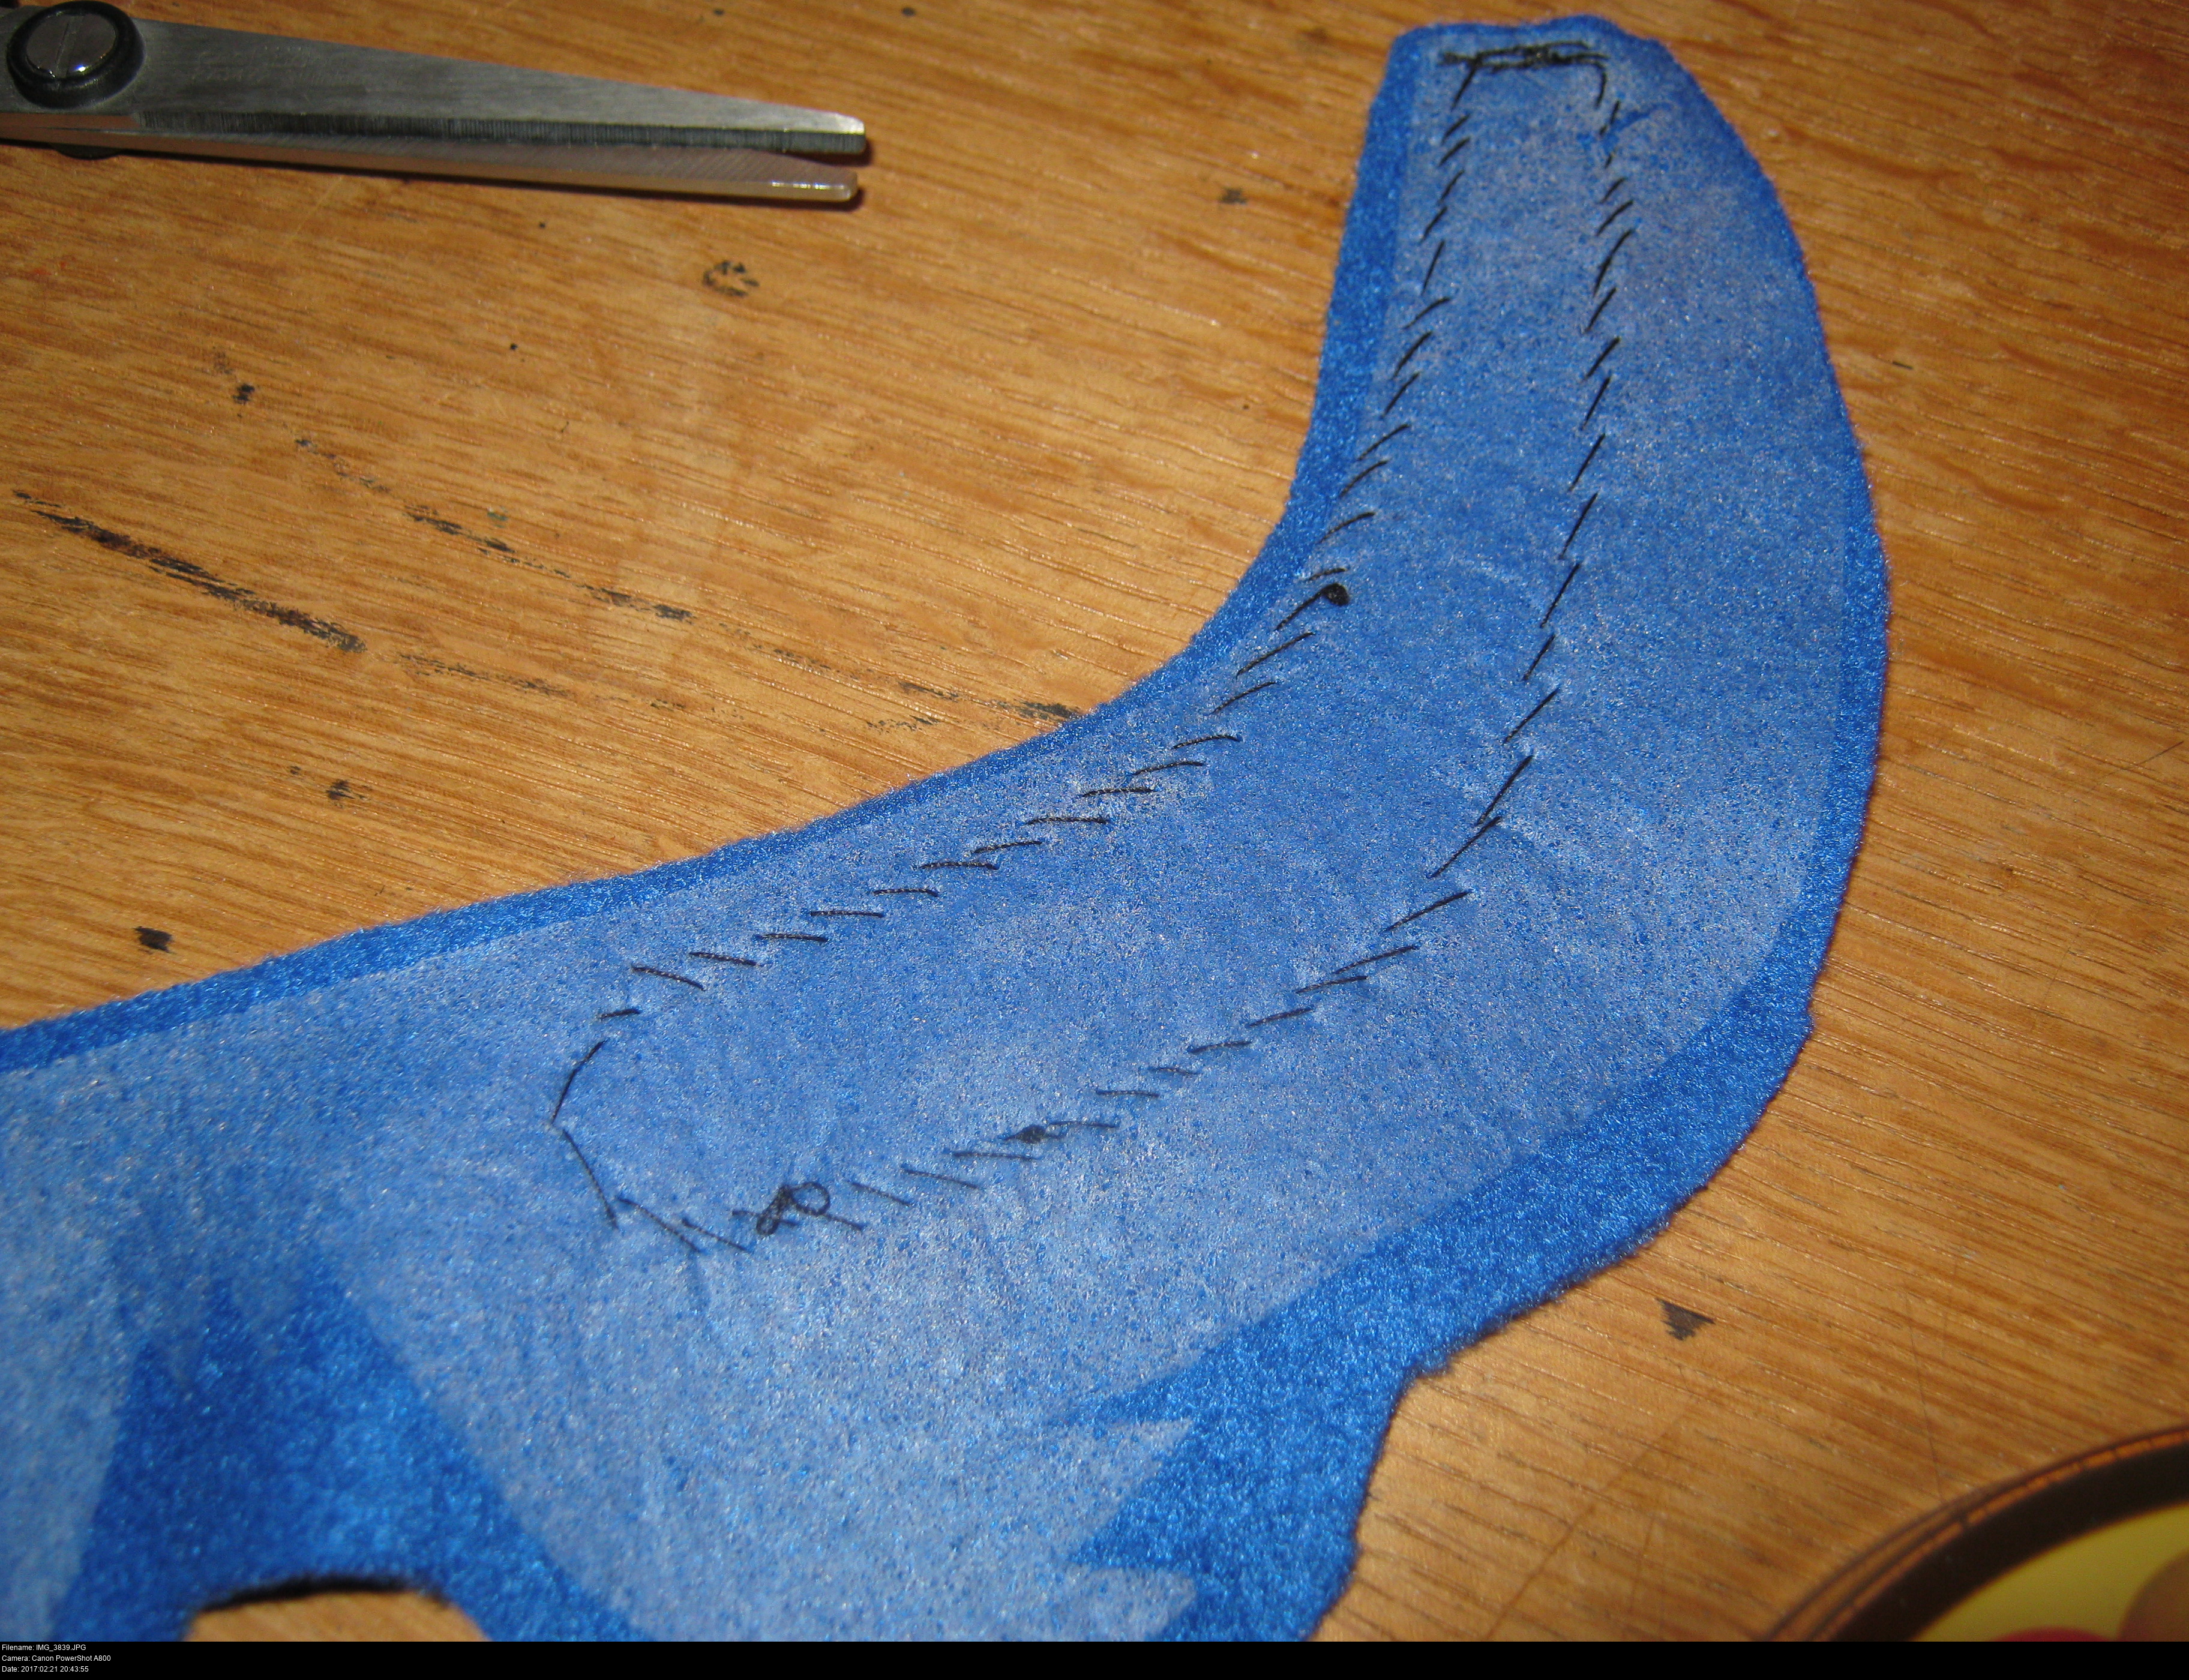
Only when it's cooled and you're satisfied with the placement of the pieces should you go on to do the sewing. Fixing all the pieces in place with the overcast stitch is easy since fleece is a light, easy to handle material. It just takes time and a steady hand. Go slow and verify your stitches to avoid mistakes, uneven spacing, or unwanted loops of thread on the interior of the work. (This may be a subtle hint to what my Pabu's head looks like inside.)

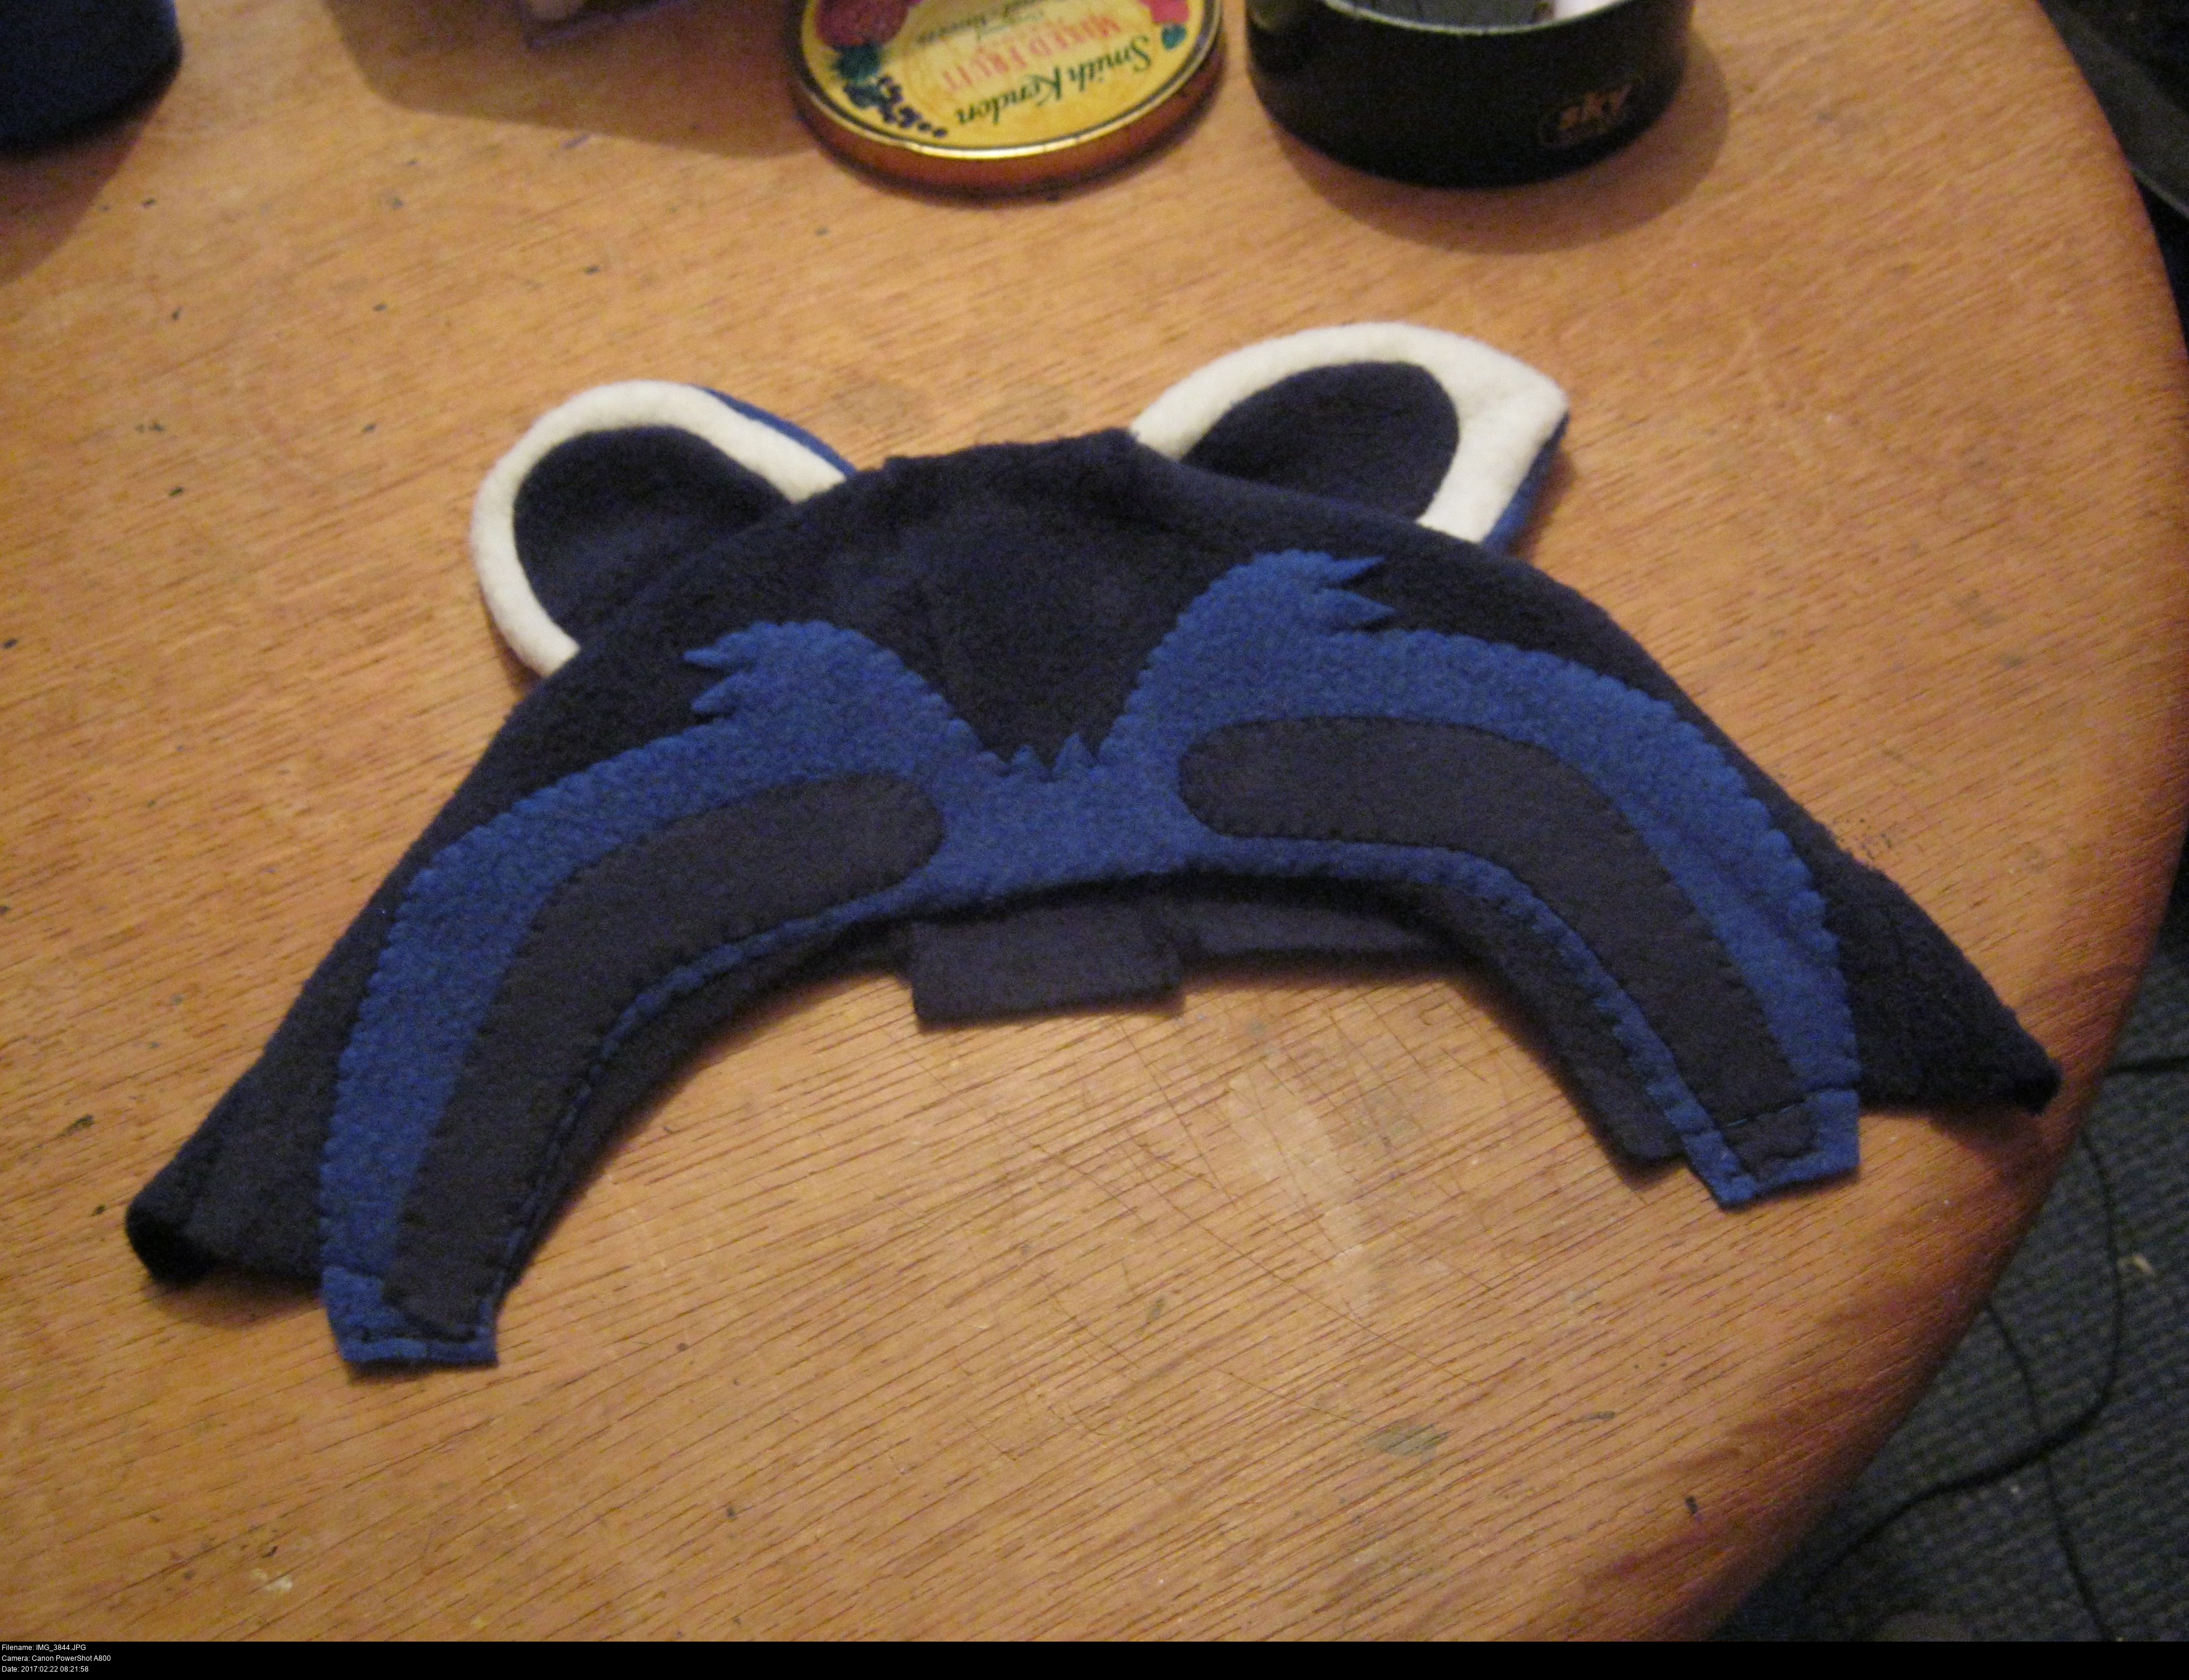
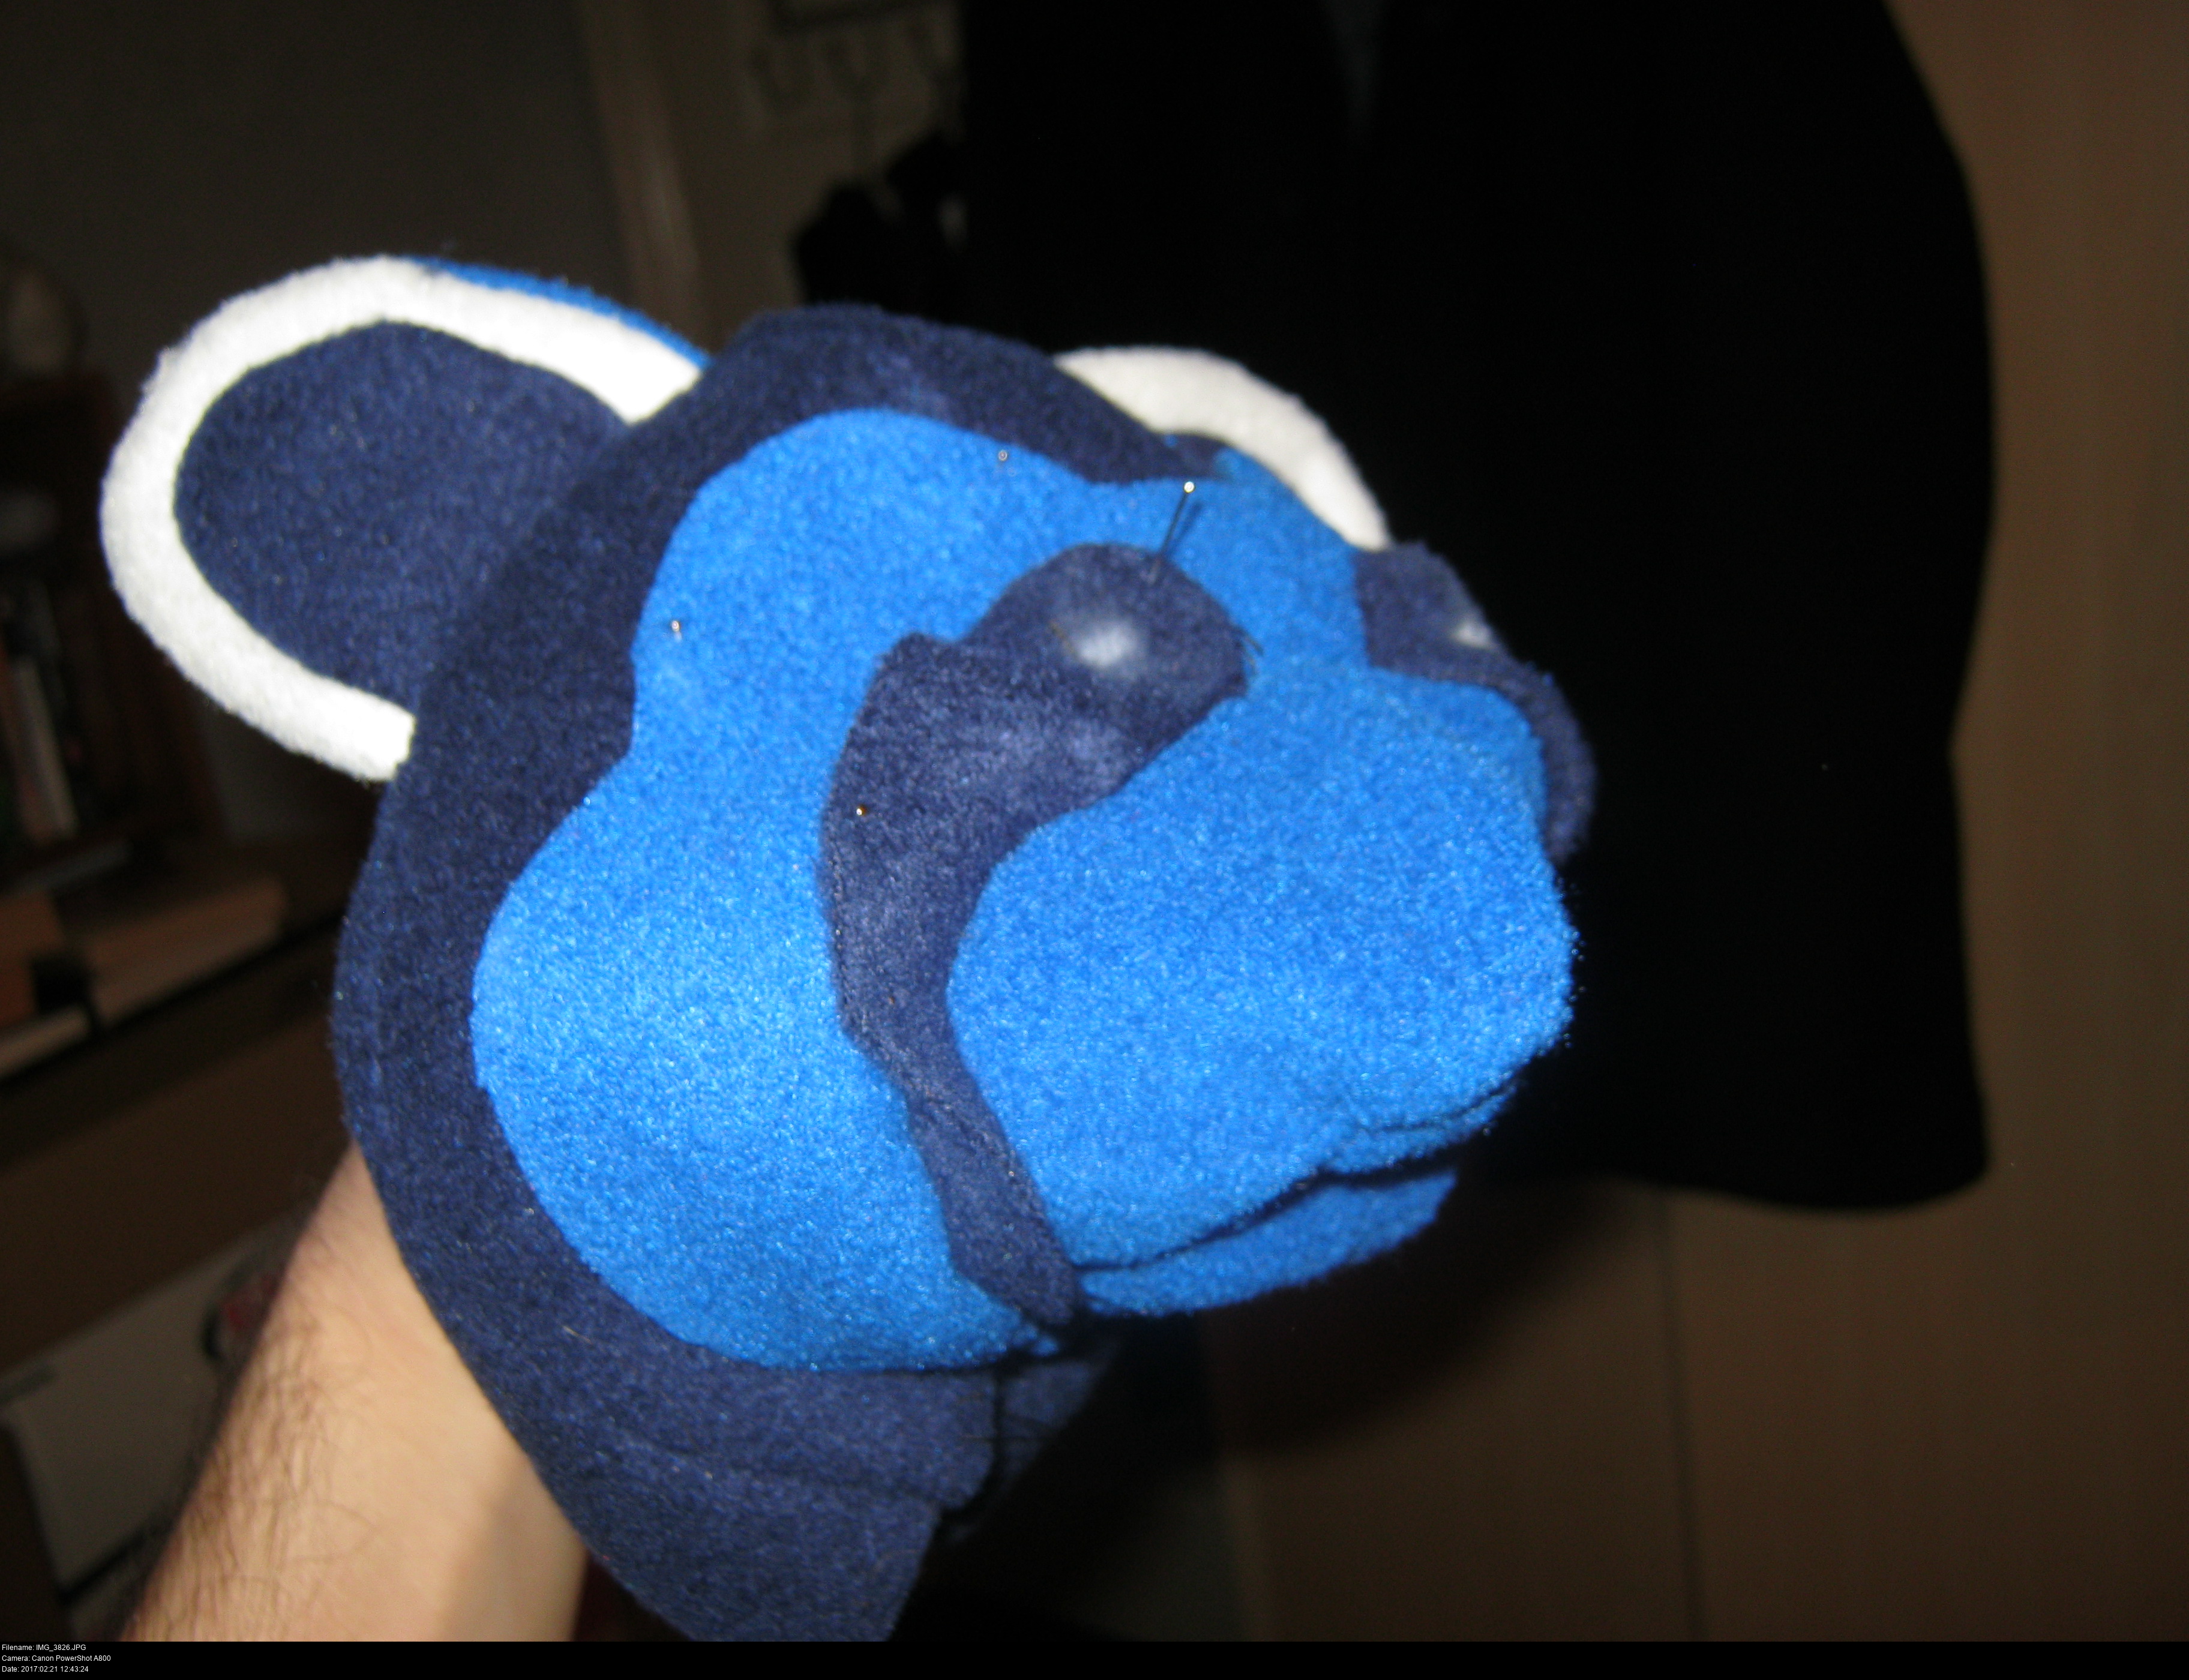
Marvellous! It looks just like the other Pabus, doesn't it? You can see the notched stitching but it's consistent enough to look professional!
The little white mark is chalk to help me align things. Use it freely! Notice I haven't put the snout on until I've done the layering of the face.
All that's needed to finish the construction of the head is to sew the central chin seam. I'm sewing through at least six layers of fleece here (two sides of dark stripe on top of light mask on top of dark head, and that's not counting where the snout will be sewn to the head crescent, so that's another two layers of fleece!) so use the correct weight of needle and test on a similarly stacked offcut first. Also make sure your machine is properly oiled according to the manufacturers instructions!

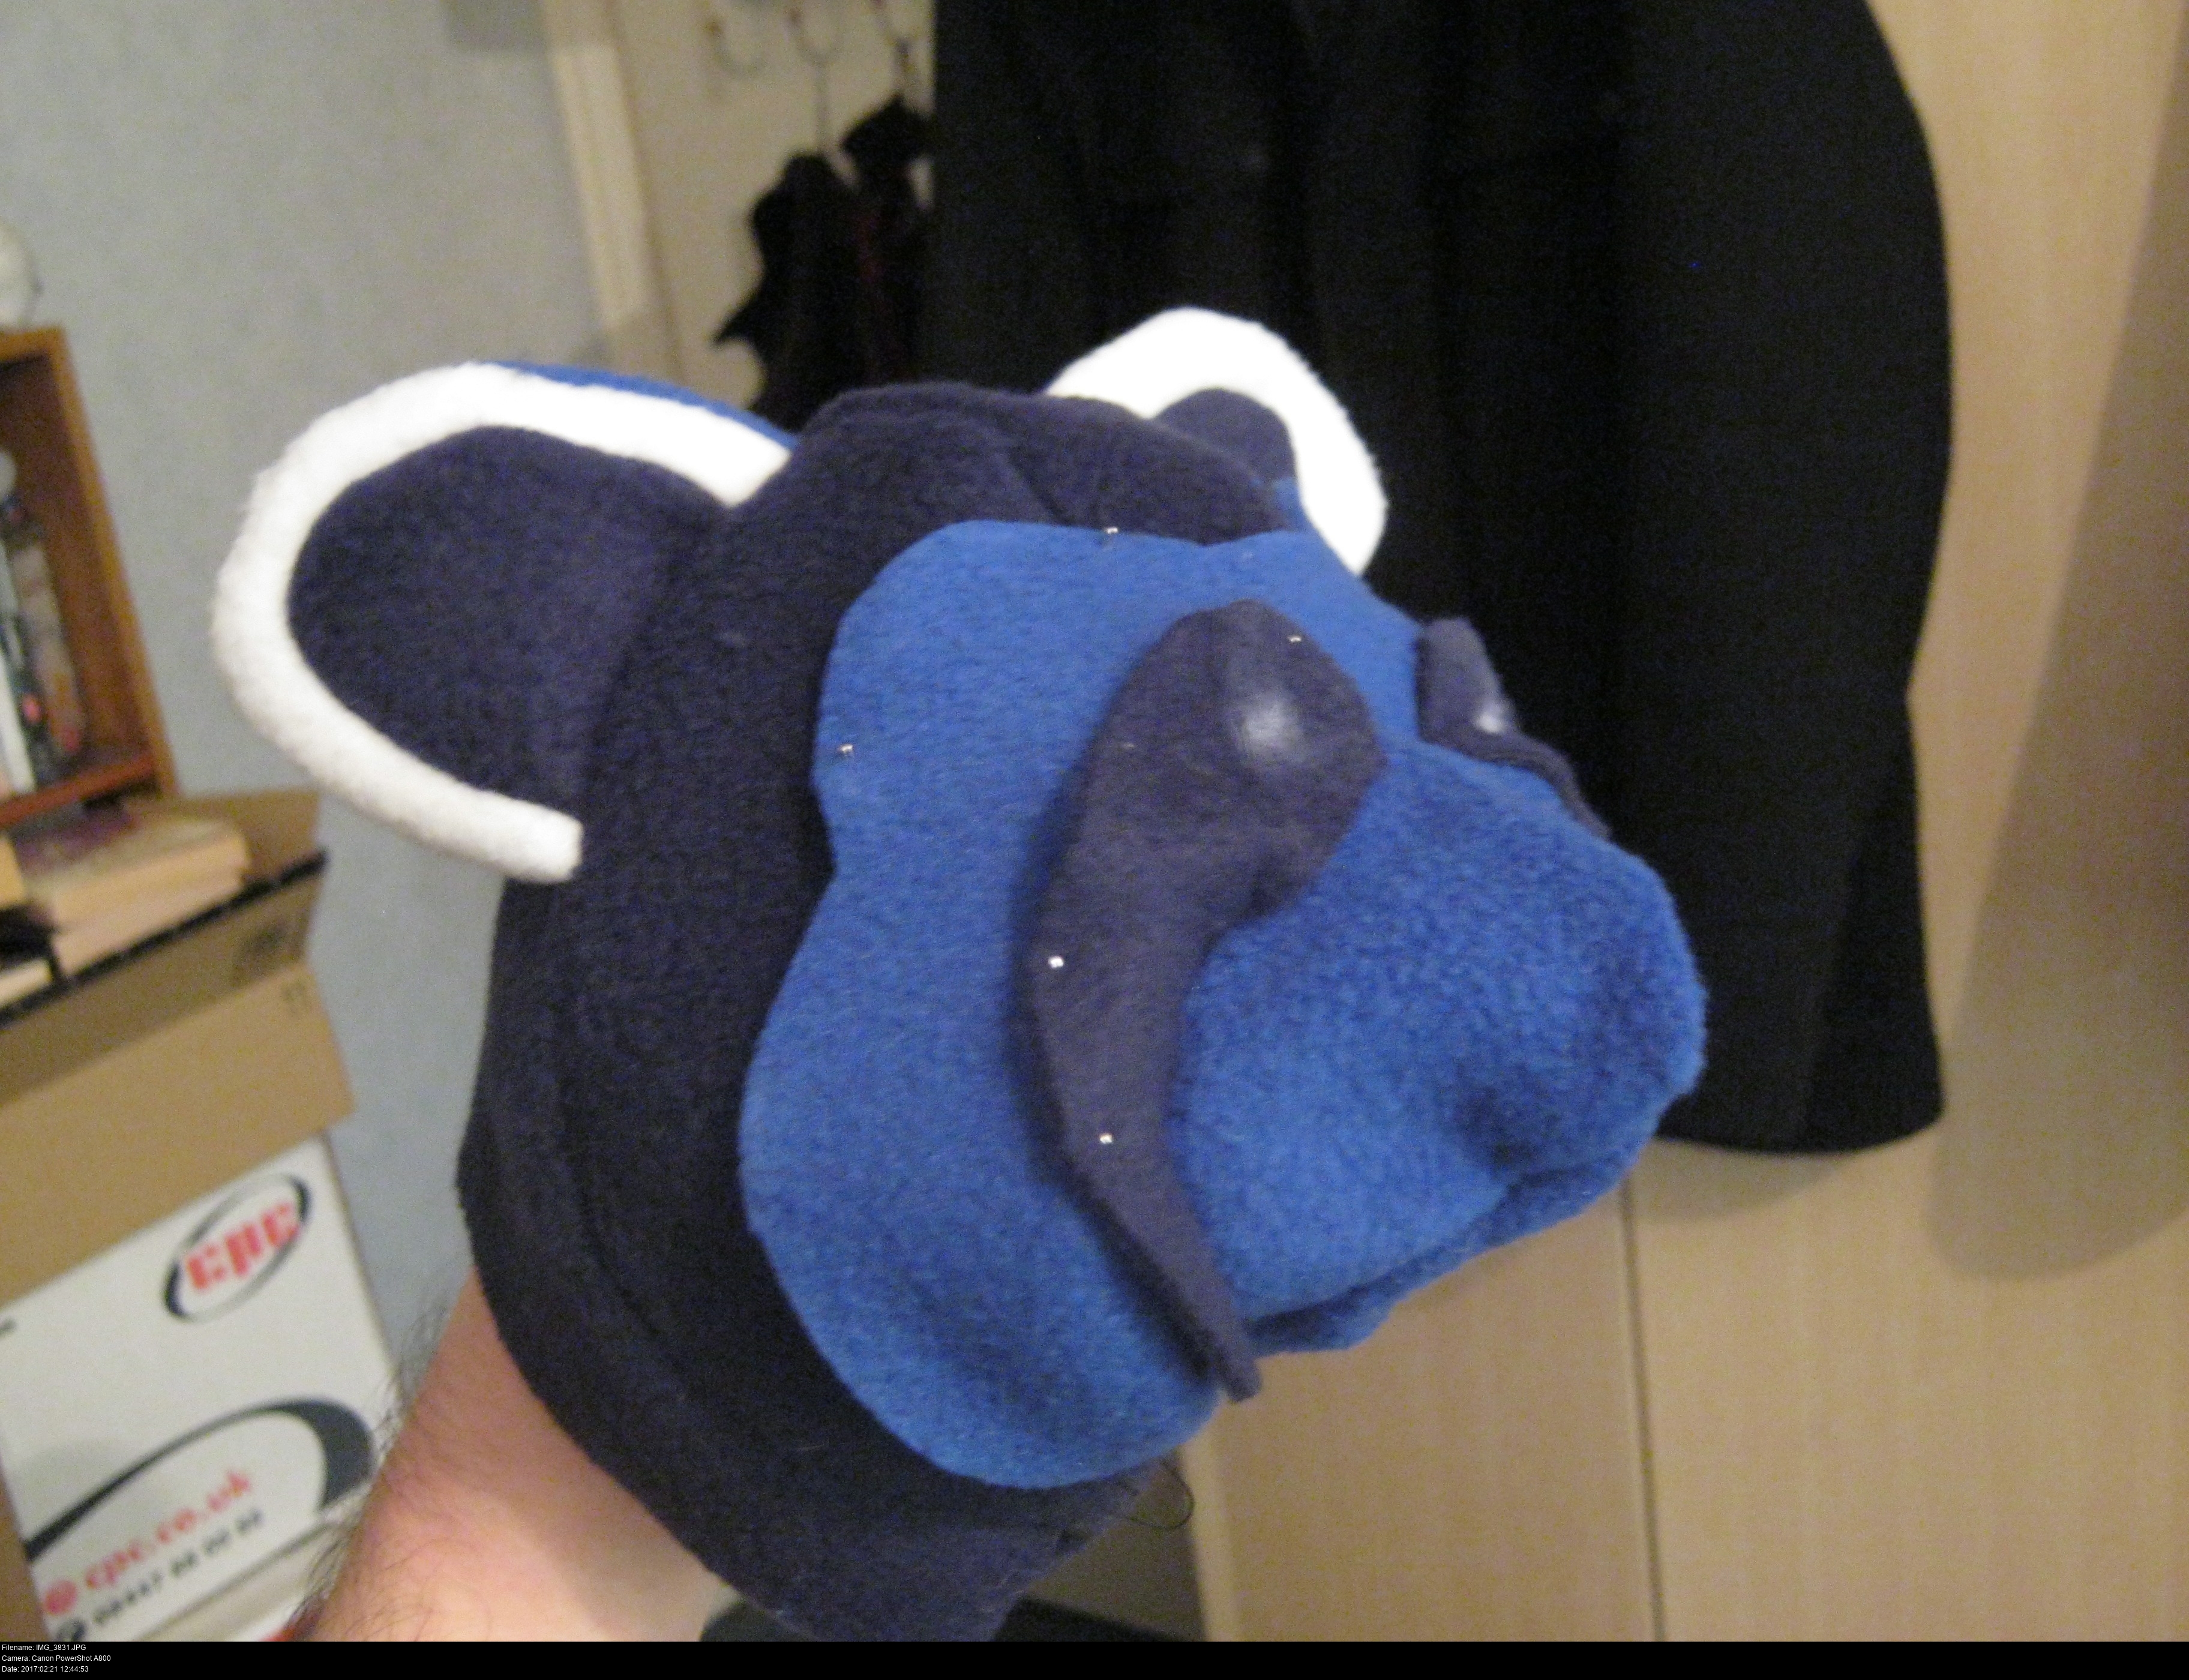
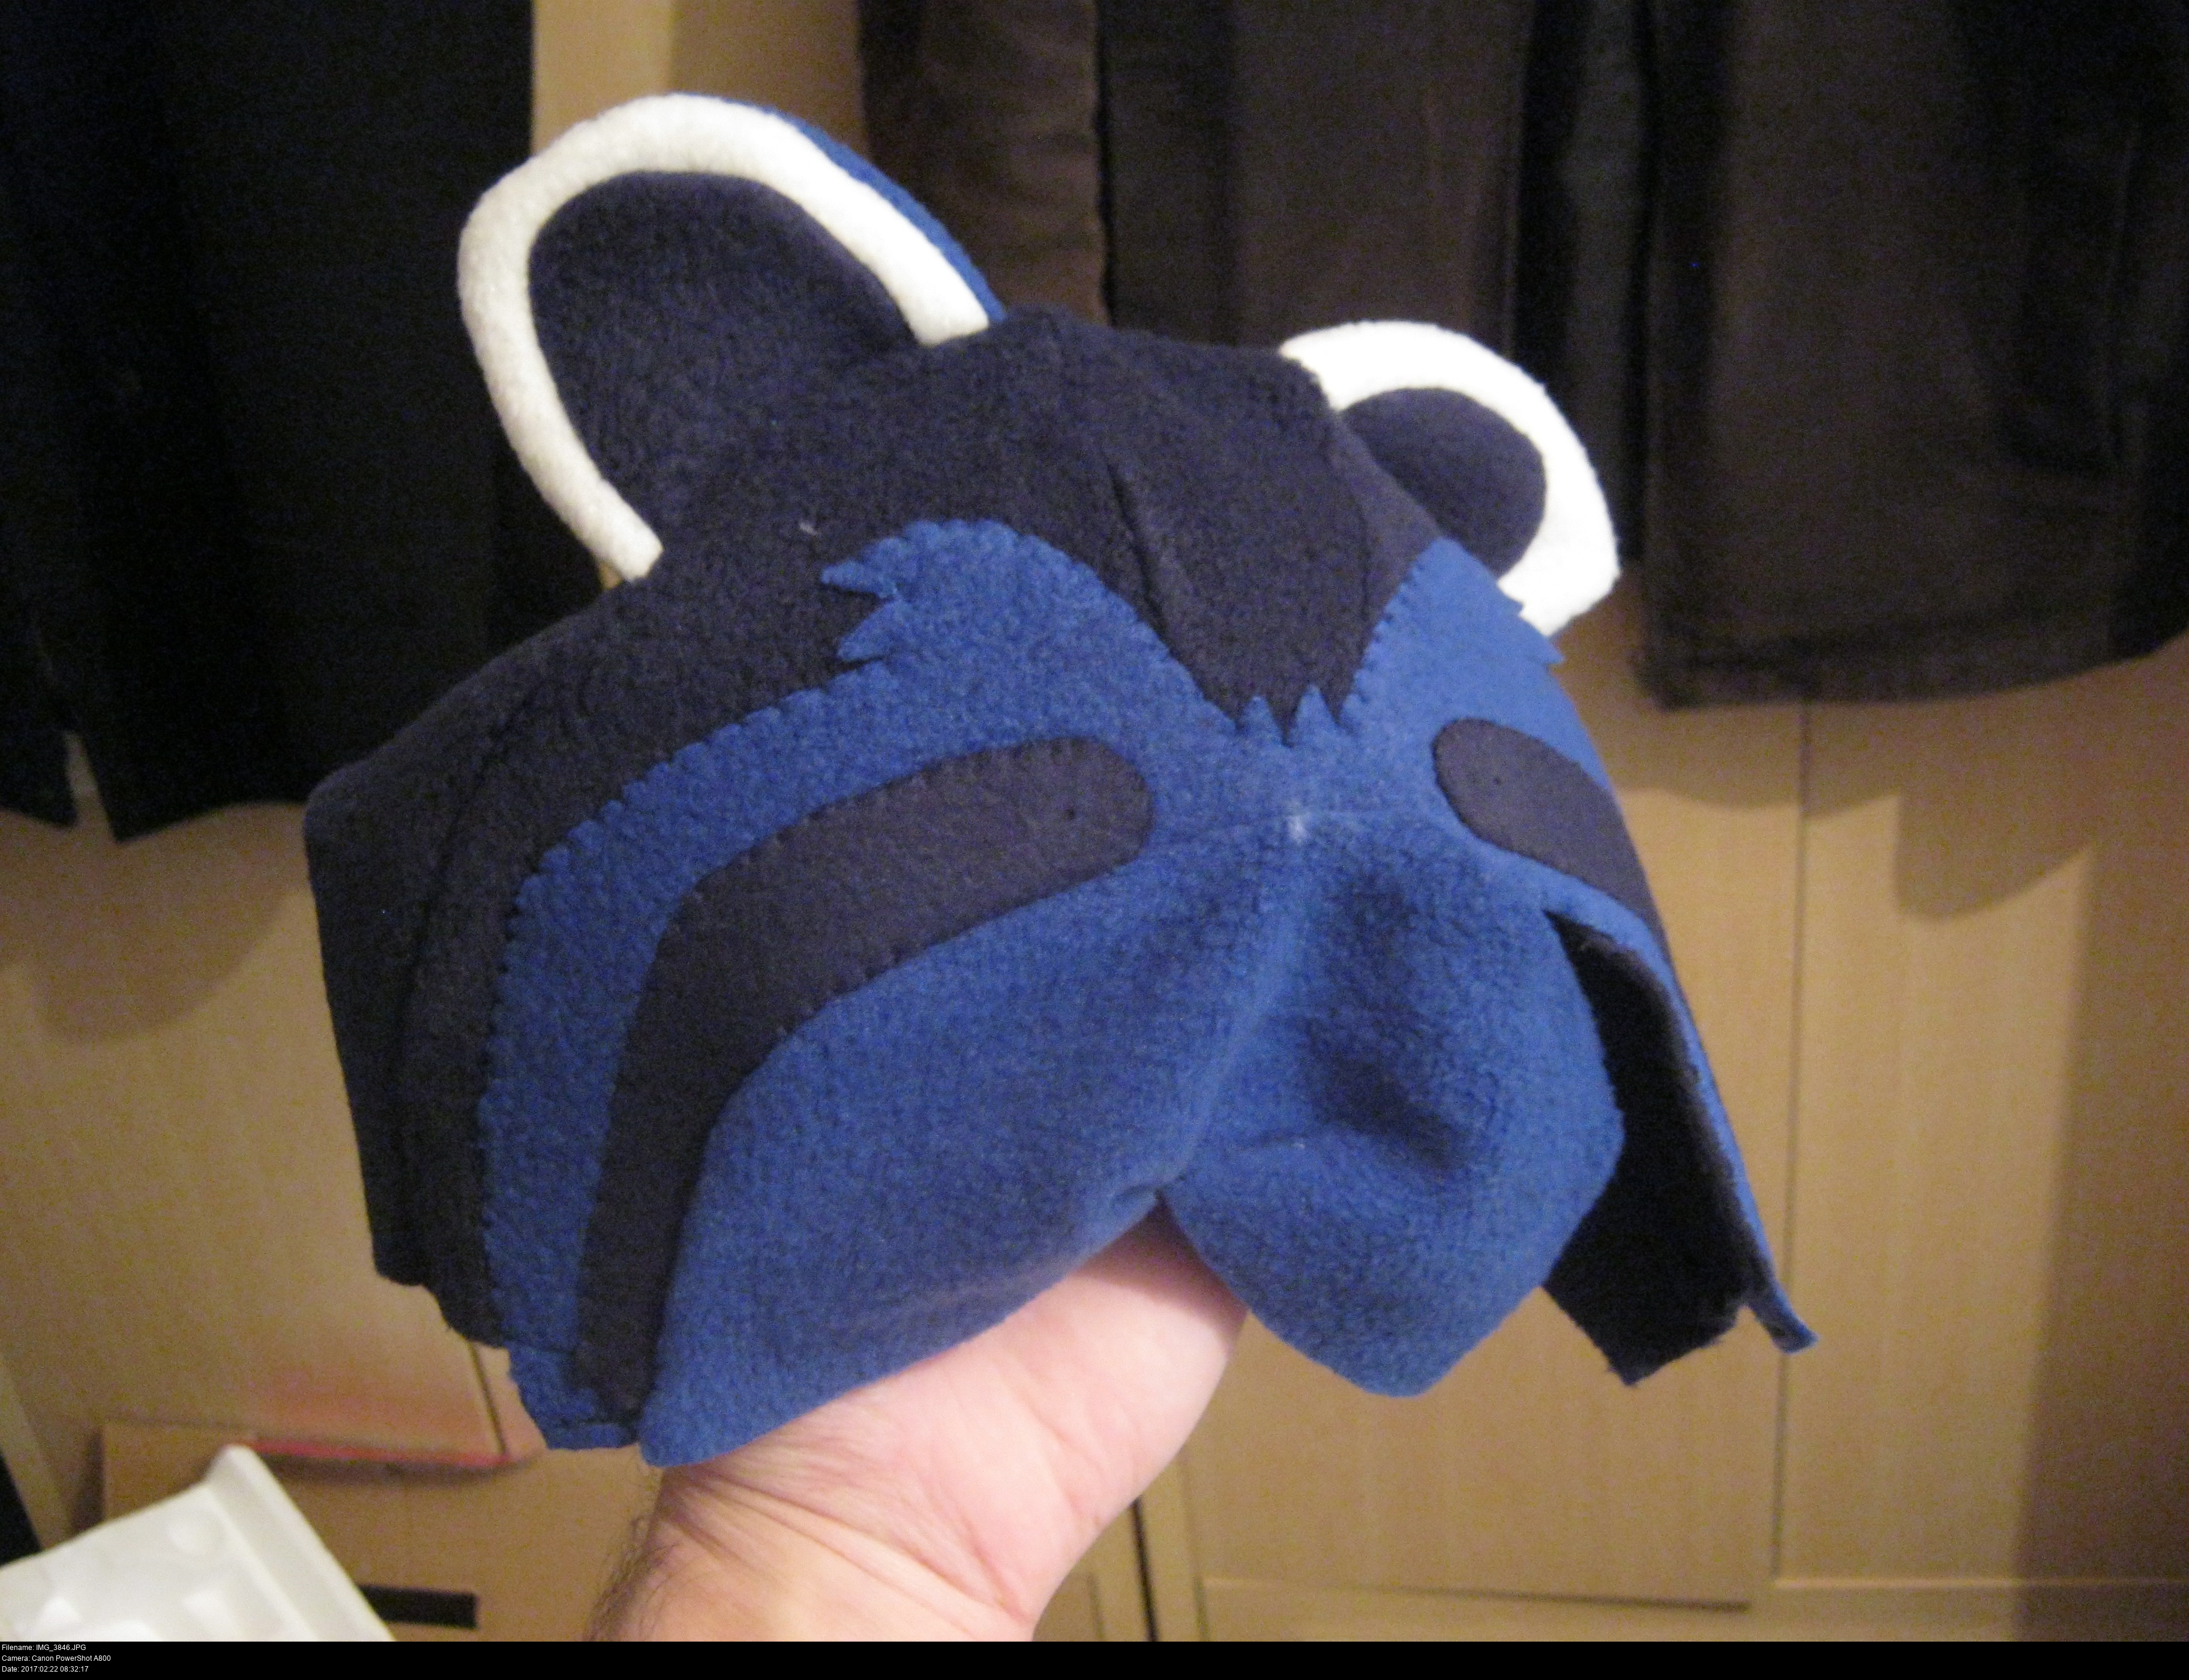
I'm calling that a super-incredible basketball swish! One blue Fire Ferret head is done! Except for the nose and the eyes and the mouth.
His right ear is a little more angular than the one on the left. Shifting curved pieces around in an unruly sewing machine isn't easy - and the results show it. Get a good machine.
And there's no inner ear fluff here. I don't think I had any white fur at this point, so I didn't account for it in the patterns. When I make the final Pabu, I'll need to alter the front left and right panels to have a small section in the interior of the ear using long-pile white fur. This also means I have to account for the direction of the fur when drafting the patterns and cutting the material. Don't forget about it!
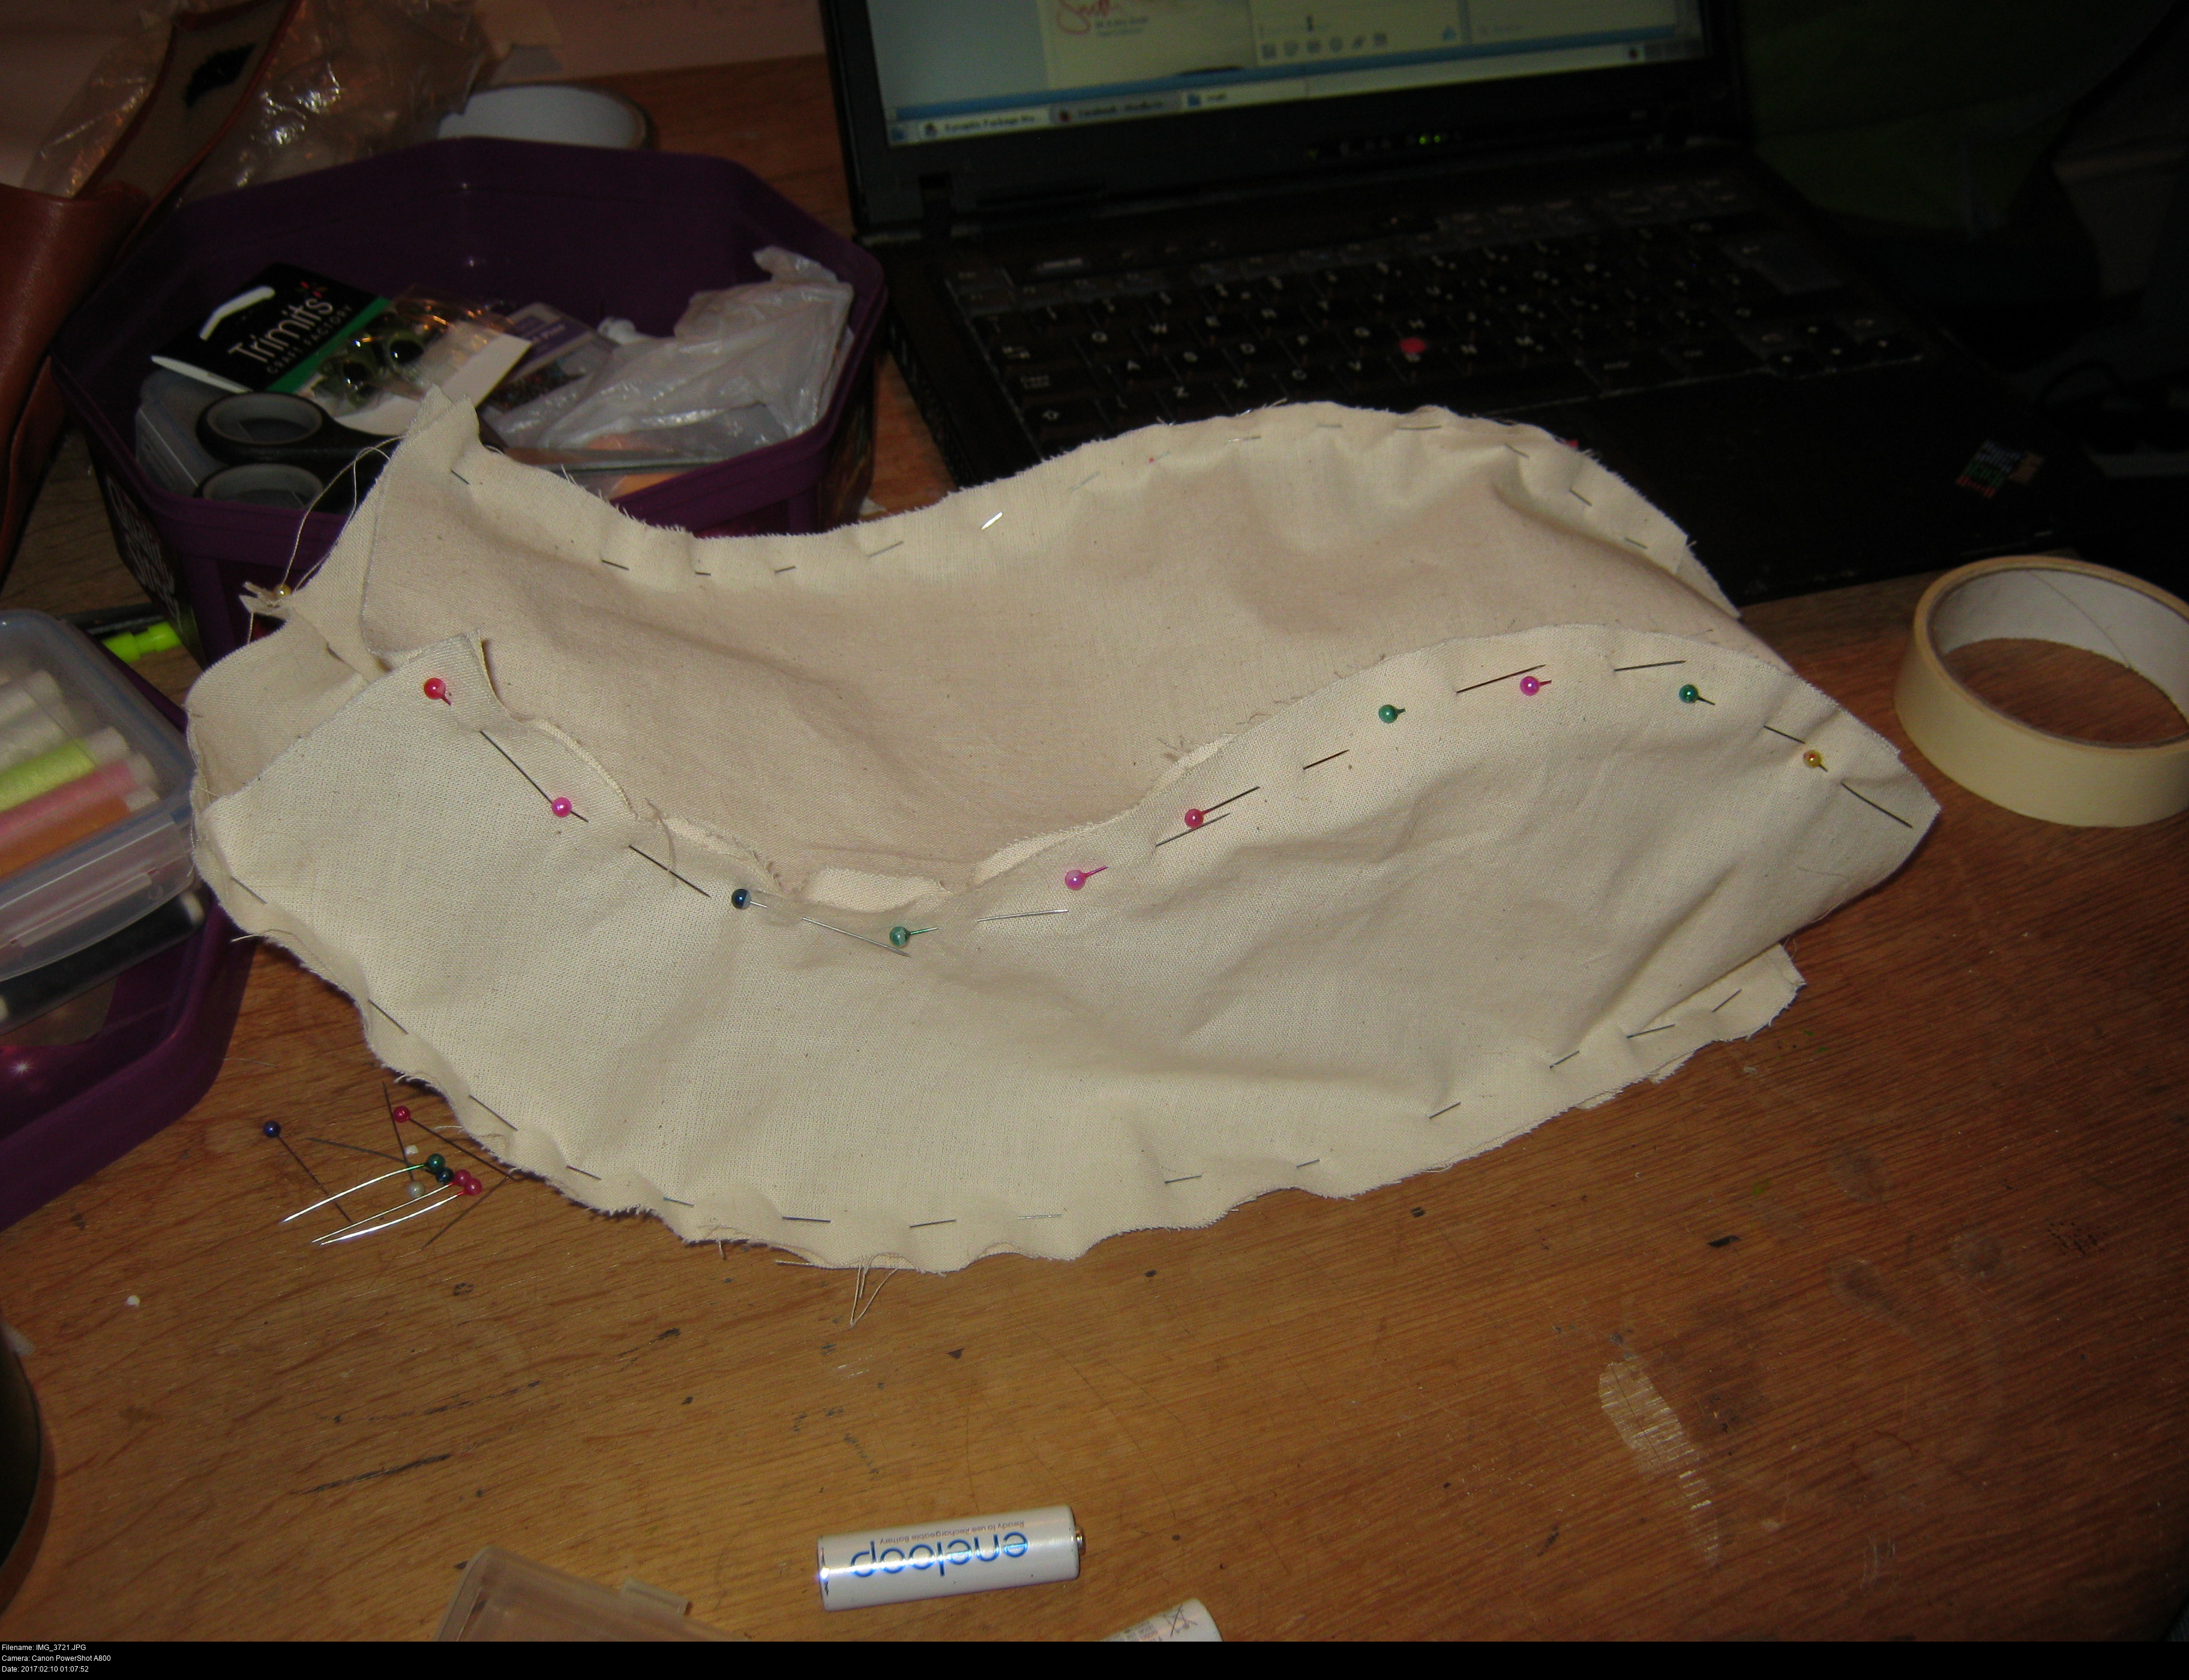
Making cuddlies is a very exacting, very technical engineering challenge! Proper planning and pattern pinning prevents probable plushie production problems. Though I tend to use masking tape to keep the patterns on the fabric 'cause the pins tend to rumple everything up.
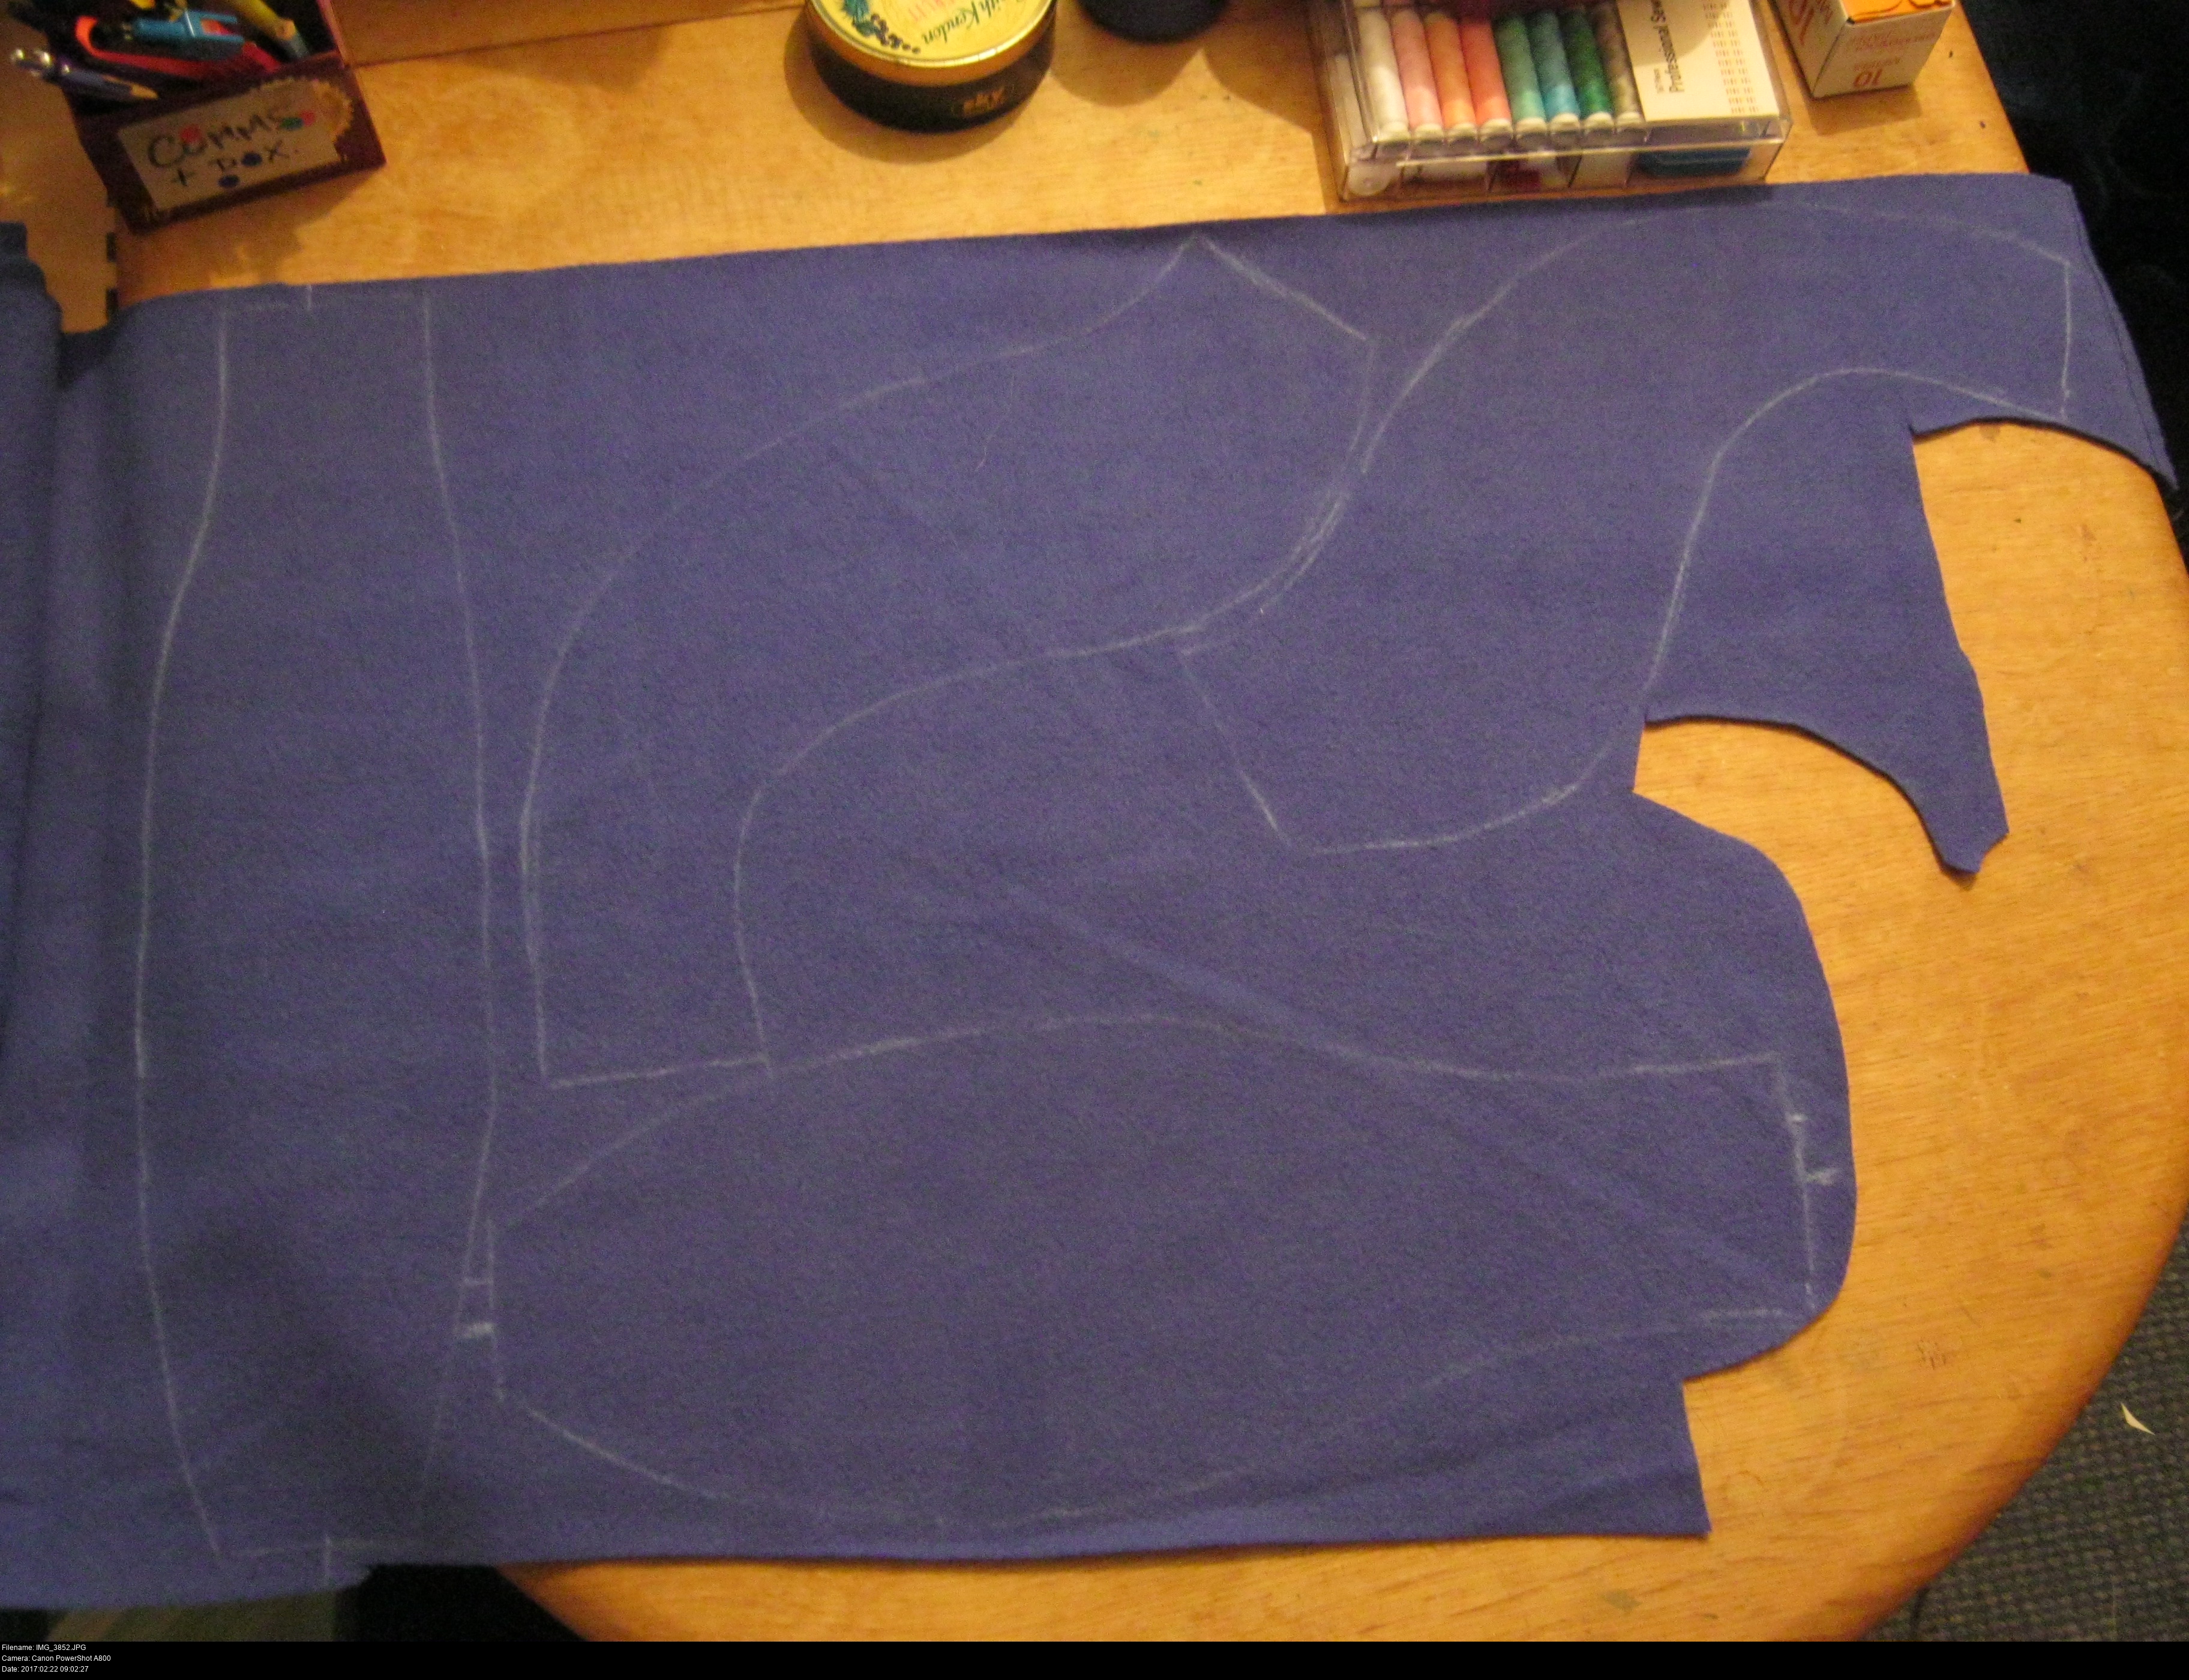
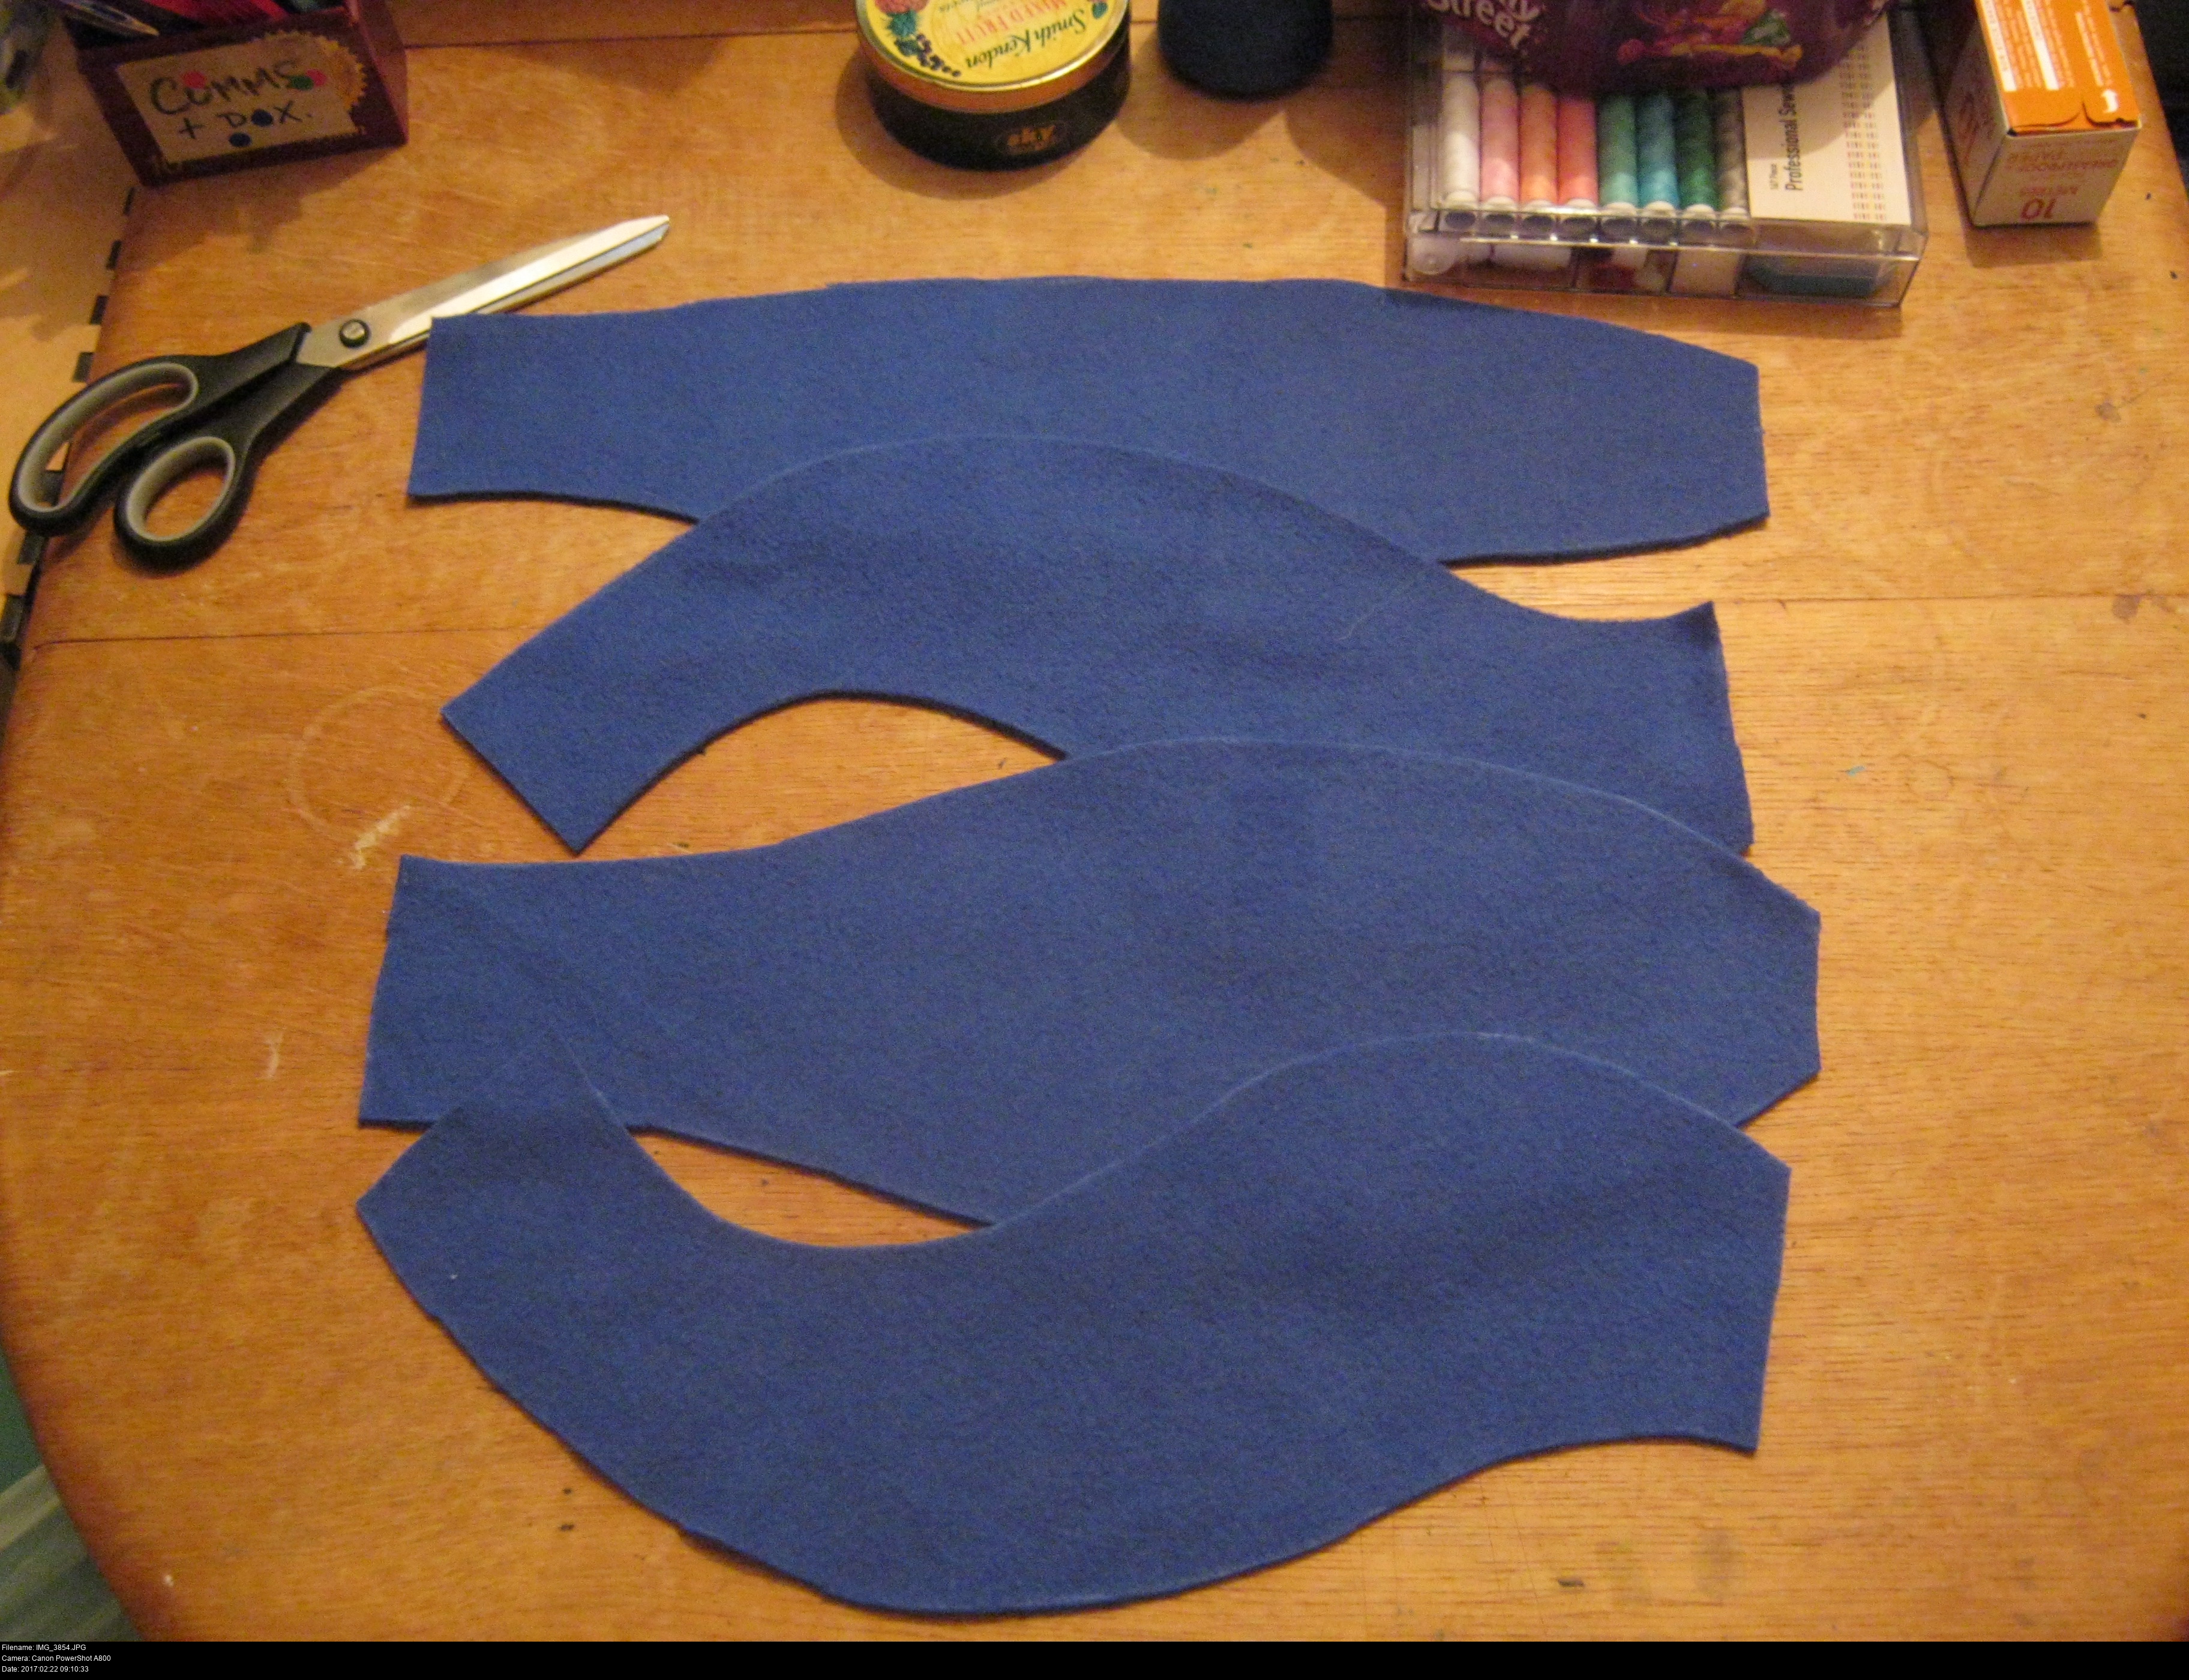
Here's the body pieces being cut from some midnight blue offcut fleece. The two S-shaped pieces are the sides, the thicker vase-shaped piece is the top and the final piece is the bottom. The markings are done in chalk. Notice the notches sticking out of the flat edges of the top and bottom pieces: my paper patterns are only half of the shape, I mark out the corners and flip the paper to create a perfectly symmetrical cut-out.
To ensure the various curved edges are the same length, I measured them with string.
Time to cut out the tail!
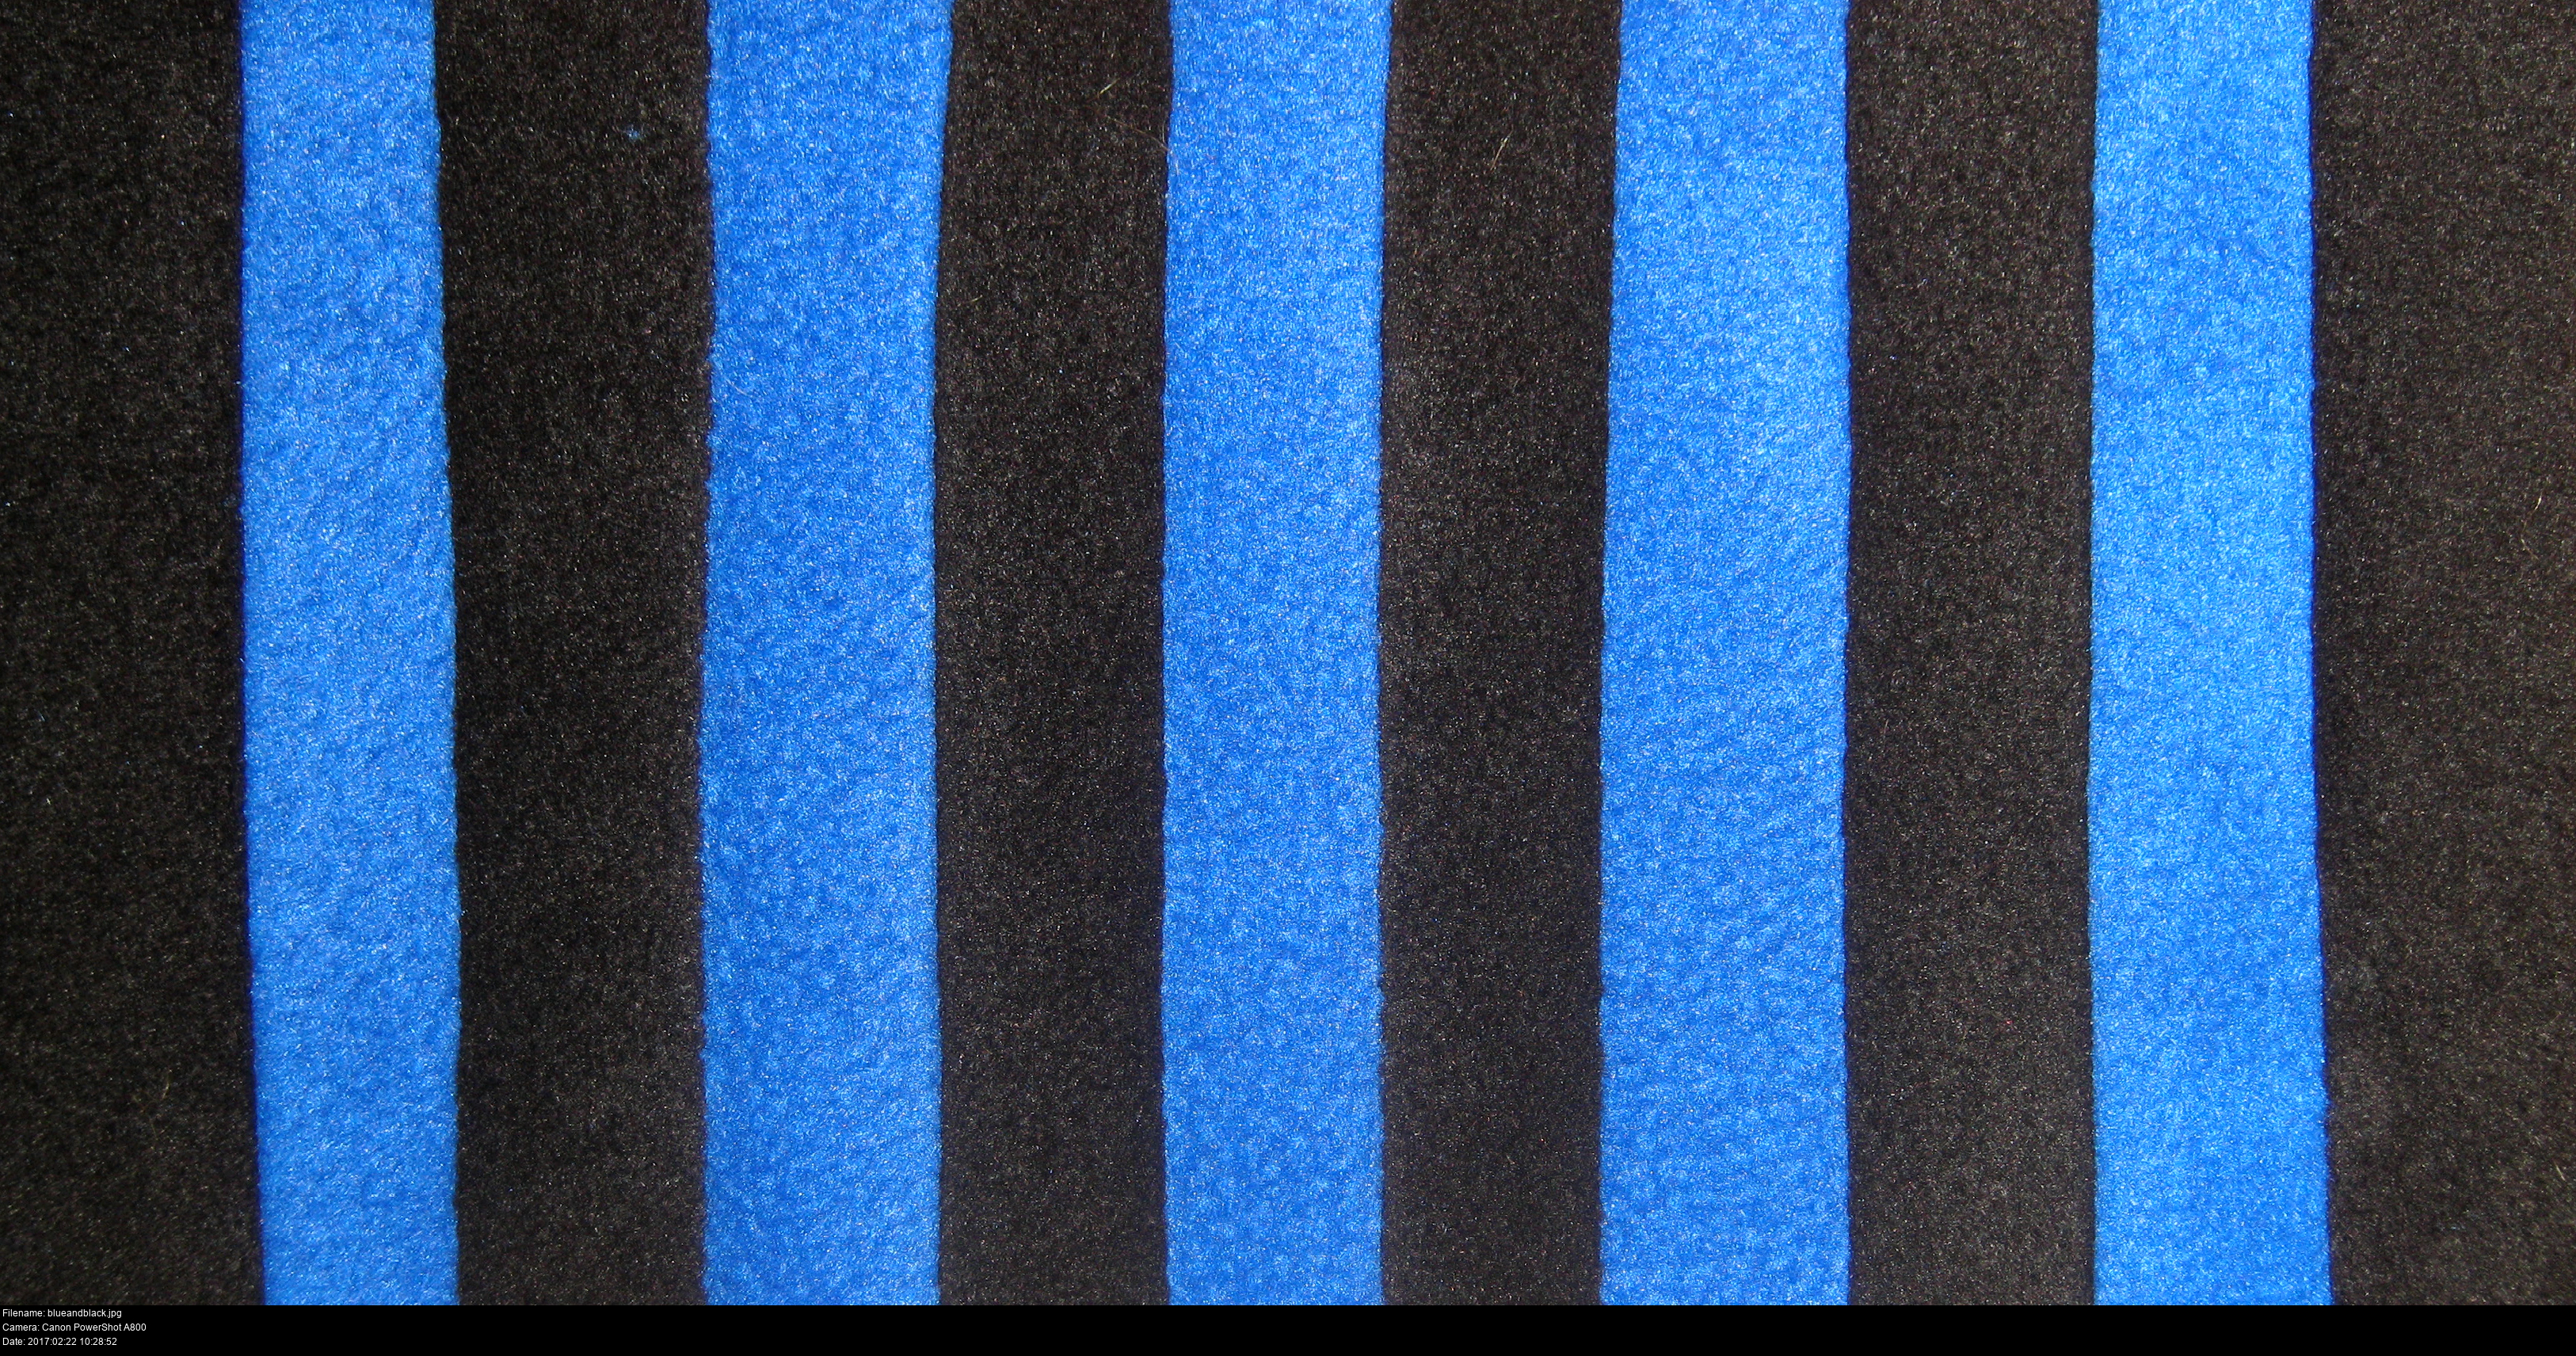
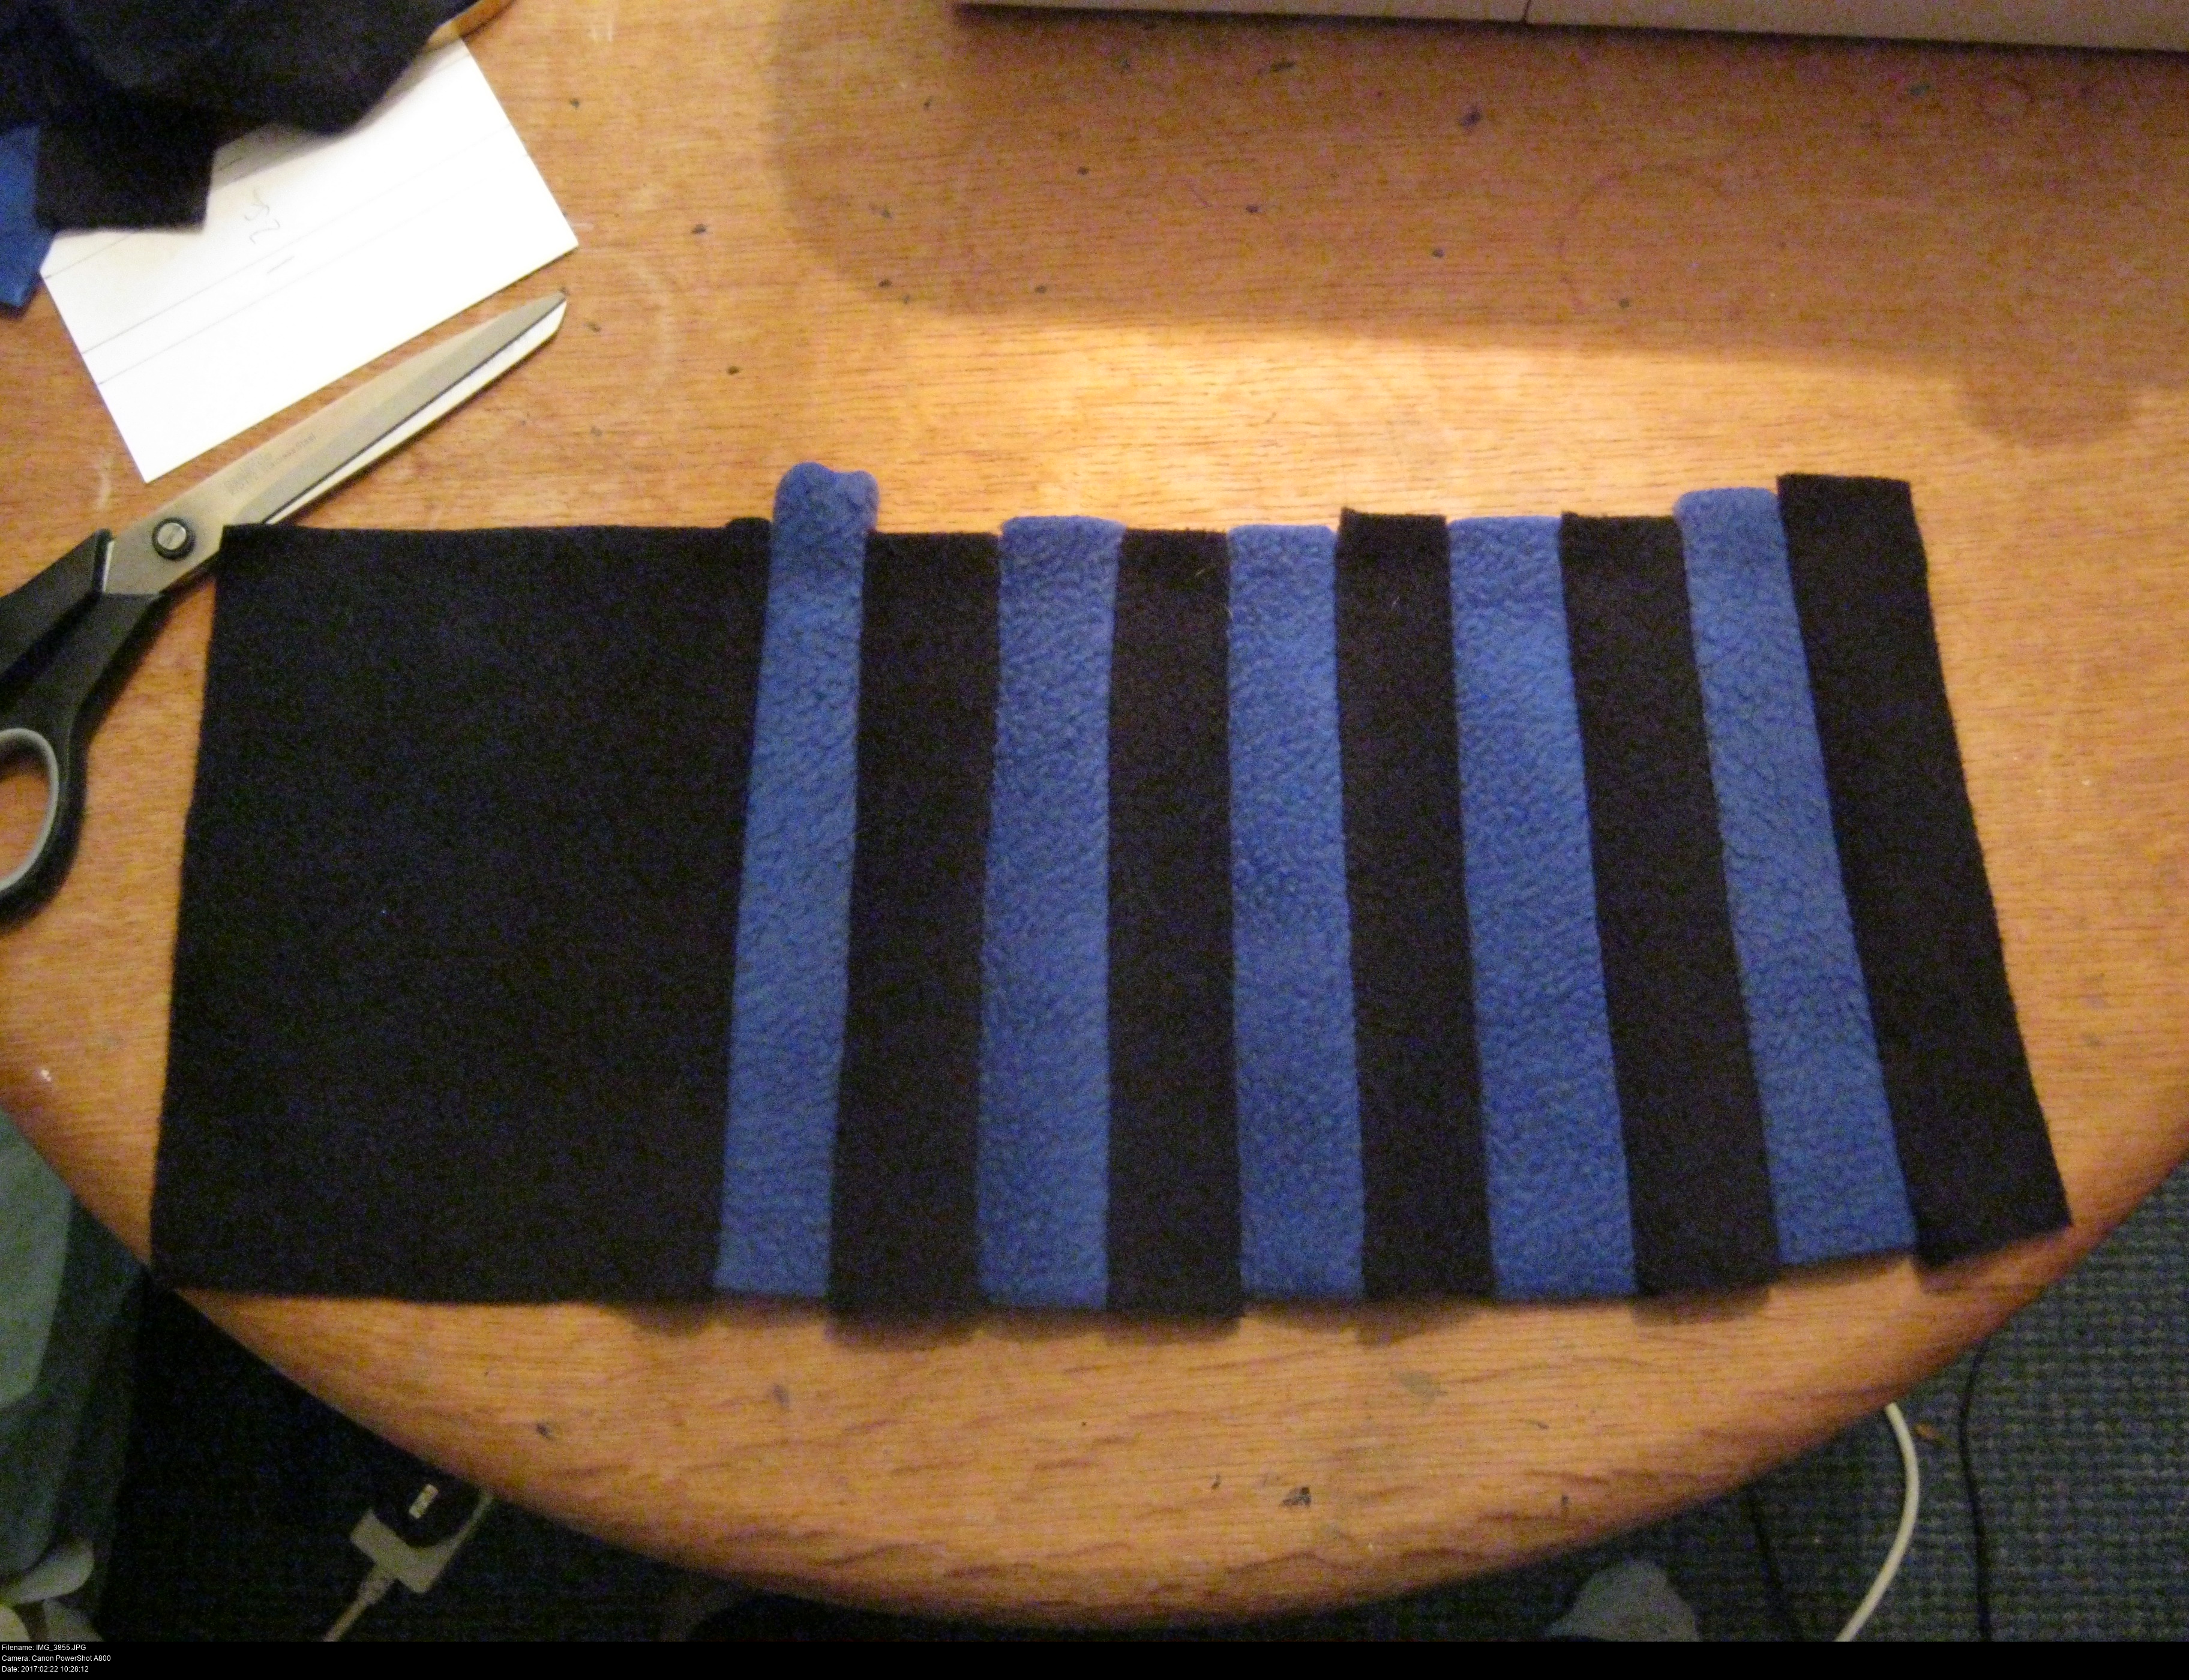
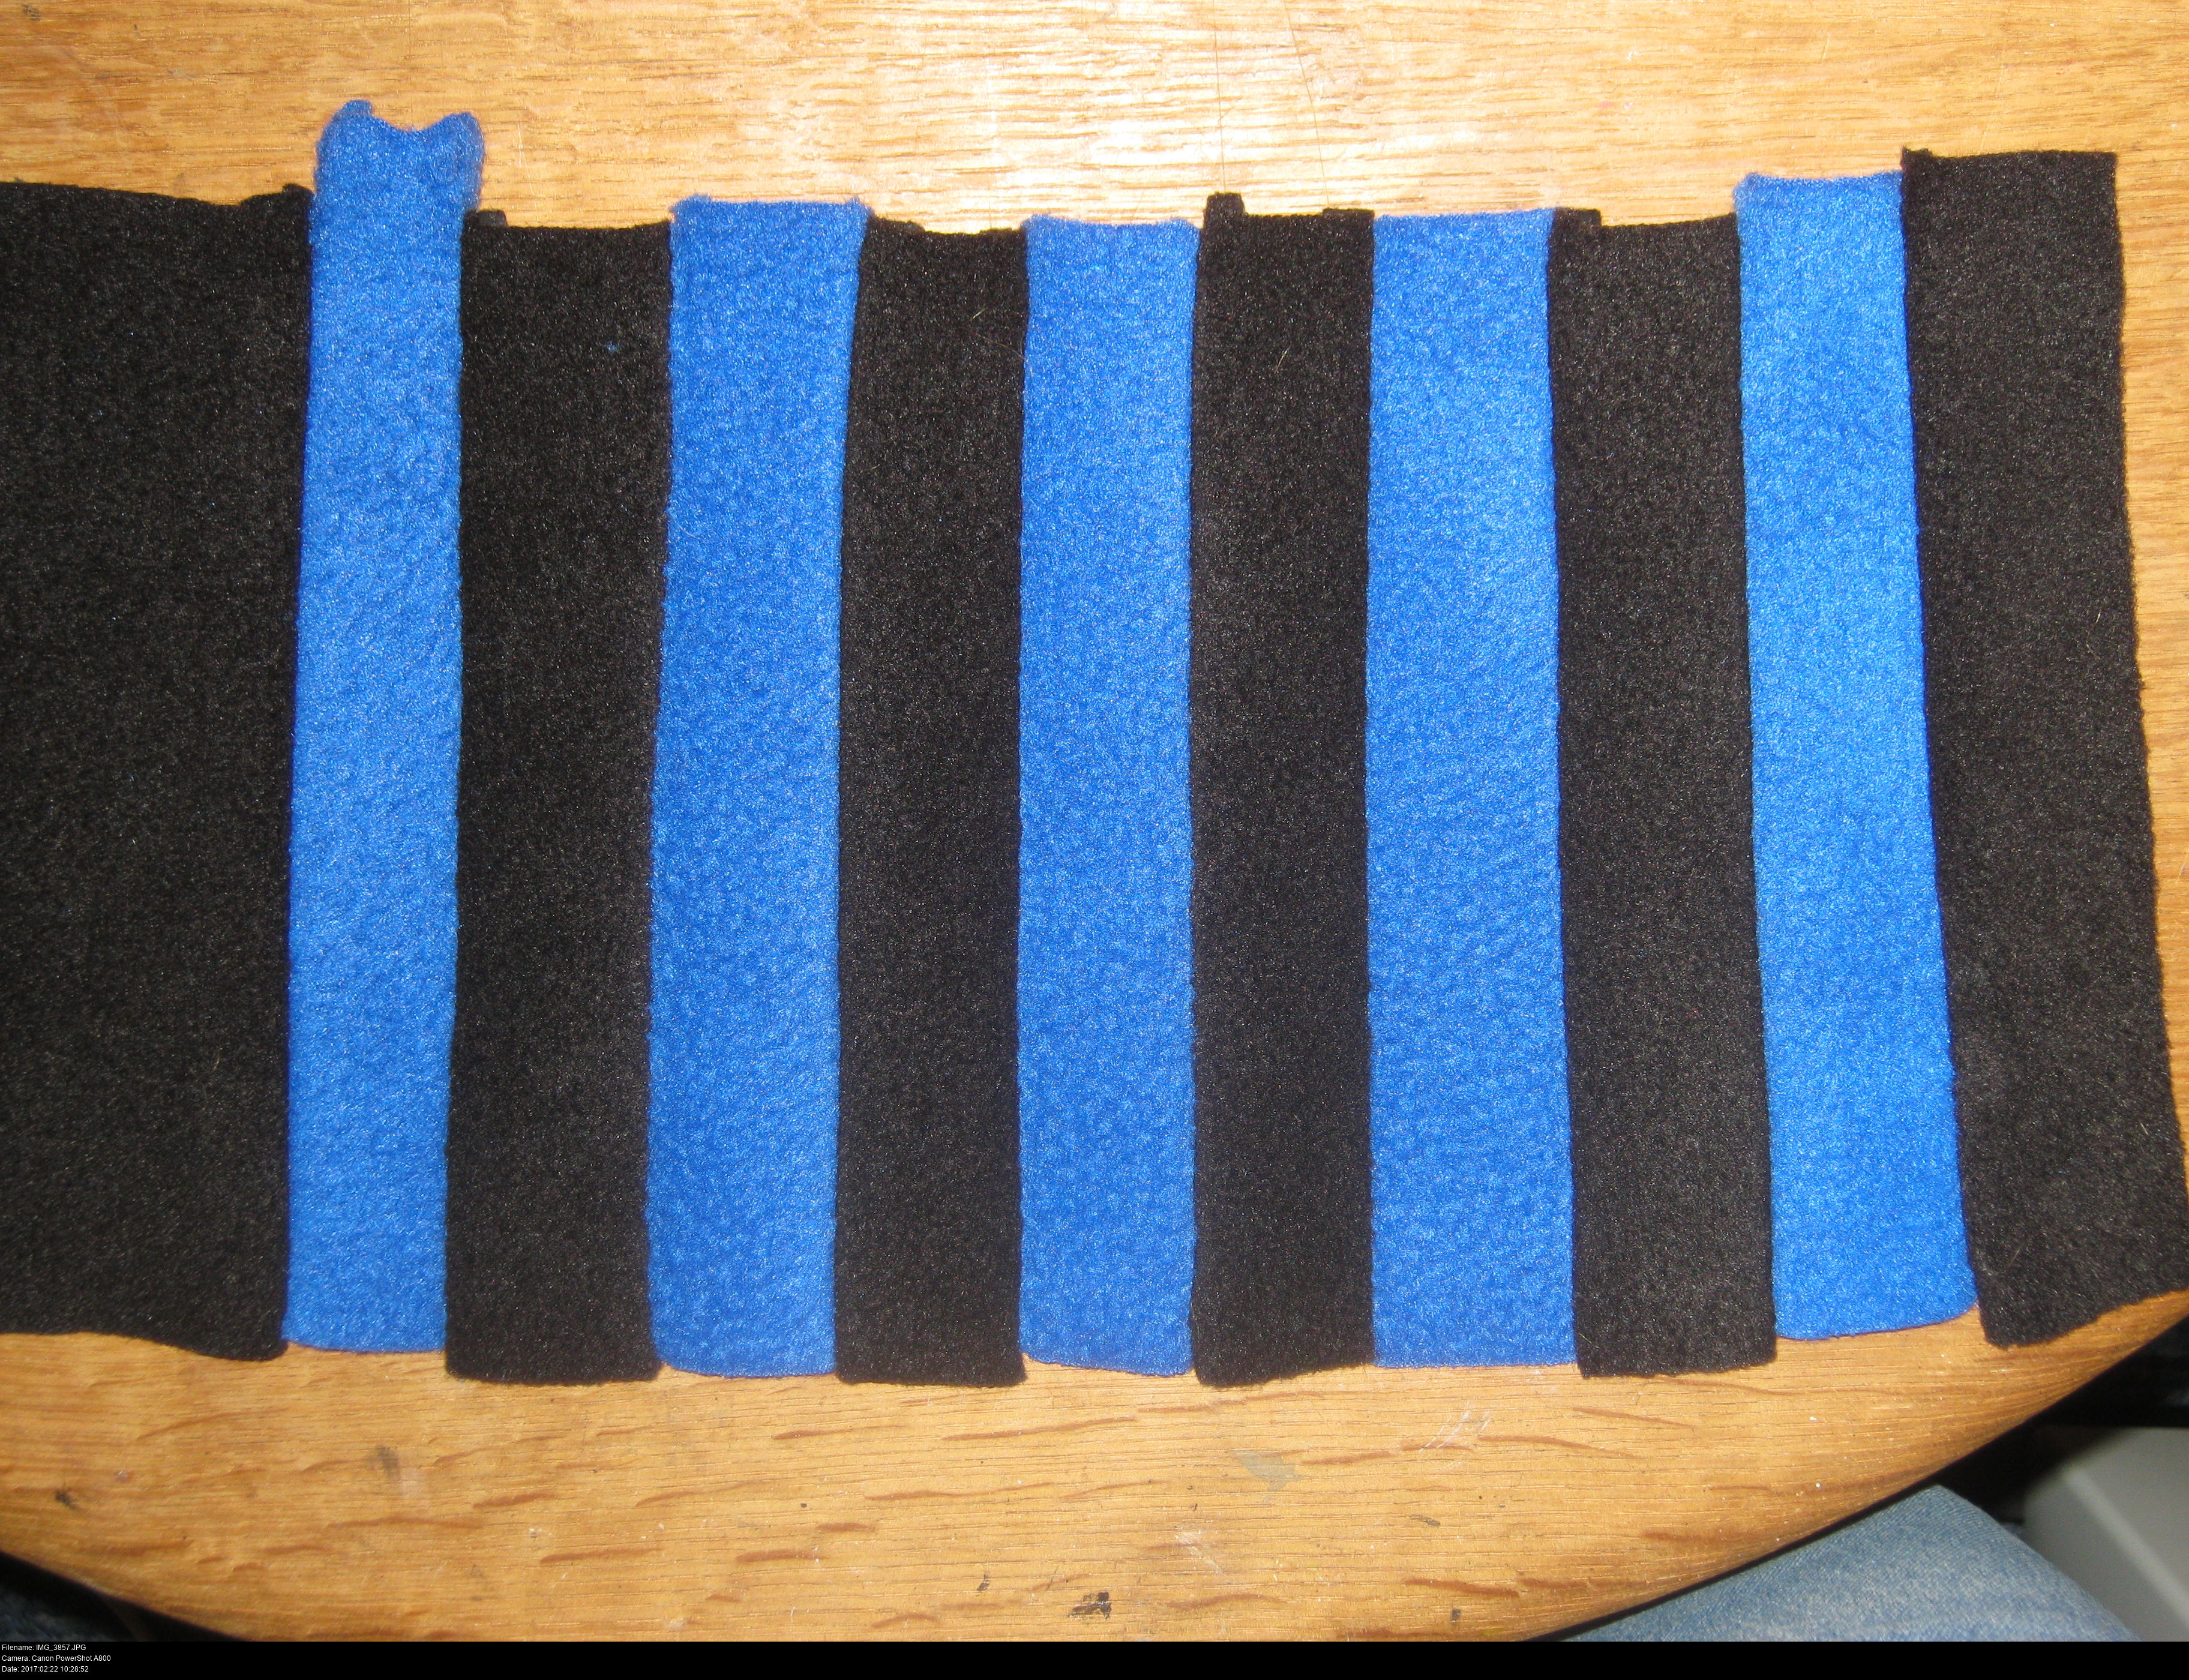
The only way to make the tail striped is to make some 'striped material', so here we go. This tail has five dark stripes, and five light stripes ending with a dark cap. I don't know where the sixth one disappeared off too. It's possible I thought the tail would end up too long? Or maybe I ran out of black? If tail accuracy is critical, make sure to take tons of work-in-progress pictures to show your commissioner and let them approve or reject it.
I have to make two of these and sew them back to back to make the full tail. It's as exciting as it sounds.

Here's my half-pattern for the tail. Notice how I've had to tape two pieces of paper together to make it! And I've had a few different attempts at figuring out the width of the opening that sews onto the body. To make a tail with a different cross-section, I just have to rotate it a little, using a different location along the straight vertical edge to mark as the new vertical centre before I flip the paper.
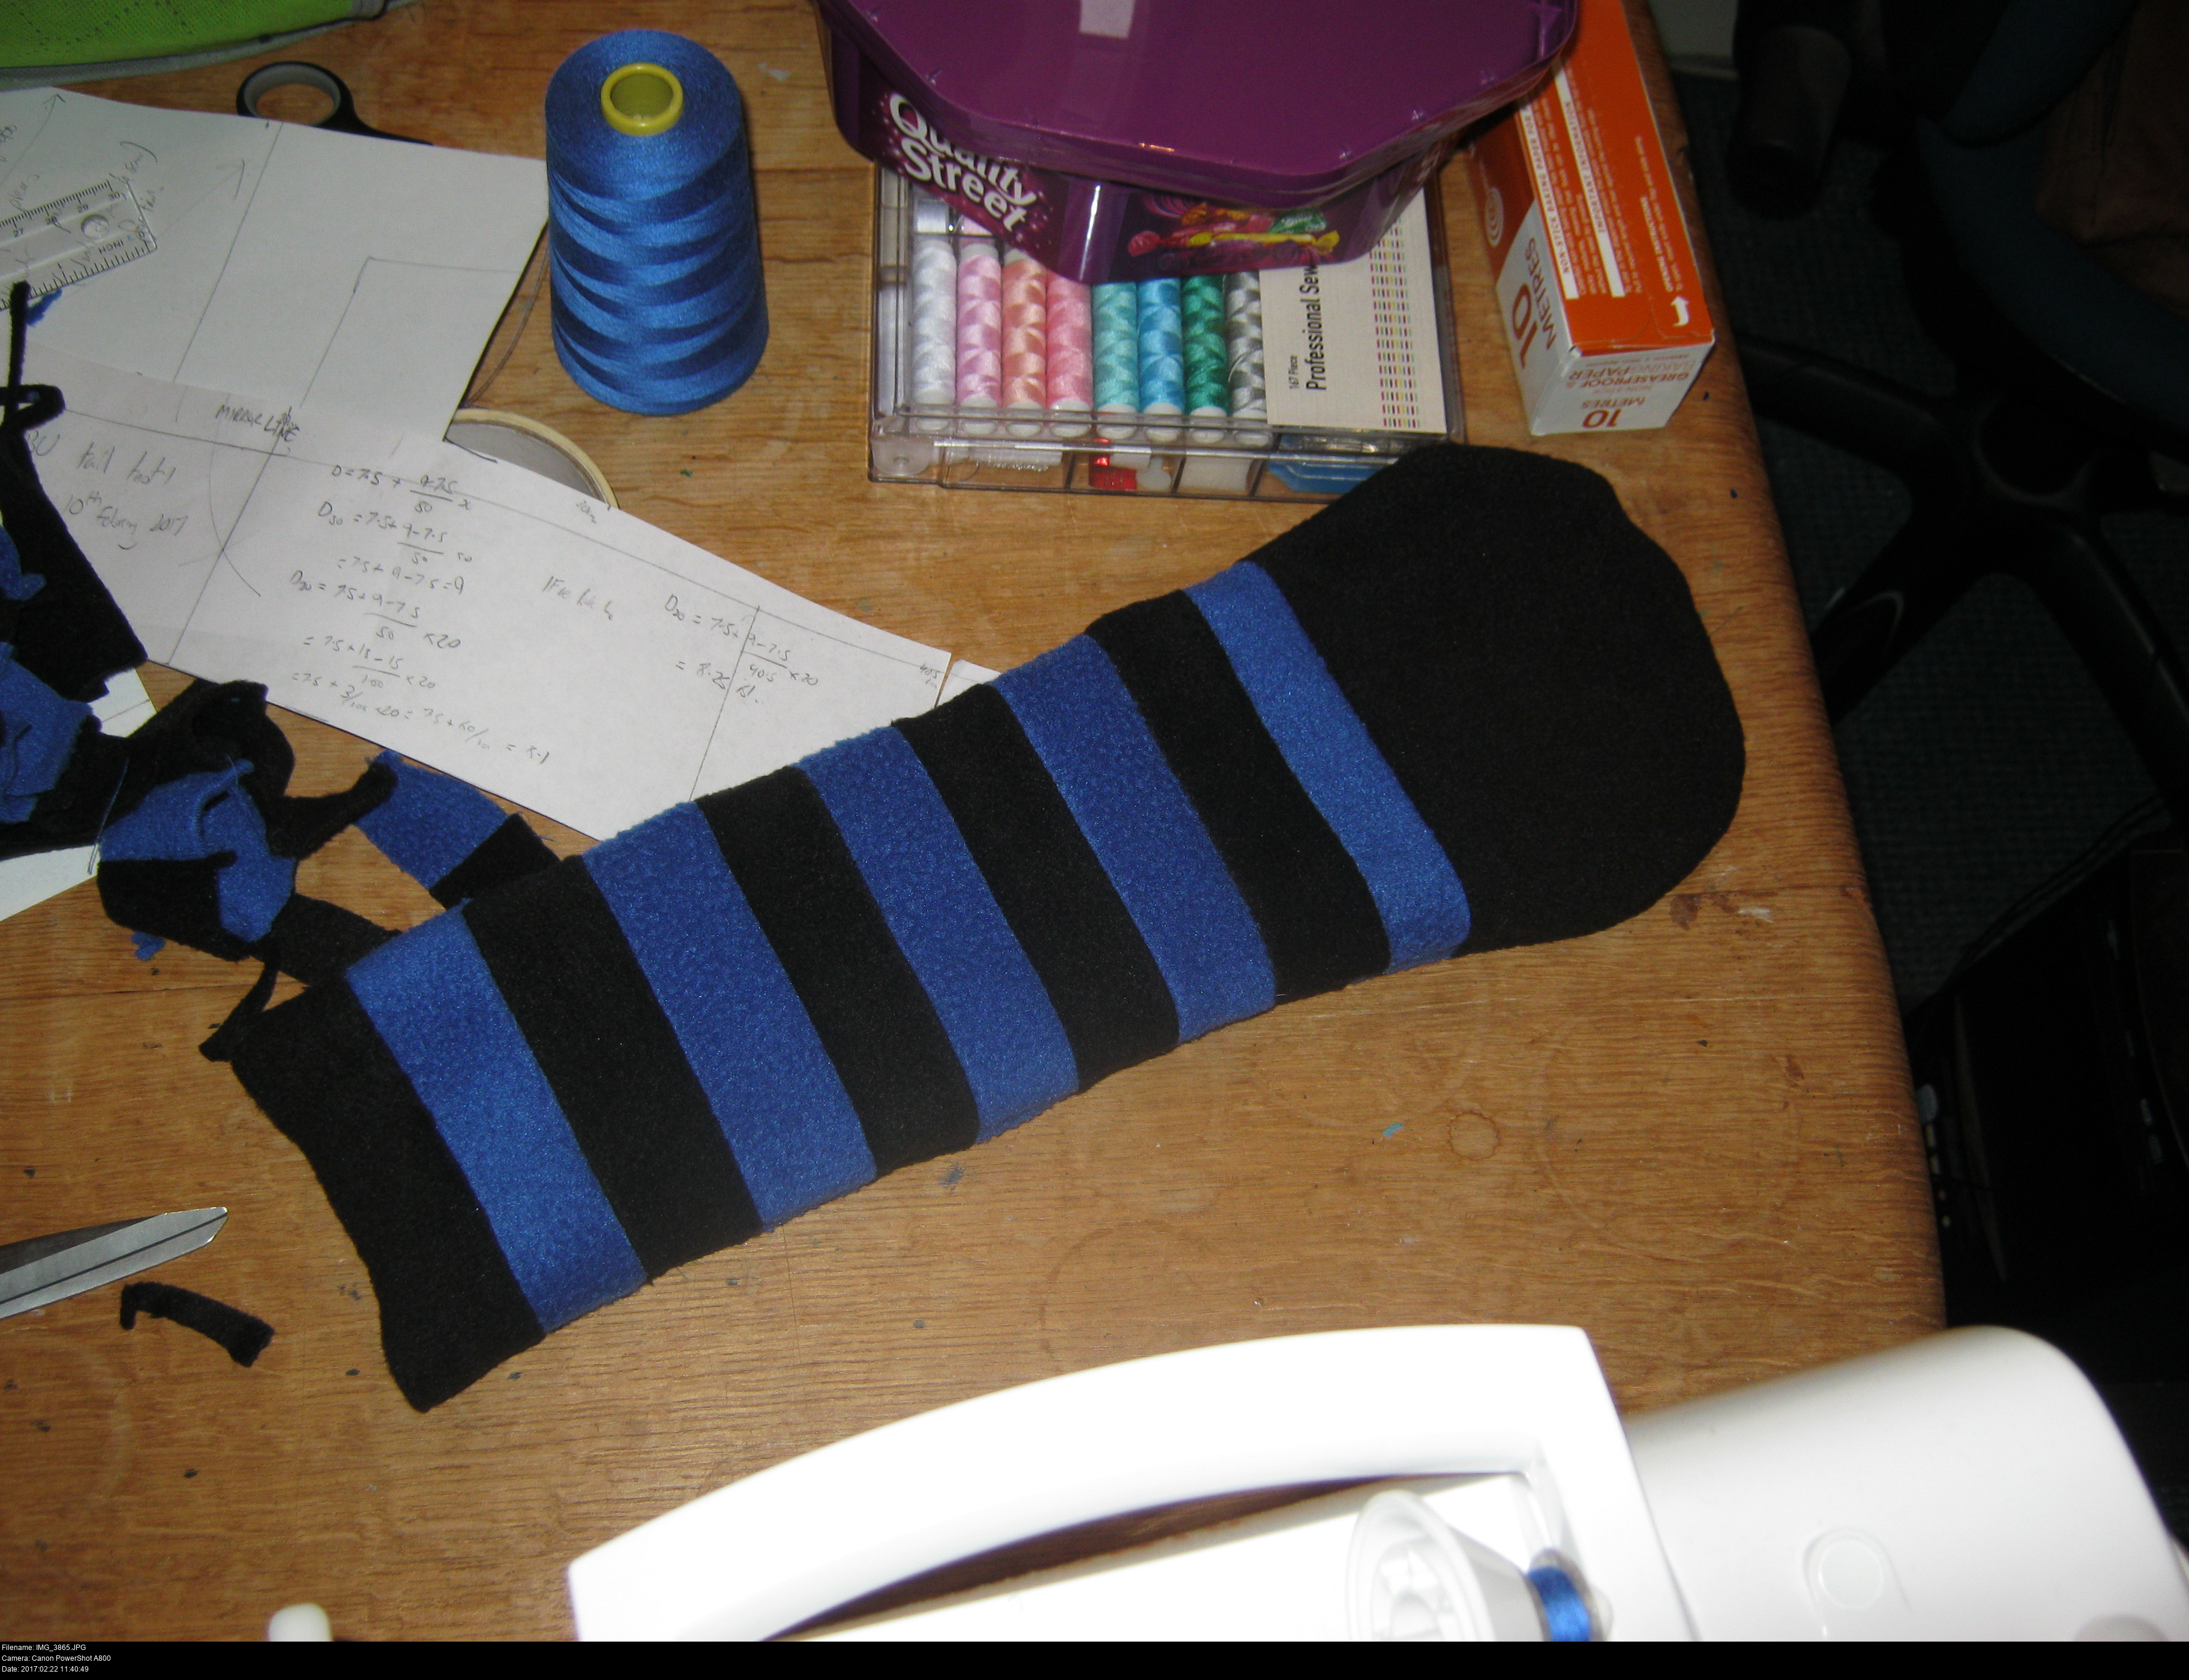
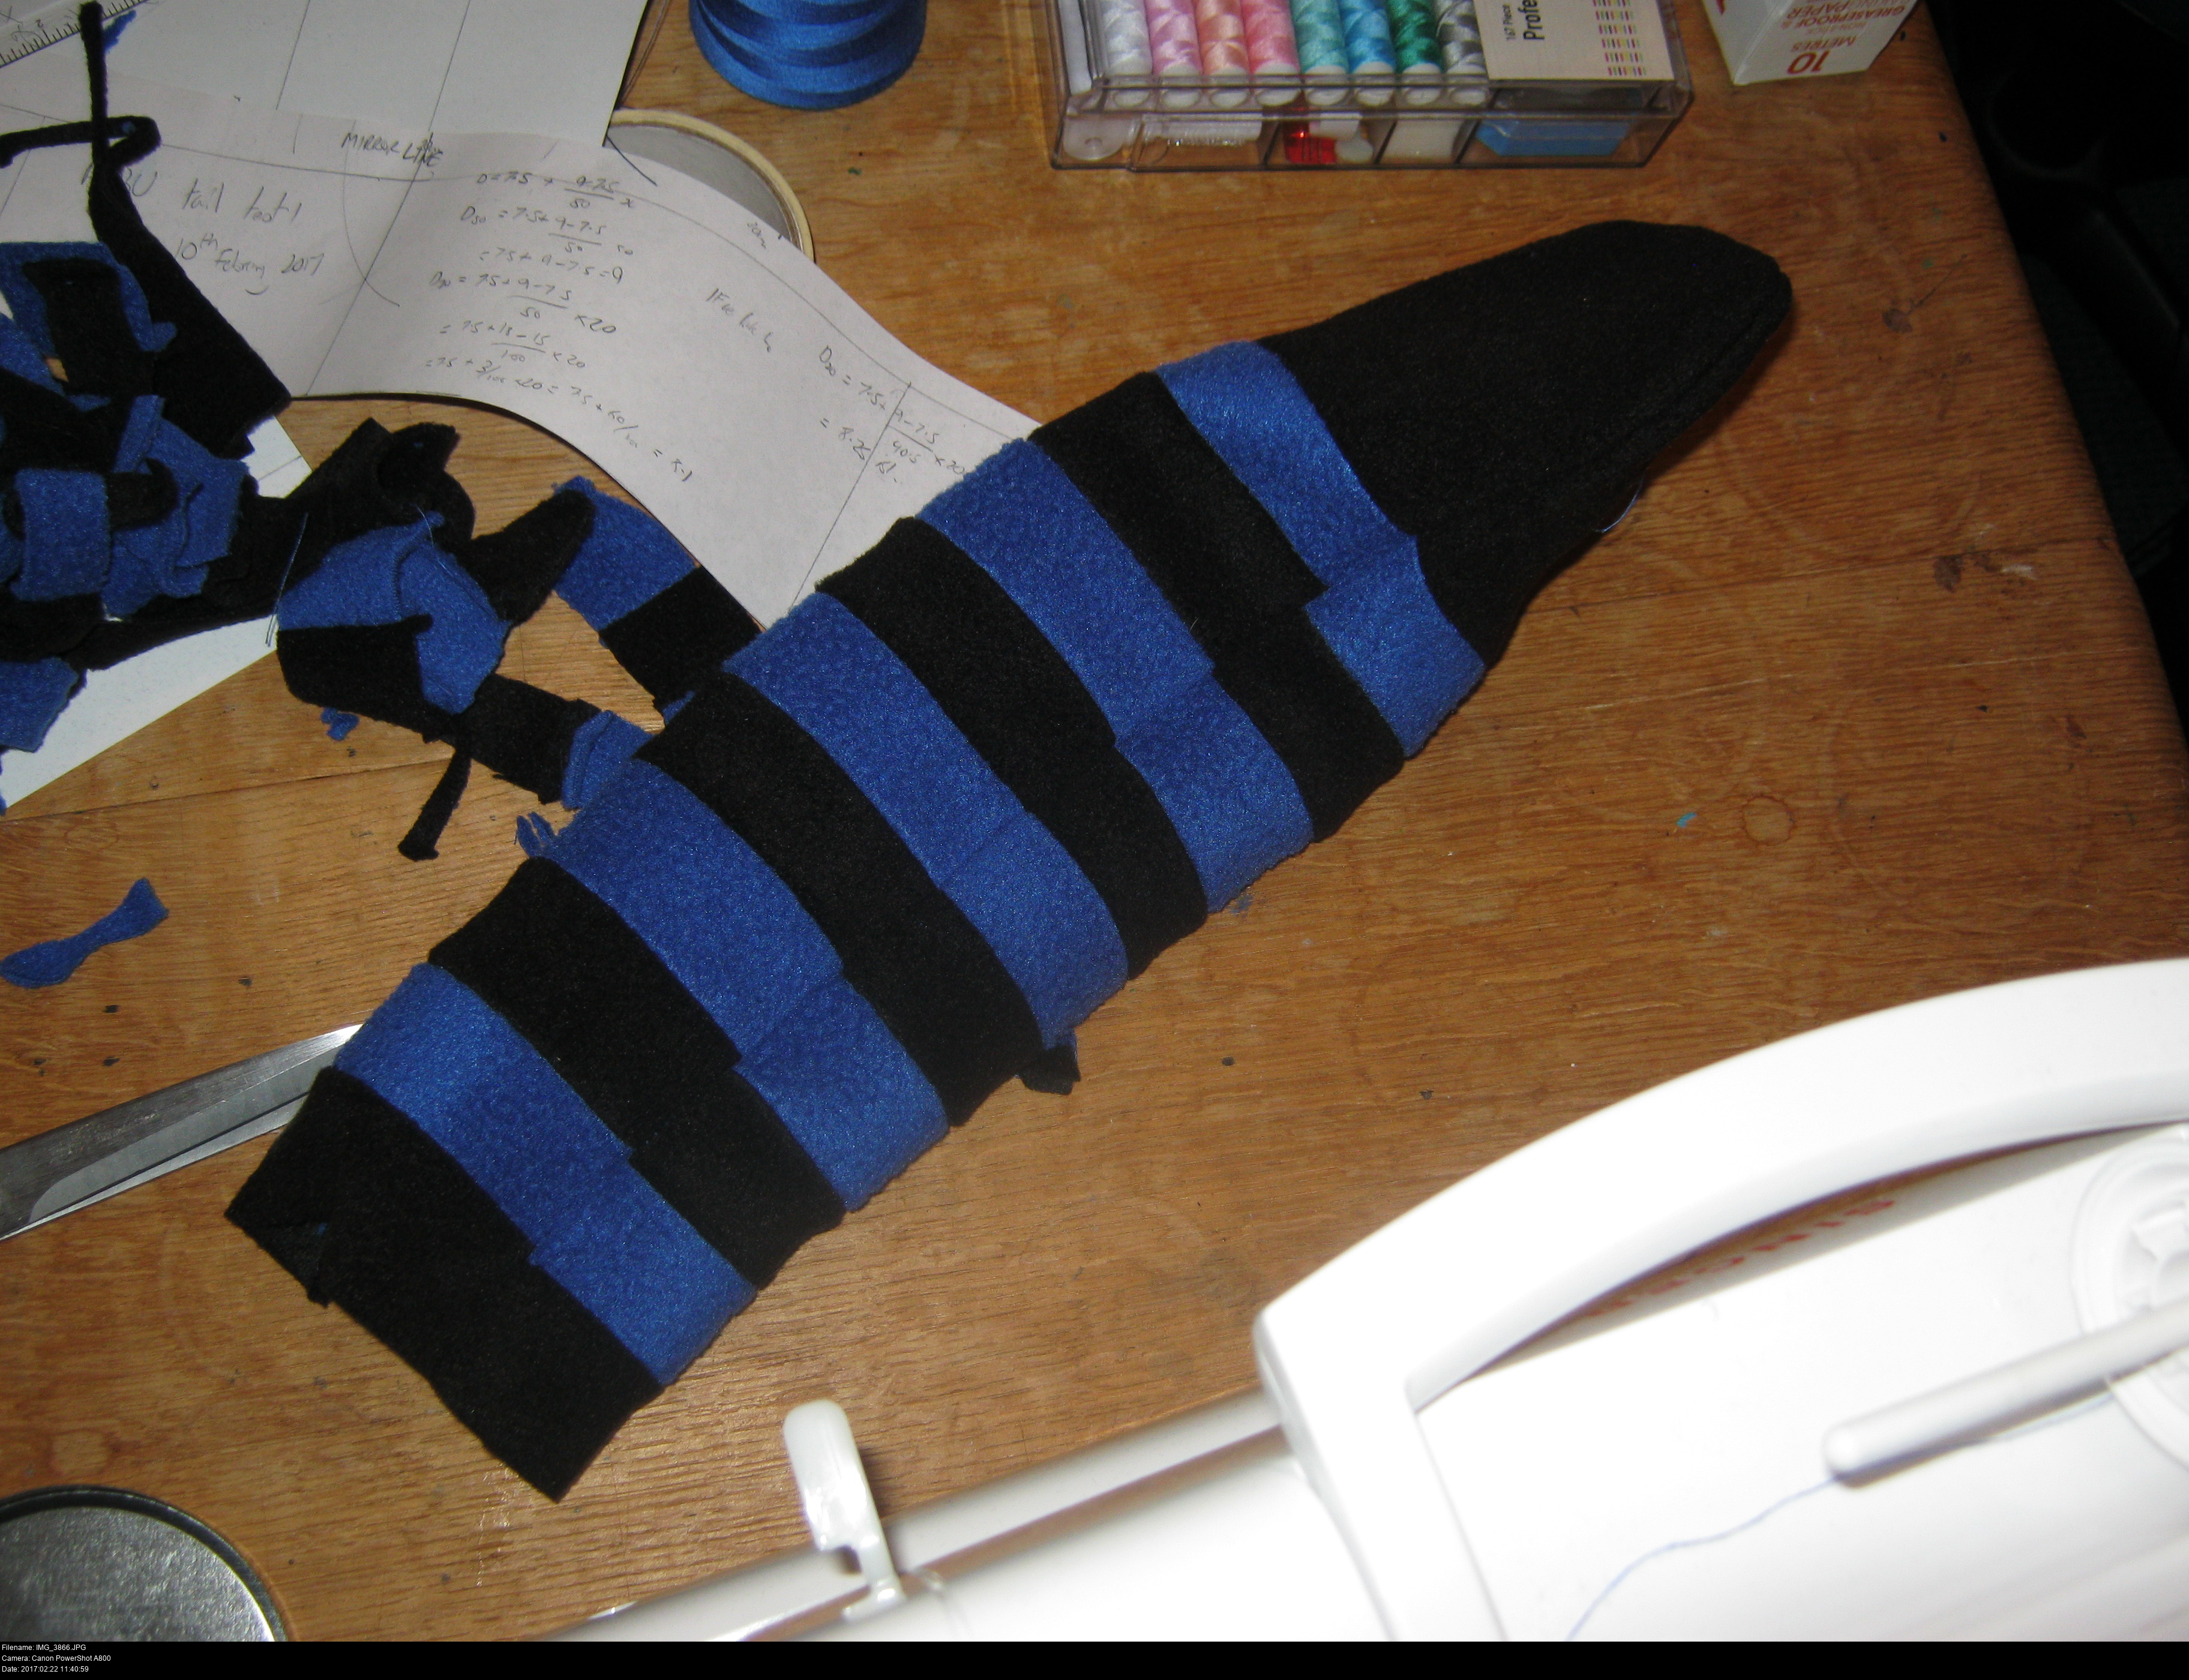
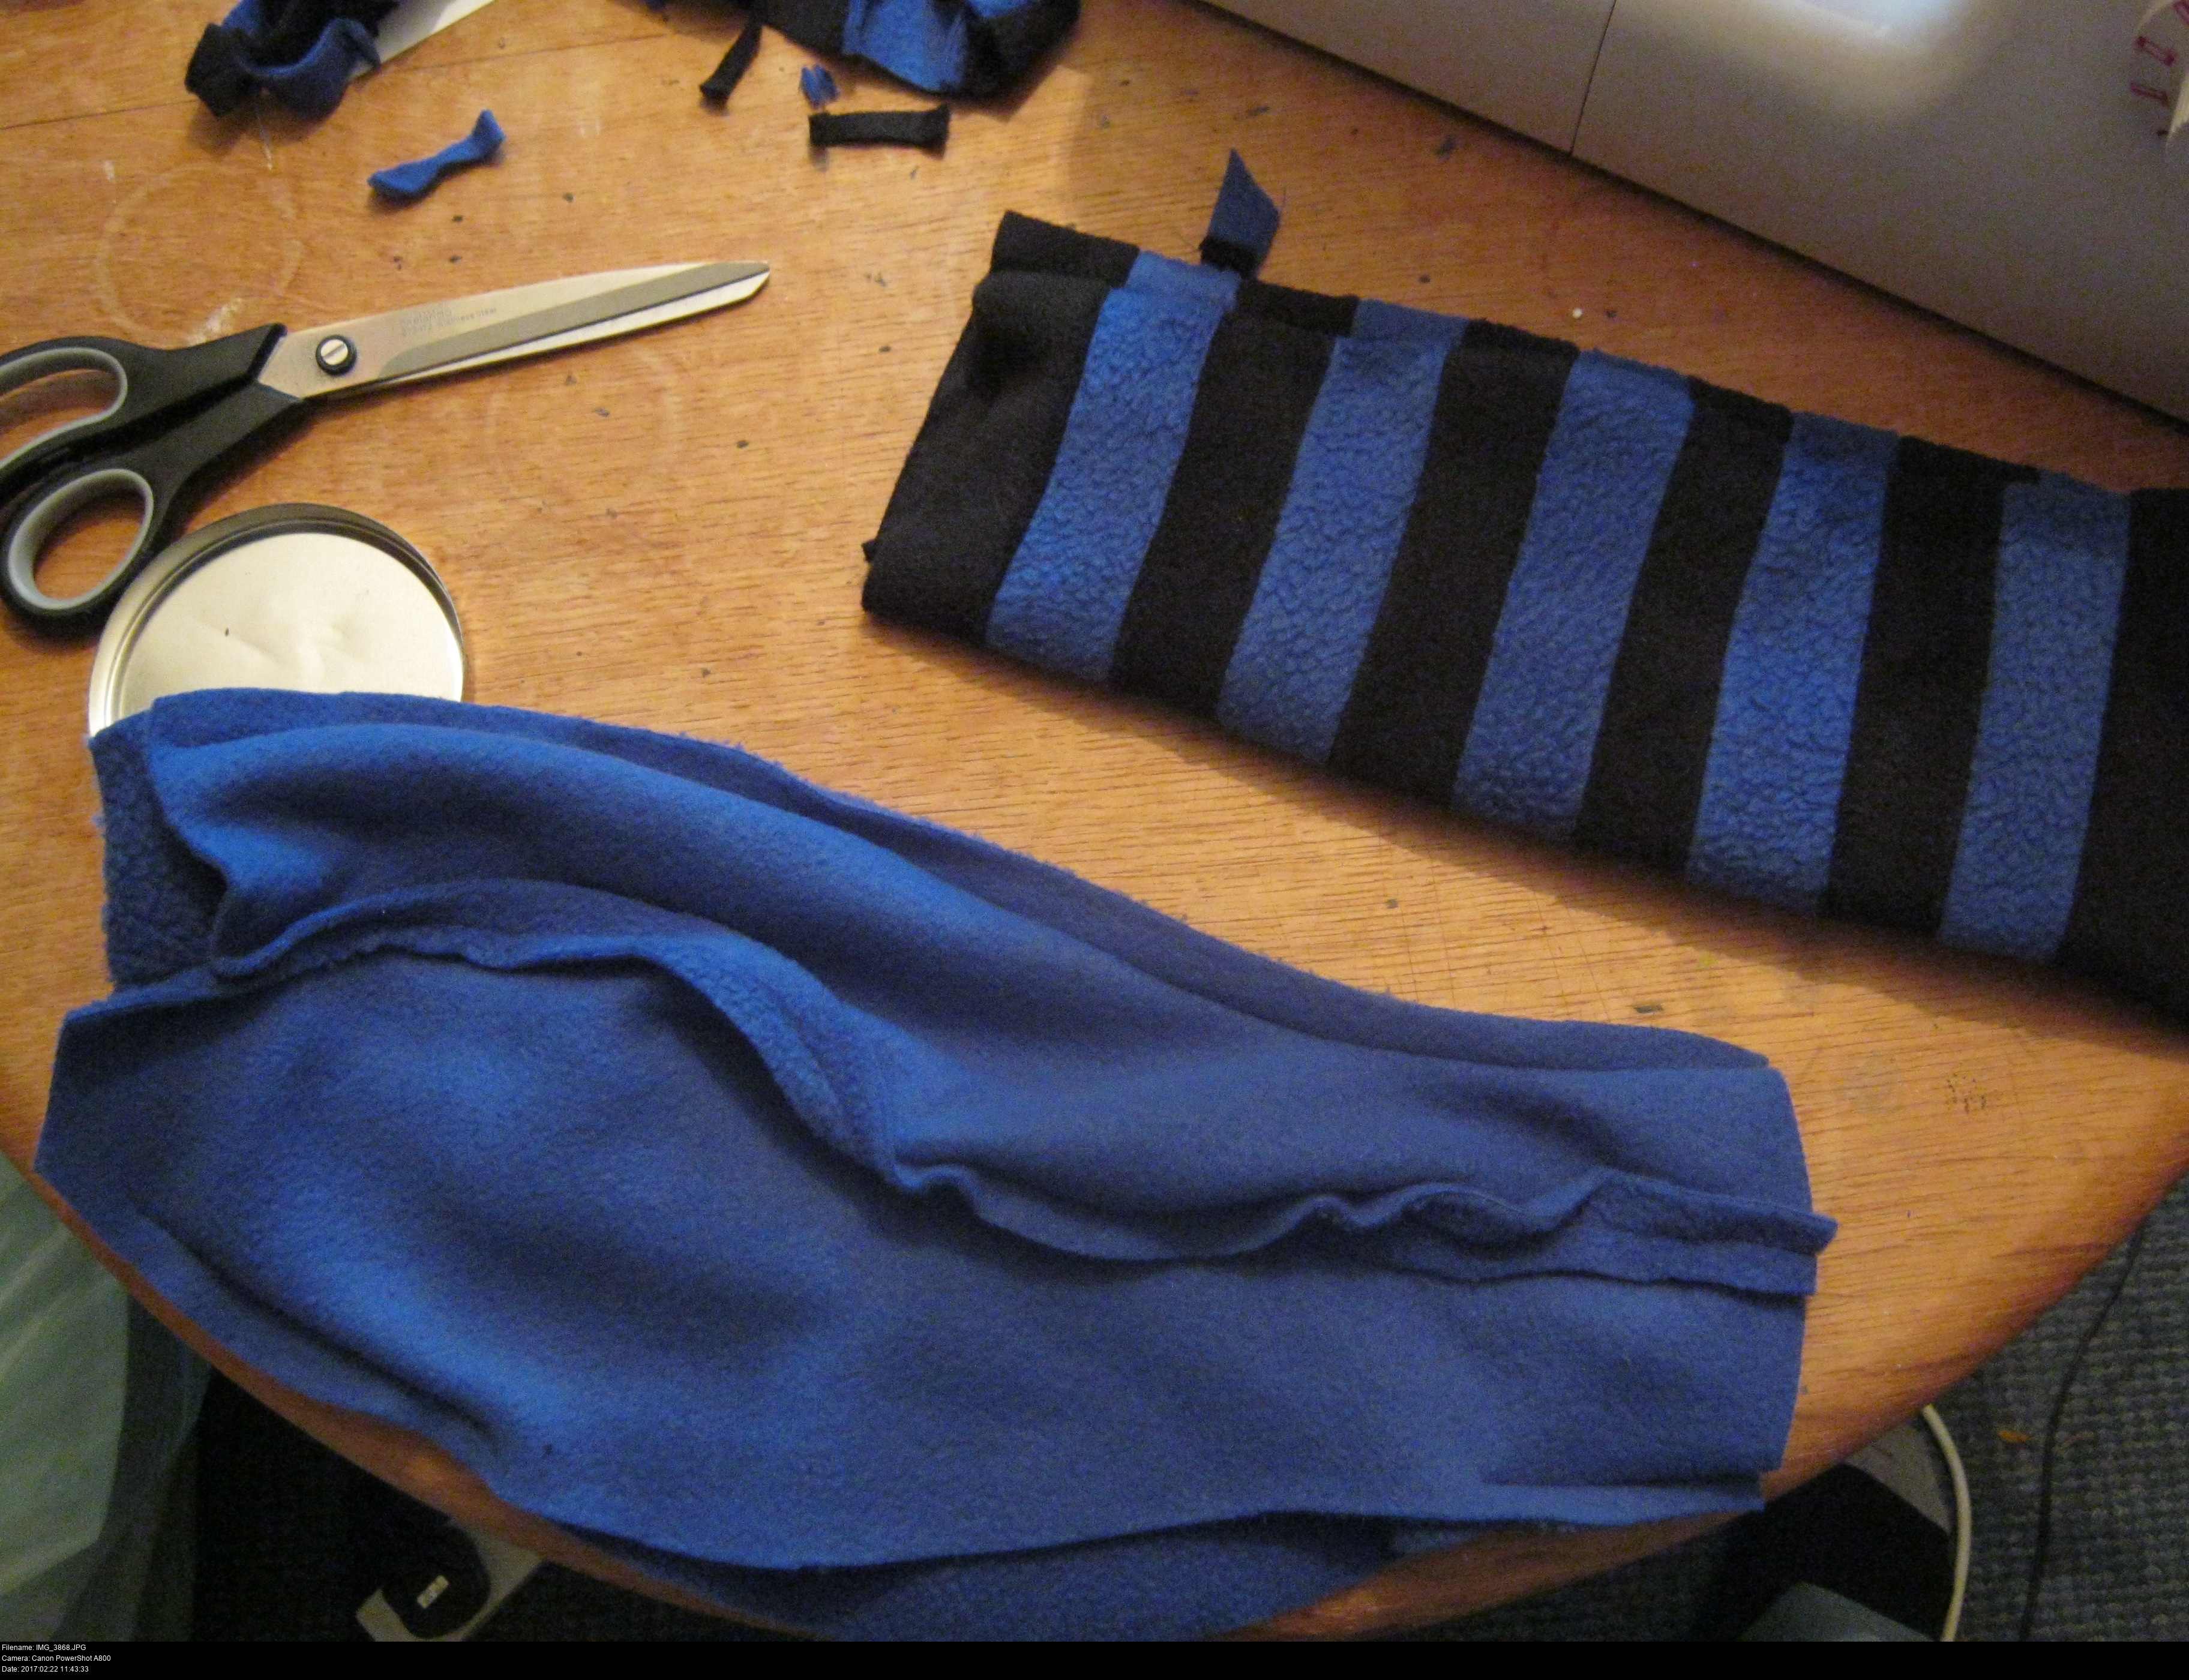
One tail sock, ready to go. It looks a bit strange now, but it'll look better once it's stuffed. Using a zig-zag or three-step-zig-zag stitch to join together the strips into stripes might allow the rings to have a little bit of outwards stretch but as you can see in the lone image above these, I just used a straight stitch. Same for the body itself. A straight stitch is necessary for any seams that you want to appear straight on the outside.
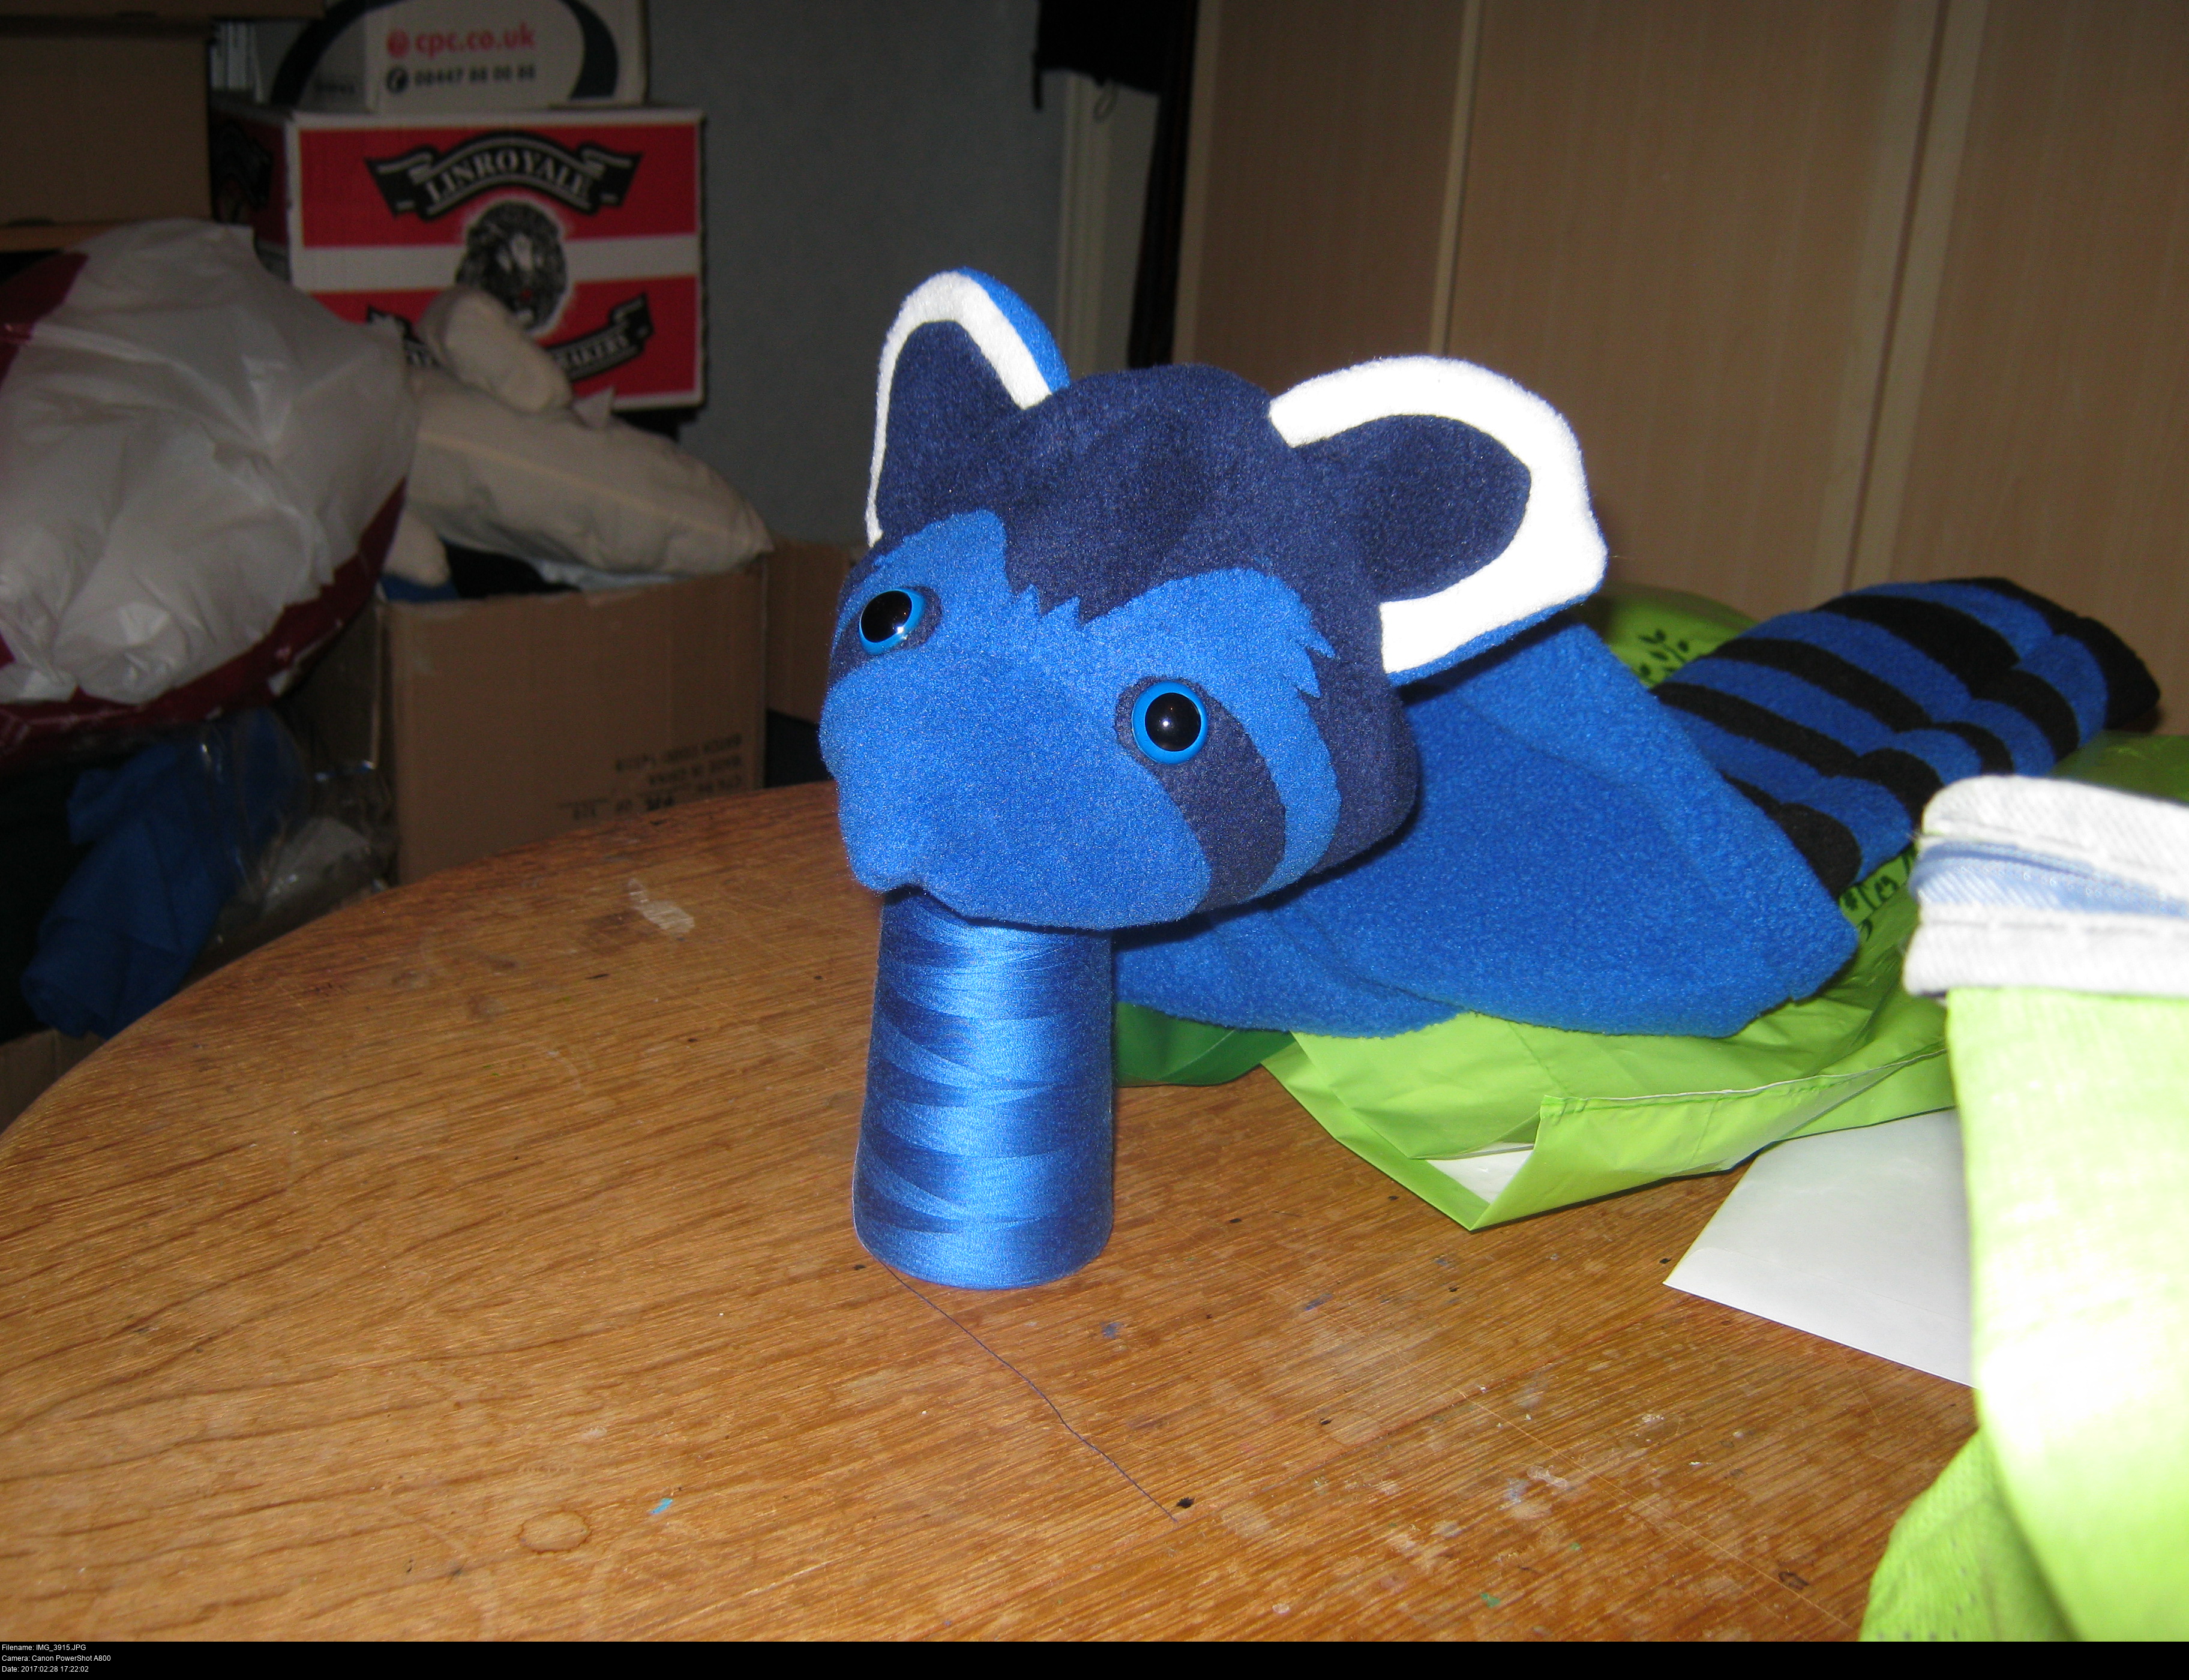
Ahh, what a little rascal! I could keep him as a puppet, perhaps! I do love puppets. Or rather, I like things coming to life.
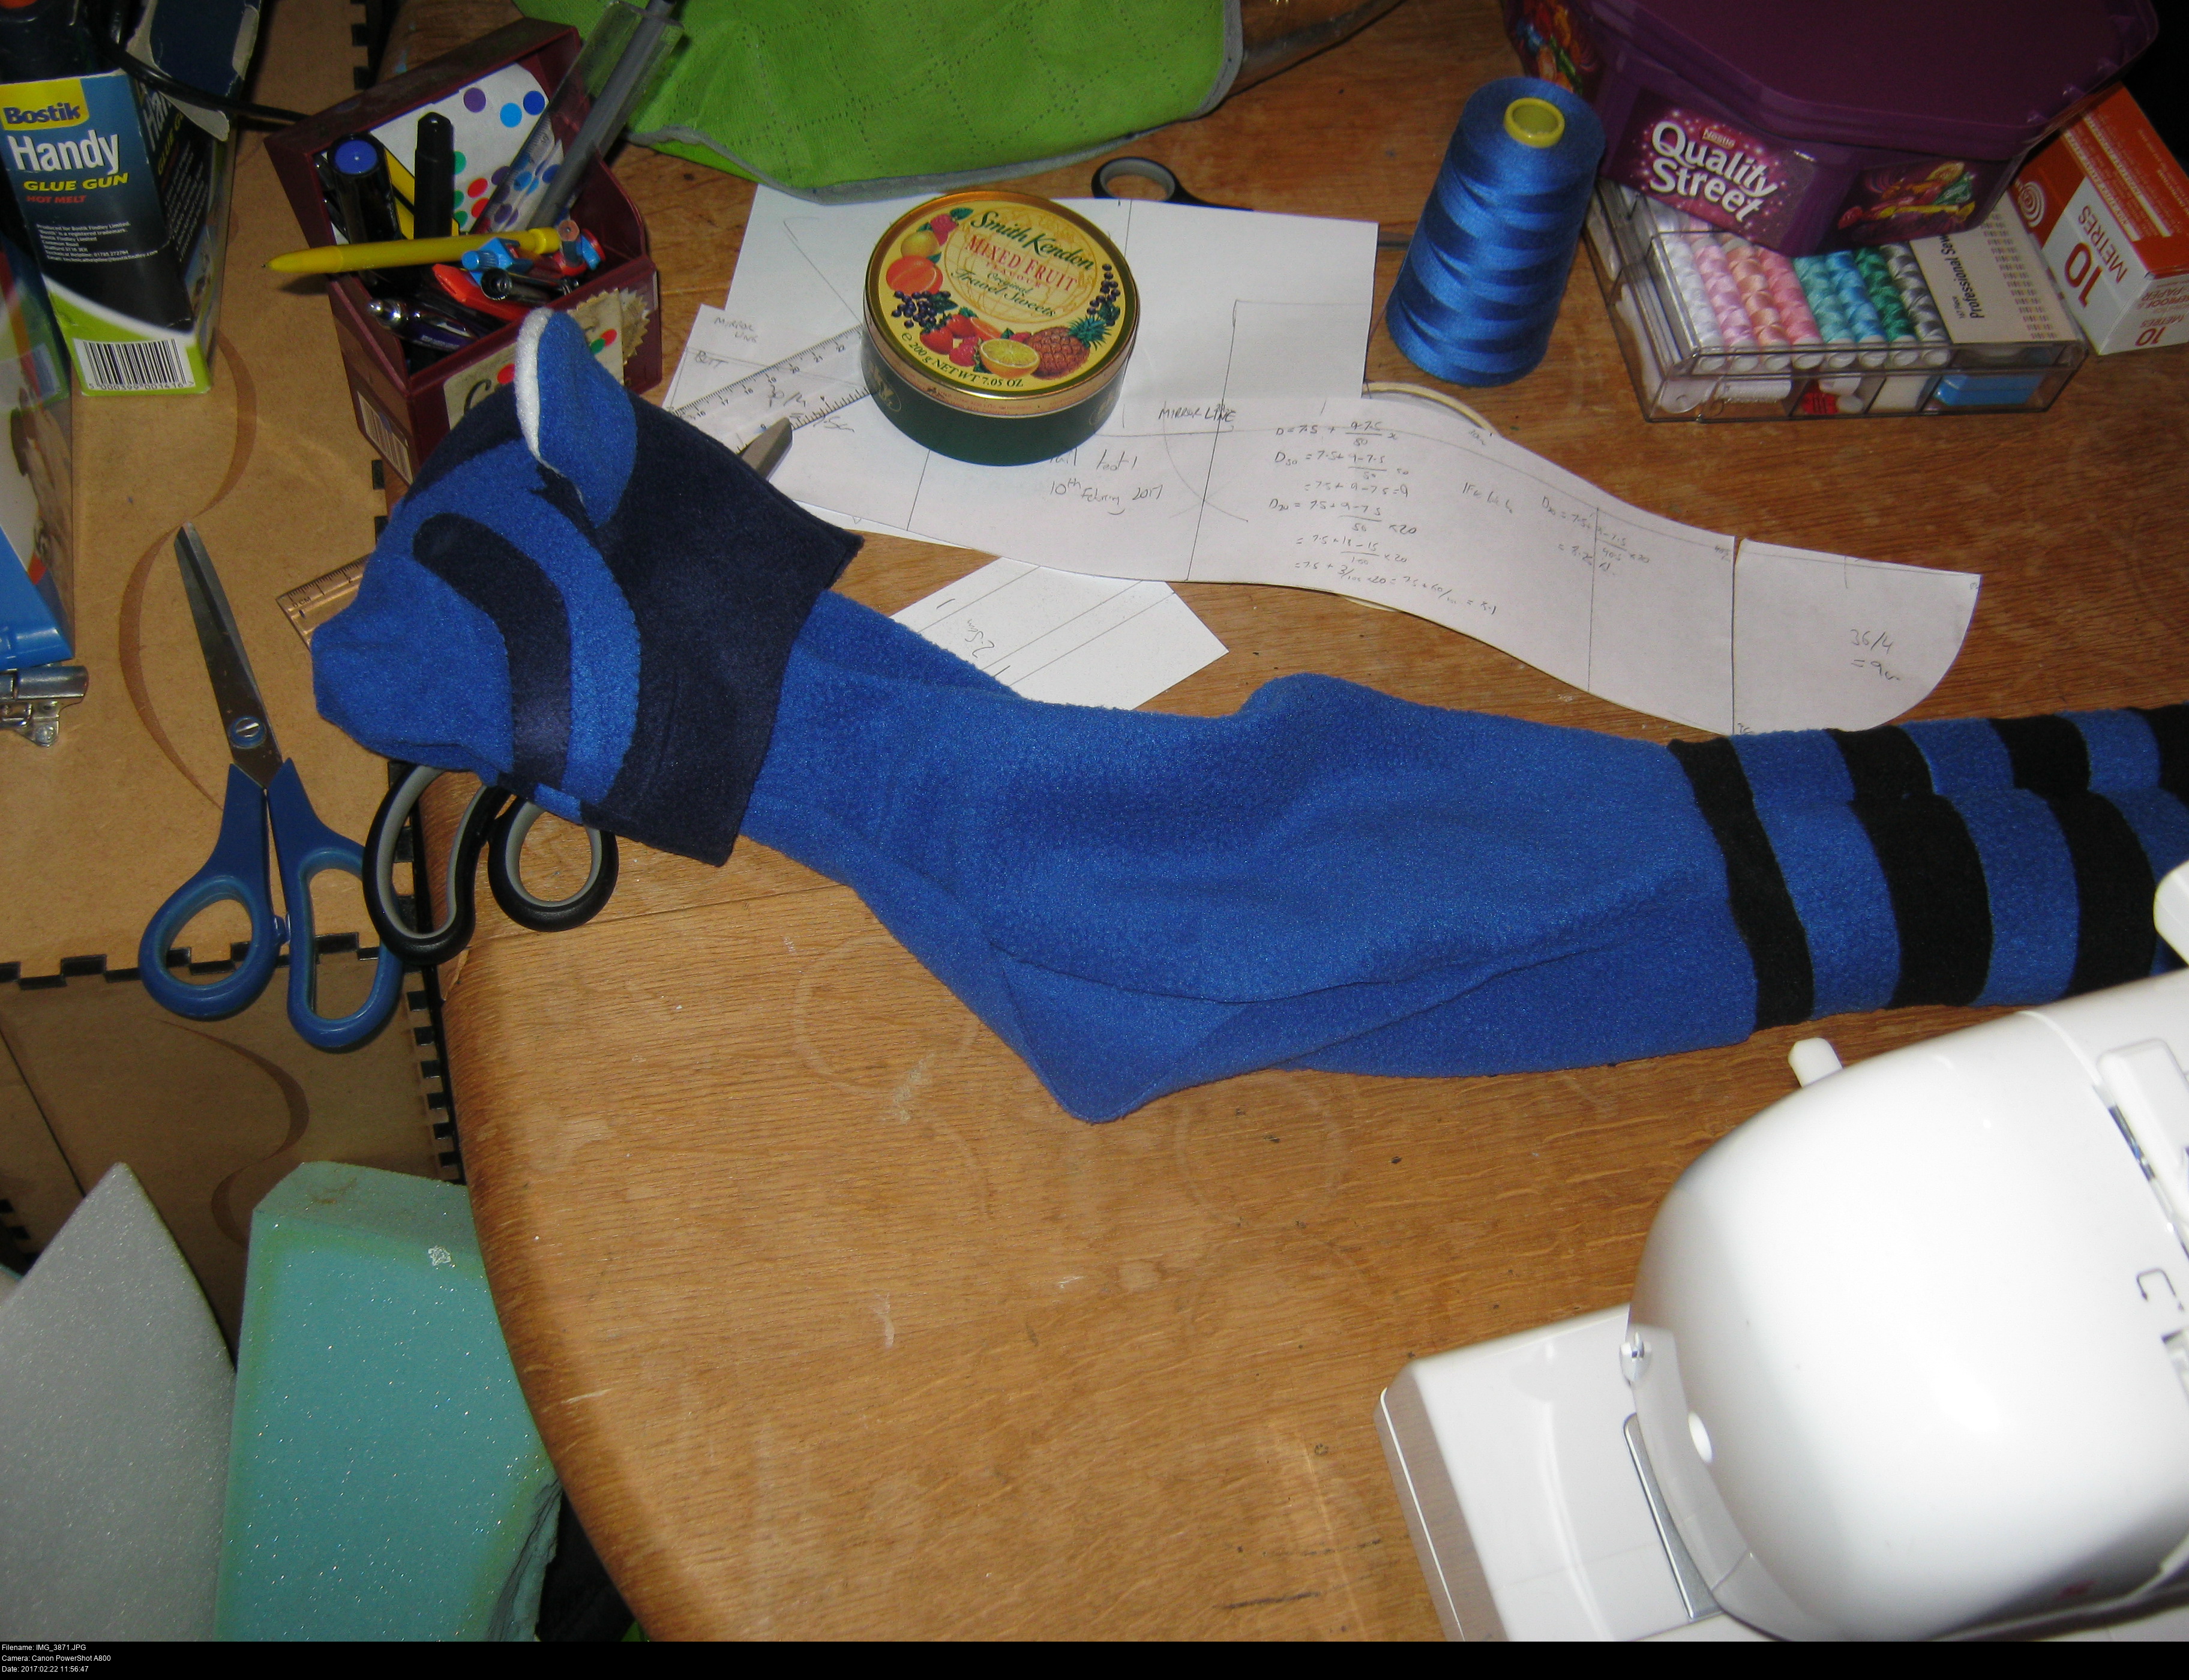

The tail goes onto the tail end of the body bag pretty readily. Don't mix up which end is which!
I constructed the body first, then sewed the tail onto it. I made sure to keep a large gap in one of the body seams so I could still stuff him.
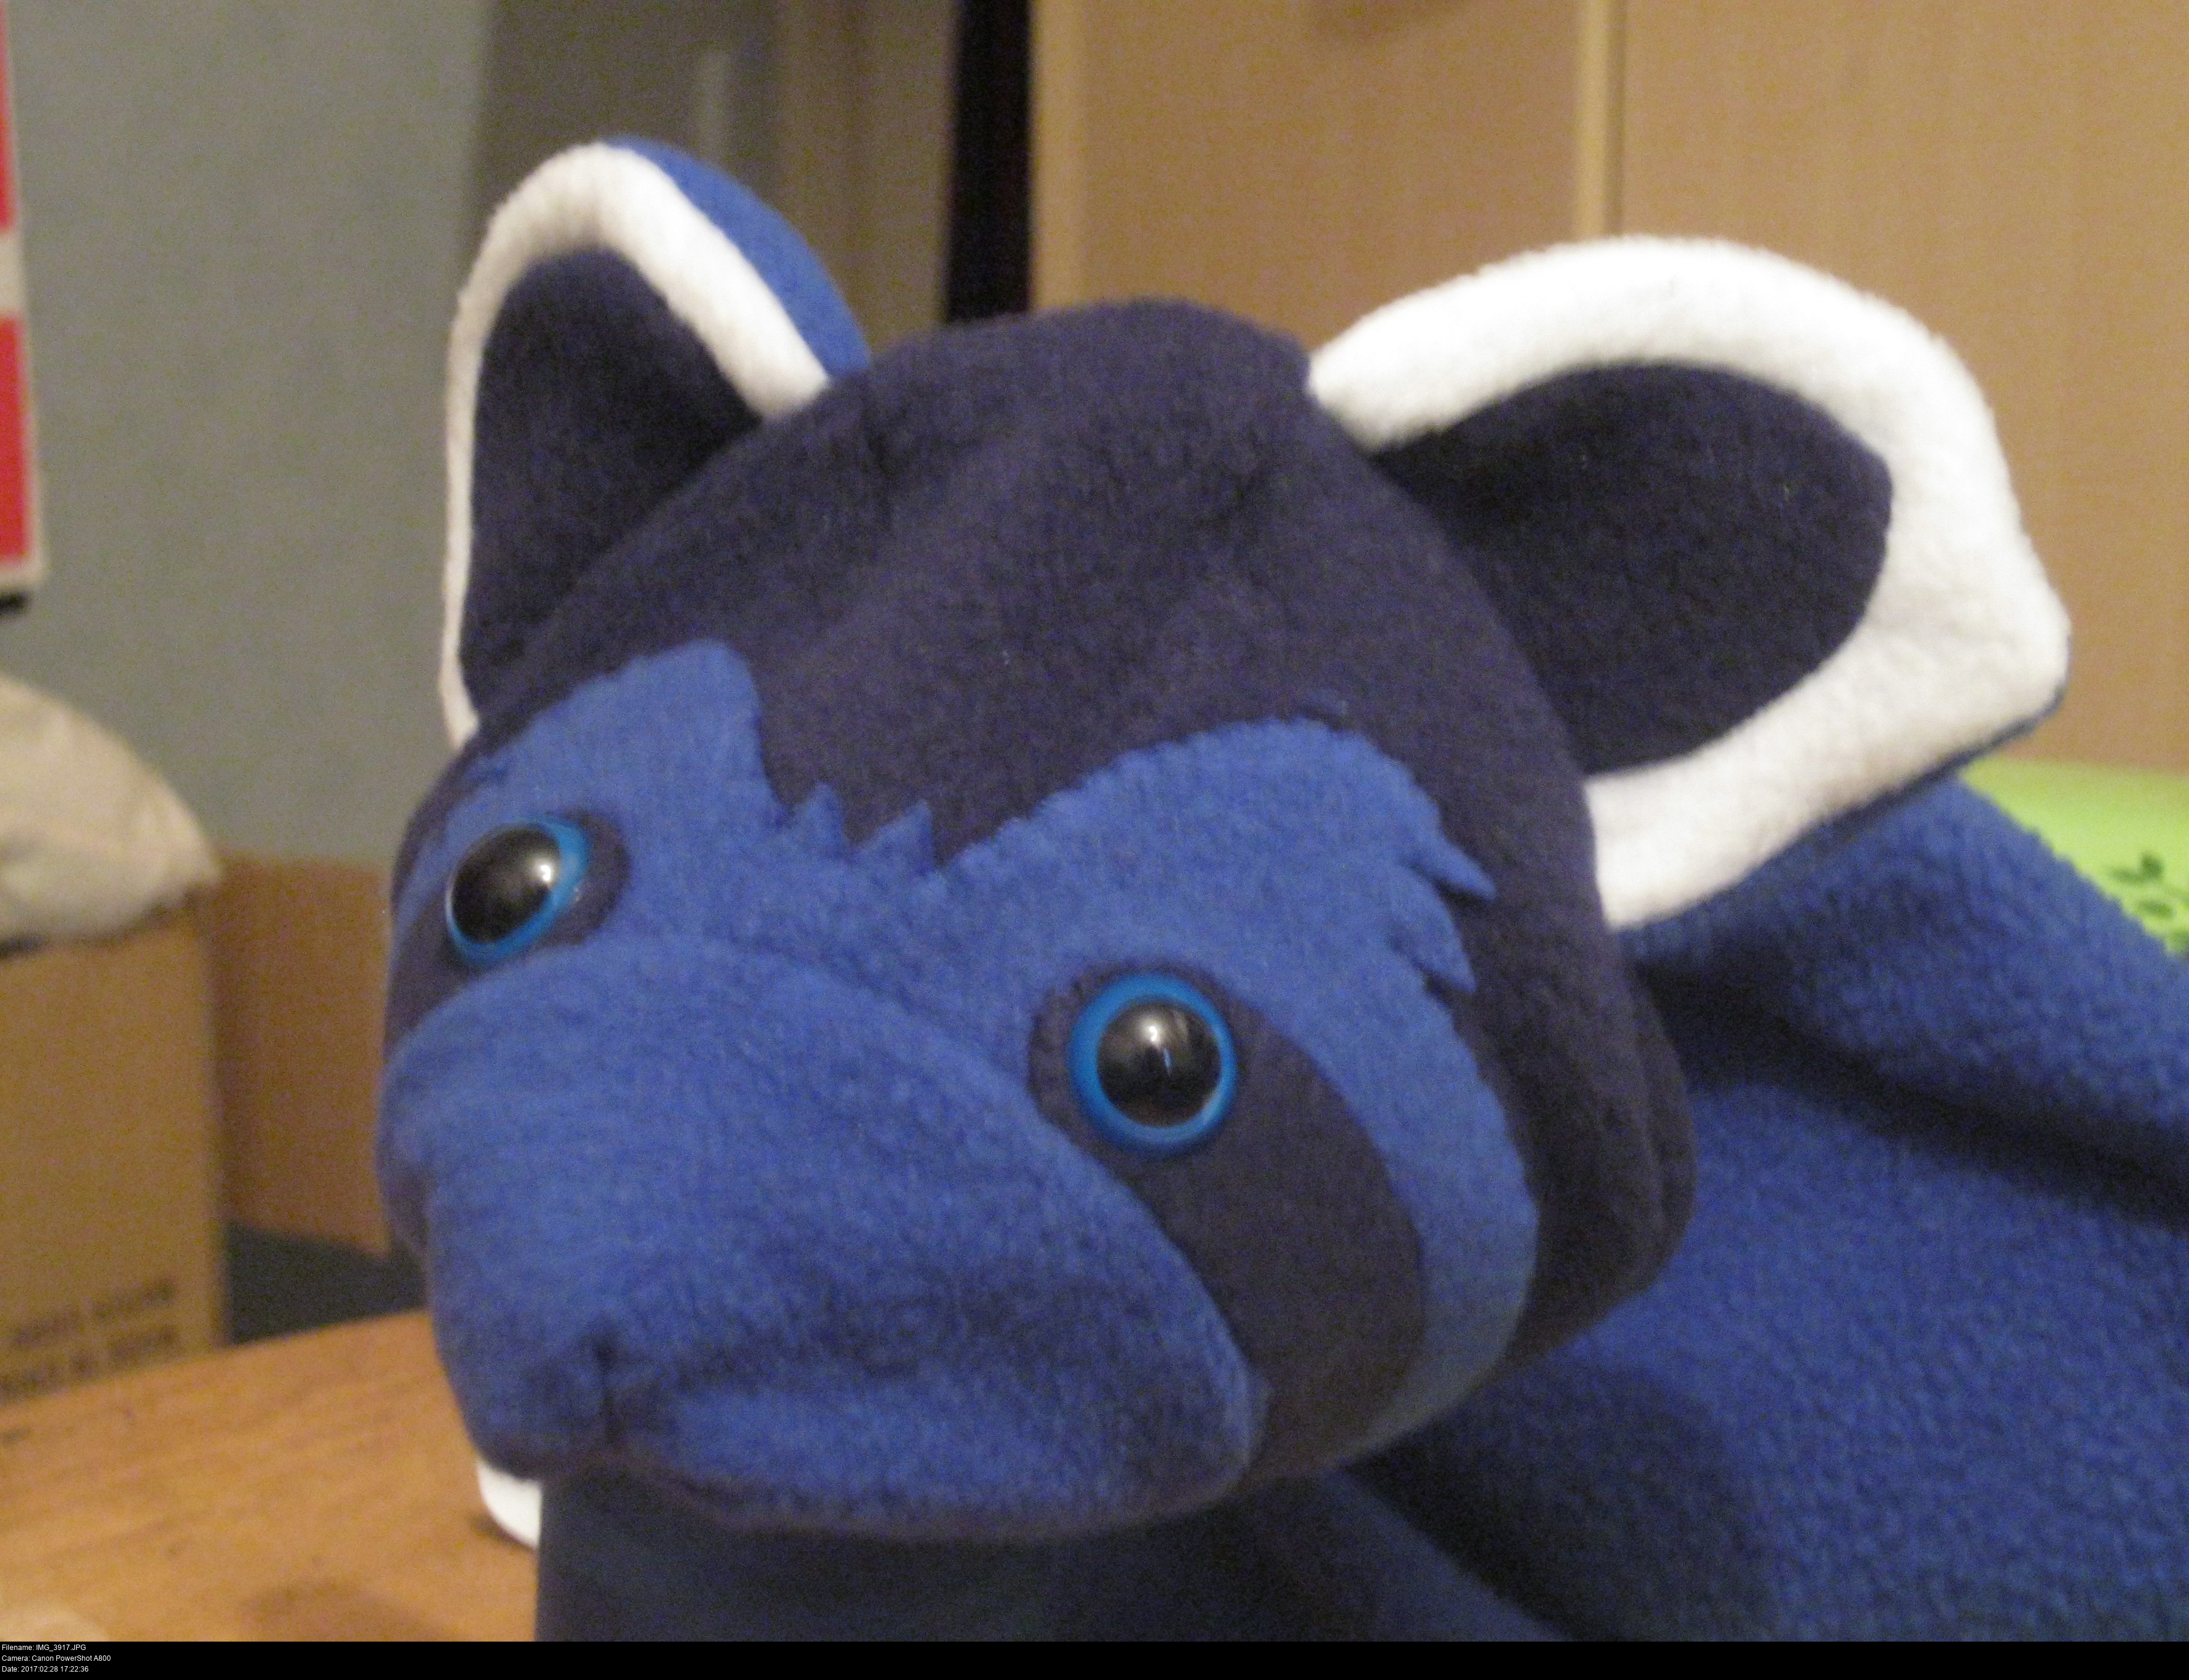
And... now his head is slightly too big for his body since I blew it up ™. I had to put in a sneaky dart or two into the head gusset and chin to get the head to fit onto the body. This is what happens when you diddle with things! I think I got away with it. But before putting the head onto the body I need to give it features.
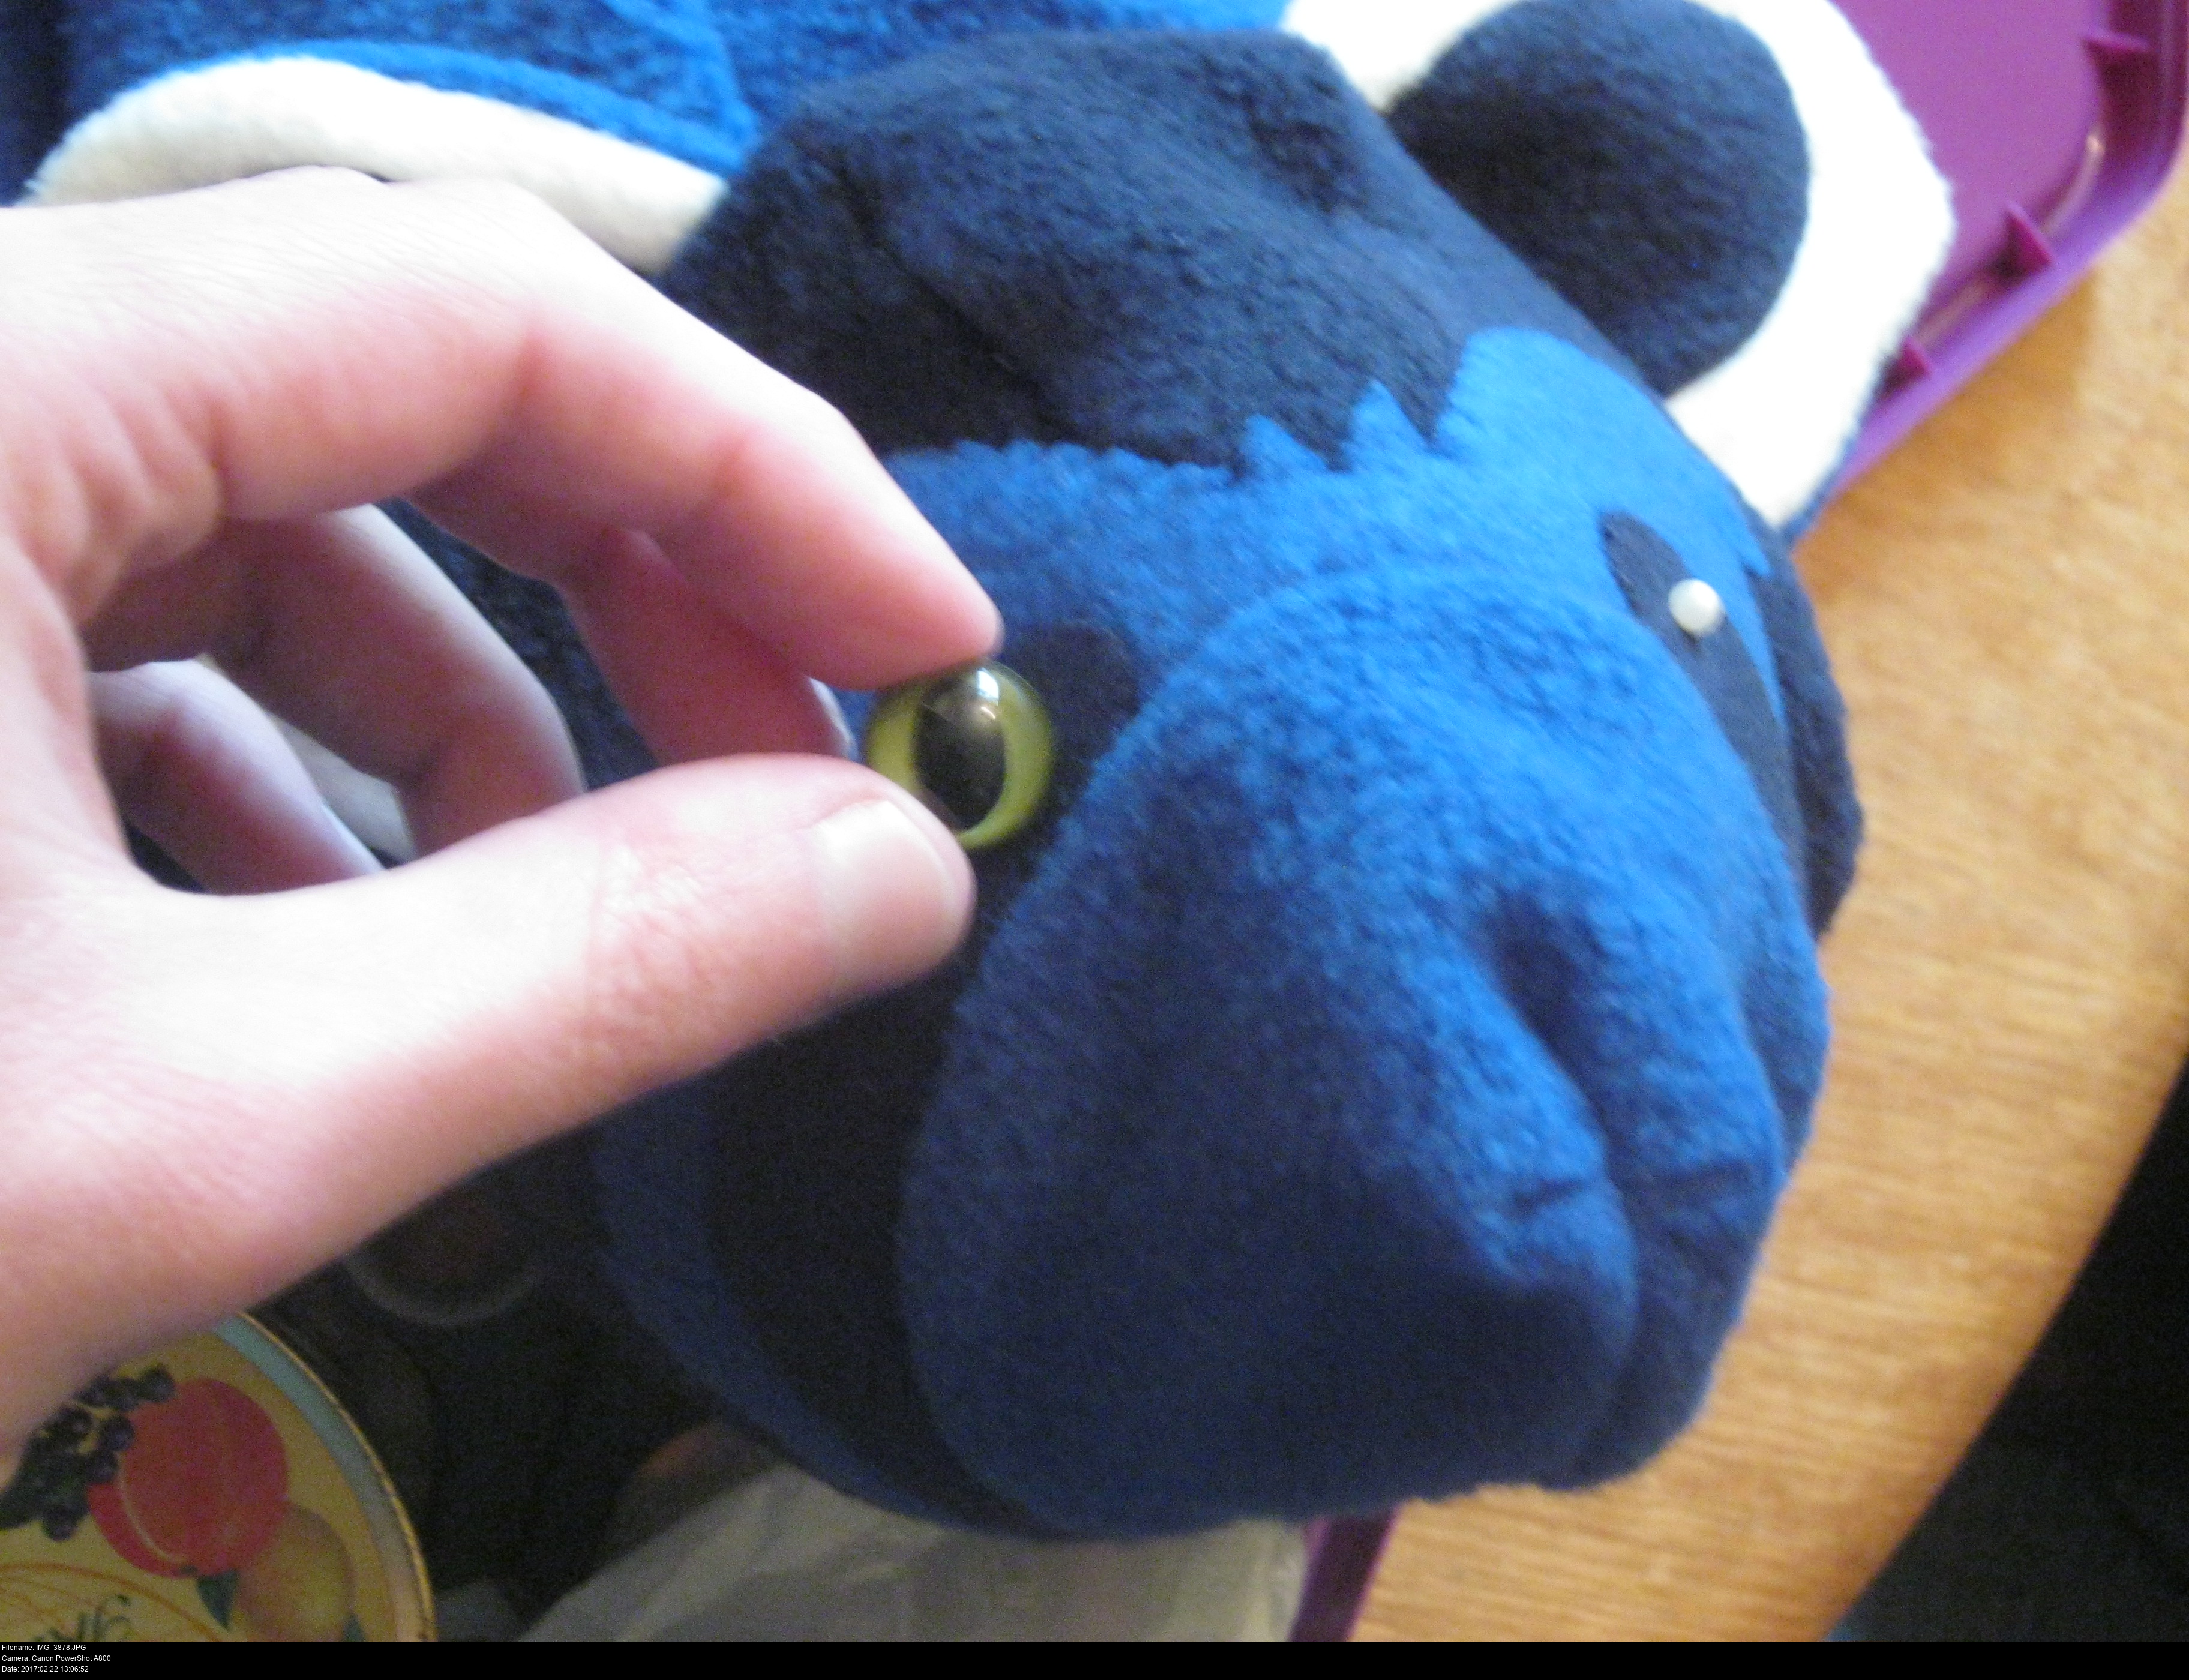
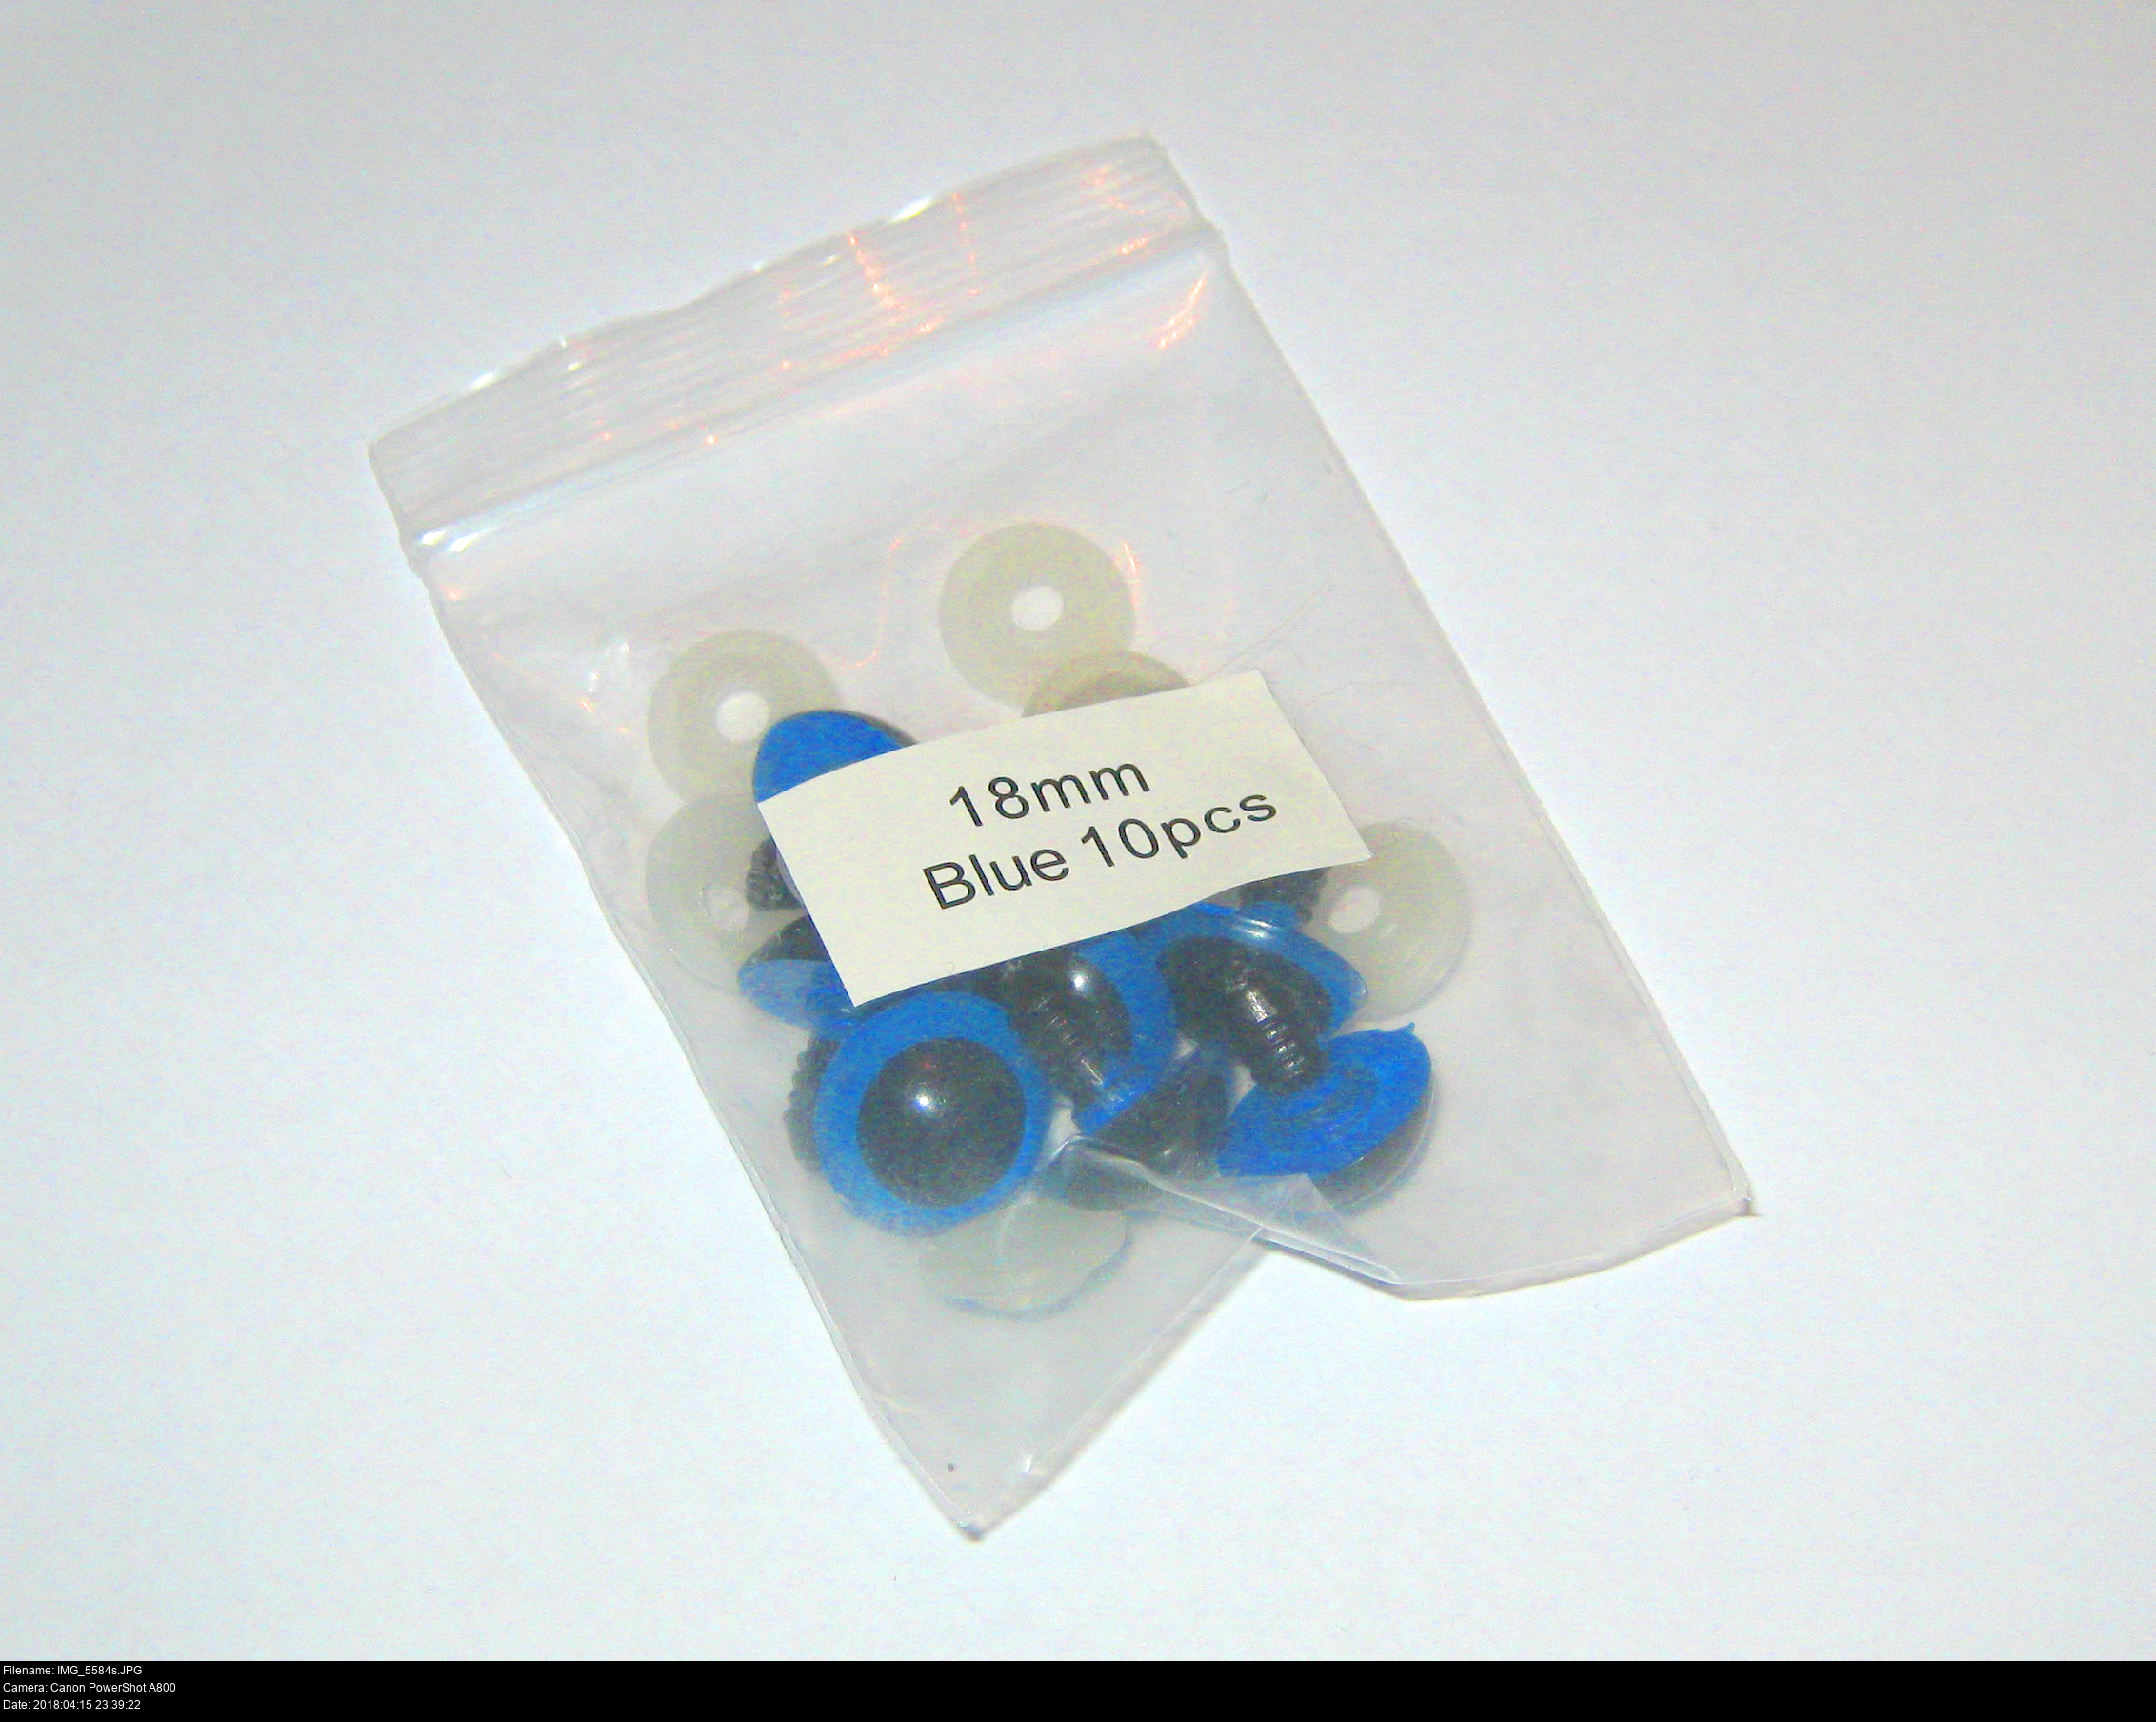
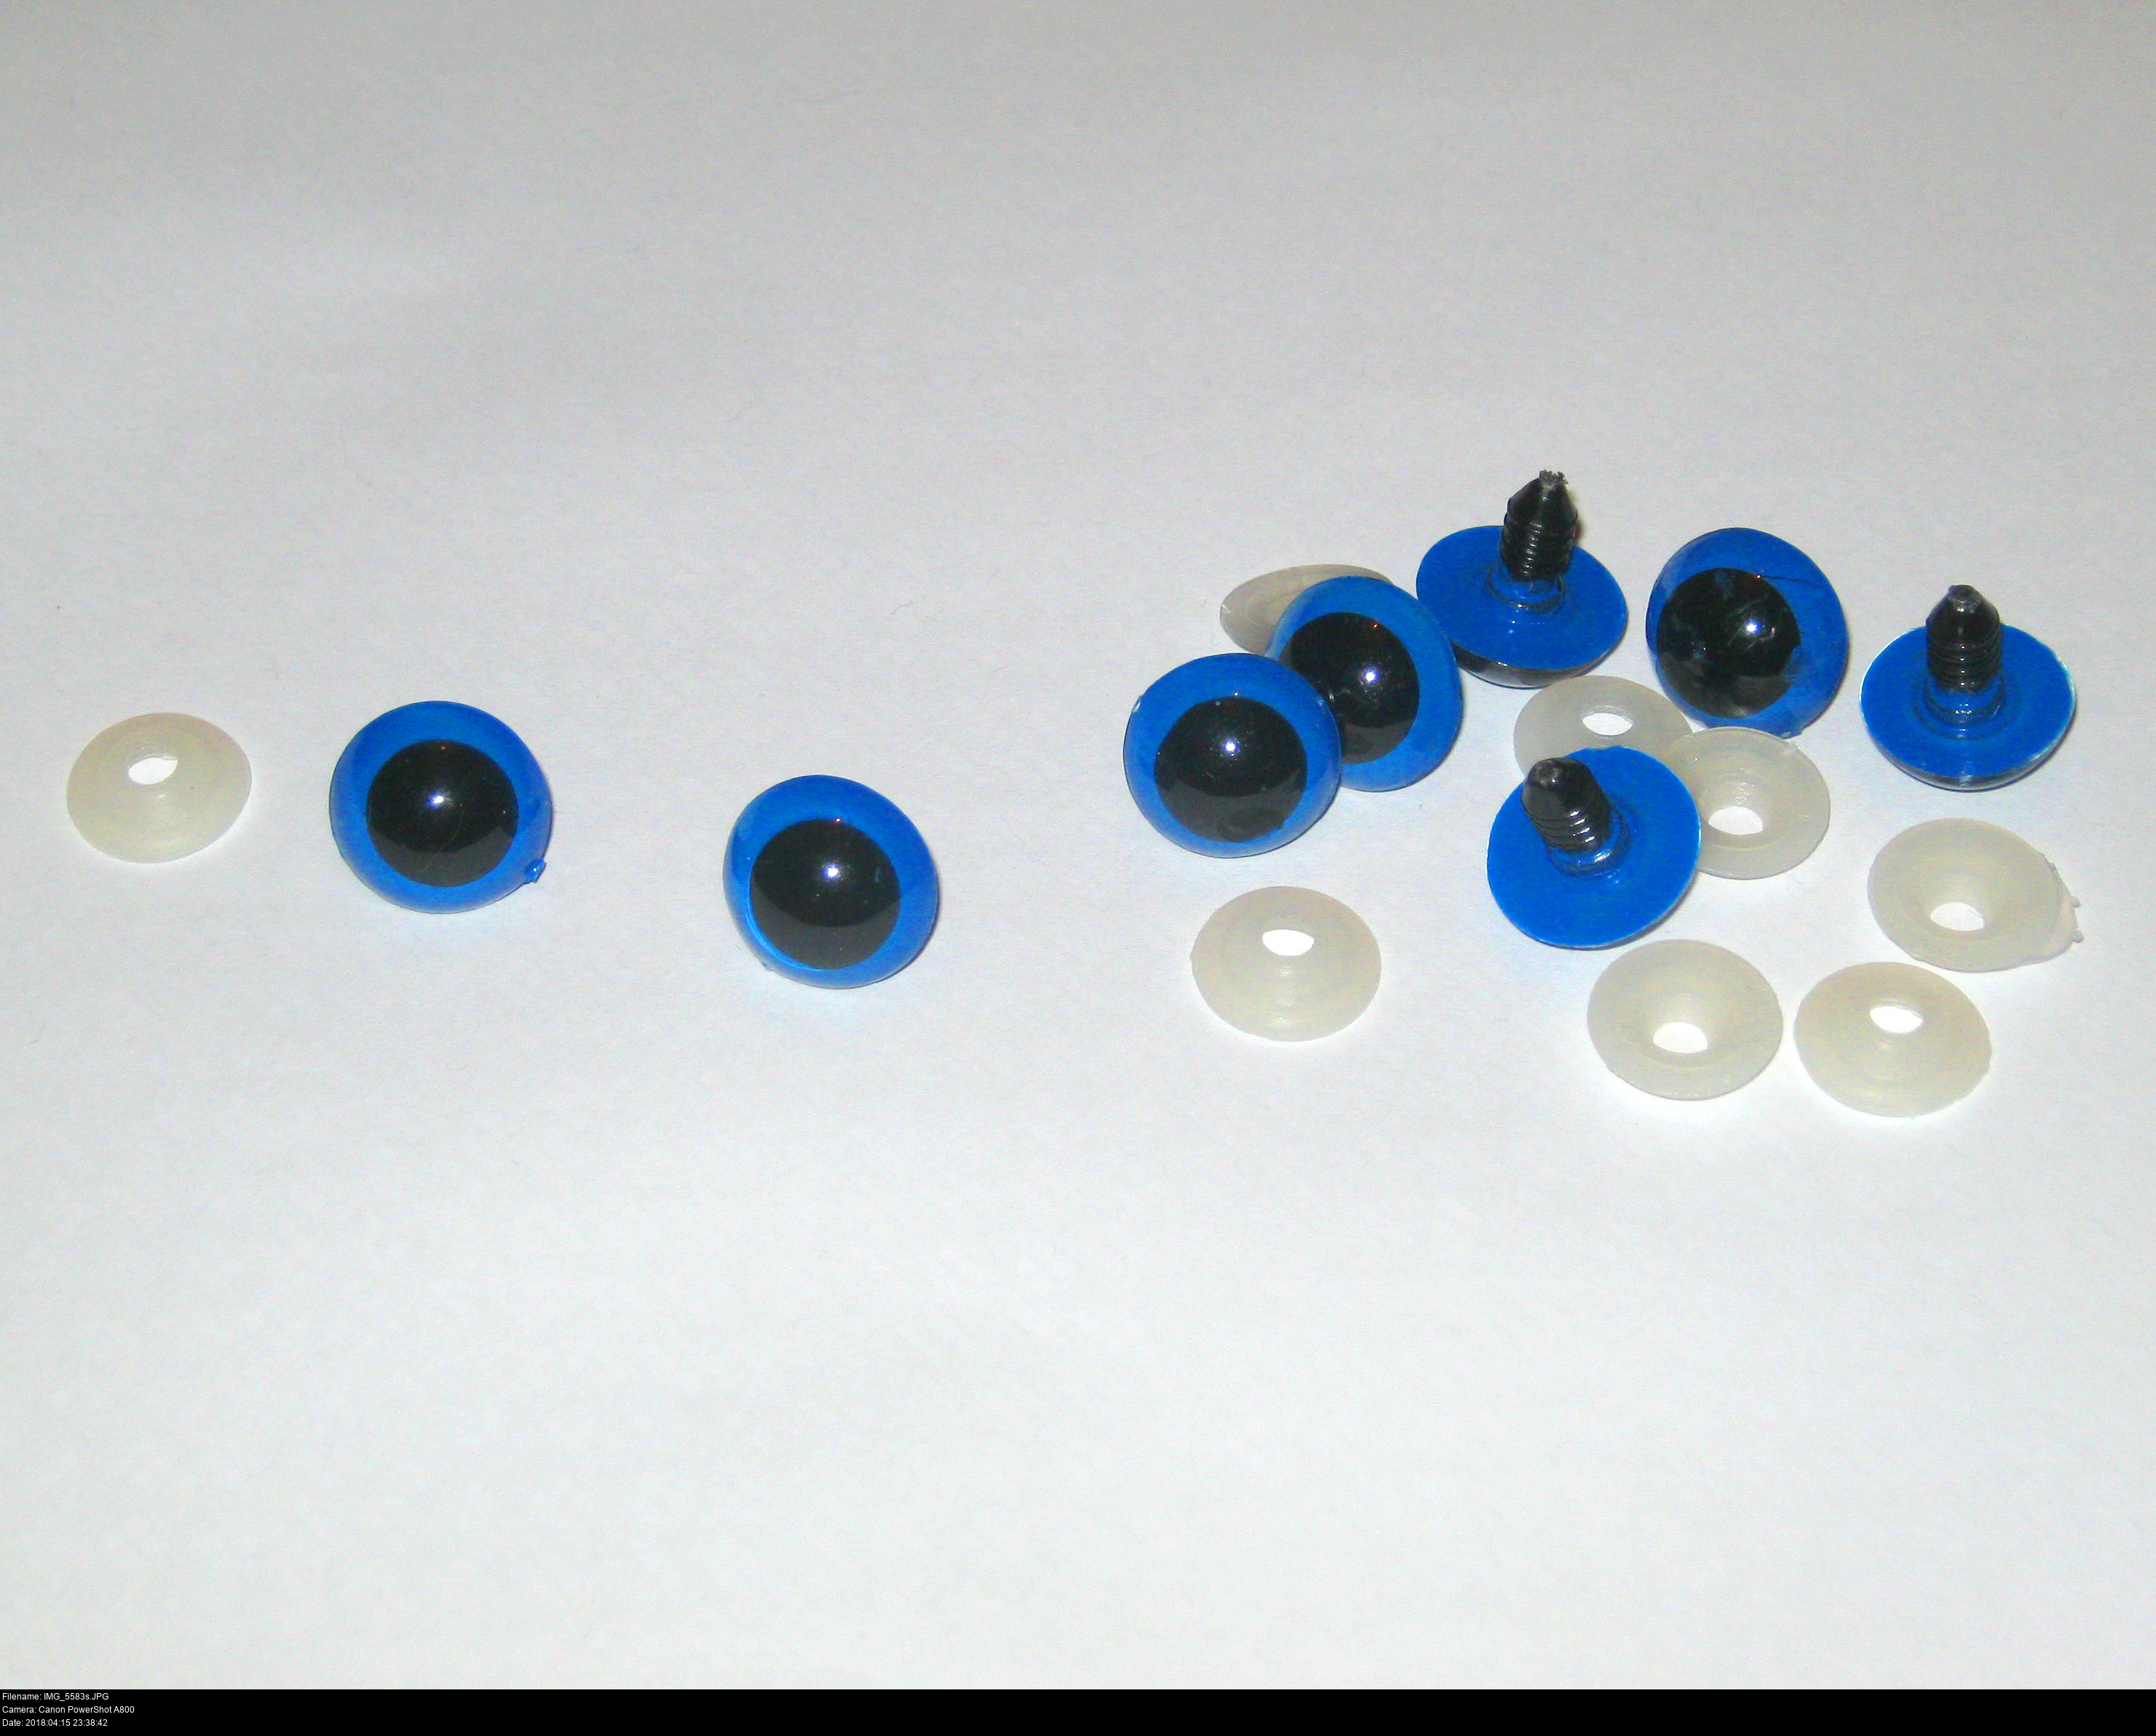
Pabu needs some safety eyes! I've got some cat eyes here to compare against for size.
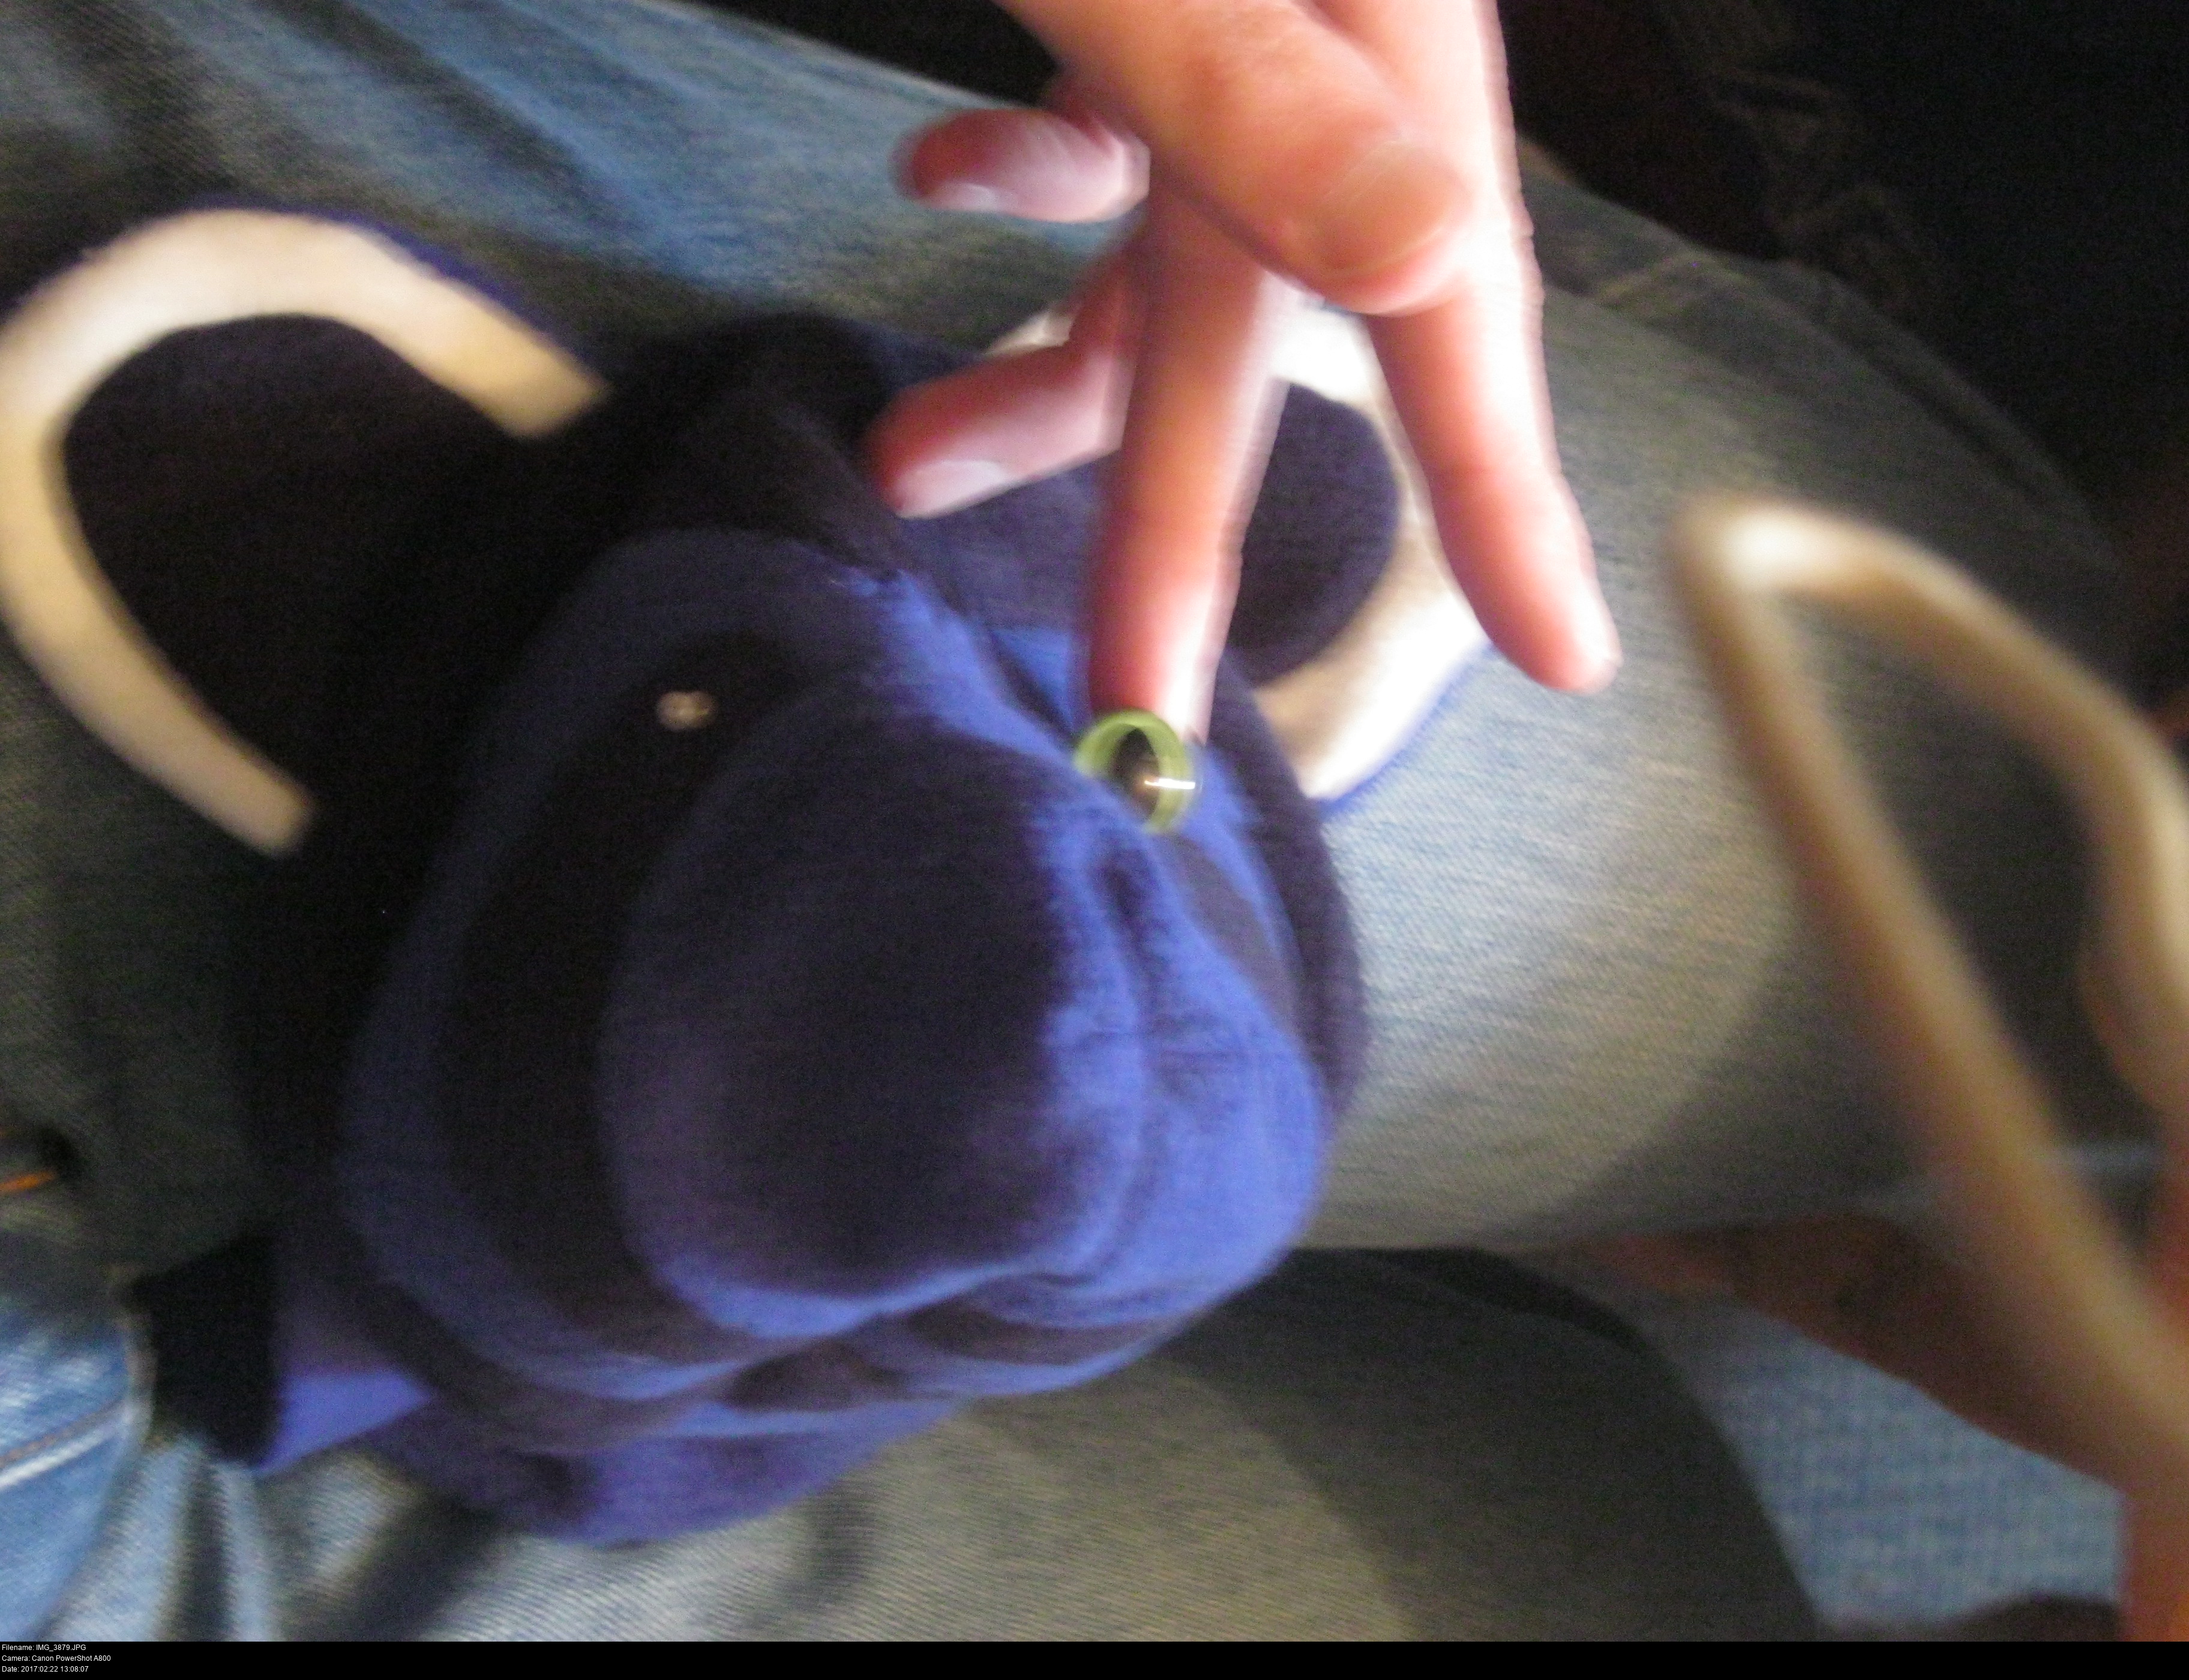
Here's the safety eyes I used for Amanda. Overbuying saves the day once again! All I needed to do to fit them was gouge a big hole through three layers of felt and two layers of glue. First pins, then miniature screwdrivers, then larger screwdrivers. Right through the eye. Poor guy.
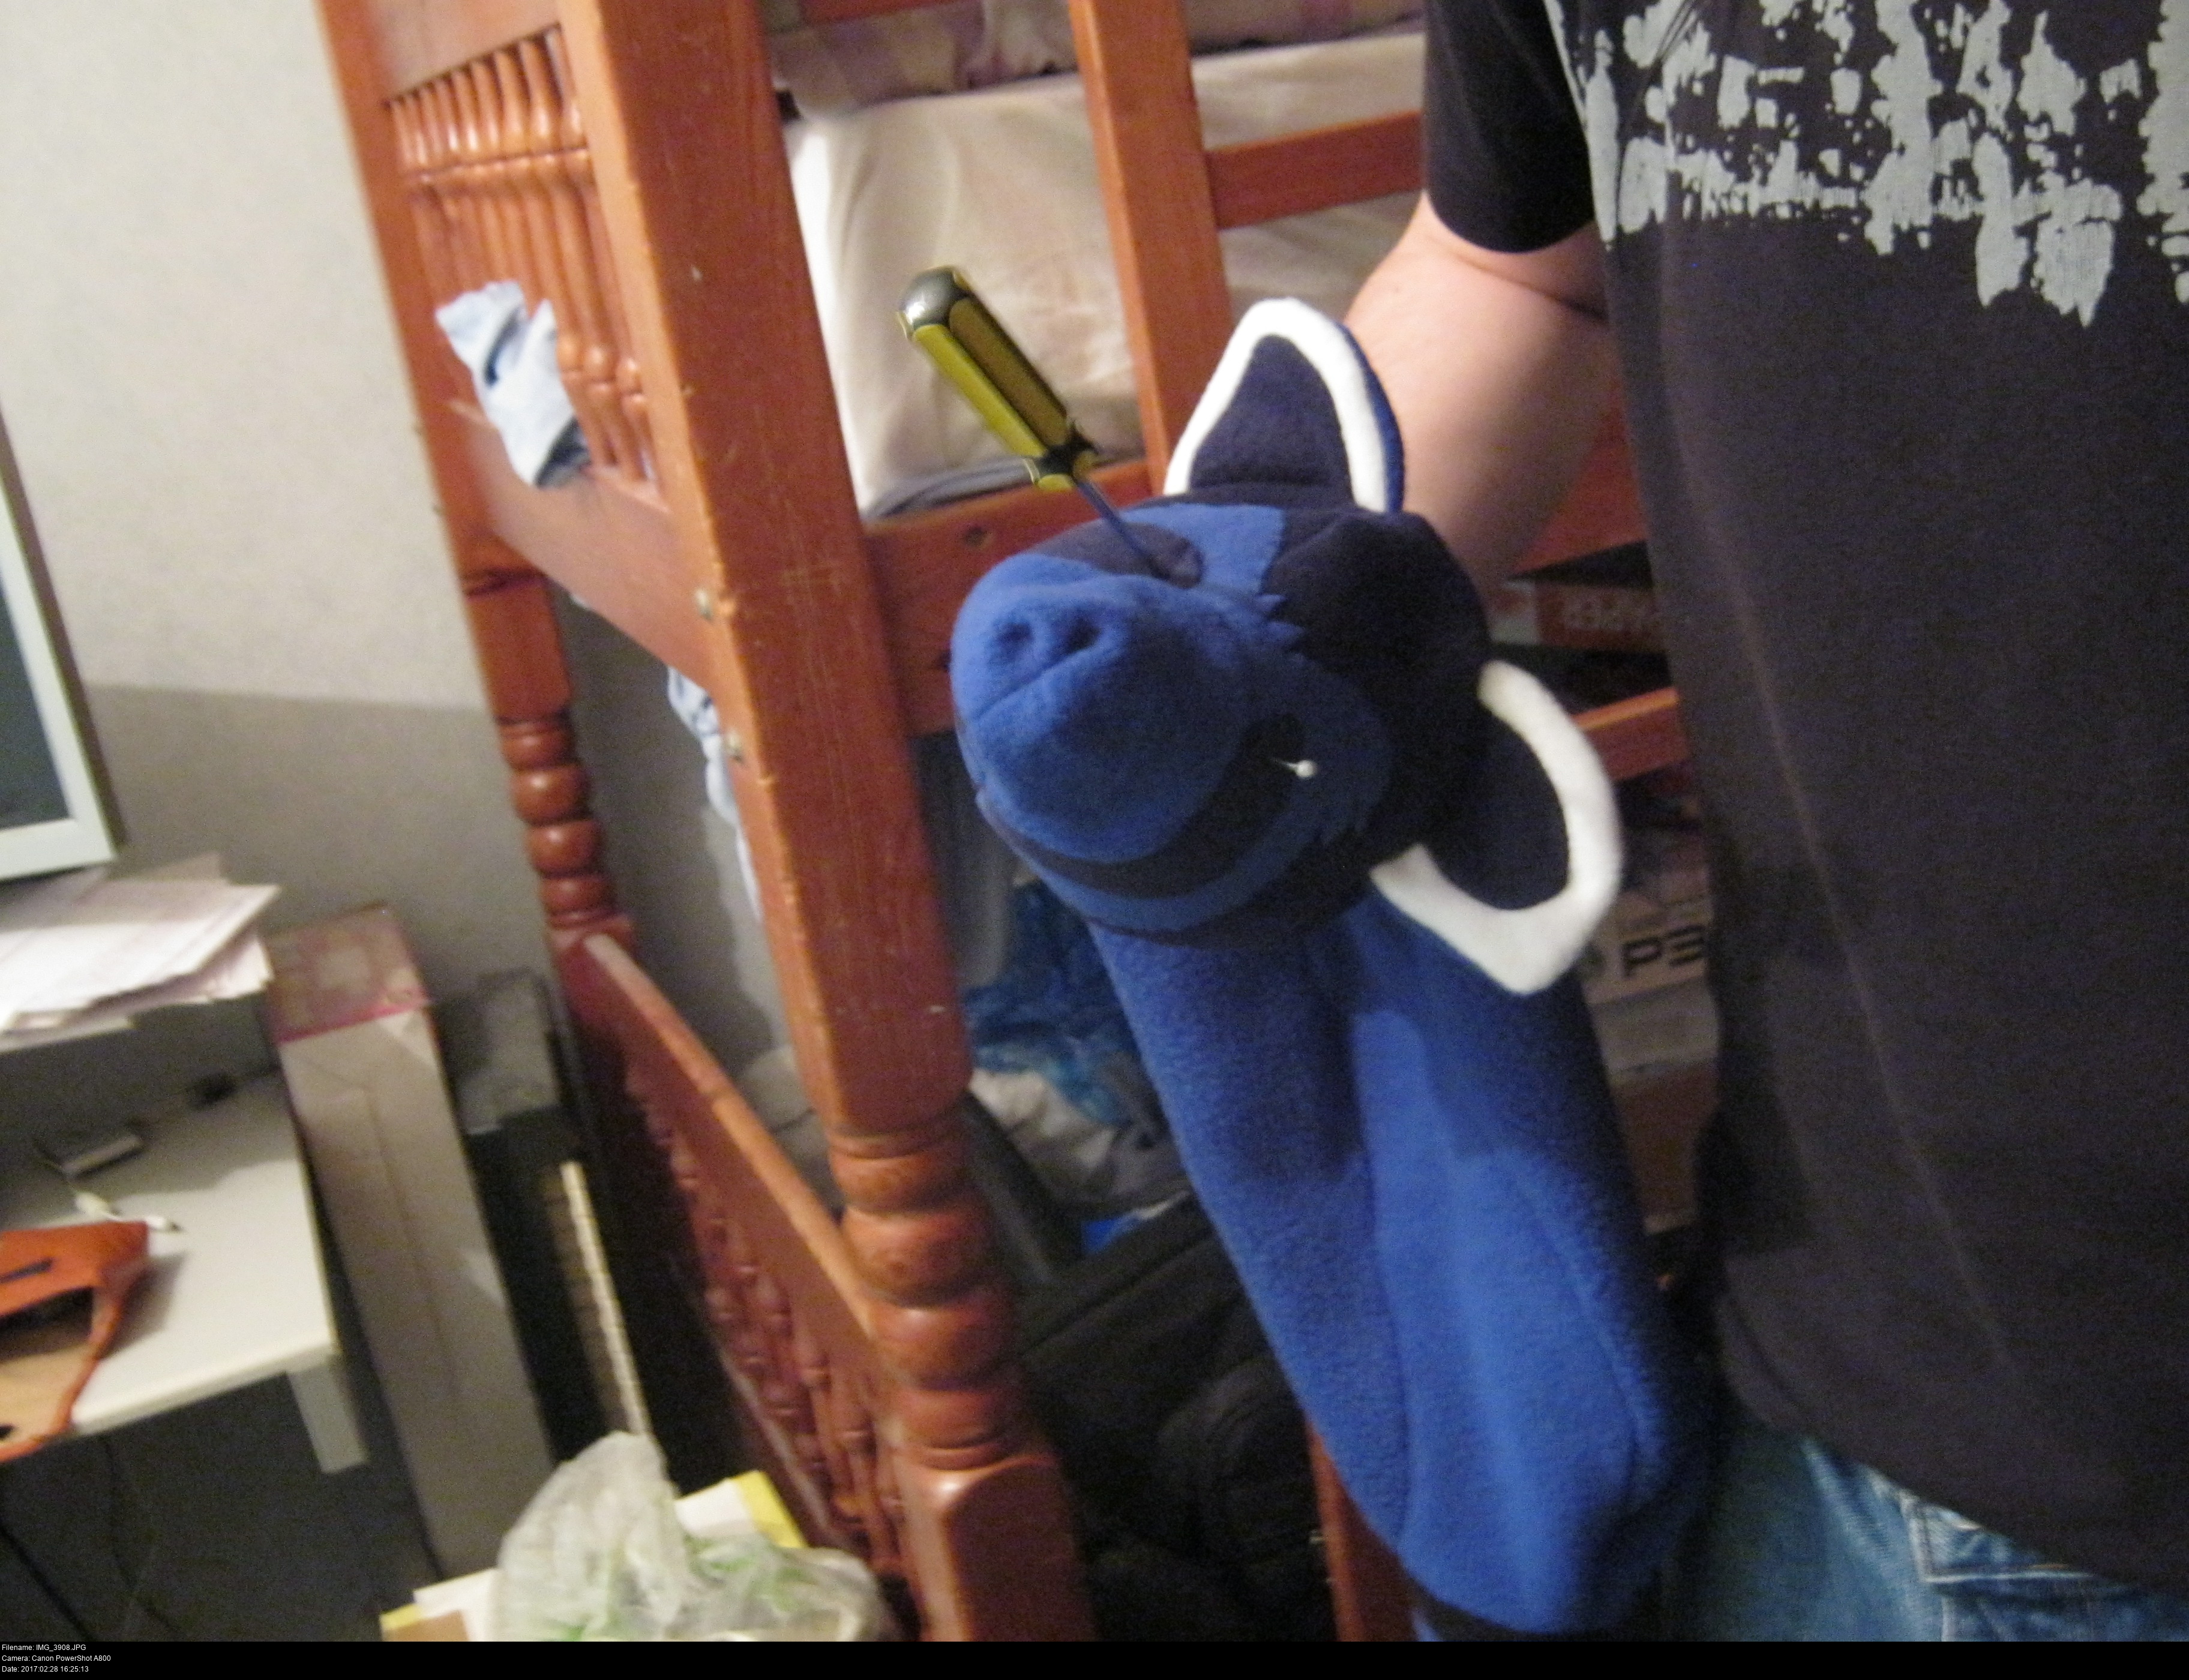
Sorry, Pabu. It's all for a good cause, I swear.
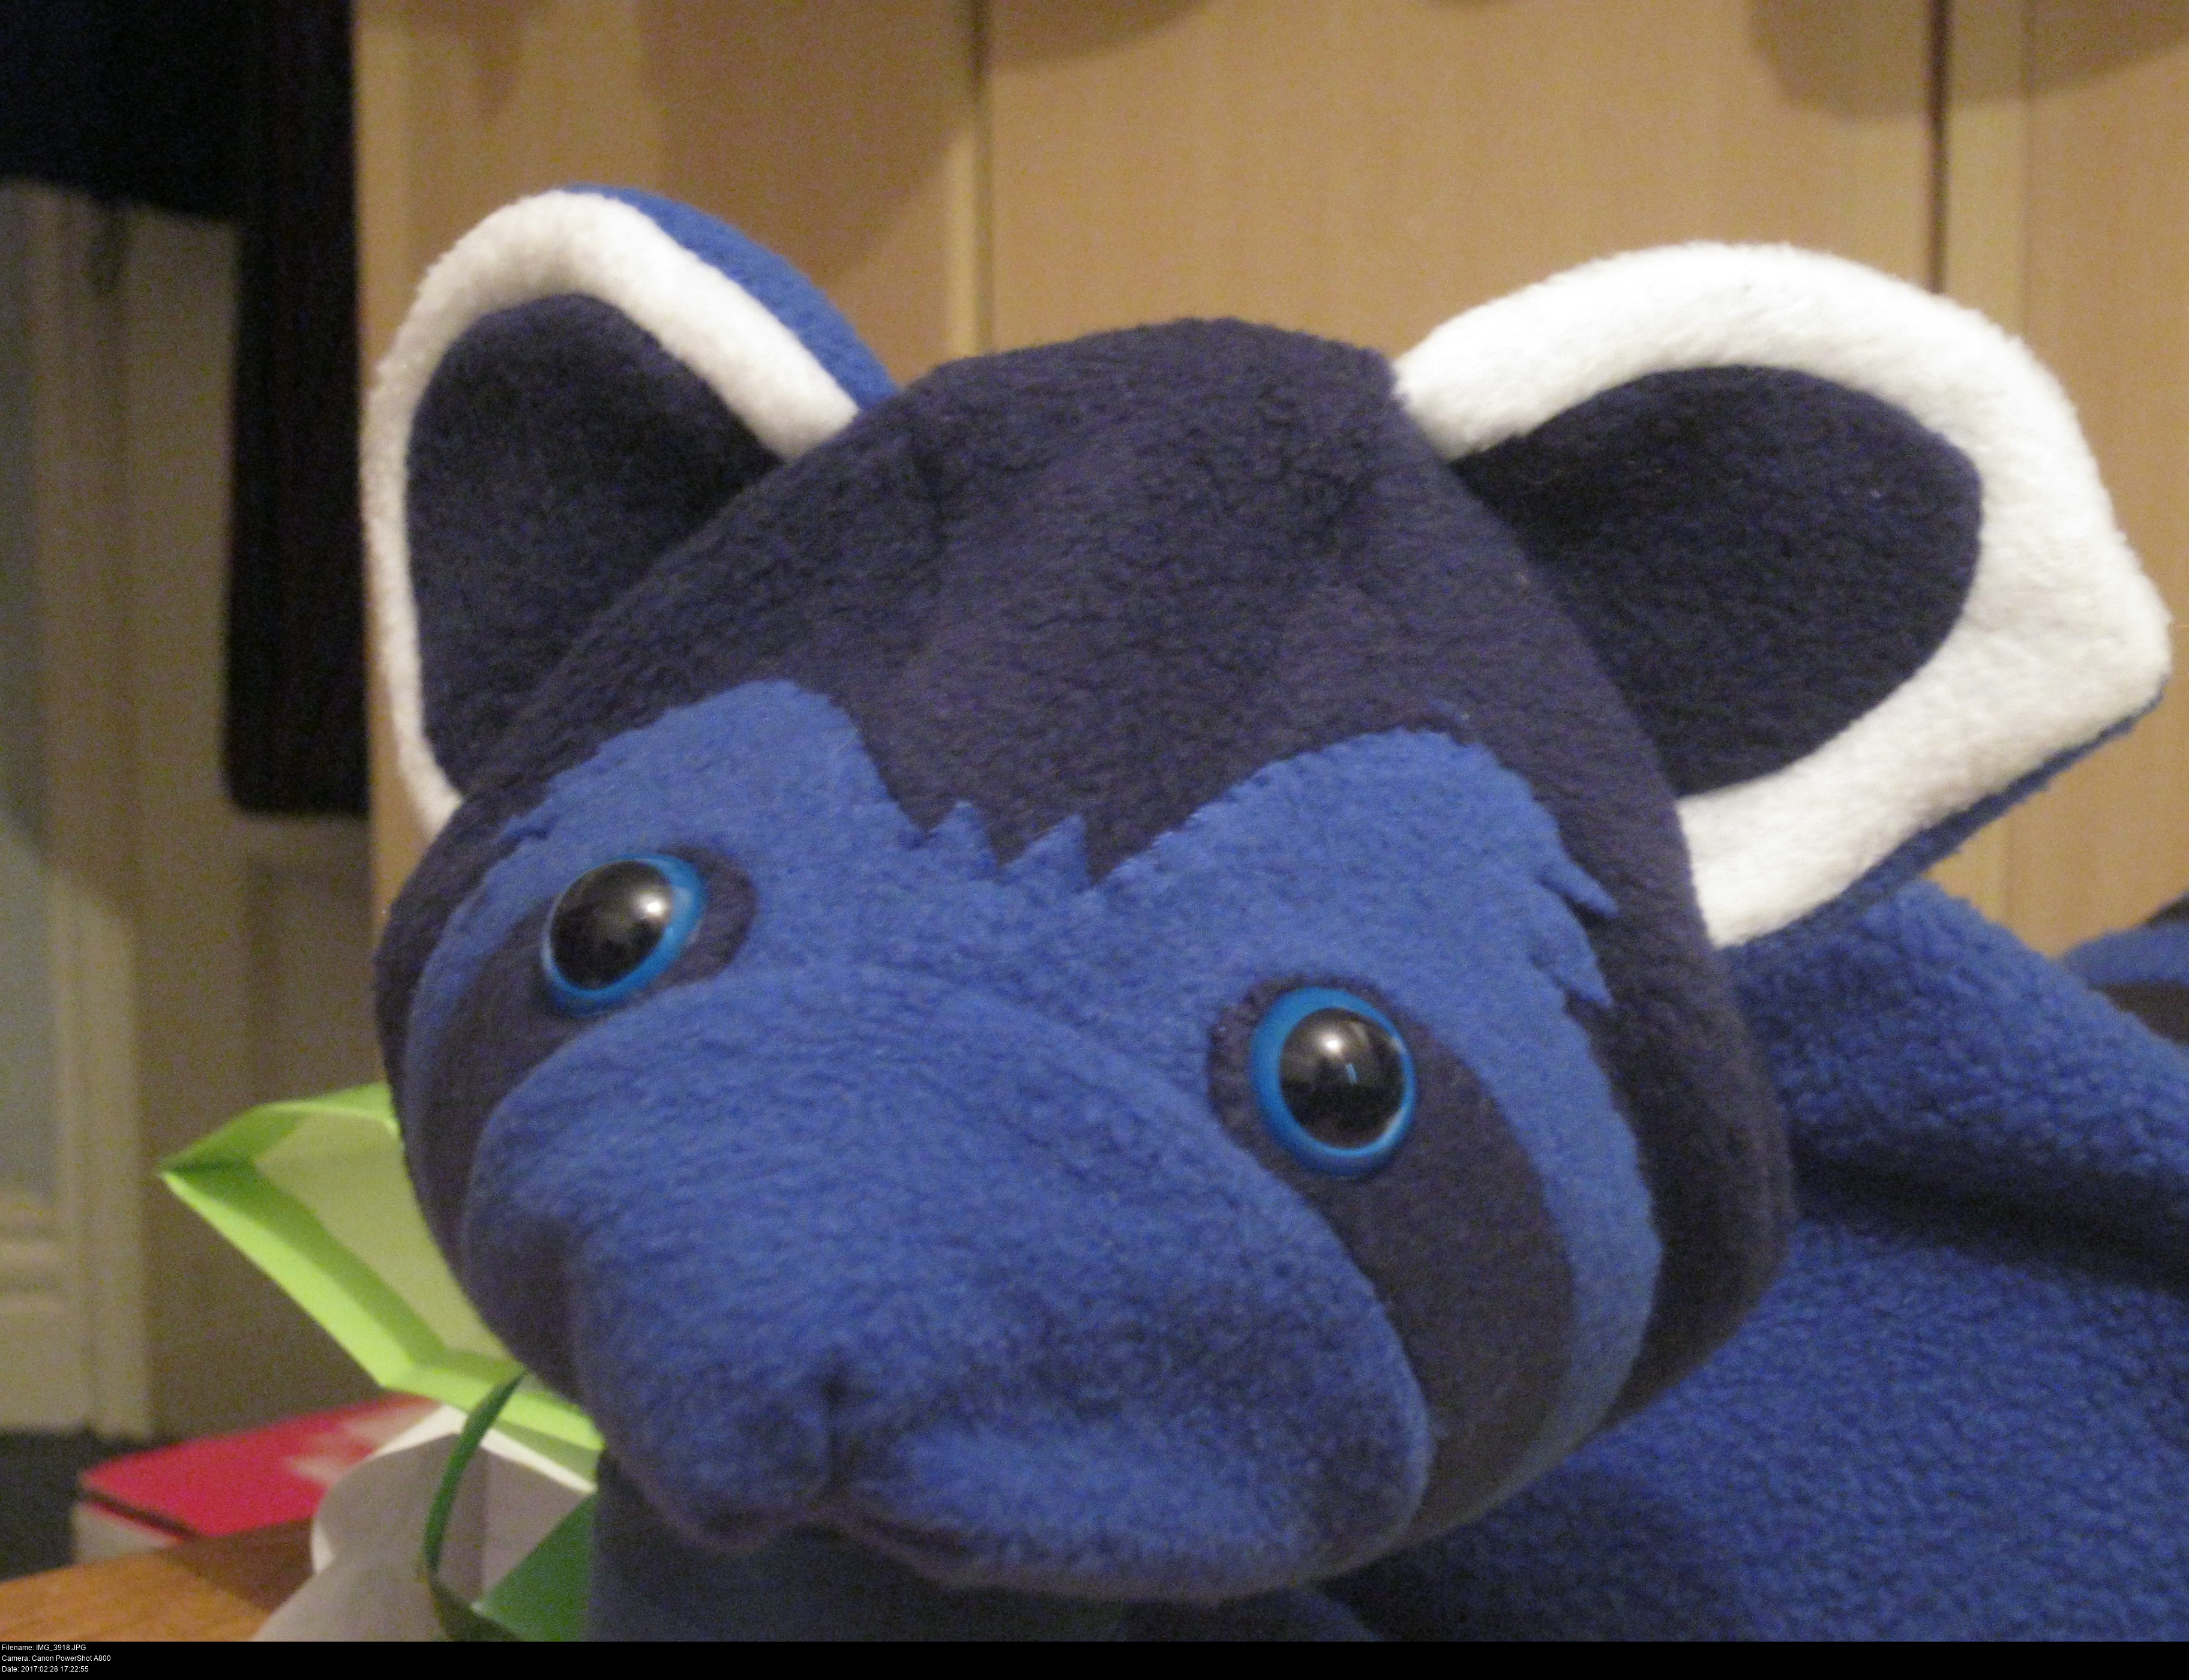

What a cutie!
It's fairly safe to say at this point I'm committed to making a full blue toy. He's not Pabu any more, he's Pableu! (Pronounced 'Pablo'.) And when he's finished I can just point to these pictures and say 'You want one of these, but with those colours? It'll take me Blank long and use Blank materials and cost you Blank.'
I need to get some safety noses for him next. The local shops have failed me, so it's over to the internet once again. ( This Might Have Something To Do With Why Local Shops Are Dying. )
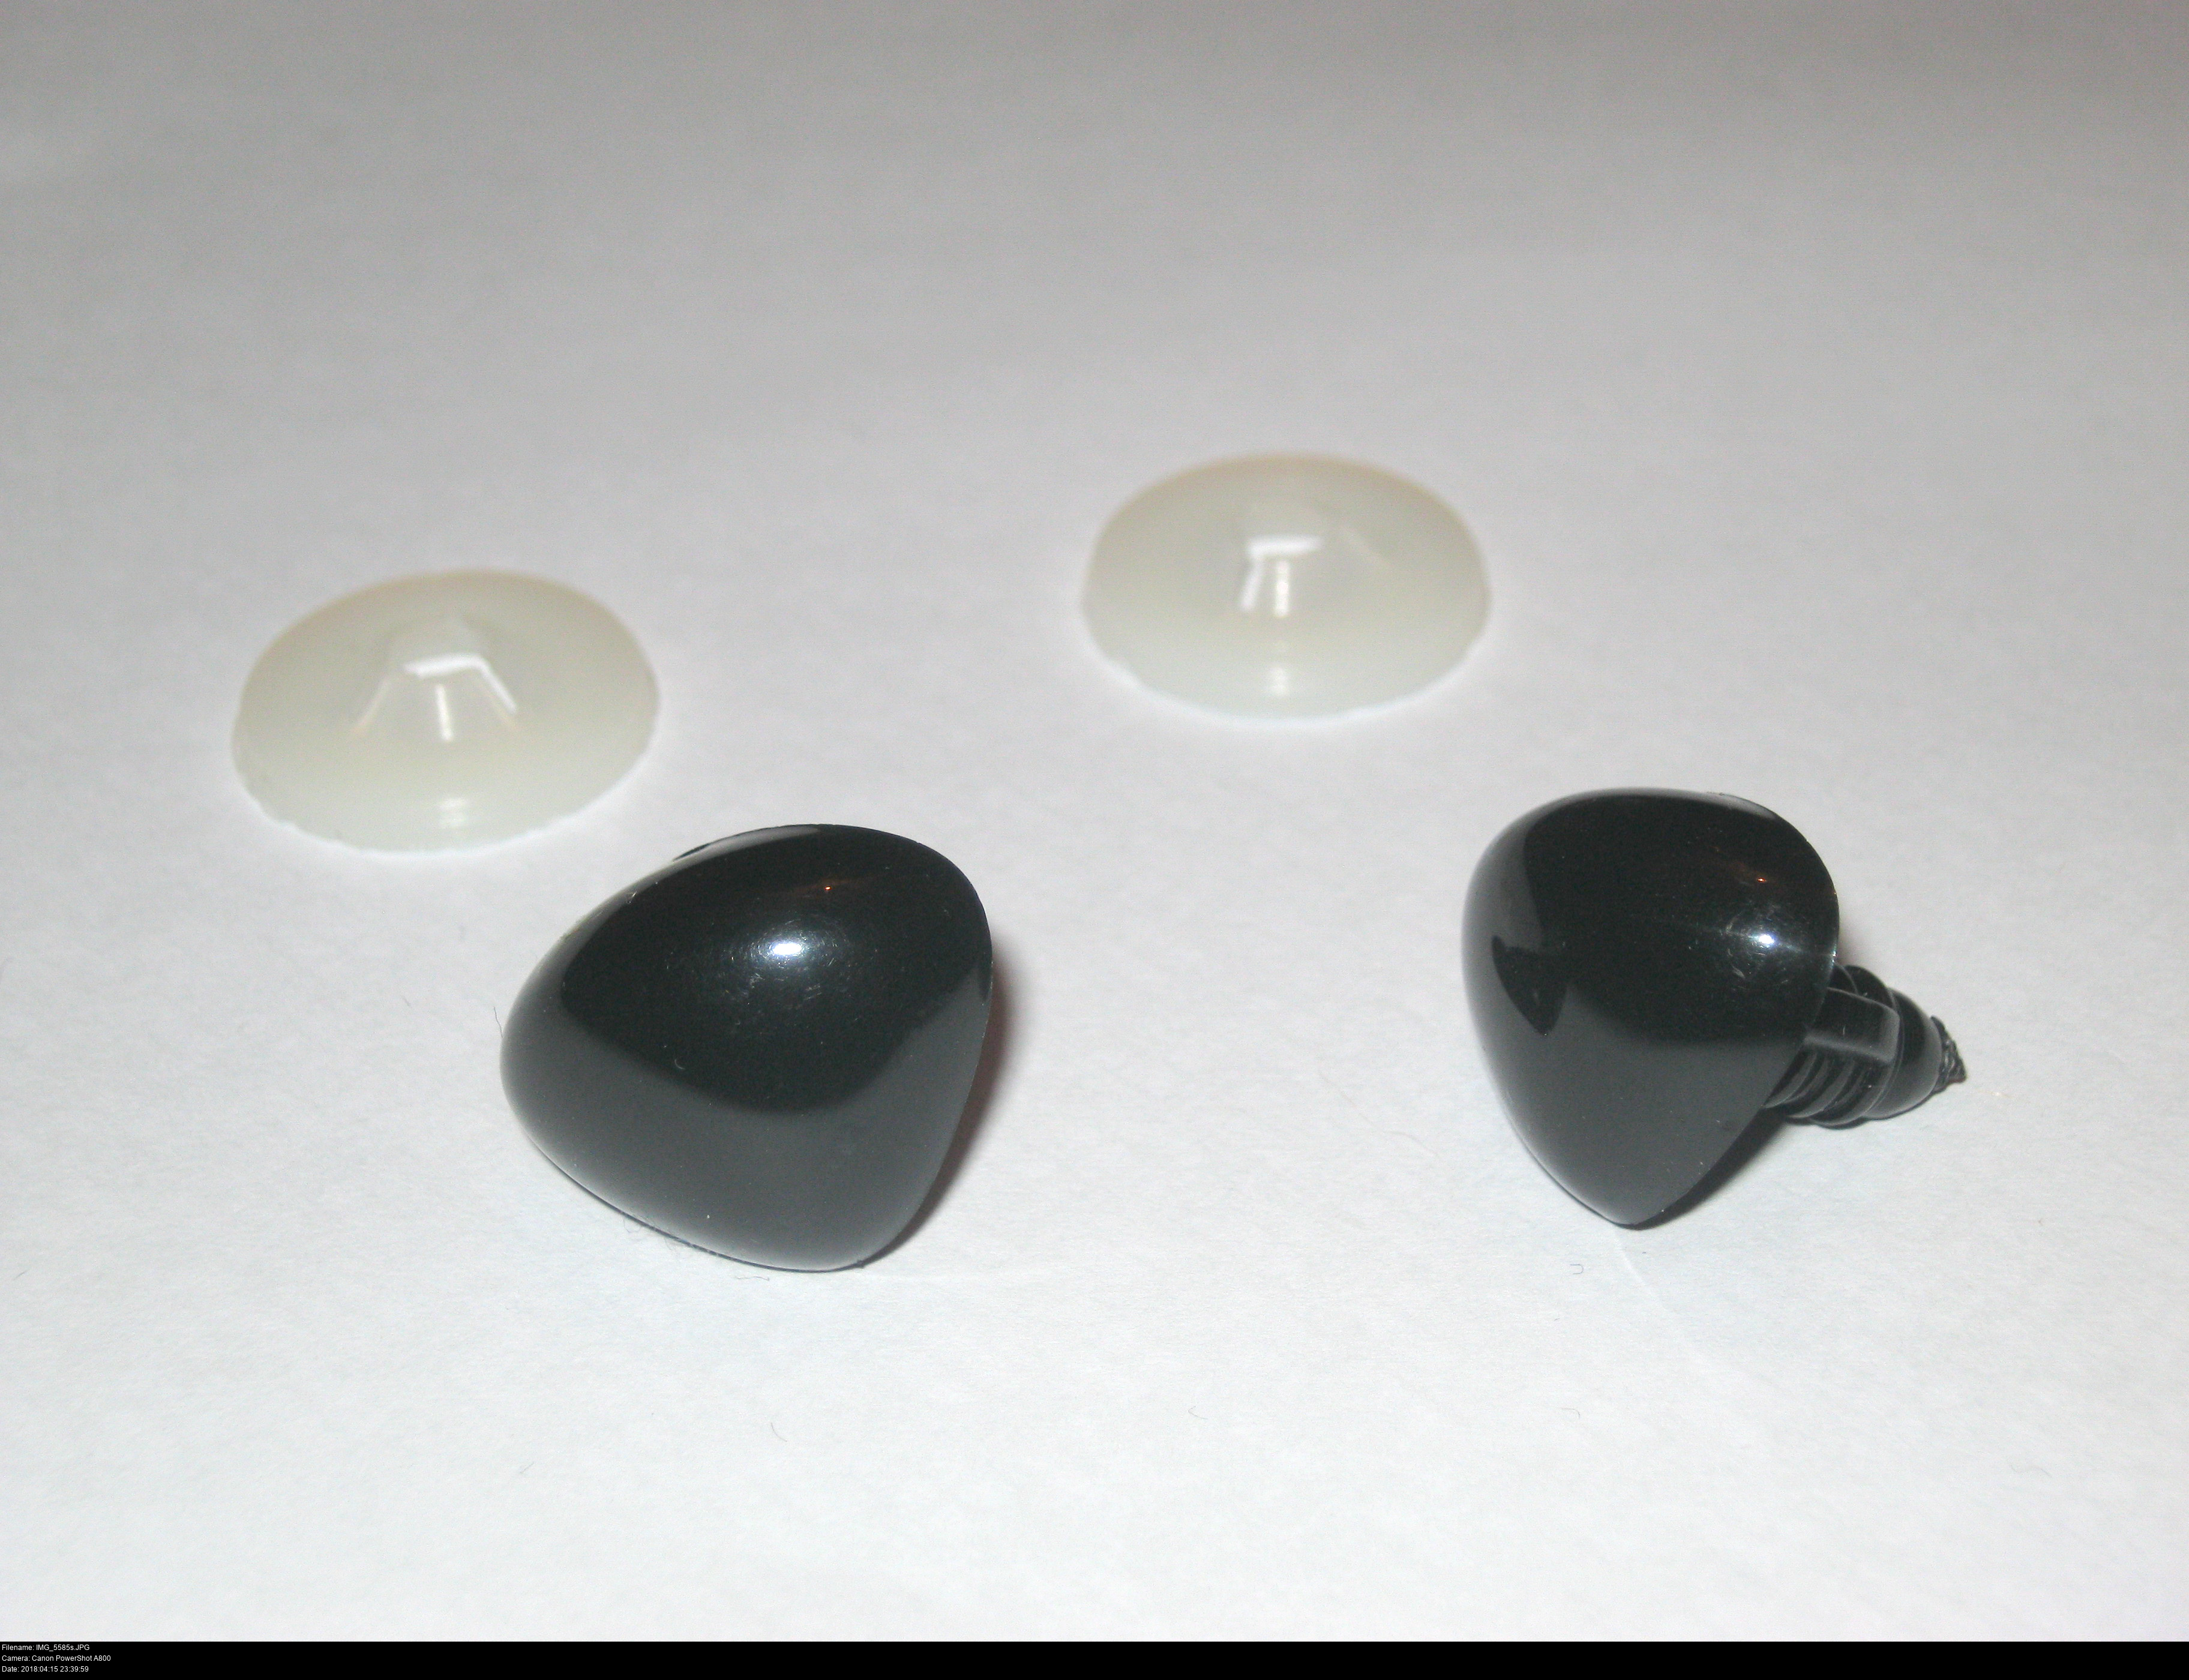
These are a little harder to find than the eyes, but they're definitely worth it. I don't have to embroider another danged nose like I did for Amanda, and it's the perfect shape and texture and everything. Performing the stitches for his little muzzle before applying the nose is a good idea. The head is sewn together with a central seam running along the underside of his head towards the centre of the snout piece, so his nose will be placed in the centre of many seams which will make fixing it in place possibly difficult.
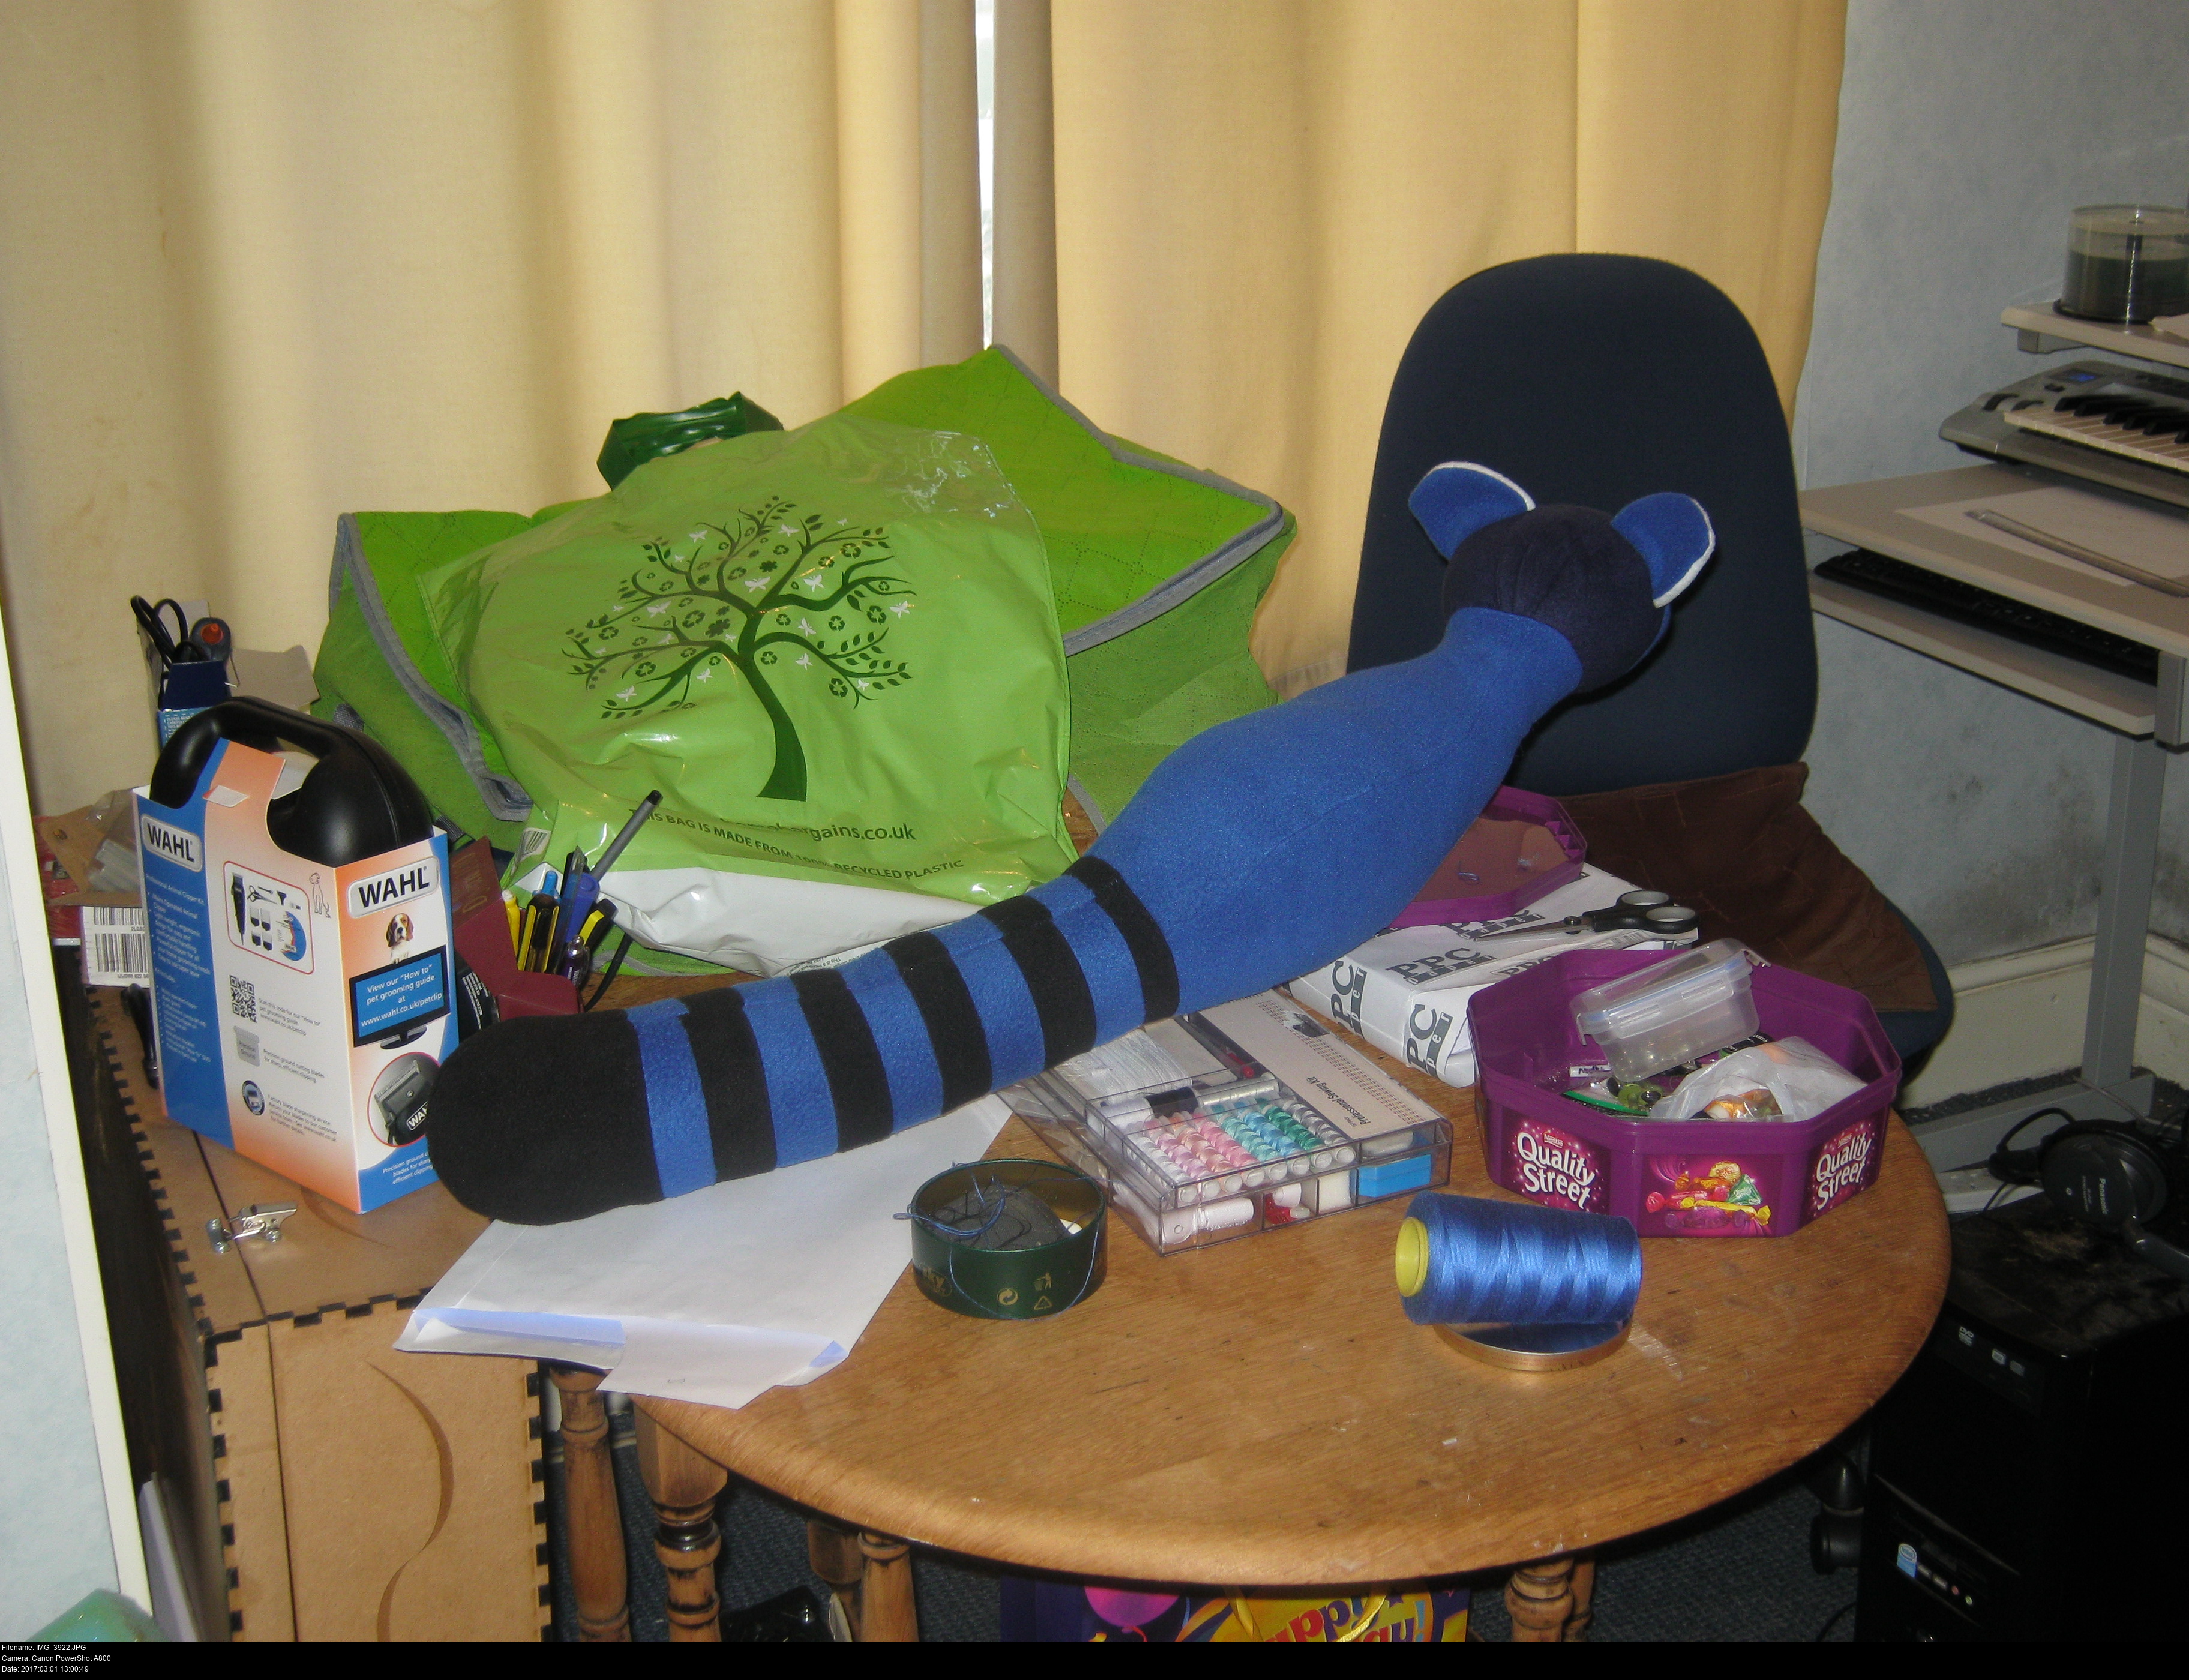
With the head, tail and face all sewn, I can finally stuff the guy and then move on to getting his legs looking right.
How many cushions worth of stuffing does it take to fill up a Pabu? Just under three of Wilkinson's' finest £1.50 half-metre-square cushion bases!
What's the difference between the dense stuffing I can get at Calico Laine and the guts of these cushions? I can't really see any. They're both artificial fibers designed for squishy stuff. In the absense of any objections, get the cheap stuff. And if you have any ones left over you can make a cushion, of course! And the left over squares of light fabric might even come in handy too.
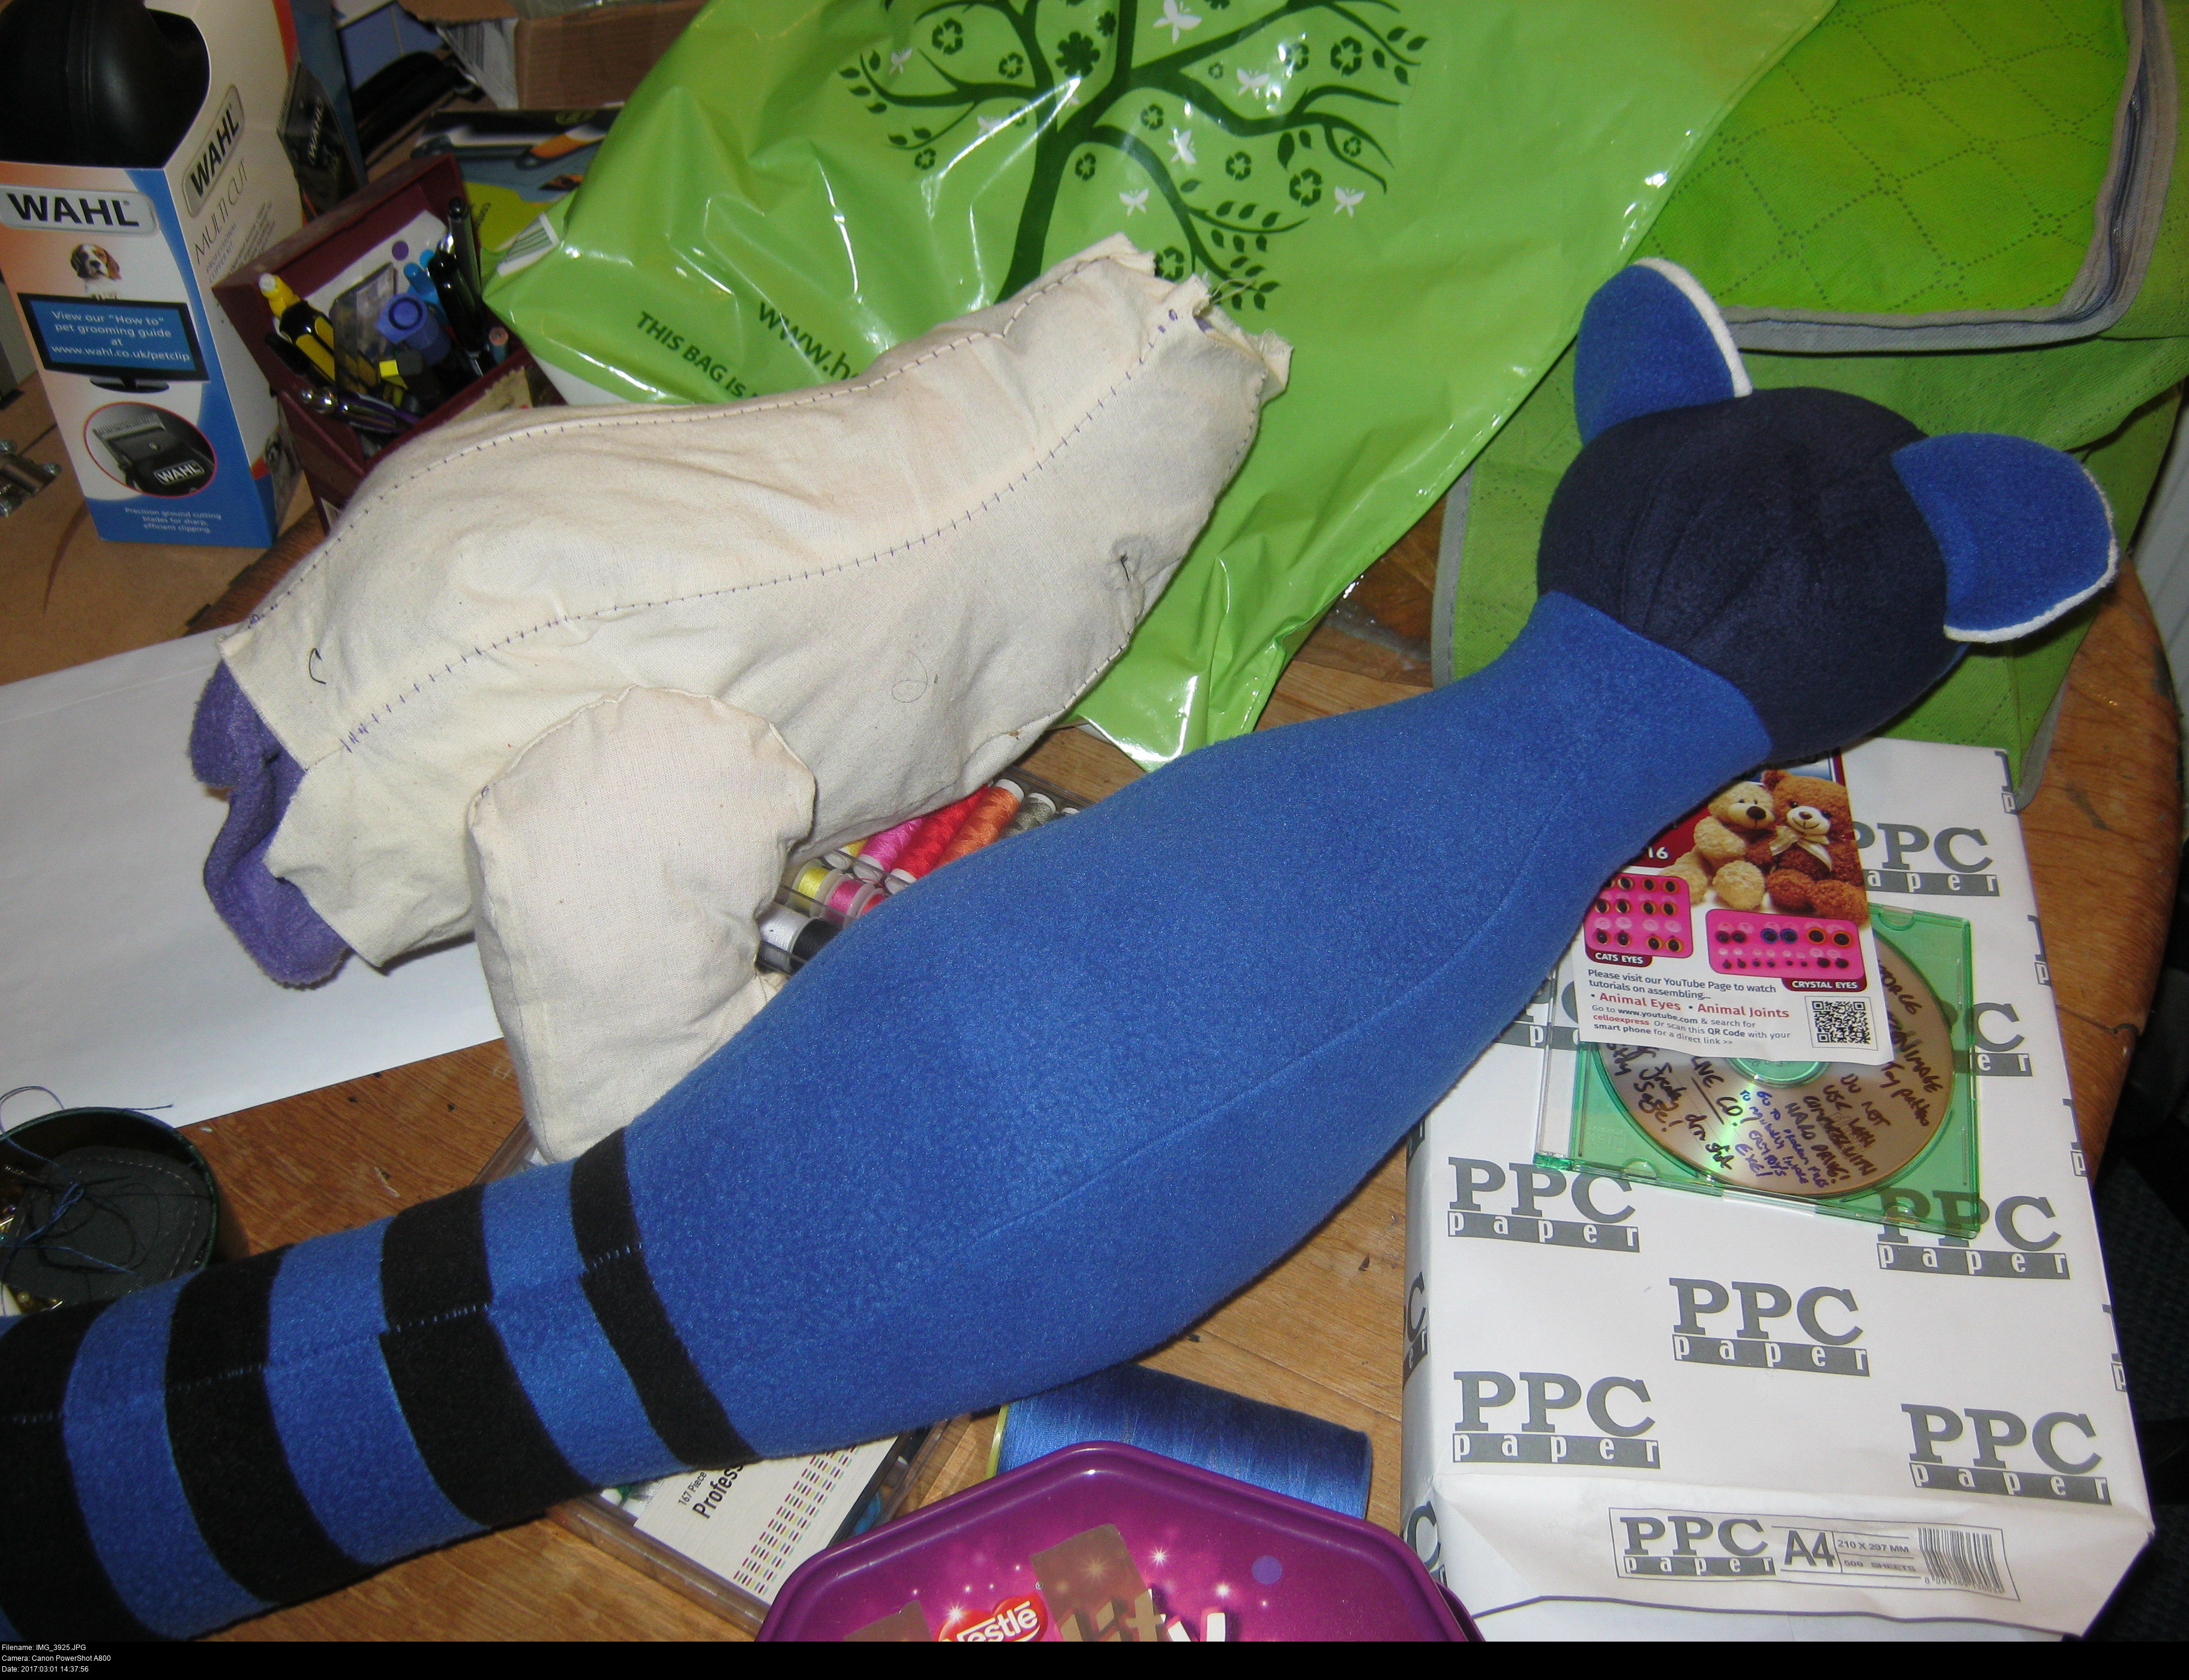

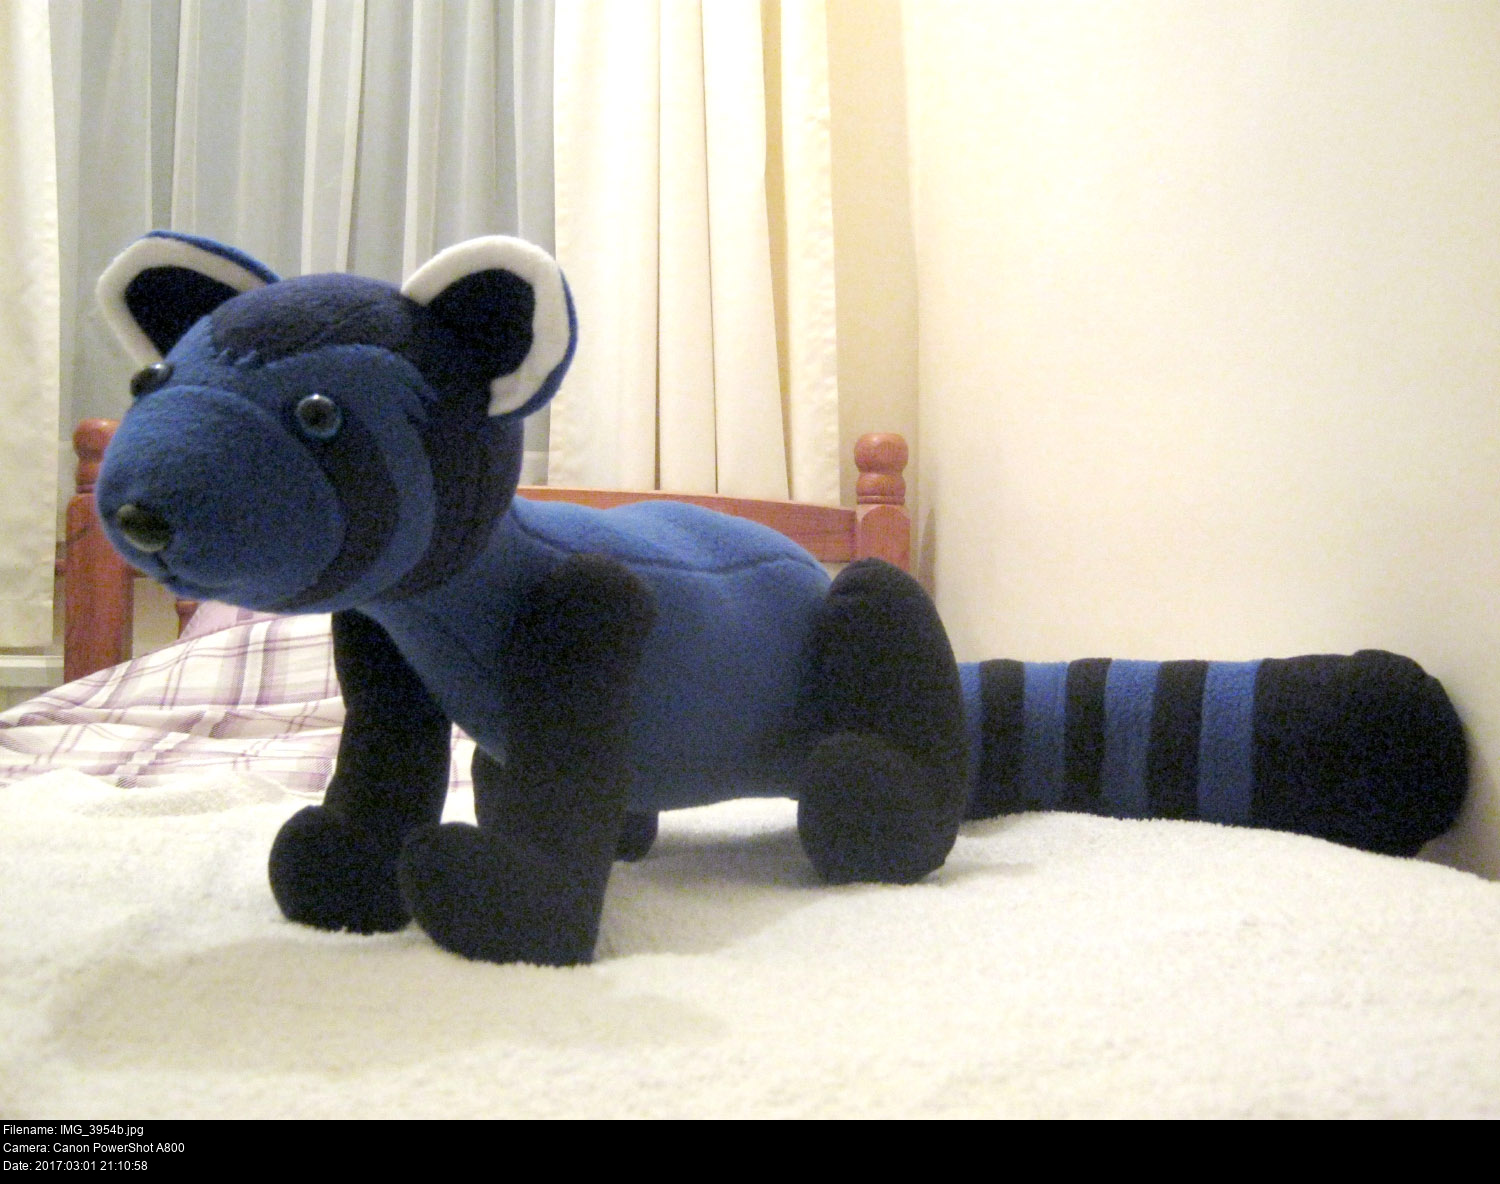
Stuffed and sealed!
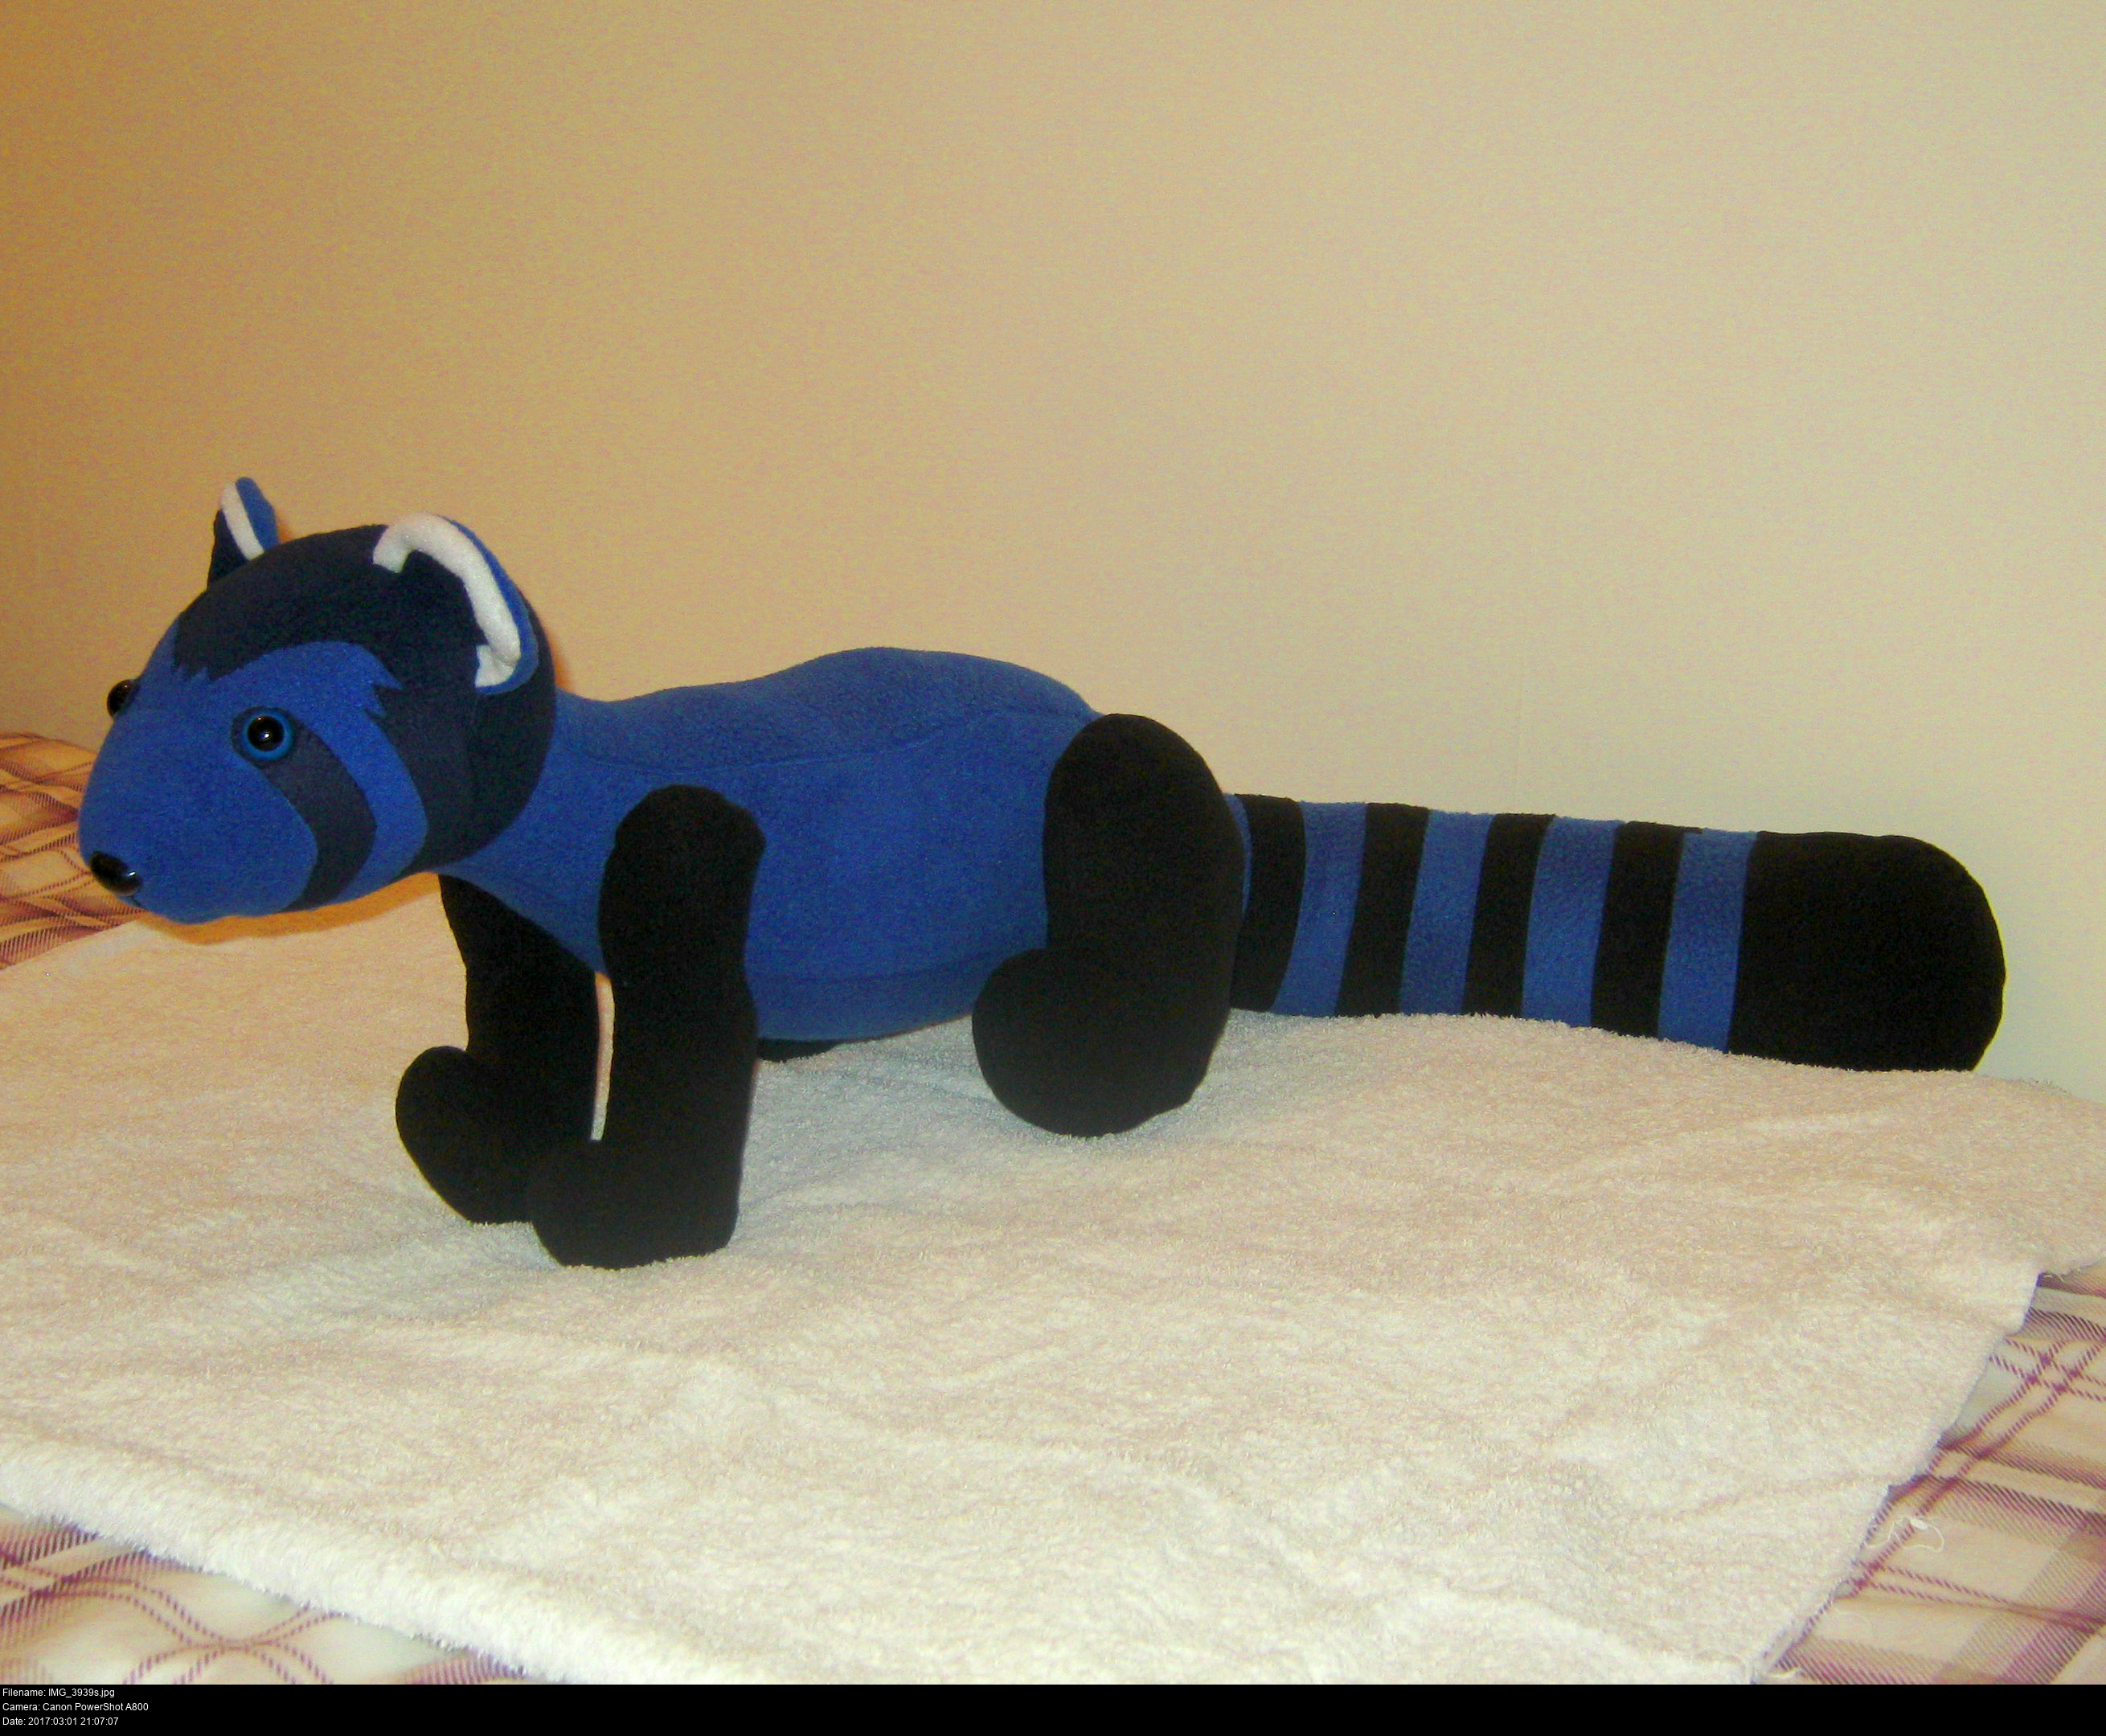
Pableu's looking pretty shy right now, but check out that lovely chunky butt. He's looking a lot less square than his cotton counterpart. The body isn't leaning up as much as I intended - I should alter the body pattern to have a more pronounced J shape to it, as well as either enlarge the neck hole or shrink the head back down. His neck fabric looks too tight here to me.
And the poor fellow doesn't have any feet!
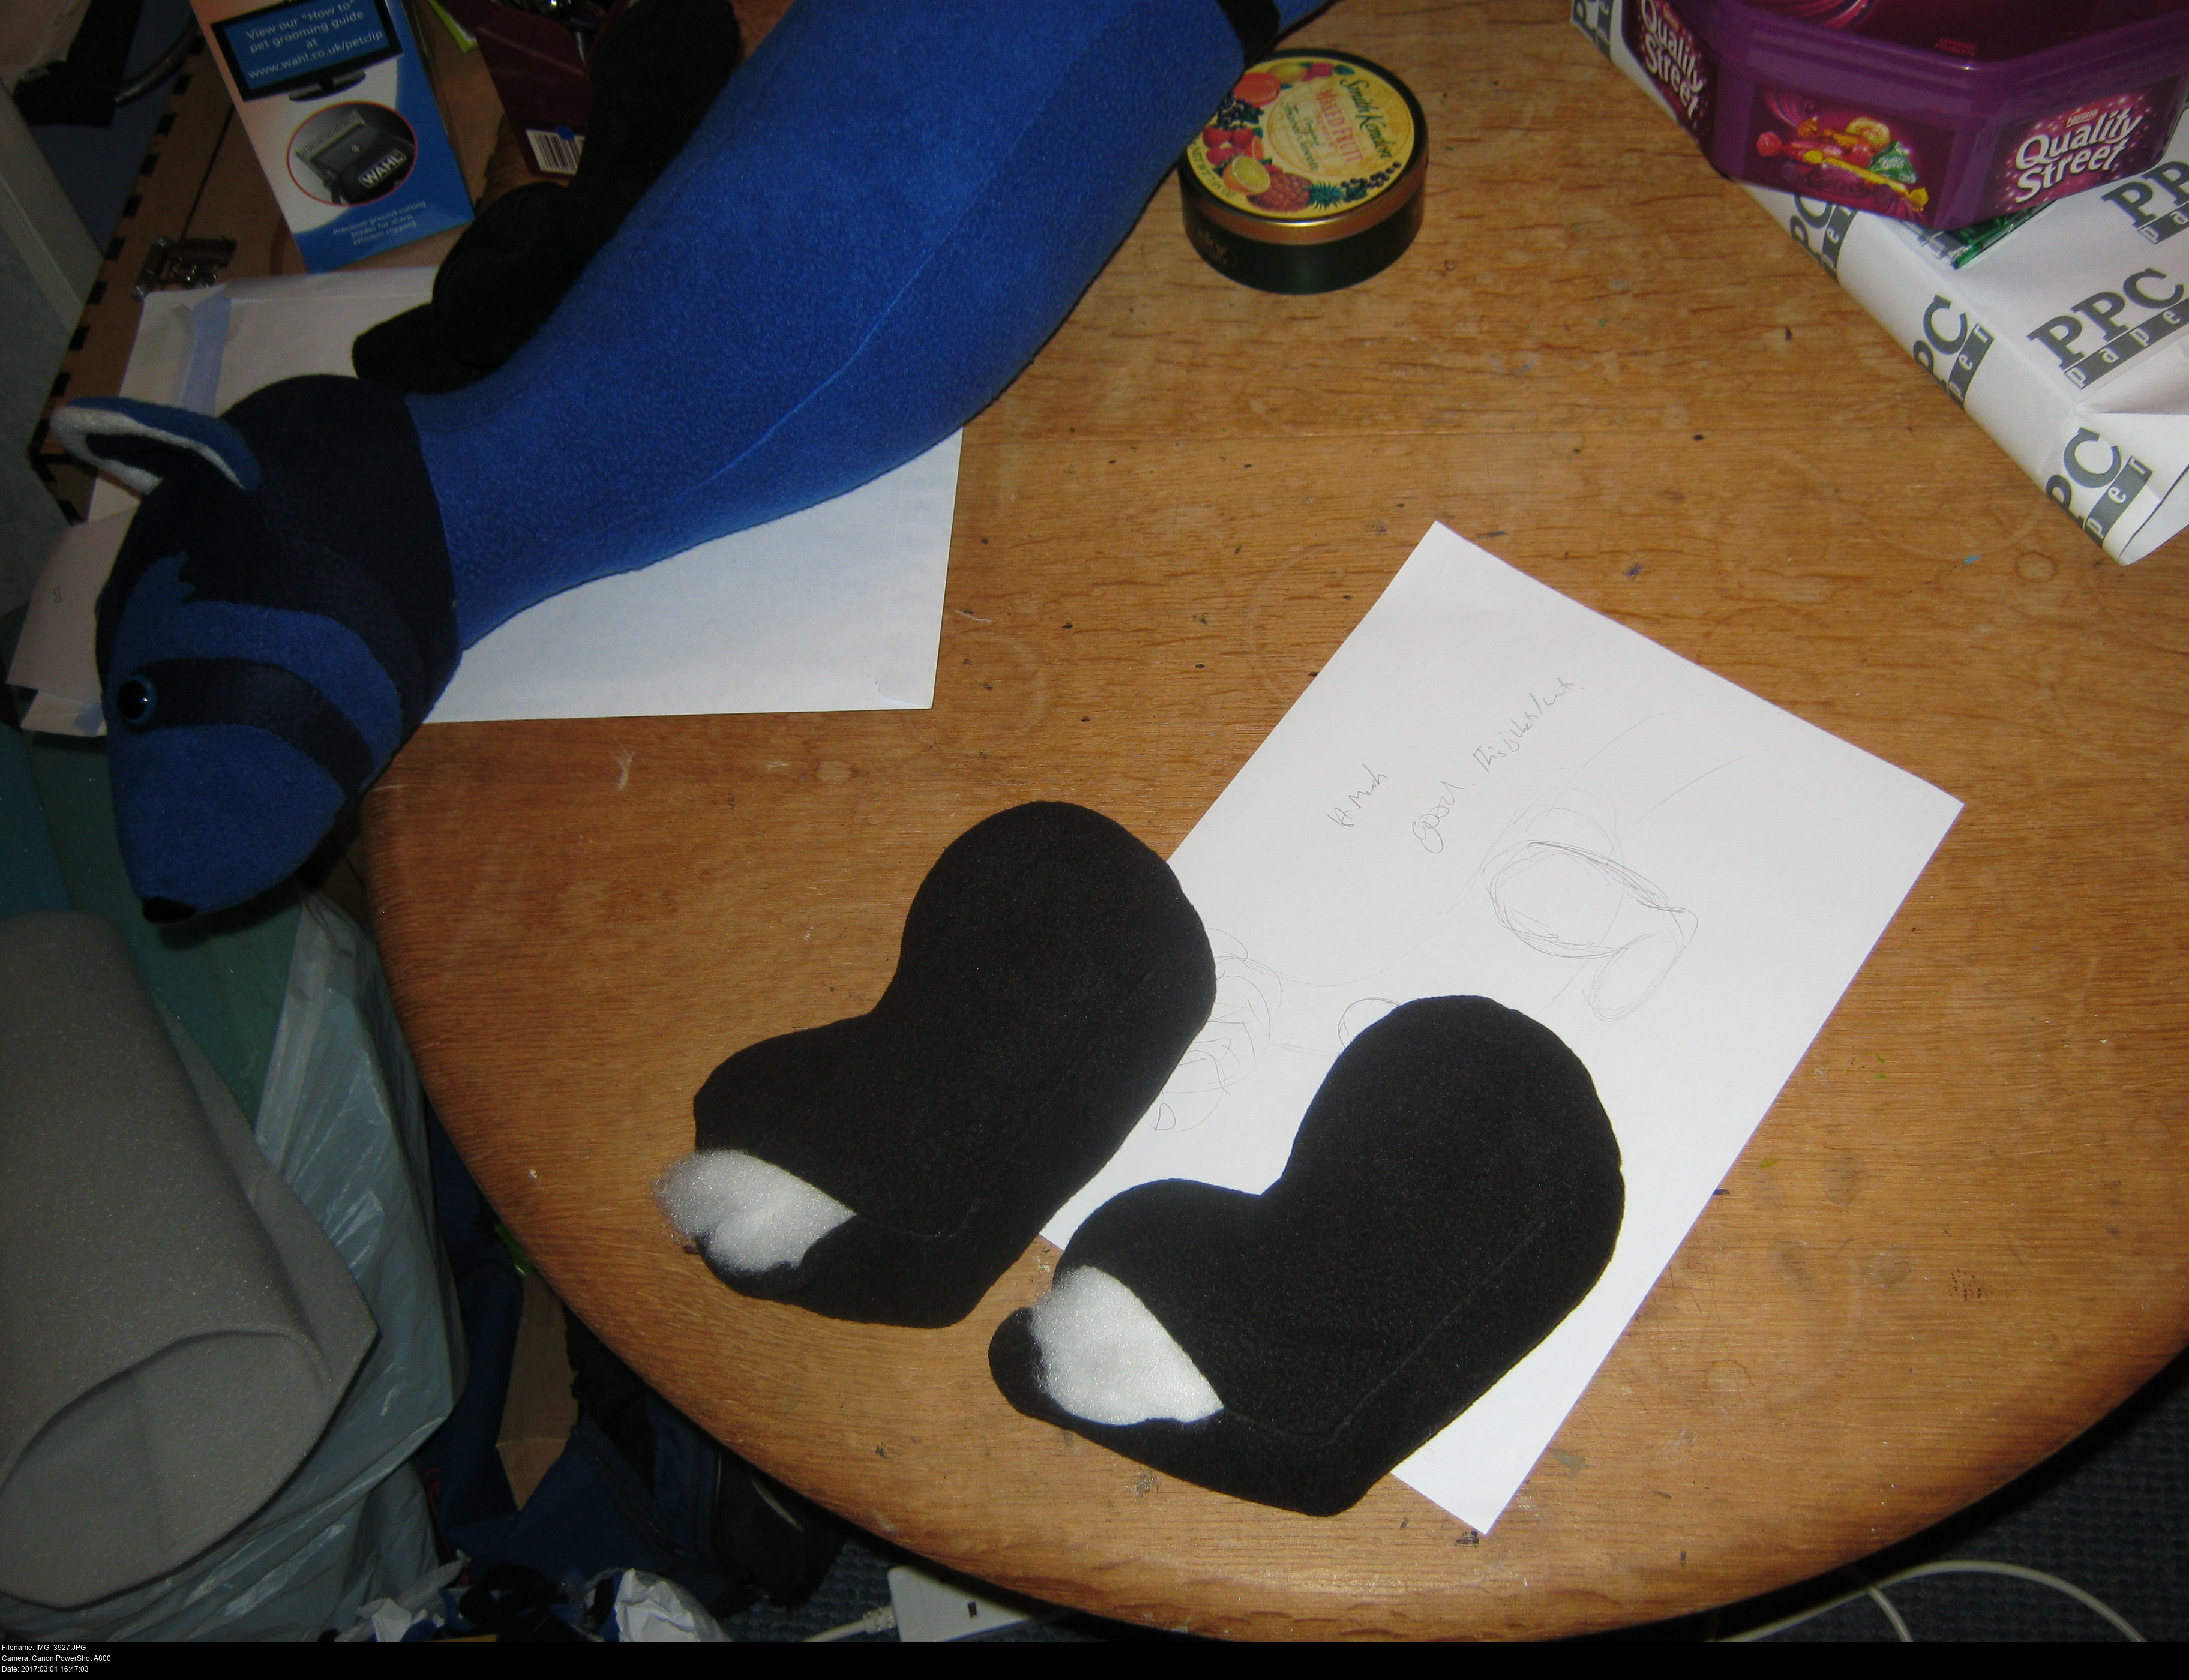
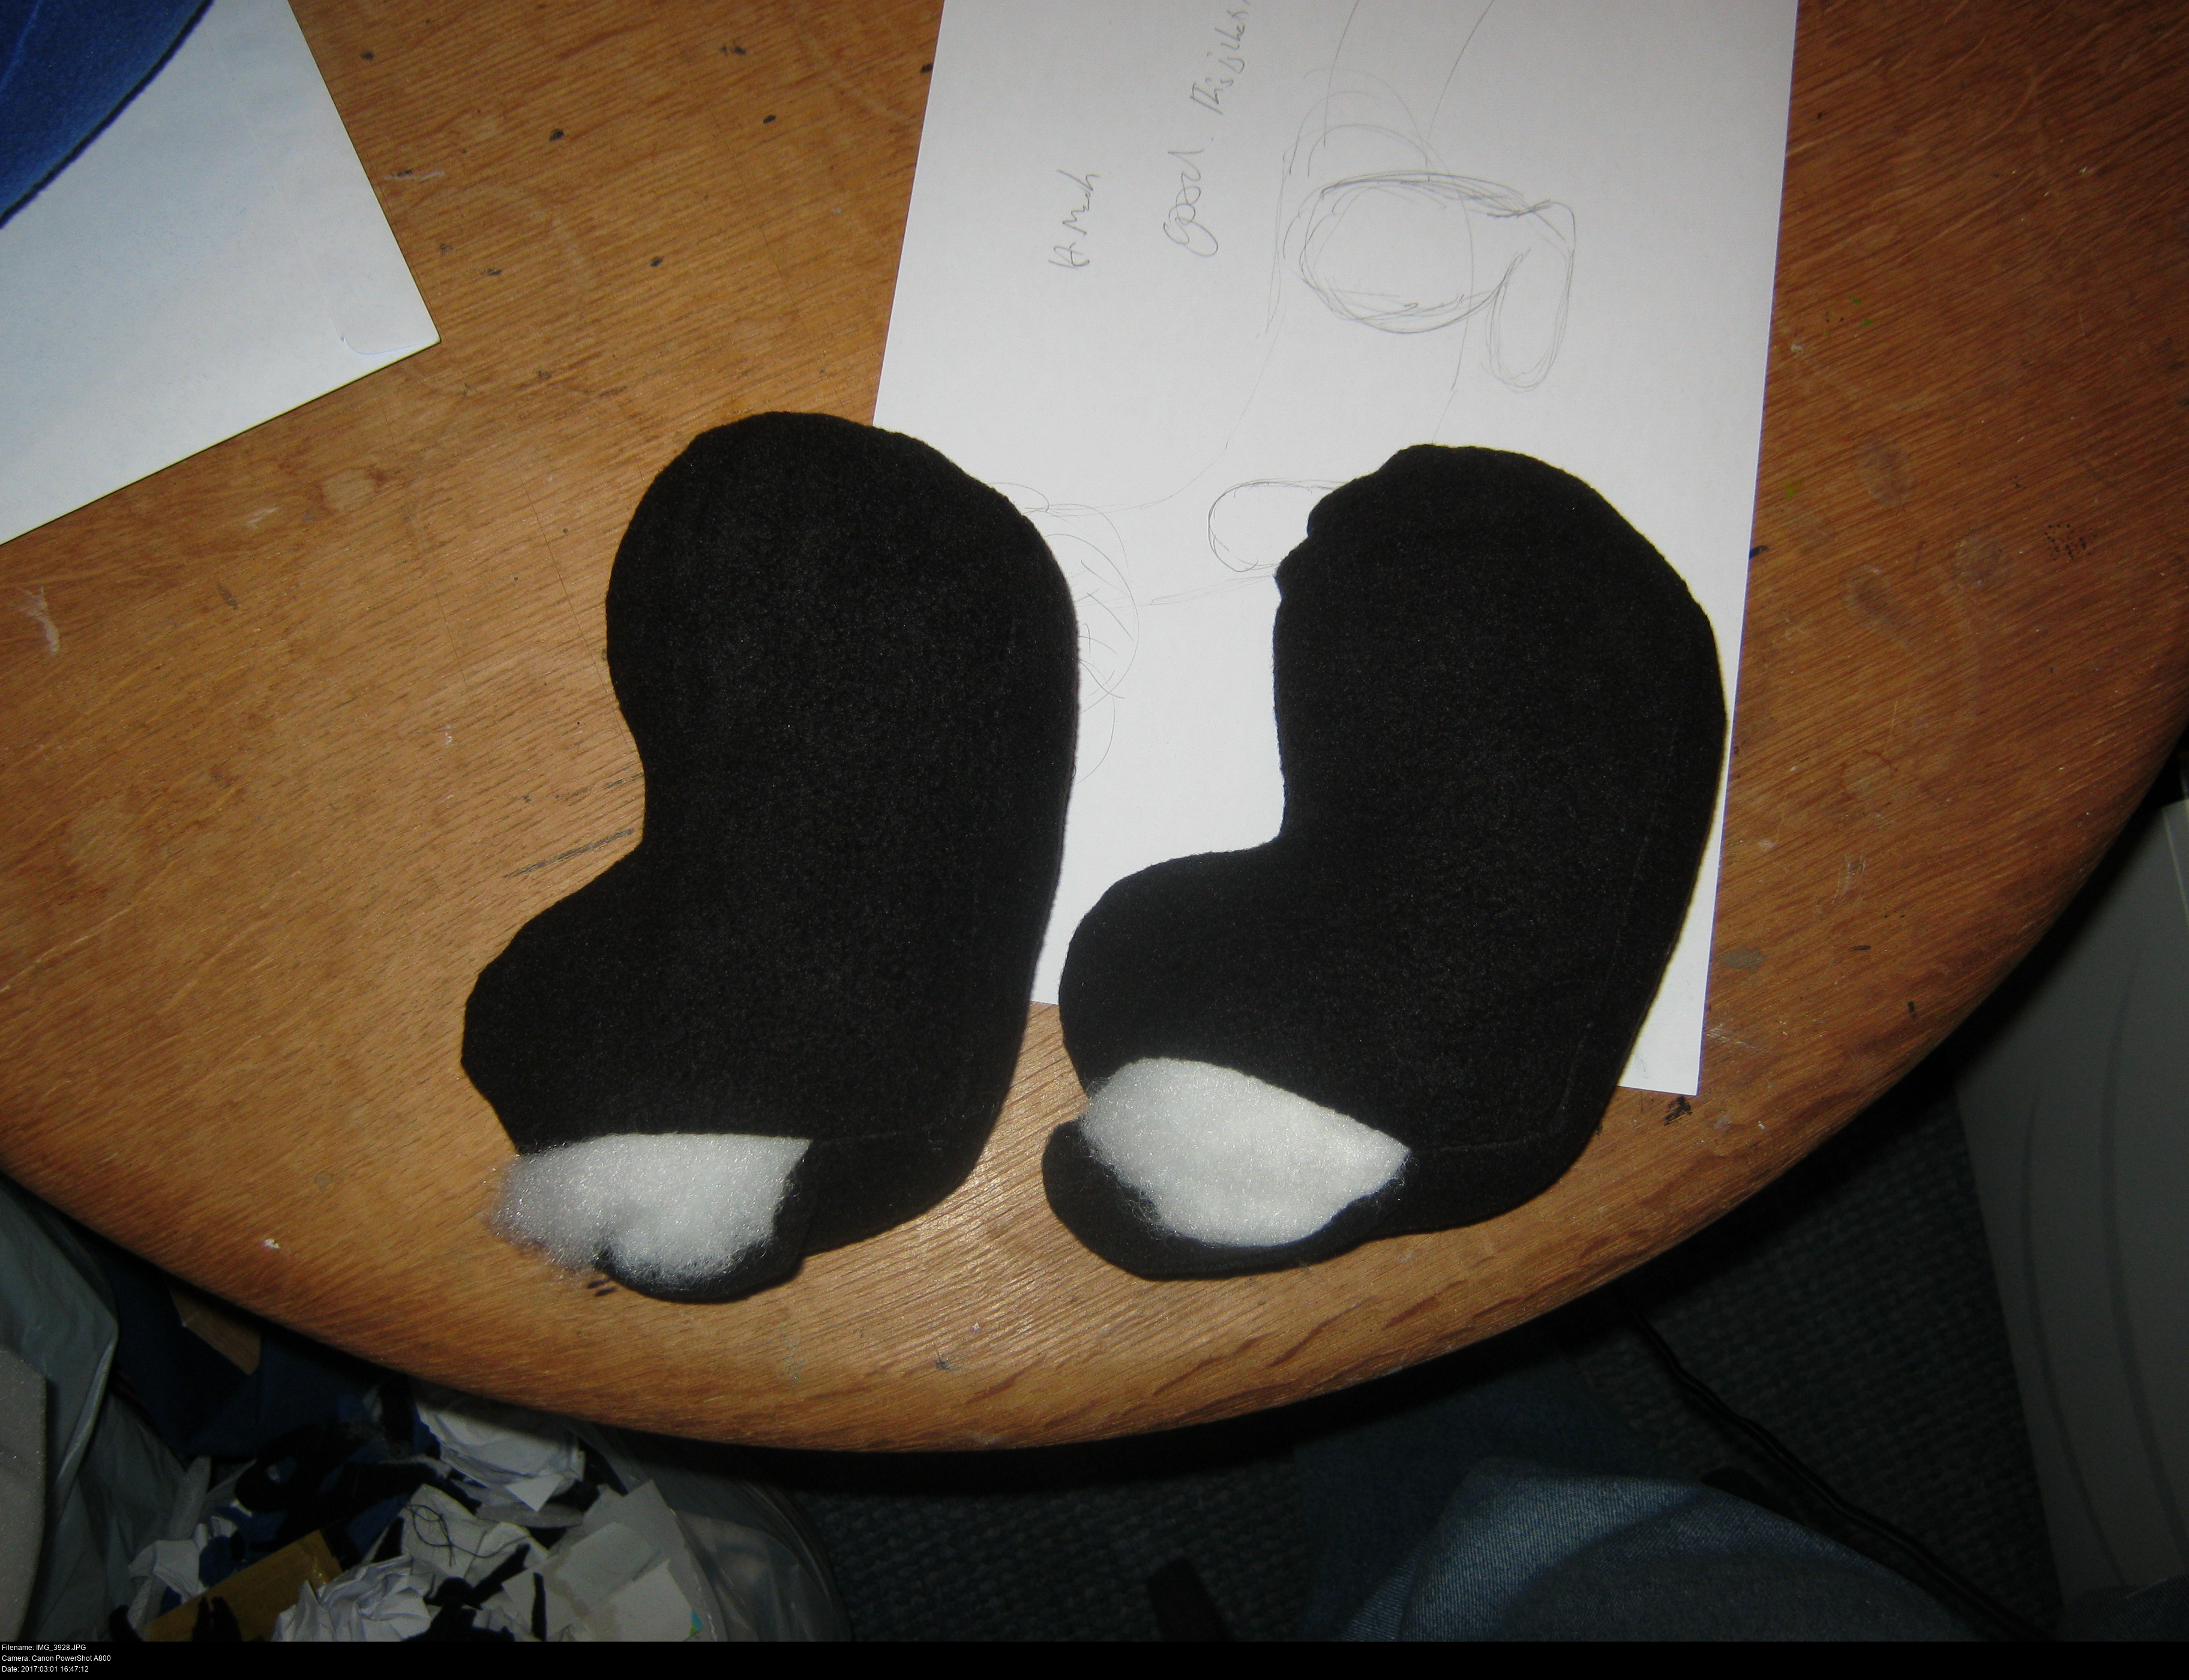
These are the chunky back feet, same construction as the muslin prototypes: two halves with a back heel/sole gusset. The stretch of the fabric provides the correct rounded knee shape.
Stuffing the feet and ladder stitching them shut is a little bit of fuss. Sewing black on black with white fluff jammed inside that would just love to shoot out at the first opportunity. Miraculously I seem to be getting better (or at least luckier) with my sewing. Not an embarassment at all.
When they're all made, I have to ladder stitch them onto the body. I'm stitching them on in a circle - the smaller the circle, the more the legs will appear to dangle off the body and wobble about when he's moved like little balloons. If the circle is large then more of the fabric will be taut to the body, and the legs will deform towards it as they grip it more.
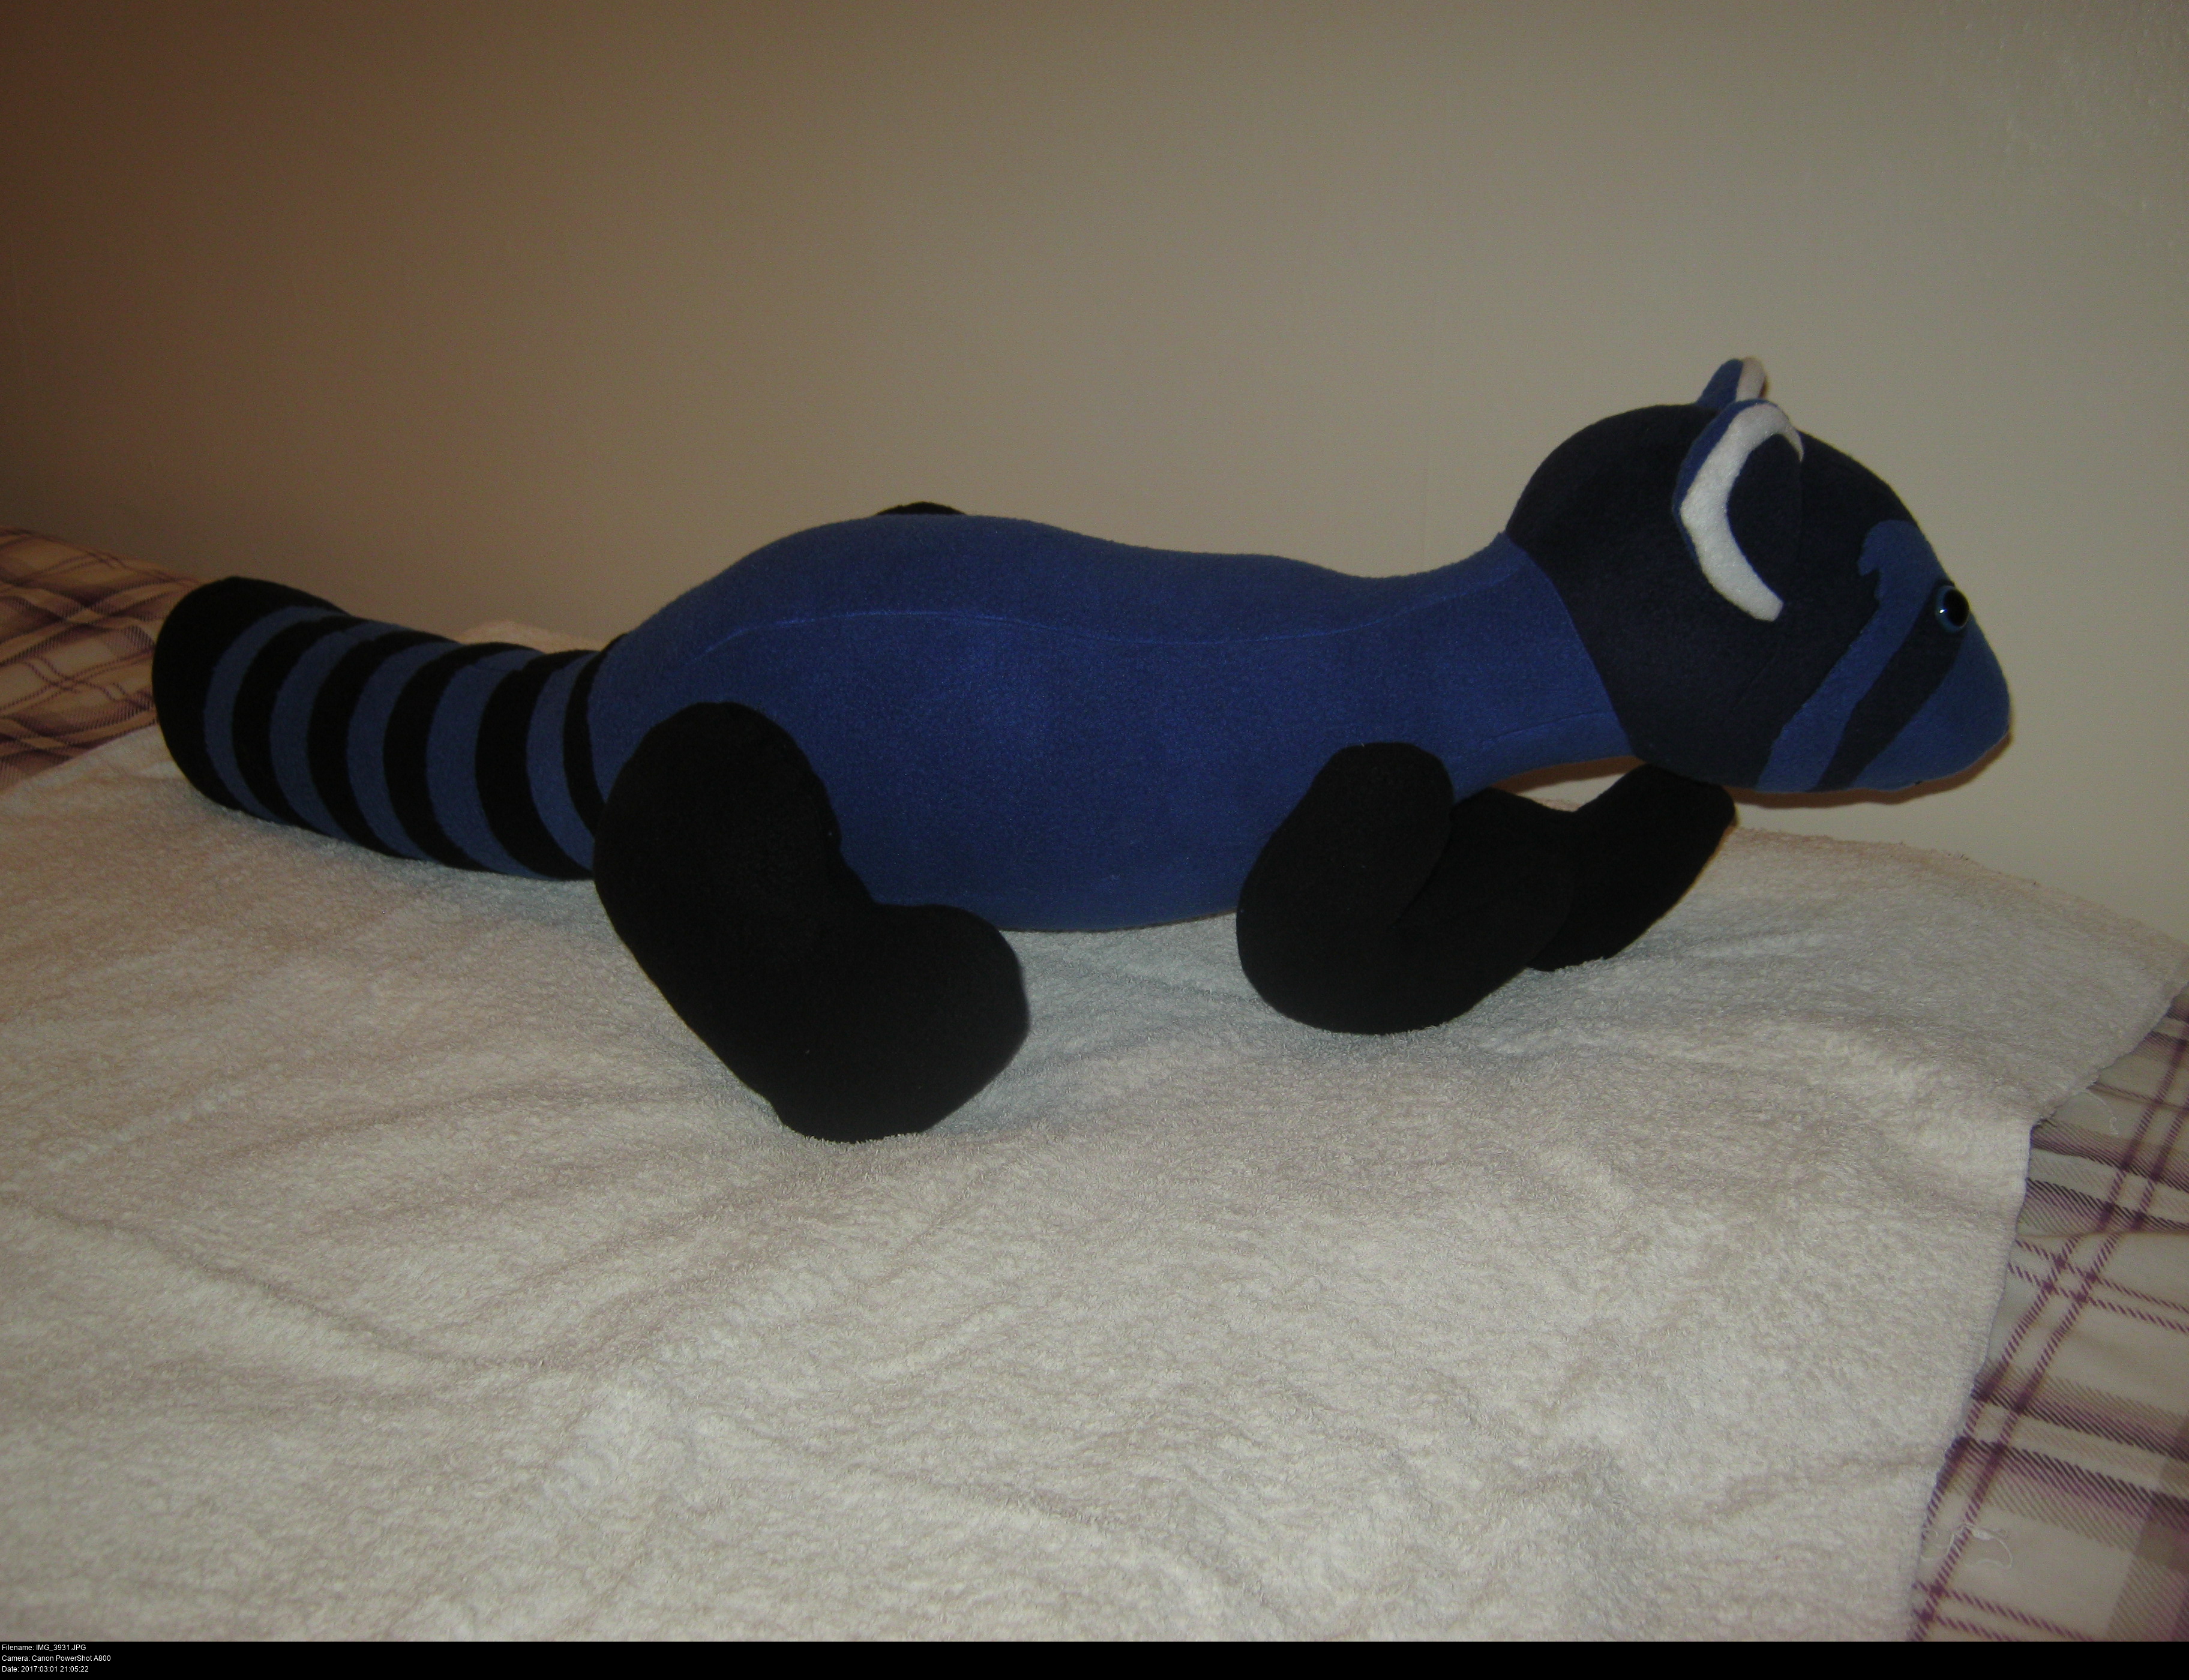
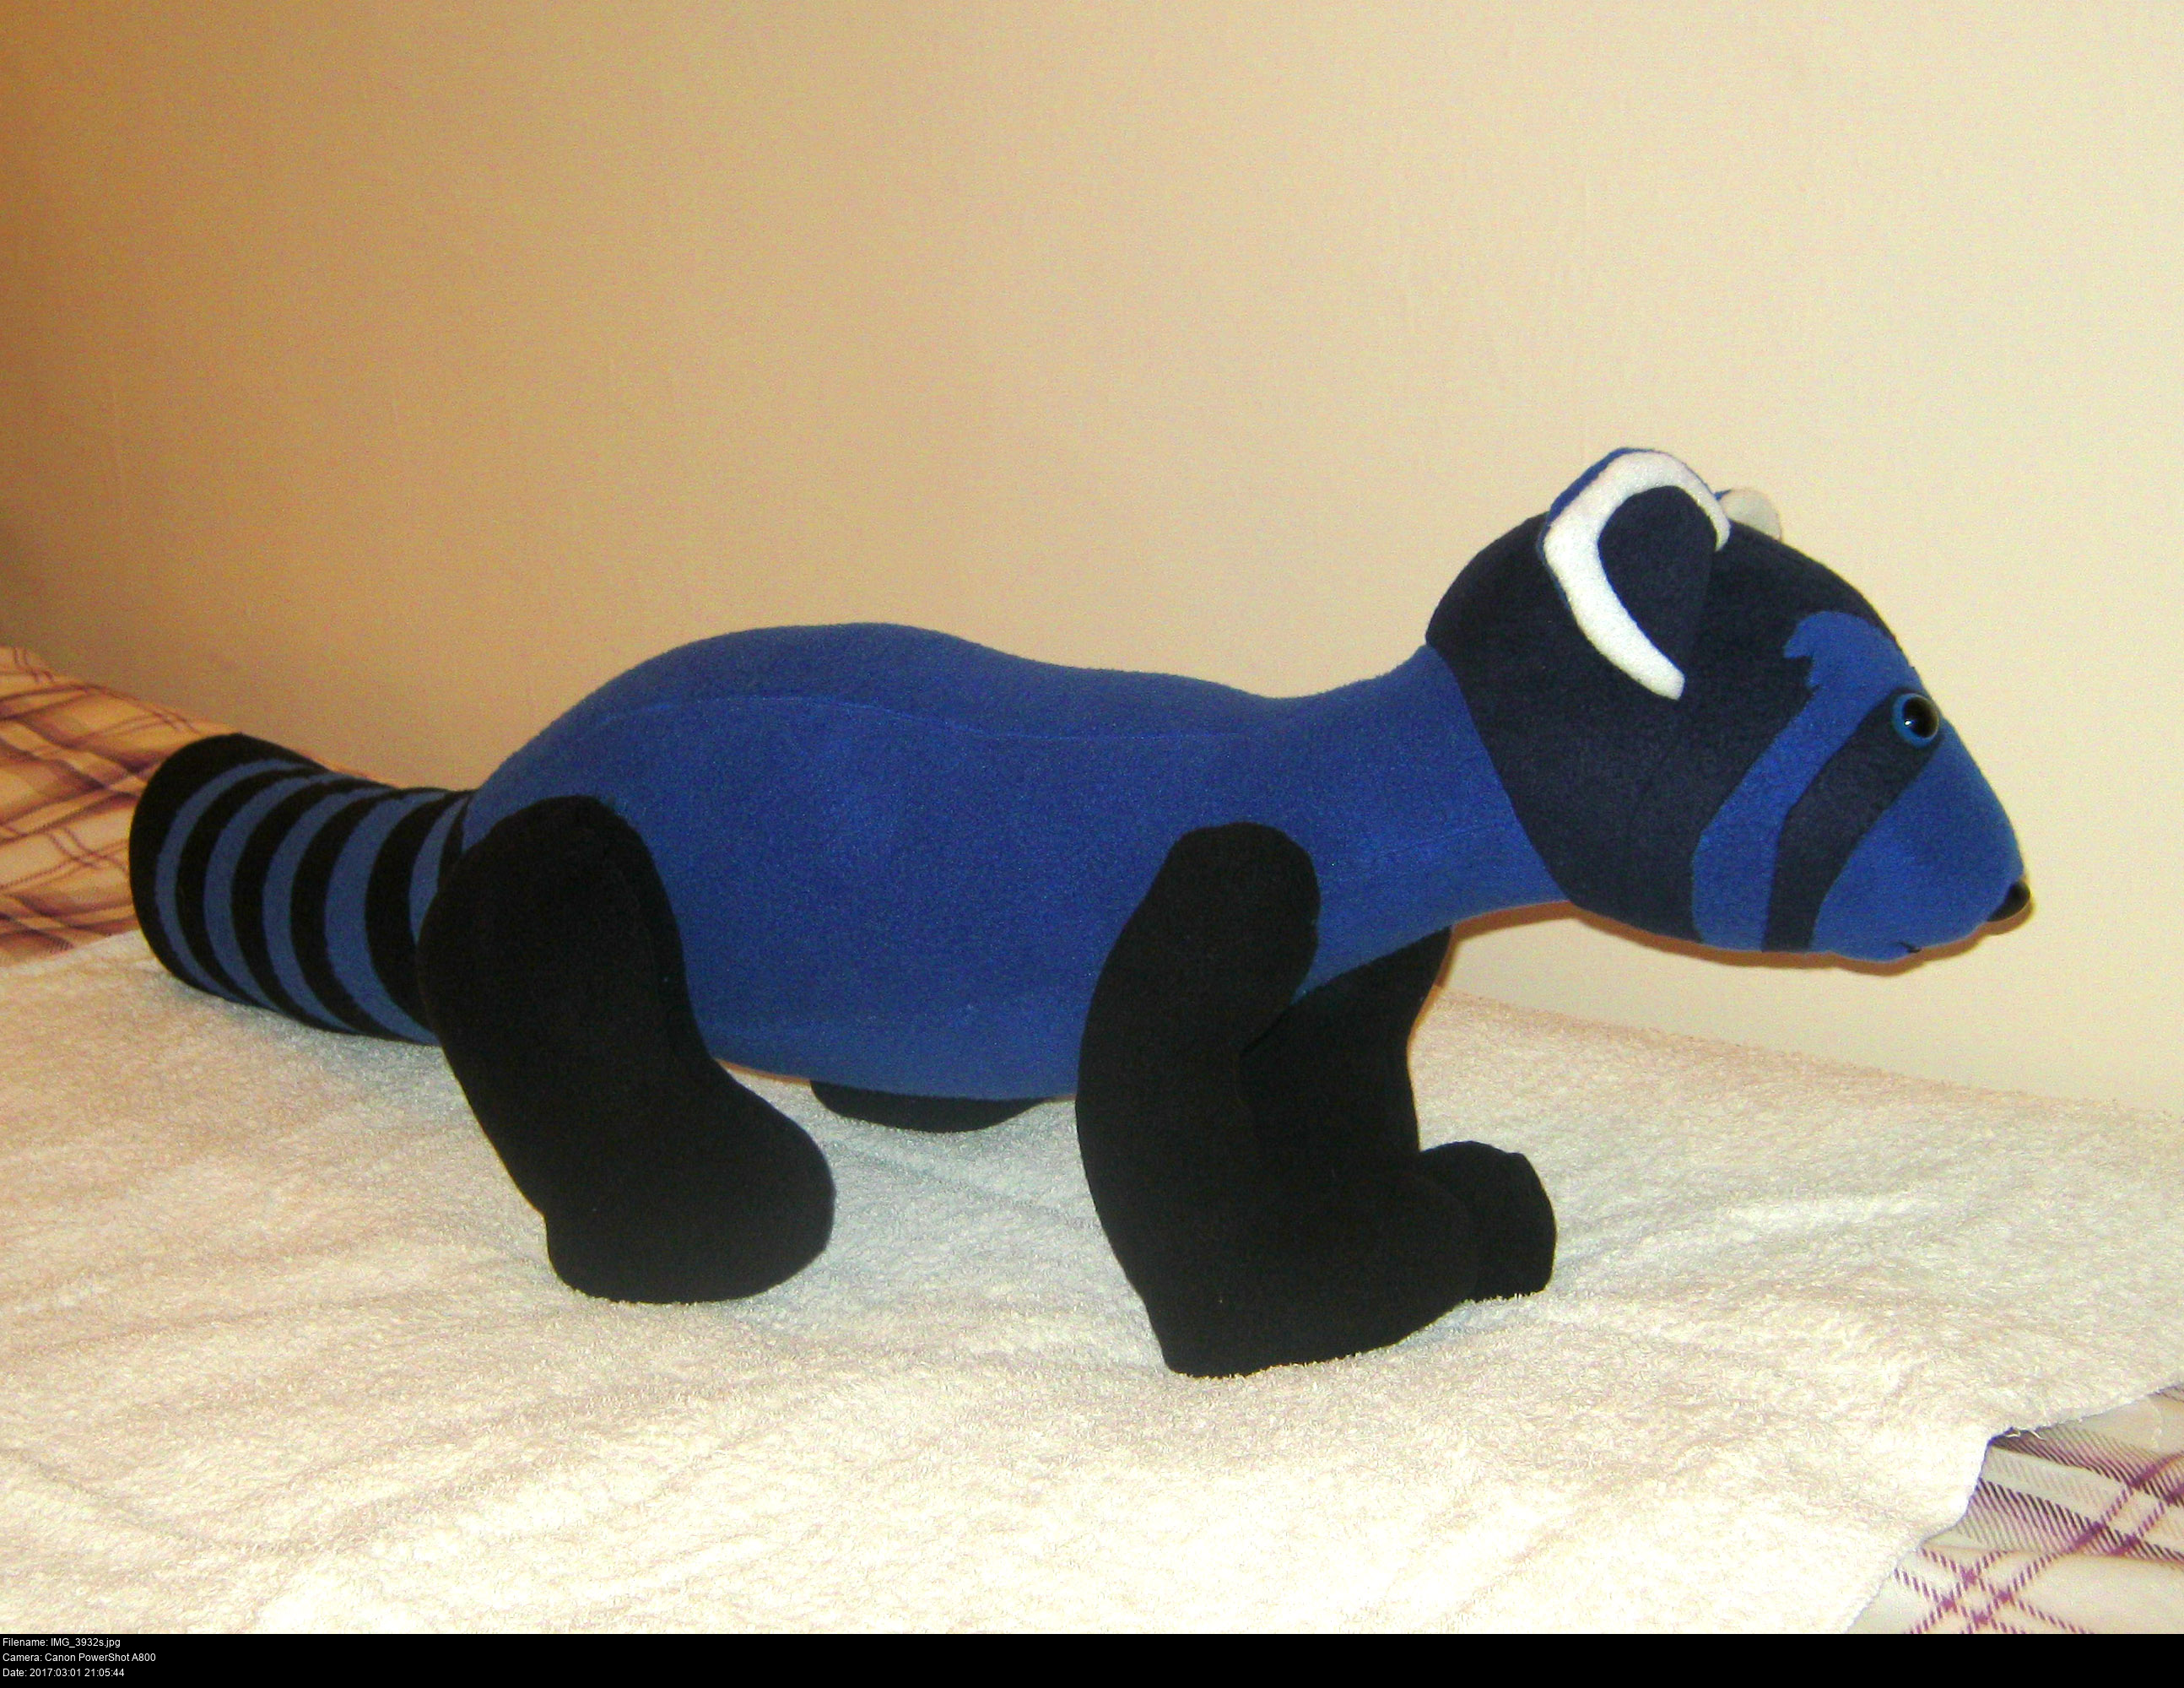
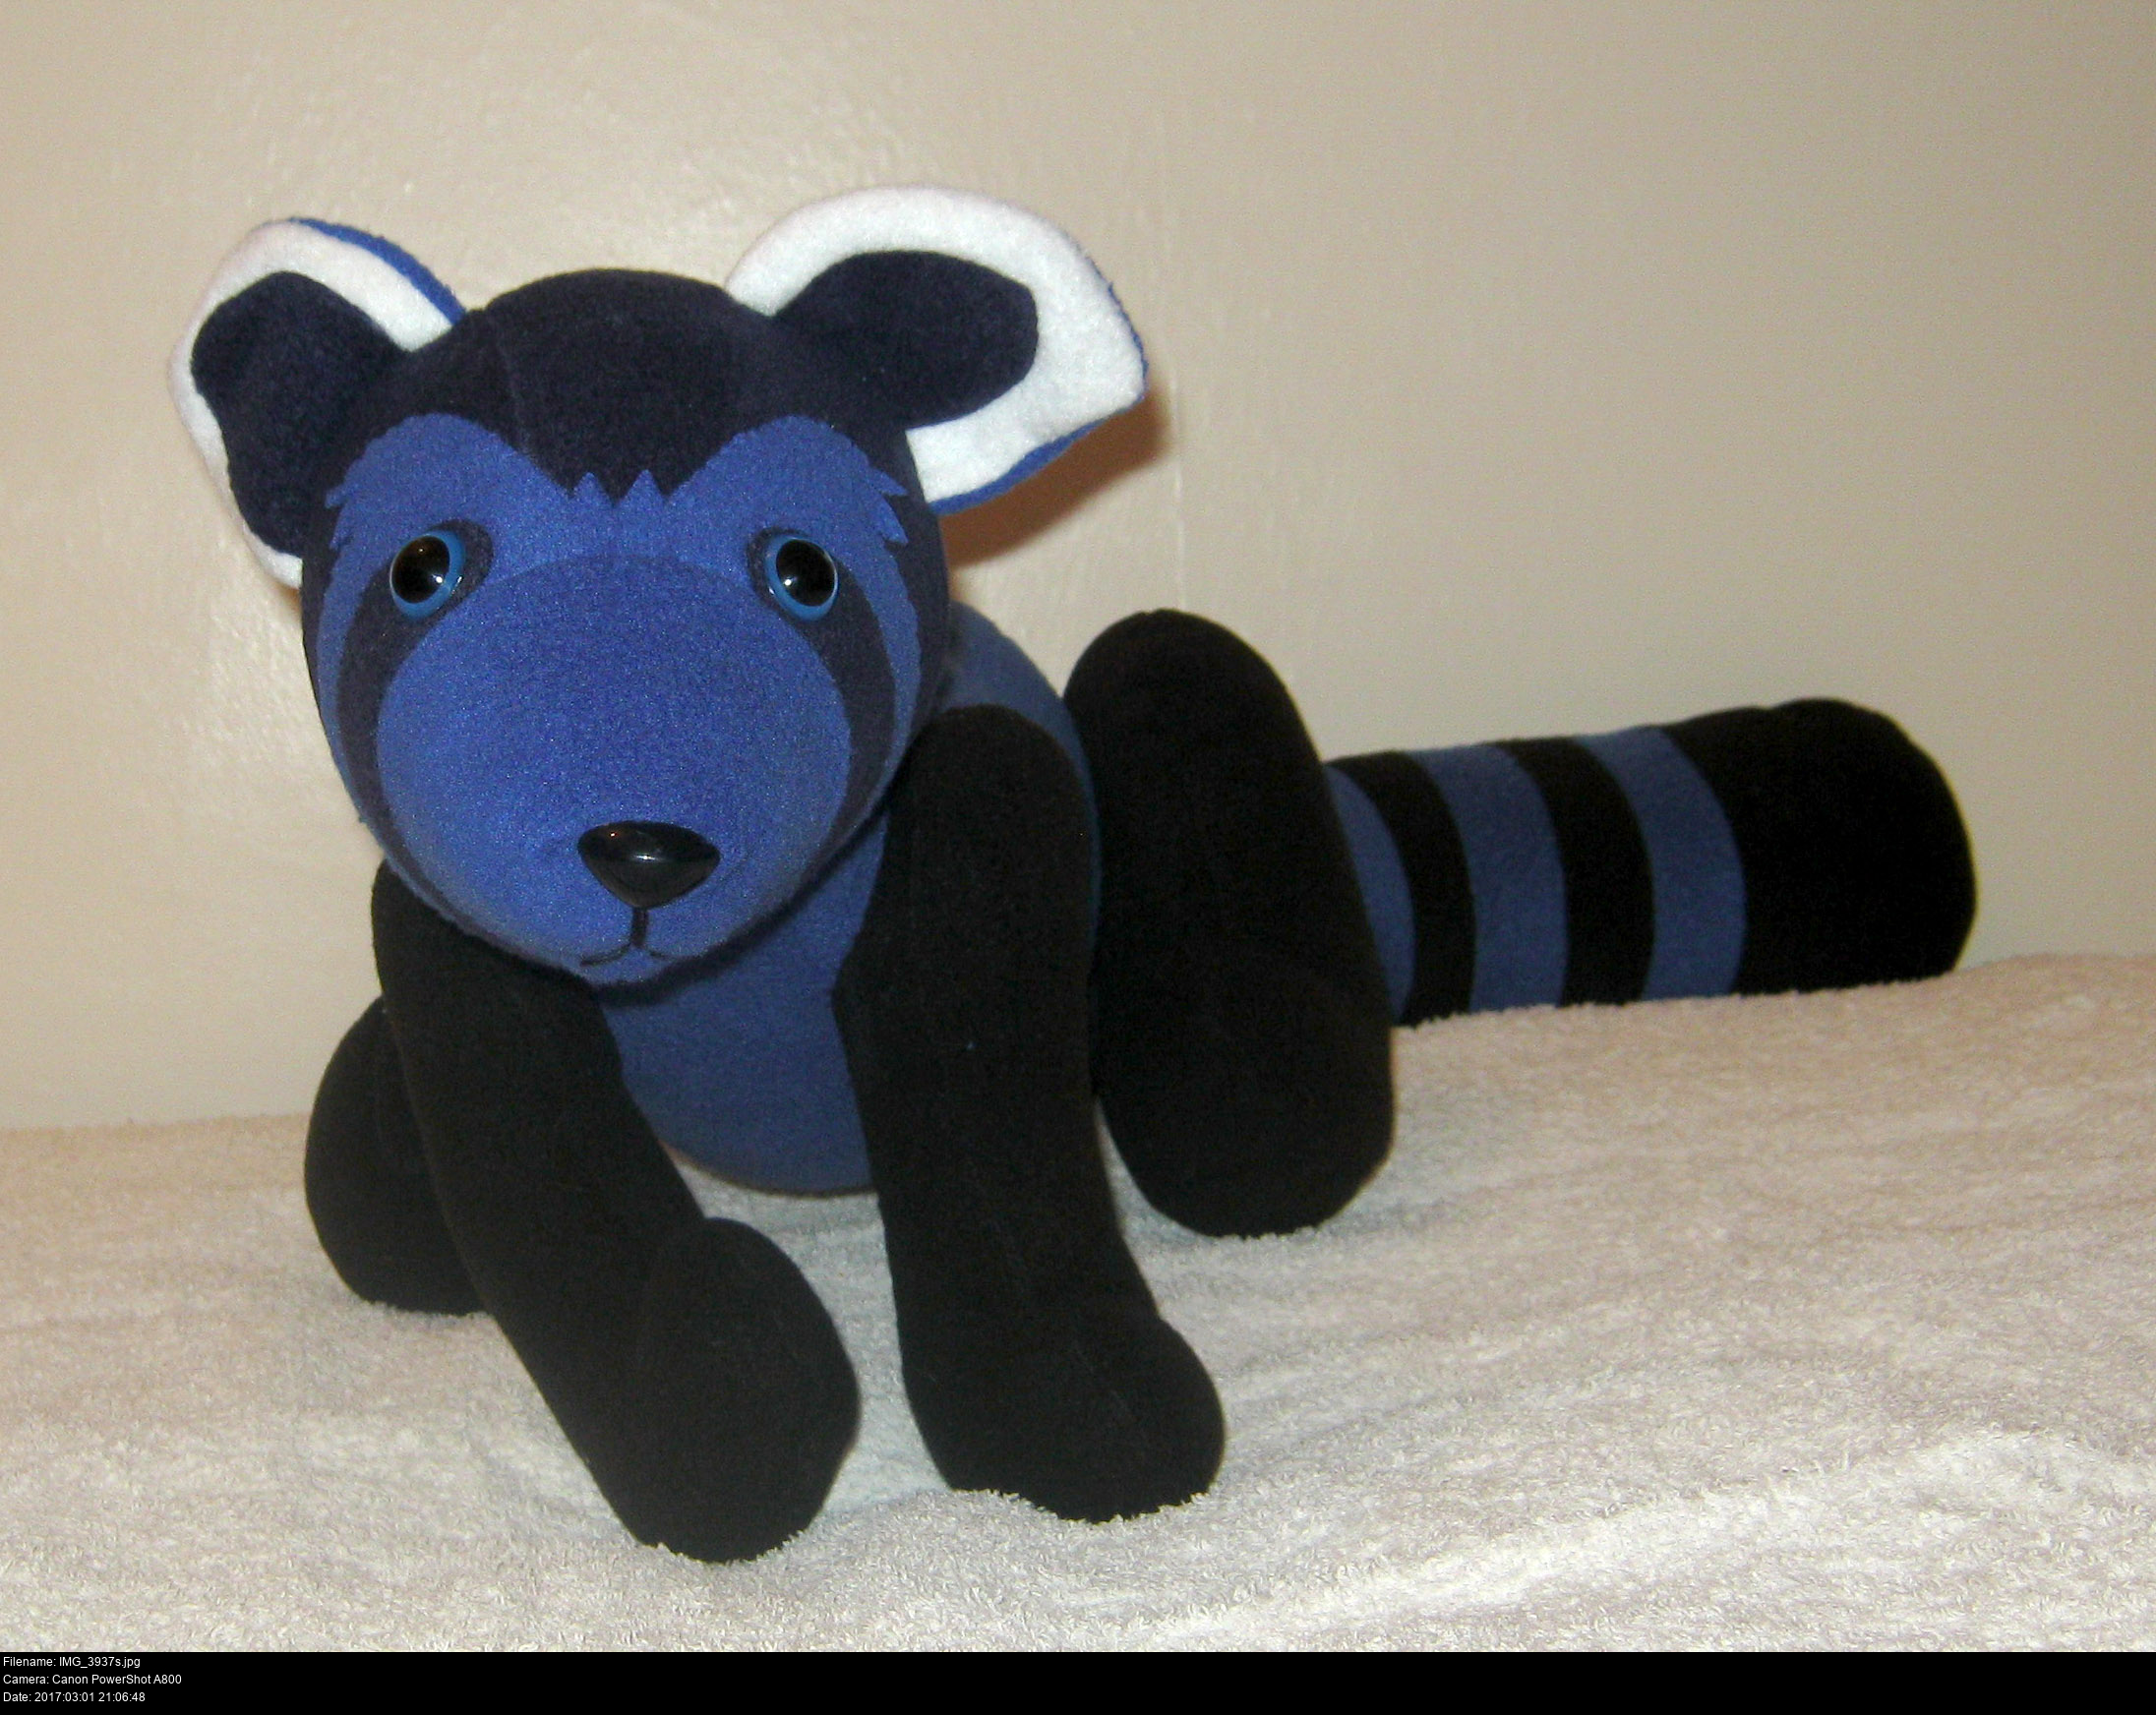
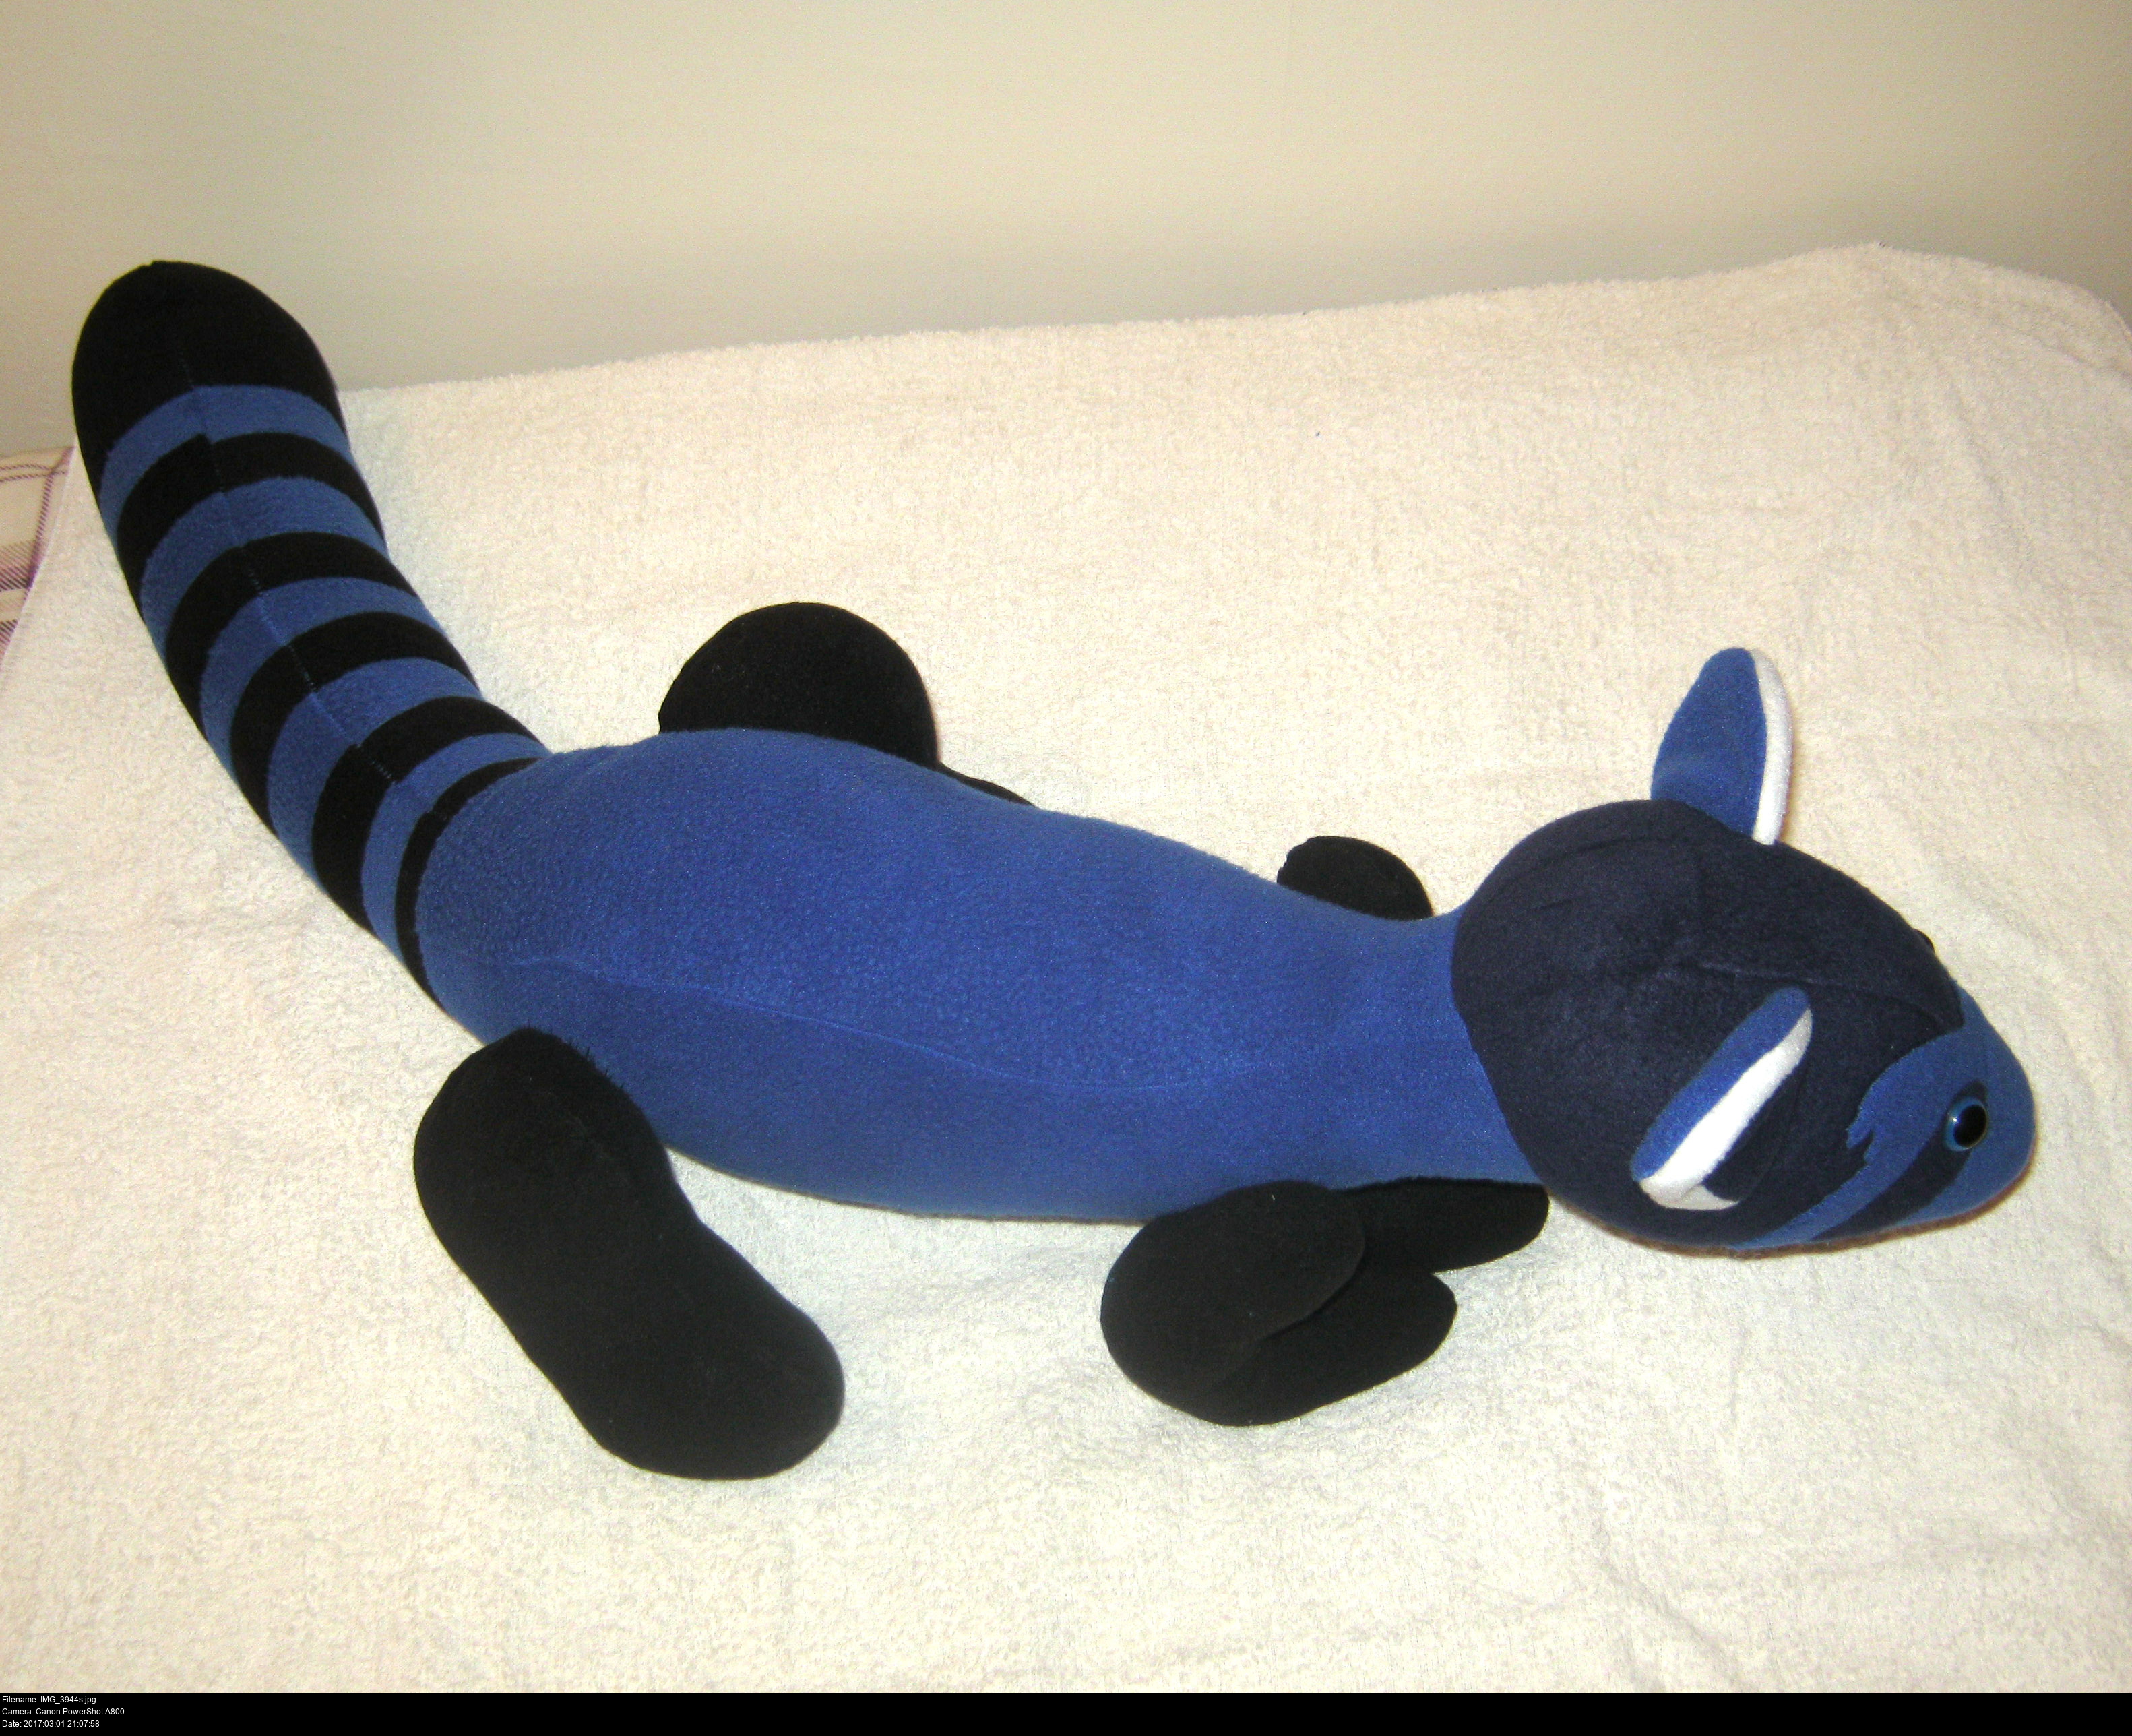
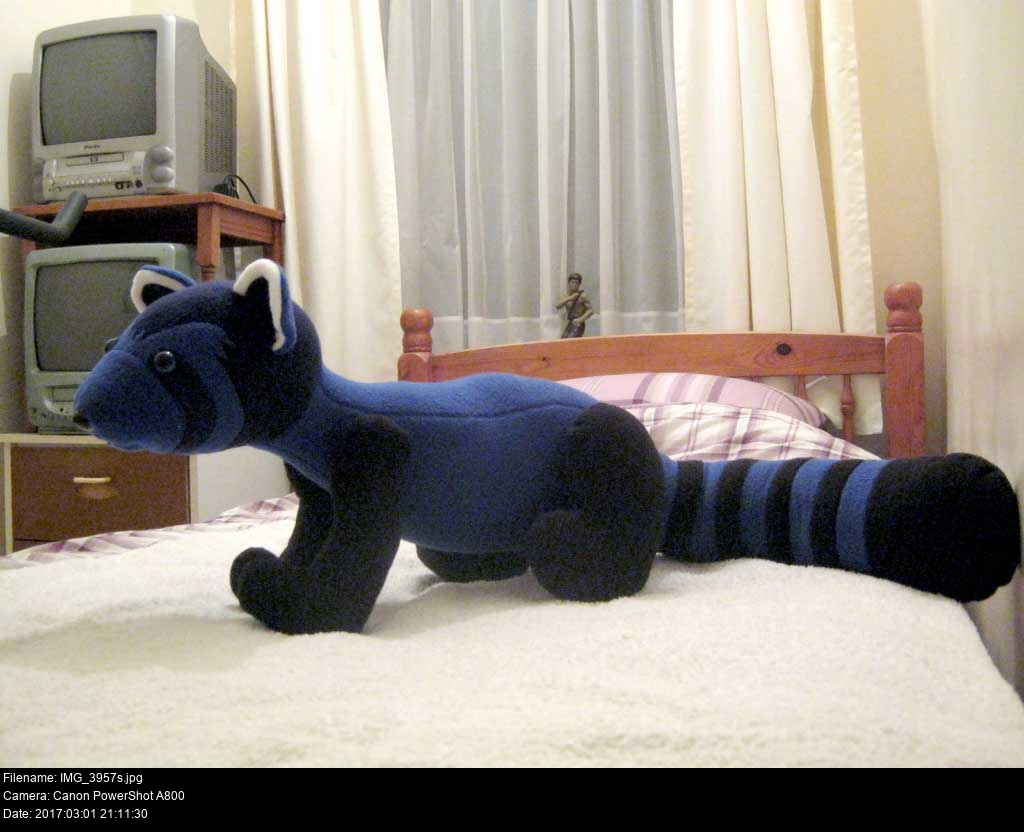

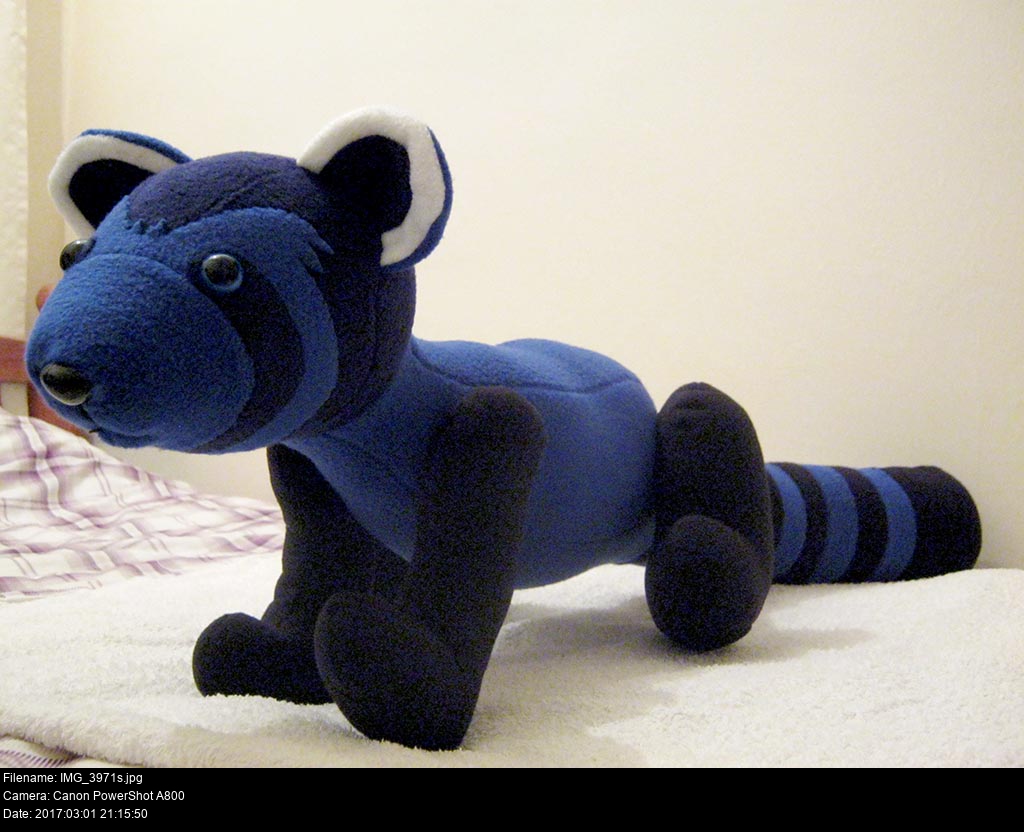
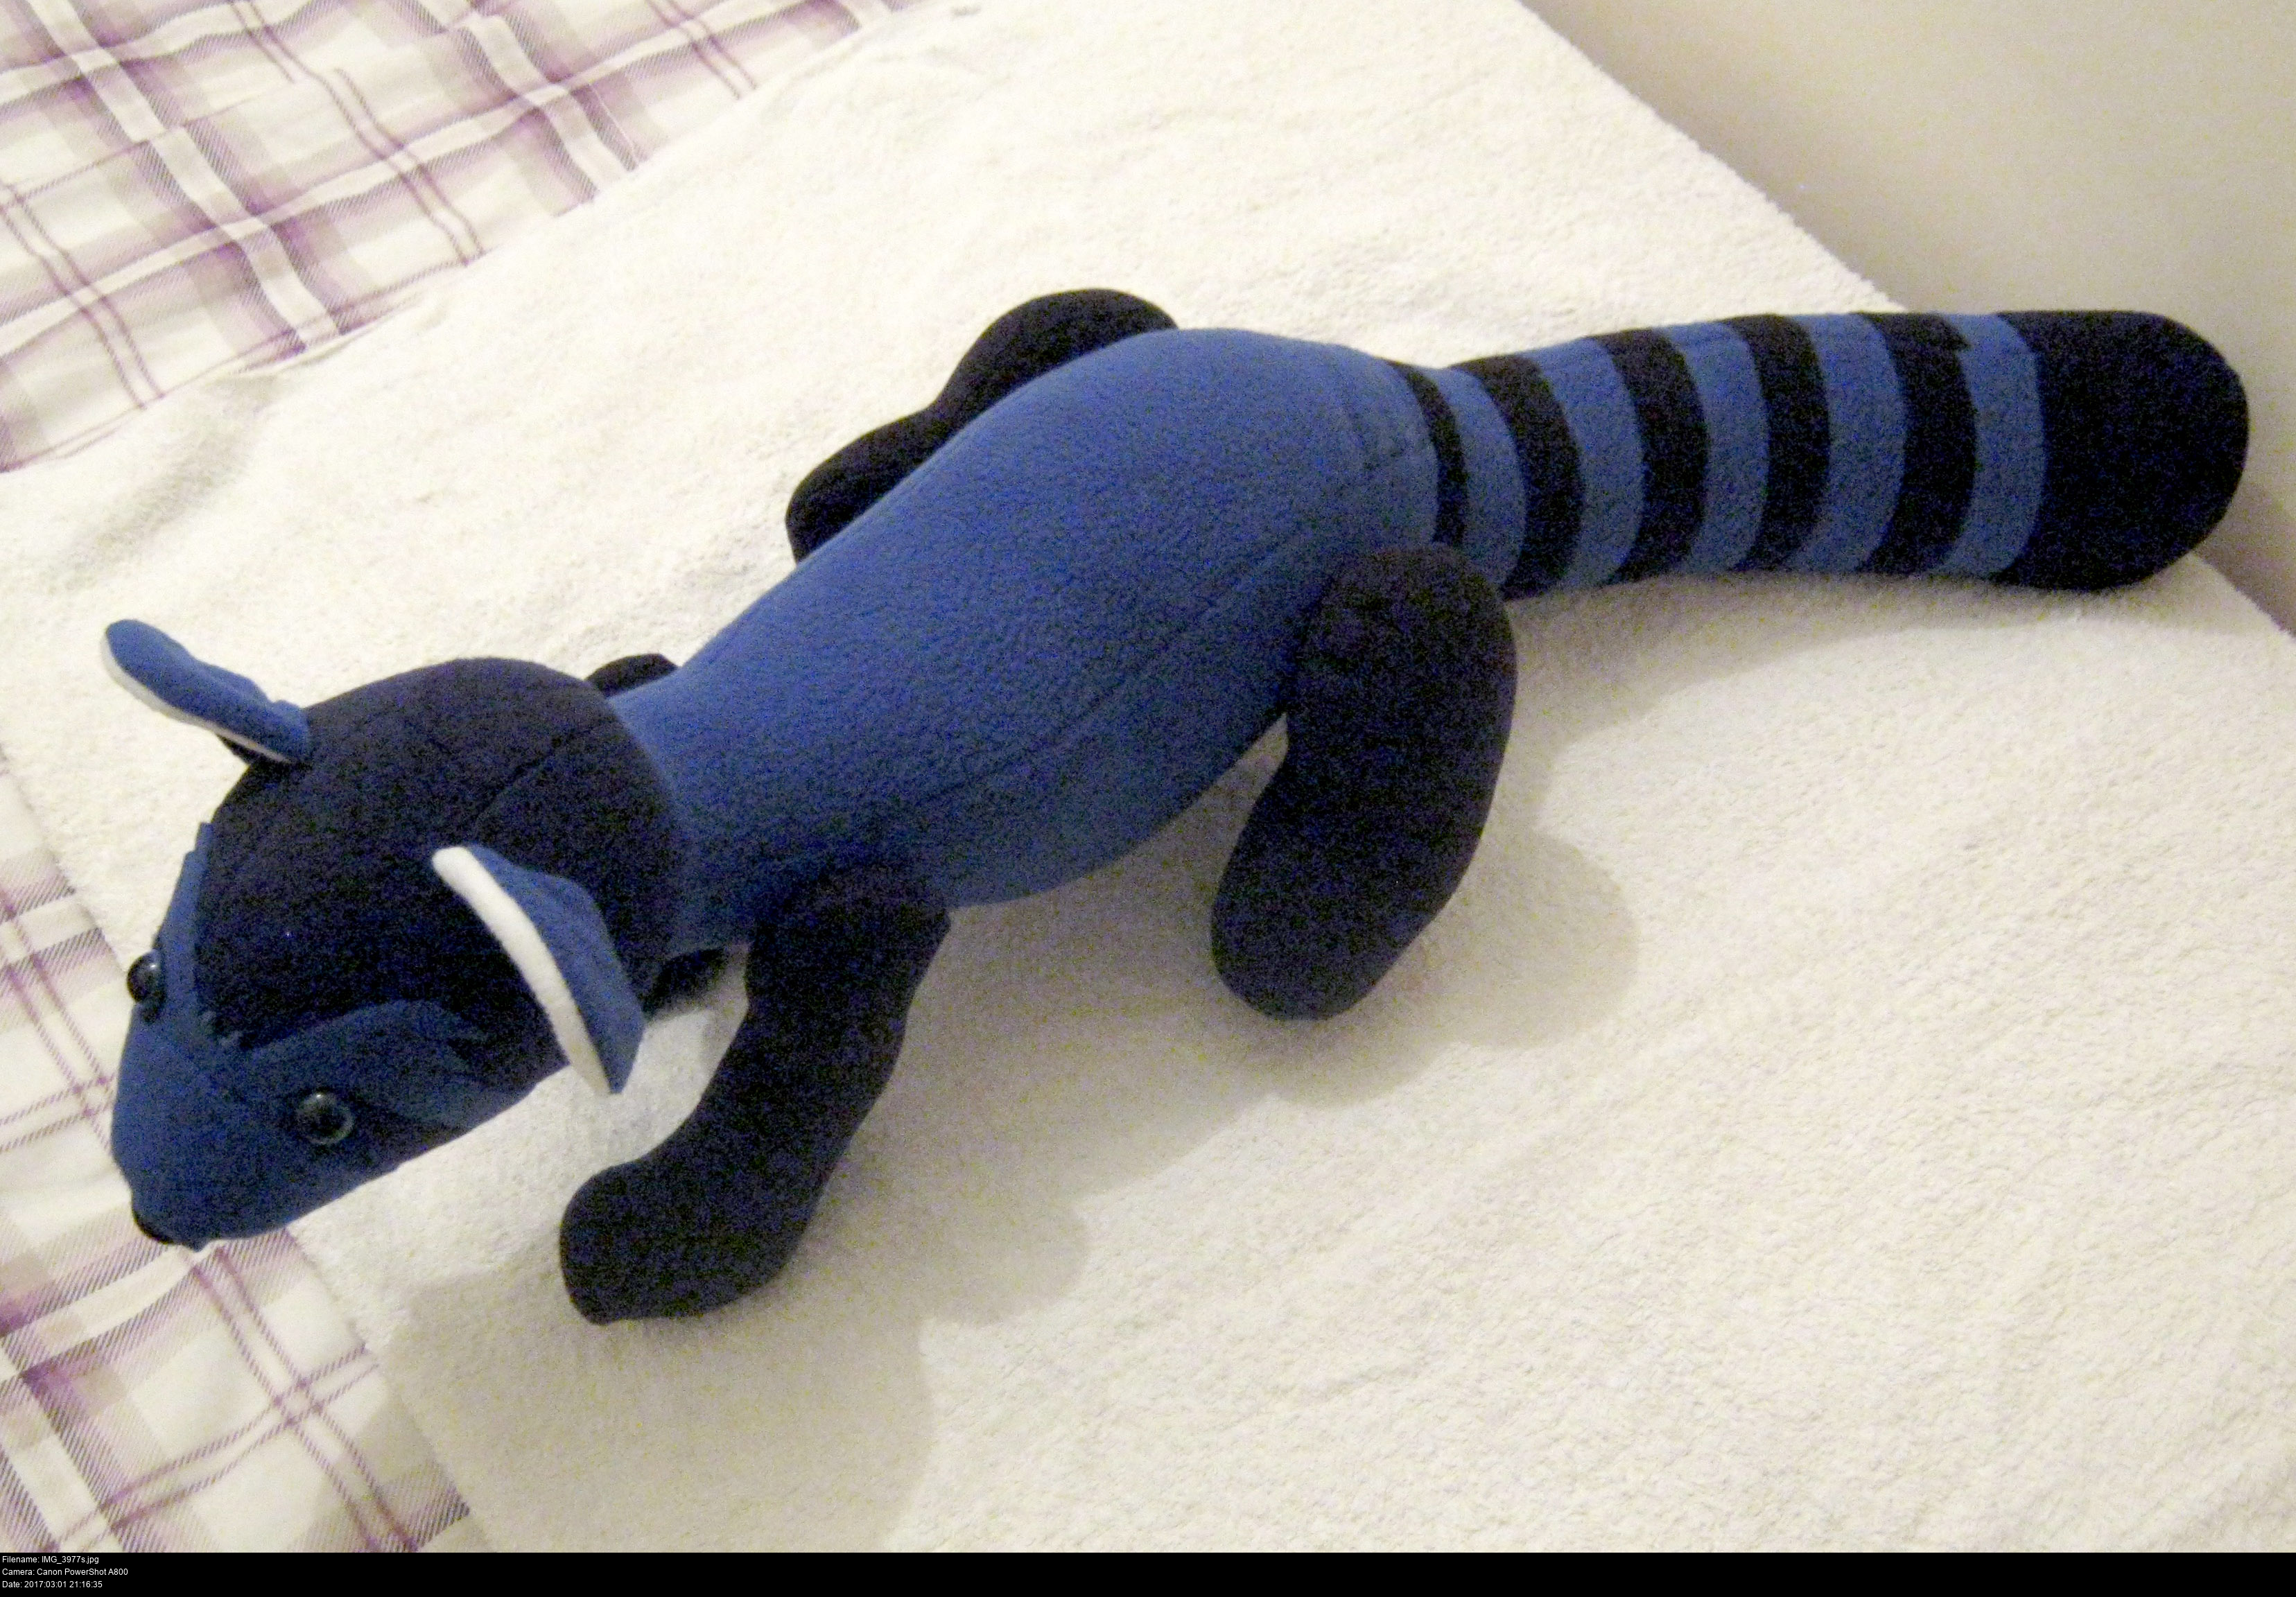

Pableu is done! Pabu's mysterious twin: not a Fire Ferret, but an Ice Weasel, simply because I got a metre of navy fleece from Calico for a pound and the dark blue was thrown in for free.
His snout isn't quite as snouty as I intended. It was supposed to be a little octagonal-kinda pokey bit extending out from the face, but instead it seems to be dragging the entire shape of the face out into a cone. I think I have to make the cone narrower and reduce the circumference hole where the snout attaches onto the face. This means redrafting the head, the mask, the stripes: everything about the head.
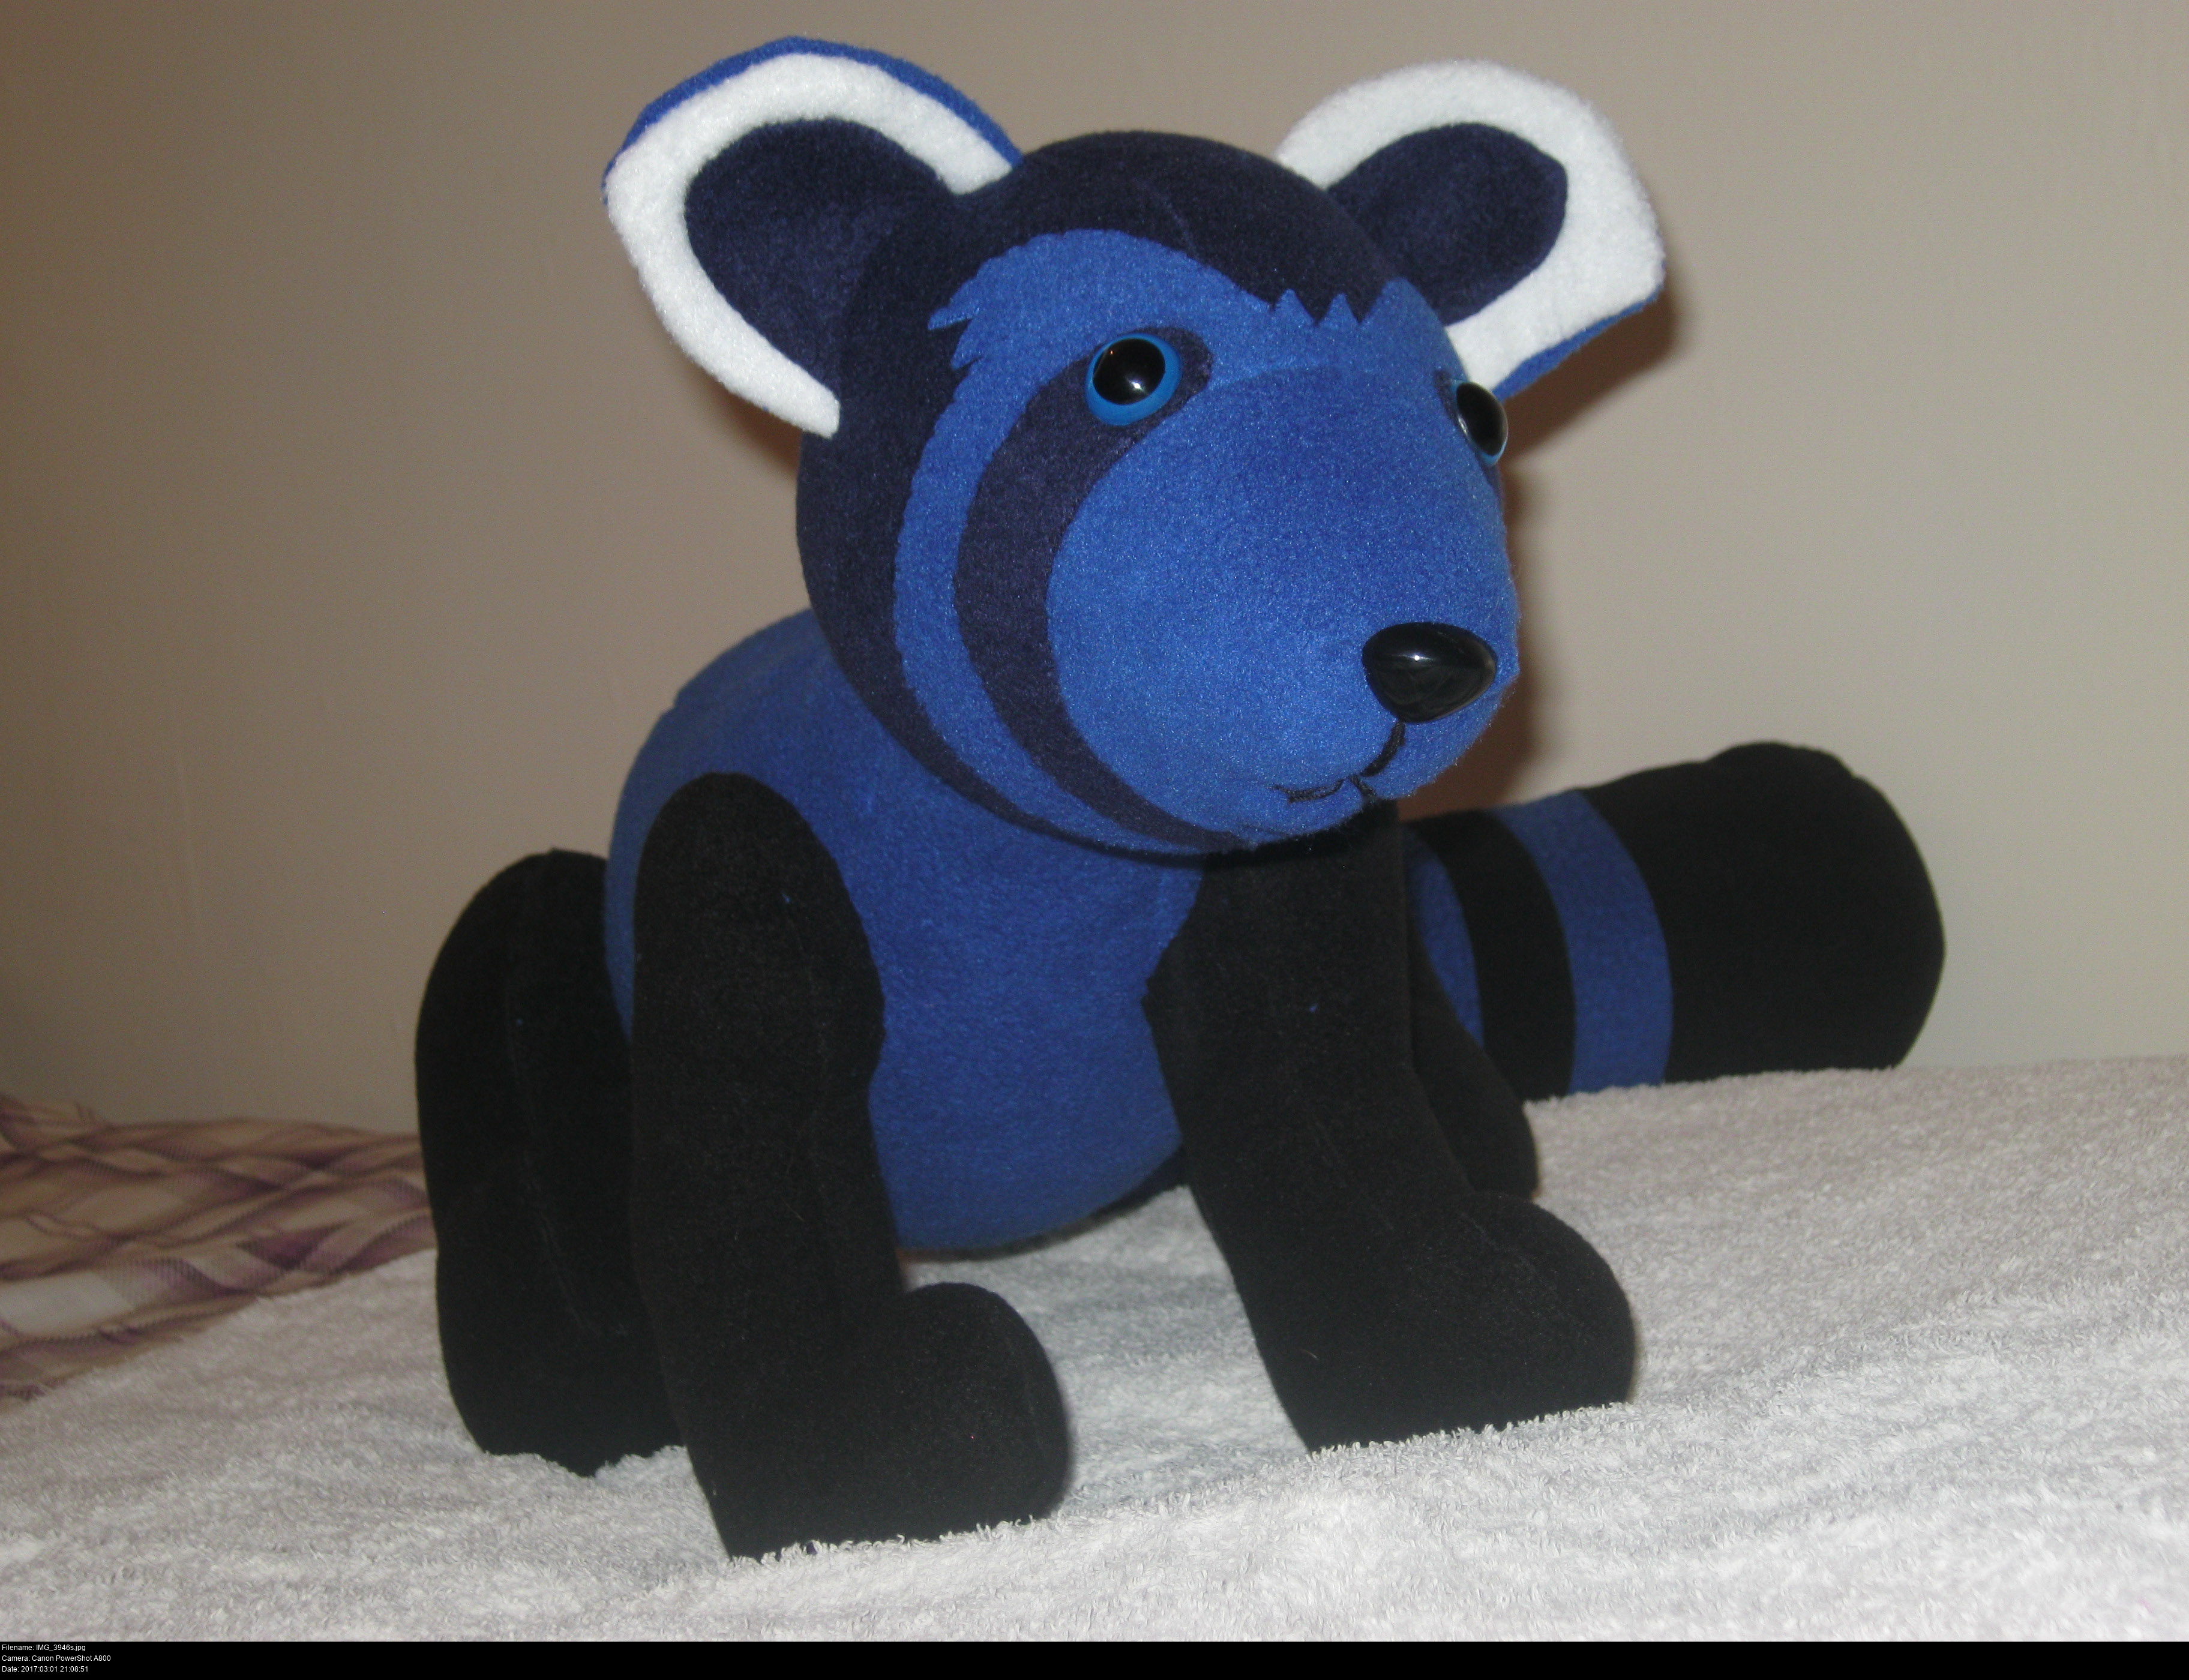
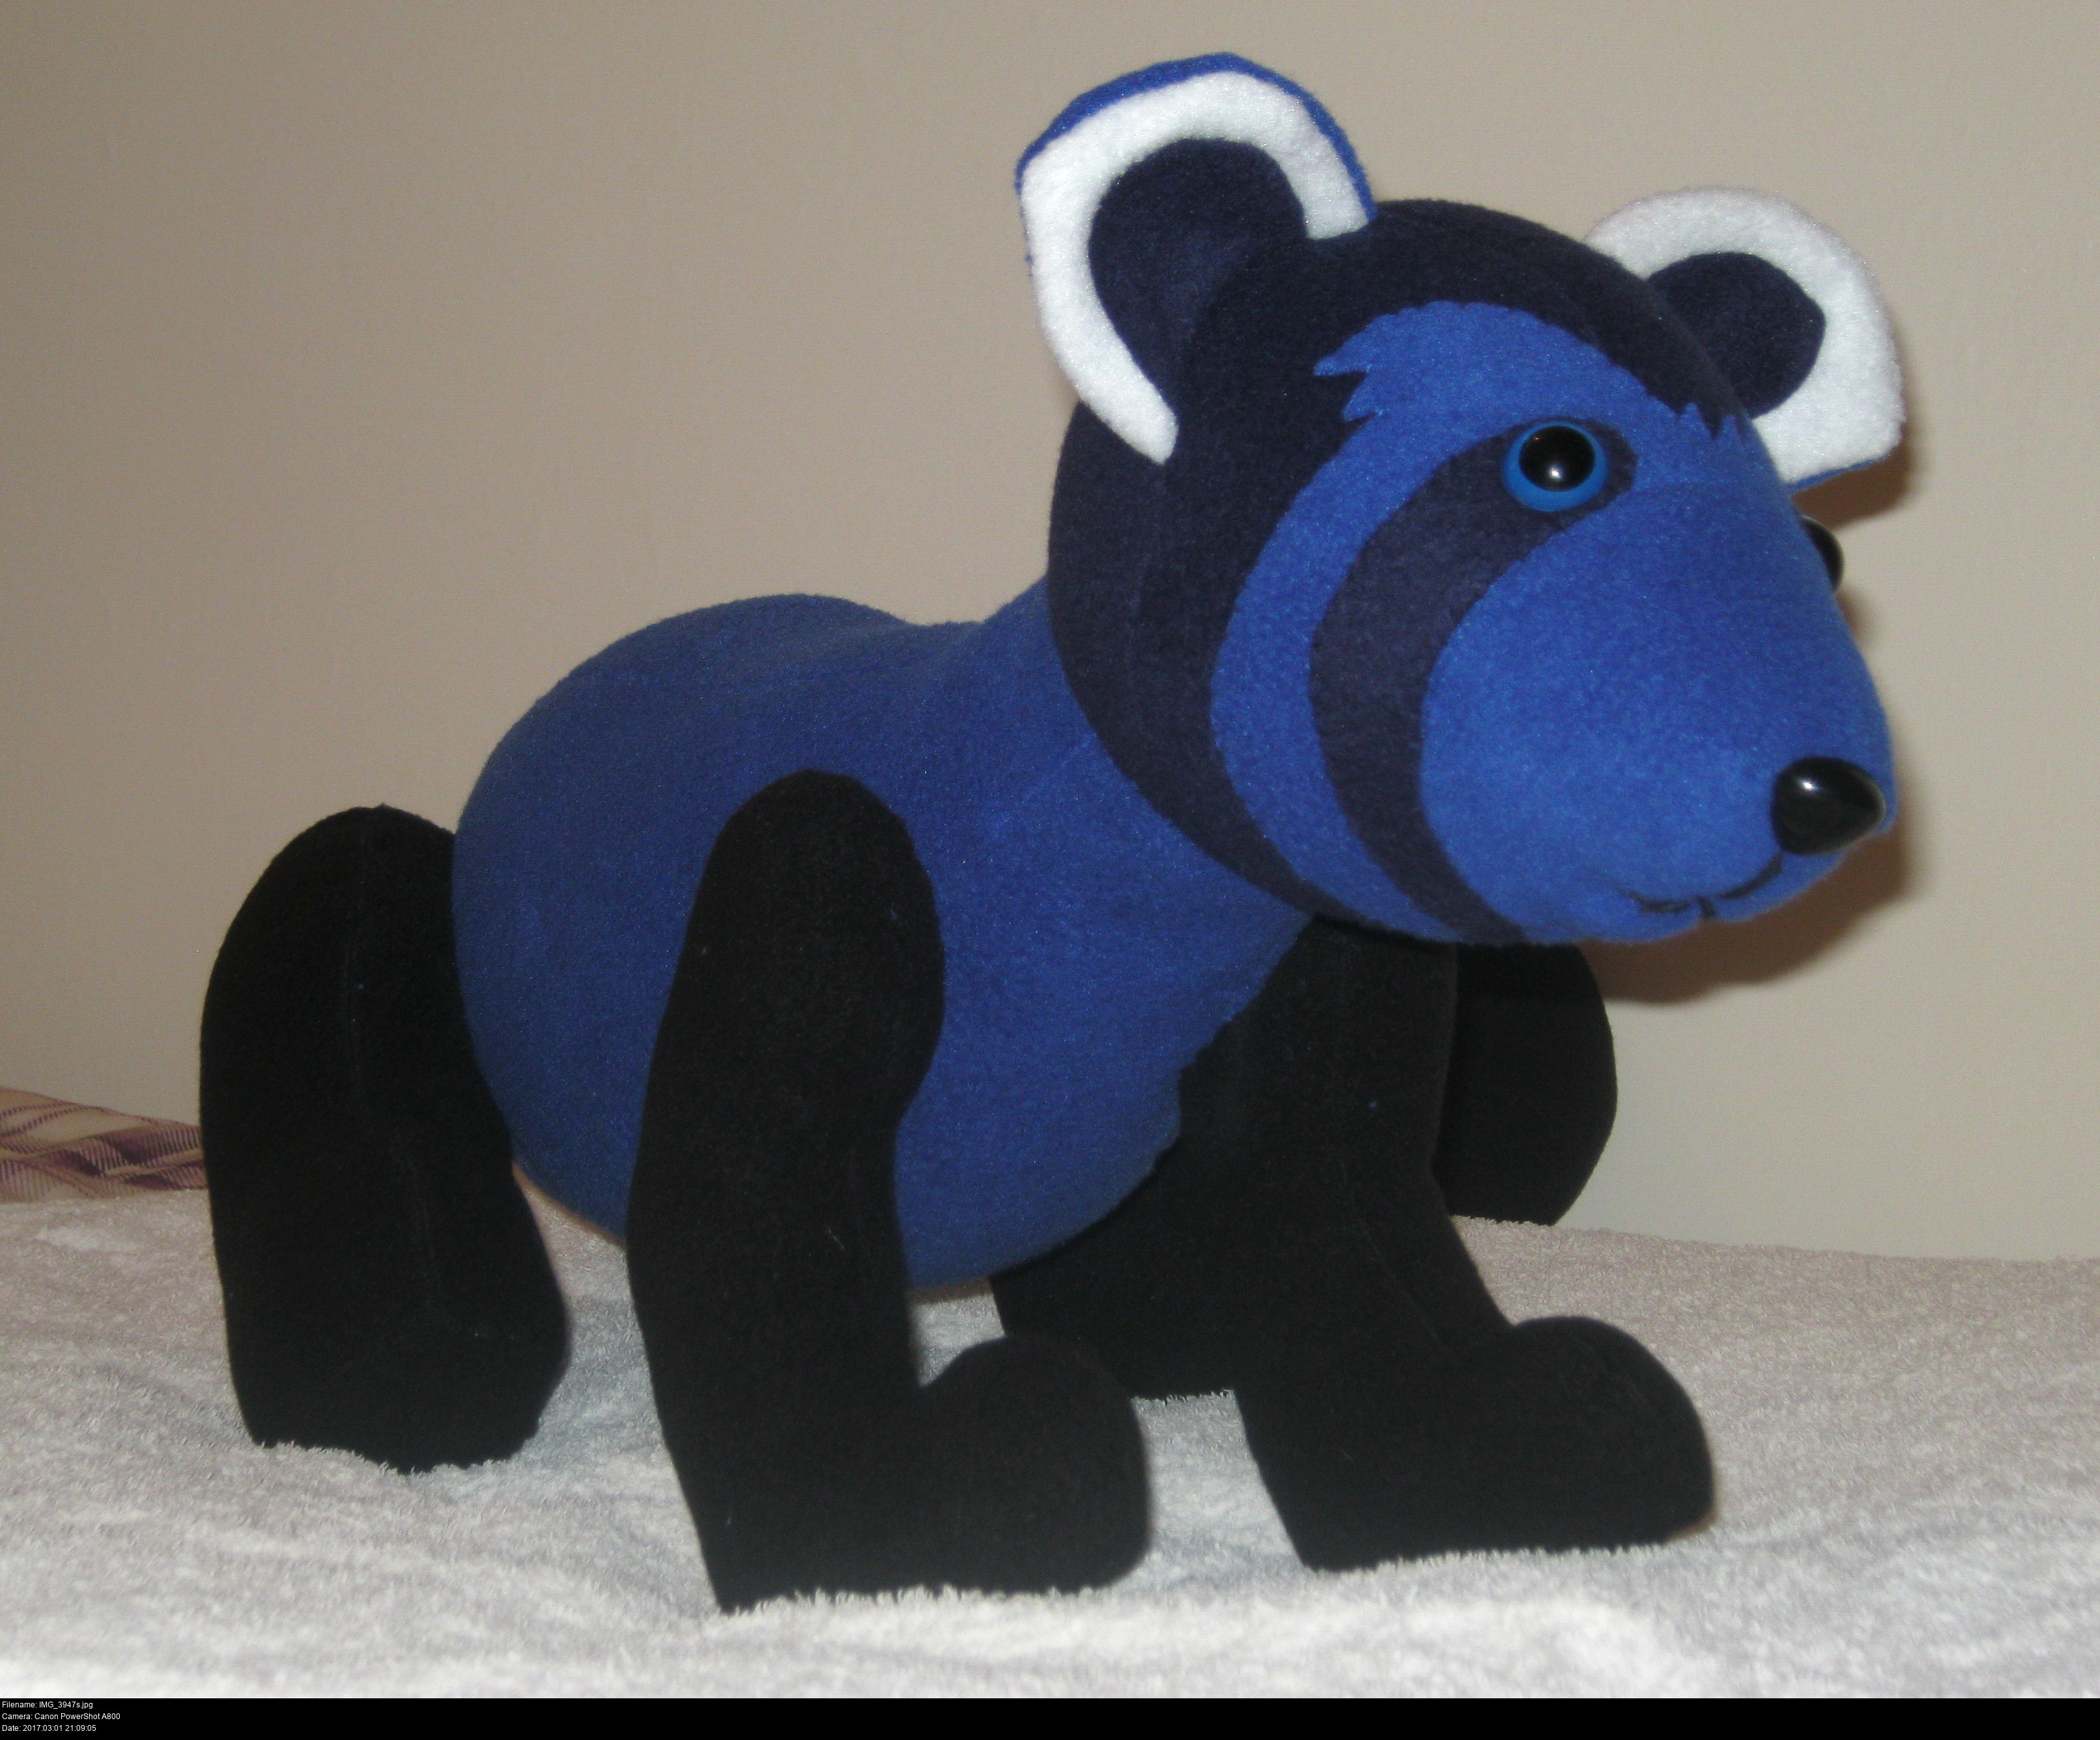
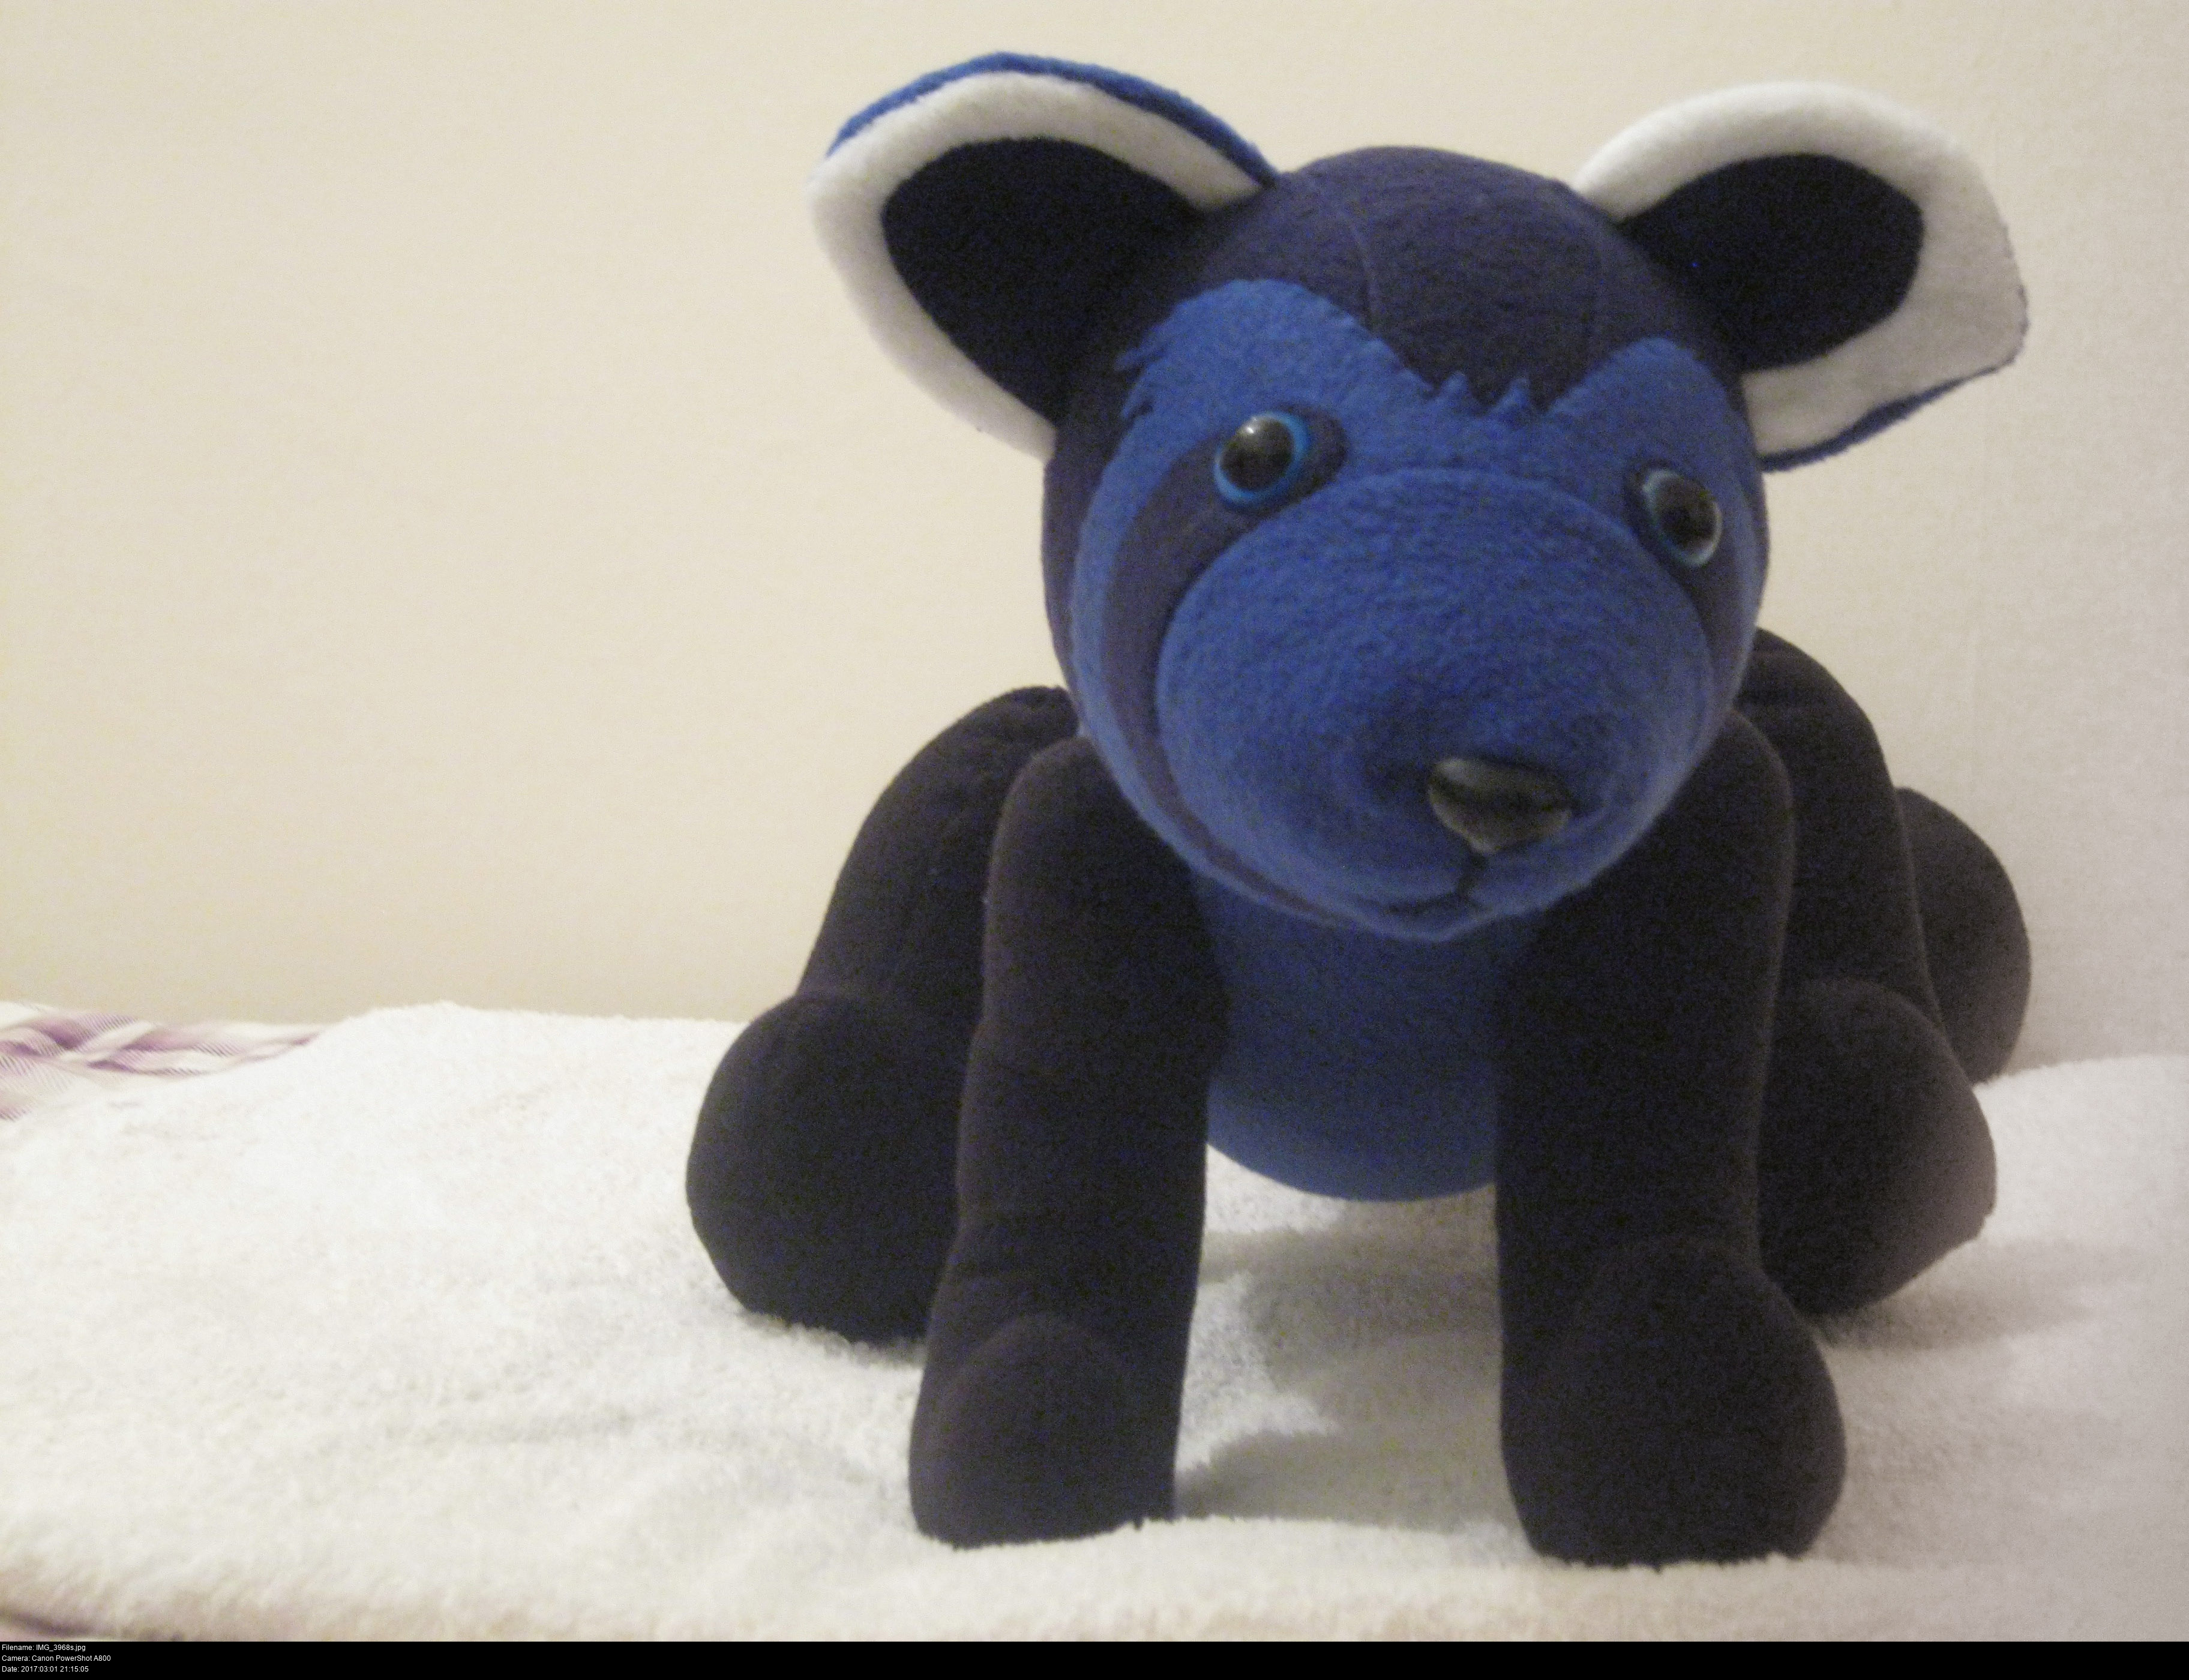
I wouldn't lie and say it looks identical to Pabu. The face is a lot rounder on Pableu. If I want to get more an angular edge on Pableu's cheeks, I might have to work a distinct angle into the head pattern. Alternatively, I could just squish his head in between a couple of heavy books until there's a firm crease in it.
I'd have liked the way the snout joins to the head to have a distinct edge to it, closer to these bears, but as he is Pableu's definitely 9/10 for me.
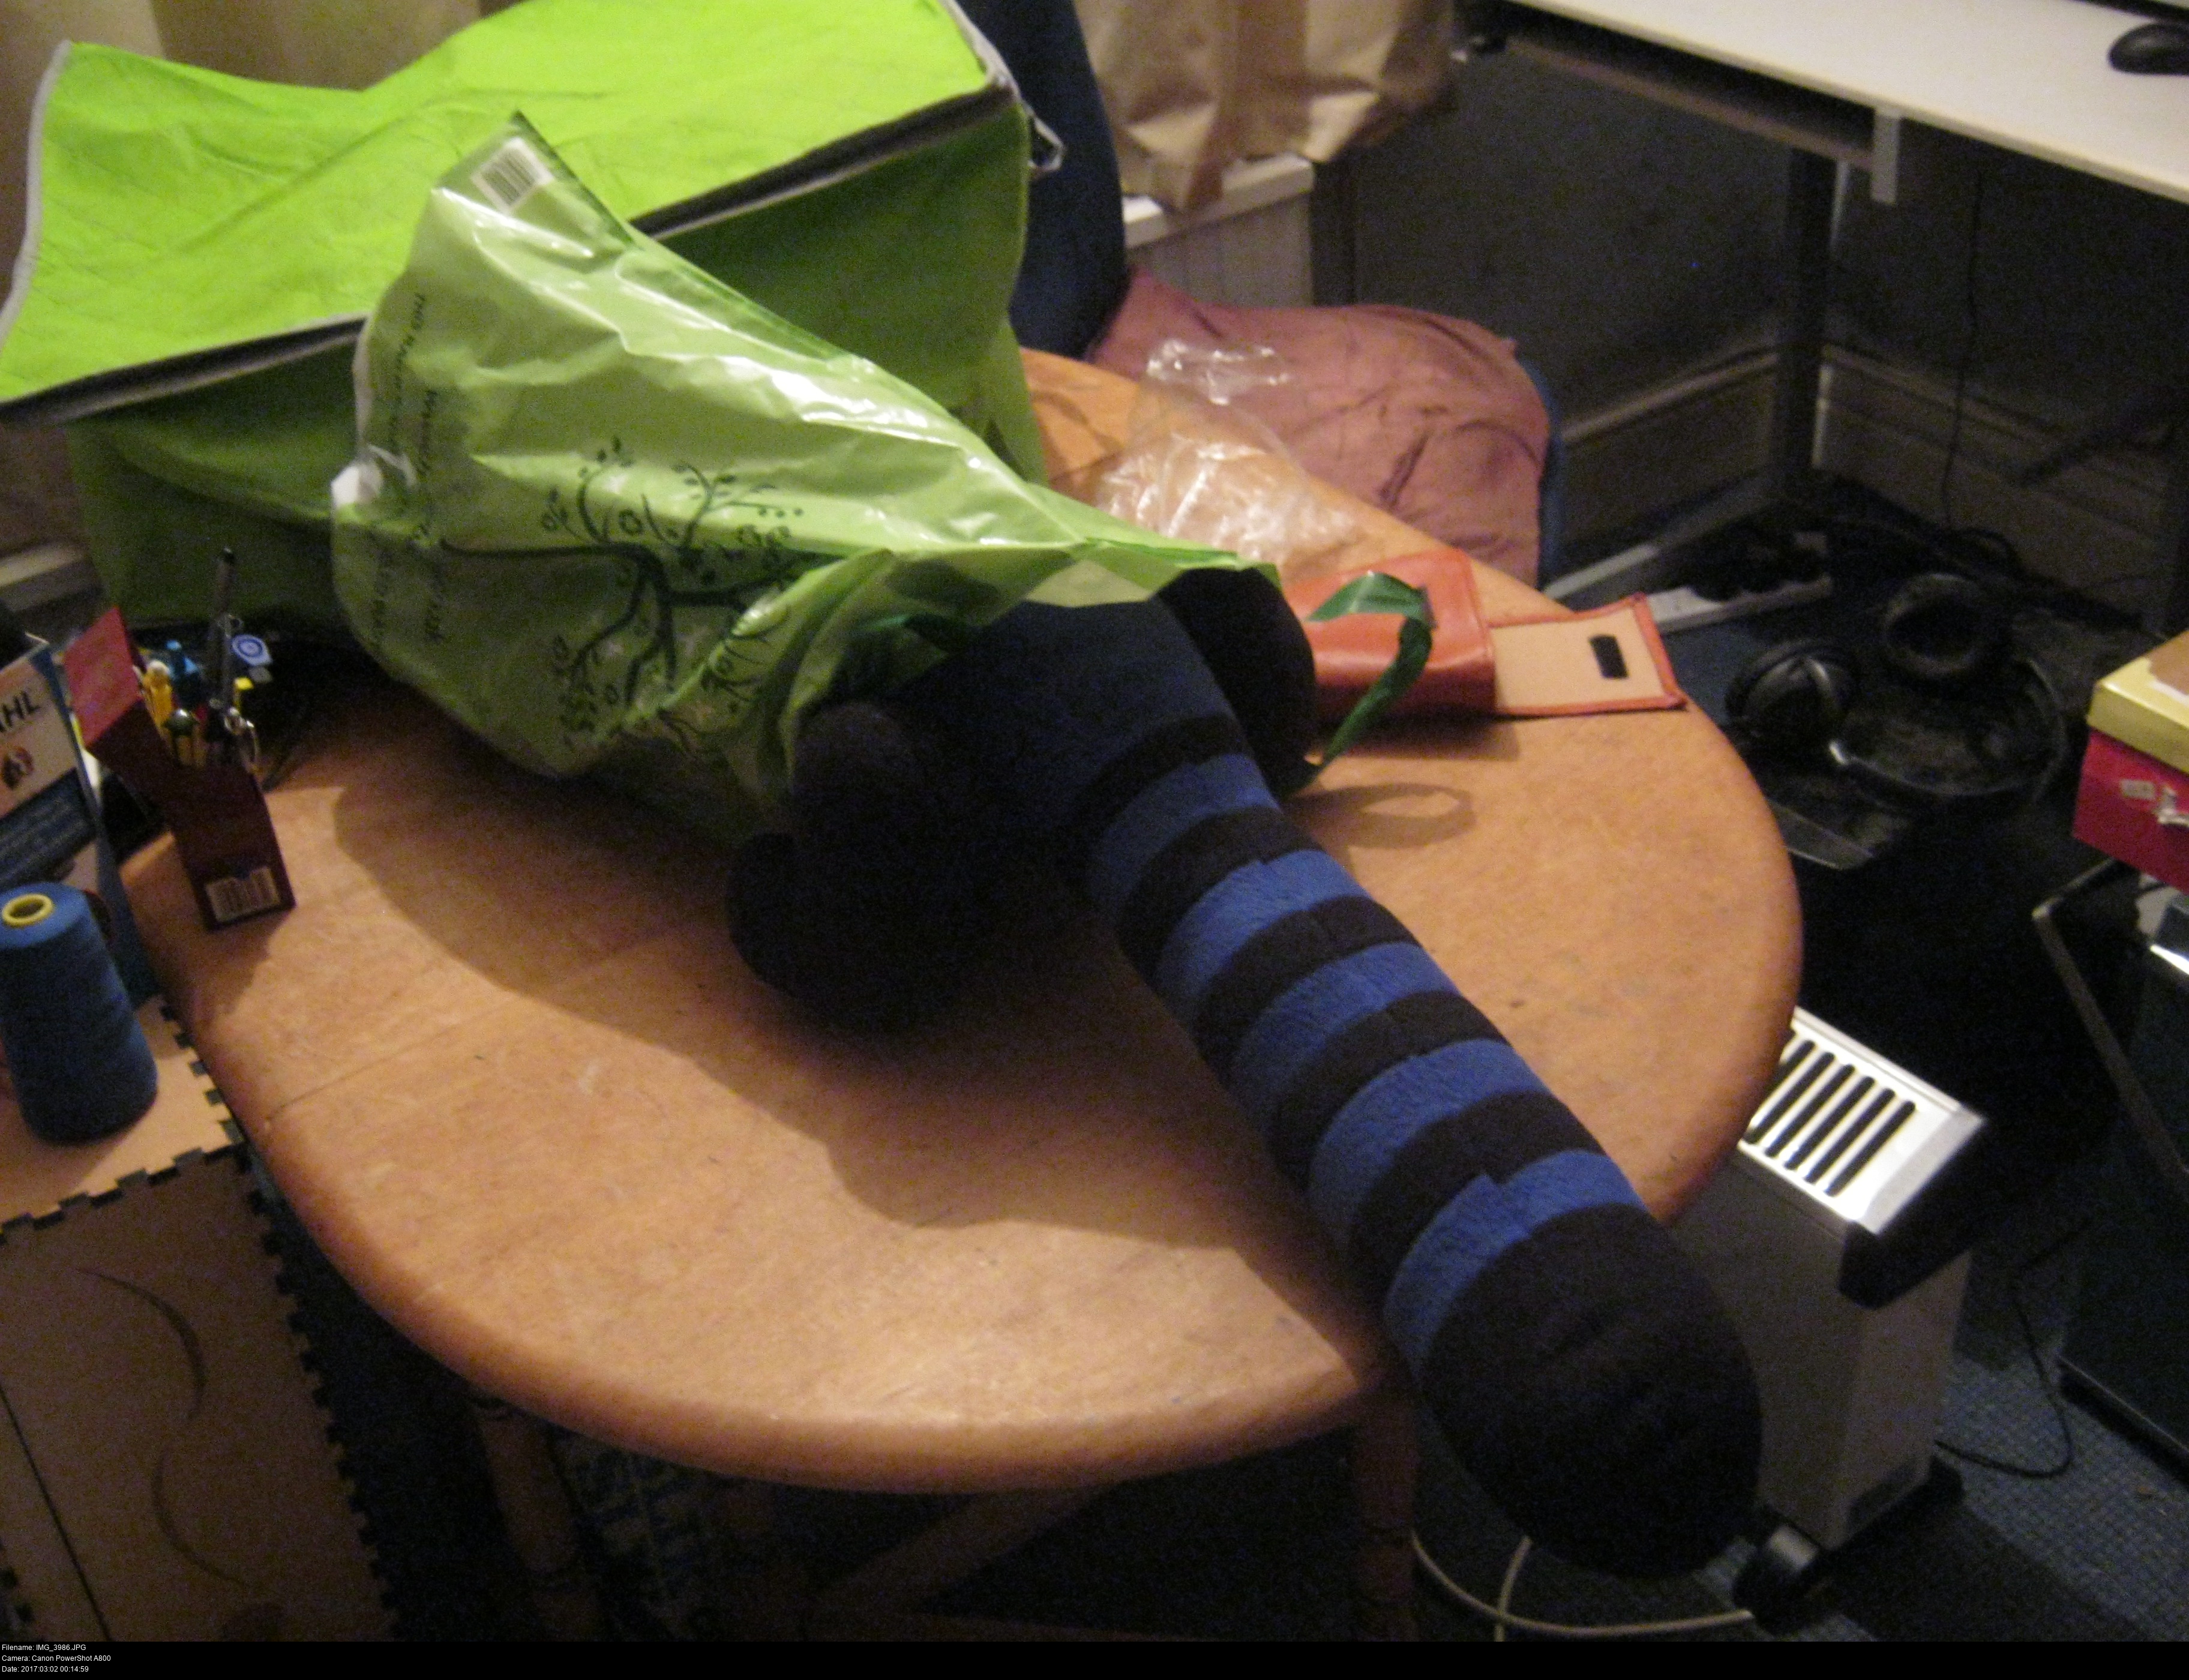
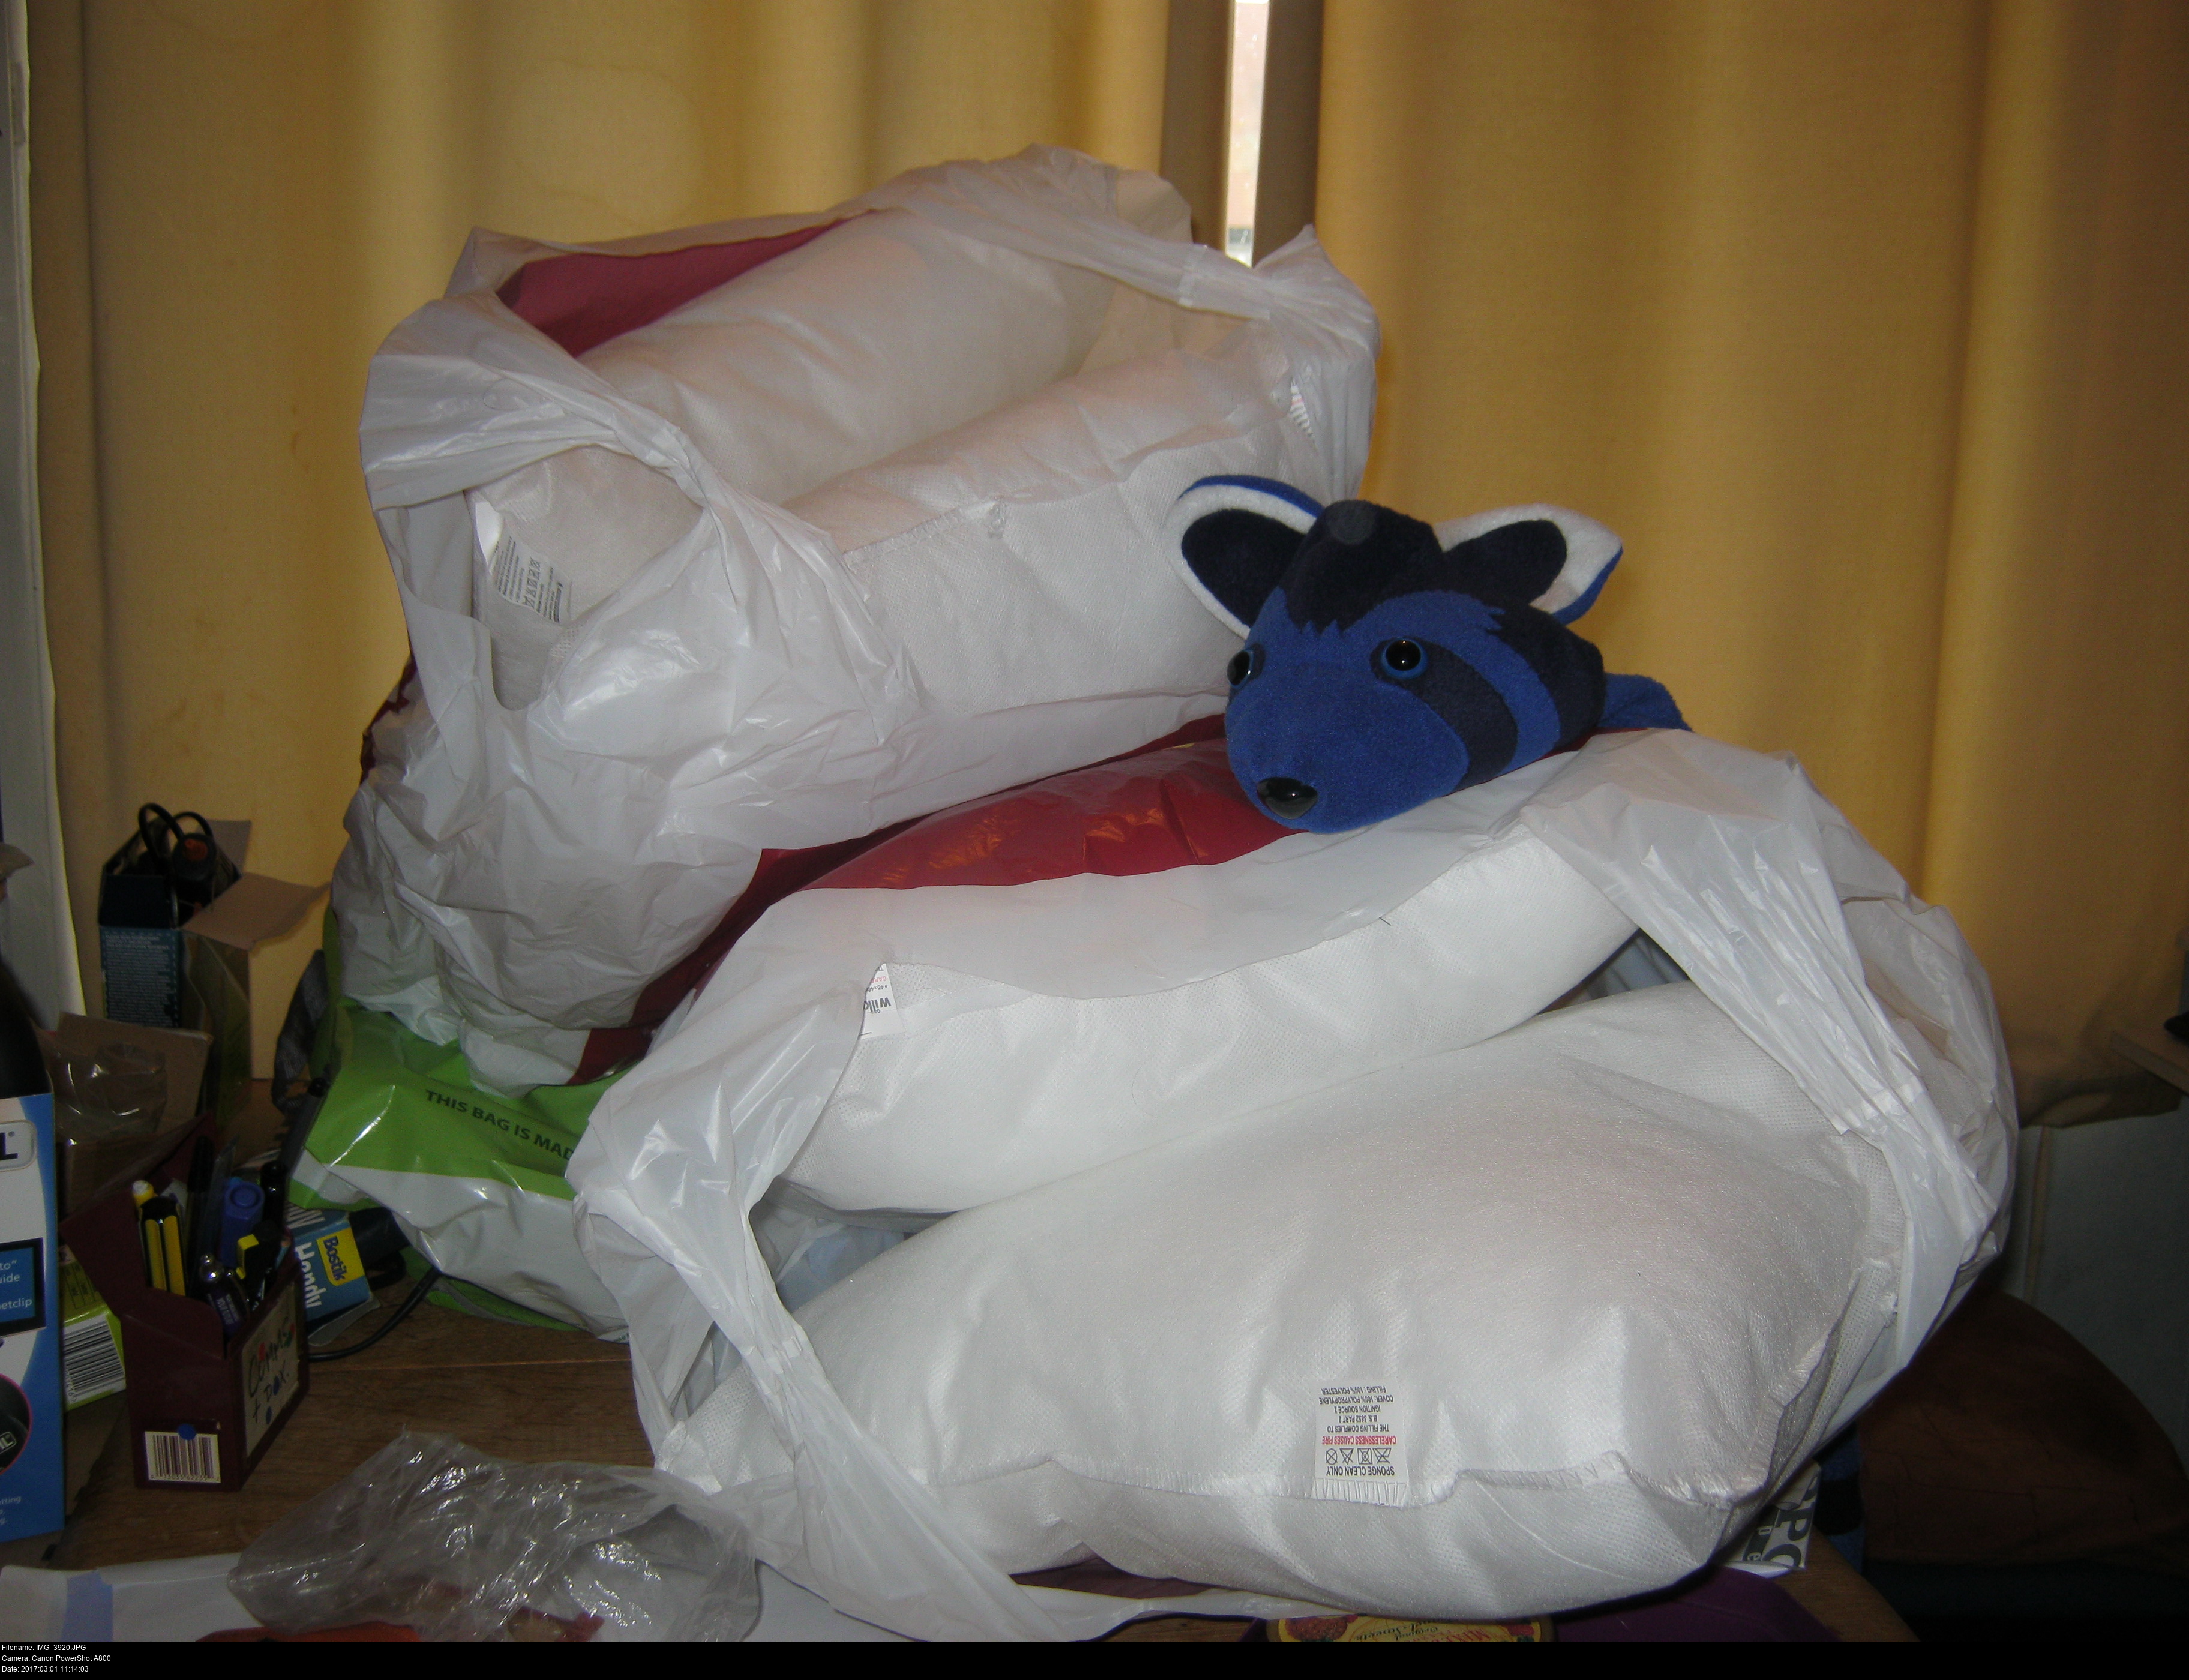
That rascally Pableu loves to hide in bags. At least maybe he won't get dusty in there. How am I going to store him?
In the end I told the commissioner how much fabric and stuffing and time it would take to make a Pabu in the correct colours and they decided not to go for it. Ah well.

Keeping all your pattern pieces inside a large envelope is a very good idea! The best are the clear plastic envelopes with a zipper fastener.
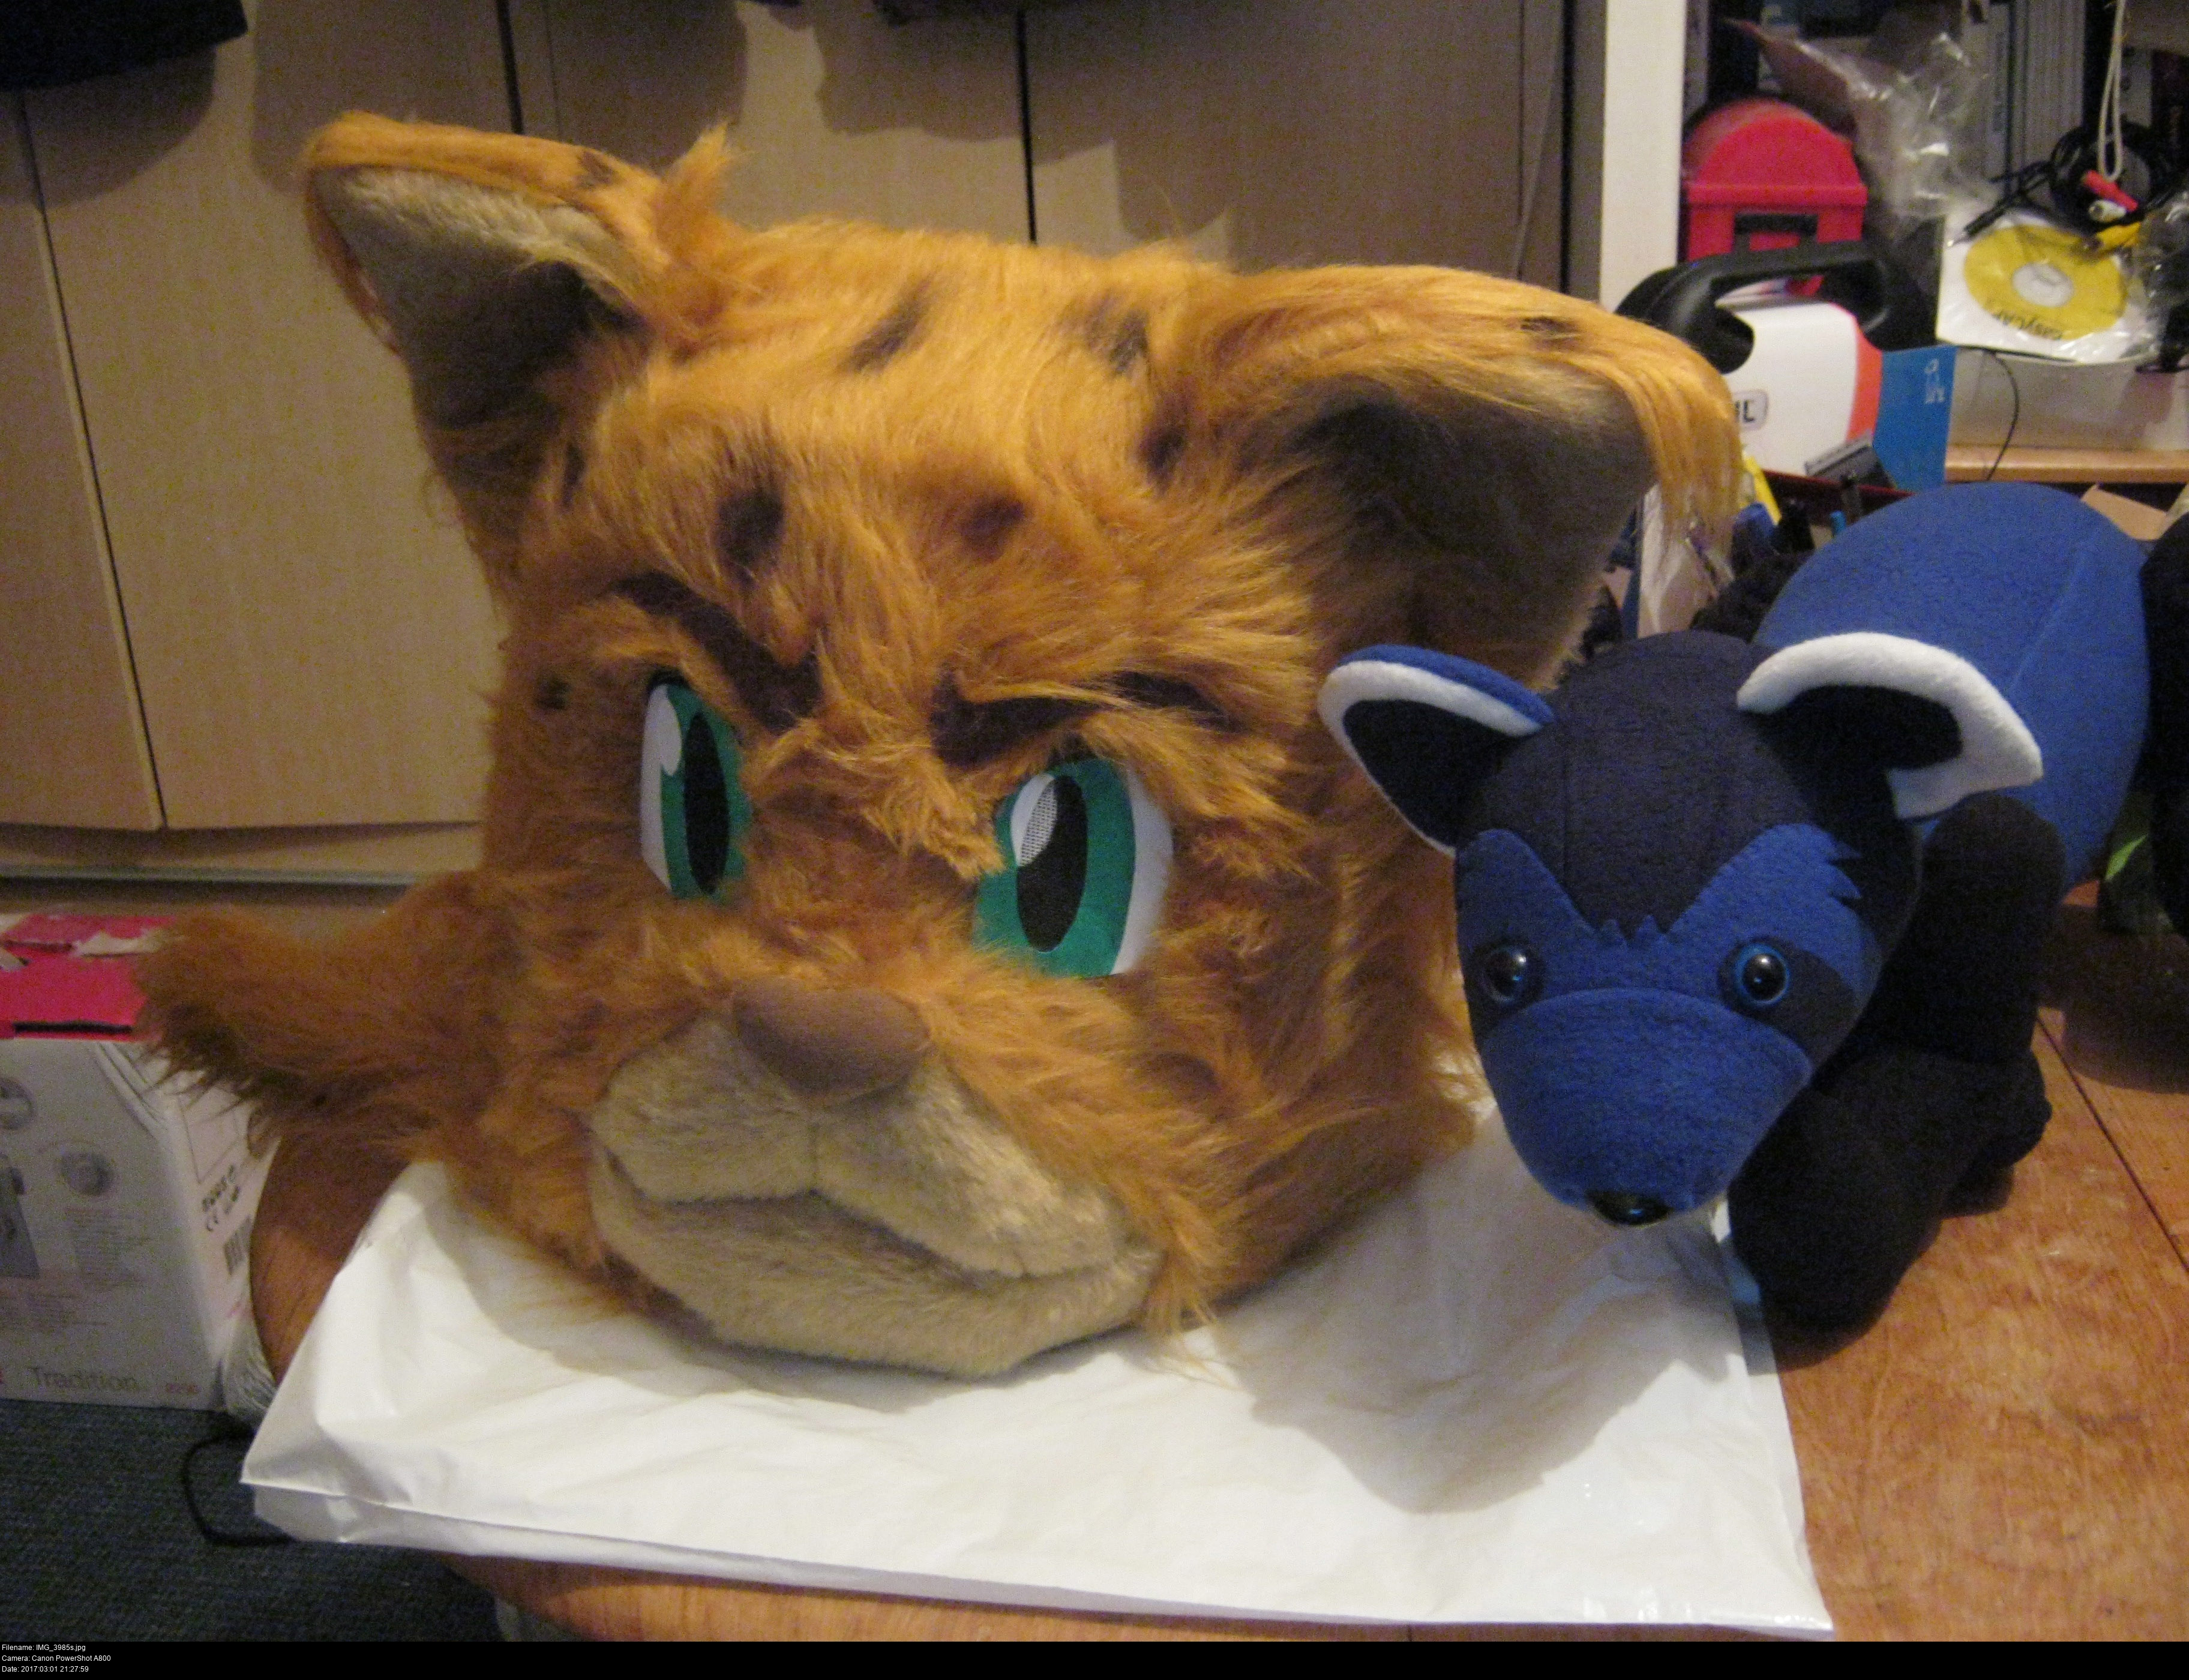
Pableu and (the head of) Hotshot, best pals!
Written by Matt Carr! mrdictionary.net nonsense.
Questions? E-mail 'em to me, toys@mrdictionary.net!
Twitter @SkullKidUK - Facebook facebook.com/mask.smith.cosplay