Super Secret Bonus Level: 3D Printing a Replacement D-Pad Part 2
With a new old laptop in hand, it's time to return to DoES and see how well these designs emerge!
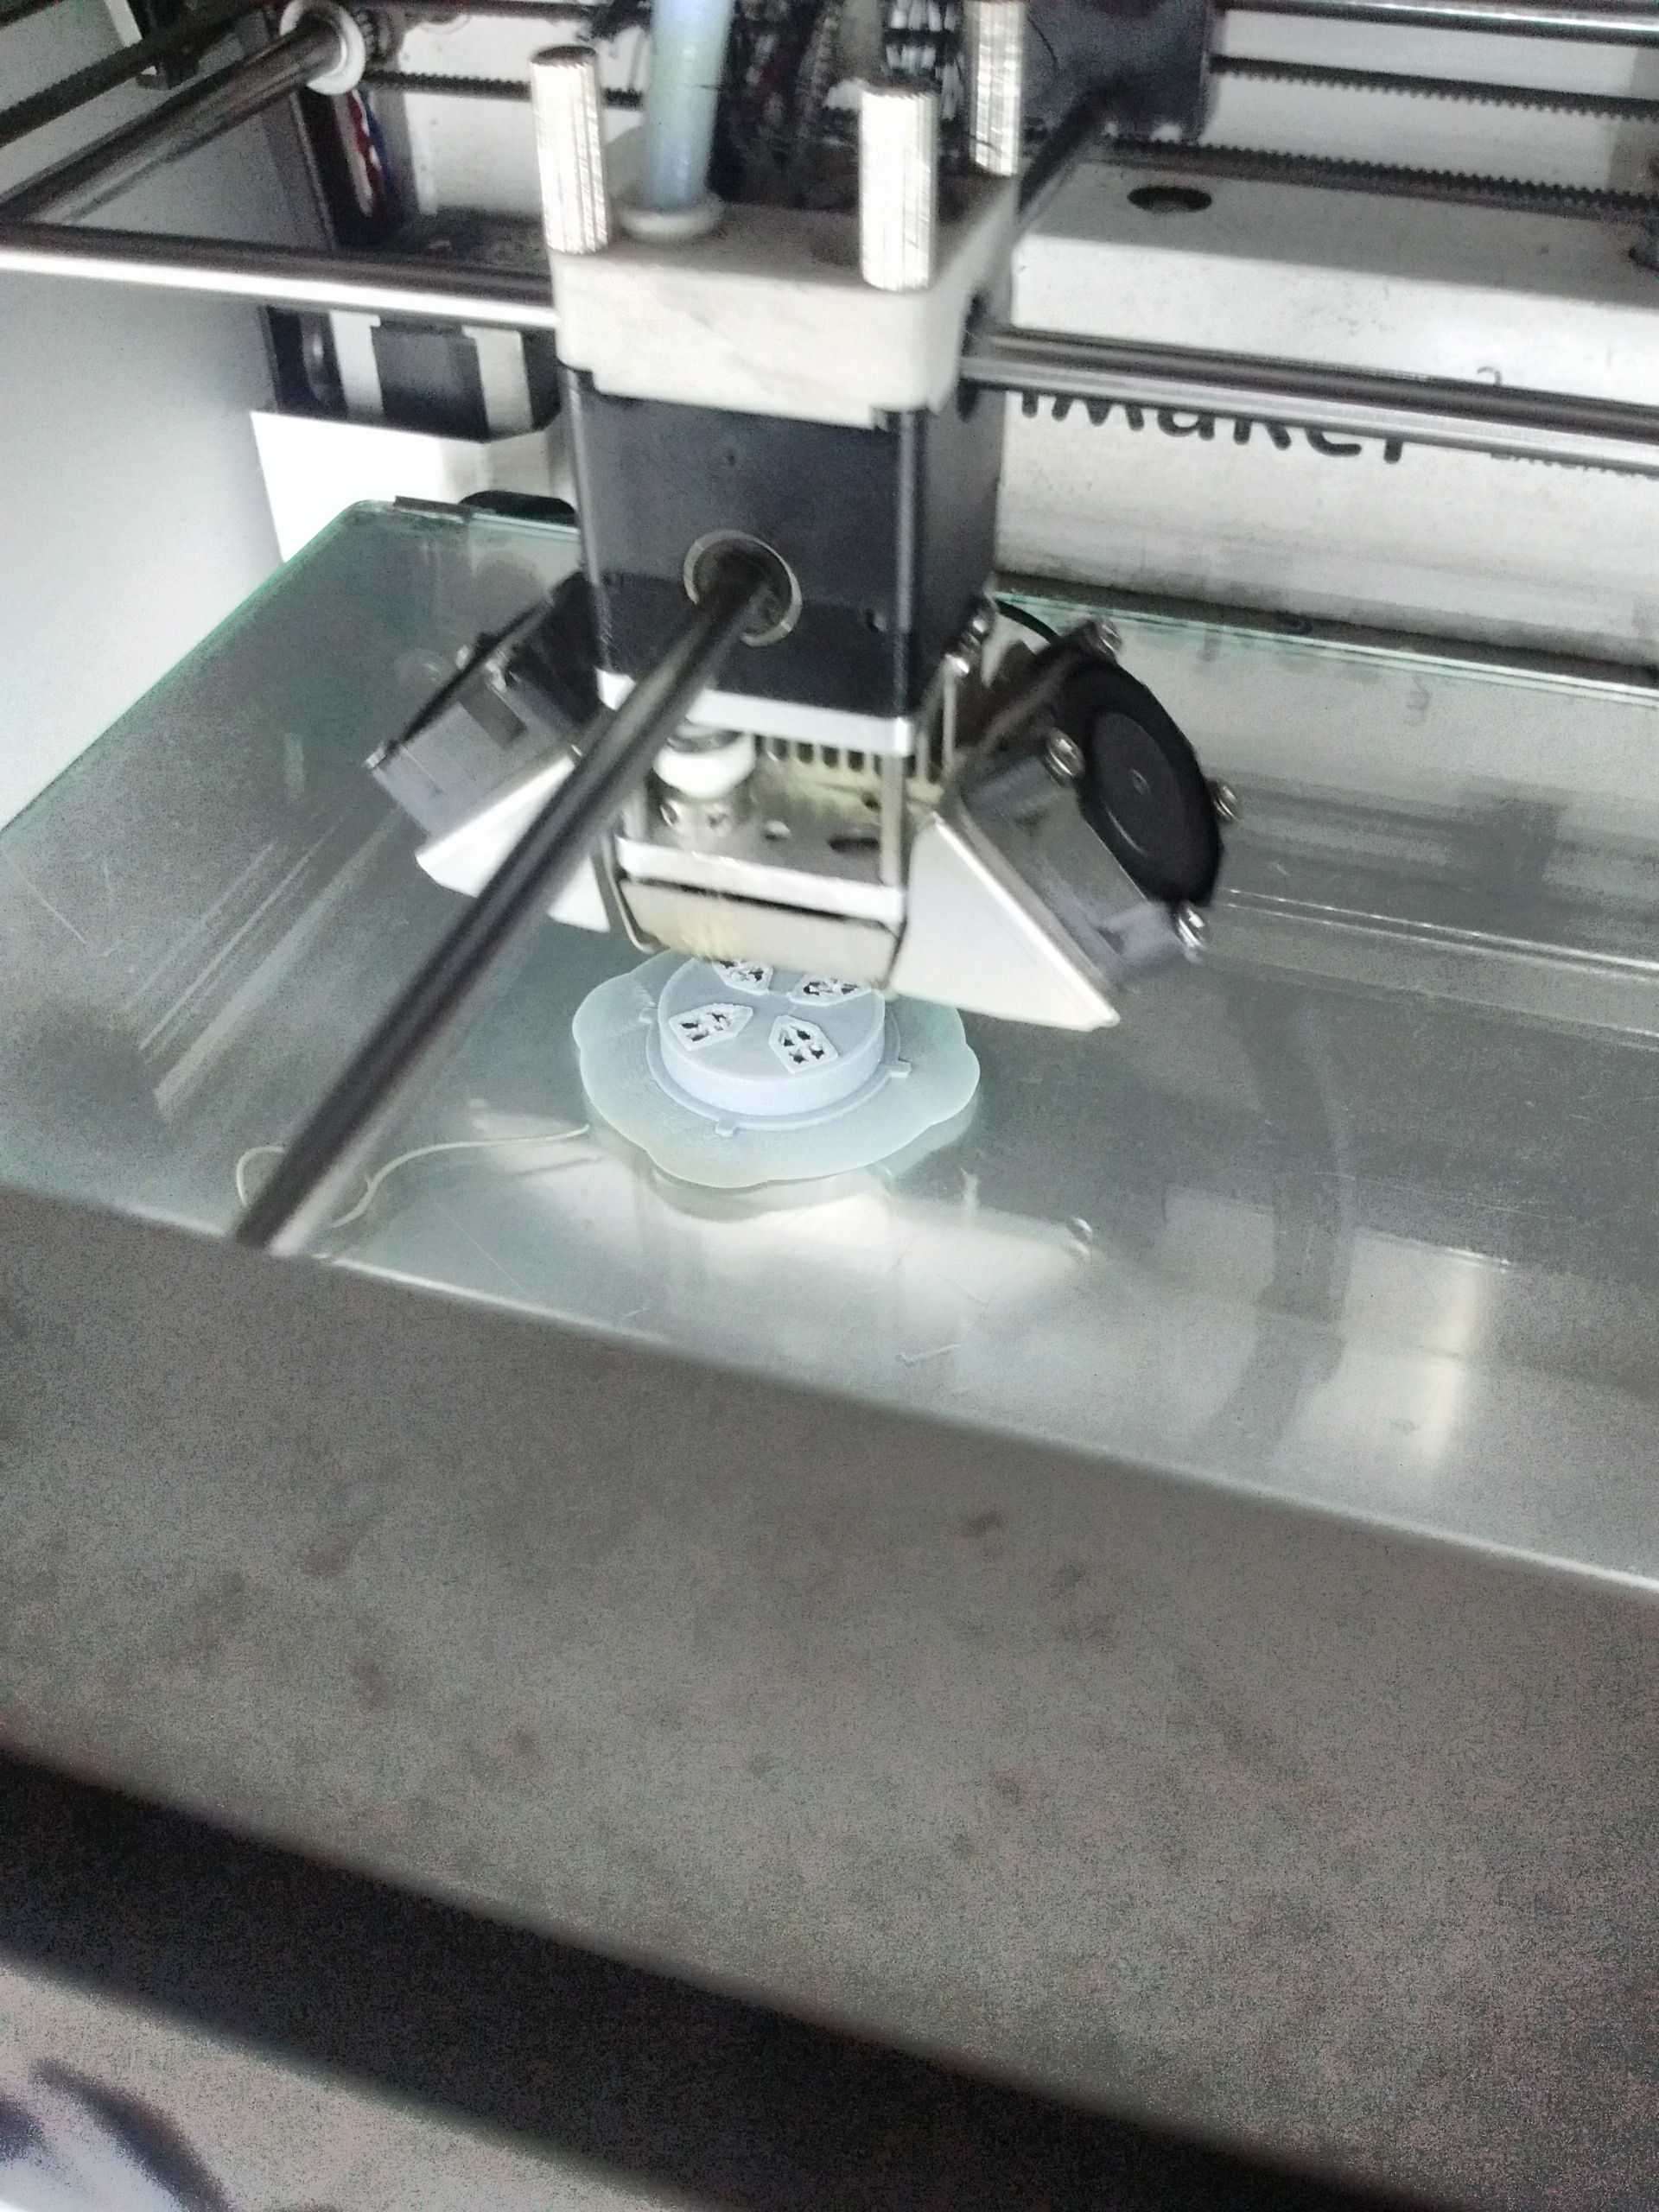
The Creality is out of reach today, so I'm using the Ultimaker 2, a machine I (also) know nothing about.
The thing doesn't want to print well at all unless I specify a large base fringe. It'll take thirty minutes for just the directional pad by itself.
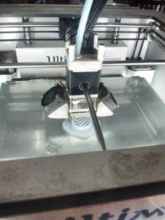
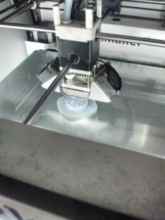
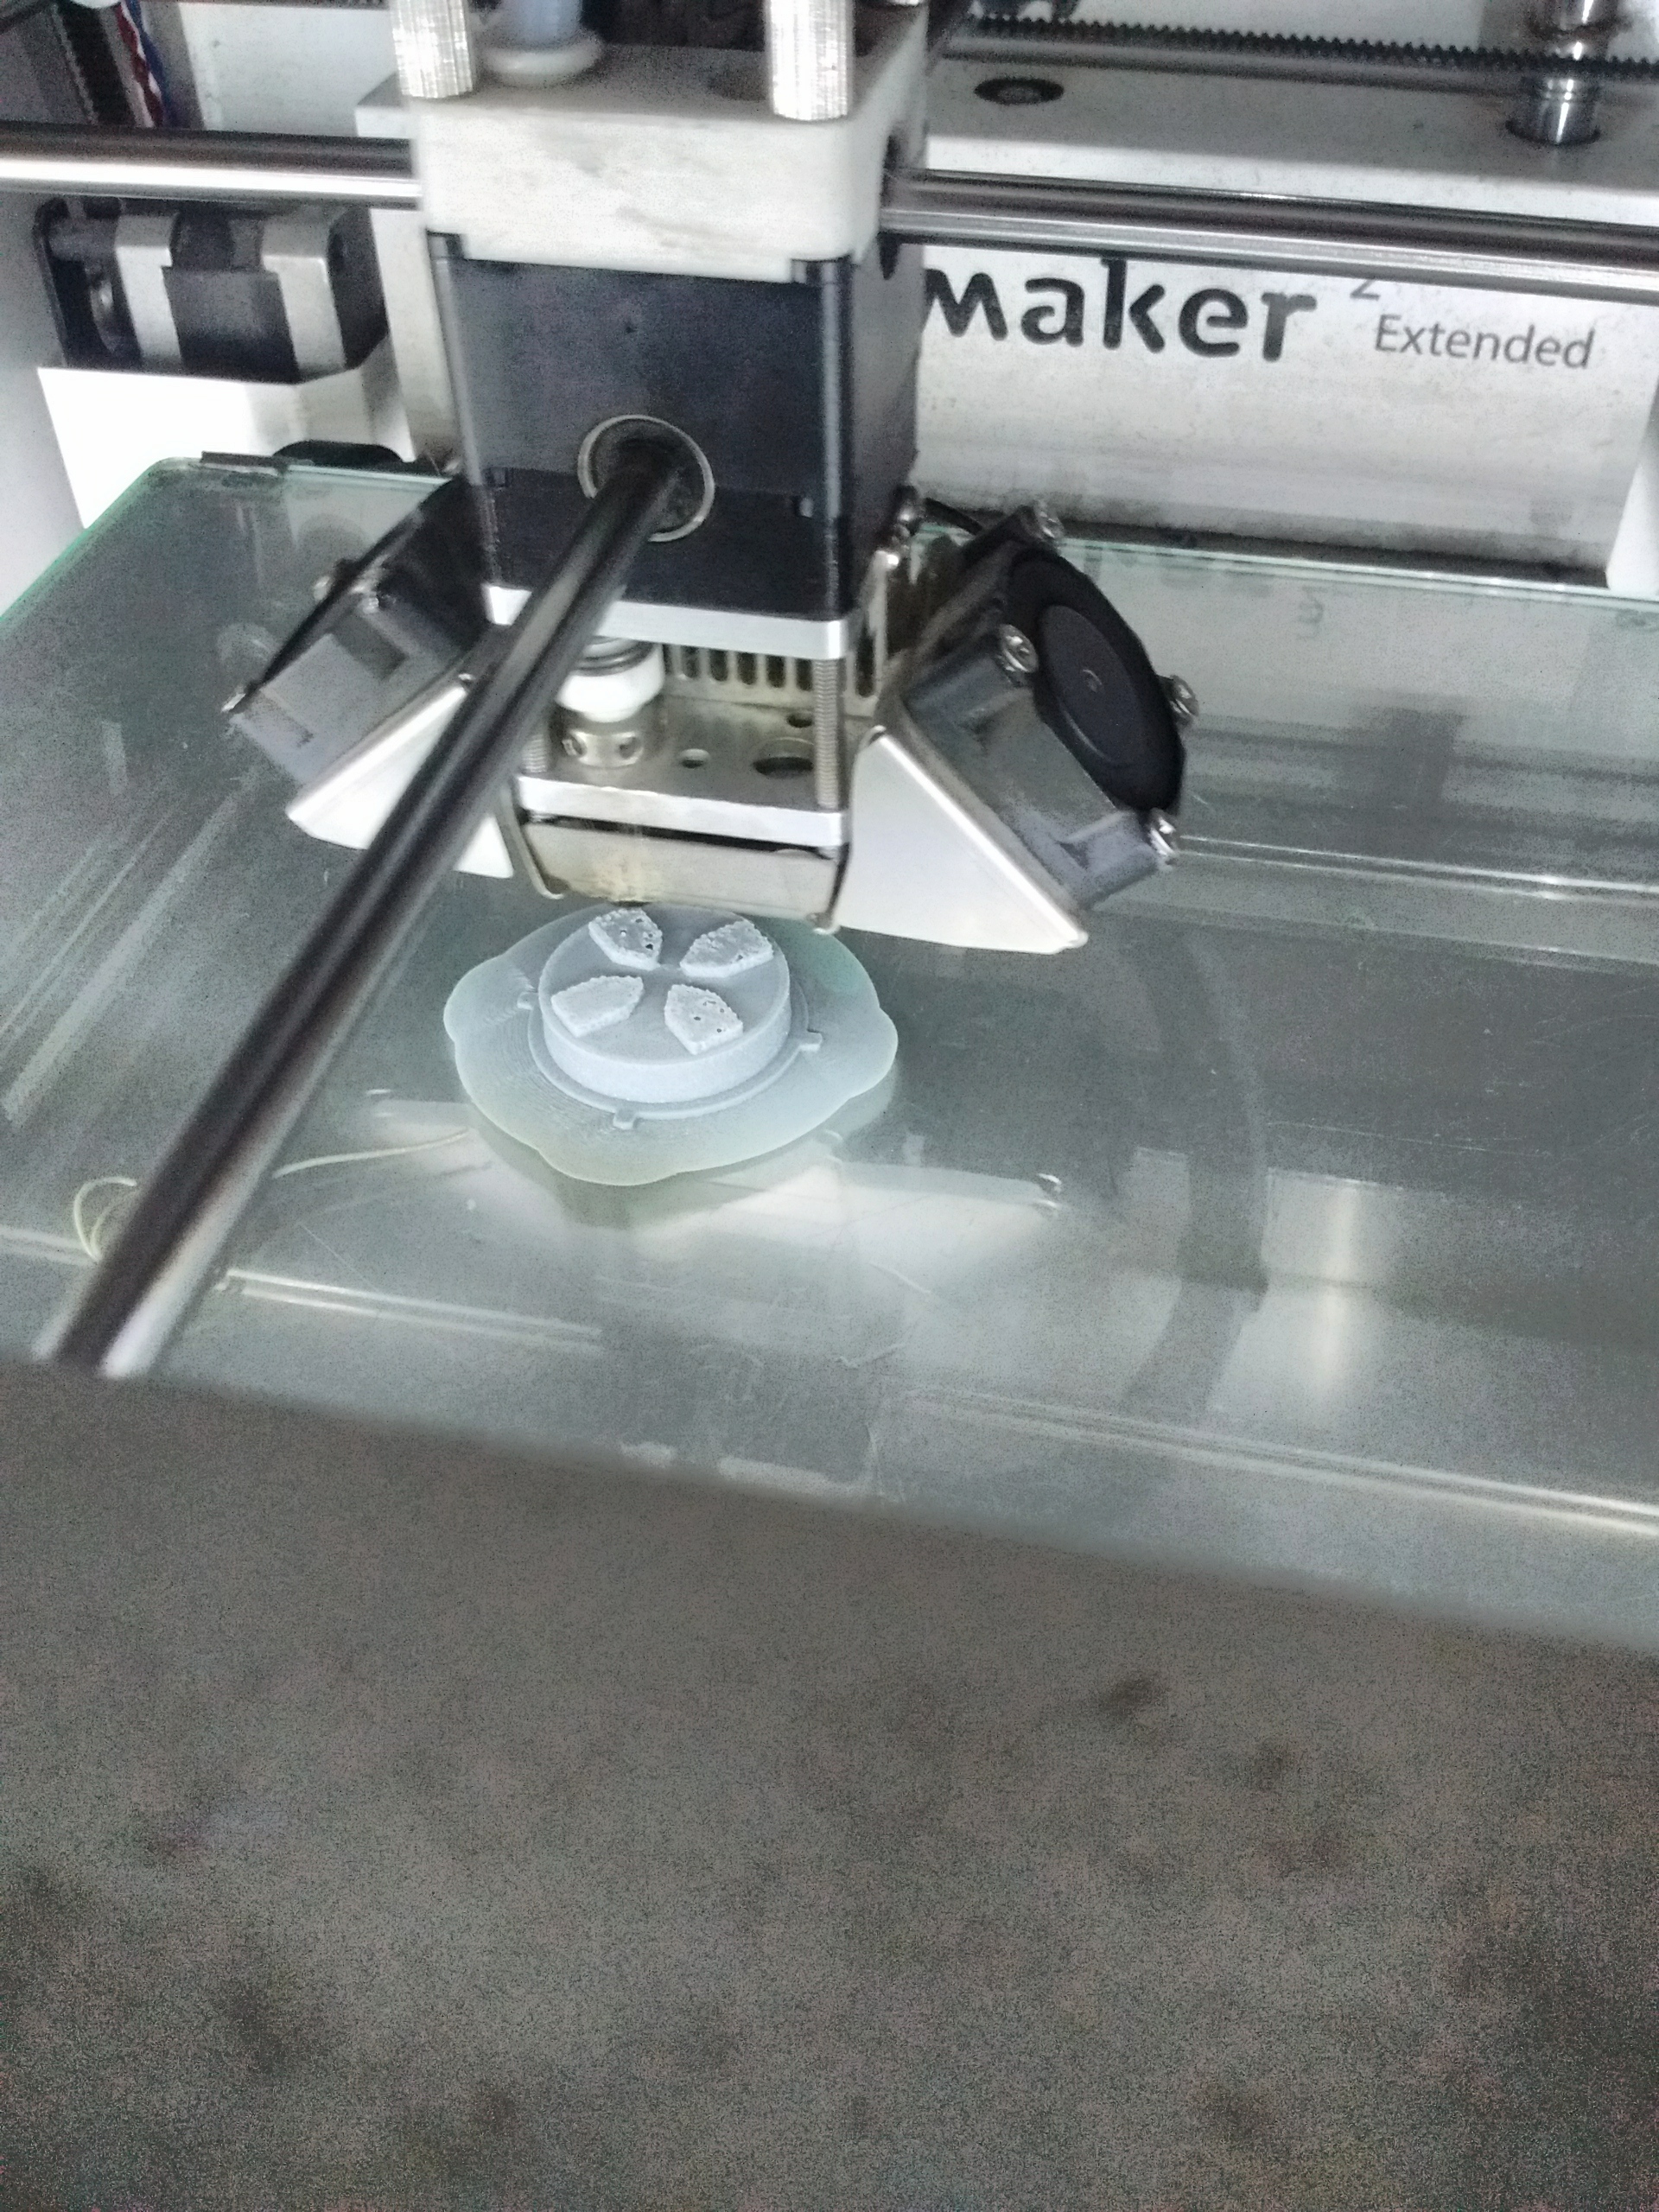
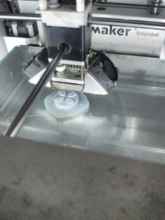 After a false start with that little squiggle of material that refused to adhere to the glass, it started making the right shapes.
It's done. Let's see how it looks.
After a false start with that little squiggle of material that refused to adhere to the glass, it started making the right shapes.
It's done. Let's see how it looks.
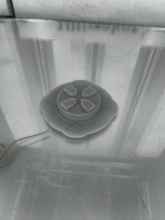
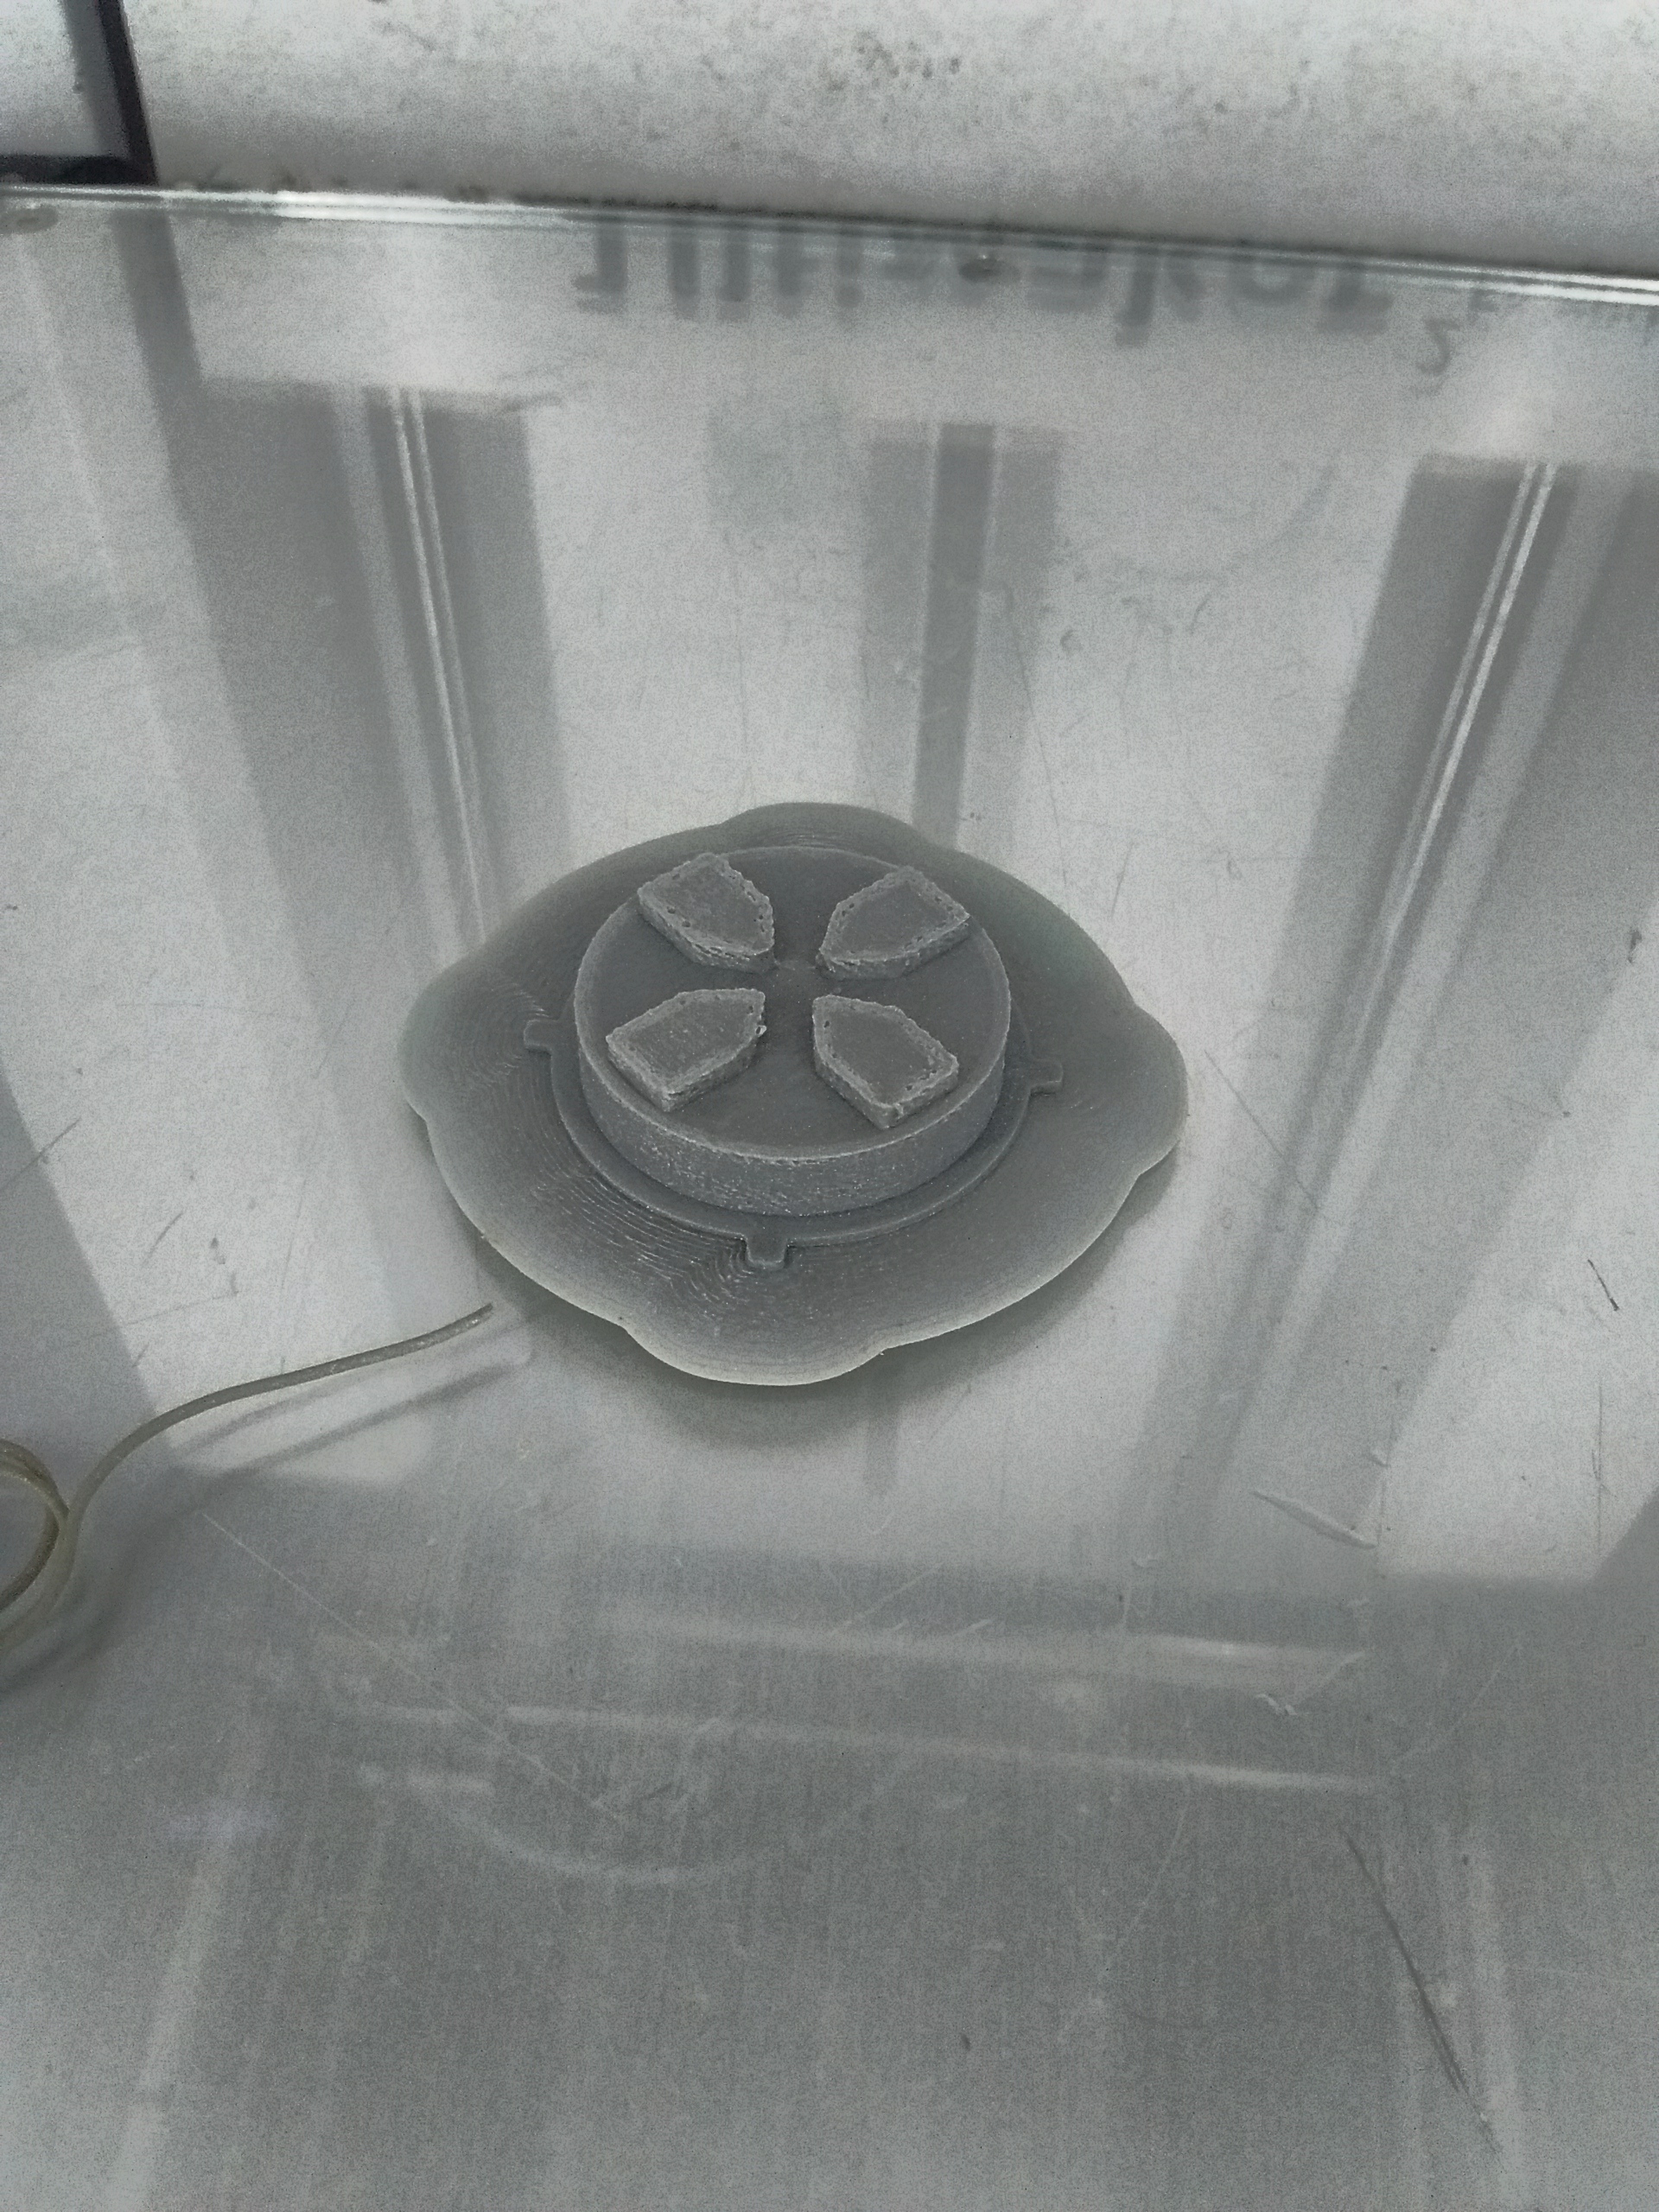
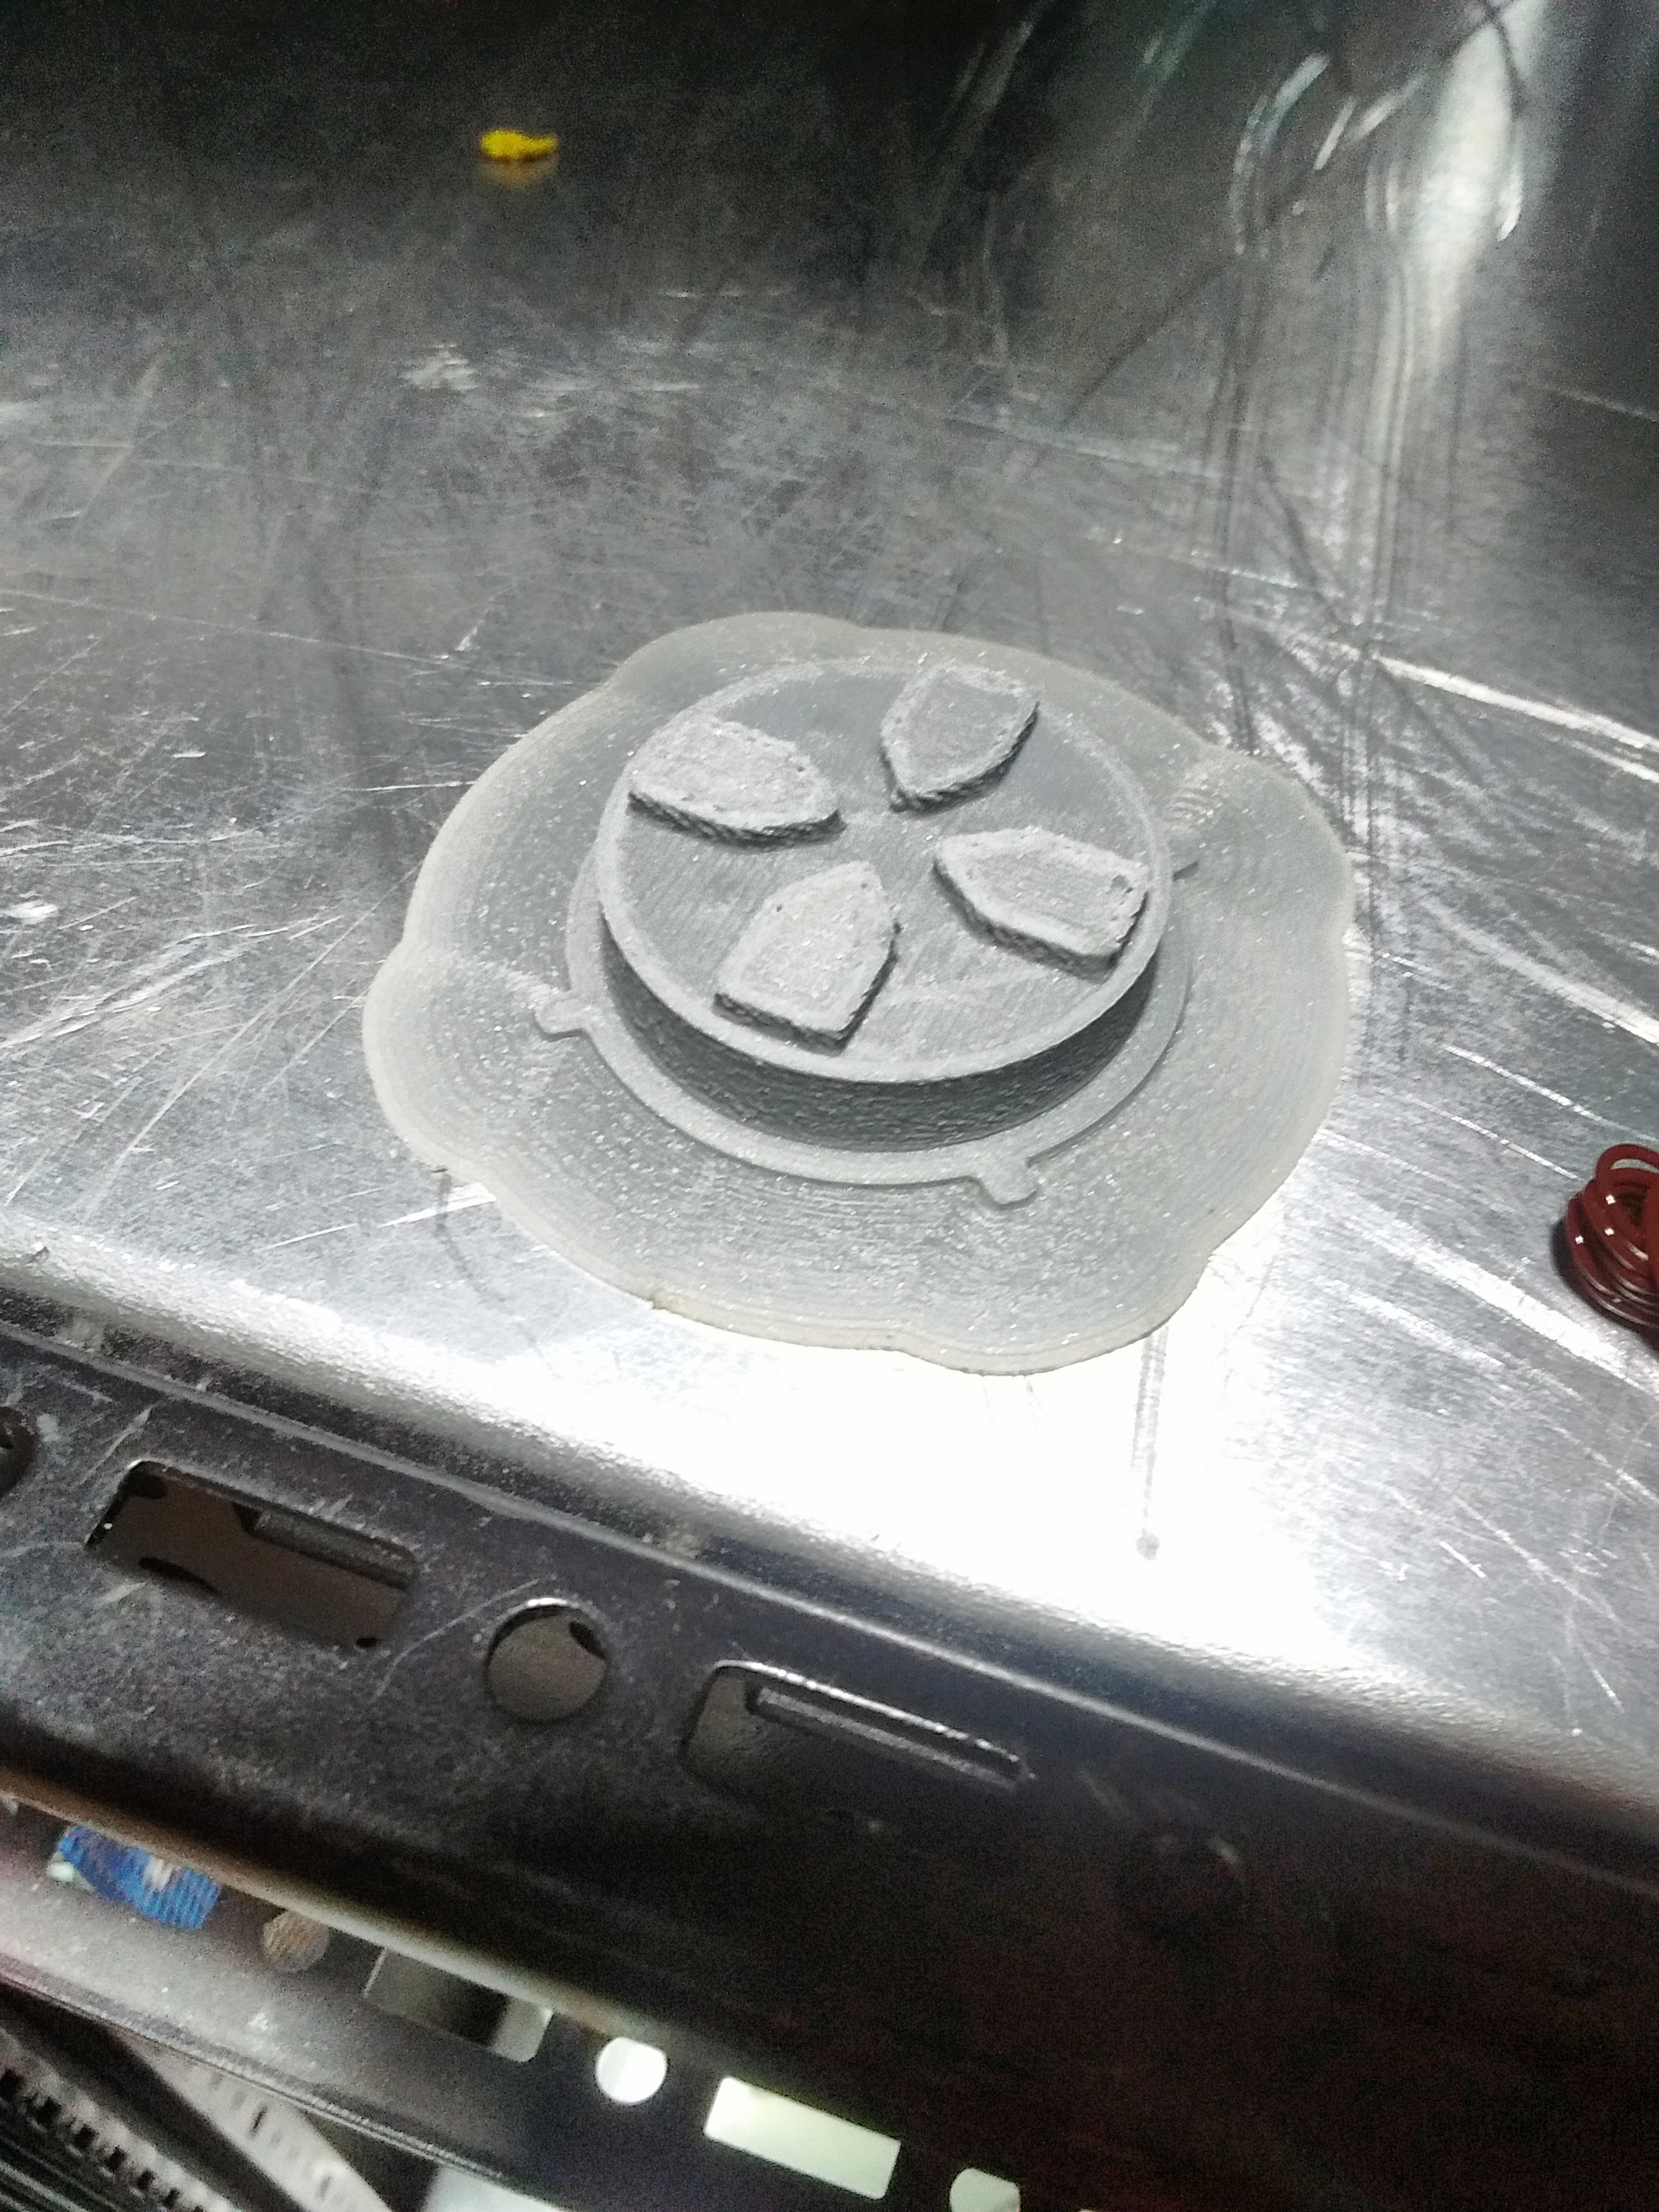
 Hurrah! It looks like it does in the preview... which is to say it looks awfully angular and probably very uncomfortable to use for any length of time.
Alright, with that over with, it's time for the main event: printing the vertical wall piece of the redesigned PSCD32 lid!
Got to detach the previous material, run the material exchange sequence, feed in the new material, unfeed it again because it doesn't work, use the manual extrude mode to clear the nozzle, try feeding in the material with different settings...
Do it to it, Ultimaker 2!
Hurrah! It looks like it does in the preview... which is to say it looks awfully angular and probably very uncomfortable to use for any length of time.
Alright, with that over with, it's time for the main event: printing the vertical wall piece of the redesigned PSCD32 lid!
Got to detach the previous material, run the material exchange sequence, feed in the new material, unfeed it again because it doesn't work, use the manual extrude mode to clear the nozzle, try feeding in the material with different settings...
Do it to it, Ultimaker 2!
 No. Stop. What are you doing.
A few attempts of this, and I have decided not to endorse this machine.
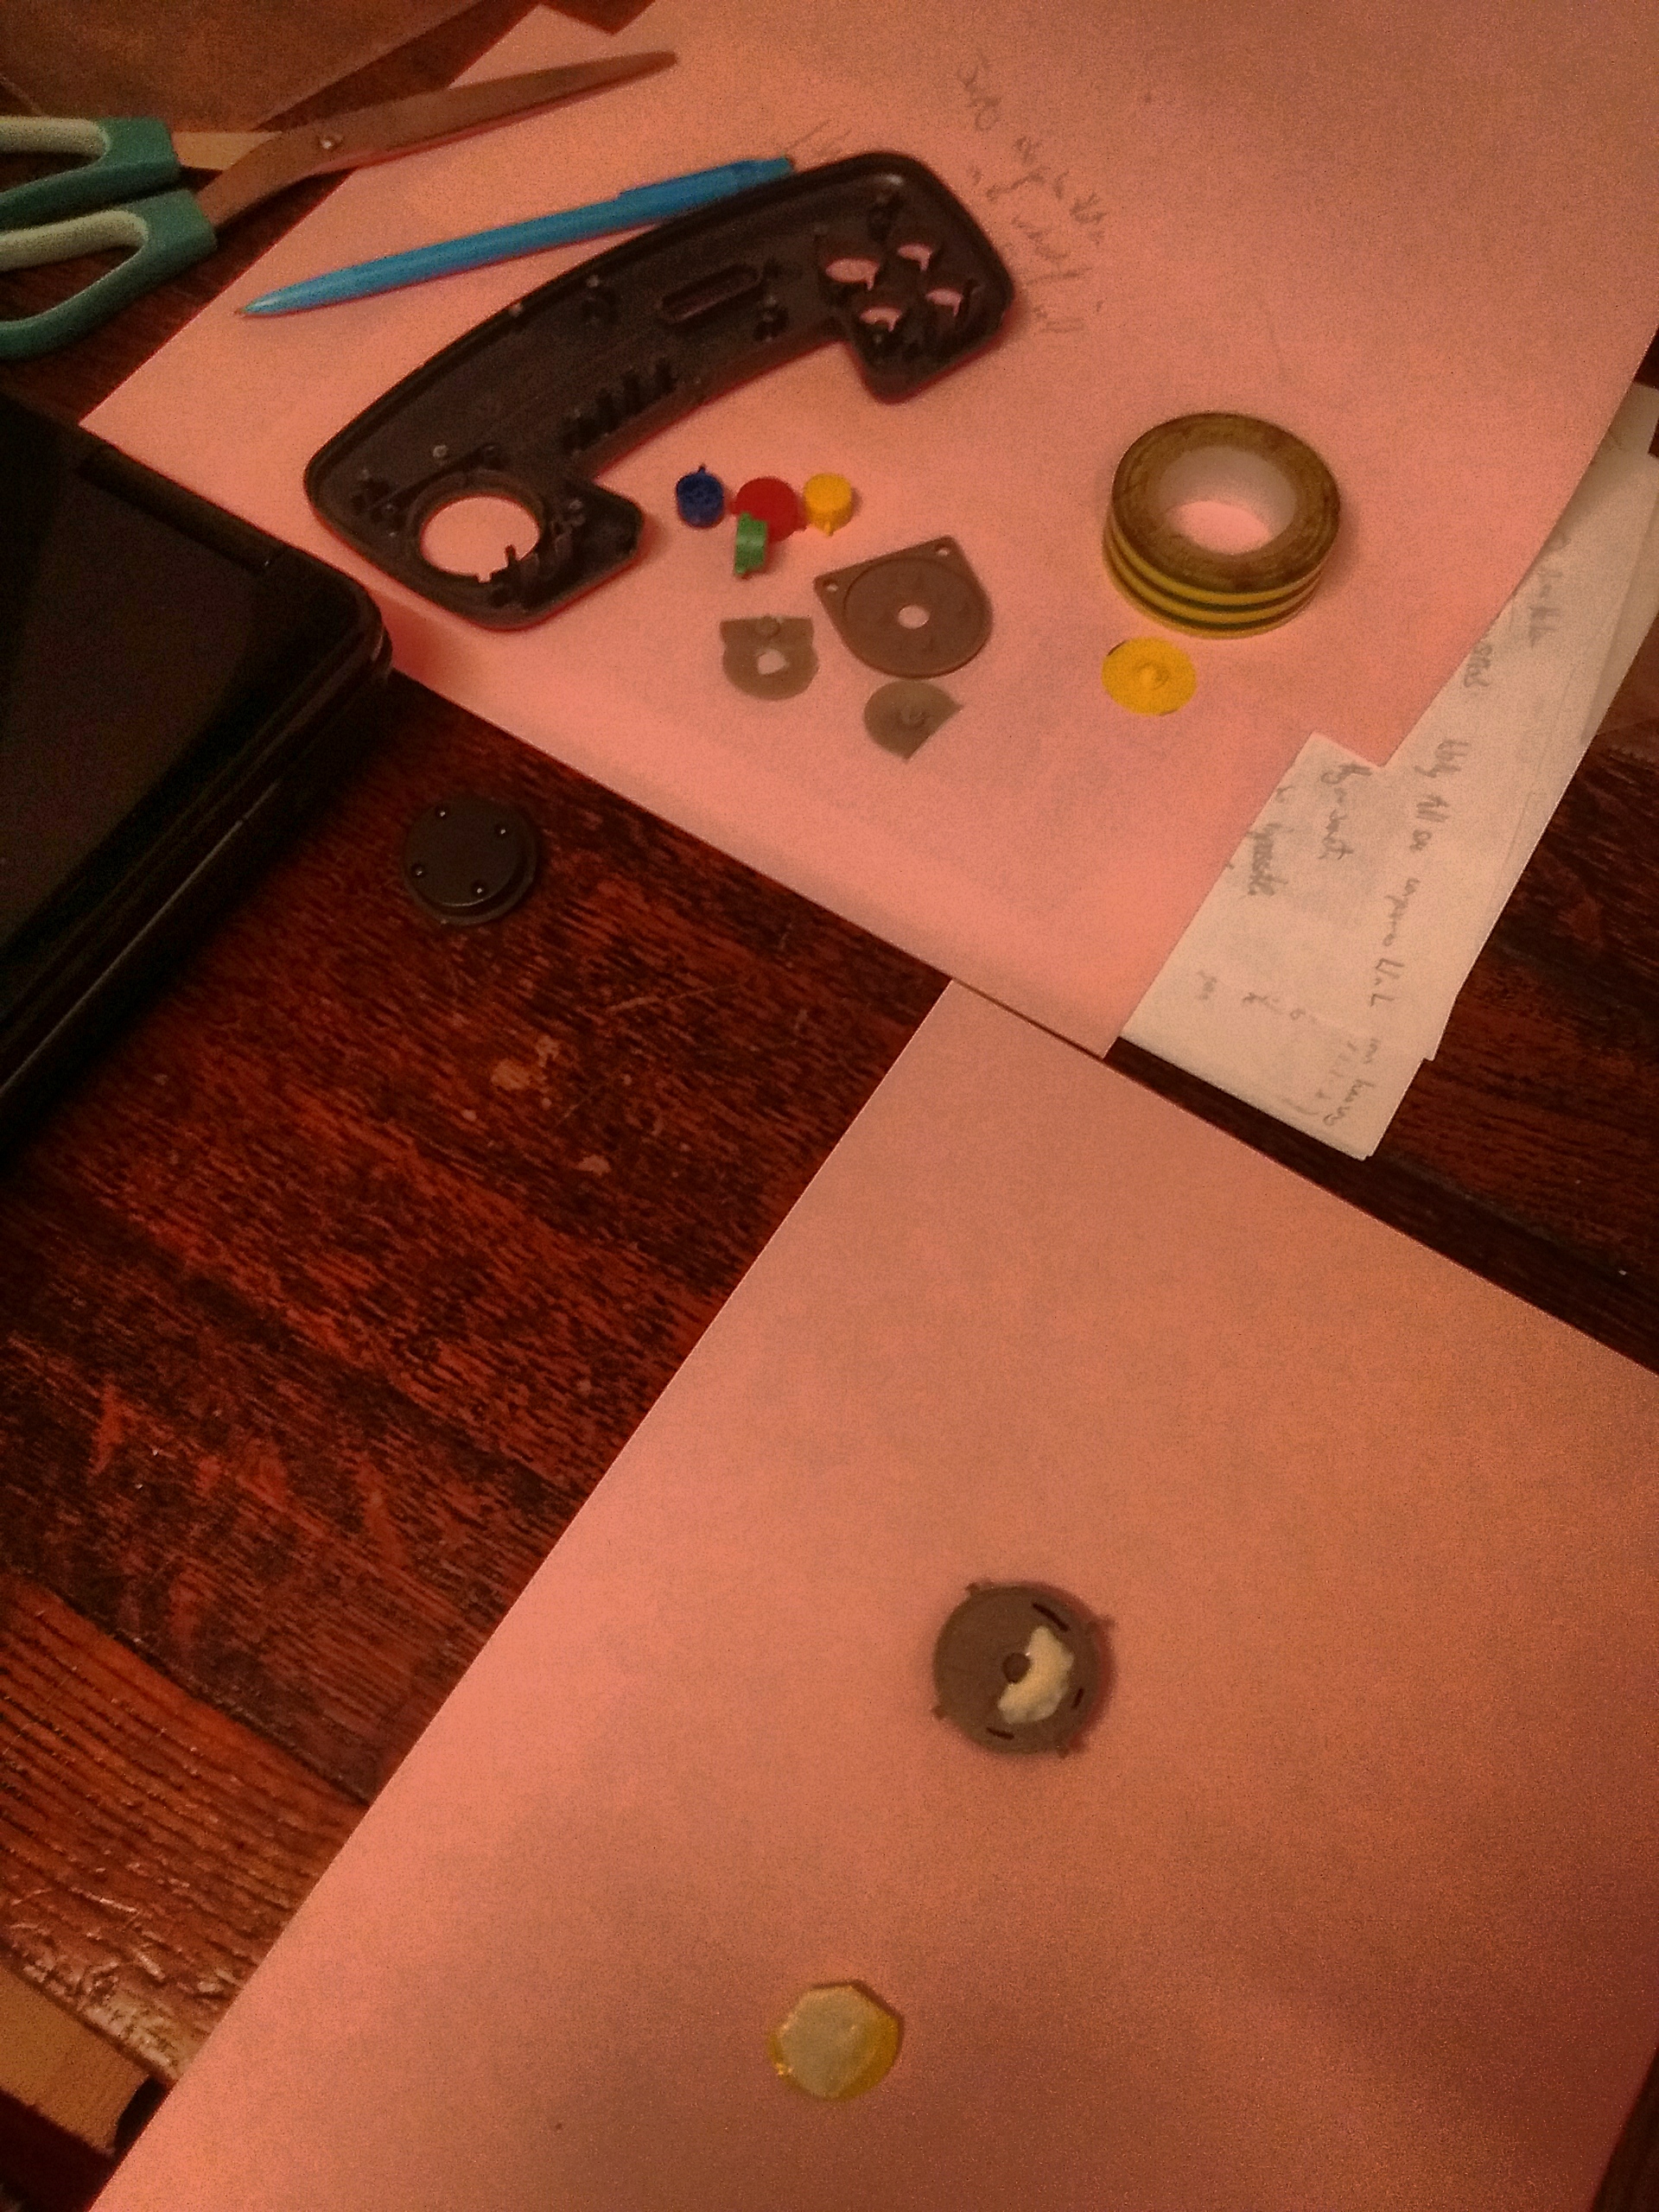
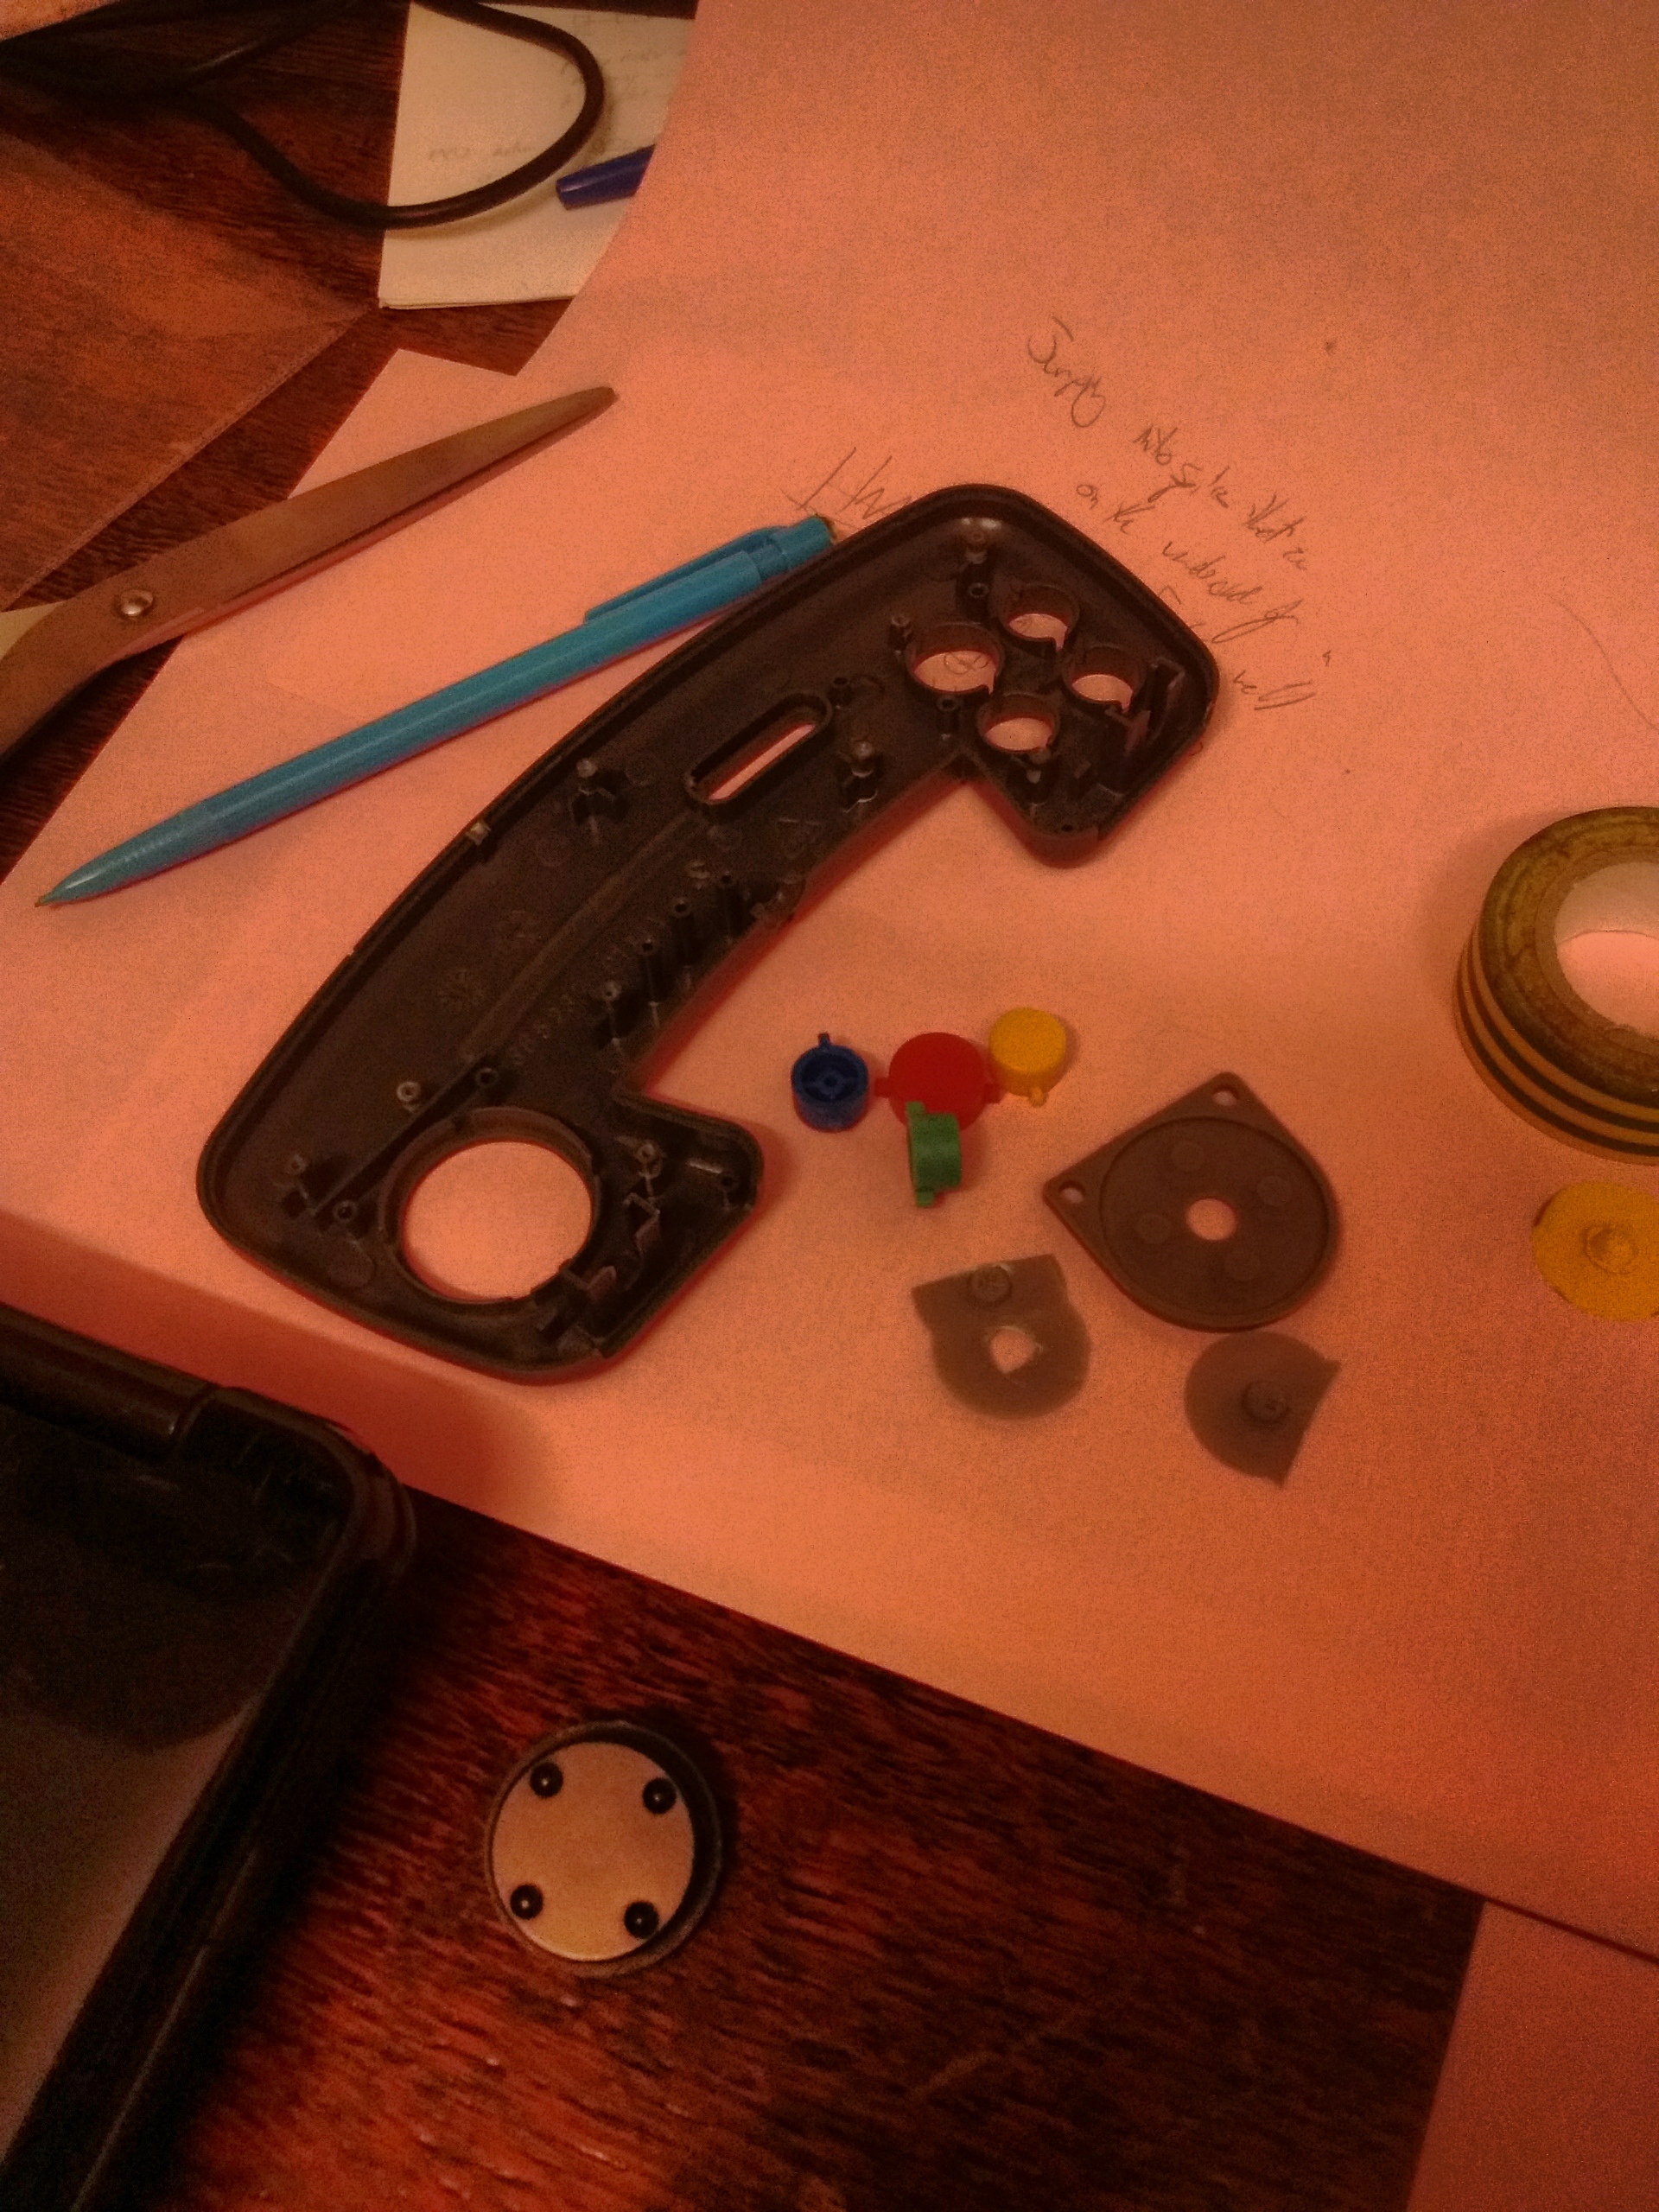
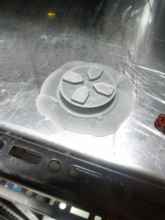
Back home. In my pockets, I have the grey Playstation-styled directional pad piece, another grey piece with the CD32 nubs (the resolution of this print is awful - the domes are incredibly misshapen, so I'm not going to use it), and a few of the half-dome pieces. They've got fringes on, which means if I glue them together and then sand away the edges... I'll be wasting my damned time.
But if I keep the fringes, and just glue the half dome to the underside of the directional pad piece directly, that sounds like it'd work. Right?
No. Stop. What are you doing.
A few attempts of this, and I have decided not to endorse this machine.
Back home. In my pockets, I have the grey Playstation-styled directional pad piece, another grey piece with the CD32 nubs (the resolution of this print is awful - the domes are incredibly misshapen, so I'm not going to use it), and a few of the half-dome pieces. They've got fringes on, which means if I glue them together and then sand away the edges... I'll be wasting my damned time.
But if I keep the fringes, and just glue the half dome to the underside of the directional pad piece directly, that sounds like it'd work. Right?


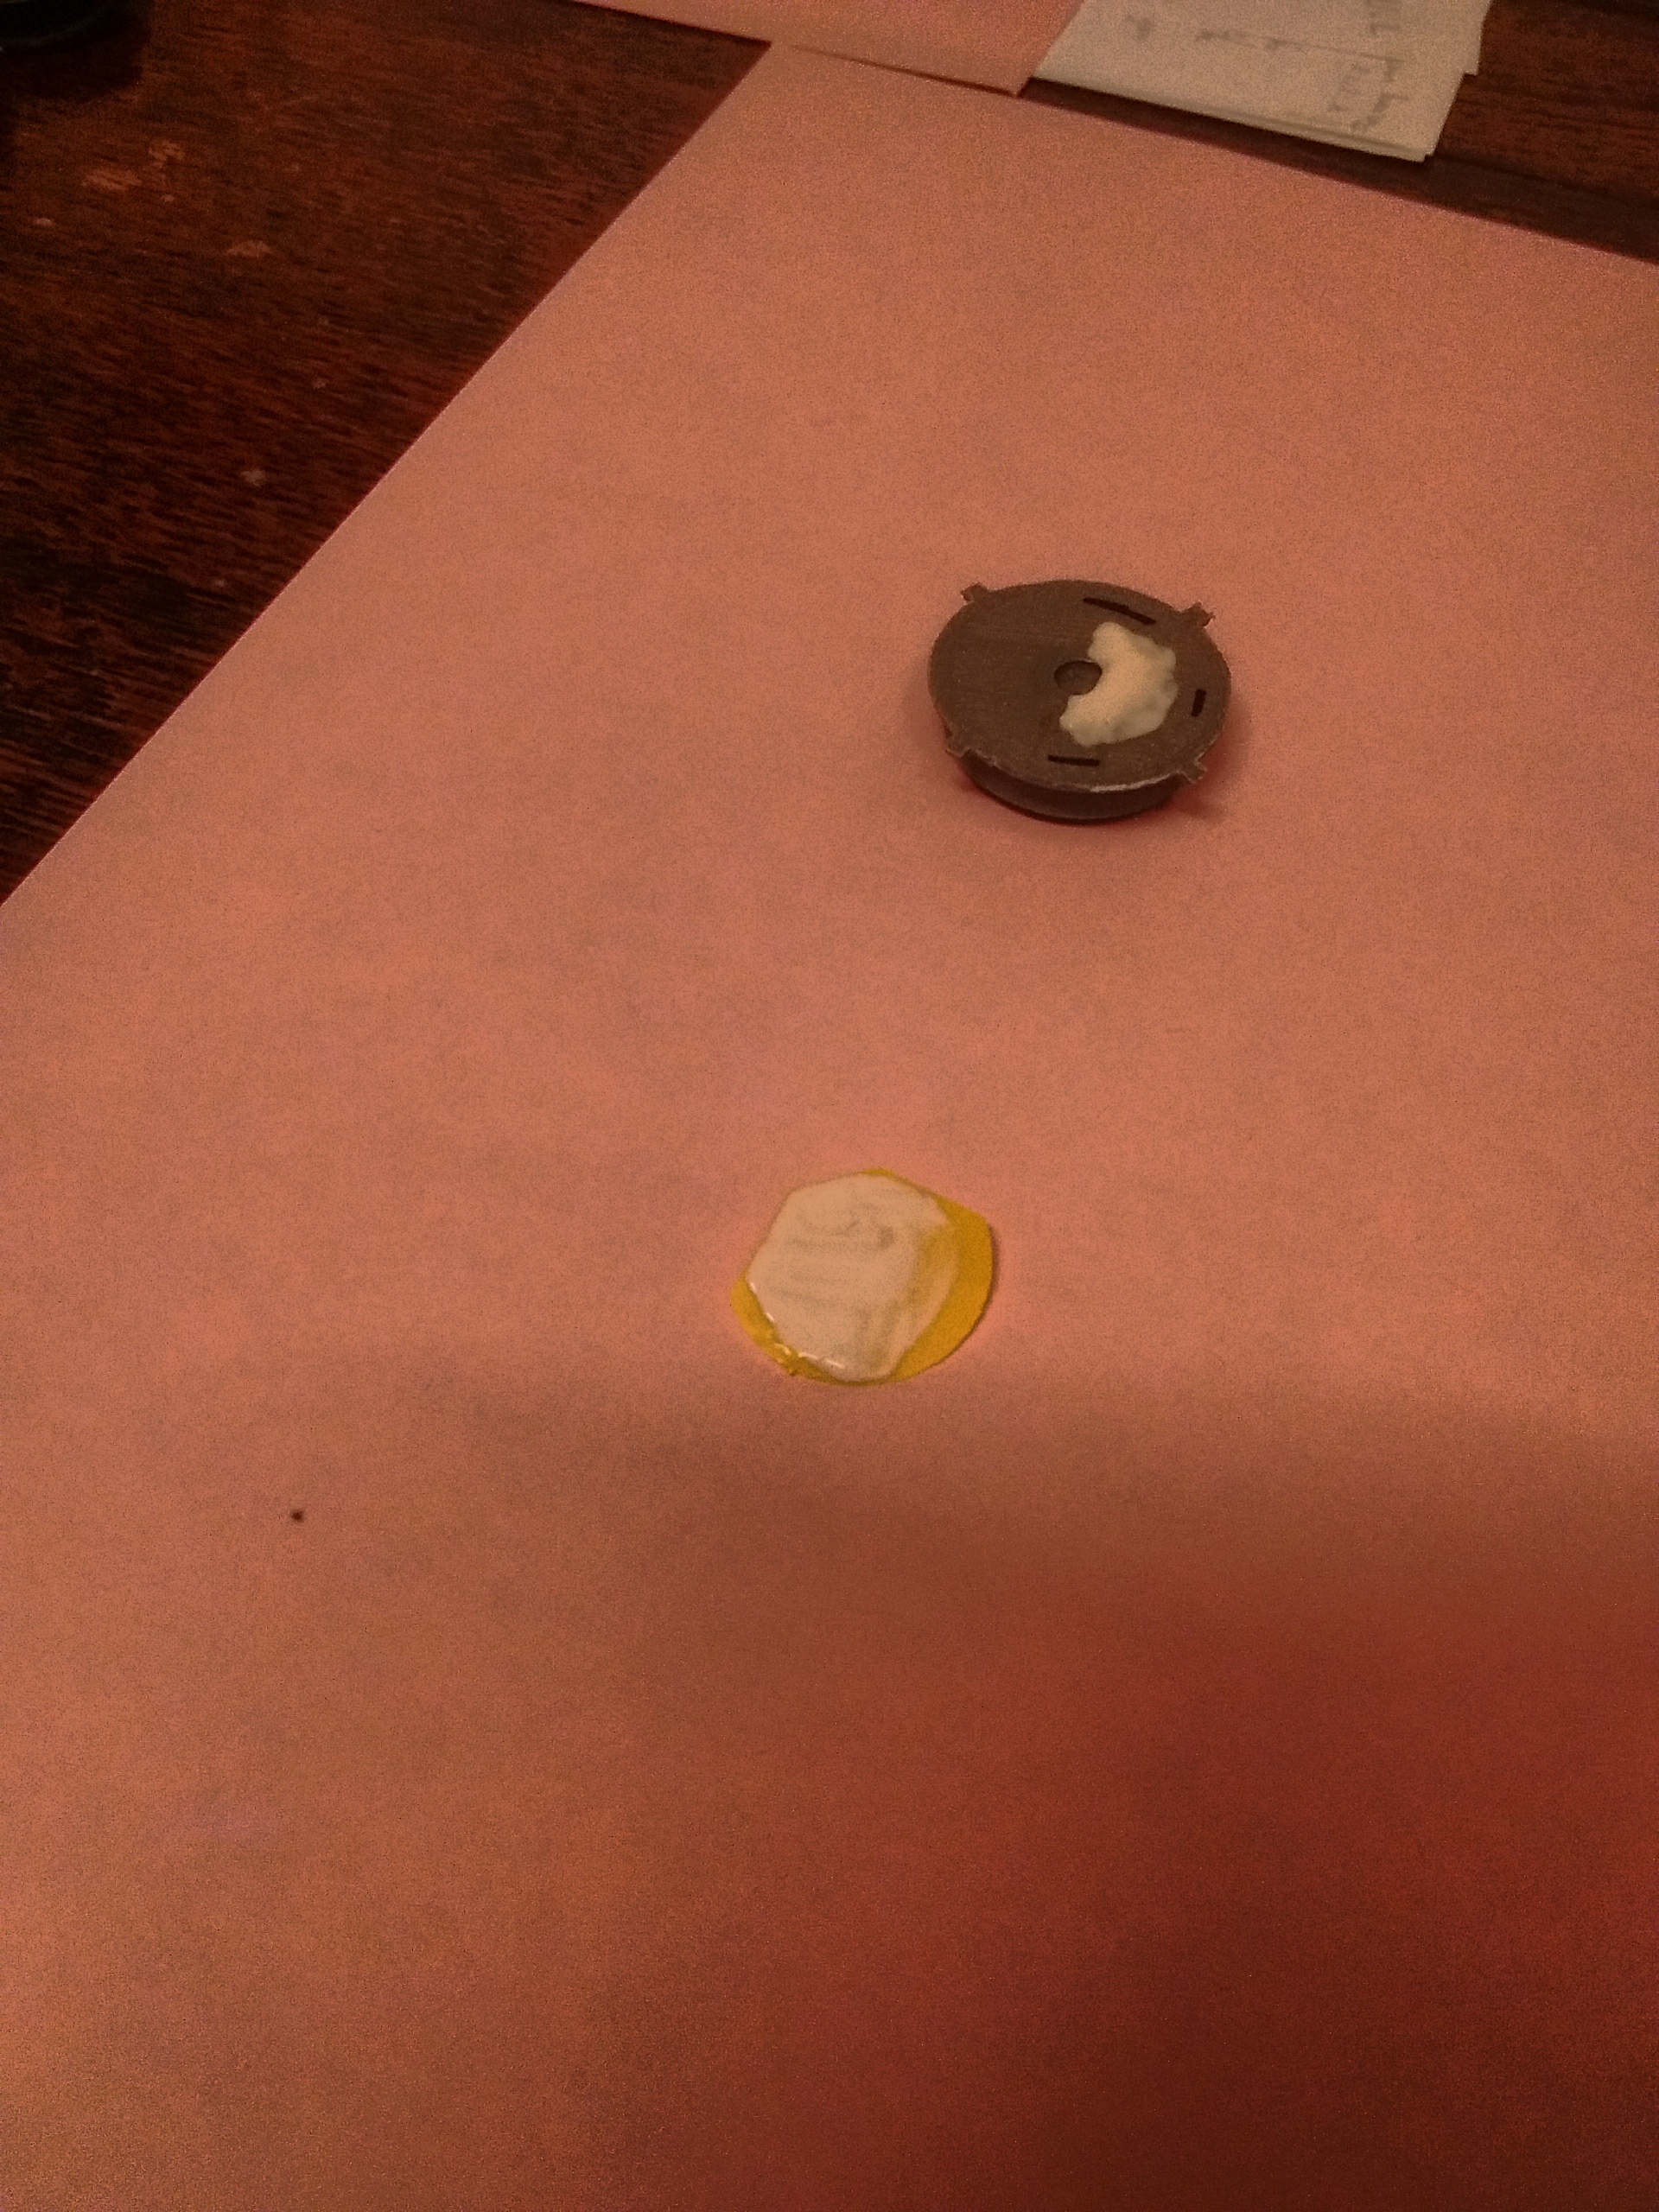
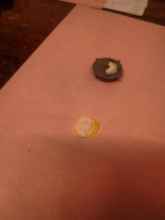 Let's try some All-Purpose Copydex adhesive!
Twenty-four hours later...
It was rubbish. The moral here is to never use glue that you didn't buy yourself and know the exact age of. Always keep your tools separate from other peoples'.
Let's try some All-Purpose Copydex adhesive!
Twenty-four hours later...
It was rubbish. The moral here is to never use glue that you didn't buy yourself and know the exact age of. Always keep your tools separate from other peoples'.