Super Secret Bonus Level: 3D Printing a Replacement D-Pad
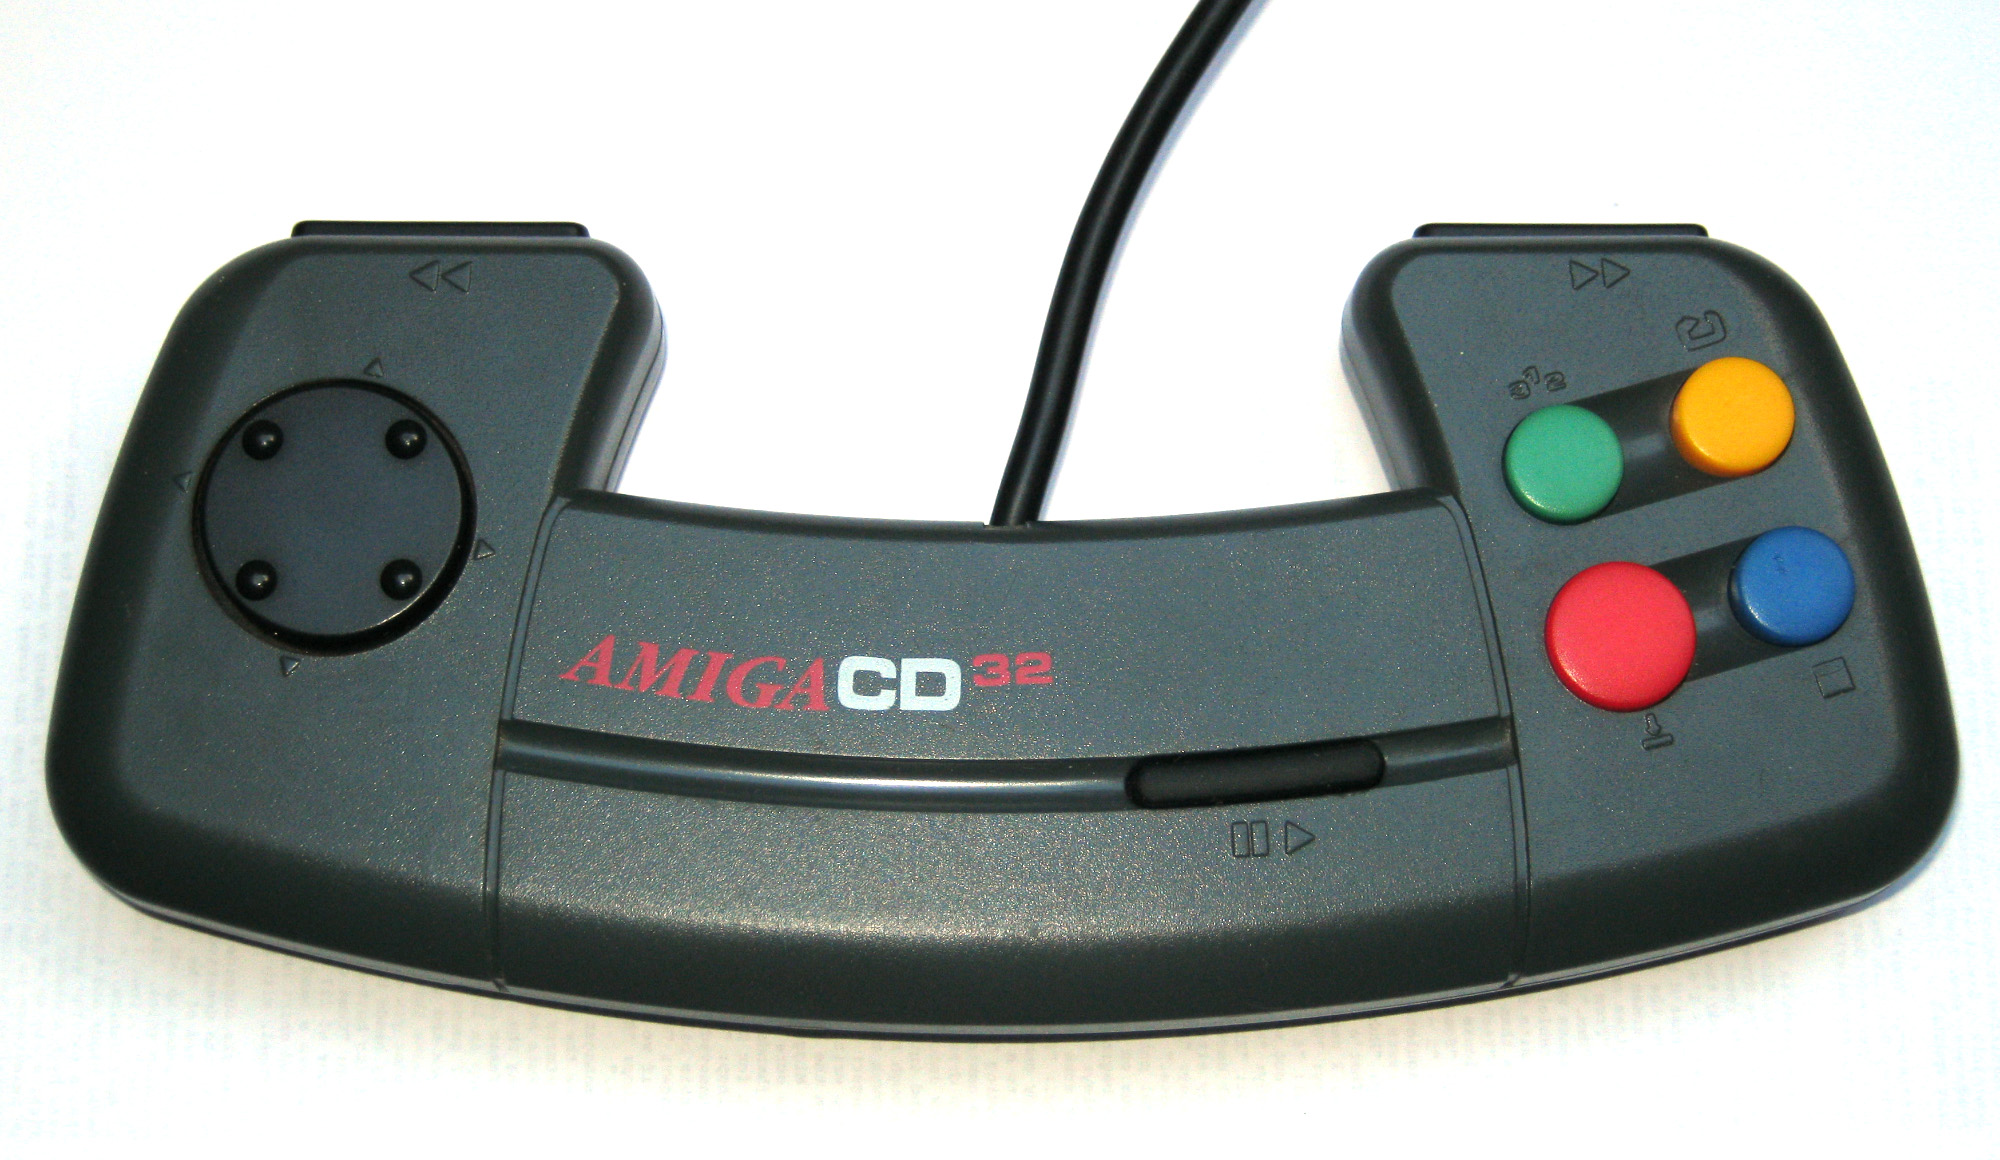
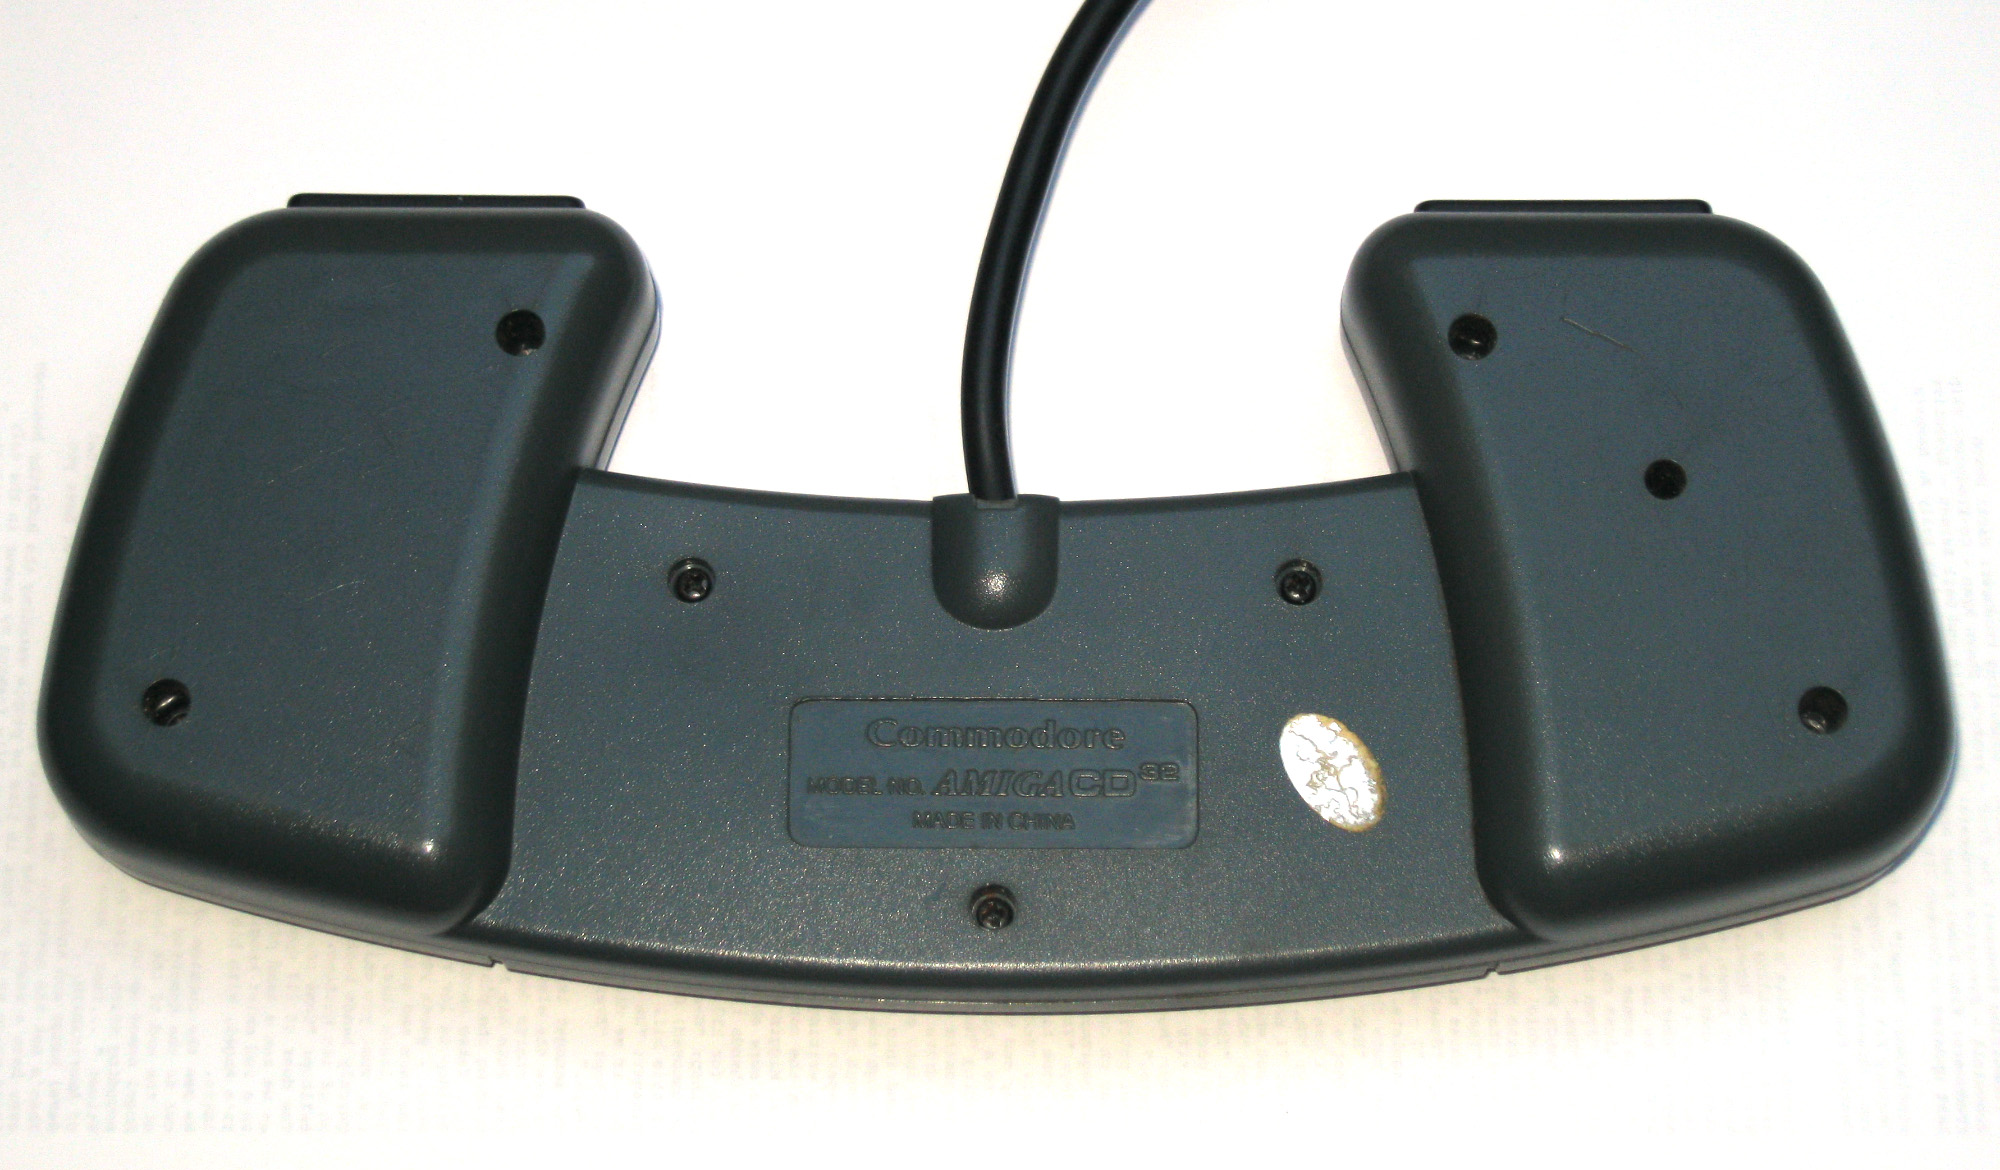
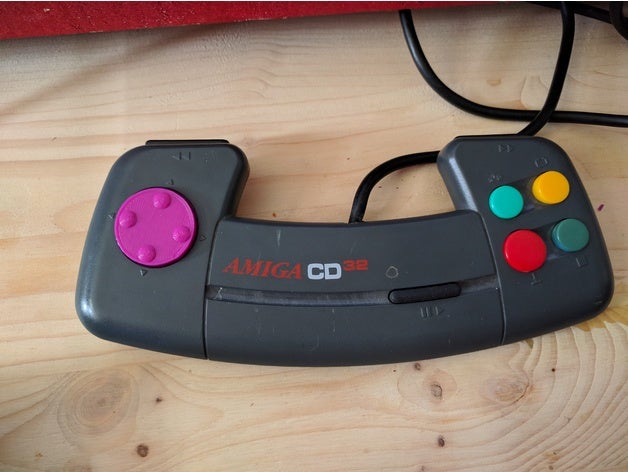
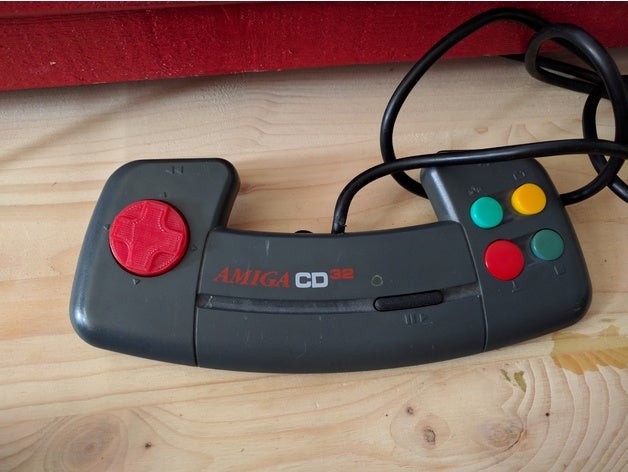
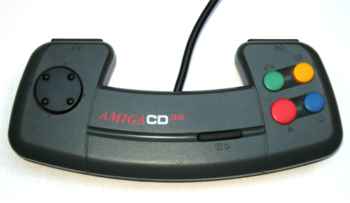
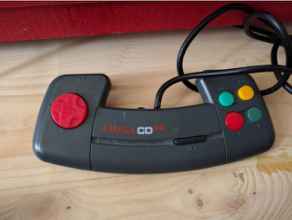
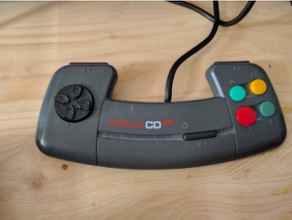
Here's some high resolution photographs of my CD32 pad, complete with dirt.
 Let's take it apart. There's several small Philips screws on the back to remove.
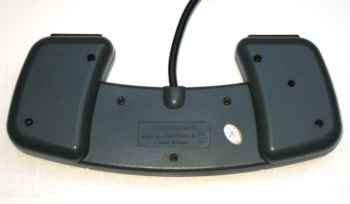
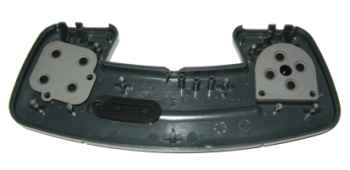
 Back.
Back.
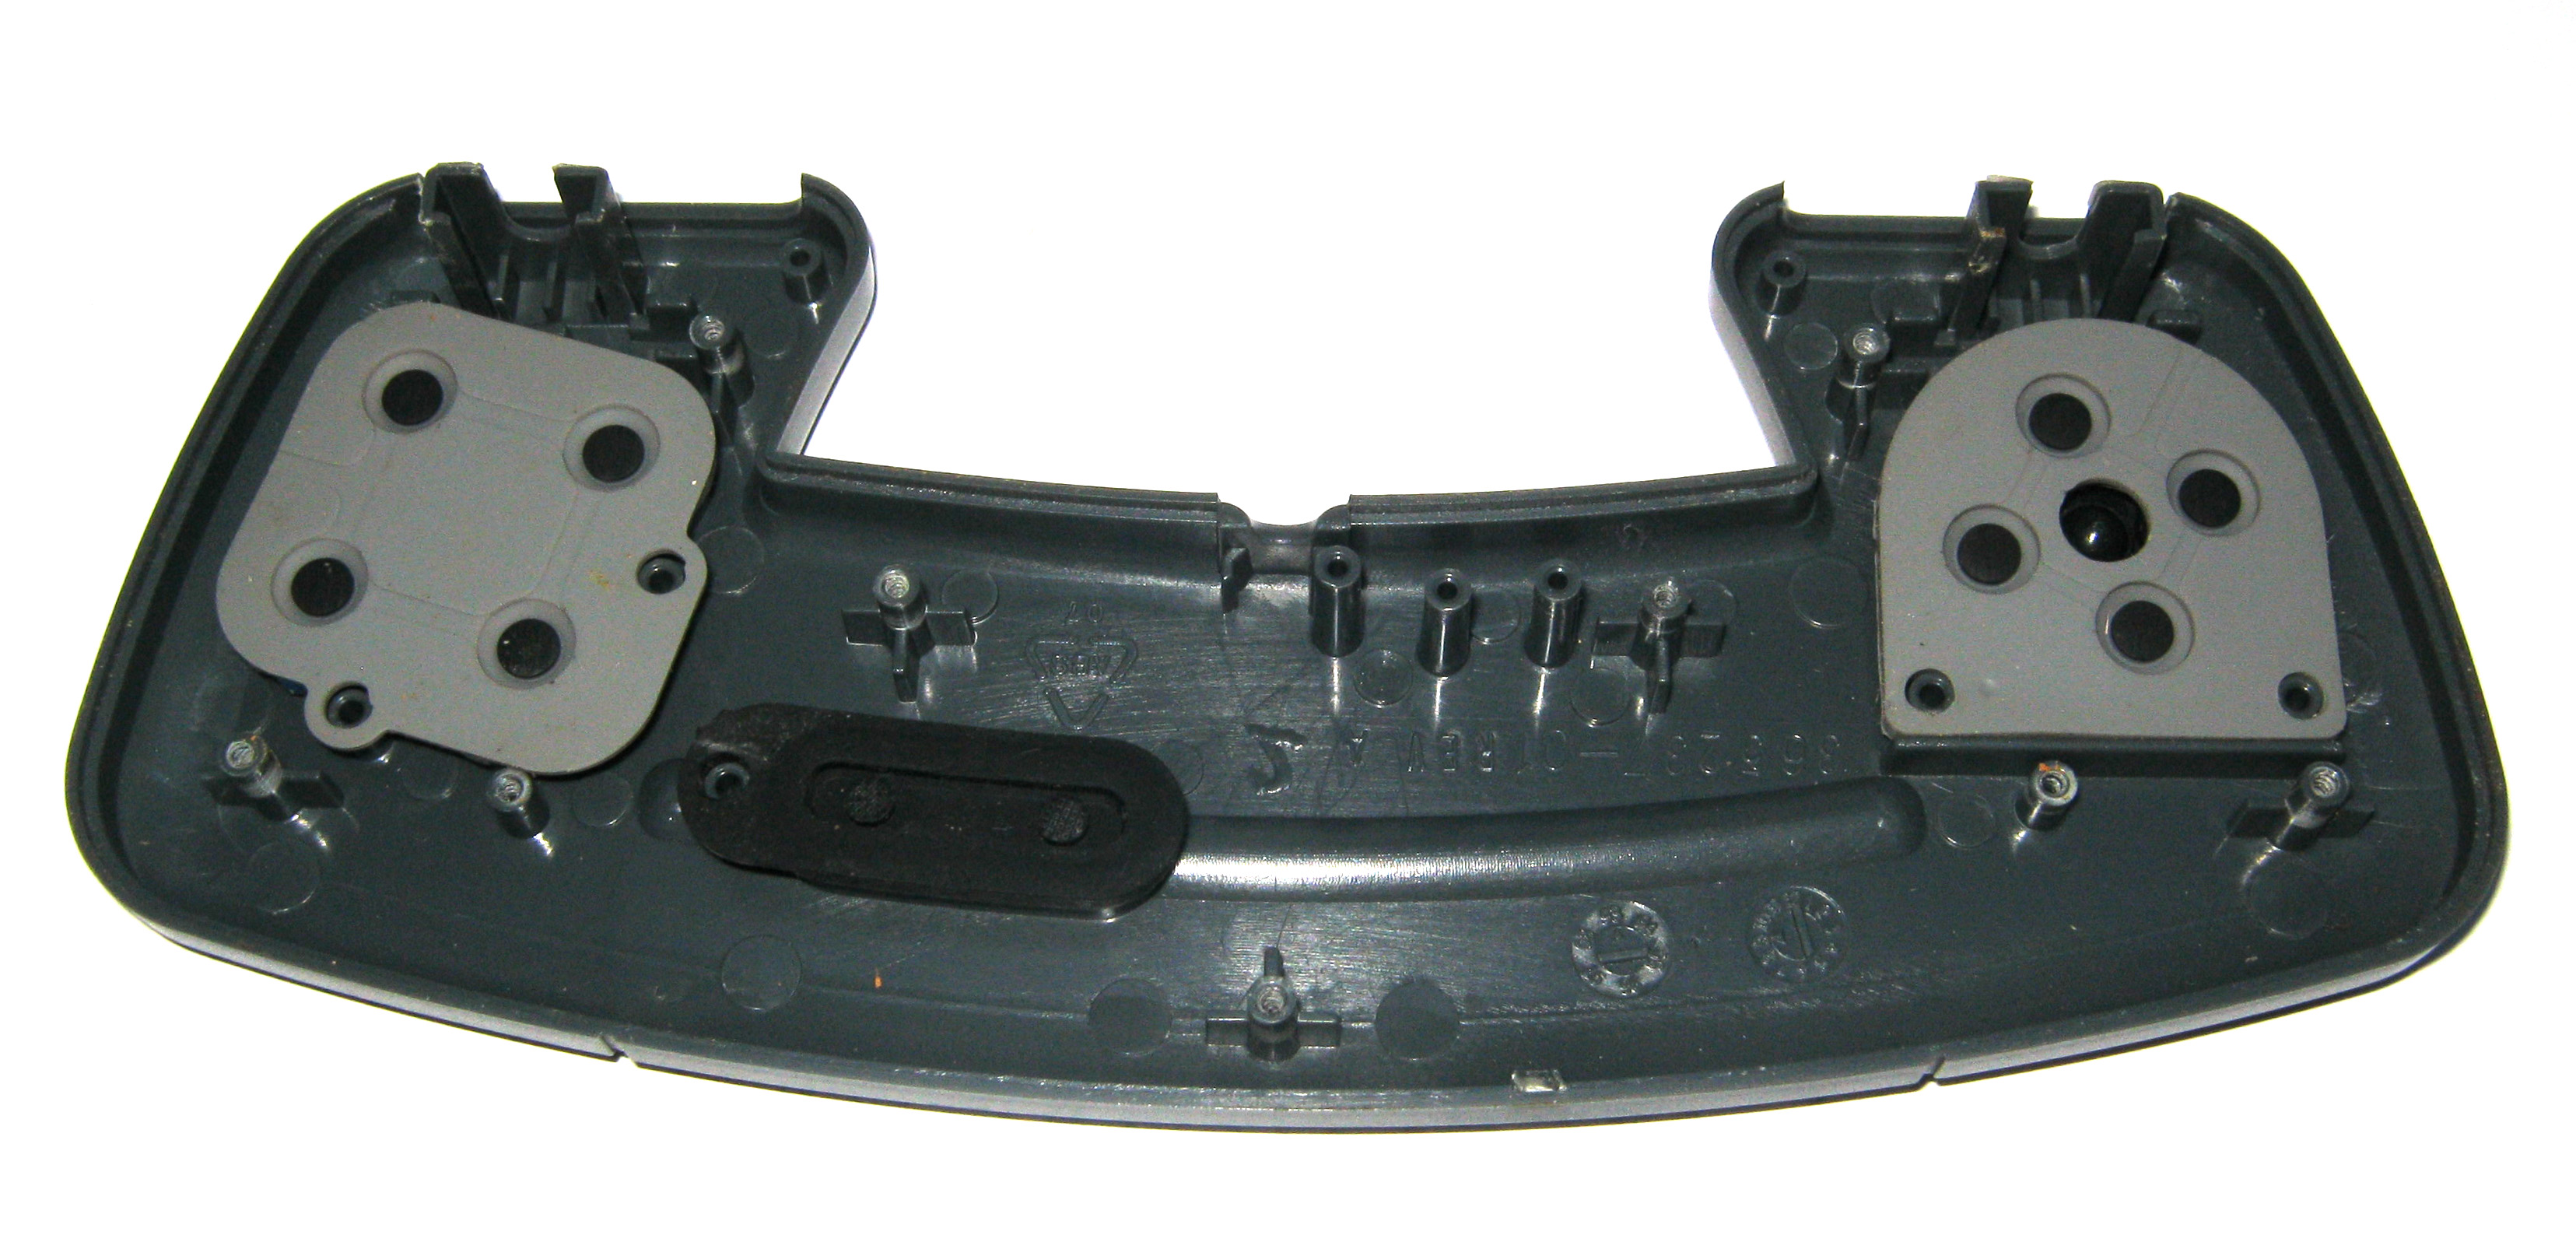
 Front.
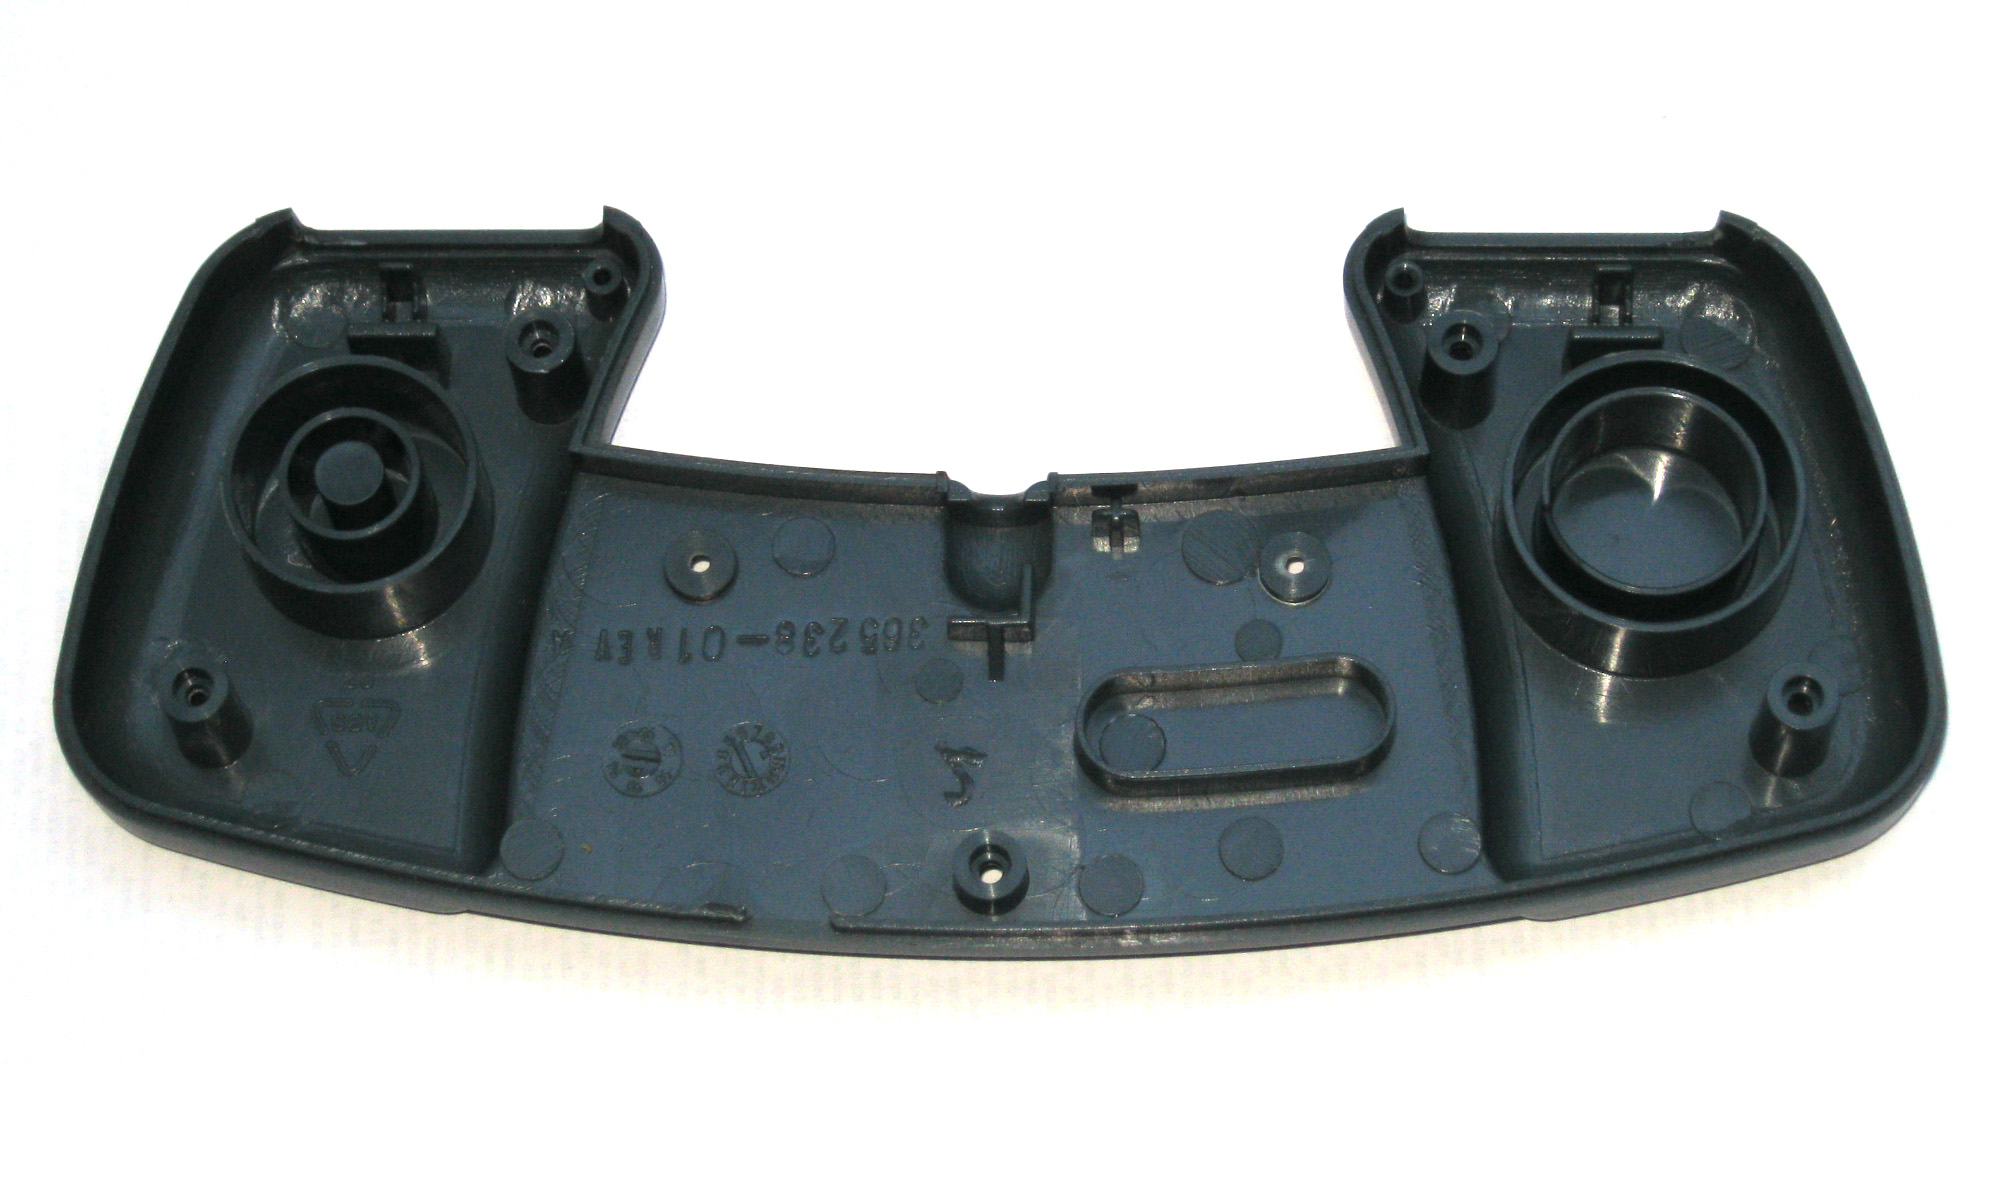
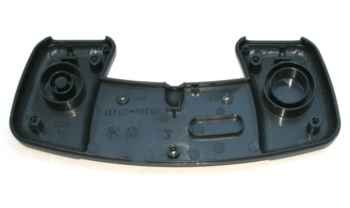
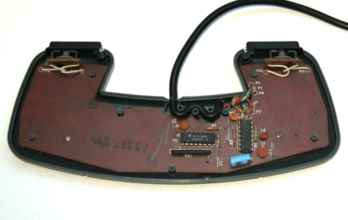
The pad consists of a front piece, a back piece, and a PCB that fills the interior area, screwed to the interior of the front piece by two small Phillips screws.
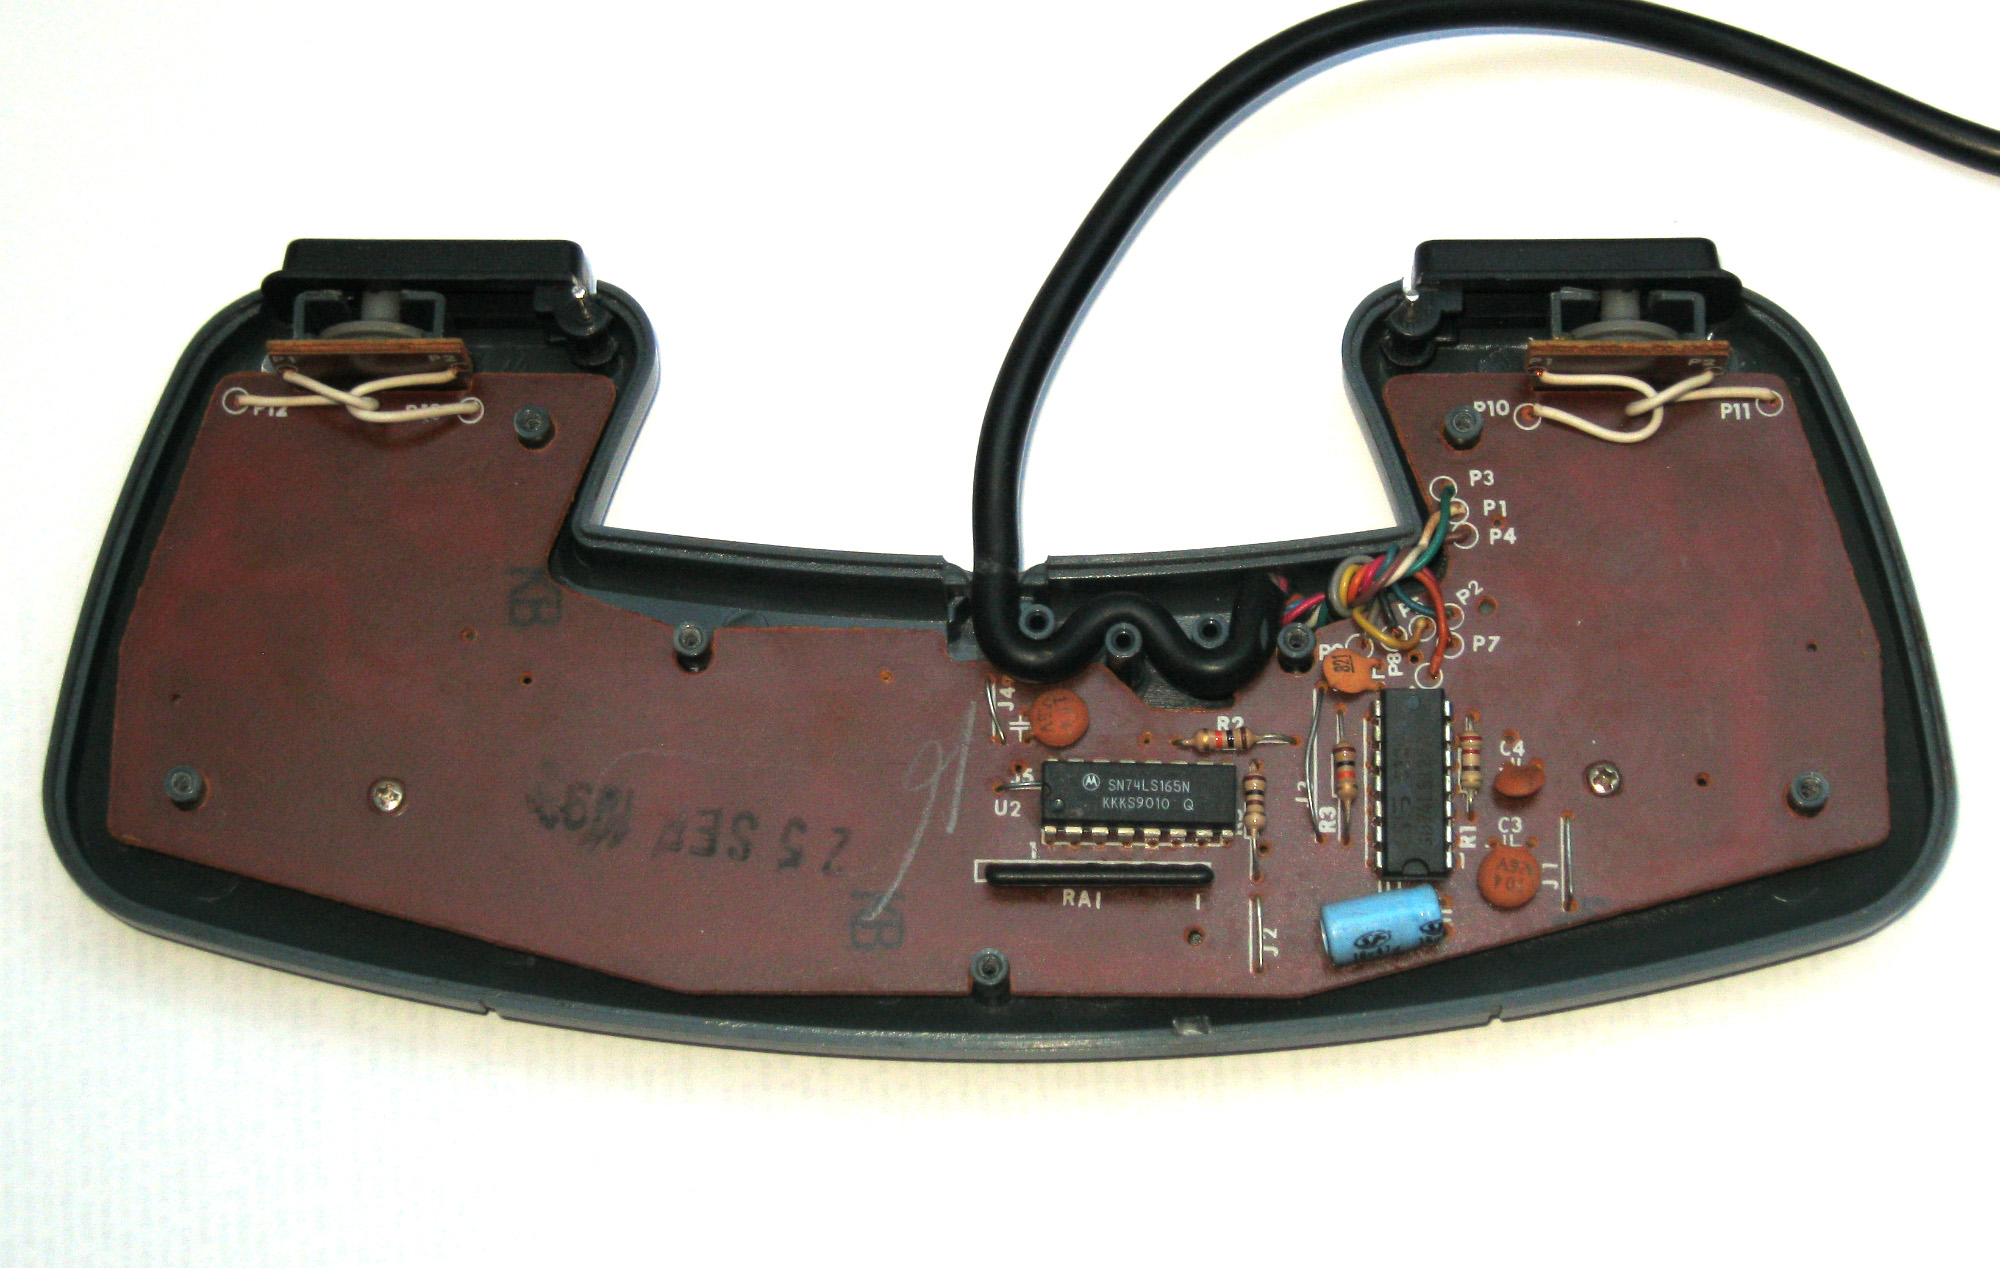
I'm somewhat gratified to find that the pad contains as strain relief a series of four posts around which the insulation is wound. :D
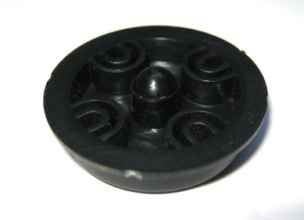
Under the PCB, there are rubber dome buttons for the coloured face buttons, Play/Pause and the directional pad. Attached to the top of the PCB, mounted vertically, are rubber dome buttons for the shoulder buttons, which are hinged on the innermost side with a metal rod.
The directional pad in the above images is on the right, as the pad is upside down.
Front.
The pad consists of a front piece, a back piece, and a PCB that fills the interior area, screwed to the interior of the front piece by two small Phillips screws.
I'm somewhat gratified to find that the pad contains as strain relief a series of four posts around which the insulation is wound. :D
Under the PCB, there are rubber dome buttons for the coloured face buttons, Play/Pause and the directional pad. Attached to the top of the PCB, mounted vertically, are rubber dome buttons for the shoulder buttons, which are hinged on the innermost side with a metal rod.
The directional pad in the above images is on the right, as the pad is upside down.
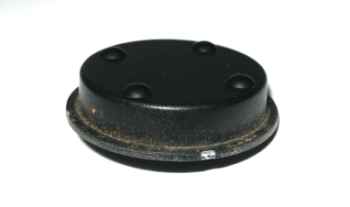
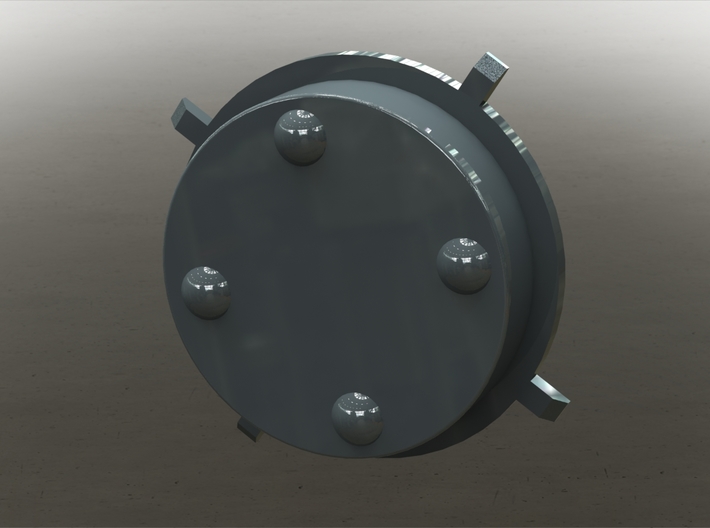
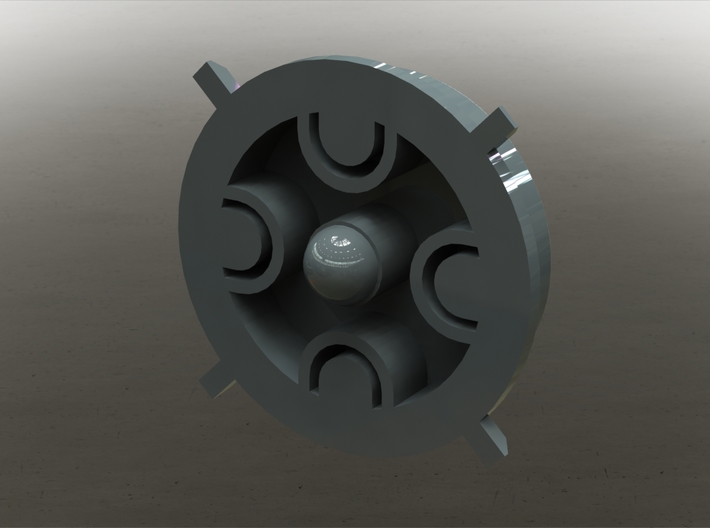
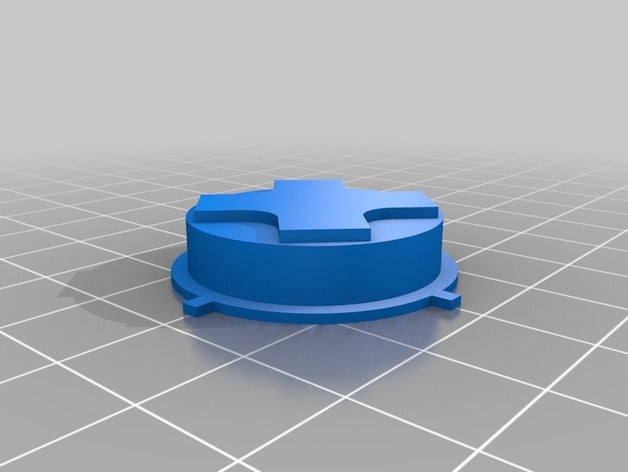
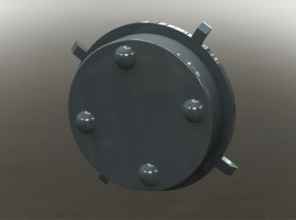
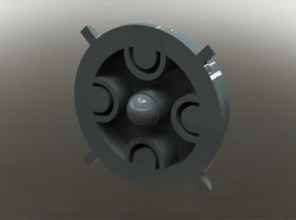
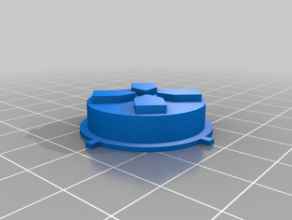
 The CD32 directional pad is a thick black plastic disc with raised spherical cap shaped nubs on its top surface. At the bottom of the disc is a collar extending a very small distance outwards. On the underside of the collar is a hemispherical solid dome. The movement of the directional pad uses this dome as a pivot point to rock freely. Not shown in my photographs are four tabs that extend outwards at 45 degrees from the directional pad's movement directions.
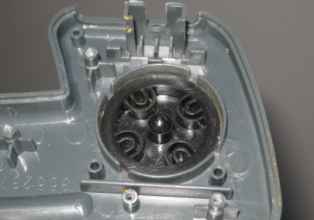
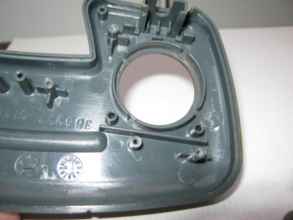
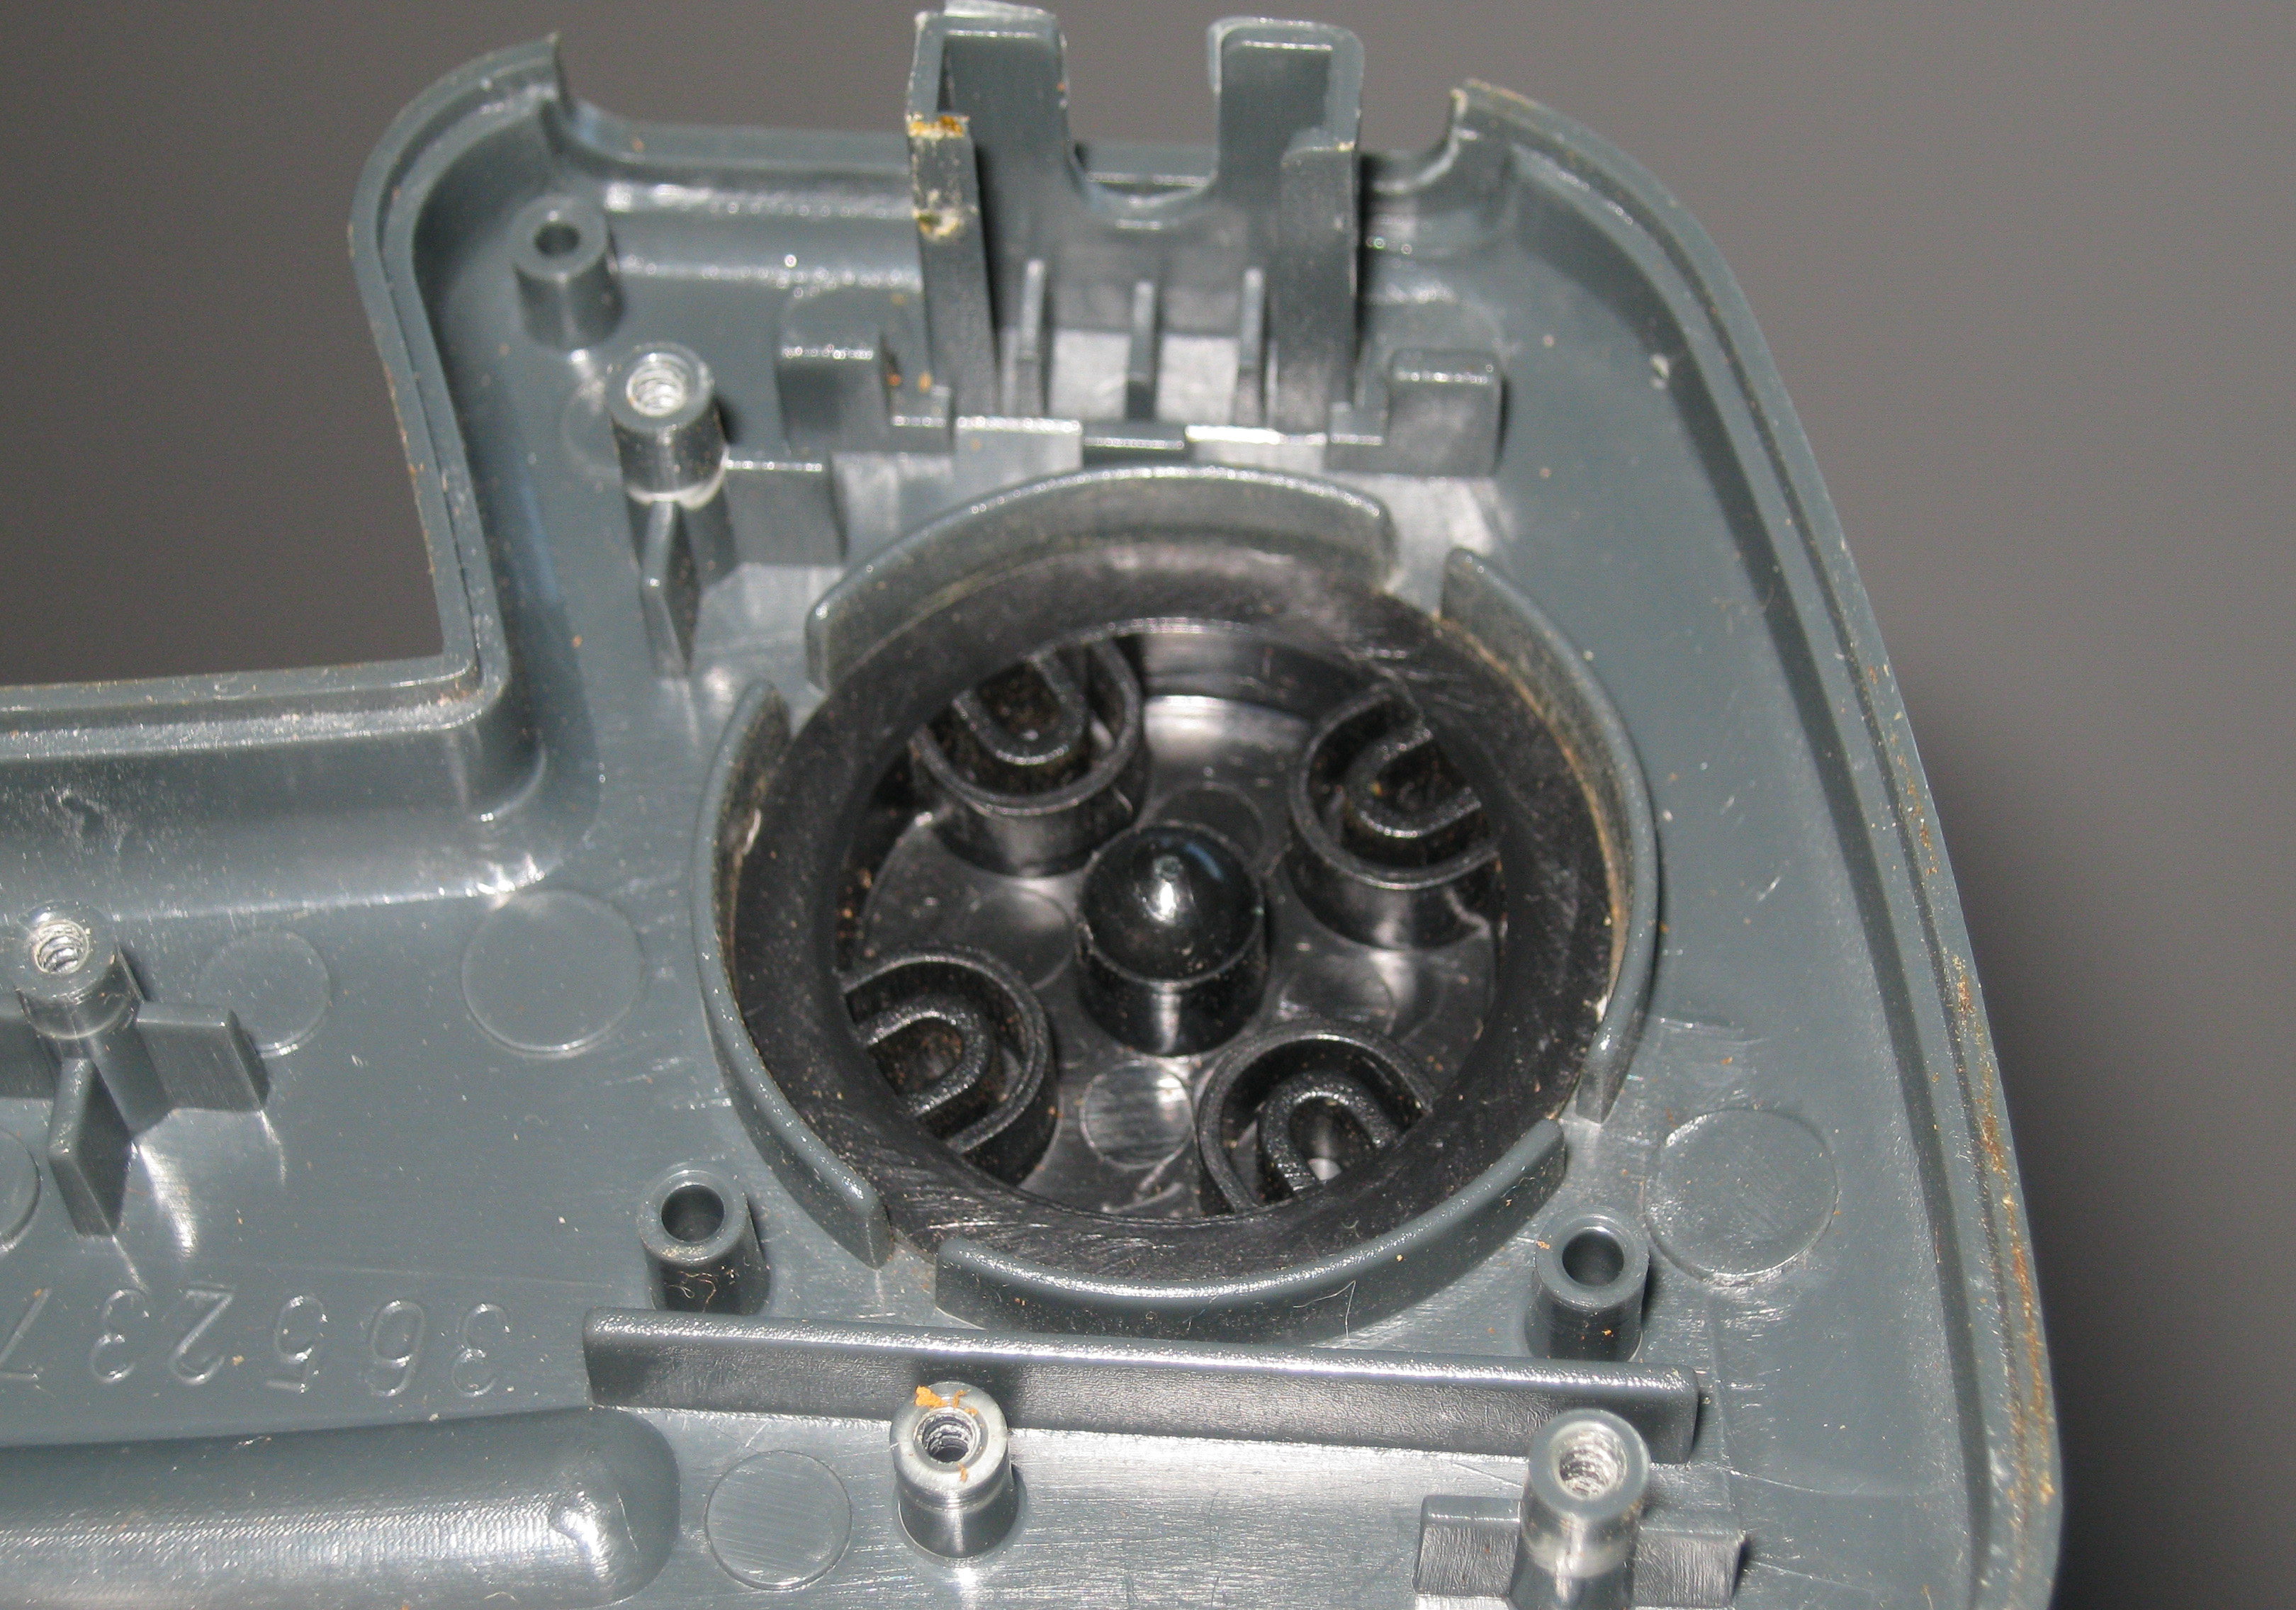
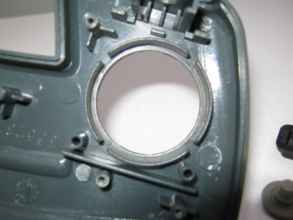 The directional pad rests in this well in the front piece of the pad. The notches cut out around the raised collar prevent the directional pad rotating around within the well.
I decided to have a go at modelling the piece in Blender, and see if I could 3D print the thing. It seems like a perfect candidate!
The directional pad rests in this well in the front piece of the pad. The notches cut out around the raised collar prevent the directional pad rotating around within the well.
I decided to have a go at modelling the piece in Blender, and see if I could 3D print the thing. It seems like a perfect candidate!
 I'd just need to get a hold of some calipers and measure all the distances as exactly as I could. I'm sure it would take a few prototypes to get it to work, but it surely wouldn't take an hour for each attempt.
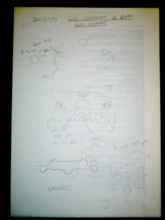
On my profile view, I've drawn an attempt at what I think the wings extending out from the collar look like.
On a whim, I decided to see if anybody else had 3D printed the CD32 directional pad... turns out a few folks have!
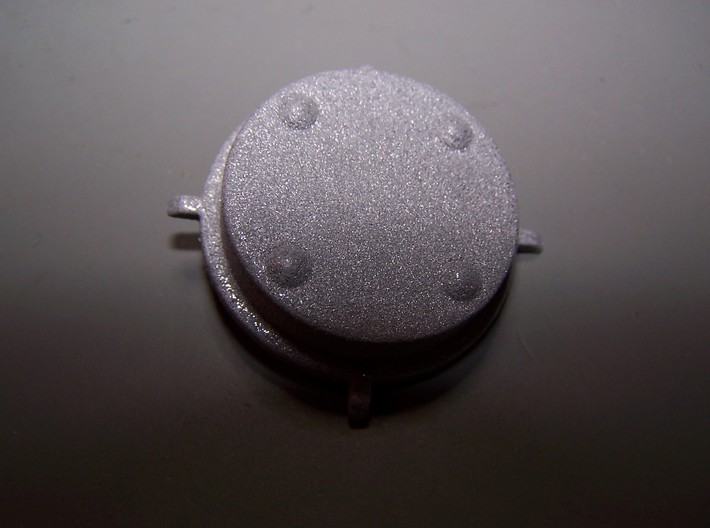
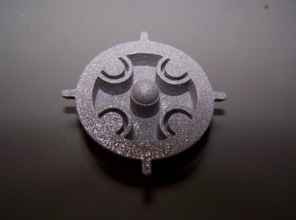
Here's a design for a replacement CD32 directional pad by Ndo Design:
I'd just need to get a hold of some calipers and measure all the distances as exactly as I could. I'm sure it would take a few prototypes to get it to work, but it surely wouldn't take an hour for each attempt.
On my profile view, I've drawn an attempt at what I think the wings extending out from the collar look like.
On a whim, I decided to see if anybody else had 3D printed the CD32 directional pad... turns out a few folks have!
Here's a design for a replacement CD32 directional pad by Ndo Design:
 https://www.shapeways.com/product/XLKEBL3WQ/commodore-amiga-cd32-controller-d-pad
Their wings are flat rather than with vertical flags, and I'm inclined to believe them. It looks like you can order this design made, but you can't download it and print it yourself. Hmmm.
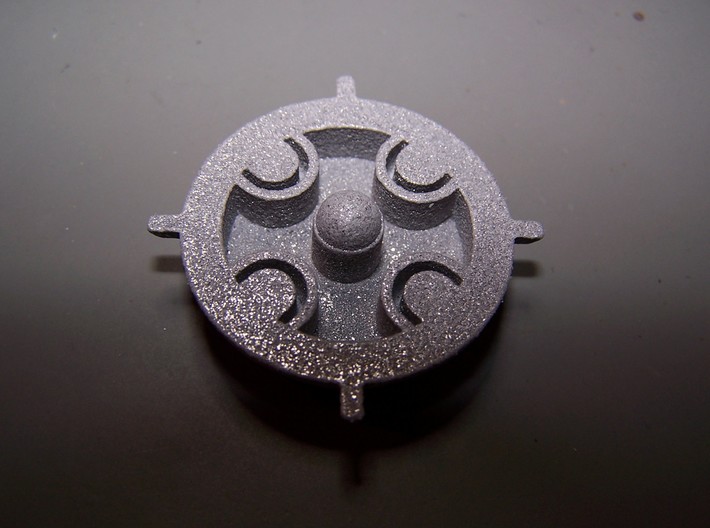
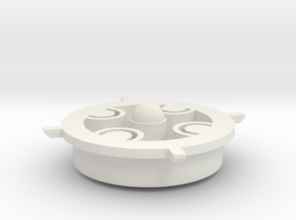
There's also this one, by jvdw007. https://www.thingiverse.com/thing:2562154
https://www.shapeways.com/product/XLKEBL3WQ/commodore-amiga-cd32-controller-d-pad
Their wings are flat rather than with vertical flags, and I'm inclined to believe them. It looks like you can order this design made, but you can't download it and print it yourself. Hmmm.
There's also this one, by jvdw007. https://www.thingiverse.com/thing:2562154


 Complete with a choice of three different directional pad designs! Awesome!

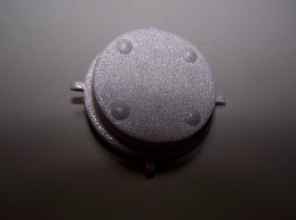
 Here's how they look installed in a pad (apparently).
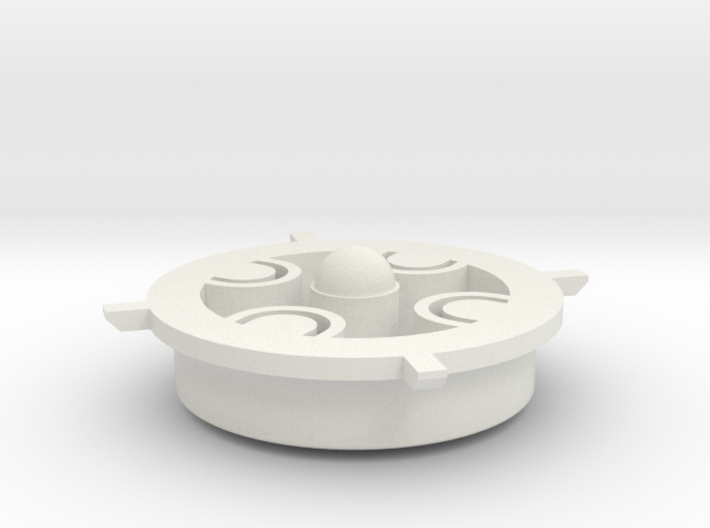
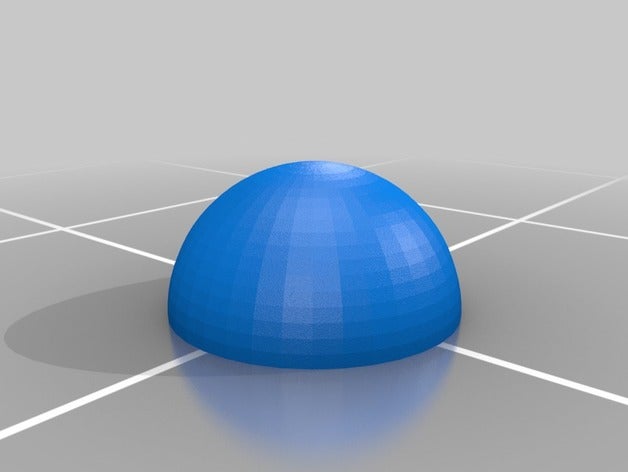
The upper part of the directional pad is going to be flush to the 3D printer's plate, the dome is going to have to be printed separately.
Here's how they look installed in a pad (apparently).
The upper part of the directional pad is going to be flush to the 3D printer's plate, the dome is going to have to be printed separately.
 "I also made a half dome 6mm width which you can print two of and stick together, to stick on the underside of the joypad prints."
This is a 'remix' of an earlier design which comes with the instruction "After the print one must glue a air soft 6mm ball to the bottom of the print for proper operation."
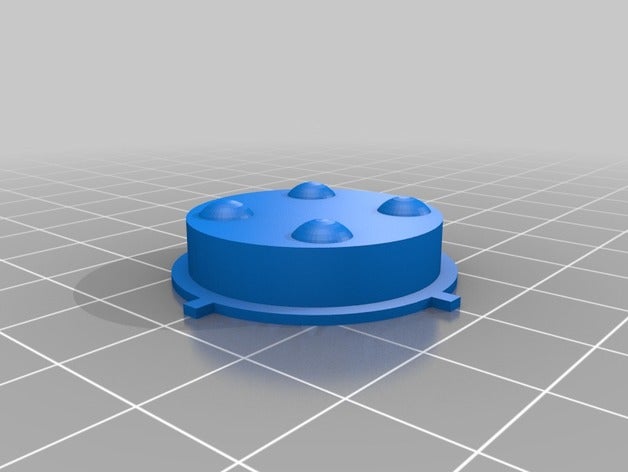
I'm not entirely convinced this method will work, but hey, it's better than nothing. I'll give it a shot!
"I also made a half dome 6mm width which you can print two of and stick together, to stick on the underside of the joypad prints."
This is a 'remix' of an earlier design which comes with the instruction "After the print one must glue a air soft 6mm ball to the bottom of the print for proper operation."
I'm not entirely convinced this method will work, but hey, it's better than nothing. I'll give it a shot!