Putting a lid on it now
My objective is to redesign the lid part of the PSCD32's case so that it's compatible with 3D printers. Specifically, I need to designate a flat plane as the base plane and design the object so that it can be built up vertically. There's a maximum angle from the vertical that a wall can be before the print will fail due to insufficient support. The Ultimaker software can automatically add in supporting structures that you cut away after the print, but I'm going to try to minimize these.
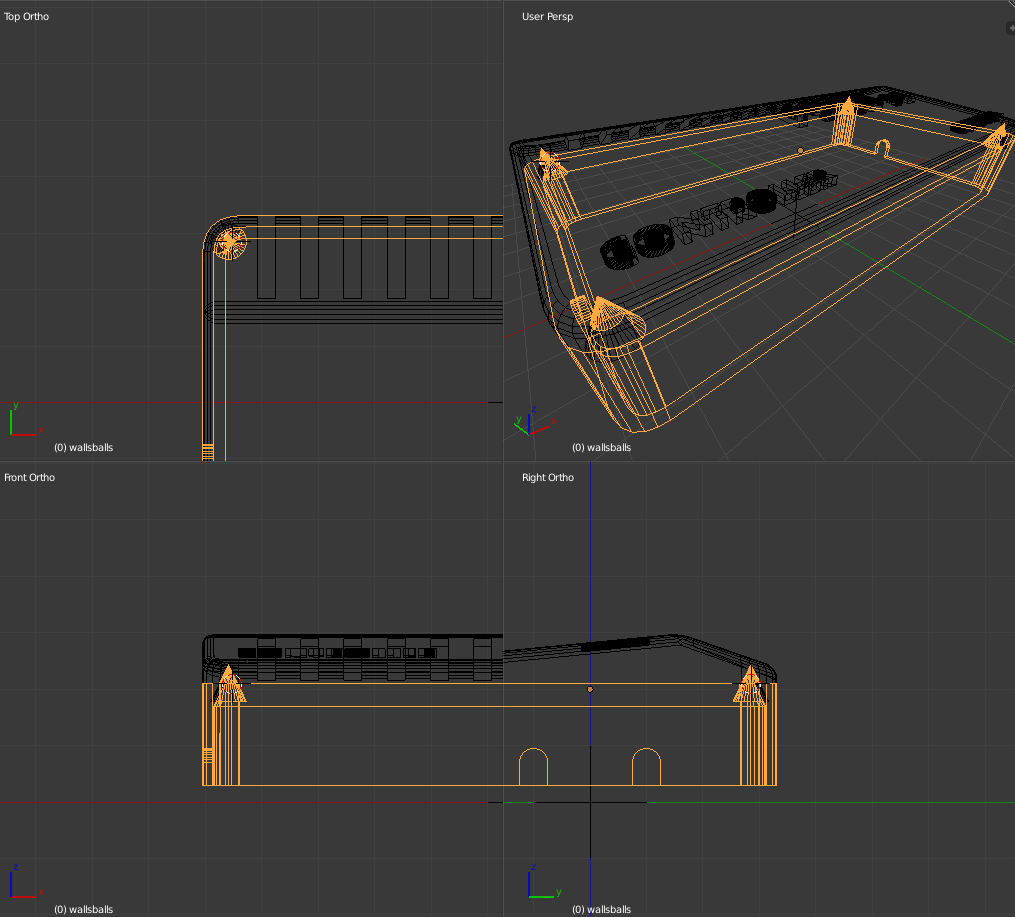
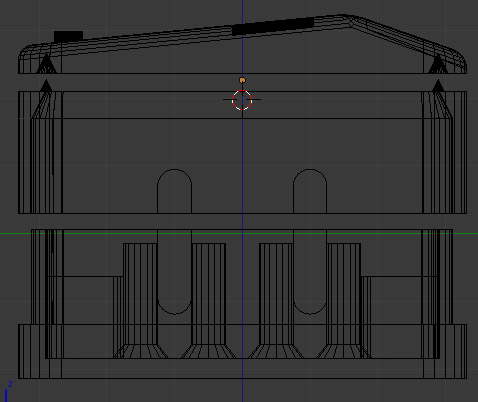
My idea is to split the warehouse-like upper part into two sections.
 • The upper section will have the angled roof and the embossed text. Instead of being hollow inside, it'll have a flat base. This lets it be printable.
• The lower section will contain only the walls. It will begin at the bottom of the walls of the original upper section, rise vertically, include the cut-away arches for the cable, and at the top it will extend slightly inwards.
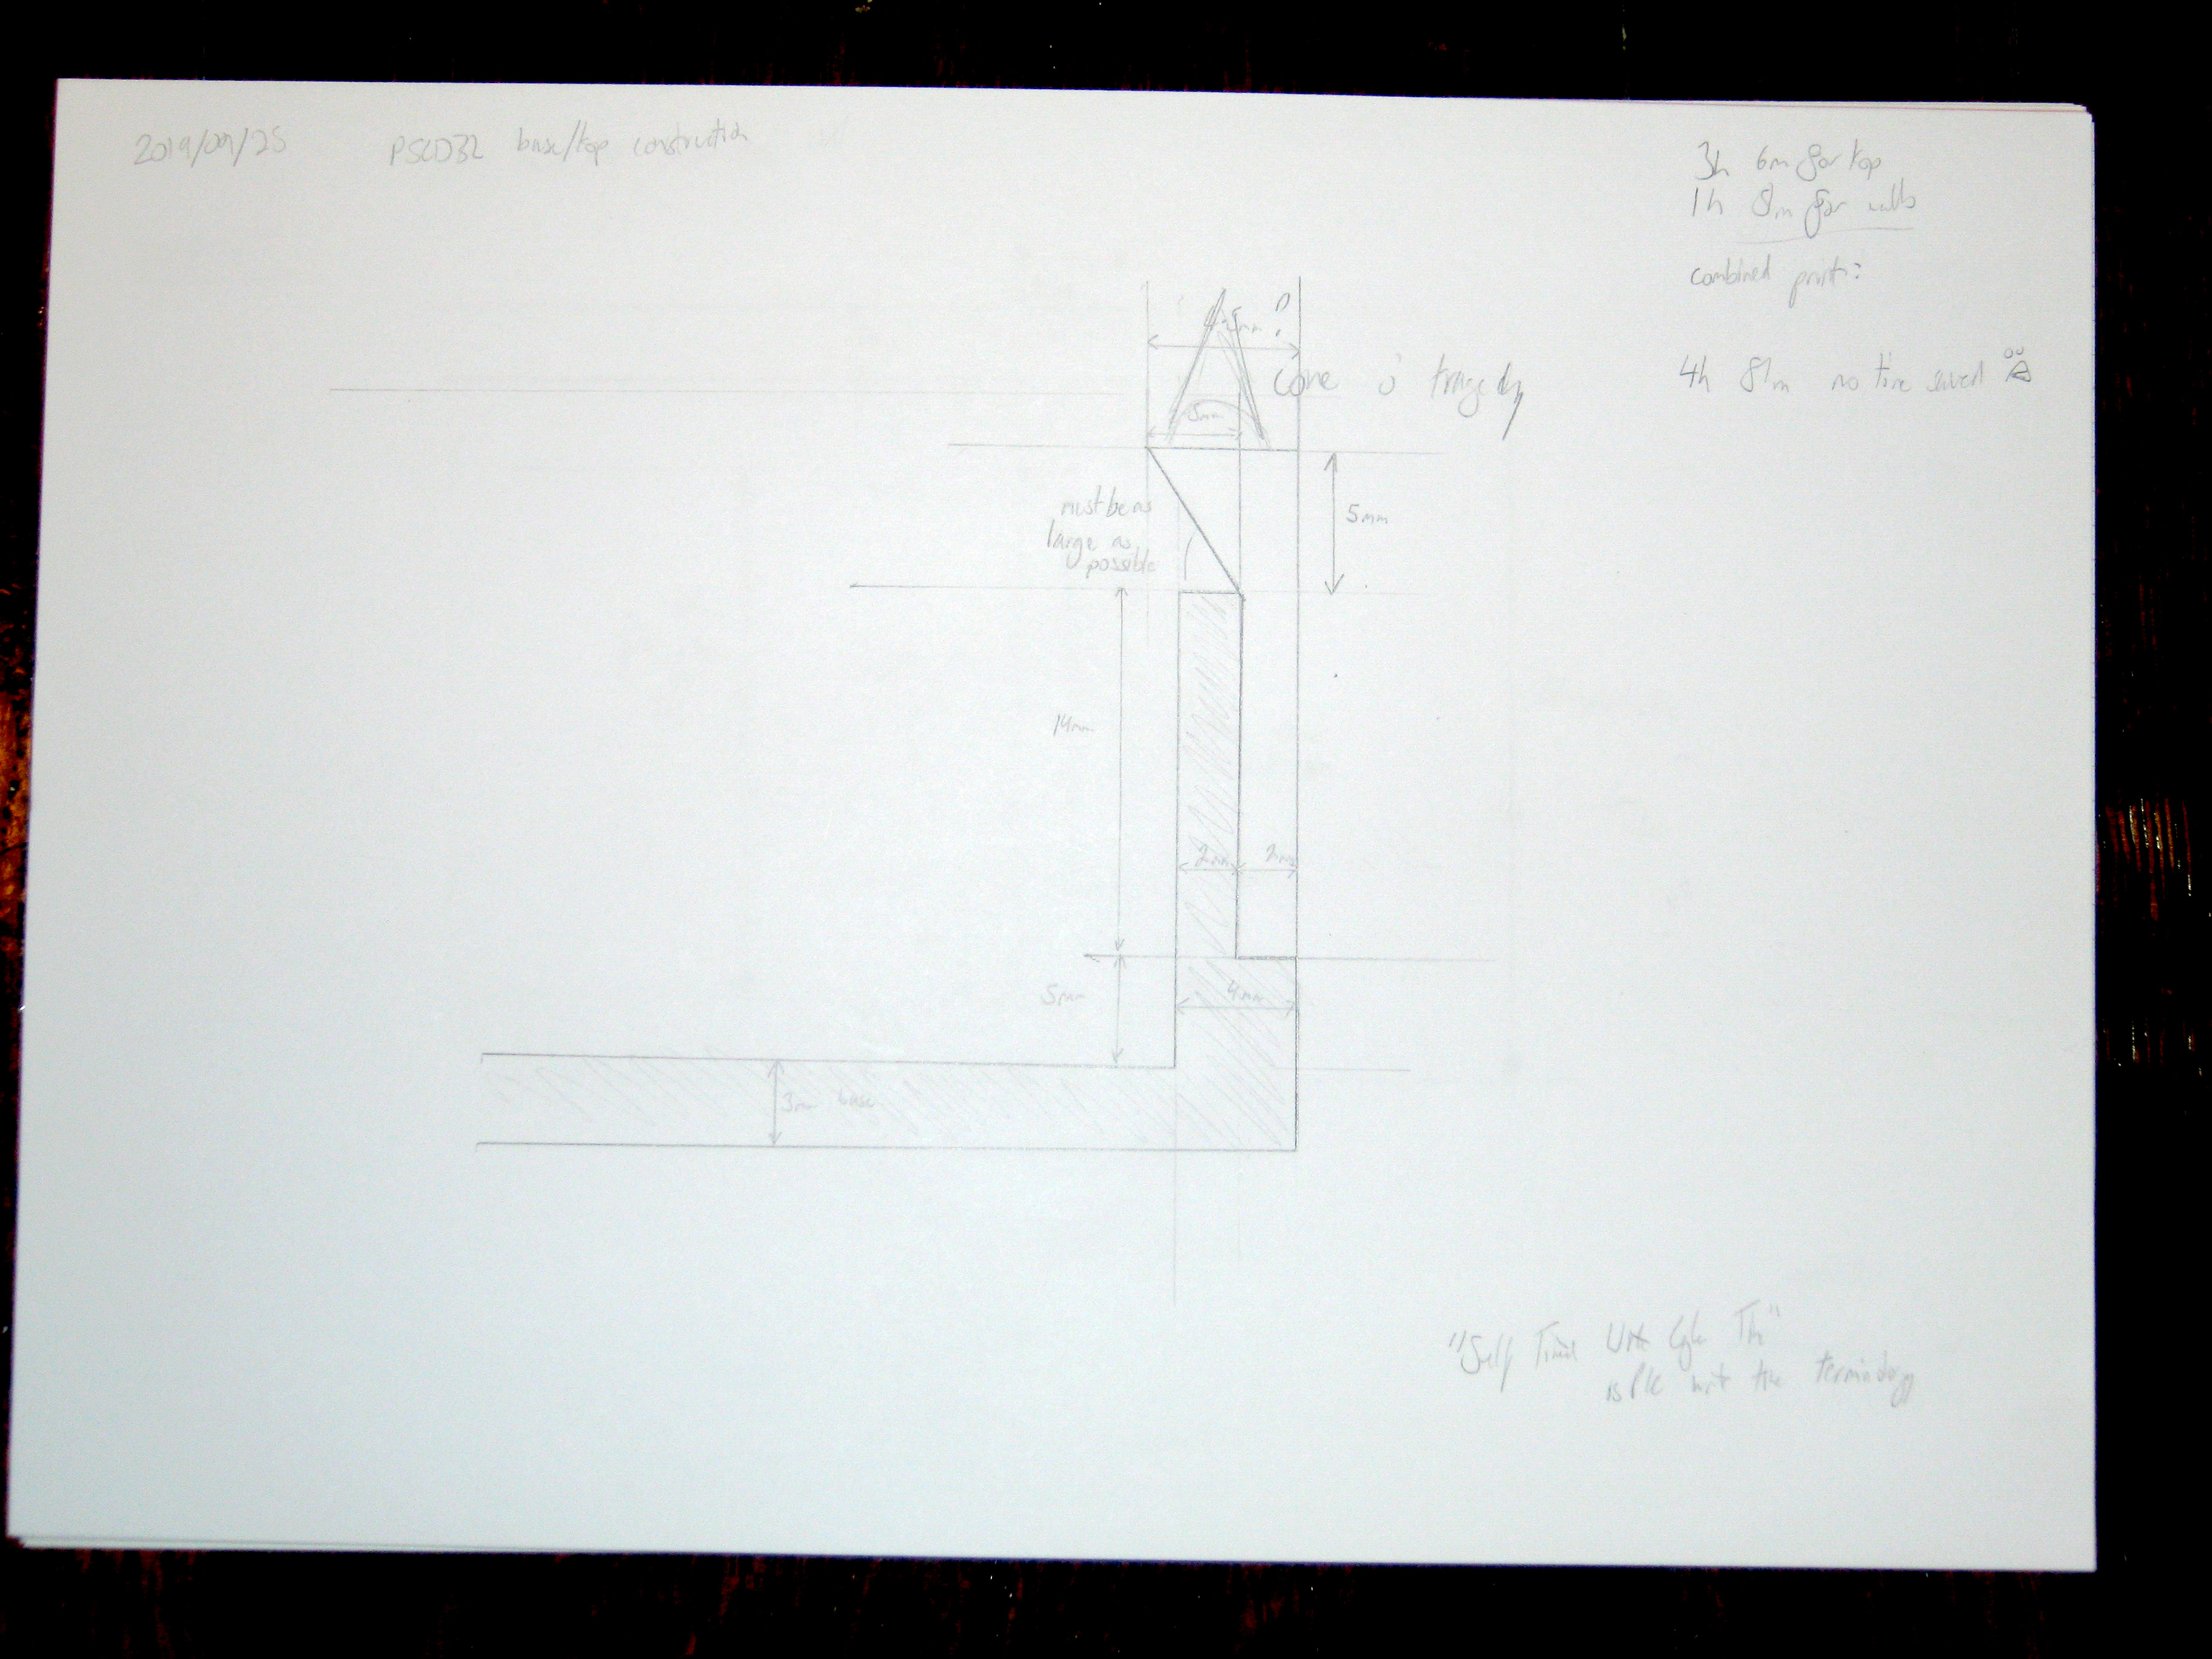
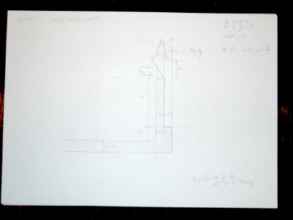
To connect the two pieces, I've designed in a series of cone shaped studs to align the two for gluing with epoxy resin.
• The upper section will have the angled roof and the embossed text. Instead of being hollow inside, it'll have a flat base. This lets it be printable.
• The lower section will contain only the walls. It will begin at the bottom of the walls of the original upper section, rise vertically, include the cut-away arches for the cable, and at the top it will extend slightly inwards.
To connect the two pieces, I've designed in a series of cone shaped studs to align the two for gluing with epoxy resin.

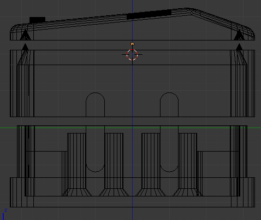 Once again, I had a heck of a time convincing Blender of what I want. Had to make a perfectly mirrored cone to cut out of the top piece and add to the bottom piece. However, the cone shapes at the bottom also had to not extend over the rounded rectangle shaped void area, so I had to subtract a rounded rectangle prism extending vertically through the void to end up with 3/4 cone pegs.